From Basket Case to Cafe Racer: Elizabeth's Story

How was the master cylinder transaction. How long did it take to get. It came from taiwan didn't it. I saw them the other day and want to know how good they are and how long it took to ship. let me know. the headlight is cool.
 
thompsonmx100 said:
How was the master cylinder transaction. How long did it take to get. It came from taiwan didn't it. I saw them the other day and want to know how good they are and how long it took to ship. let me know. the headlight is cool.

Sorry for the late answer to your questions. All in all, I'm pretty impressed with the whole deal. The reservoir came from Thailand, with the customary twenty (+/-) day shipping time. From what I could see on eBay, they shipped the reservoir out the day after I purchased it. As far as the actual item, it looks pretty solid, feels solid, and closes nice n' tight. For the price, I'm hard pressed to find a piece as nice as this is. I'll post some pictures of the actual reservoir once I can get my hands on our digital camera again.
 
thompsonmx100 said:
Thanks so it took twenty days to get? Thats a little long.
Not as bad as getting things from Hong Kong... It really wasn't that bad since I was still waiting for the rest of my braking components to arrive. Still, for 18 bucks shipped, not a bad deal.
 
Got a little work done today with the sun shining. Got my new, old forks on to replace the leaking old, old forks. Flipped 'em around so that the calipers are behind the forks, more for my own twisted sense of right and wrong than anything else. Dropped the forks an inch and a half into the triple and mounted the new brake rotor. Can't mount the second caliper yet as I'm waiting for a new set of pads for both. Got the headlight installed and replaced the old broken idiot light covers with some trick LED drop ins from Advance Auto.

I'm still in limbo over mounting the fender and seat style... I'll probably braze some brackets onto the fender once I can get a decent torch setup. Been contemplating doing a metal seat pan, but I haven't decided yet.

Finally, what are your opinions on color? Definitely won't do Kawi Green (shied away from that one with my 636, got blue instead). Been halfway between raw metal with clear, white, or universal black. Copper'd be cooler than hell, but I'm not sure how I'd pull that off.

Sorry if I'm a bit erratic tonight, on a major caffeine shortage and I think it's showing.
 
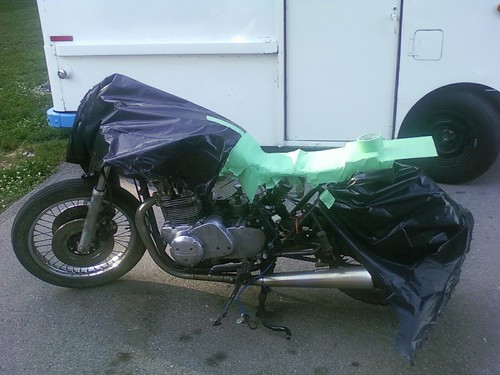
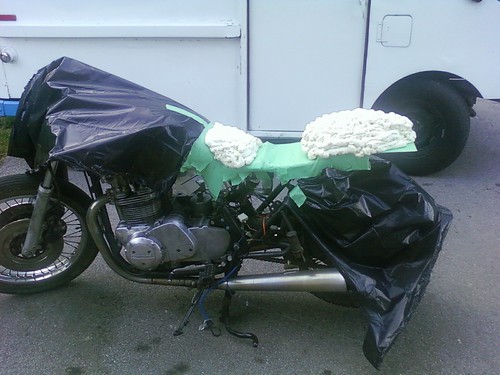
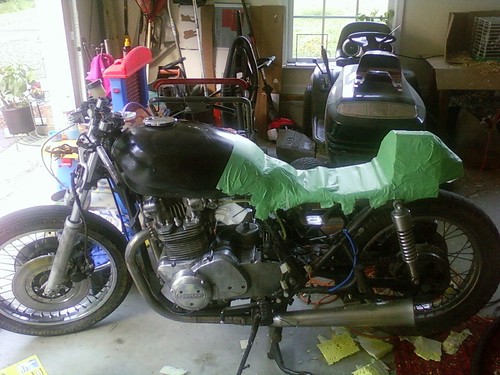
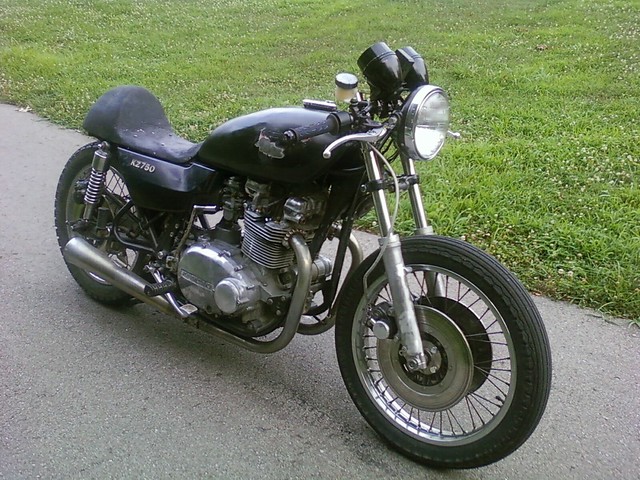
Sadly, not much has been accomplished since my last post... Managed to get the jetting sorted finally, now to to remove the stock air box and see if the jetting's sufficient for pods. Also got a newish tank that should be arriving today to replace my dented/leaky original.

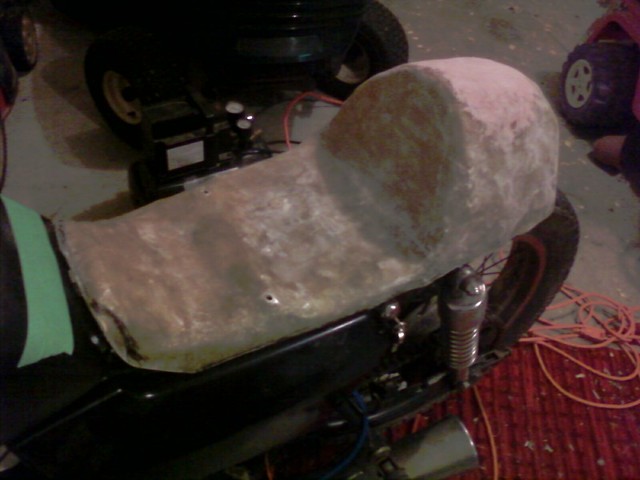
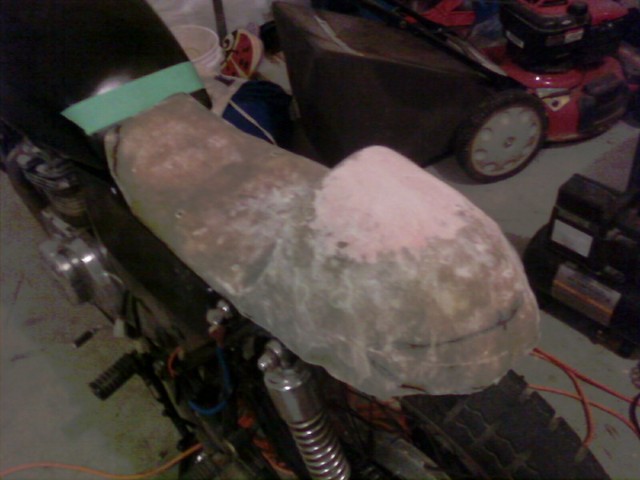
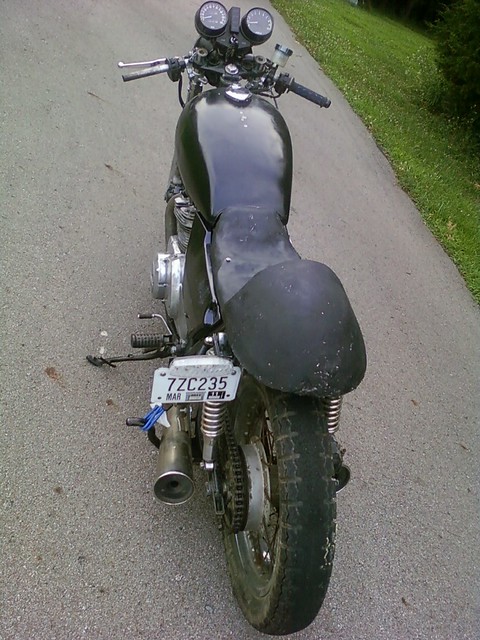
However, I've been going round and round trying to decide on what to do about the seat. At this point, I am going to rule out fabbing a seat from 'glass for the simple fact that I could find a premade seat for the equivalent or less that I would spend on materials. This is also coupled with my uncertainty about my fiberglassing skills. So far, I've narrowed it down to three choices.

A) The Daytona Cafe seat from our fellow DTTer, Roccitycafe.
1cbrr1.jpg


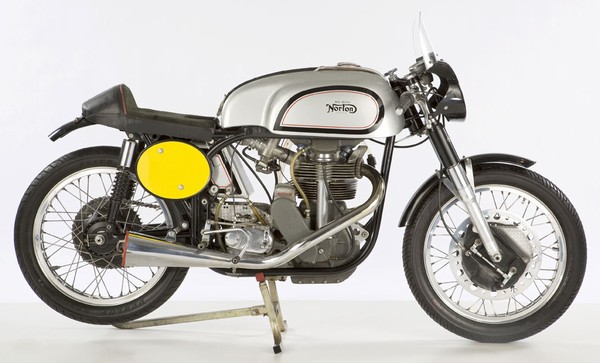
B) Manx Norton replica seat, available from many sources.
manx_600.jpg


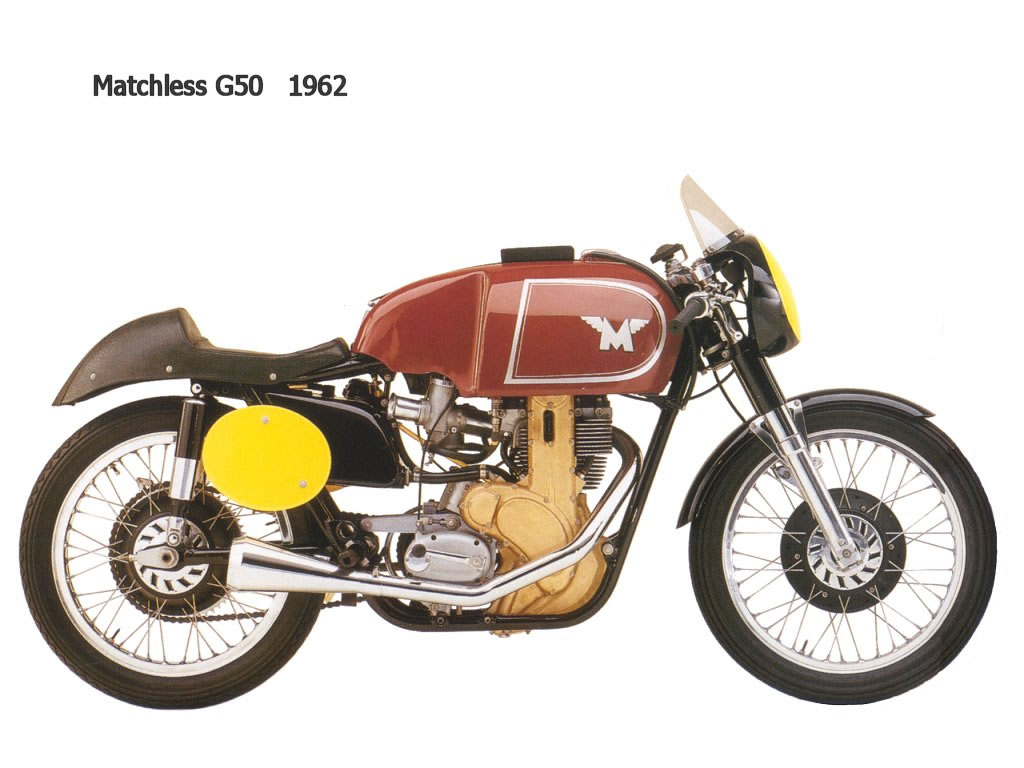
C) AJS 7R/Matchless G50 seat, available from Airtech.
Matchless G50
1962%20matchless%20g50.jpg

AJS 7R
ajs501.jpg


What do you guys think? Roccity's seat was one of my original choices, plus he's got a stellar reputation (as we all know). I like the simplicity of the Manx, but there's a lot of those out there. Really digging the 7R tail and seat tho. I may attempt a simple metal version of the Manx or G50 seat, but... We'll see.
 
Been awhile, but I finally got some progress being made. Since my last post, I've had some difficulties with the ol' girl, mostly electrical. I'm currently rewiring her from scratch, making slight alterations to the factory setup to account for the lack of a working starter and the addition of a useless, but fun, accessory later. In other news, I've decided to try my hand at glassing a seat once again. I figure that I've still got material left over from the first run, so I should at least try it. If all else fails, Roc City'll be getting an email from me!

Here she is all taped up before getting foamed. I cut a piece of cardboard to extend the tail past my cut frame.
4640184345_b2128ec464.jpg


Added the foam. Went with my last three cans of GREAT STUFF (misleading name, ain't it?) that I scored for a buck a pop. The blob in the front is meant to fill in that empty space between the tank and seat, possibly to use for electrical relocation.
4640184355_09611b09c7.jpg


A day later and here she is. Trimmed the foam down with a large serrated kitchen knife then went to twon with my grinder. Did I mention that I love that thing? My only complaint is that the tail isn't as rounded as I thought it was earlier. I may need more time with the grinder to get the right shape.
4640184455_4ea2f87228.jpg


I'm probably going to ditch the fender idea, but I'm still playing with the thought of integrating my CBR's tail light into the seat.
 
So.... Took a stab at fiberglassing a seat and here is the rough "draft" with the first round of bond-2-the-O.

4667453715_6052f98222_z.jpg


4667453775_16810fd769_z.jpg


At this point, the seat still needed some trimming (still does too). The seat's still not in complete form, but I've sprayed it black to help with the sanding and filling process and rough mounted it onto the frame for now. I'll be revisiting the 4th of July.

In other departments, I rewired the entire bike to remove some old and crusty wires that were interfering the generator's capability to recharge the battery. I've also gone back to the stock gauge setup in an effort to get the KZ on the road before the end of Summer. Here's a look as of last week:

4741296111_bc53e672d1_z.jpg

4741920668_cd816f5fcb_z.jpg

4741920682_f38e519ccb_z.jpg

4741917546_95464b3ab1_z.jpg


Still haven't decided on the fender yet, so I made a side mount tag bracket using sheet metal and a pair of 4" shelf brackets. The LED tail light cost me $5 on eBay but needed some electrical modification to act as a tail/brake light.

4741931282_7ea85dacf4_z.jpg

4747437112_076af0240f_z.jpg


As of today, I got the twin disc/caliper setup and smaller reservoir installed. It's not as strong as I expected it to be, but neither am I. This is thirty-some old tech after all, right? At least I can start moving the ol' girl past the old and crusty shape she's in.
 
Elizabeth: Getting some color!

Finally settled on a color scheme for the KZ. Went with a metallic charcoal gray and black with white pin striping.

The left side cover COMPLETE.
4803131661_dbf3d06971_z.jpg


The tank and side covers. This was shot prior to wet sanding.
4803762288_3195c758bc_z.jpg


The tank after wet sanding. Mmmm... Shiny...
4803131725_d7e4c7e439_z.jpg


Here it is with the Black Metallic paint.
4803762486_ed628c56a7_z.jpg


A closer look.
4803762680_2e12e37c17_z.jpg


Time to let the paint cure again before more wet sanding and clear coat!!! ;D

On the other hand, I think I may just cover the entire seat in vinyl. Just can't get it to smooth out. I guess we'll see how I feel about it tomorrow.
 
madmart said:
looking good ;D I like the colour choice - it should add 10mph to top end !!

Thanks for the kind words, Madmart! Ha, I'll be happy when I find out what the top end on this bike is really like!

Well, since our last episode I've mounted the side covers, tank and petcock onto the ol' girl and did some minor spruce up on the points and generator covers. Sprayed the covers with gloss black engine enamel and will be doing the same on the spokes, hub and lower fork stanchions. Should I do more of the motor too?

Also managed to fab a fiberglass seat pan for the tail, which was padded with two layers of carpet underlayment and a few sheets of open-cell foam from my daughter's old kindergarten sleeping pad. I stapled the vinyl to the seat pan, but it will need to be done again once I can find staples for my 'lectric stapler. That fiberglass almost seemed bulletproof... BTW, I still need to finish the actual tail piece...

4816890344_c3ff20e50b_z.jpg


Well, whaddaya know? It's actually starting to look like a bike again! ;D
4816266555_98b2337ce4_z.jpg


Back to the clubman bars for that nice steep angle at the bars.
4816264269_2e97fc3b27_z.jpg


4816264039_884d12e9c0_z.jpg


Comments ALWAYS welcomed! Until the next episode!
 
Back
Top Bottom