Follow along with the video below to see how to install our site as a web app on your home screen.
Note: This feature currently requires accessing the site using the built-in Safari browser.
We noticed you are blocking ads. DO THE TON only works with community supporters. Most are active members of the site with small businesses. Please consider disabling your ad blocking tool and checking out the businesses that help keep our site up and free.
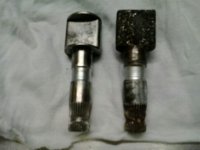
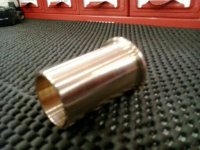
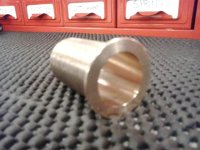
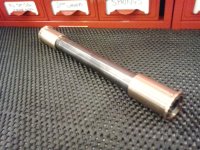
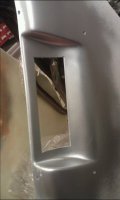
used the old big socket / little socket trick to remove the swingarm lower shock mount rubber bushes soon time for powder coat of swingarm then my new bronze bushes & shaft can be refit along with new shock bushes
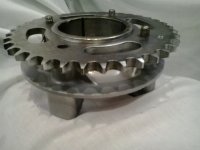
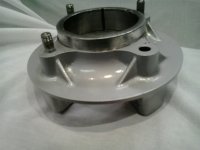
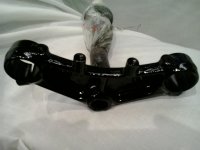
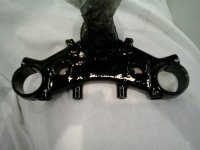
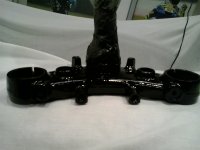
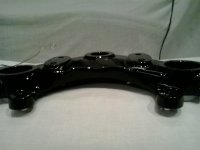
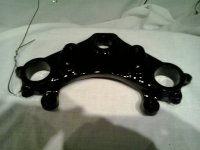
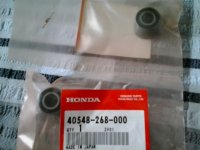
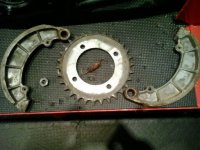
new rear shock bushes arrived today don't ya just love getting new bits of kit haha Also got to paint triple trees and rear sprocket holder 8) a bit of wire wheel n brush also cut off ignition barrel holder gonna move that elsewhere :-\ etch primed & top gloss and hey presto good as new
Some high quality work going into this project.......
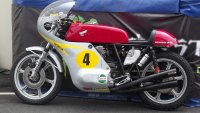
A pal of mine has a CR750 rep. Following that, with those open pipes is indescribable. It's louder than a jet fighter.
Here it is resting at Creg ny Ba during last years TT.
Cheers mate seems a long way off yet but seing the 750 lent up at the creg spurs me on sure hope I could get it done for the TT sure like to do a lap or two on her make a change from the old thumper I rode round last time haha
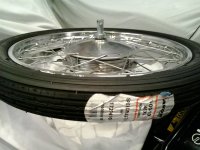
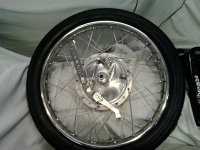
Had a little more time on the bike today : managed to clean up inside / outside of front rim polished up a bit 8) cleaned inside / outside of hub didn't want to dismantle wheel all together, rebuilt front hub brake I am using single drum brake from cb360, the twin drum hub like the race bike come in at £900 about $1200 !! so that was never gonna happen finally wrestled the new tyre and tube on the rim TIP OF THE DAY when putting new rubber on rims dont just lube but use a heat gun to heat the tyre up around the edges wow makes it so much easier :-*
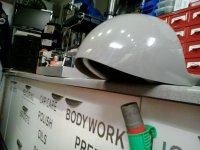
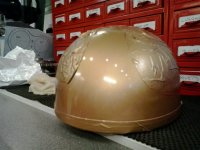
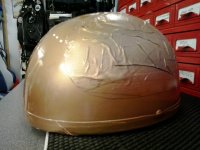
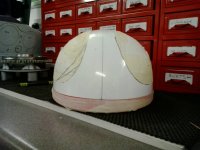
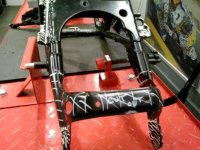
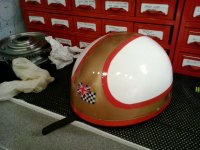
Well pulled my finger out and got a little more done this weekend re-fabbed my rear hoop so it will fit inside the rear seat hump it was way too big before ? also slowly improving my welding skills used the Tig this time lot easier after getting gas to work :-[ (helps when its turned on properly) haha also made front fairing stay few tweaks left and ile post the pics drilled for exhaust hangers in the frame also started work on a hailwood replica helmet 8)
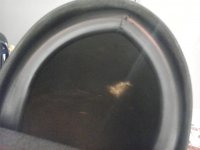
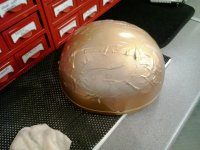
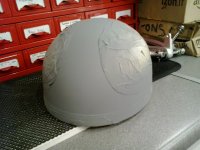
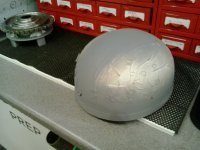
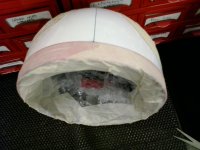
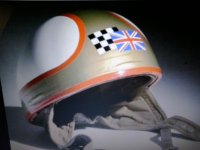
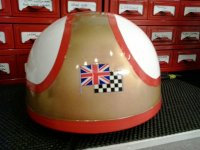
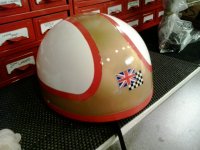
couldn't find a replica helmet so thought time to paint my own , first time doin a skid lid so pulled a couple of pics off the inter- web and away we go scotch pad scuffed all over marked it out masked up hit with some grey etch primer then a flatted out with 1000 grit ready for colour, used red tape for the lines and a similar emblem for the front ready for the lacquer looks a bit crude but inkeeping with how they looked back in the day ???
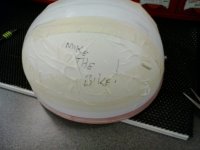
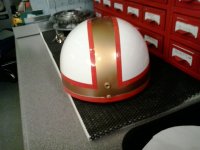
started laying lacquer down gonna take a few coats leaving quite a lot of tack time between coats I kinda started to panic incase the tape started lifting / reacting with lacquer :-\ still a long way to go before wearing ye olde pudding helmet on the bike ;D
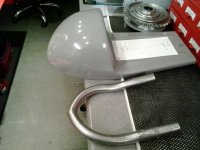
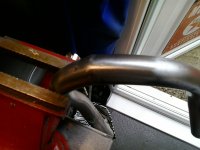
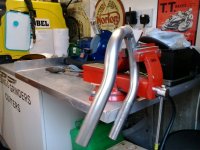
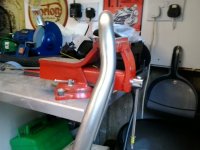
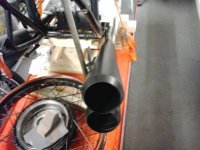
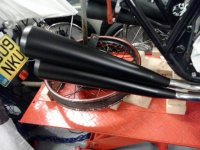
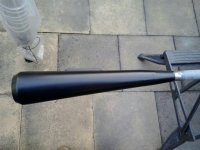
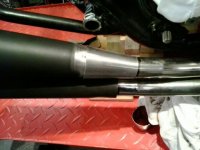
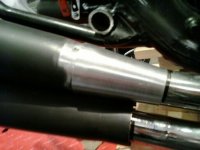
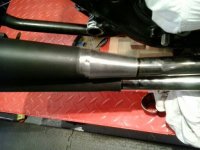
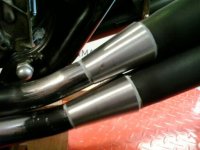
Hi all managed a bit more me time on the project had some small cones made up to fit megaphone cans to exhaust pipes ??? also fit exhaust hangers heres a couple of pics gonna get a few more to post up when I get a moment hope to start getting stuck in now want to take the her to Isle of Man this summer so stay tuned for regular updates changing back wheel for a more classic look so may be firing questions out there if I get stuck :-[
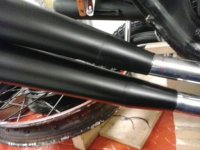
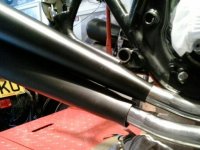
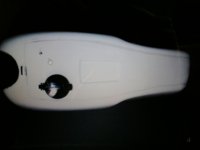
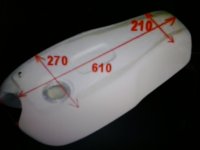
Cheers mate still got to add a couple more coats of lacquer to the helmet then polish up, just a small token to the great man 8)finished welding the exhausts tried my hand at a little more tig welding thank goodness for paint haha also found the right type of tank just got to hit pay button it aint cheap but its the dogs
I don't claim to know it all, but I followed a LONG conversation between several very well respected builders and tuners regarding whether to polish intake ports or leave them with some texture to keep the incoming mix turbulent to a degree; seems the consensus was NOT to polish quite so much...
Looks like this is going to be one heck of a nice project.
I don't claim to know it all, but I followed a LONG conversation between several very well respected builders and tuners regarding whether to polish intake ports or leave them with some texture to keep the incoming mix turbulent to a degree; seems the consensus was NOT to polish quite so much...
I have pretty much zero knowledge on this, but I have read over at SOHC that polishing intake ports too far, can lead to puddles of fuel being able to form, and hence not flowing in the engine, and that leaving some degree of texture on the metal would stop this from happening.
Loving the build so far, looks killer. That 4 into 4 is amazing!
Fantastic high quality work being done on this build......hopefully we'll run into you somewhere on the Island in 3 months time for a closer look.
Last year, David Hailwood had a display of his dad's race machinery down on Douglas front...he'd love to see your tribute bike.
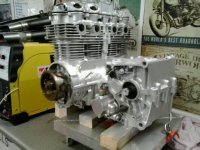
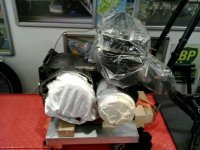
fingers crossed mate I will be rolling round the island, be great to meet up & how cool would it be for Dave Hailwood to look over my attempt at a rep of his dads bike she's taken longer than I thought trying so hard to get each detail right just picked up another rear wheel with a twin leading shoe drum brake more in keeping with the real thing 8) need to post more pics finally got motor out since I finished mocking up exhausts so painting motor on the cards asap and tackle the frame ime so looking forward to putting her back together just uploaded a few pics left side exhaust ready for welding motor out frame & (new) old rear wheel stripped ready for fettling
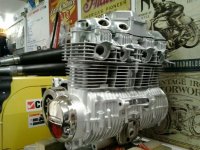
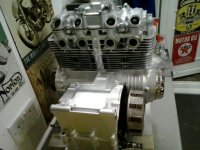
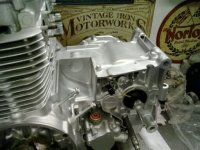
Few more bits done today at last ime pulling my finger out haha cleaned up and painted engine warmed it up with heat gun then hit it with VHT engine paint then cured again with heat gun bit bright for colour but good finish should last a while started on rear wheel polishing and de - rusting the drum feels like I achieved today heres a few before n after pics
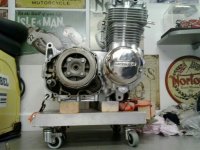
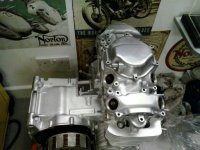
engine done a few bits to polish and check over then soon as frame is ready get her back in and buttoned up seems to be quick to finish on paper at least I had her running before the tear down so should be easier famous last words mmm :-\ heres a few pics of the motor err bloody shiny / bright motor haha
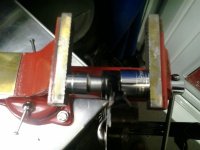
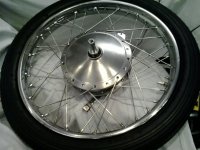
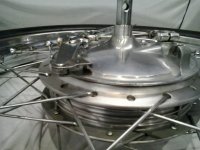
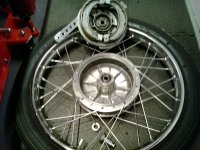
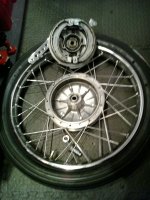
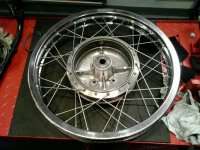
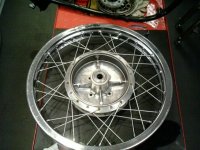
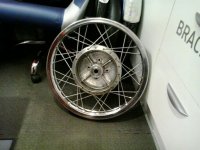
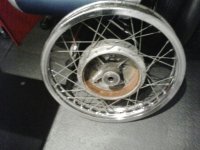
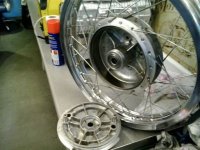
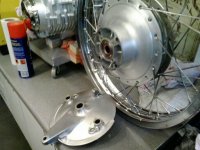
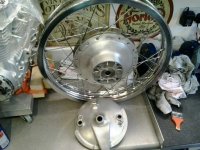
Hi people another sunday night update been cleaning up the rear wheel it came off a cl72 ( 305cc ) nearly done waiting for new shoes n springs and sprocket from davidsilvers spares here in UK, my front wheel is off a 360cc both these wheels have the twin leading shoe brake bit more inkeeping with the original racer, had to throw wheels back into frame to make a rolling chassis then used a lazer level to line up the wheels along with a lot of measuring and use of straight edges so I could get exactly lined up and then measure for spacers for the axles : spent a while on the lathe too making them up hers a few pics of the wheel to show how it went :-\
This site uses cookies to help personalise content, tailor your experience and to keep you logged in if you register.
By continuing to use this site, you are consenting to our use of cookies.

 to remove the swingarm lower shock mount rubber bushes soon time for powder coat of swingarm then my new bronze bushes & shaft can be refit along with new shock bushes