Jake73
New Member
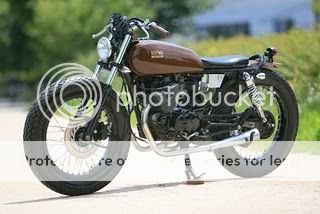
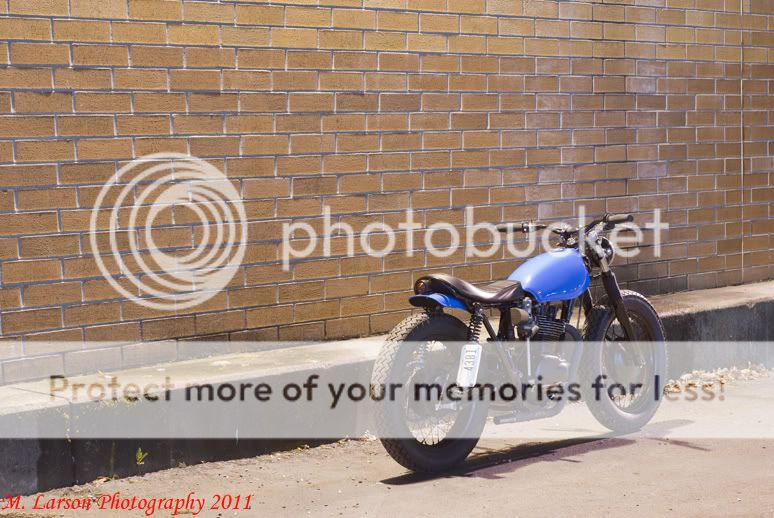
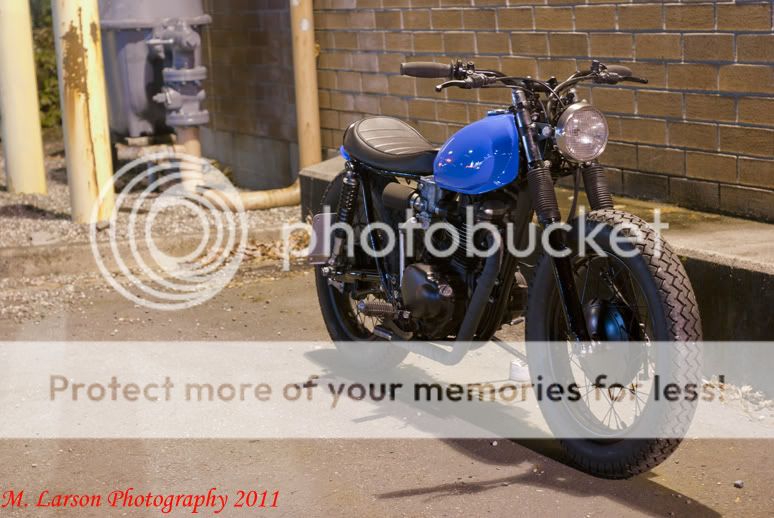
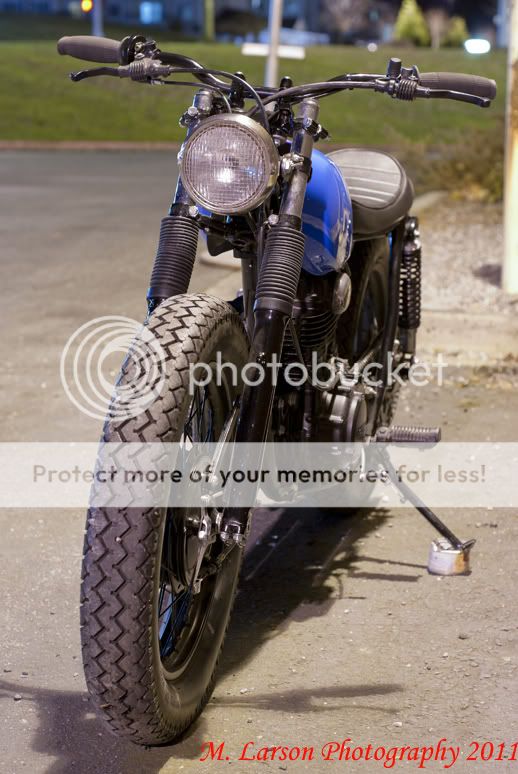
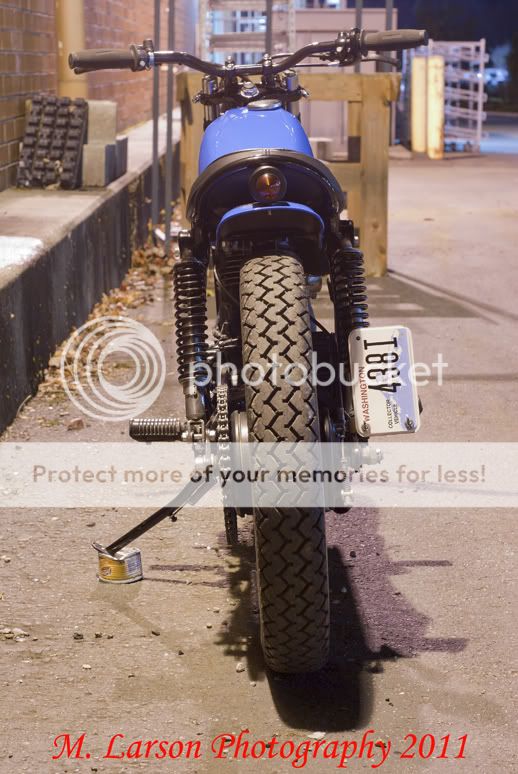
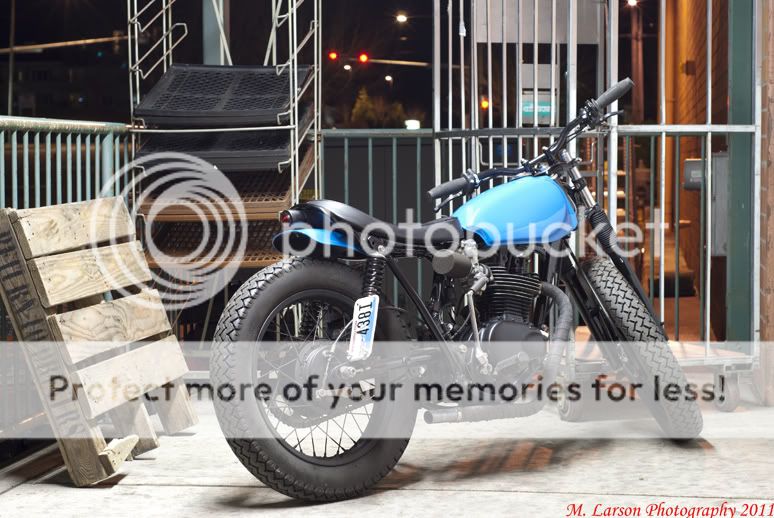
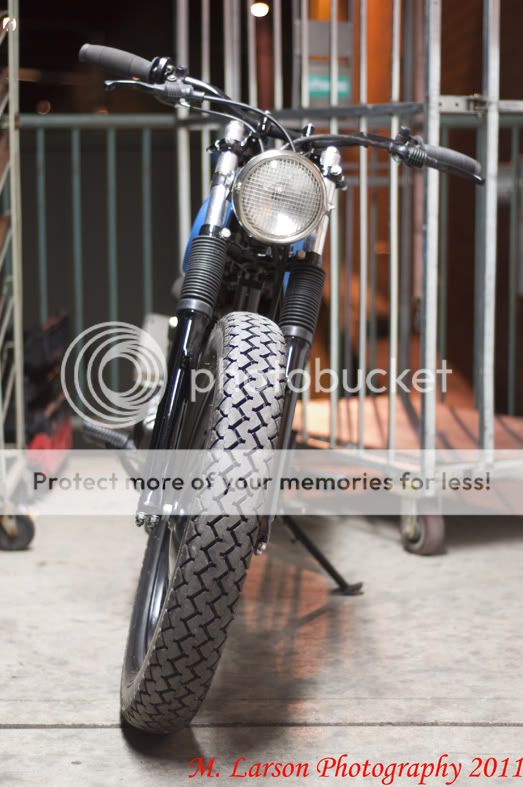
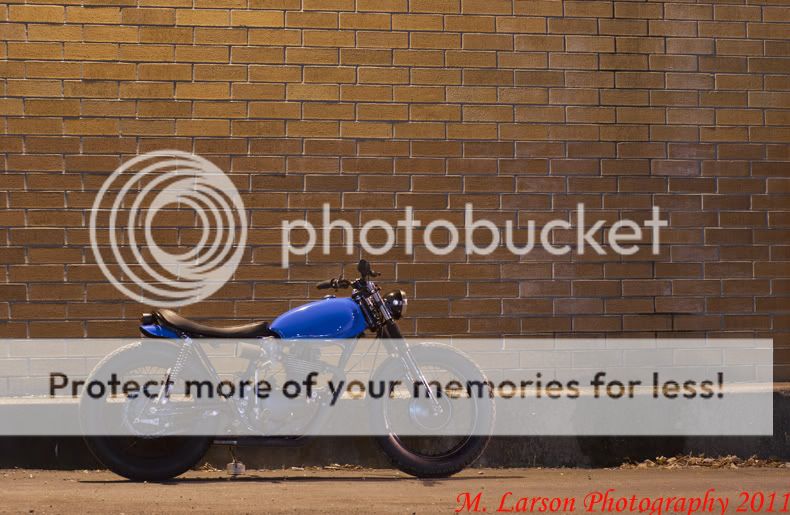
Finished Shots (Build thread below):


Original Post:
Thanks for looking; I just wanted to share what I got going on. No one else really gets why I've built a.. xl250. Figured I would try to rationalize it by posting it on here. I have been incredibly inspired by the work on dotheton and look forward to any feedback. I'm new to the vintage bike scene but have ridden motorcycles since I was a kid. This bike in fact was the first motorcycle I had ever ridden and learned to ride on back in 4th grade. My dad picked it up in the late 70's and drug it around the states, beating it up along the way. It had nearly 40 years of abuse when I pried it from under some old lawn chairs below his deck. He made me complete various tasks, including pruning 10+ cedar trees before I could have the title but I was rewarded with this 4-valve, rusty matriarch of a machine.
I put new tires on it and drove it once before the kick starter snapped off inside the case. After compression starting it and getting it home, It sat for about 2 years until my eyes were opened to pipeburn. I started the project in Mid July 2010; here is what I have so far.
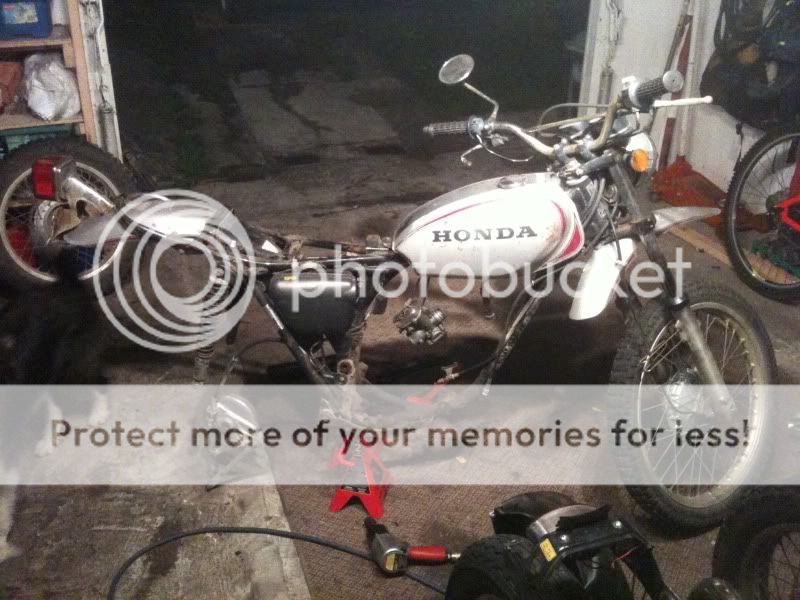
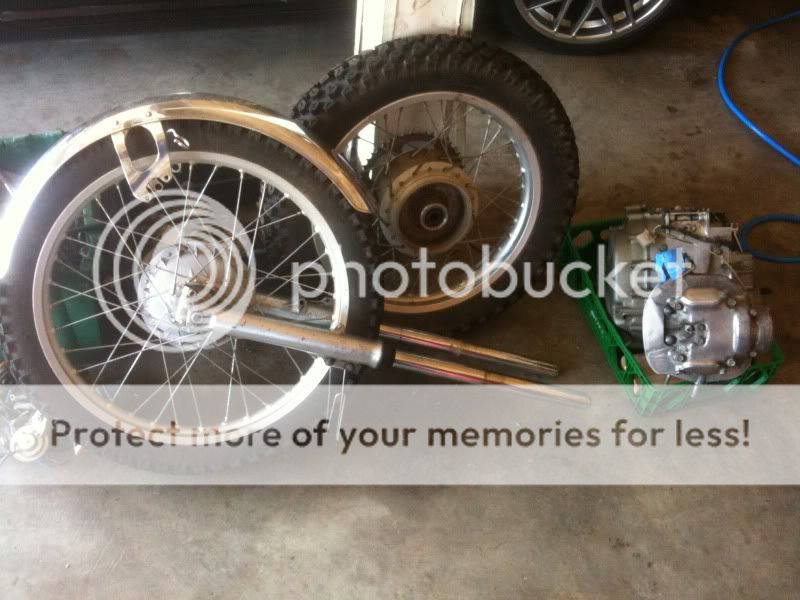
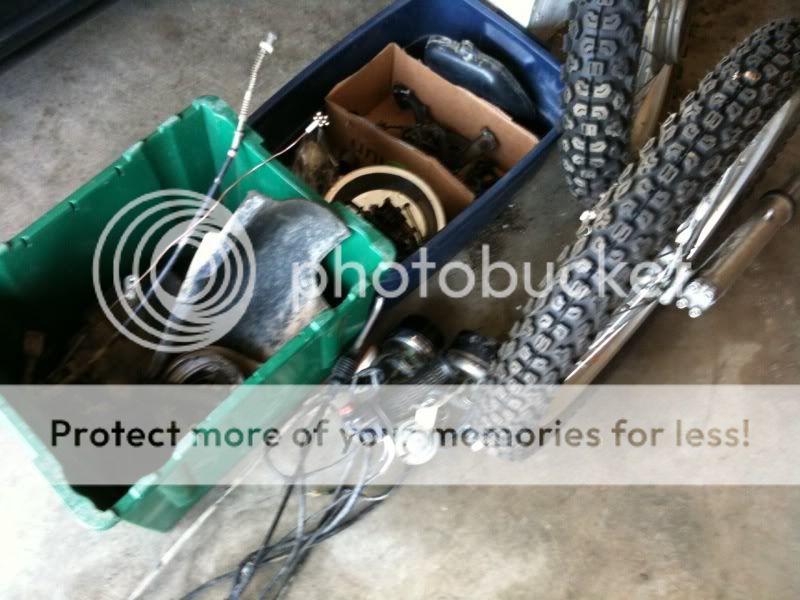
Started off with disassemble:
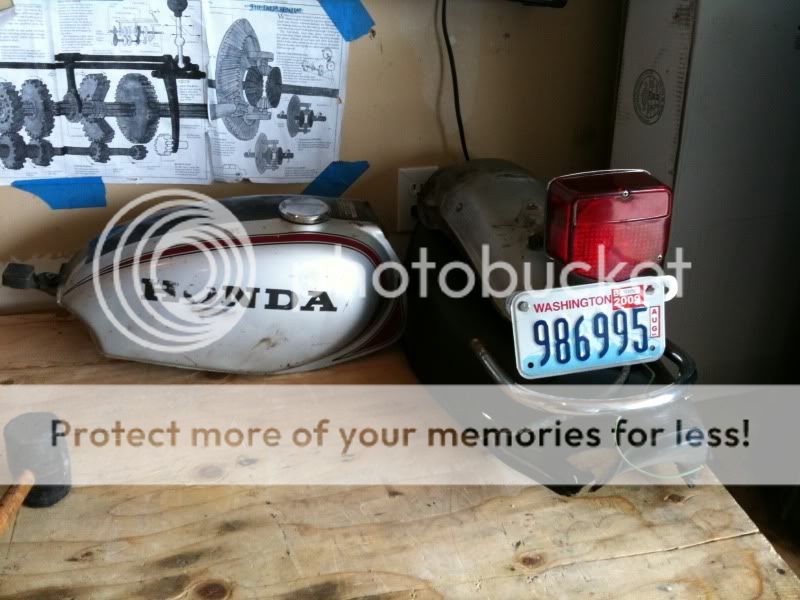
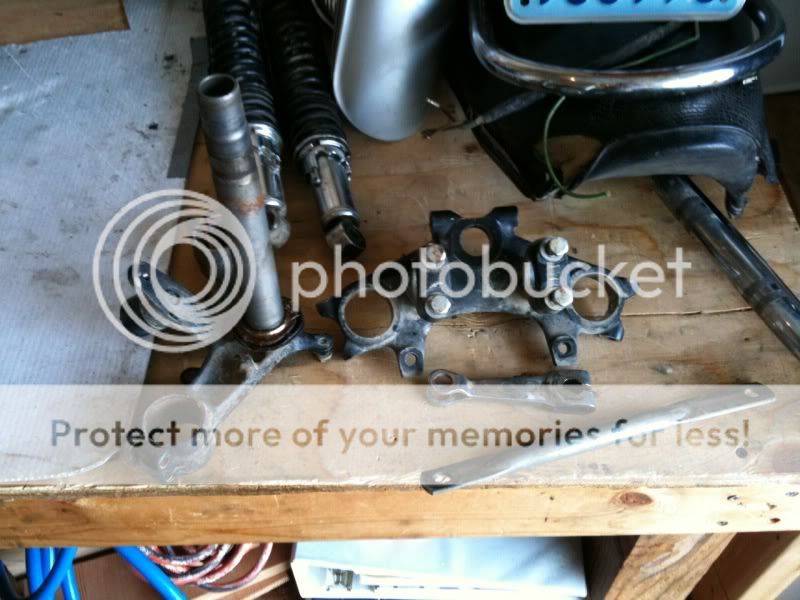
Then began cleaning some stuff up:
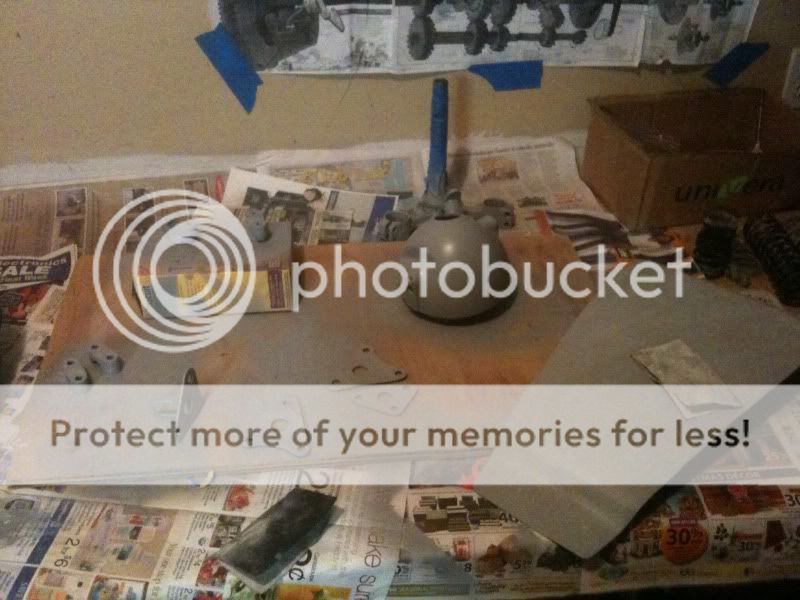
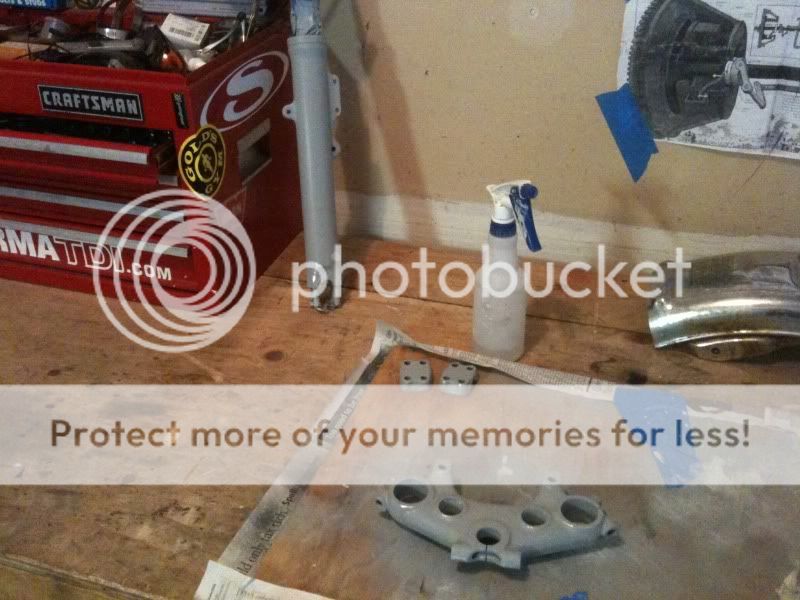
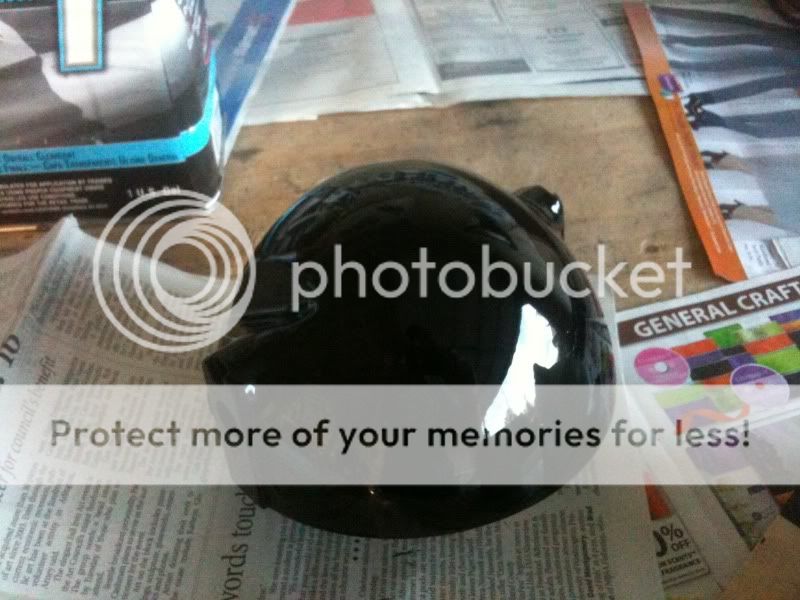
Headlight shaved, and in primer with some other pieces:
Wet sanded everything down with 320 and 600:
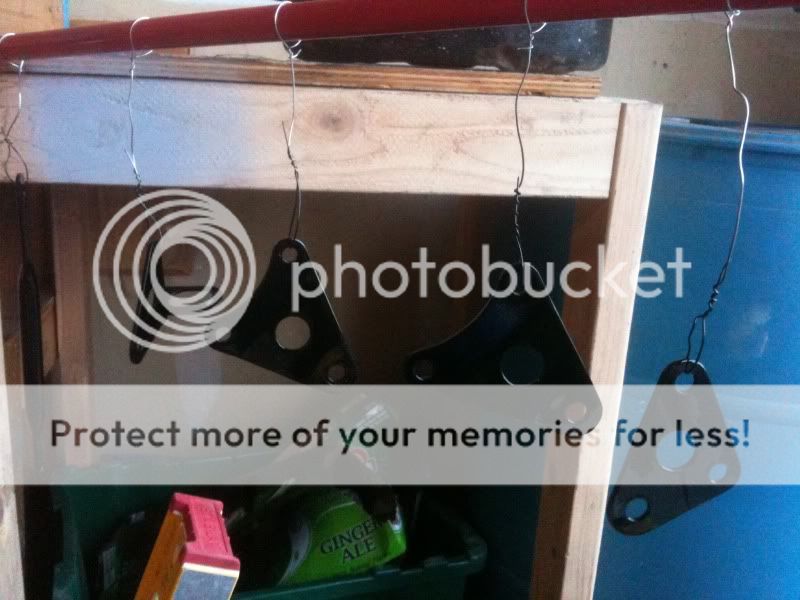
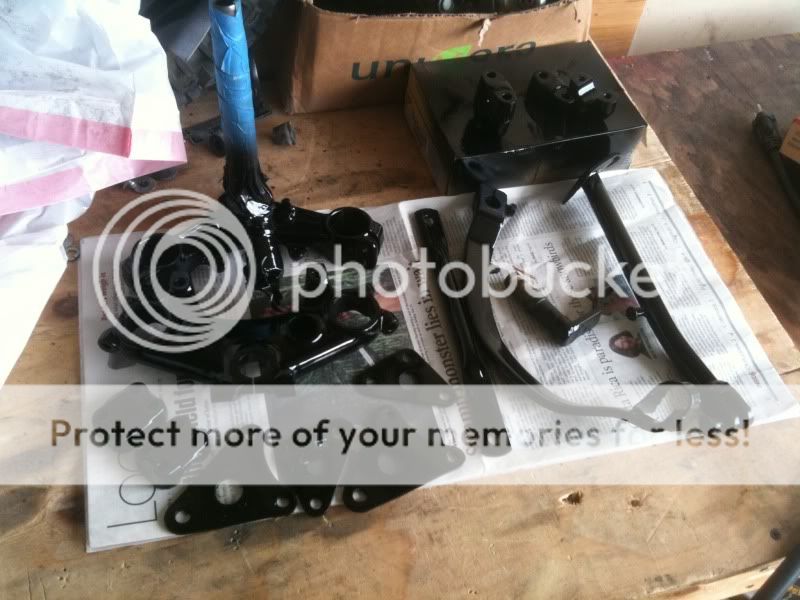
Used a small HVLP cup gun and sprayed everything uniblack base/clear:
Sent the headlight ring and bars out to my my plating buddy. He put the ring in brushed nickle and the bars in a zinc oxide.
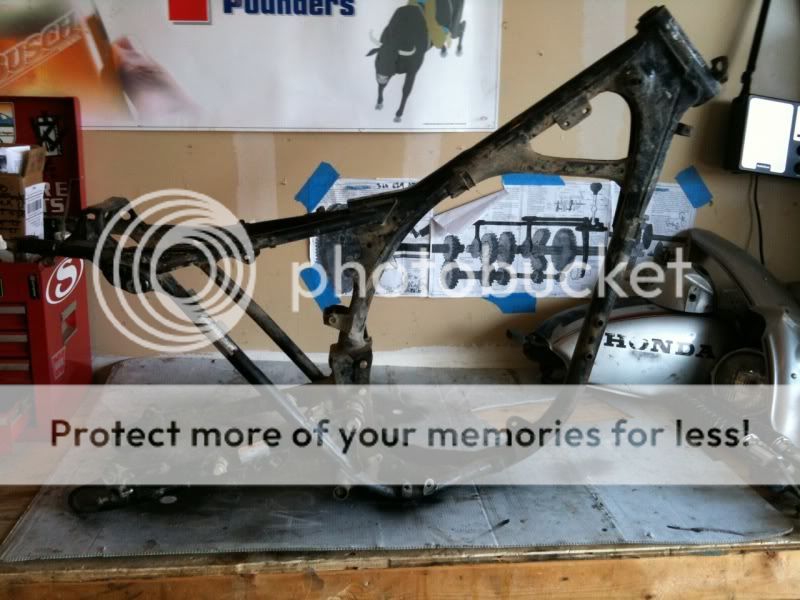
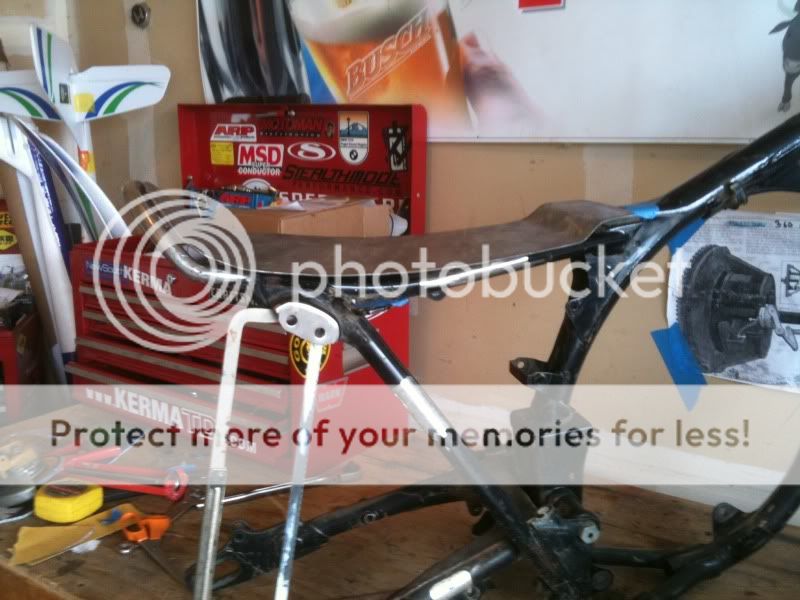
Started working on the frame. Cut off and ground down all unnecessary brackets.
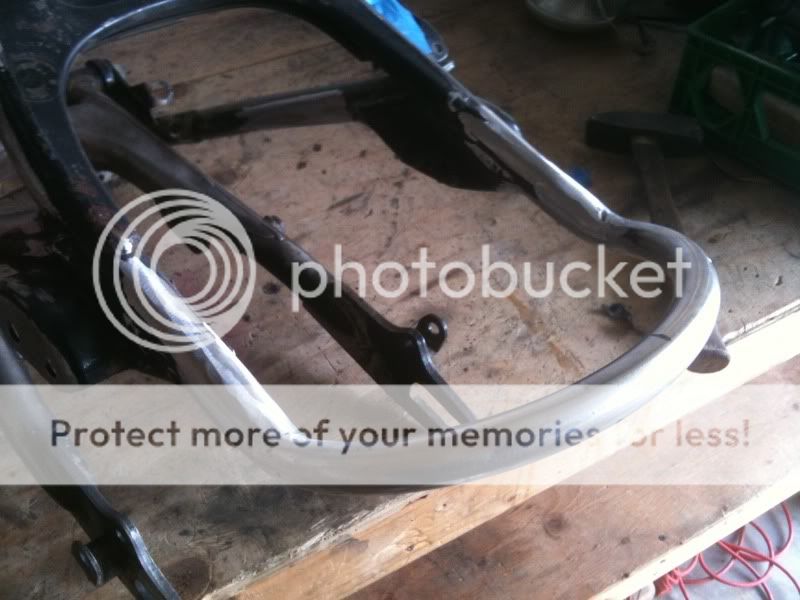
Cut the frame back and welded on a hoop
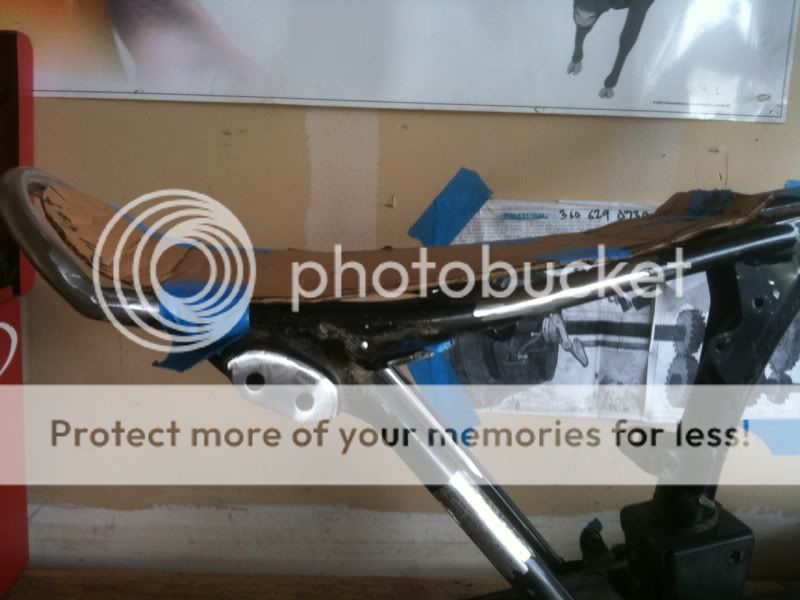
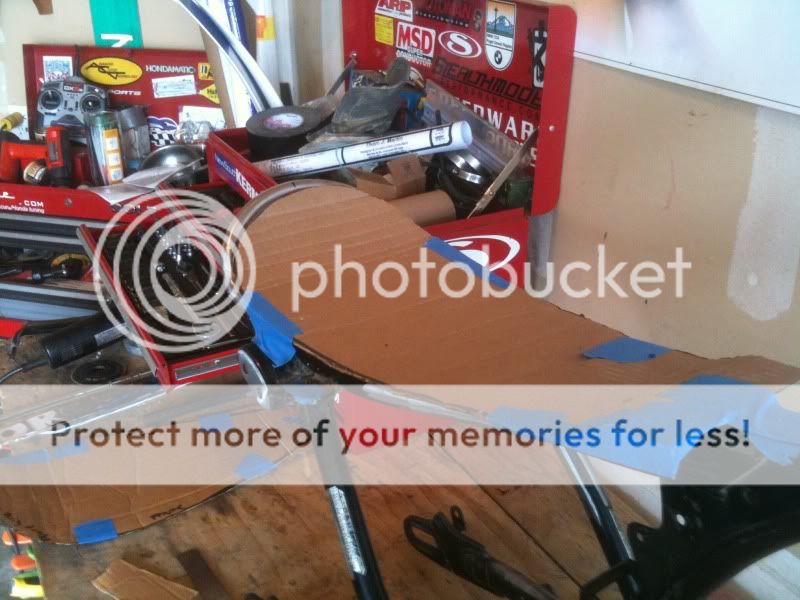
Began mocking up a seat template out of cardboard:
Went to a steel place and snagged a piece out of their trash. Traced my template, cut it out with a plasma and used a pressbrake to bend it. Got it closer by smashing it with a hammer over a railroad tie - super professional:
I bought a JE 10.5:1 285 bigbore kit and traded my buddy Rustin a bike to build my motor. Cleaned the engine for like 45 minutes than bombed it with high temp flat. Started sanding the fins with 320-600. Is not complete.
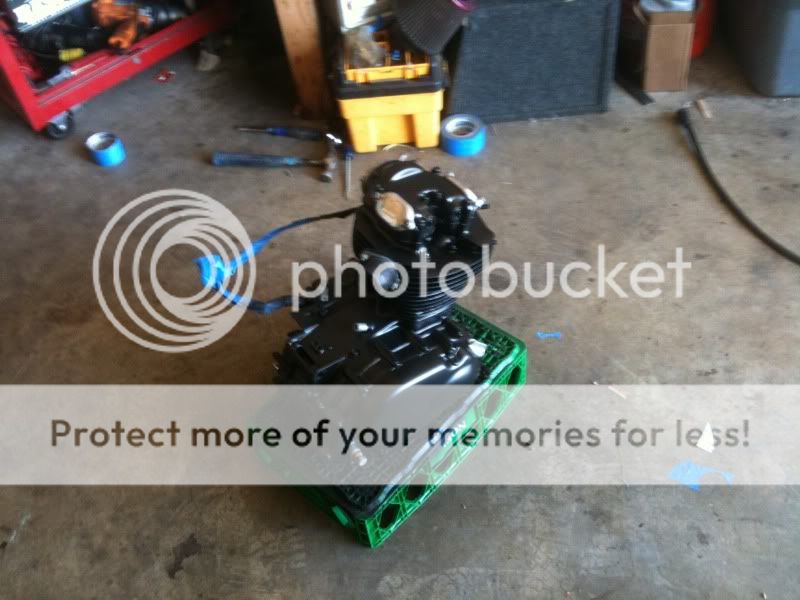
like an hour and a half into cleaning these, painted them with a 2 part DP satin automotive sealer out of the HVLP.
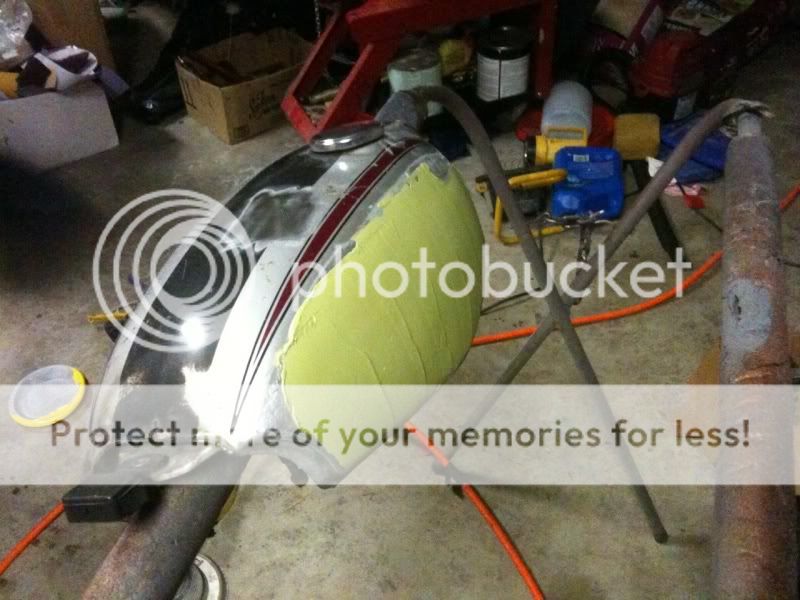
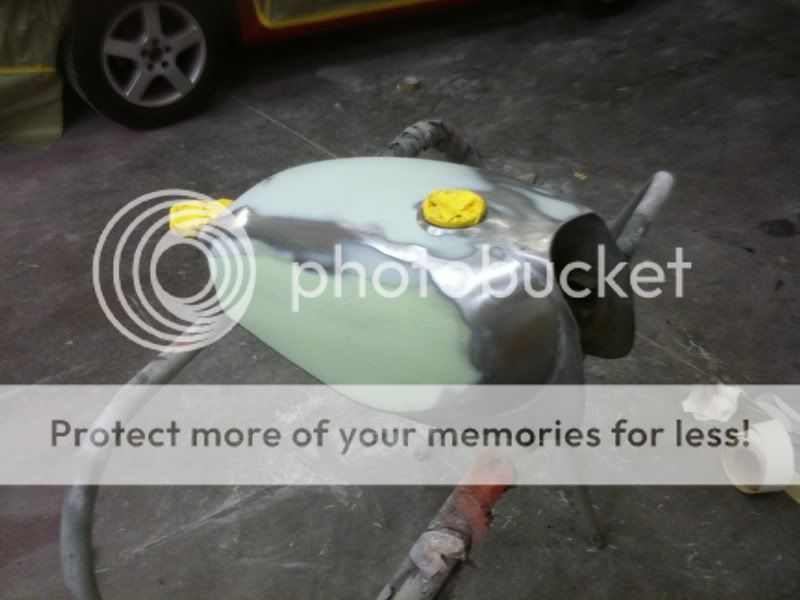
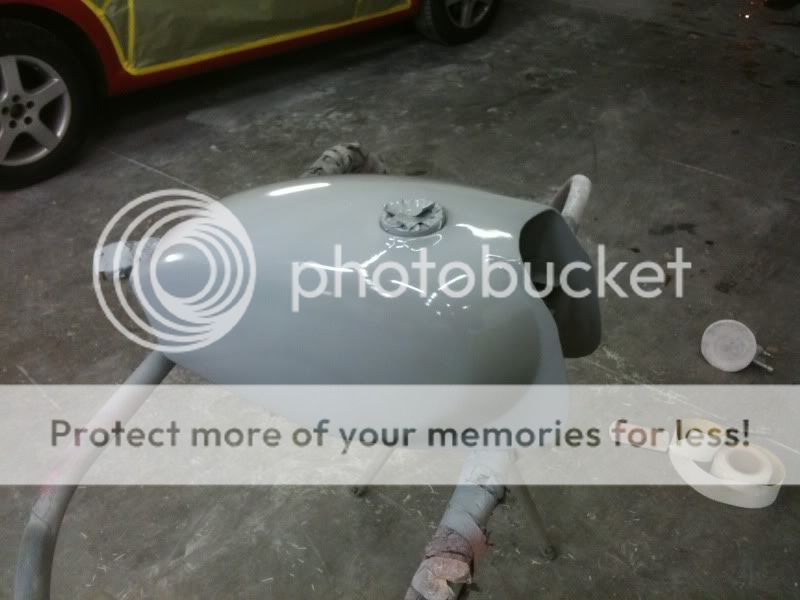
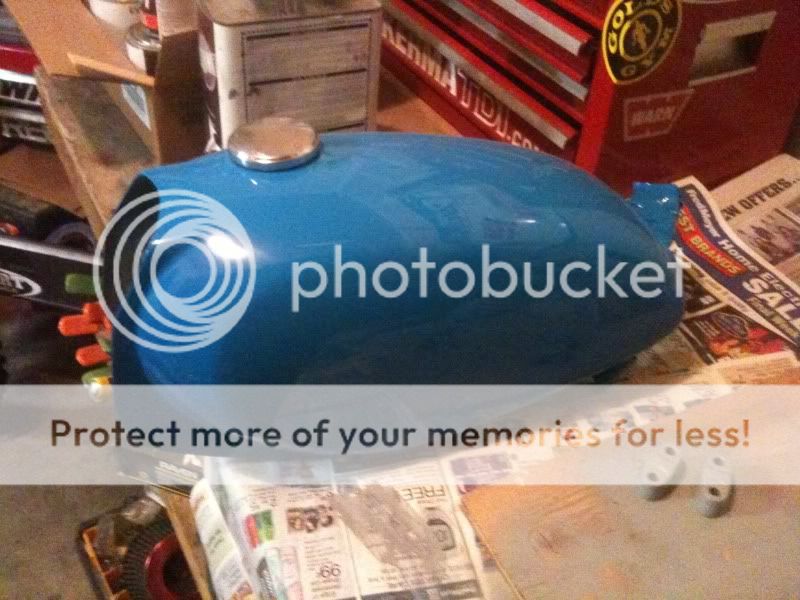
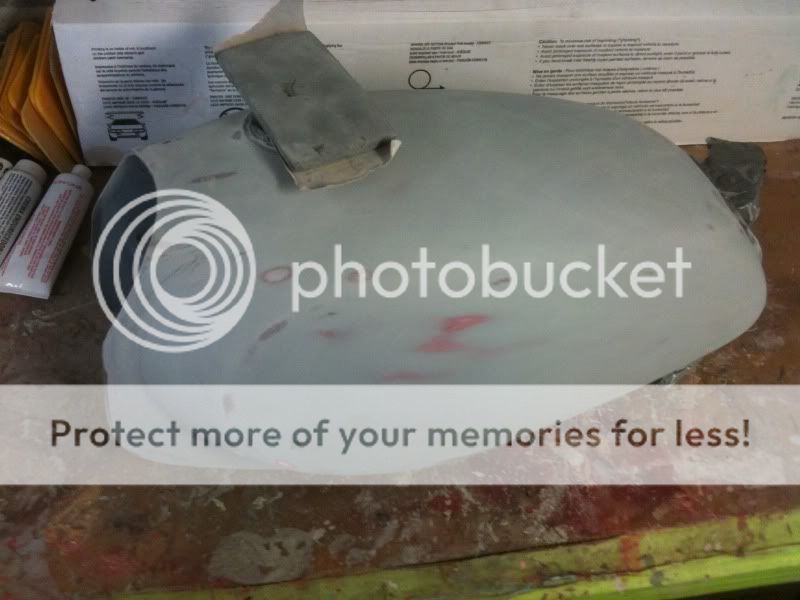
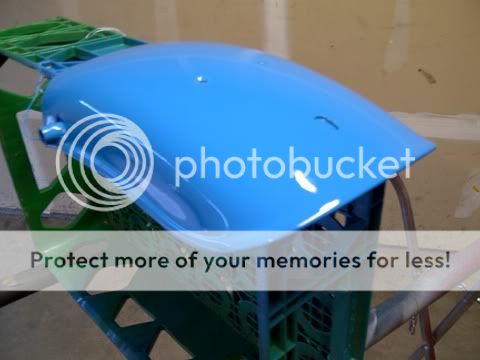
Started on the tank.. Got it 40 gritted down and started mudding. .. primer .. 600wet in between coats untill the base/clear. It's a 50's ford truck blue.
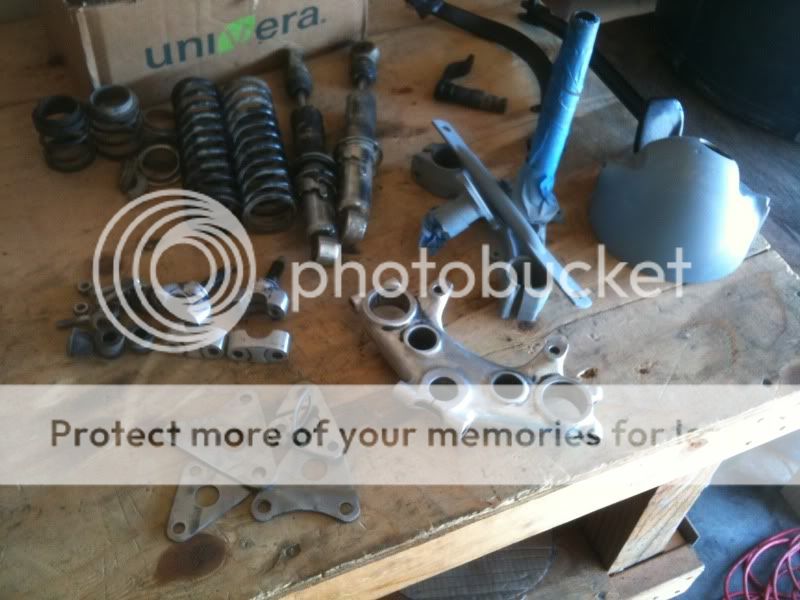
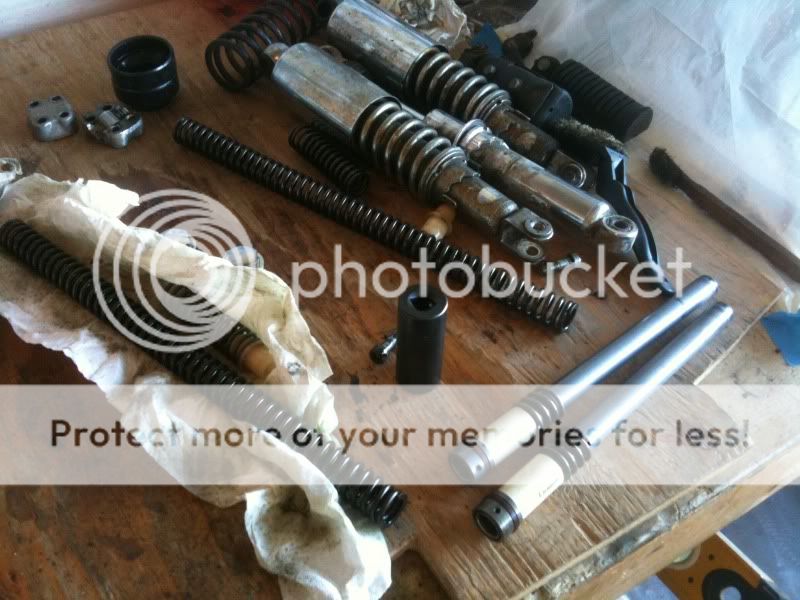
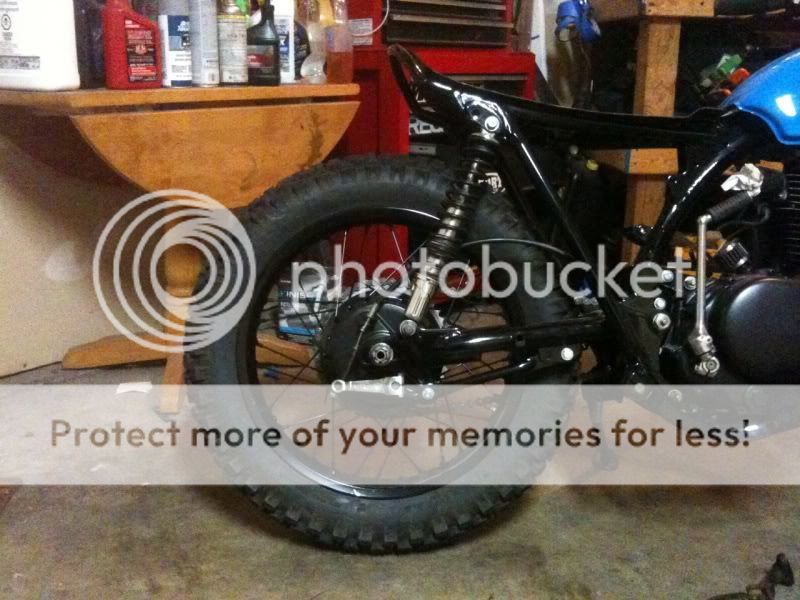
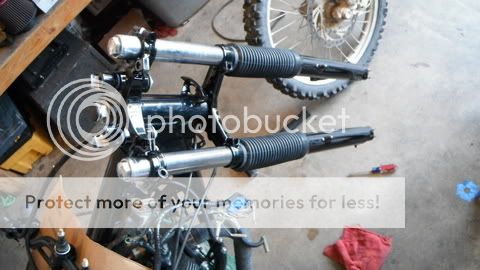
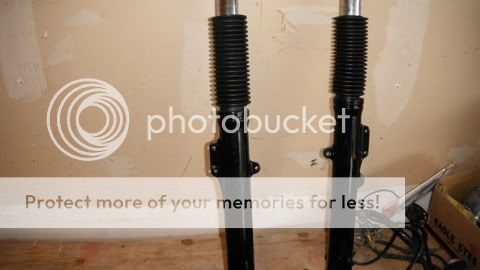
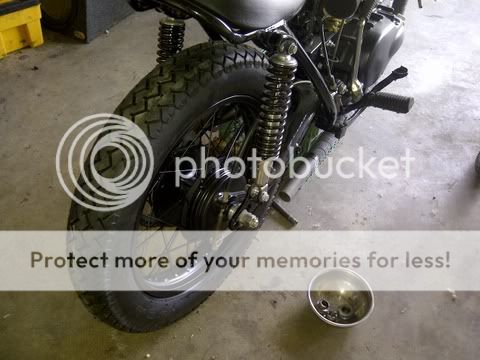
Rebuilt the front suspension, used a heavier weight oil in them and did the pvc spacer trick on the damner rod to lower it 1.5". I'm using CB550 rear shocks but am still working on that. Also welding up CB550 pegs to my xl mounts and using a 550 rear fender as well.
Sent the frame and swing arm out to powdercoat; got a 80% gloss black. They only charged me $150 for both, including cleaning and sandblasting. I gave it to them coated in 40 yearold oil/dirt.
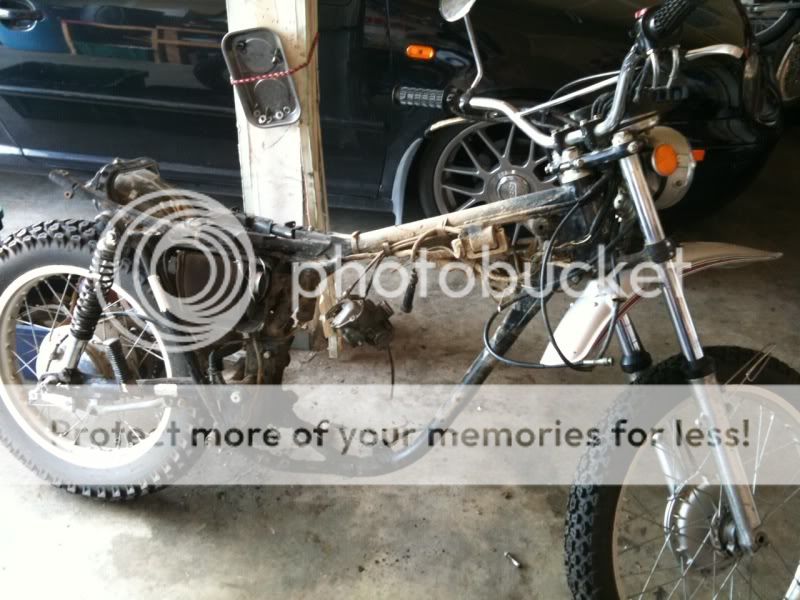
Here is the first time the bike parts could no longer be fit into a box.
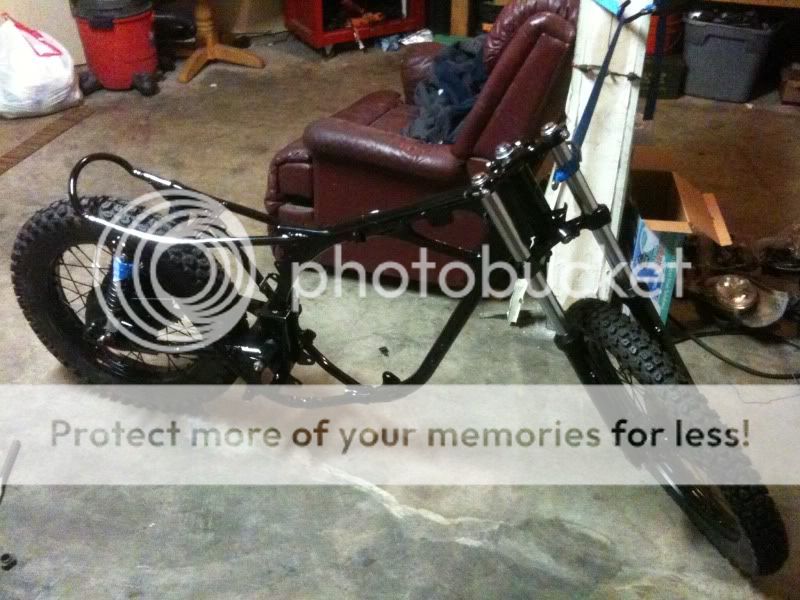
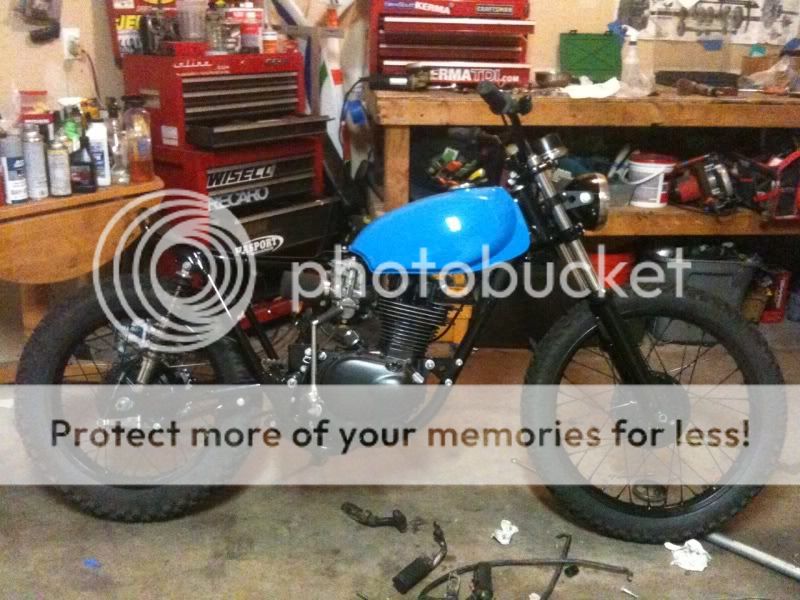
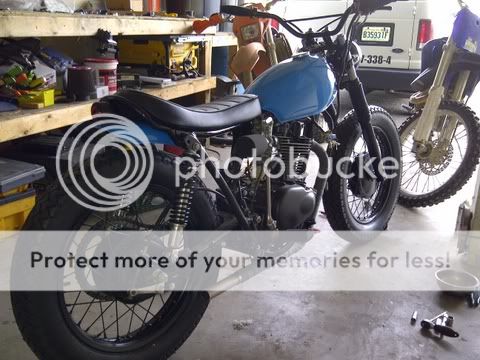
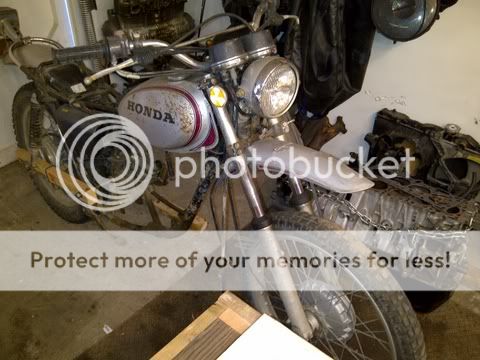
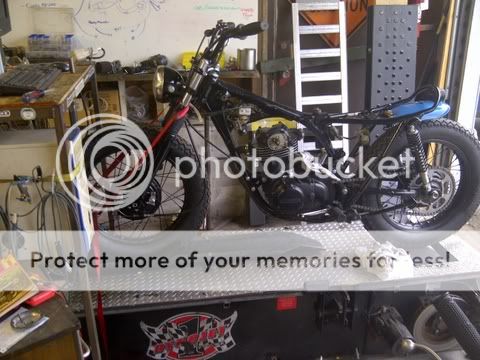
I'm a little further along now but not much. Here is a pic of where it stands.
Thanks for looking
Jake
Update - December 24, 2010
In the last week I tackled a lot of the thing's I've been putting off.
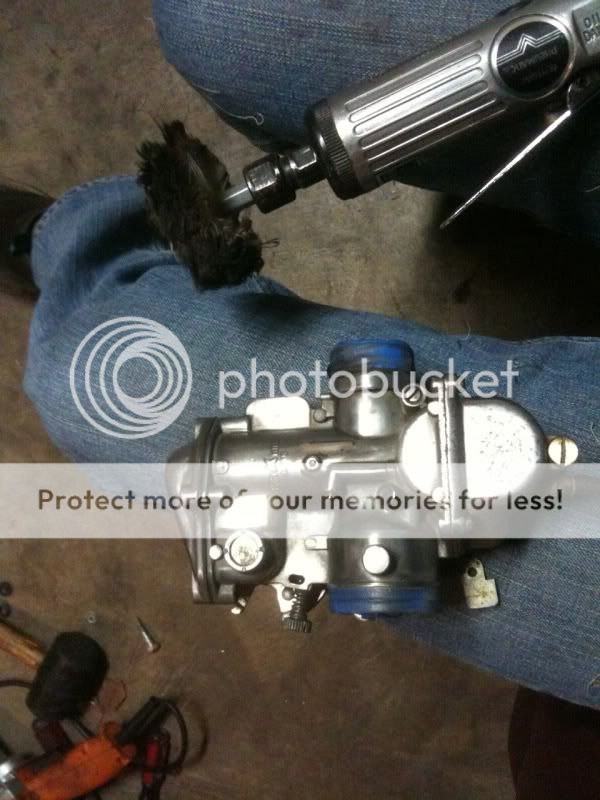
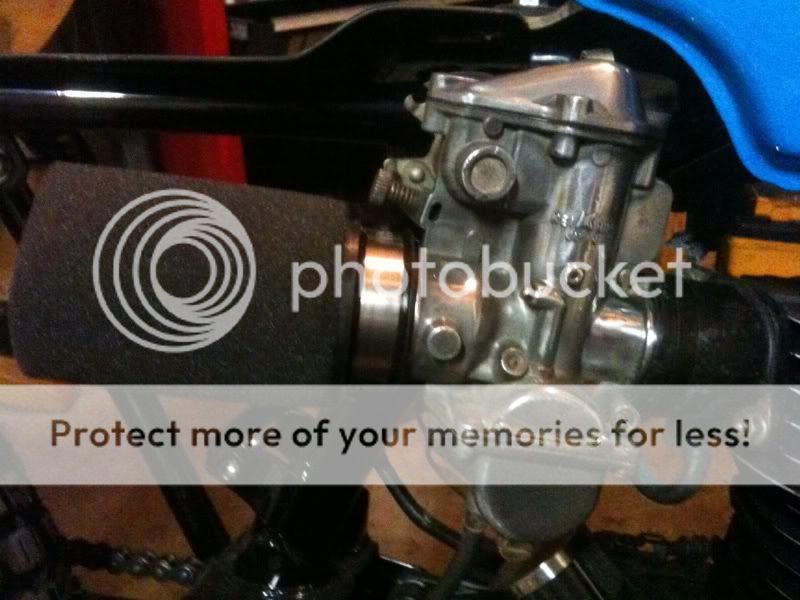
I polished up my carb quick with some 600wet a buffing disk and then with some rouge. Not perfect but looks good.
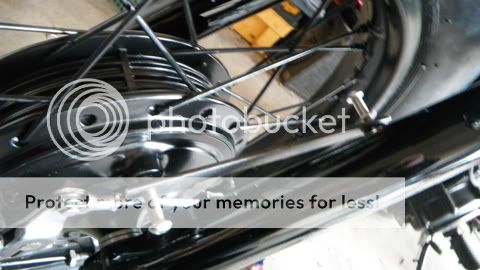
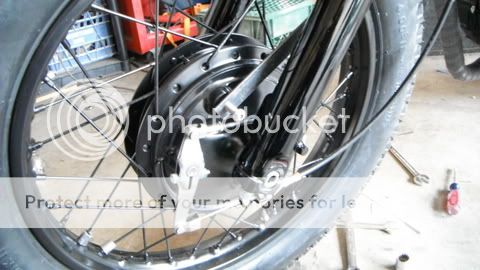
Cleaned up the cable.. managed to cut off the outer sheathing that had my father's electrical tape all over it and hooked up all of my rear brake assembly:
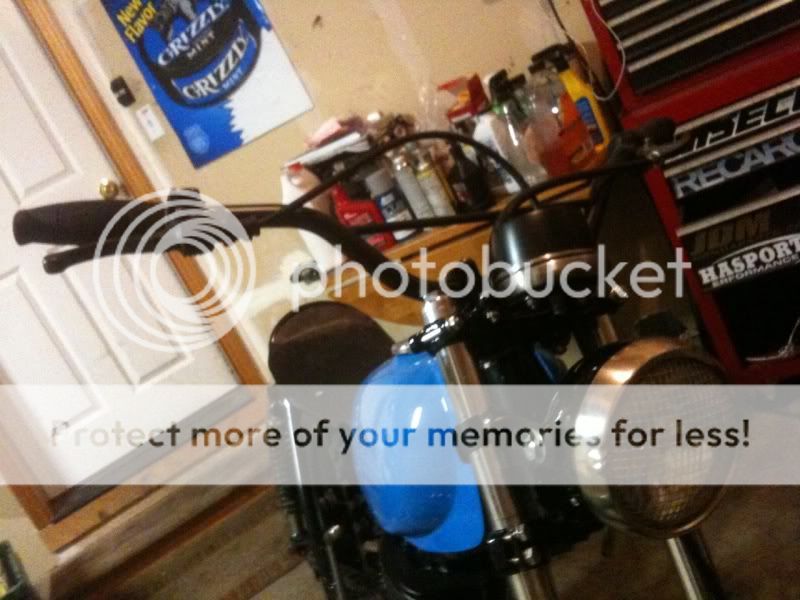
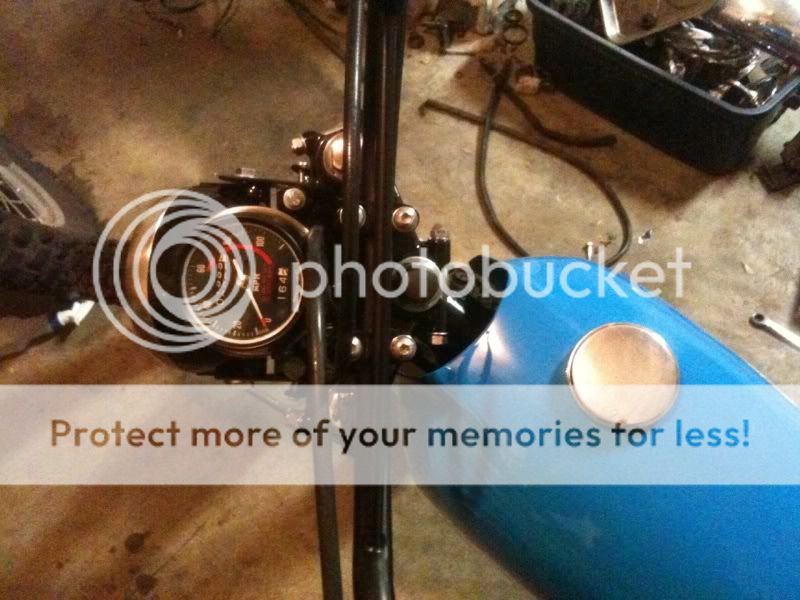
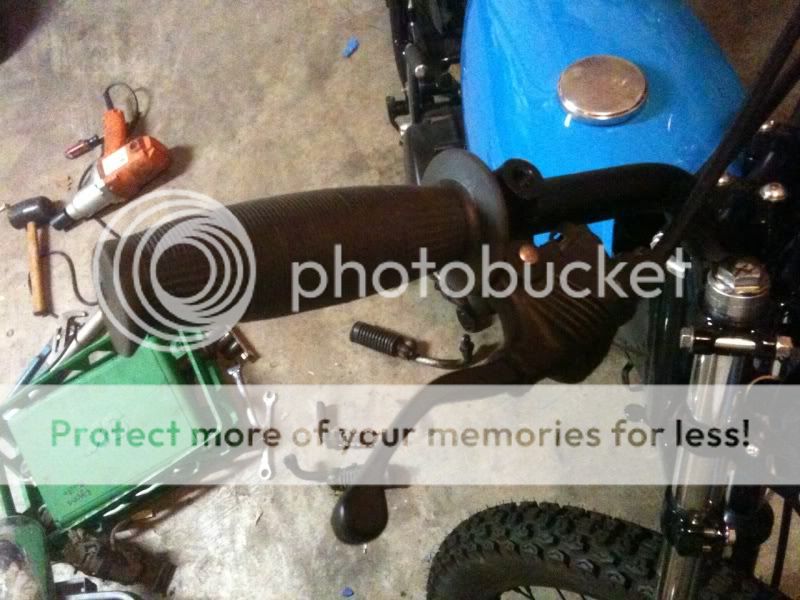
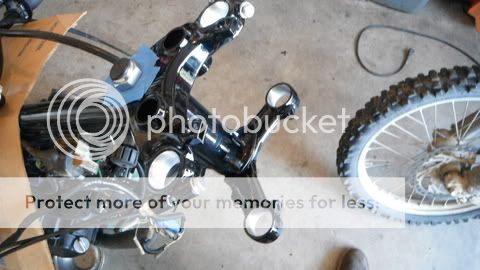
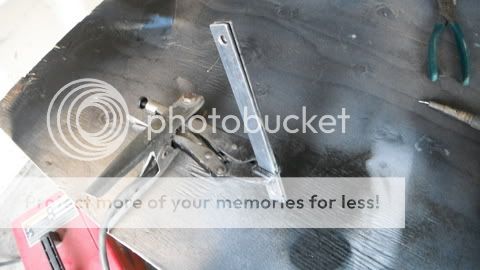
Painted my bars with a flat bumper coater. That black oxide platting looked grey. Hooked up my clutch and front brake after cleaning up the old cables again. Got the black levers and new grips on. Ordered the clutch lever cover and will have a NOS here shortly. Also took way to much time on a bracket to solo the speedo in the center. I plan on going with a smaller aftermarket speedo later but figured I'd start it off with this. Got the Gauge in primer and bumper coated it. Brushed the chrome with red scotch brite.
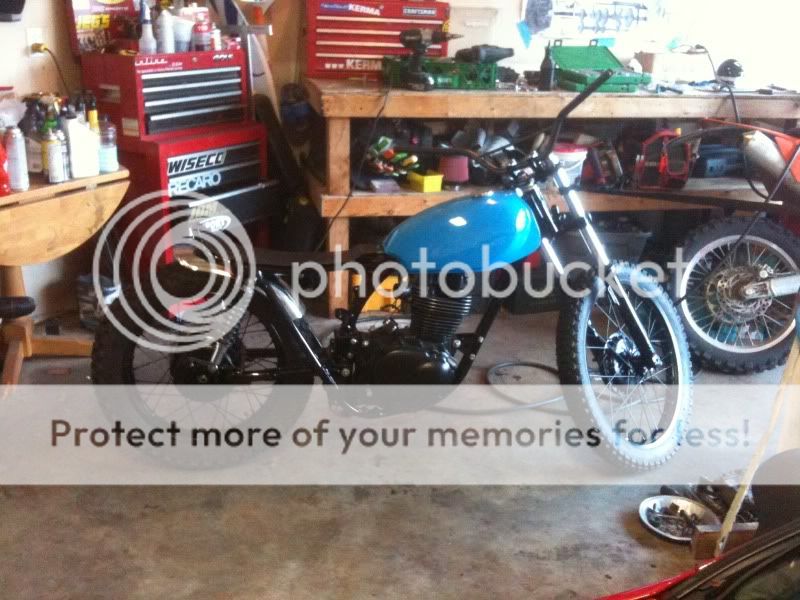
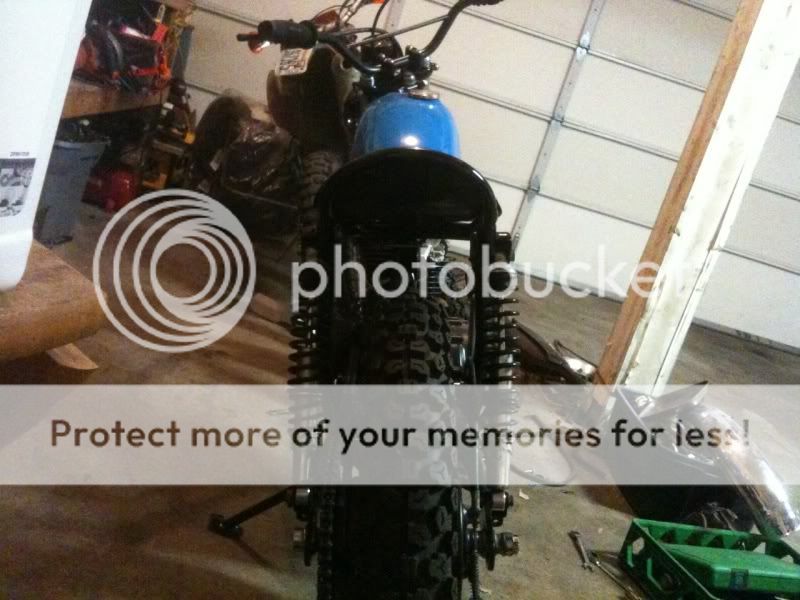
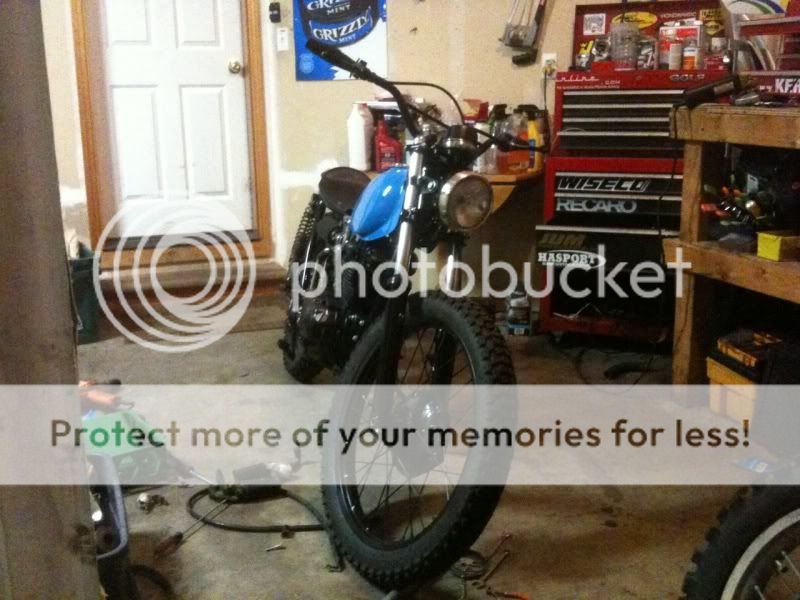
Here's where it stands as of last night, thanks for looking!
Update - July 23, 2011
So I've been meaning to finish this write up; the bike is basically complete and I'm just having the carb dyno tuned by Hightower at Twinline, Seattle Washington. Hope to ride it this week")
Leaving off from December's update:
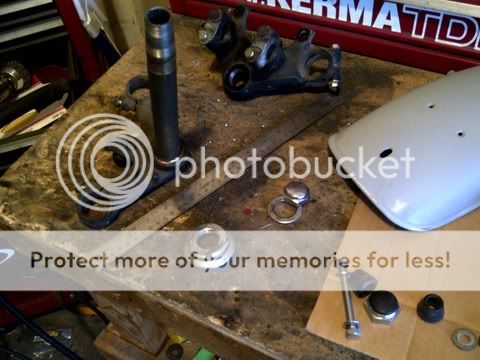
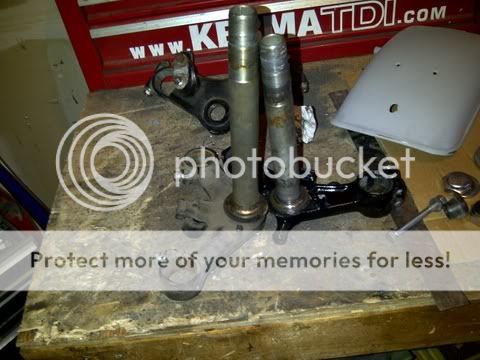
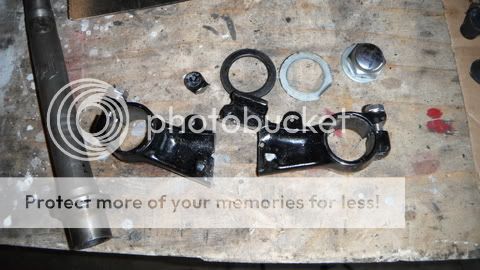
I couldn't handle the 21 front so I began tackling the task. Went with a Cb360t front hub and wheel. Had to use the CB360t triple trees and axle to do so. With some measurements and pro-bono machine shop work from my friend Mike (thanks man) we got it to work.
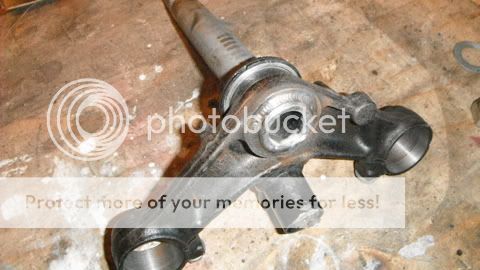
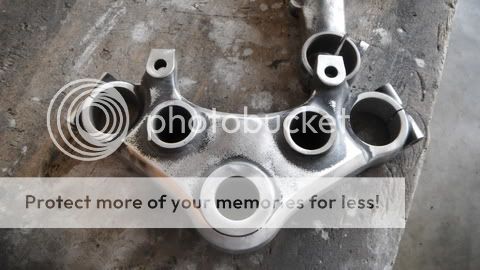
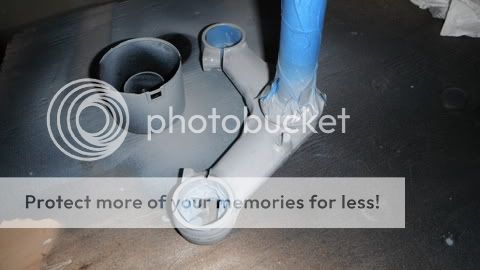
Had to graft the XL250 for stem onto the CB 360 lower triple tree:
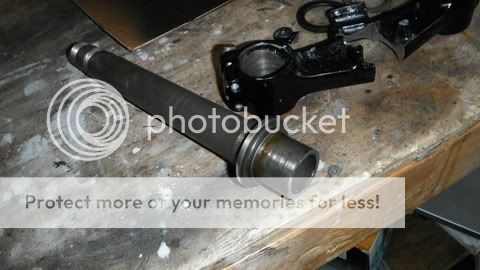
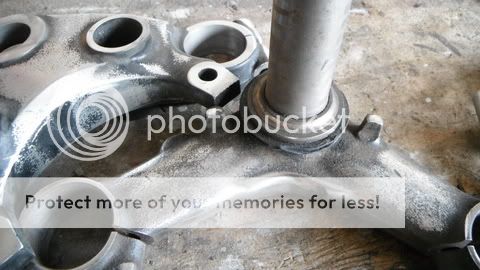
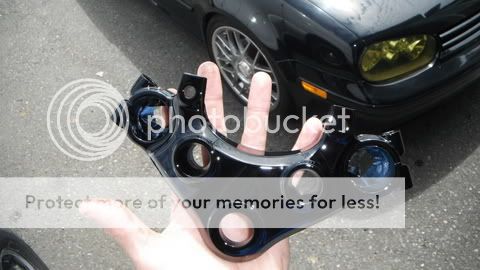
All finished:
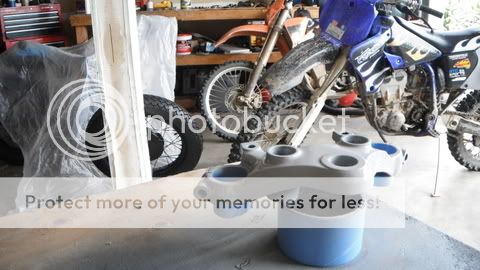
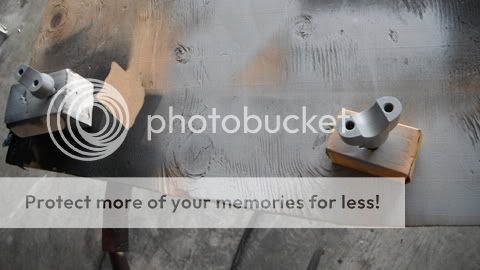
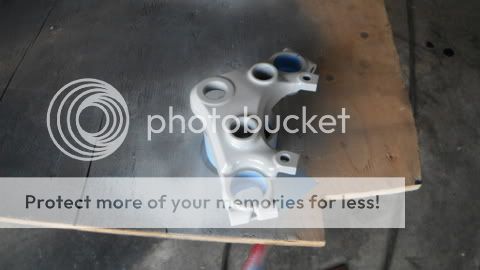
Started prepping for primer:

Bombed a few coats and then wetsanded them out:
Ready to paint:
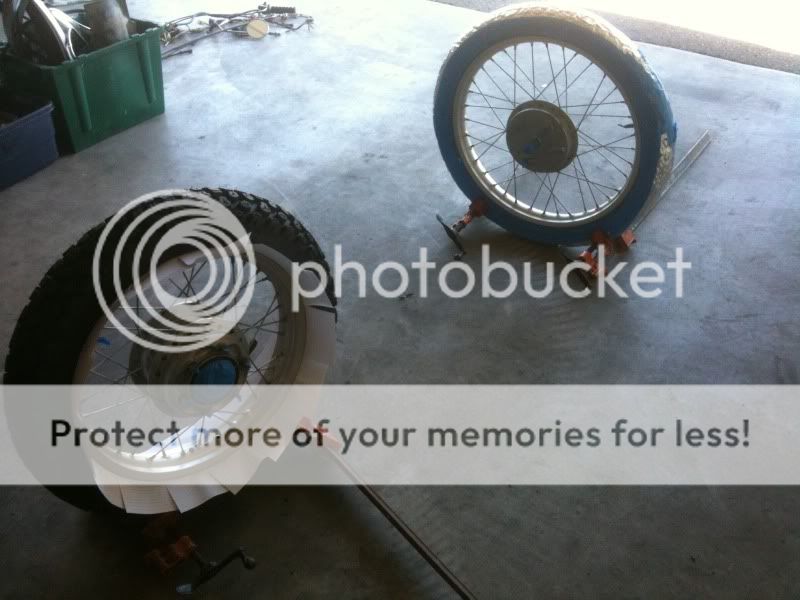
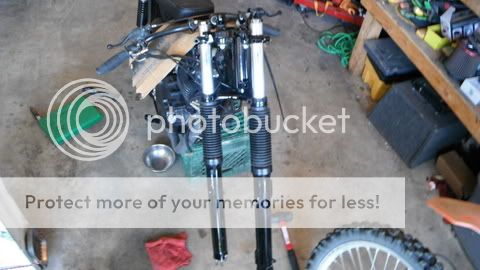
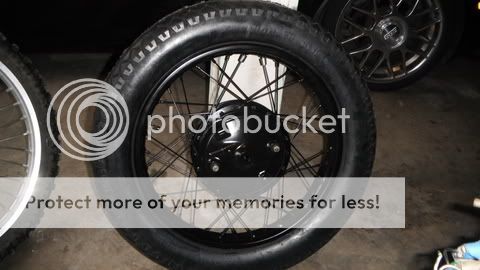
Got the front end assembled with the new 360 wheel (Note* got my new tires on) I didn't like the stance so I pulled it apart and lowered it an additional 1.5" internally + a bit off the top of the tree.
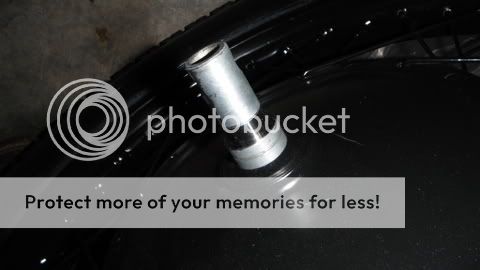
Had to have the axle spacer milled down a bit / Pics of the Avons:
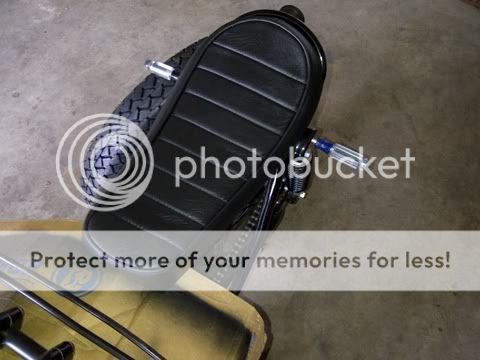
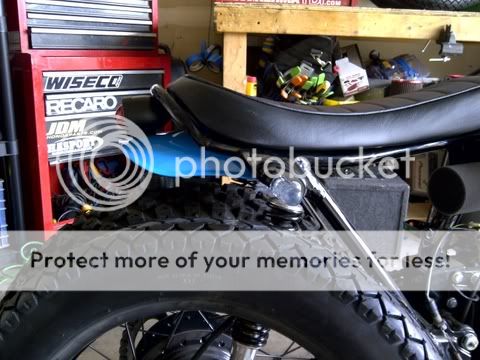
At some point, I'm loosing chronological order here, I welded some strips around the front of the seat pan and made a seat pad out of some neoprene foam and 3m adhesive. I glued it on and cut it out with a steak knife. (I'll find pics of this stage..)
I brought it to a local upholstery shop and the guy did exactly what I wanted:
Mocked up the rear fender:
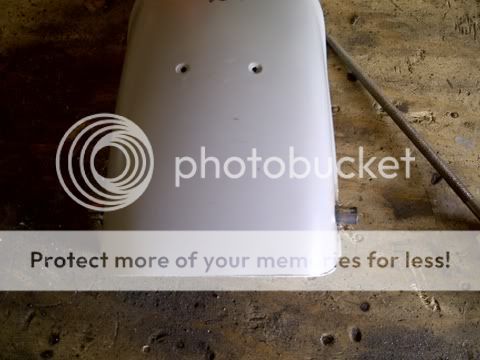
Same prep work, came out really nice:
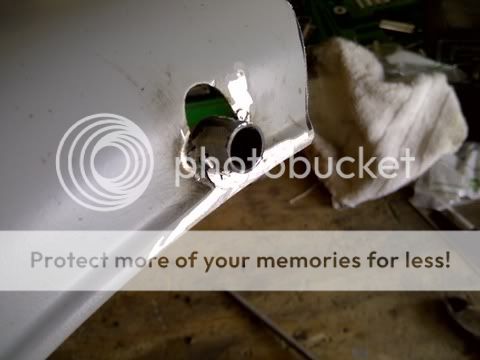
Front brake needed a bracket-
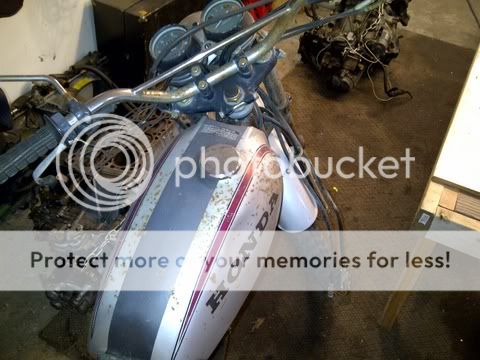
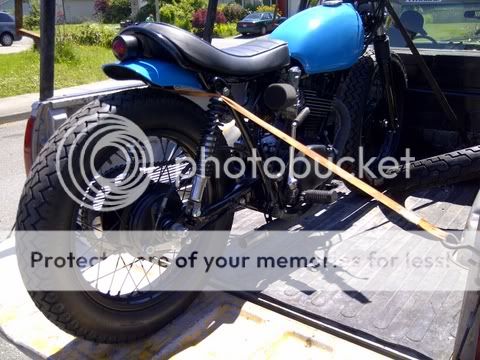
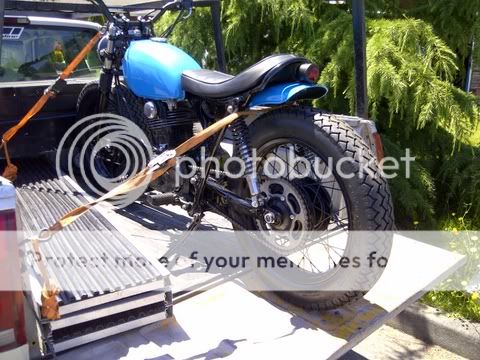
A few "befores", and the bike in the back of my buddy Rustin's truck before tunning:
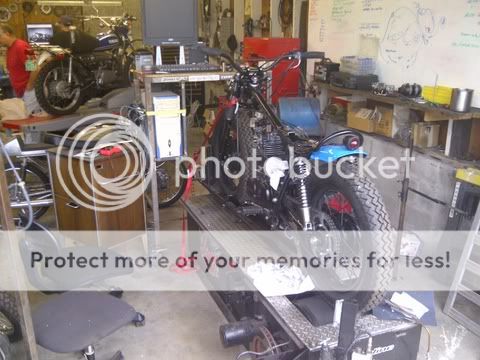
Up on the dyno, can't wait to get her back.
Thanks for looking! Looking forward to any feedback.
Jake
Original Post:
Thanks for looking; I just wanted to share what I got going on. No one else really gets why I've built a.. xl250. Figured I would try to rationalize it by posting it on here. I have been incredibly inspired by the work on dotheton and look forward to any feedback. I'm new to the vintage bike scene but have ridden motorcycles since I was a kid. This bike in fact was the first motorcycle I had ever ridden and learned to ride on back in 4th grade. My dad picked it up in the late 70's and drug it around the states, beating it up along the way. It had nearly 40 years of abuse when I pried it from under some old lawn chairs below his deck. He made me complete various tasks, including pruning 10+ cedar trees before I could have the title but I was rewarded with this 4-valve, rusty matriarch of a machine.
I put new tires on it and drove it once before the kick starter snapped off inside the case. After compression starting it and getting it home, It sat for about 2 years until my eyes were opened to pipeburn. I started the project in Mid July 2010; here is what I have so far.
Started off with disassemble:
Then began cleaning some stuff up:
Headlight shaved, and in primer with some other pieces:
Wet sanded everything down with 320 and 600:
Used a small HVLP cup gun and sprayed everything uniblack base/clear:
Sent the headlight ring and bars out to my my plating buddy. He put the ring in brushed nickle and the bars in a zinc oxide.
Started working on the frame. Cut off and ground down all unnecessary brackets.
Cut the frame back and welded on a hoop
Began mocking up a seat template out of cardboard:
Went to a steel place and snagged a piece out of their trash. Traced my template, cut it out with a plasma and used a pressbrake to bend it. Got it closer by smashing it with a hammer over a railroad tie - super professional:
I bought a JE 10.5:1 285 bigbore kit and traded my buddy Rustin a bike to build my motor. Cleaned the engine for like 45 minutes than bombed it with high temp flat. Started sanding the fins with 320-600. Is not complete.
like an hour and a half into cleaning these, painted them with a 2 part DP satin automotive sealer out of the HVLP.
Started on the tank.. Got it 40 gritted down and started mudding. .. primer .. 600wet in between coats untill the base/clear. It's a 50's ford truck blue.
Rebuilt the front suspension, used a heavier weight oil in them and did the pvc spacer trick on the damner rod to lower it 1.5". I'm using CB550 rear shocks but am still working on that. Also welding up CB550 pegs to my xl mounts and using a 550 rear fender as well.
Sent the frame and swing arm out to powdercoat; got a 80% gloss black. They only charged me $150 for both, including cleaning and sandblasting. I gave it to them coated in 40 yearold oil/dirt.
Here is the first time the bike parts could no longer be fit into a box.
I'm a little further along now but not much. Here is a pic of where it stands.
Thanks for looking
Jake
Update - December 24, 2010
In the last week I tackled a lot of the thing's I've been putting off.
I polished up my carb quick with some 600wet a buffing disk and then with some rouge. Not perfect but looks good.
Cleaned up the cable.. managed to cut off the outer sheathing that had my father's electrical tape all over it and hooked up all of my rear brake assembly:
Painted my bars with a flat bumper coater. That black oxide platting looked grey. Hooked up my clutch and front brake after cleaning up the old cables again. Got the black levers and new grips on. Ordered the clutch lever cover and will have a NOS here shortly. Also took way to much time on a bracket to solo the speedo in the center. I plan on going with a smaller aftermarket speedo later but figured I'd start it off with this. Got the Gauge in primer and bumper coated it. Brushed the chrome with red scotch brite.
Here's where it stands as of last night, thanks for looking!
Update - July 23, 2011
So I've been meaning to finish this write up; the bike is basically complete and I'm just having the carb dyno tuned by Hightower at Twinline, Seattle Washington. Hope to ride it this week
Leaving off from December's update:
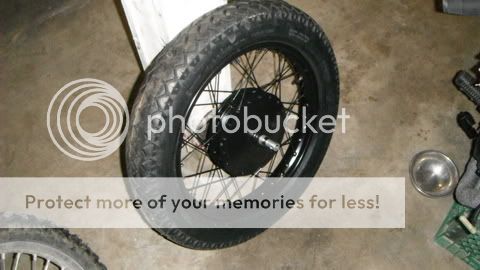
I couldn't handle the 21 front so I began tackling the task. Went with a Cb360t front hub and wheel. Had to use the CB360t triple trees and axle to do so. With some measurements and pro-bono machine shop work from my friend Mike (thanks man) we got it to work.
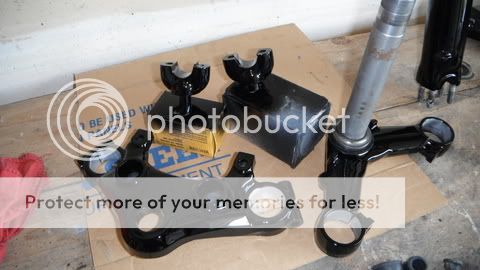
Had to graft the XL250 for stem onto the CB 360 lower triple tree:
All finished:
Started prepping for primer:
Bombed a few coats and then wetsanded them out:
Ready to paint:
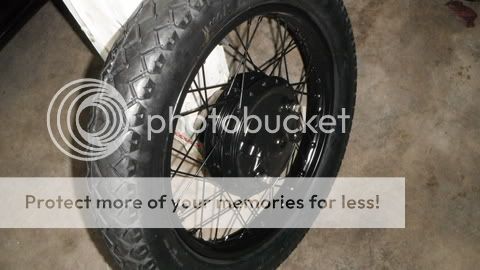
Got the front end assembled with the new 360 wheel (Note* got my new tires on) I didn't like the stance so I pulled it apart and lowered it an additional 1.5" internally + a bit off the top of the tree.
Had to have the axle spacer milled down a bit / Pics of the Avons:
At some point, I'm loosing chronological order here, I welded some strips around the front of the seat pan and made a seat pad out of some neoprene foam and 3m adhesive. I glued it on and cut it out with a steak knife. (I'll find pics of this stage..)
I brought it to a local upholstery shop and the guy did exactly what I wanted:
Mocked up the rear fender:
Same prep work, came out really nice:
Front brake needed a bracket-
A few "befores", and the bike in the back of my buddy Rustin's truck before tunning:
Up on the dyno, can't wait to get her back.
Thanks for looking! Looking forward to any feedback.
Jake