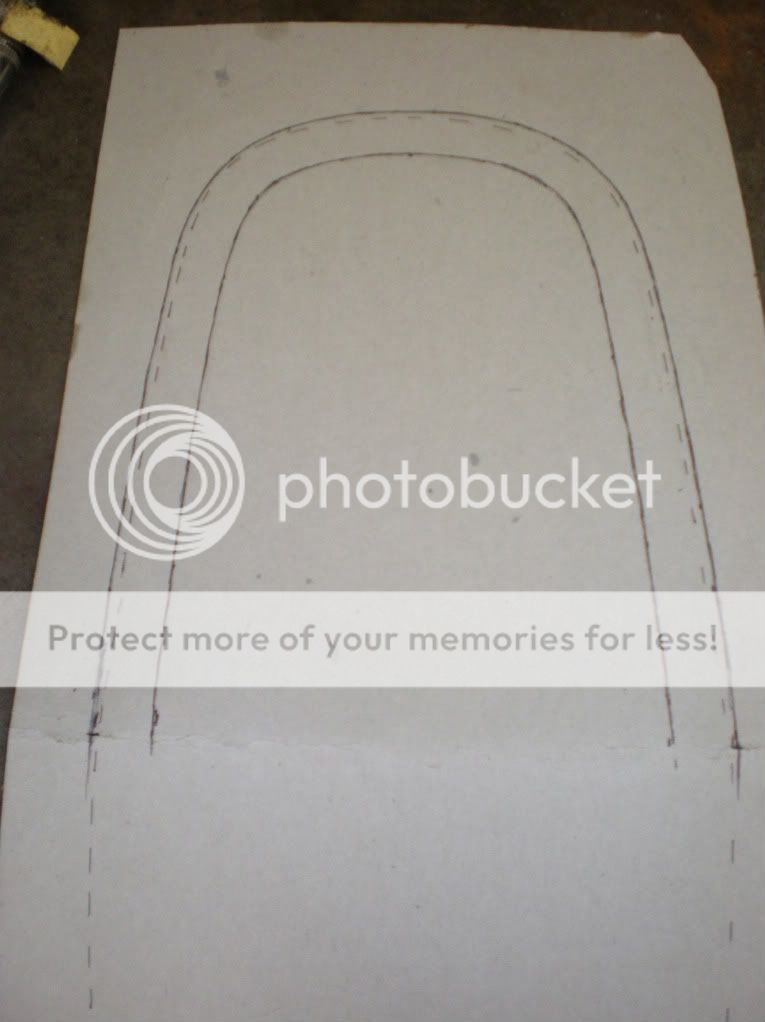
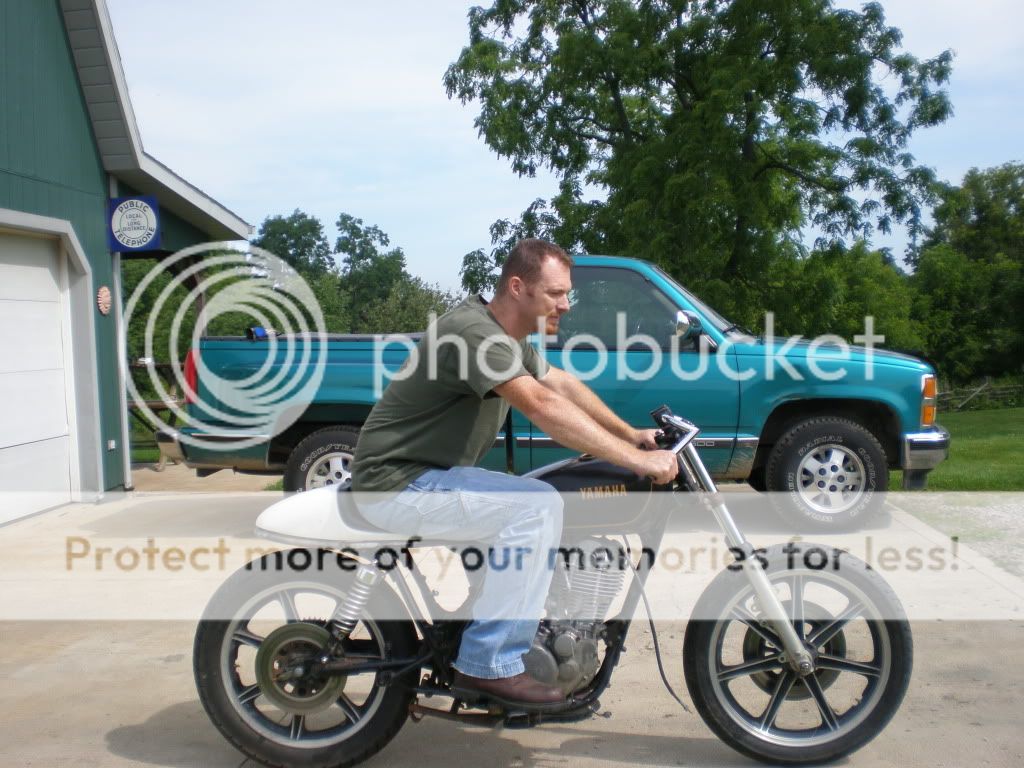
Well.... I finally broke down and got started on my SR500 cafe project. As a bit of a background I have been building oldschool bobbers and chops for some time but have been dying for a machine to hit the Ohio twisties on. About a year ago I picked up a couple SR500's down in the Southern Ohio hills. The plan was to make Bratstyle bobbers out of them but they have been on the back burner as I was working on some other builds. About a week or so ago I pulled one of the SR's out bound and determined to get cranking on my Cafe project. The bike was completely intact but had sat outside for the past 5 years or so. Before I even started to pull tings apart I want to get it running. After going through the simple things it was found that the stator was in need of having the ignition rewound. I sent it off to a stator rewind company and had it back within the week. In the meantime I capitalize on the downtime by plugging the engine and carb up and throwing them into the beadblaster. I did not really touch the outer cases since in the end these will be polished. Once the stator came back I put the whole thing back together and tried it out. After sitting for 5 years out in the elements she fired up on lets say..... the 53rd or 54th kick! Sounded great! OK, so she runs. Now to get to building a bike. I wanted a truly functional bike when this project gets done, so I wanted to take my time and do it right. The first thing was to get my tank and seat picked out. To tell you the truth I was really found of the stock tank and could not find one that I really liked better right off the bat. With that in mind I decided to find my seat. I looked, and looked and looked. I found some good canidates while I was at the Mid Ohio swap meet nd picked them up. I just did not like the fit or look and it just was not the direction I wanted to go. I swung into a shop ran by a couple of old racers and flat trackers here in my home town. Wouldn't you just know it, they had an entire hallway stuffed with tail sections. We decided it was best that I go and get the bike and bring it down to pick out something I liked. Bingo...... we found one that flowed perfectly with the tank lines. I was on my way home with a great tail section and pumped to get rolling. I decided to cut the rear rails to allow the sea to fit nice and level. Once cut the seat fell into place perfectly. I am all about the details when I do a build and I had to come up with a nice way to finish off the rear section of the frame. I decided to go the route that they use on the Benjies Cafe bikes with the DOM tubing curved to match the seat. While I tubing bender is on my ist of things to pick up VERY soon, I jst did not have one here to do the bending. I got to brainstorming and looking around when my buddy said "hey, those buckhorn bars in the trash look like they have about the same bend you need!" OK then..... lets cut up some bars. After cutting the bars and test fitting the curves I realized they were going to need some more work. I whipped up a template to work off of. Next I did some heating and bending for the rear of the tail. The hard part is that the tail had a slope upward also so I needed a compound curve. Once the rear was done I got the sides curved they way I liked them to flow with the seat. After the rear section was all bent to shape I slugged the tubing and welded it all up! I now needed a way to actually mount the seat to the frame. I needed to keep the edge of the seat off the rails slightly so the stress is put on the seat and not the edges. I ended up using the stock cross bracing from the old rear section to make a support for the seat. I needed to make a couple of small brackets to meet up with the already existing bolts in teh seat and tail section. I could have just moved the support back some but I really wanted it in a certain location to support my weight and I also want to hide all my electronics within a certain area also. Once I got the seat mounted I did not like the line between it and the tank. The SR tanks always seem to sag in teh rear for my taste. I ended up cutting the rear tank mount and placing a 1 inch spacer in to raise the tank up to where I thought it looked really good with the seat. Well....... That was pretty much my first week of work on her. Starting tomorrow morning I wil making the bracket to secure the front of the seat and also a bracing system for under the actual tail section. I will keep the thread updated each night with my progress. Here are some pics for ya, cause I know forum folks LOVE pics!!!!!
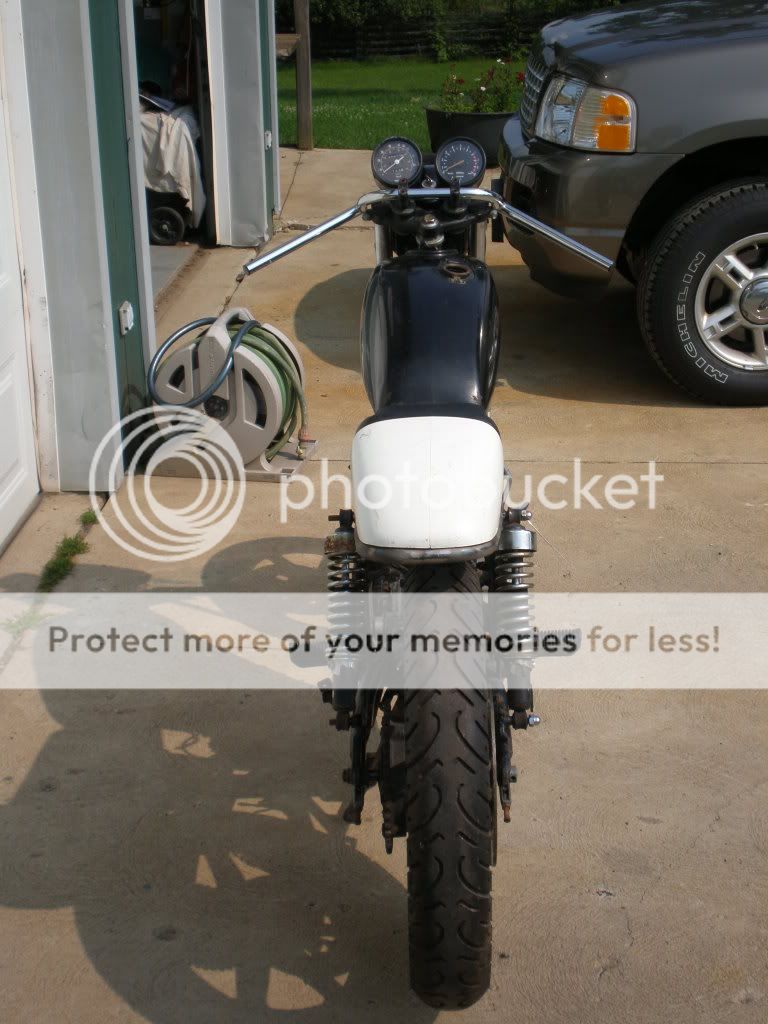
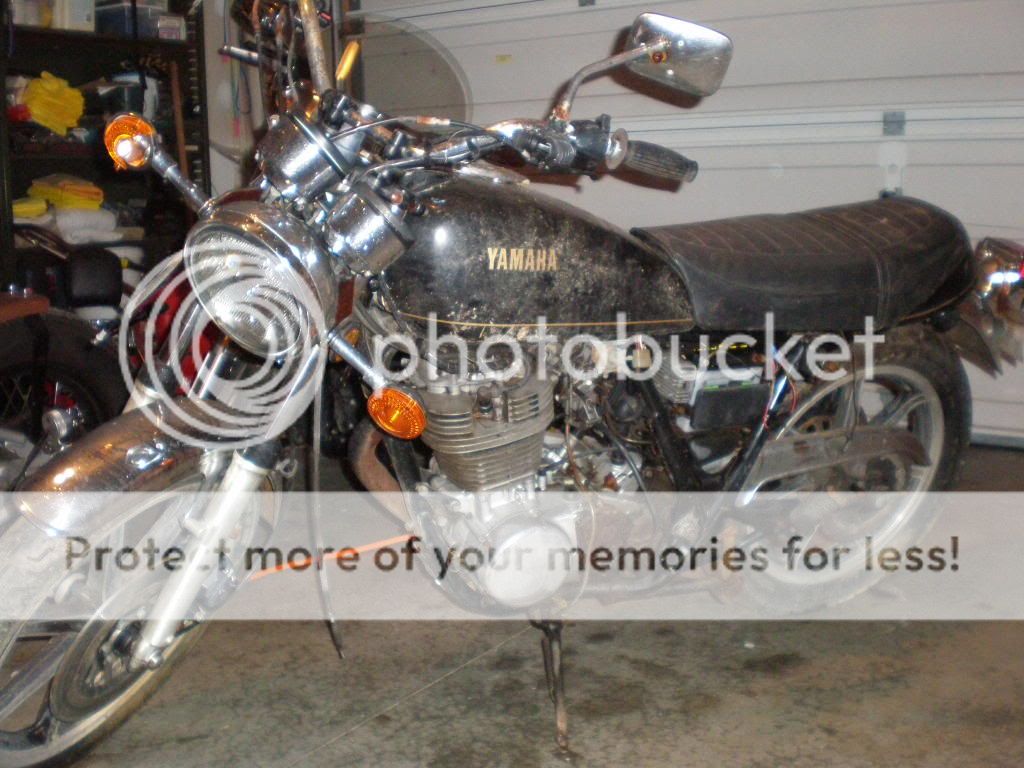
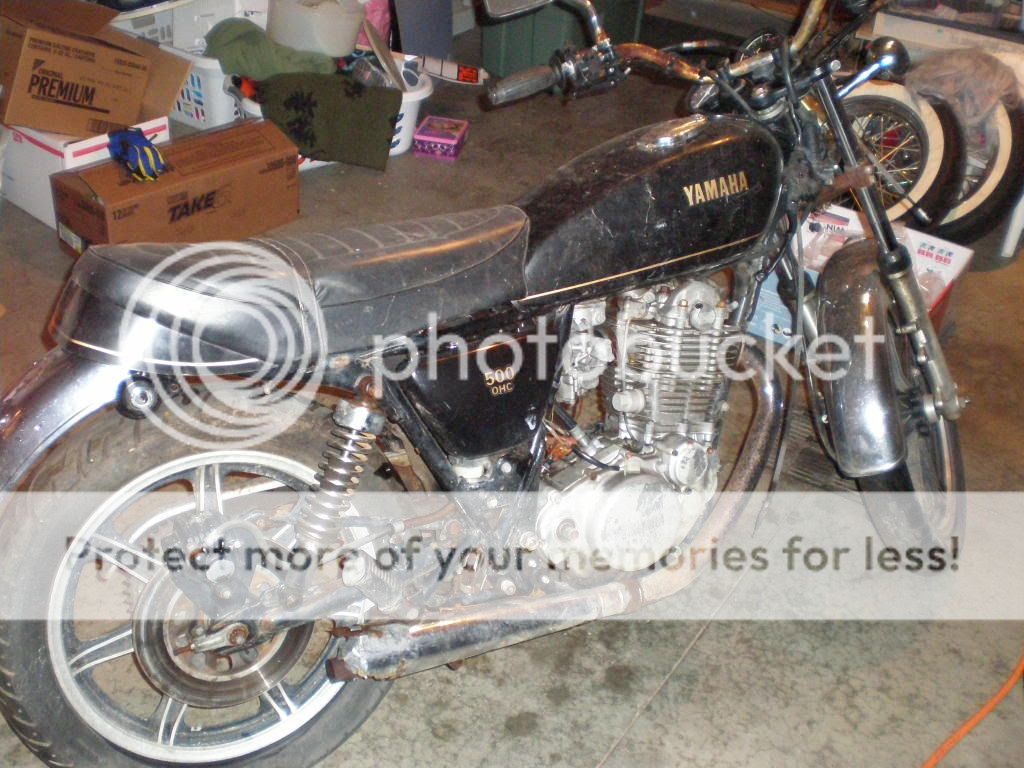
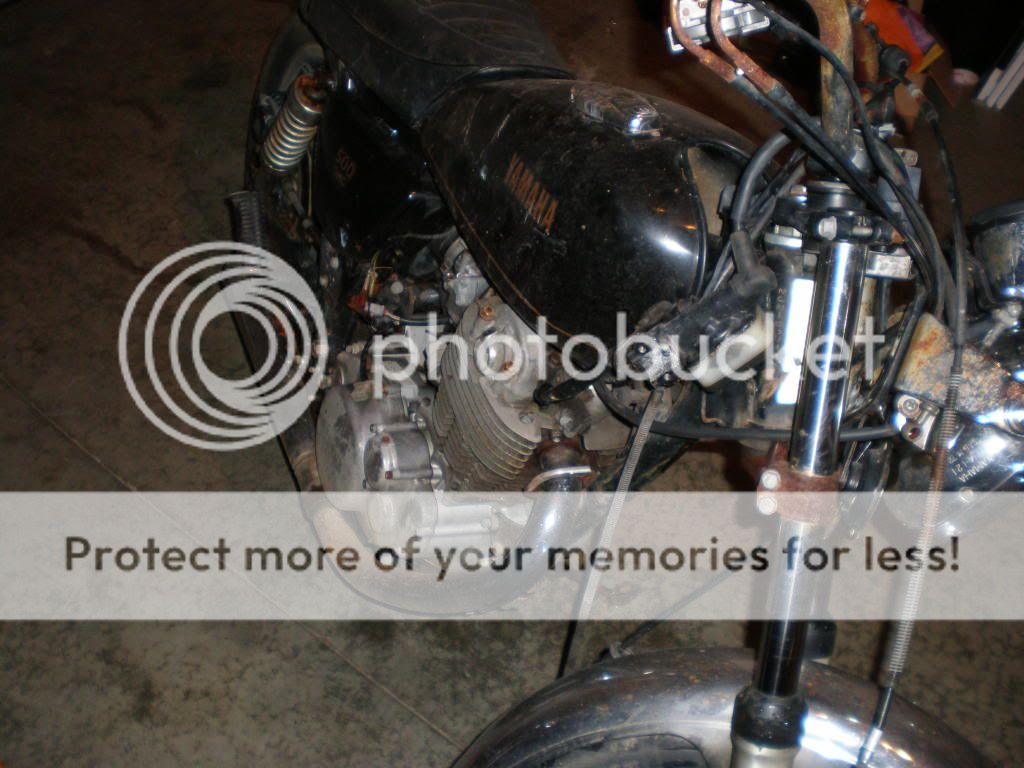
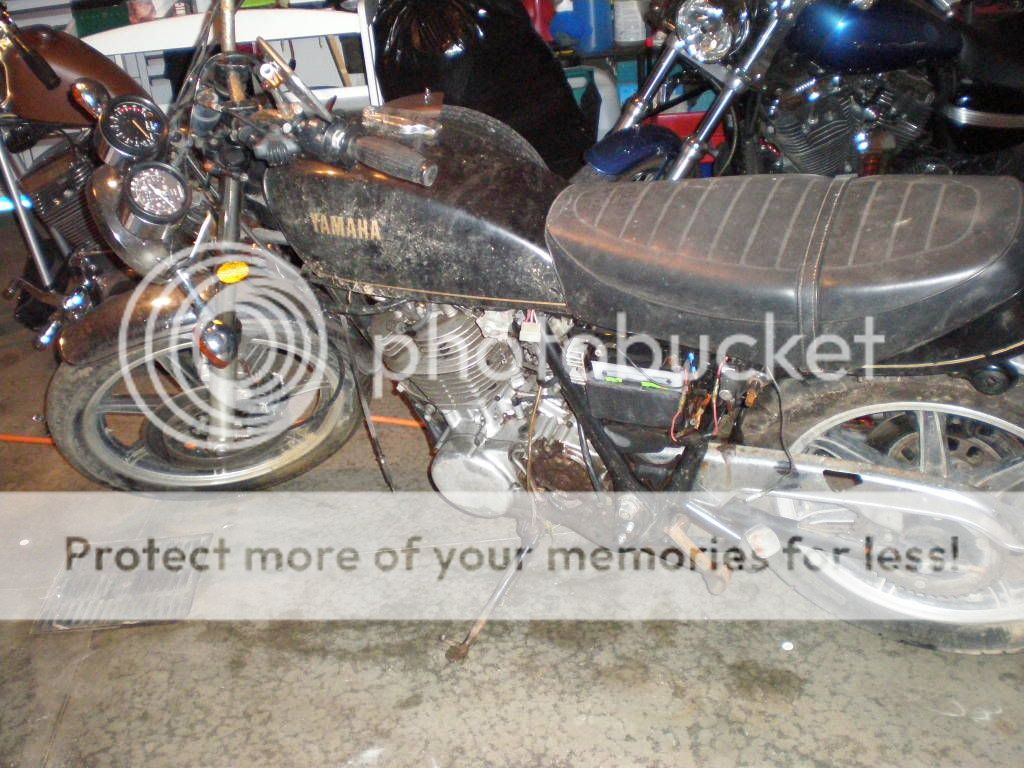
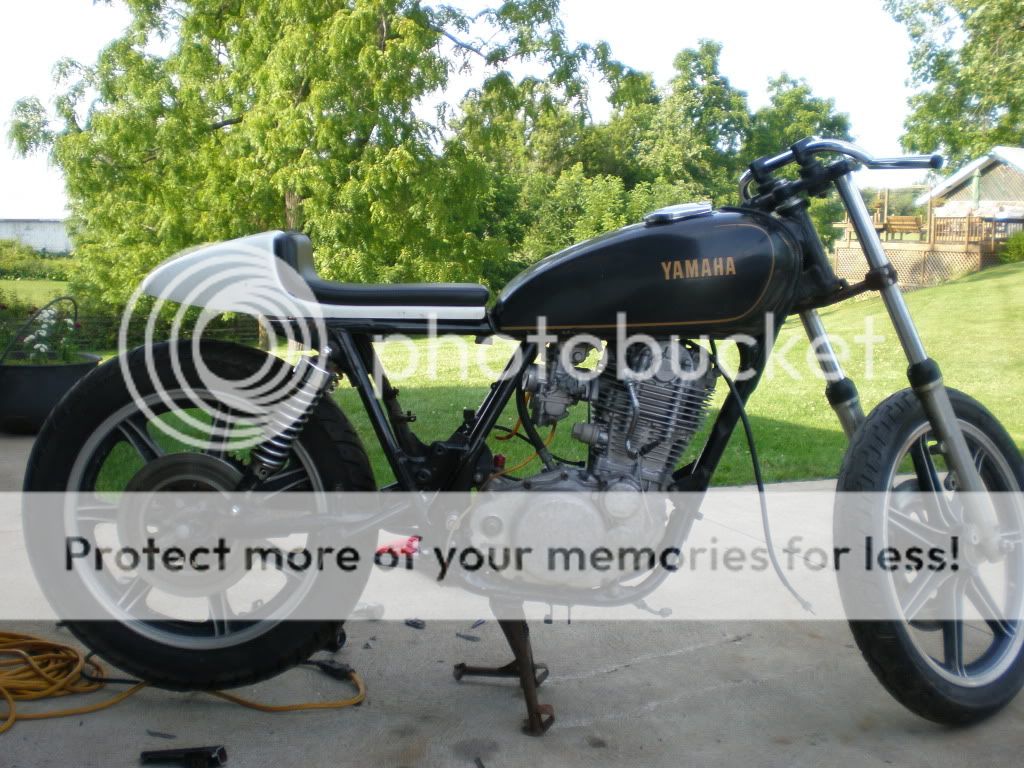
As I got it.....
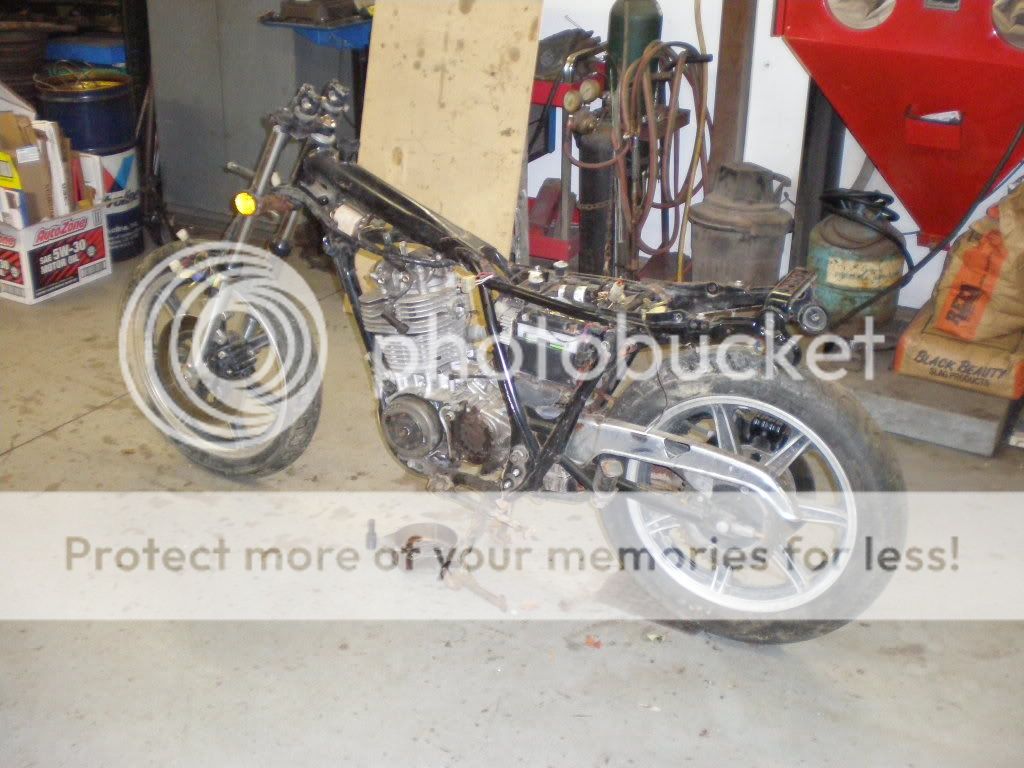
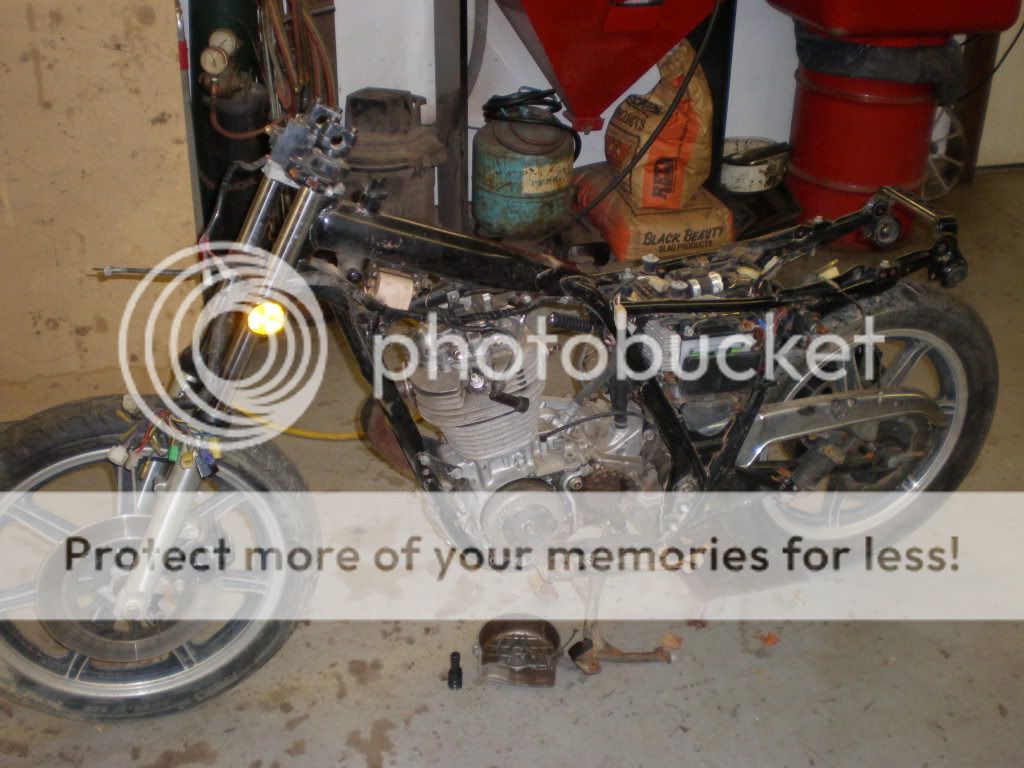
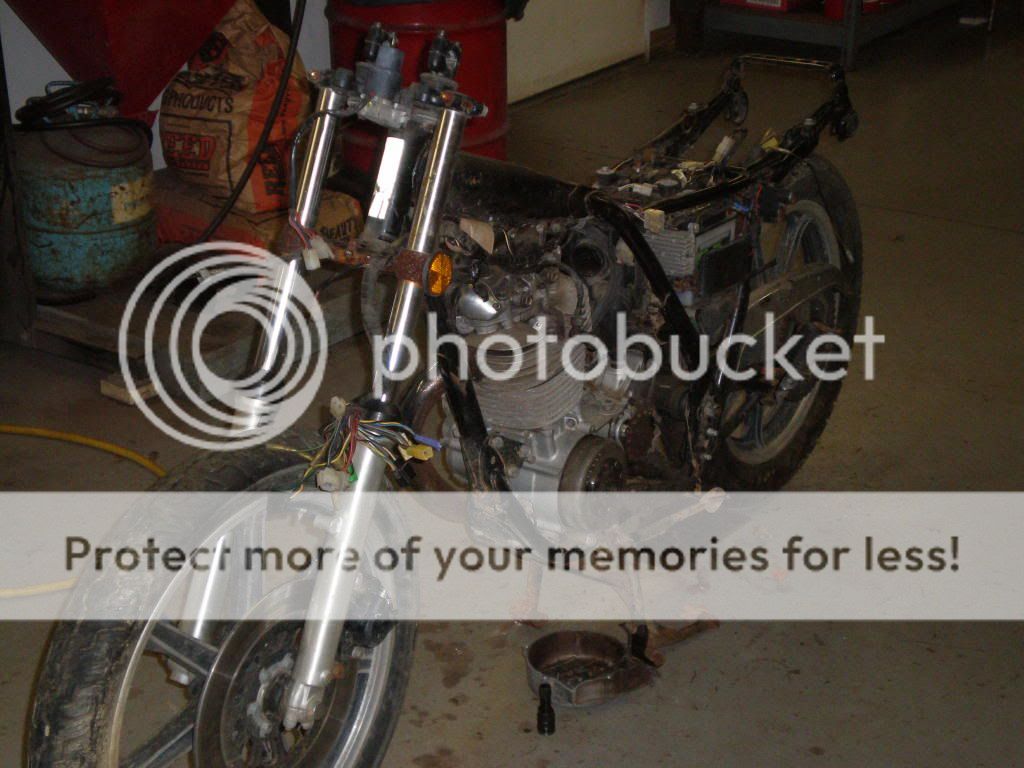
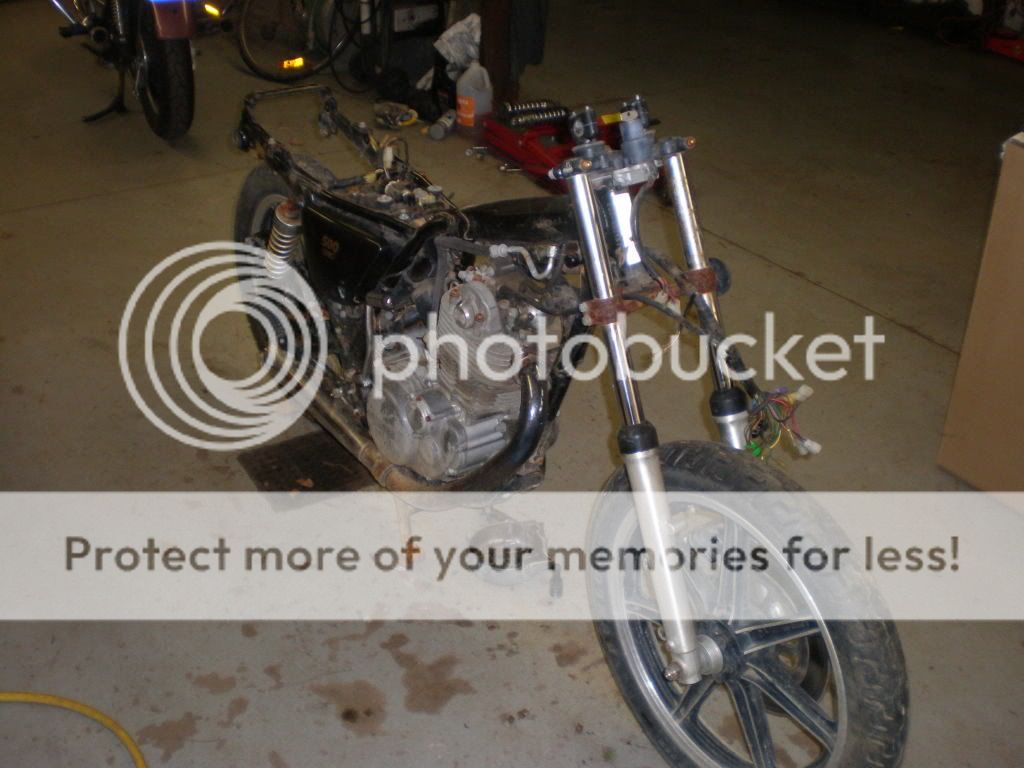
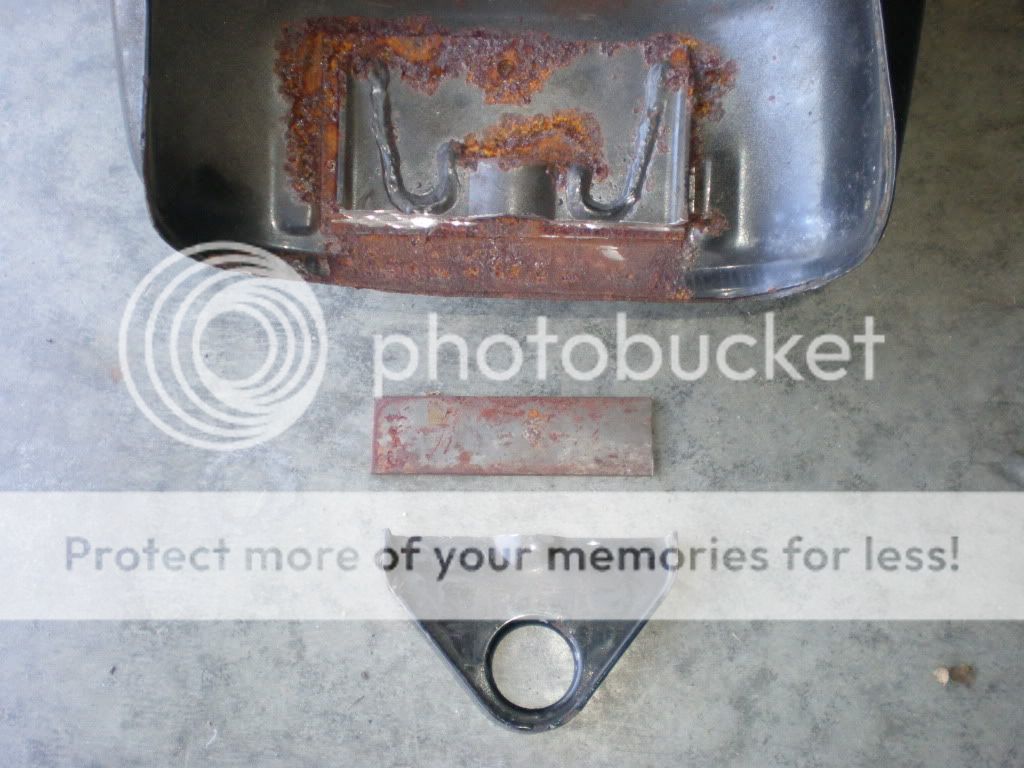
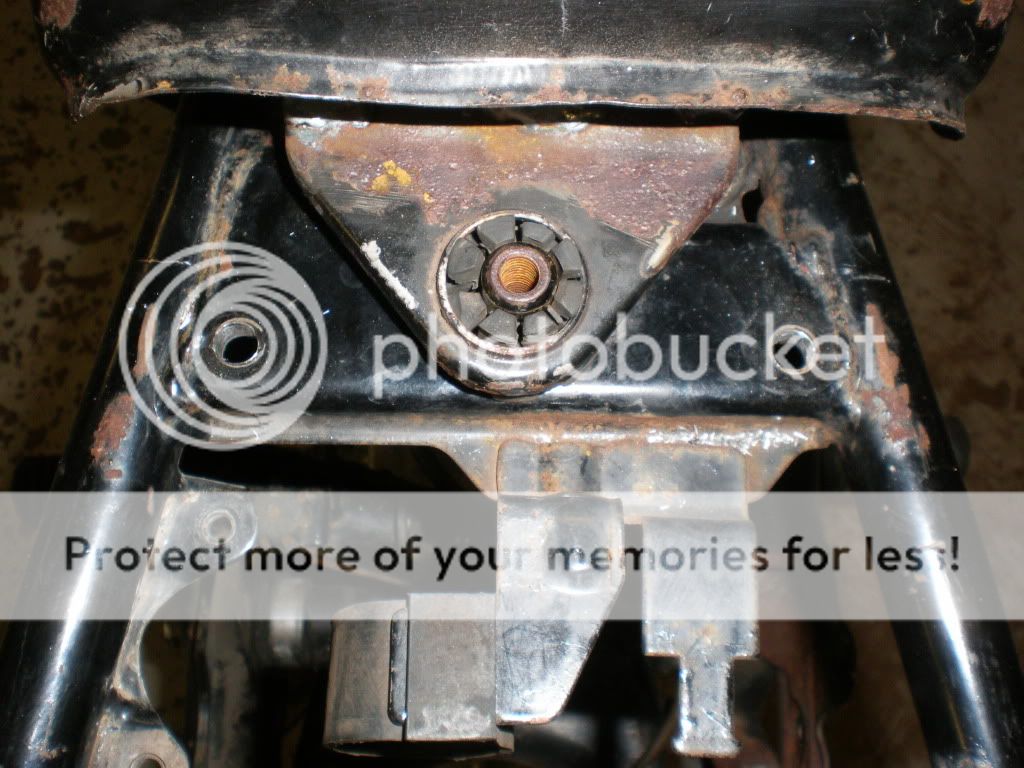
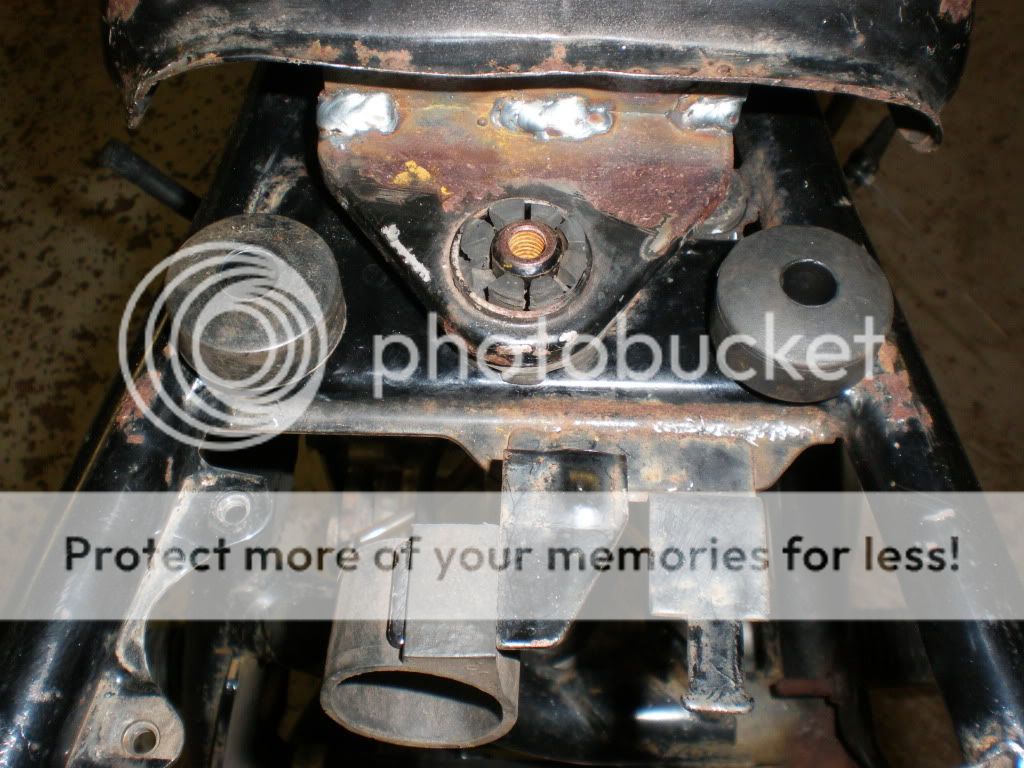
The teardown....

The cleanup.....
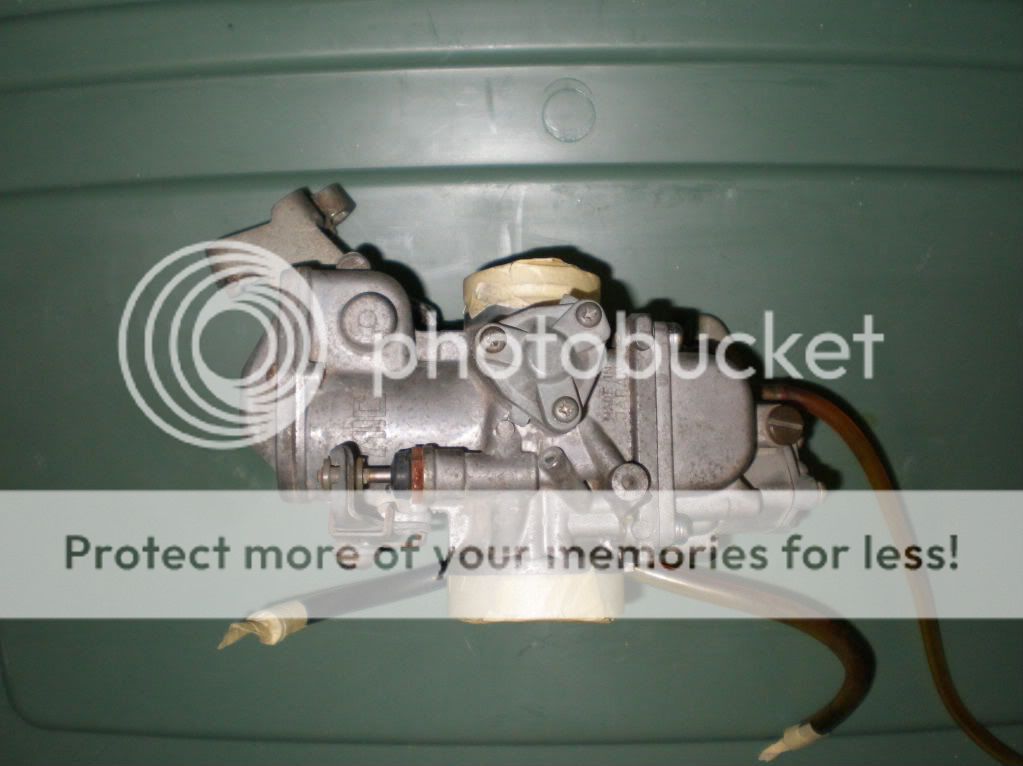
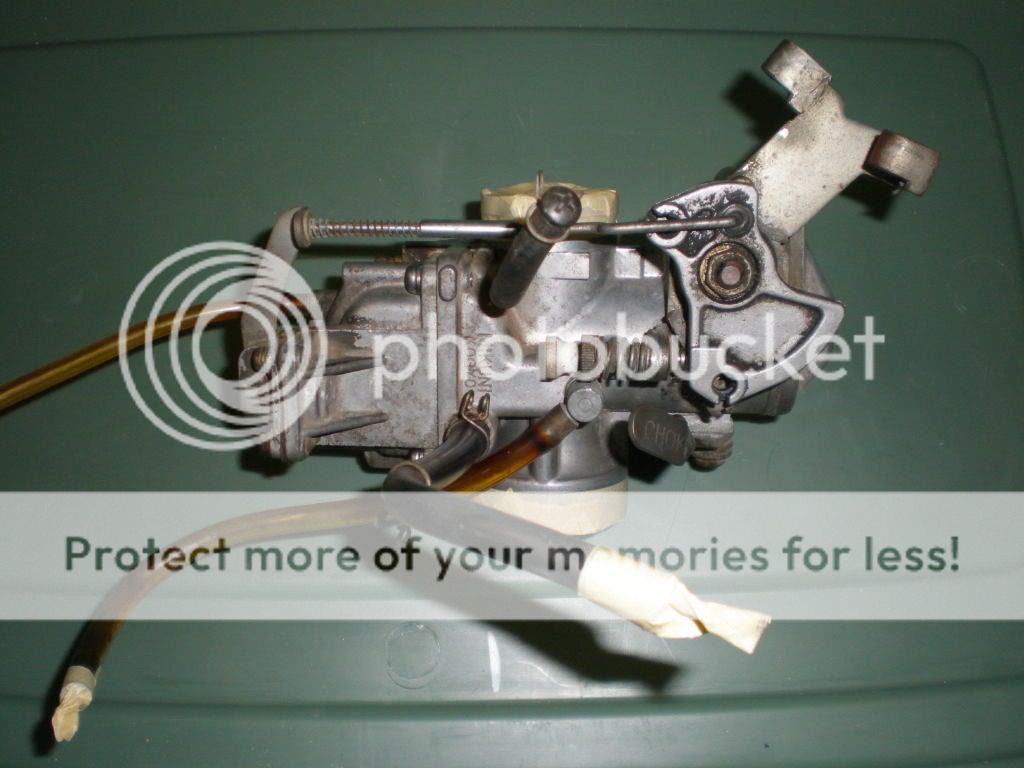
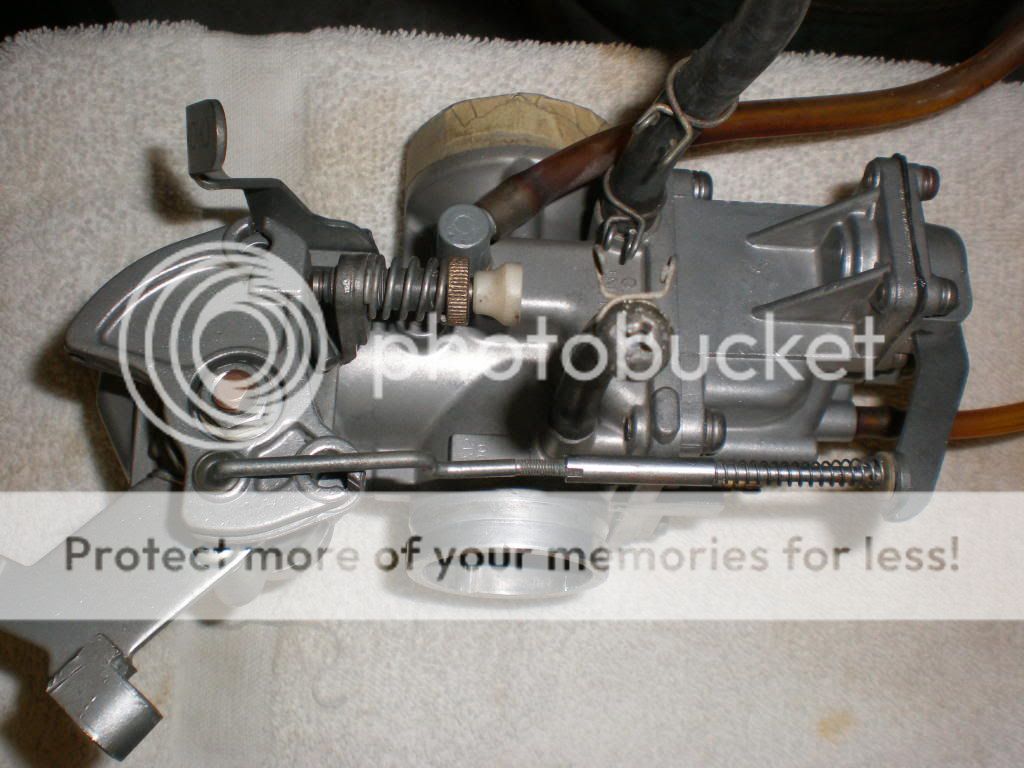
Before...
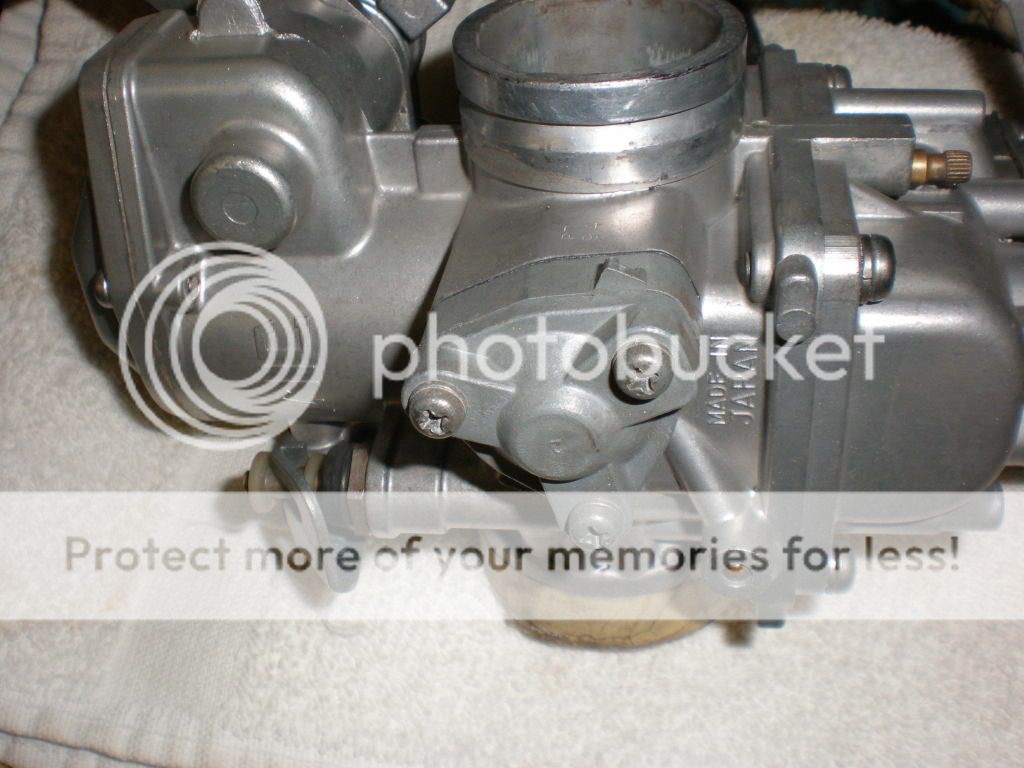
After....
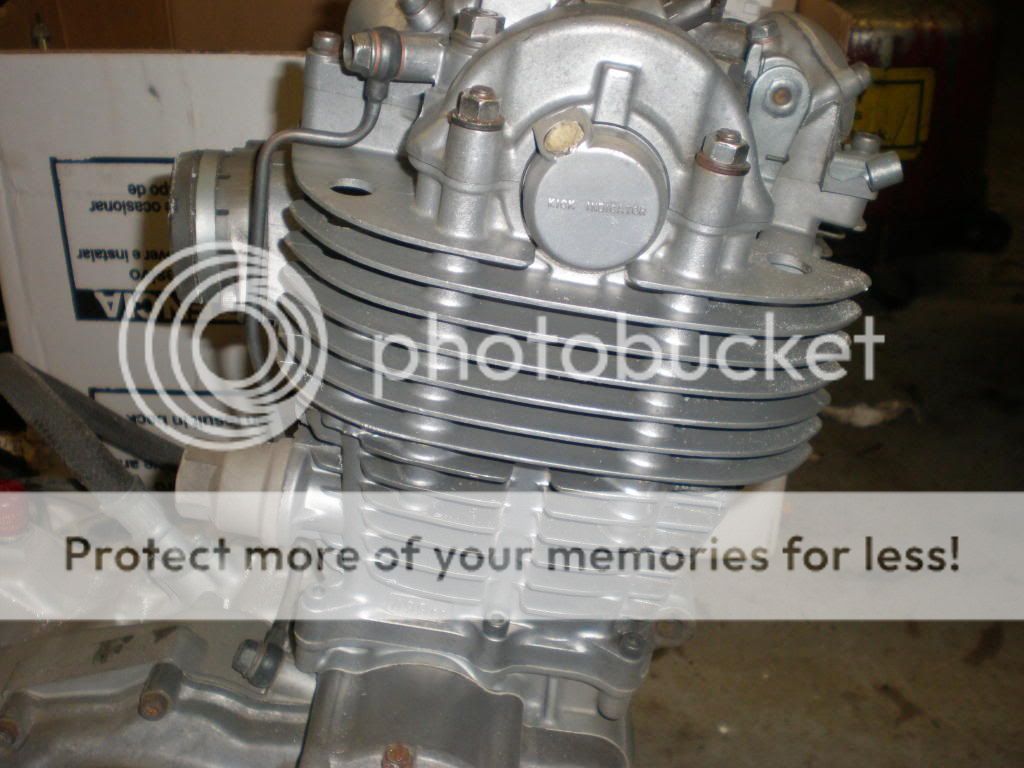
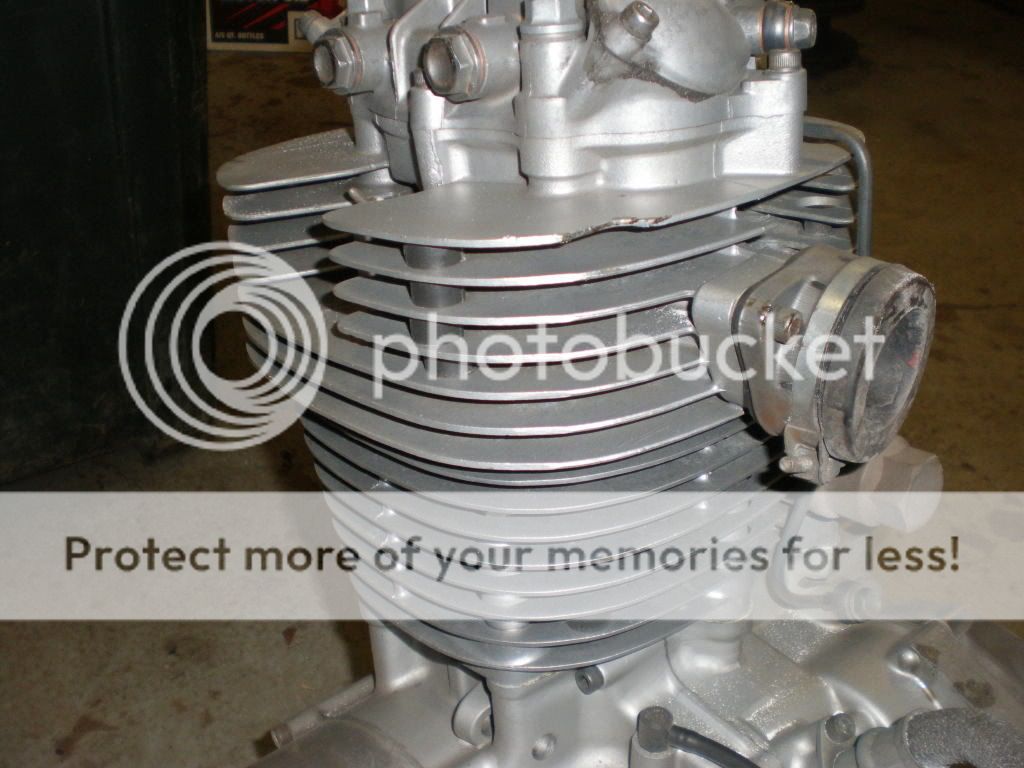
And the motor! Forgot to blow the beads off!
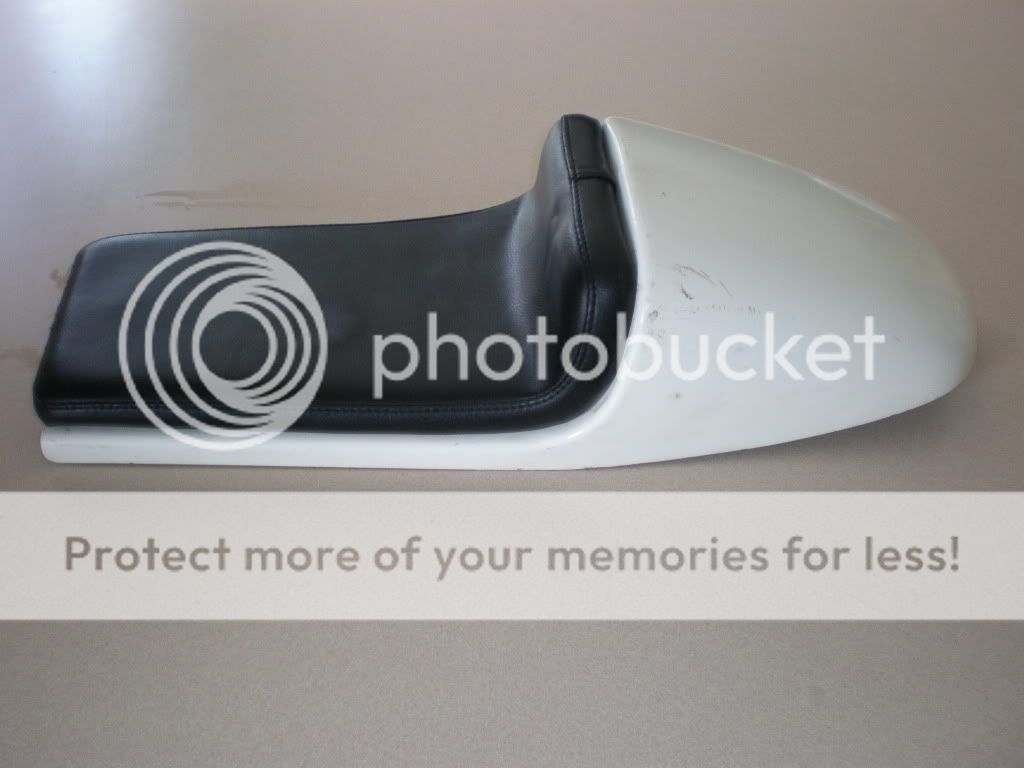
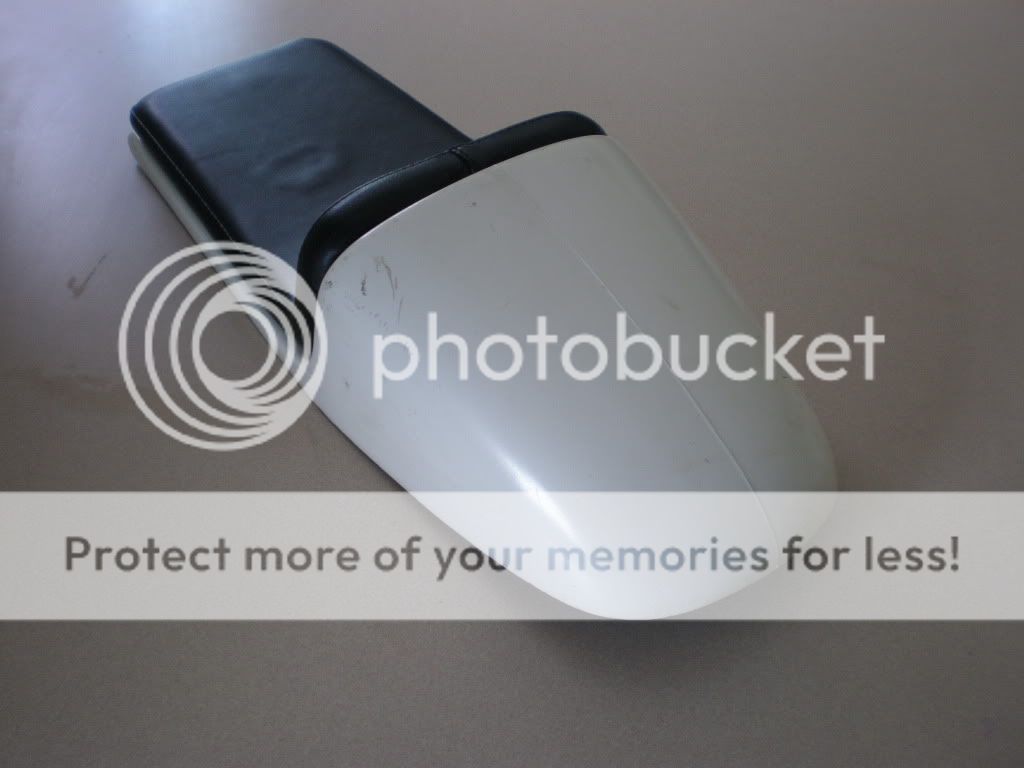
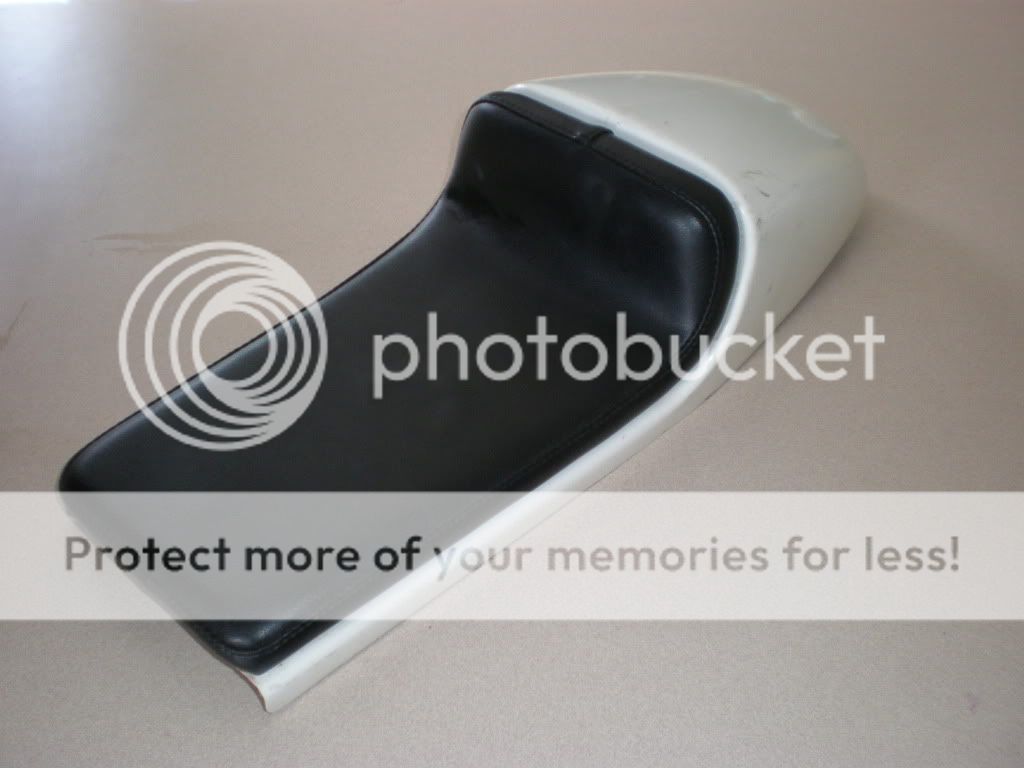
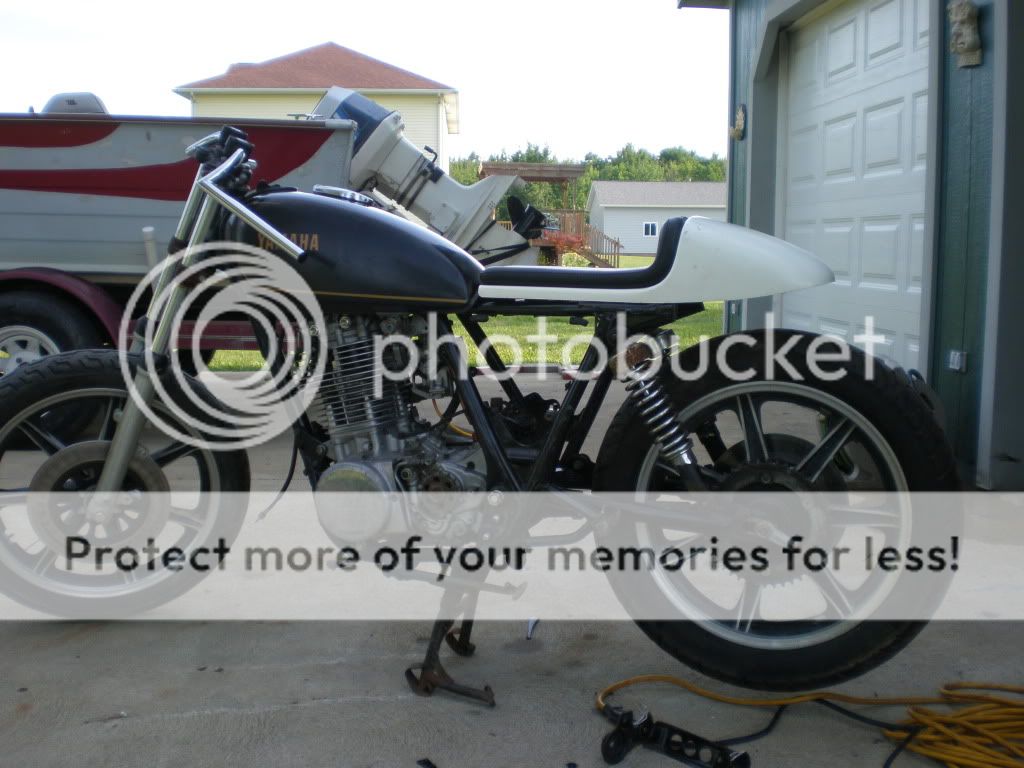
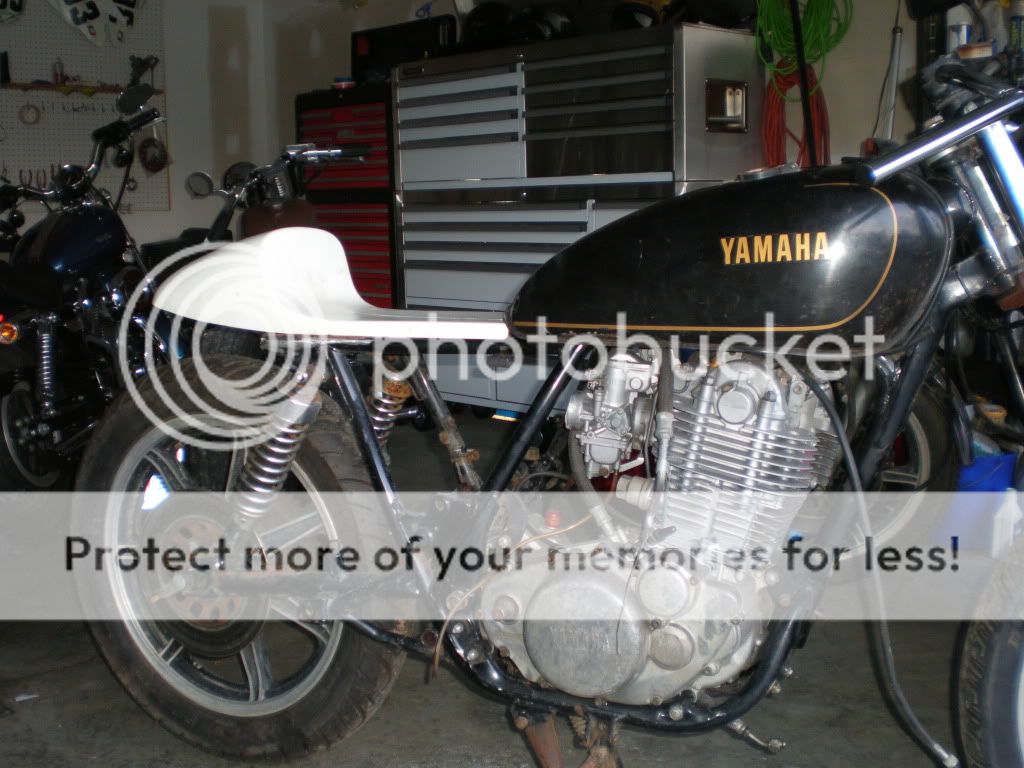
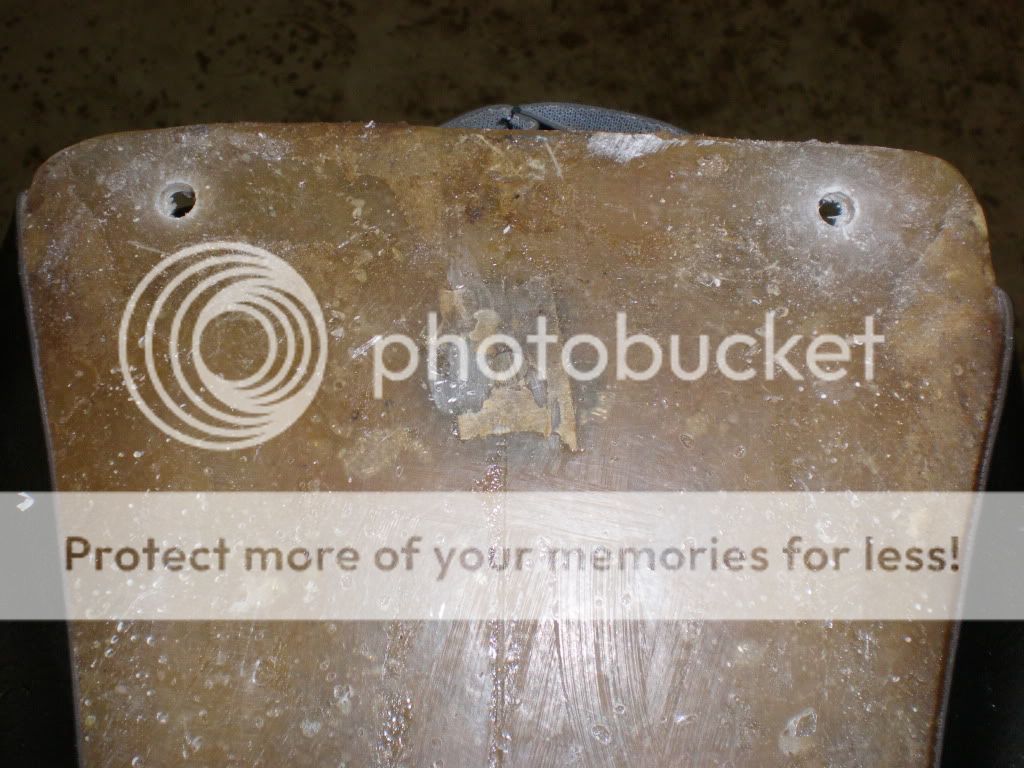
My super cool seat find. I will be making a mold of this sometime this week to make some more!
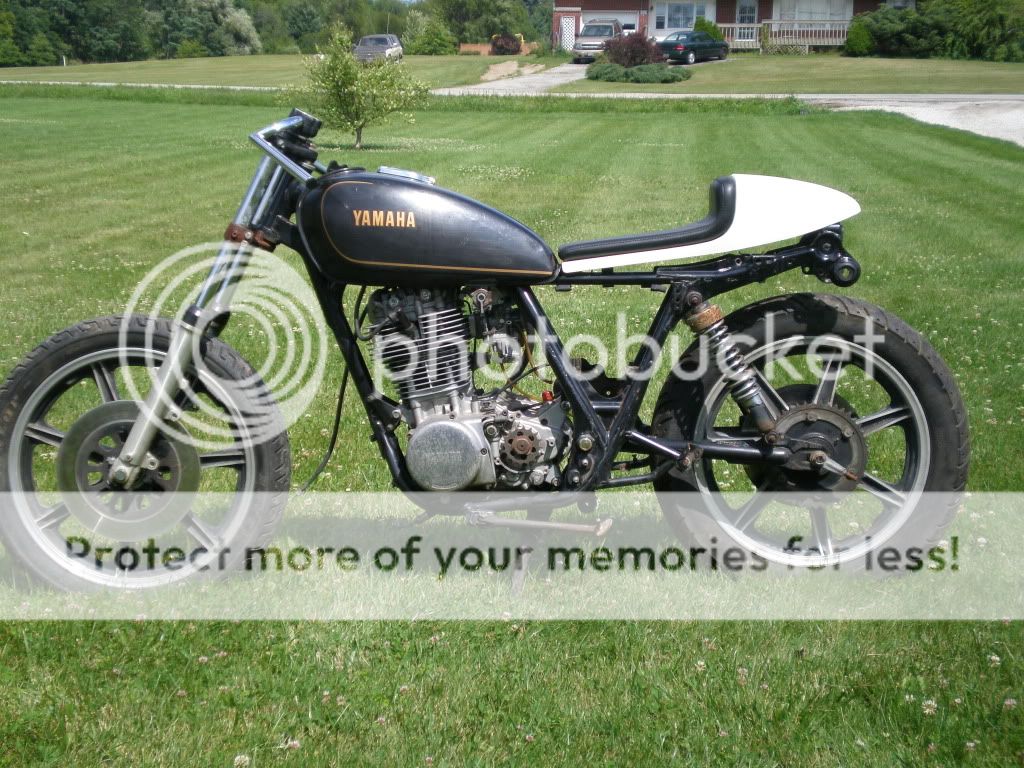
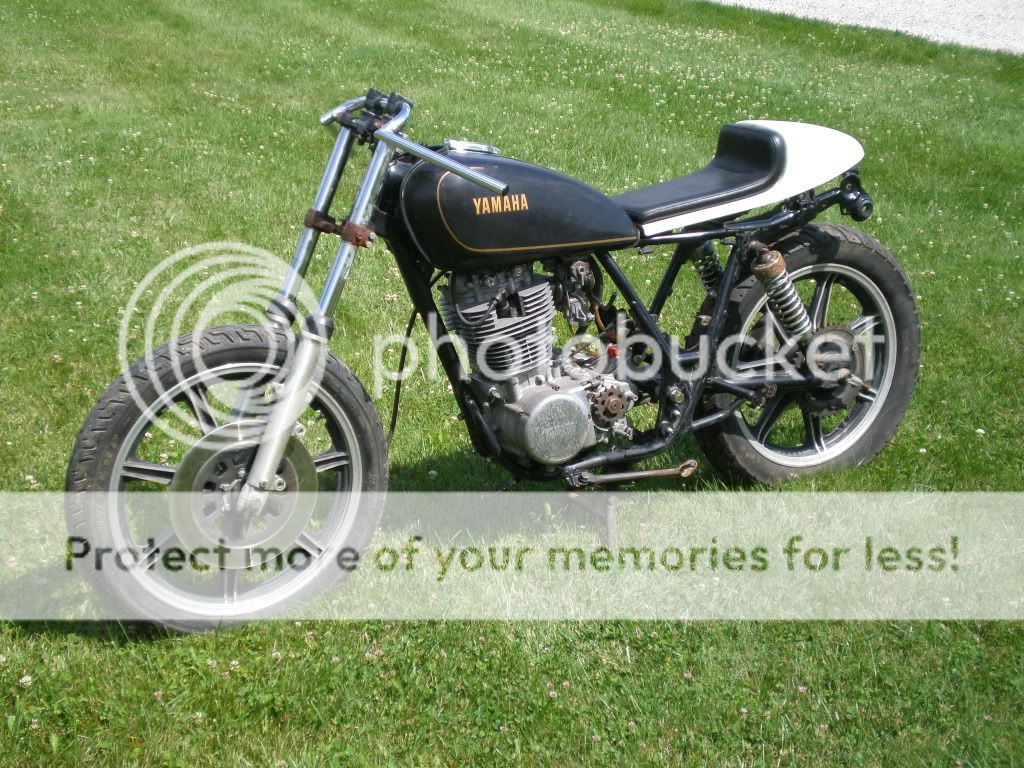
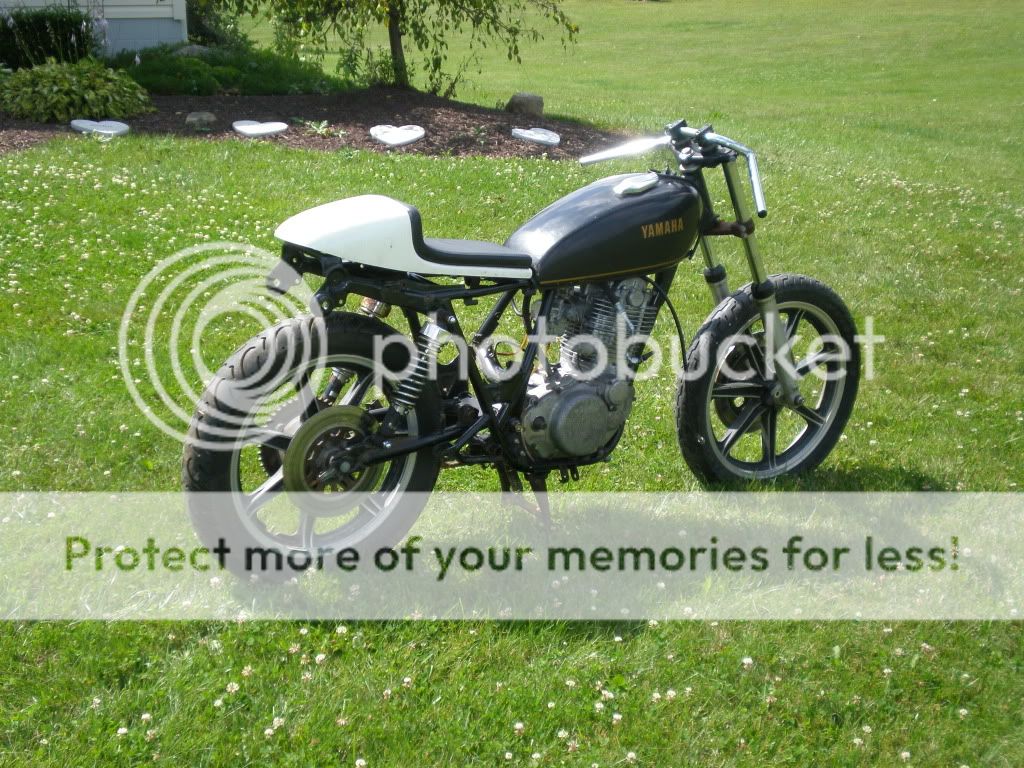
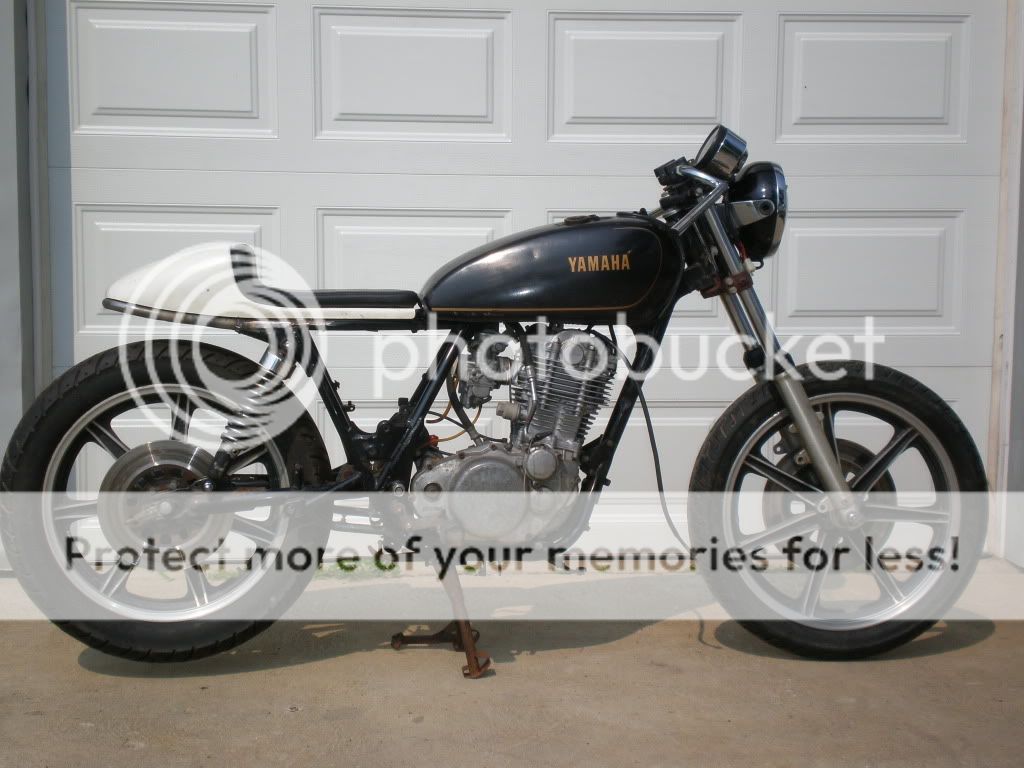
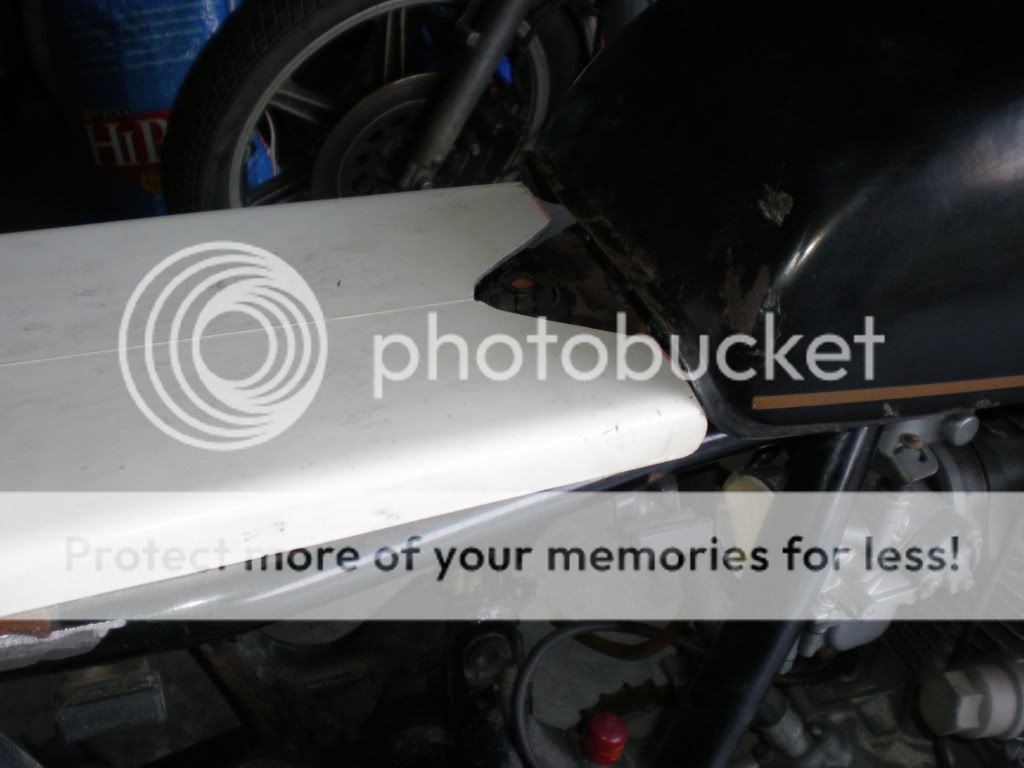
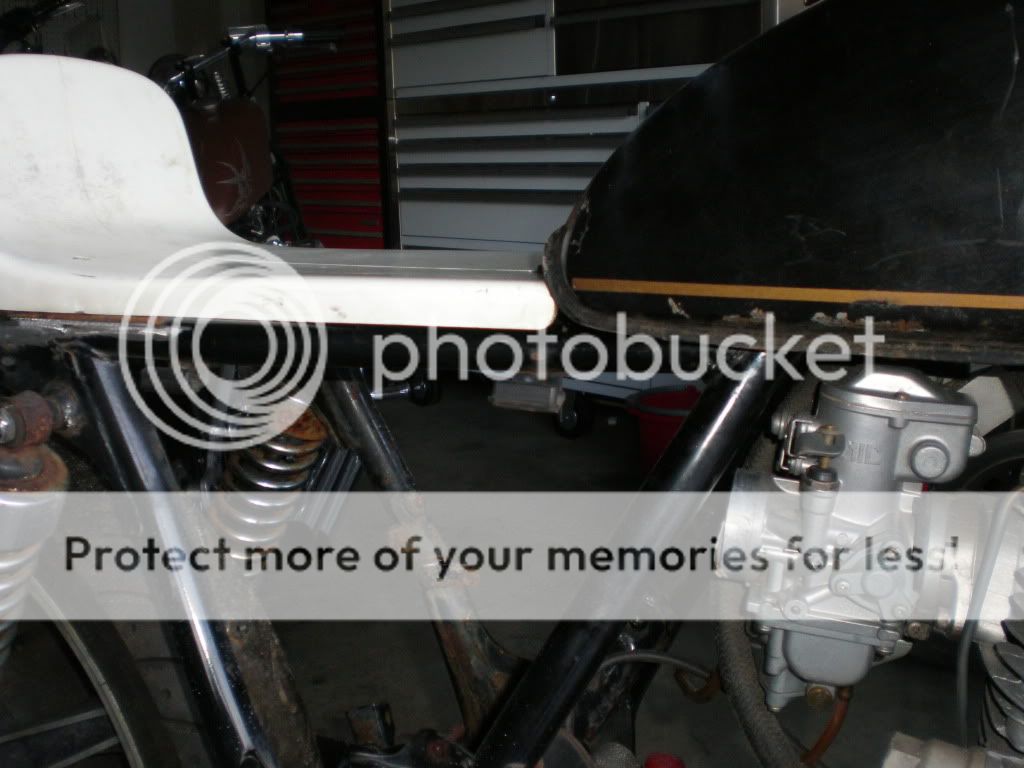
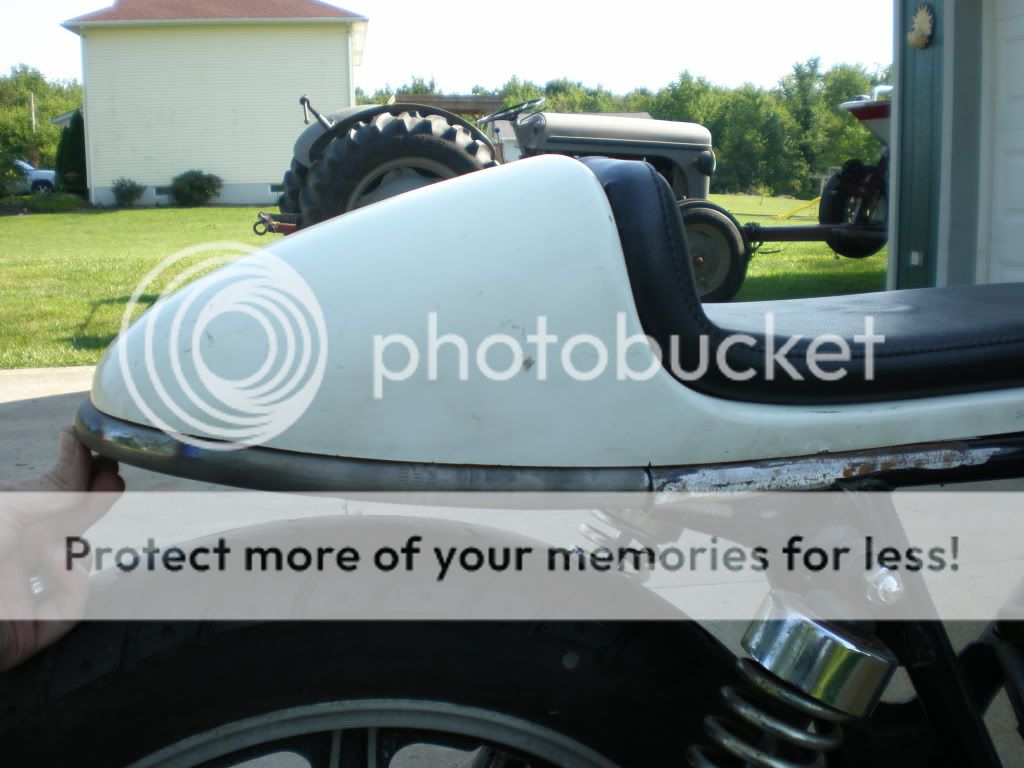
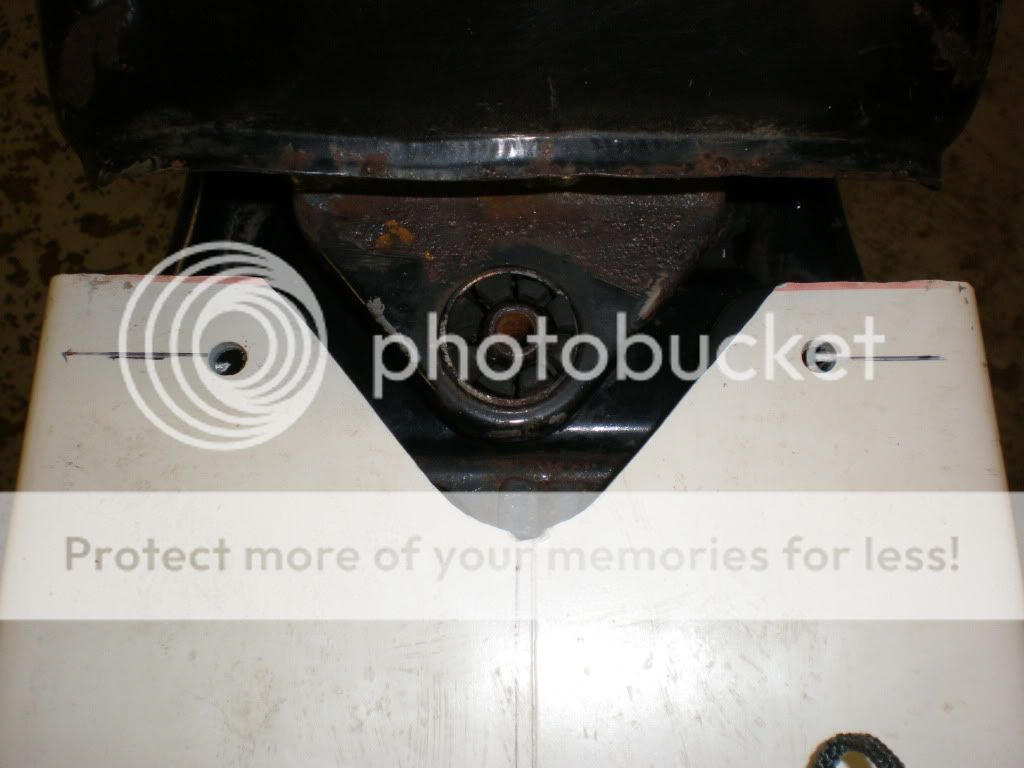
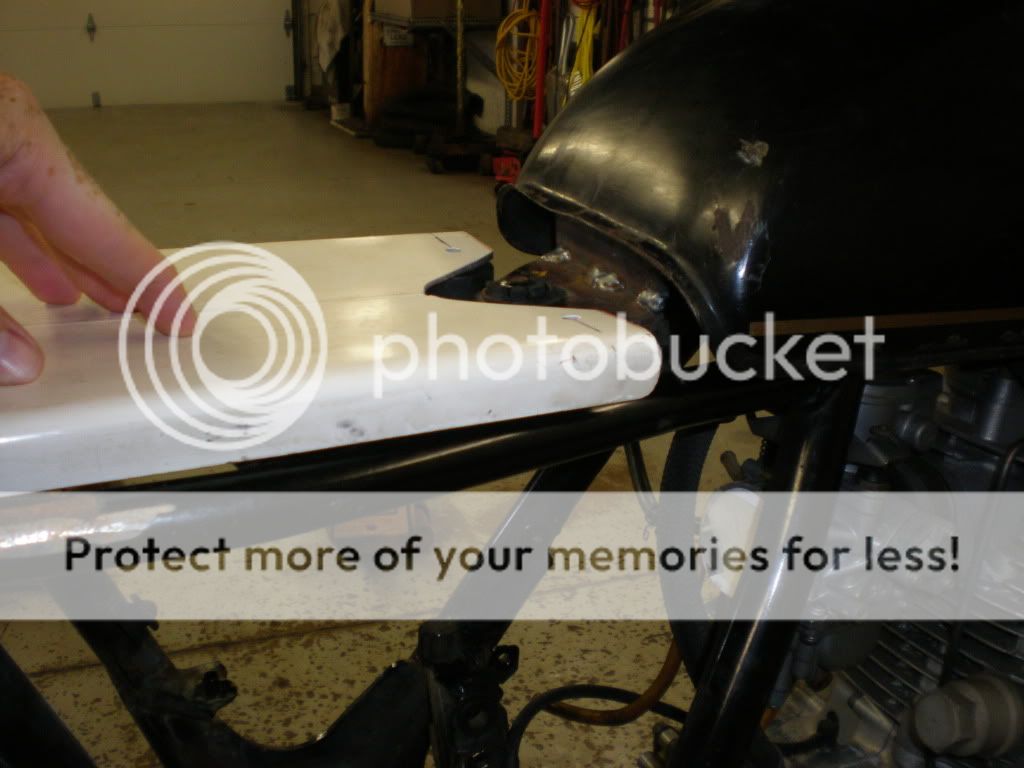
Cutting the rails and test fitting the seat.... You can see how the rear of the tank sags...

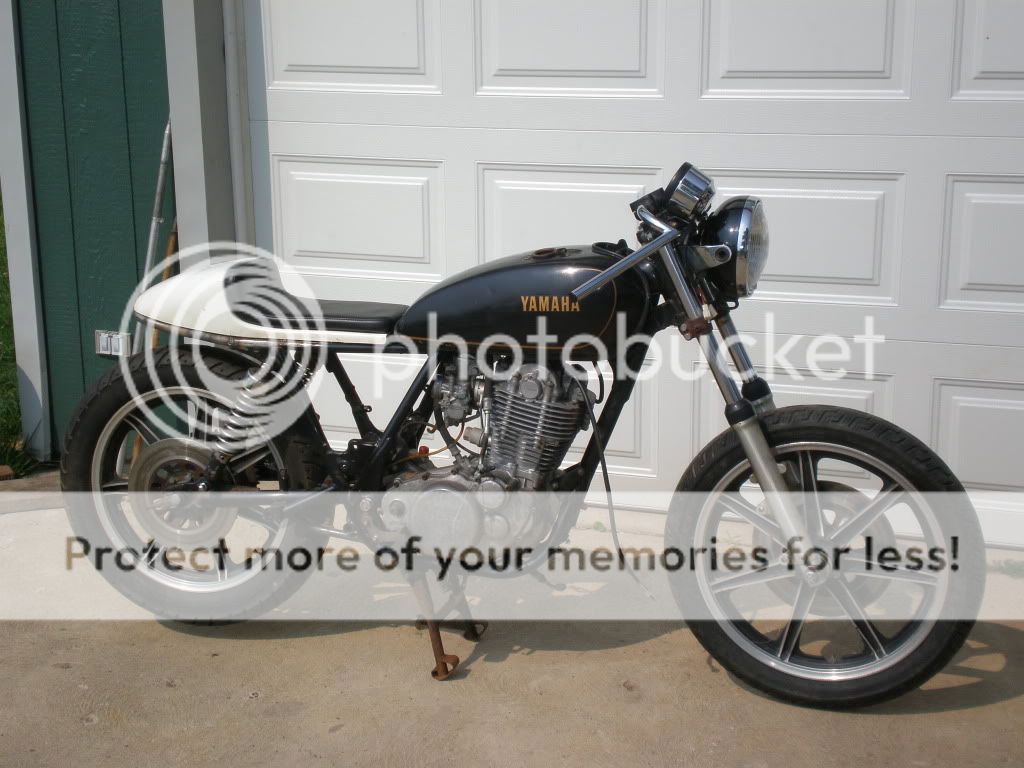
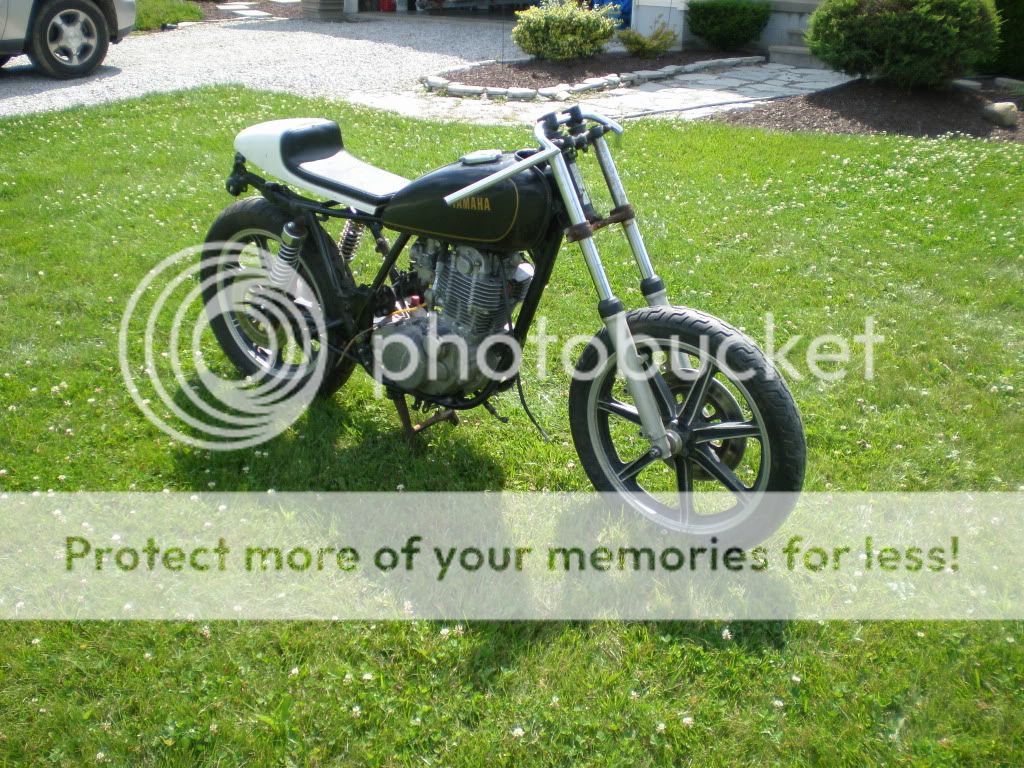
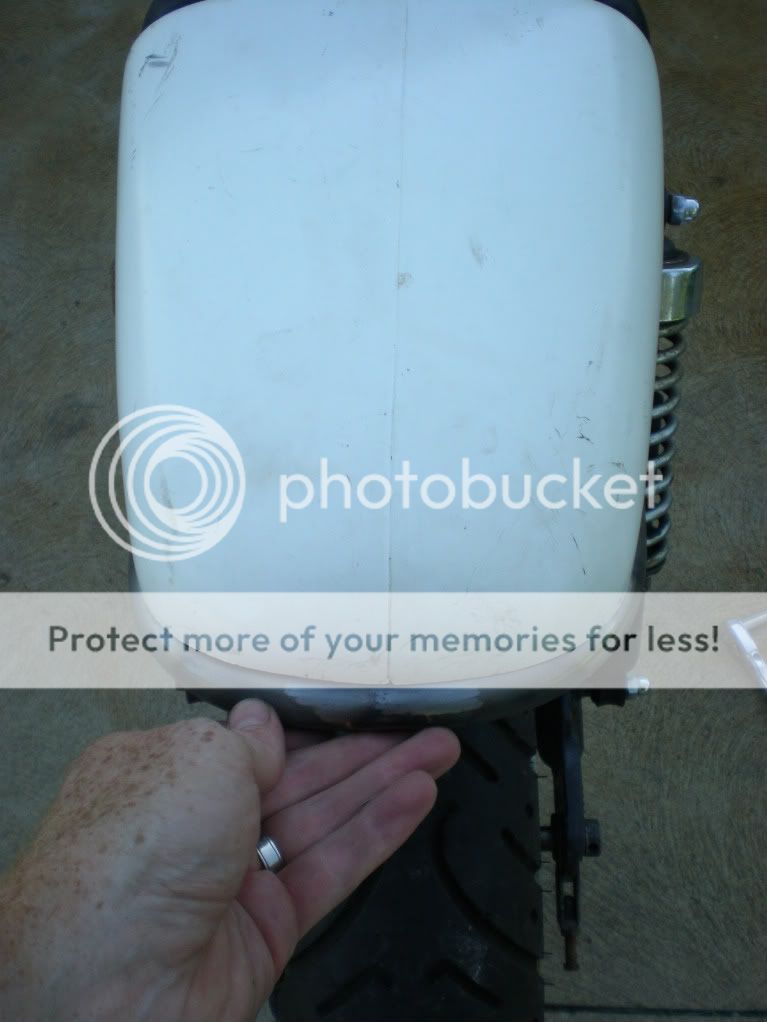
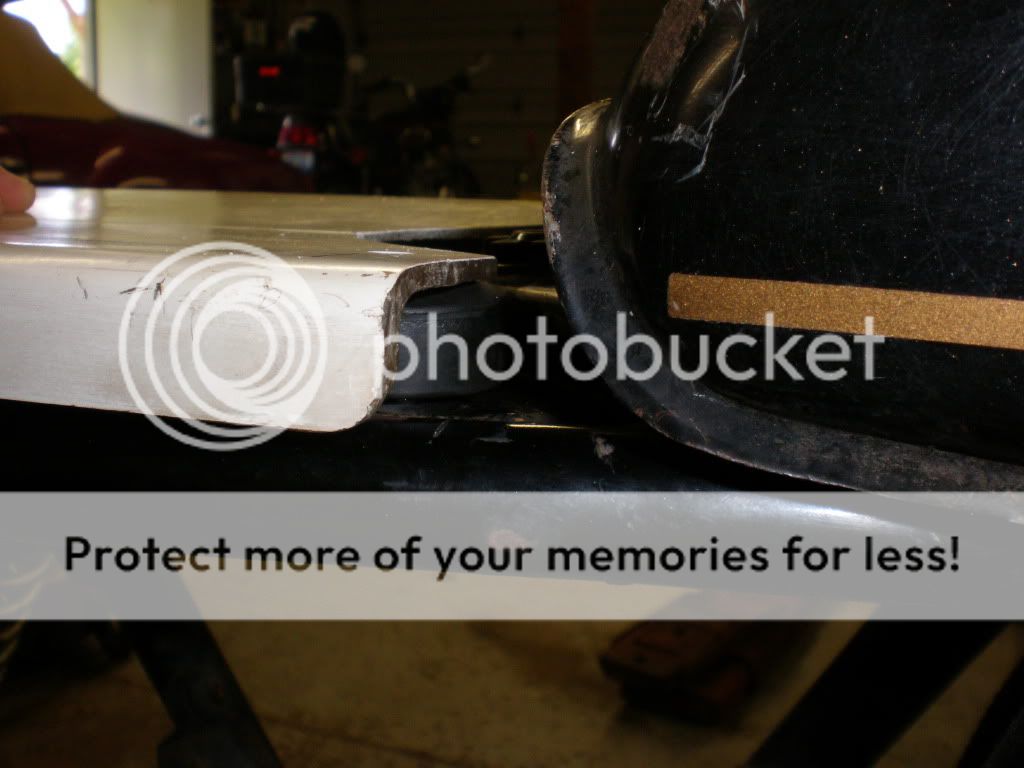
Raising the tank....

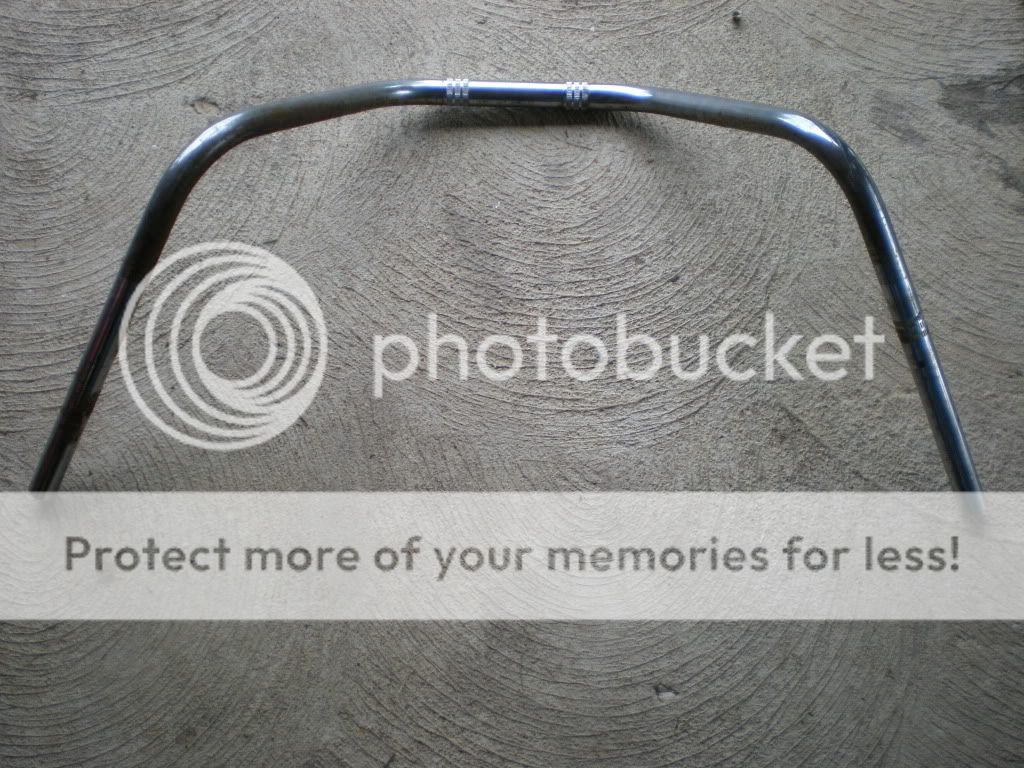
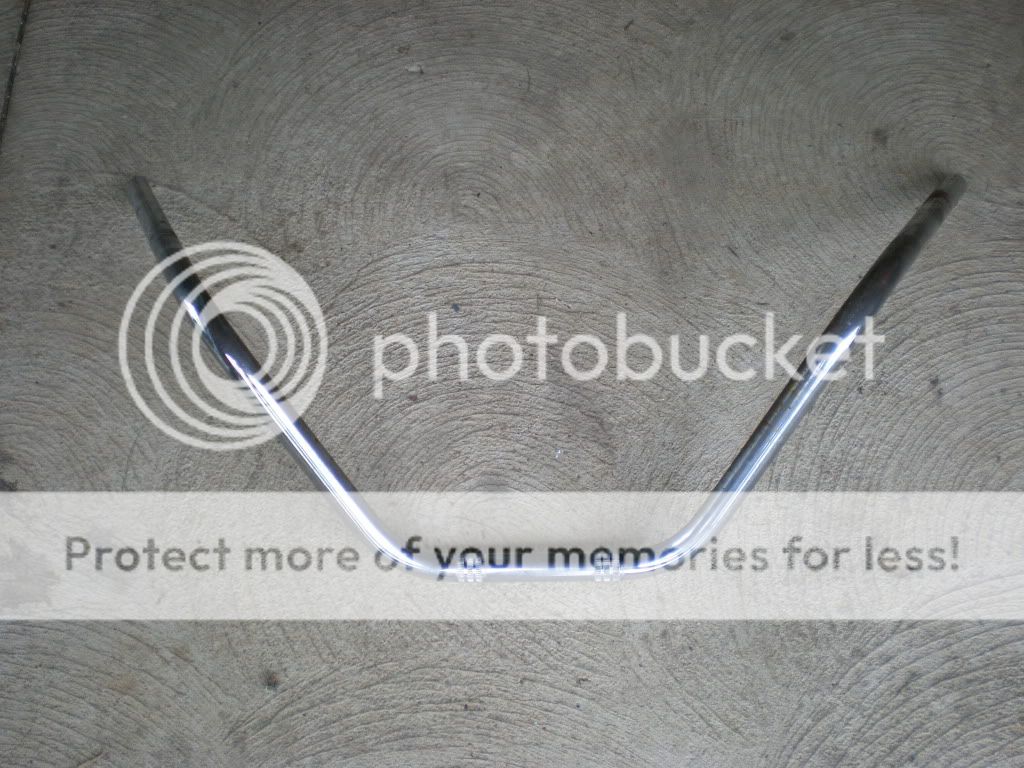
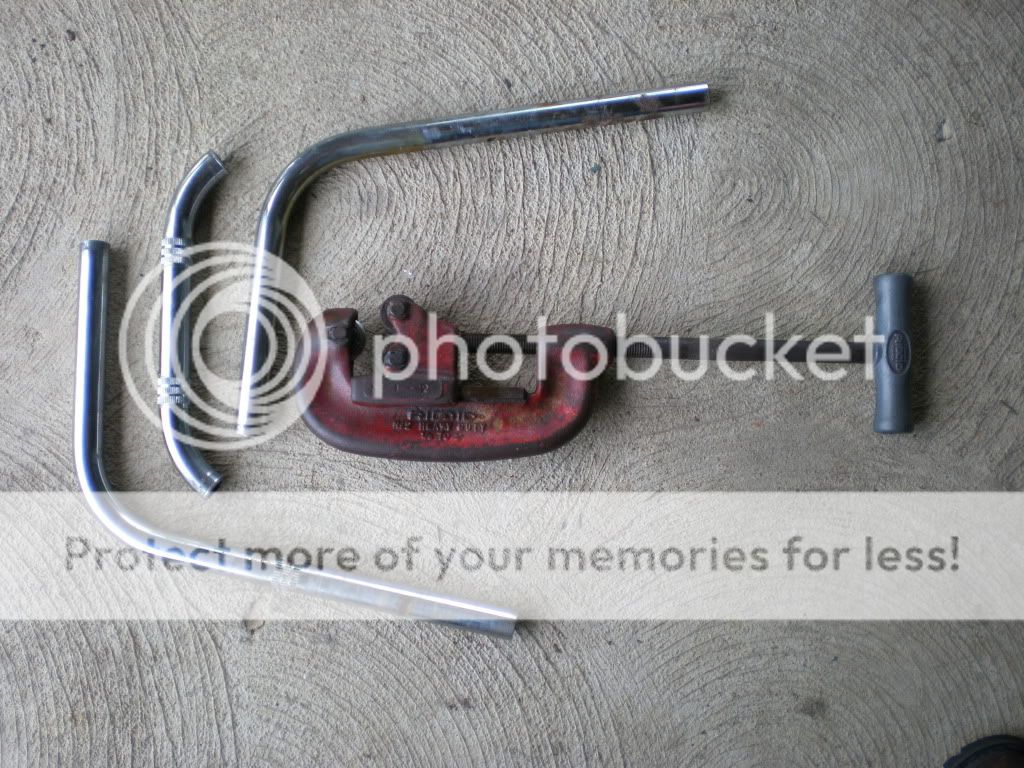
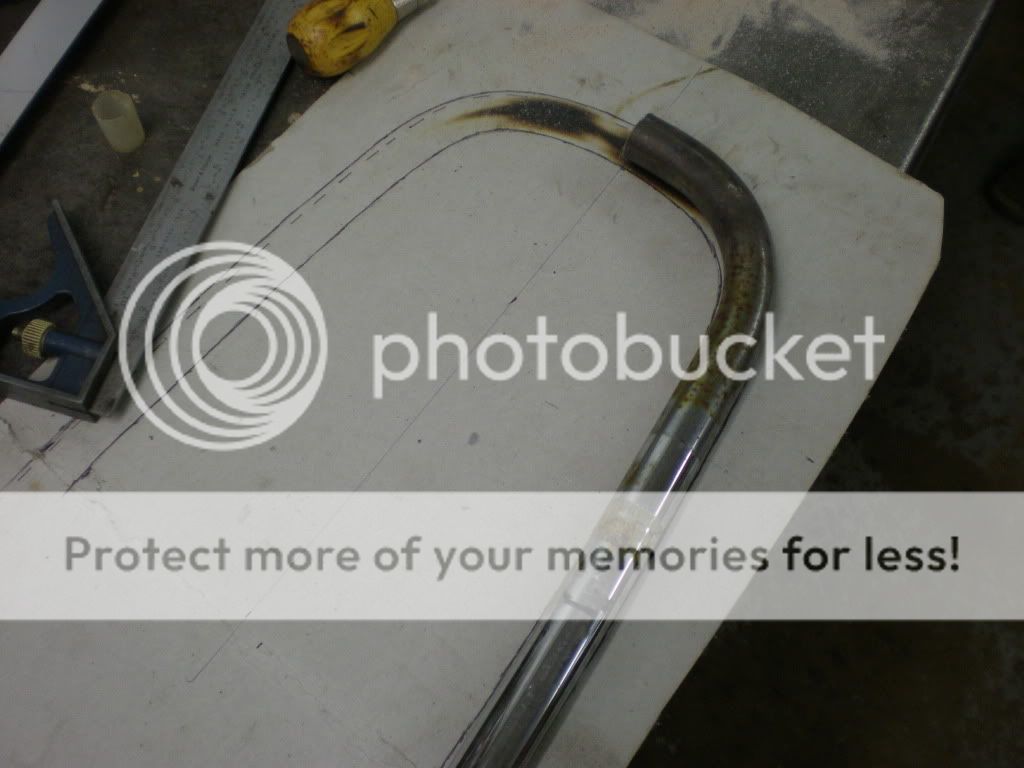
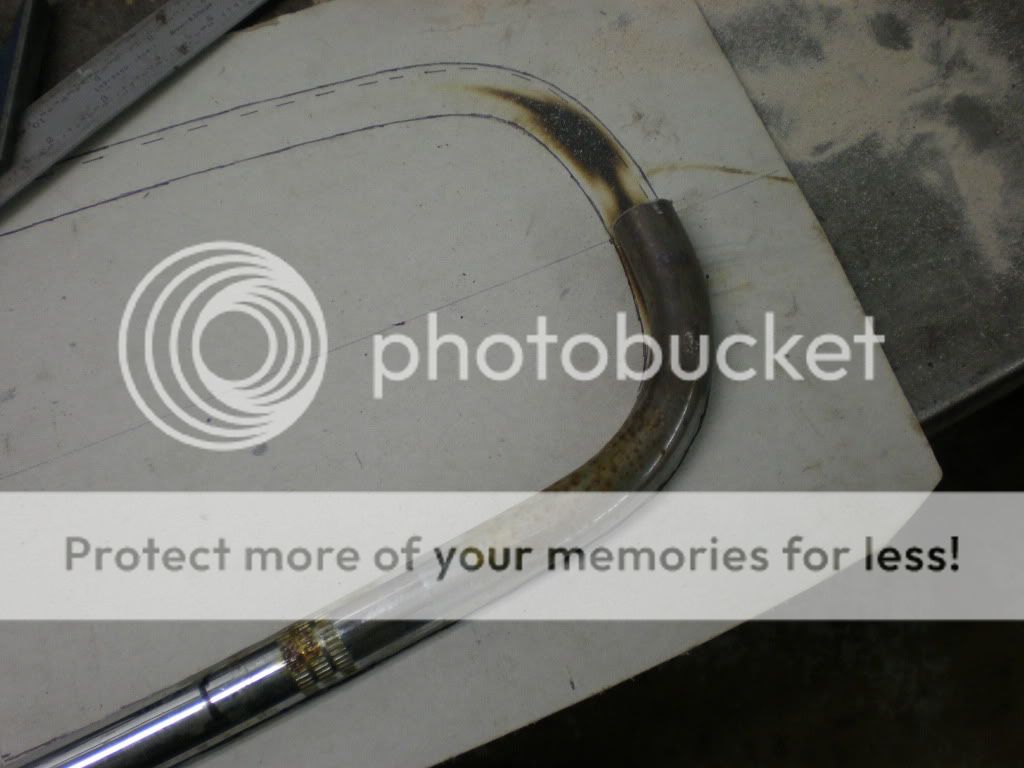
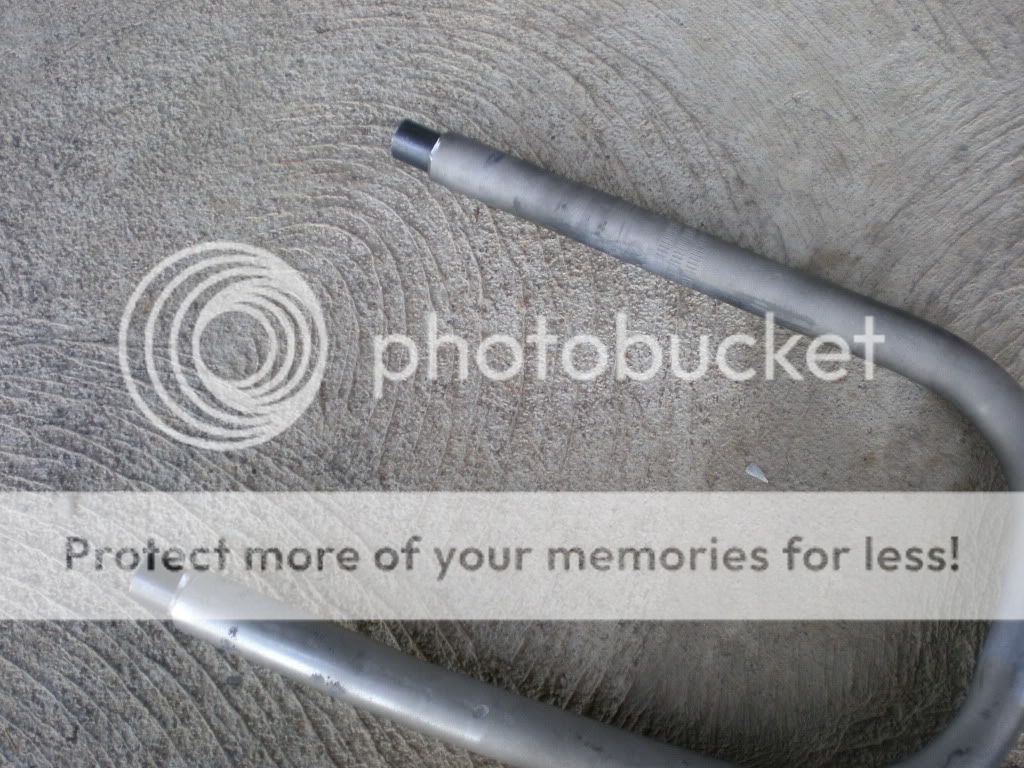
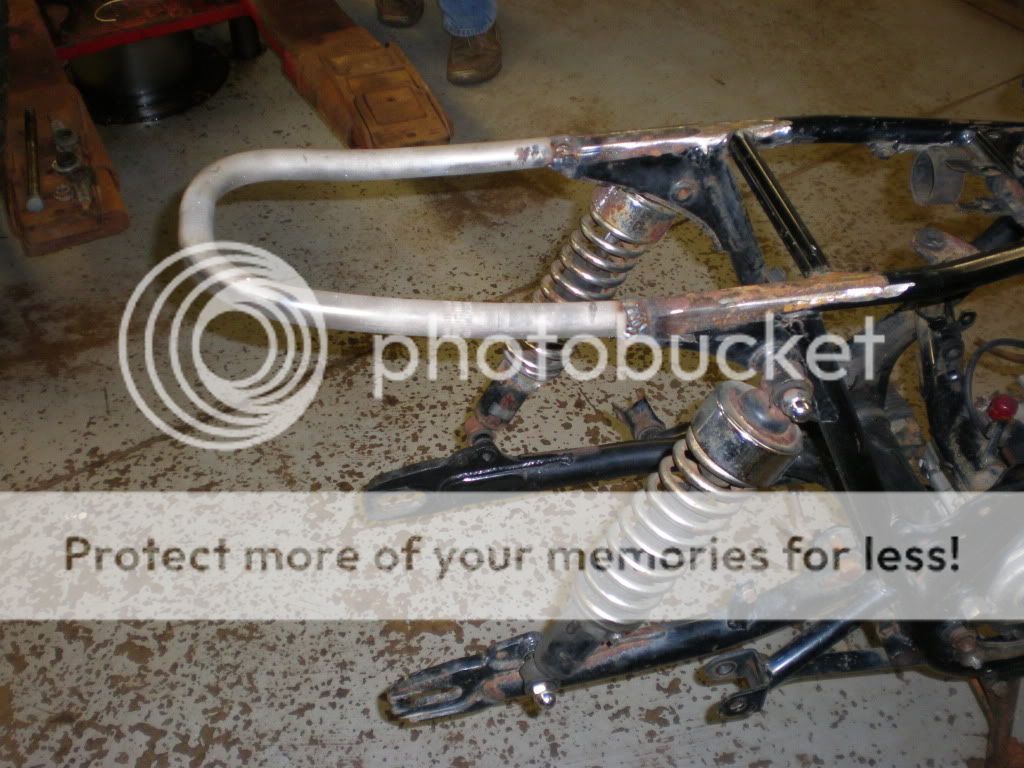
Steal some bars from the trash and get to cutting!

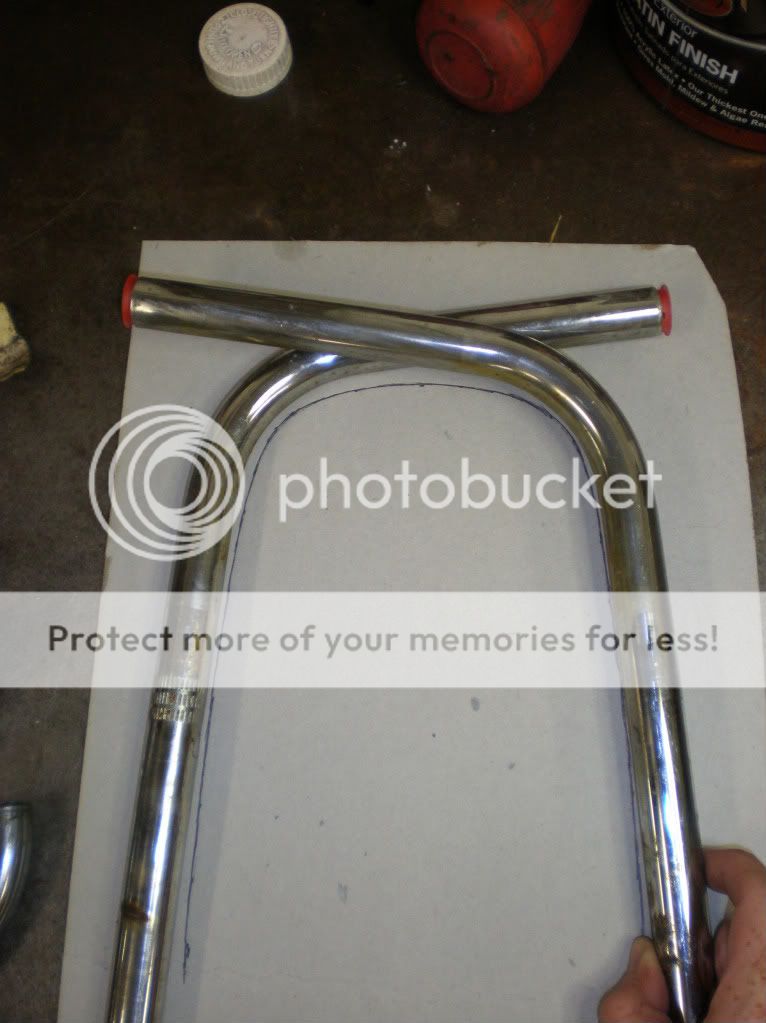
Test fit them together.
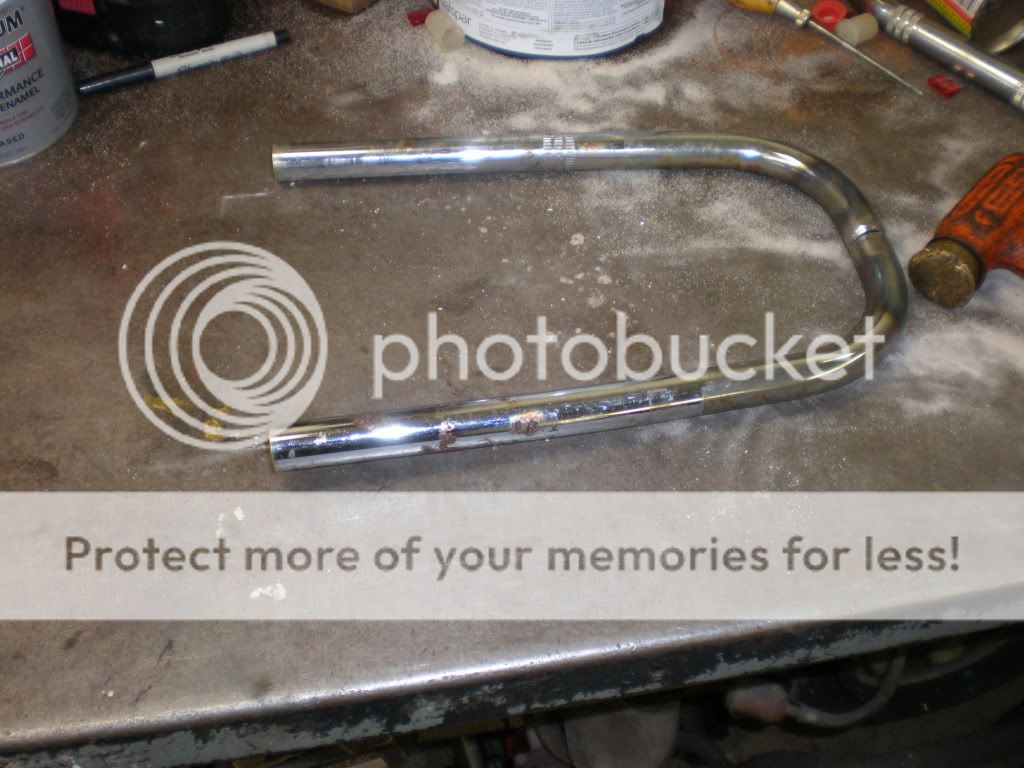
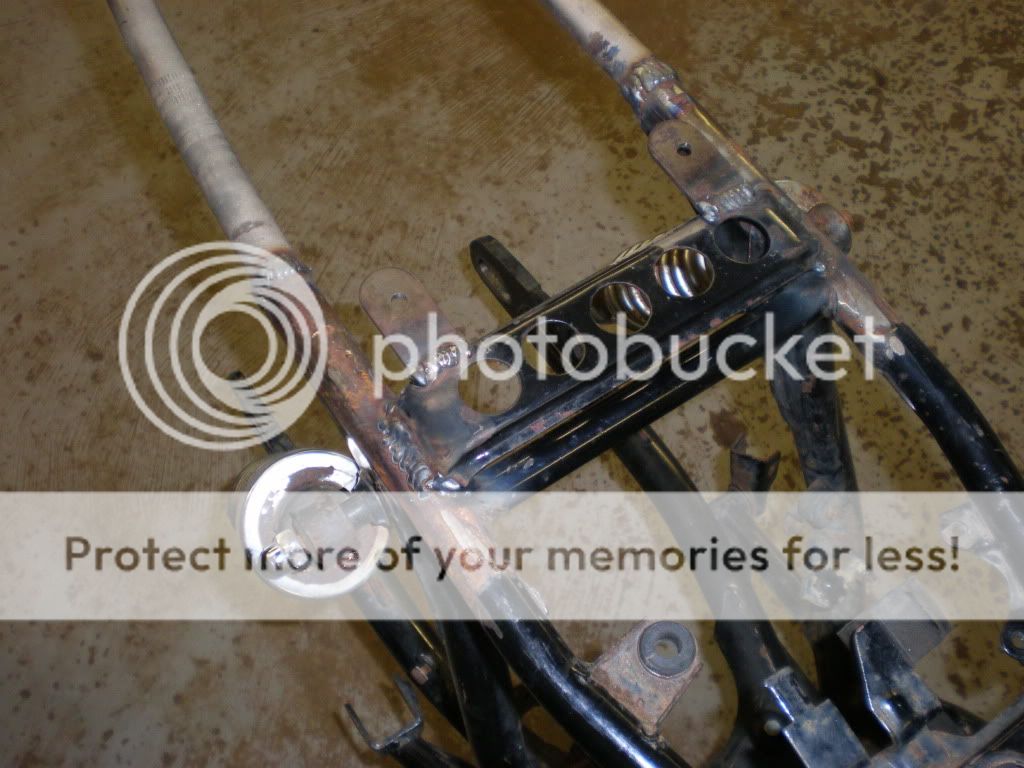
Weld them up.
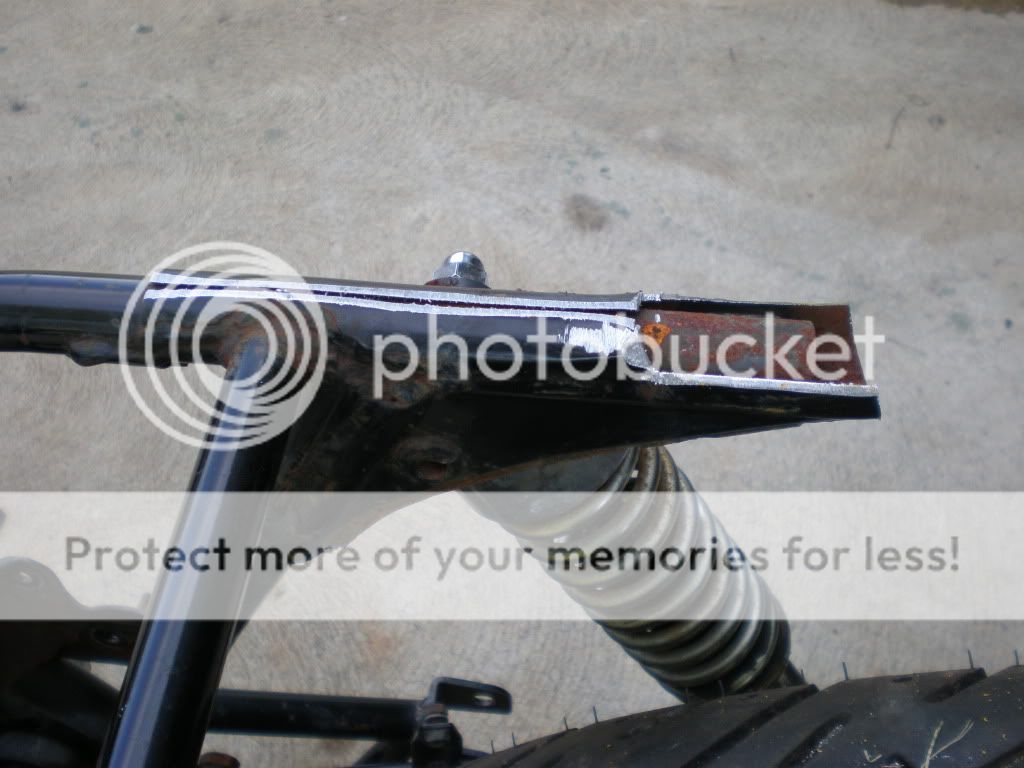
Slug em'
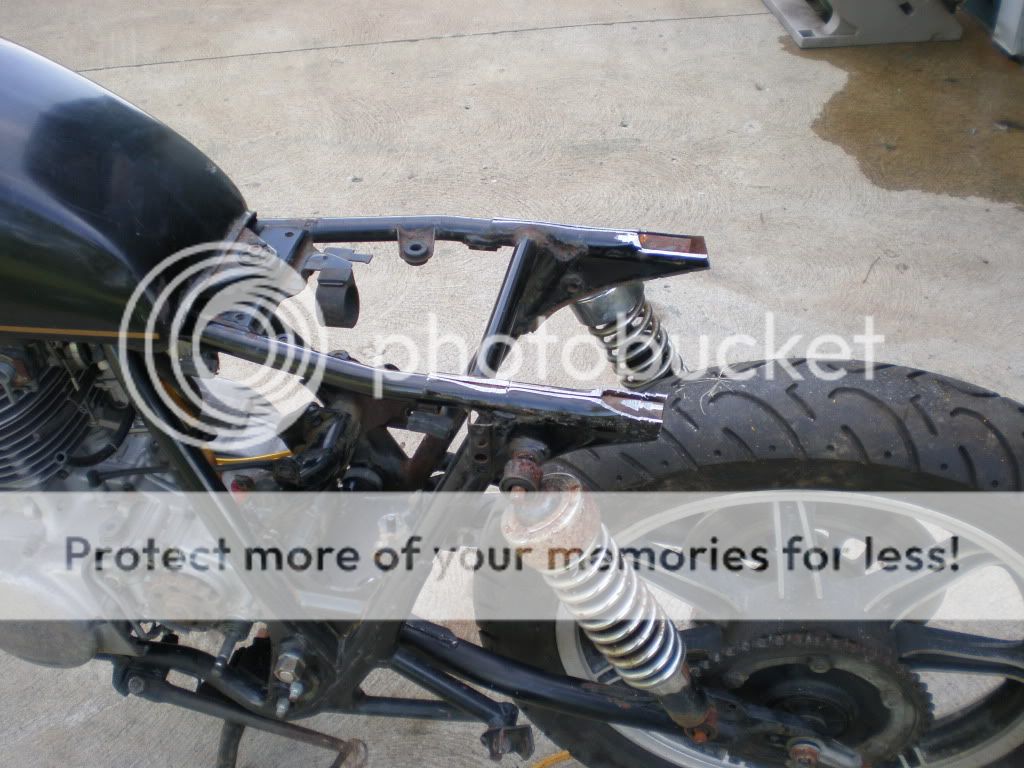
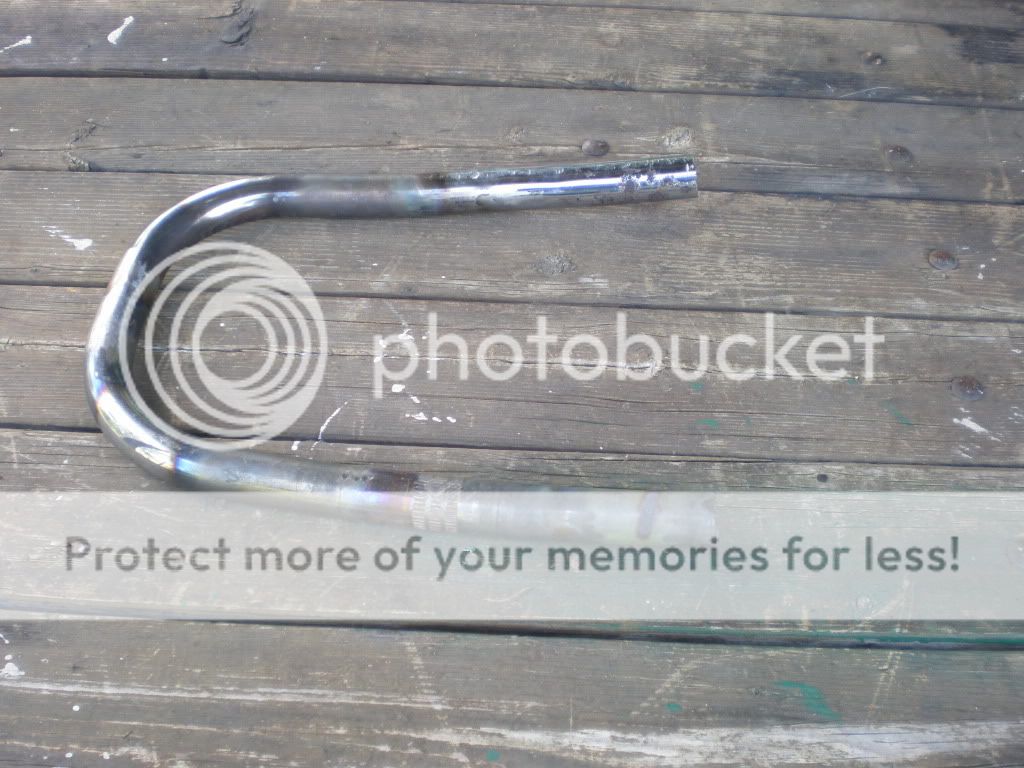
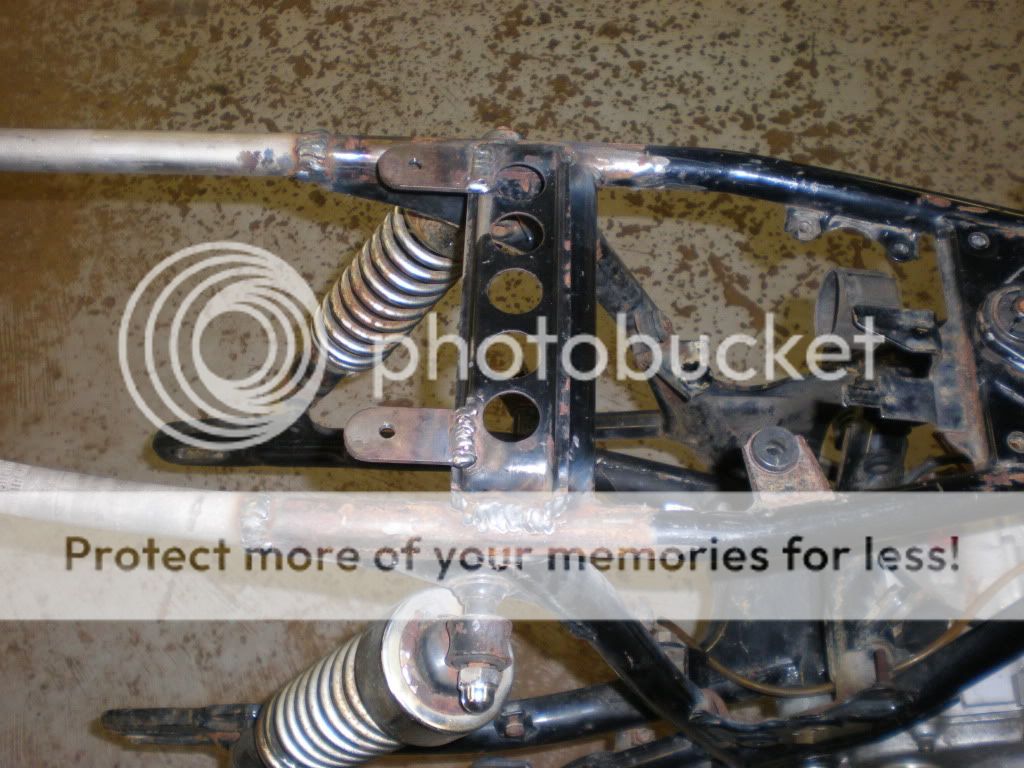
Test fit them
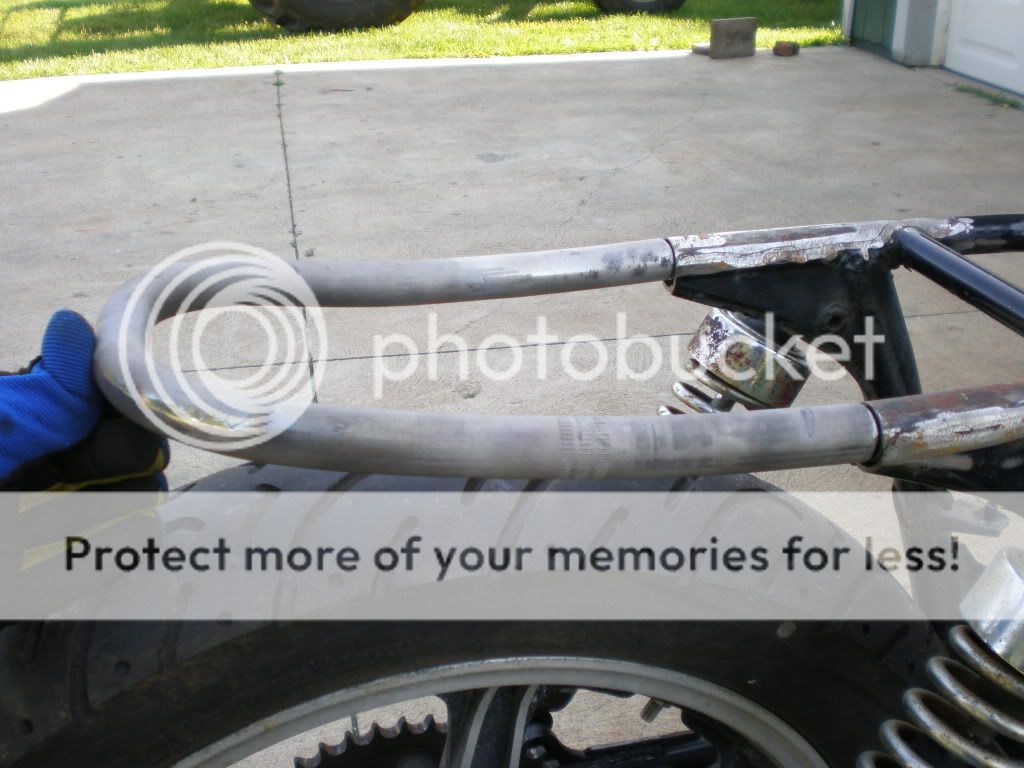
Weld it up!
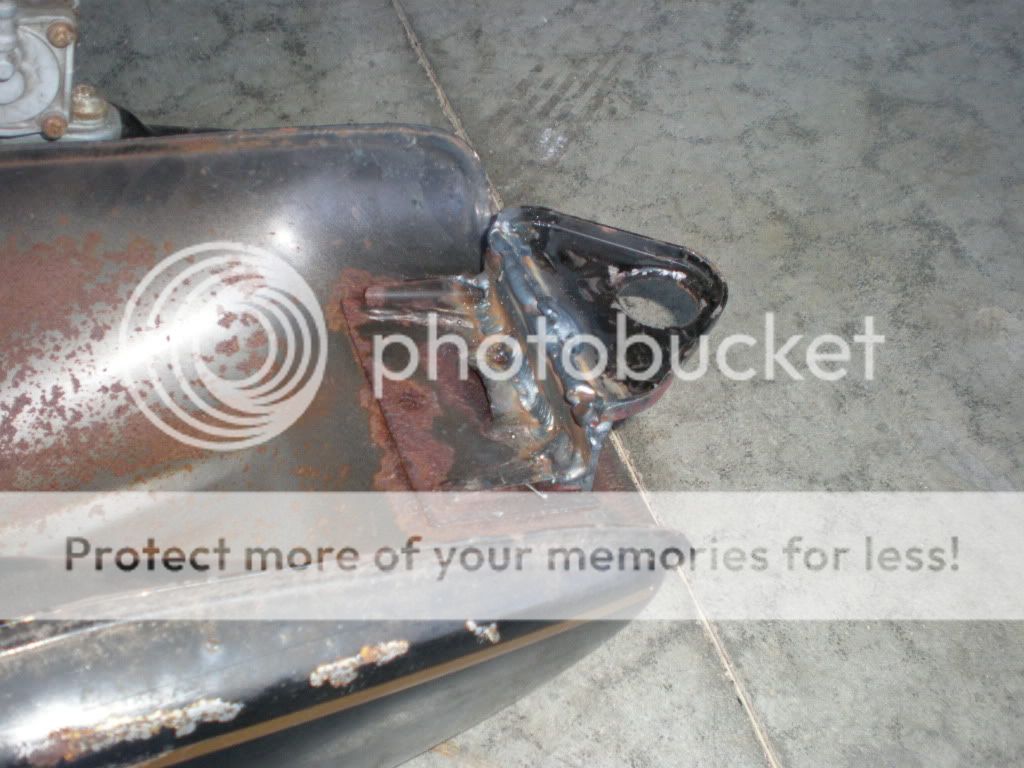
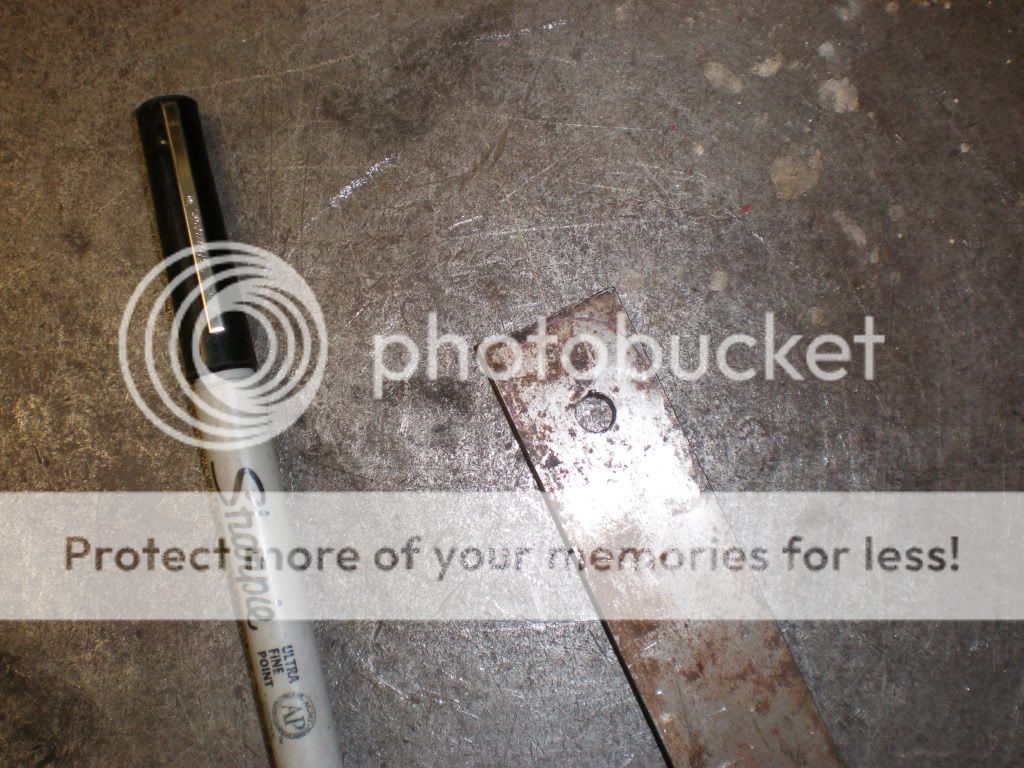
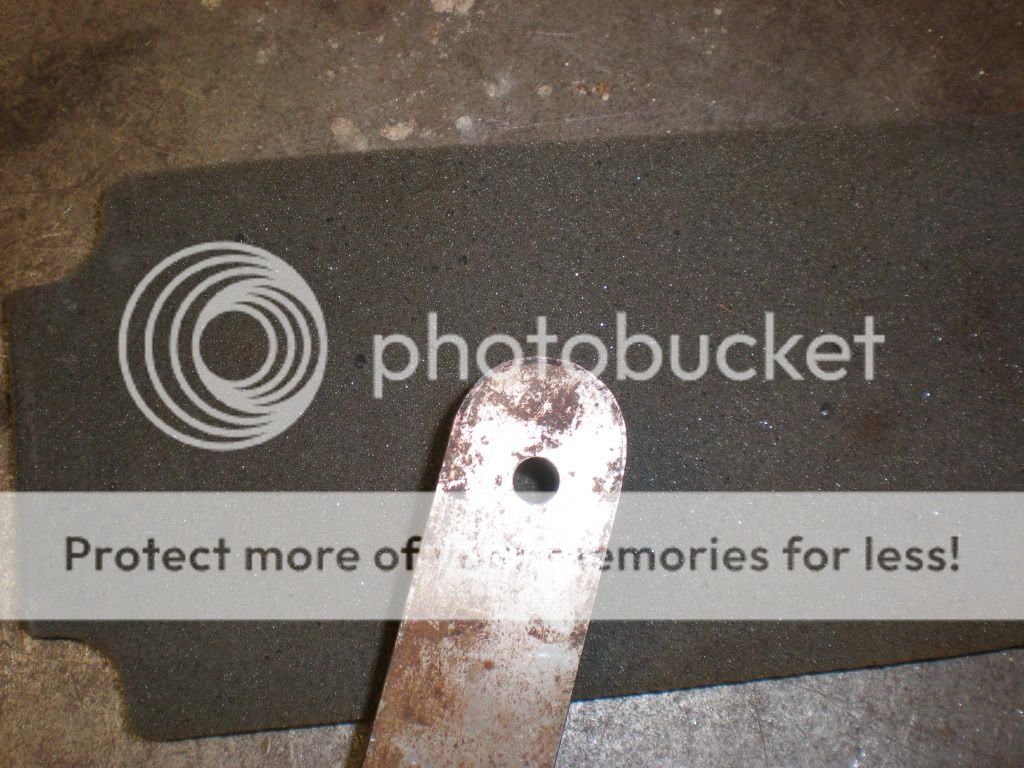
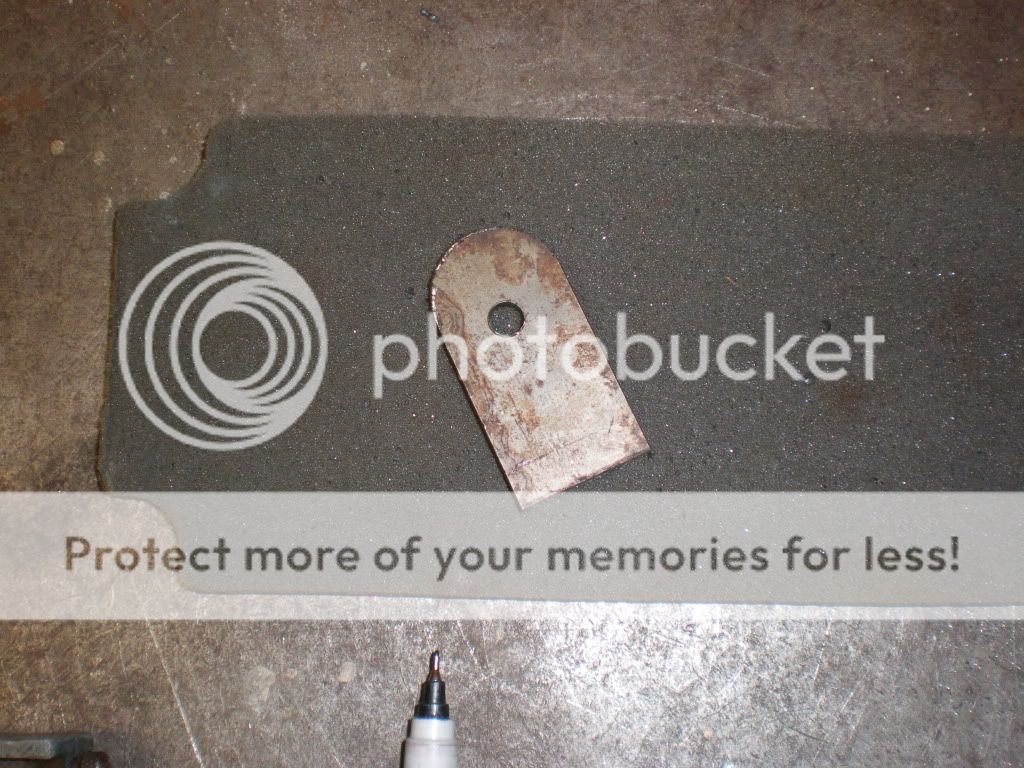
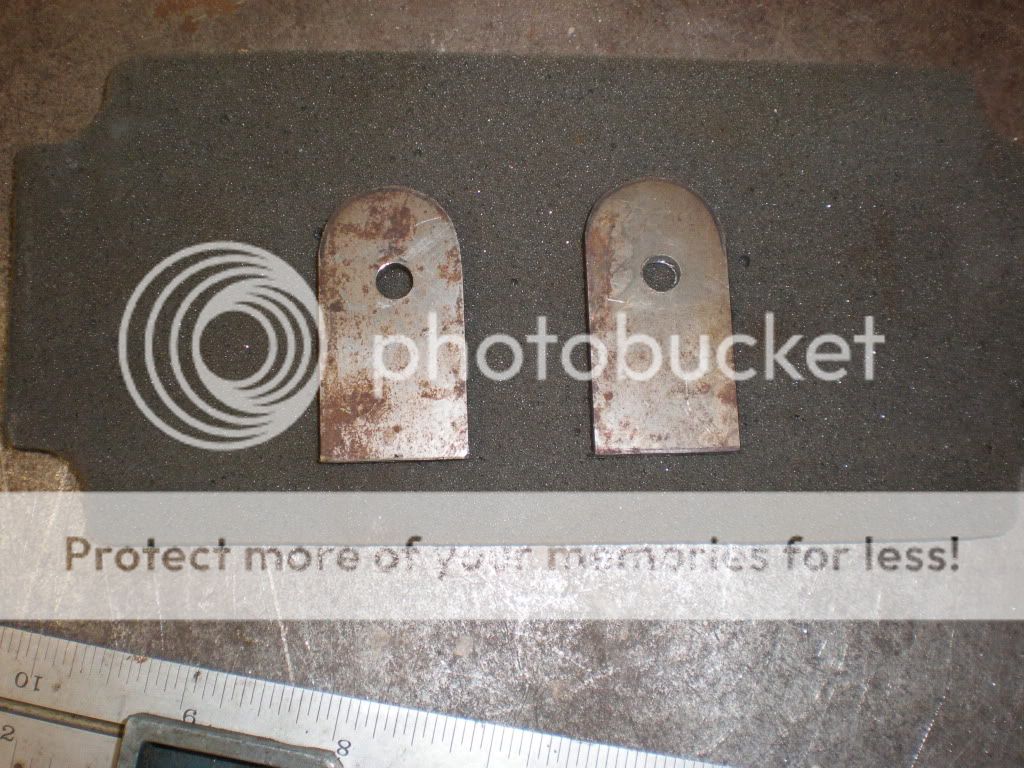
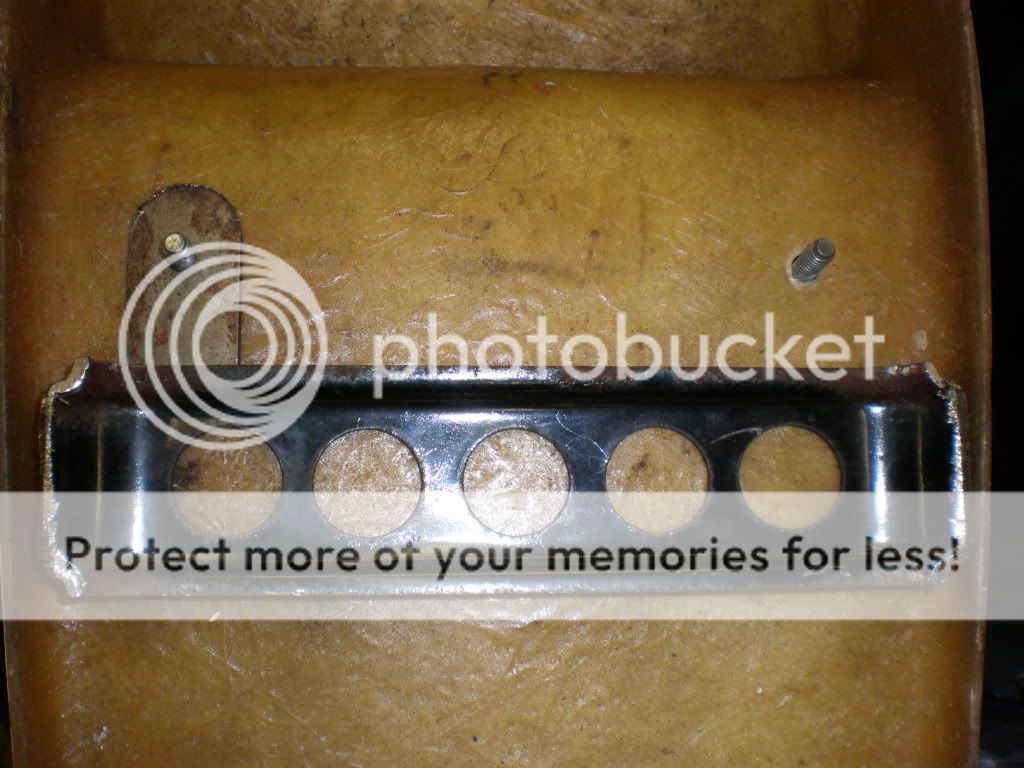
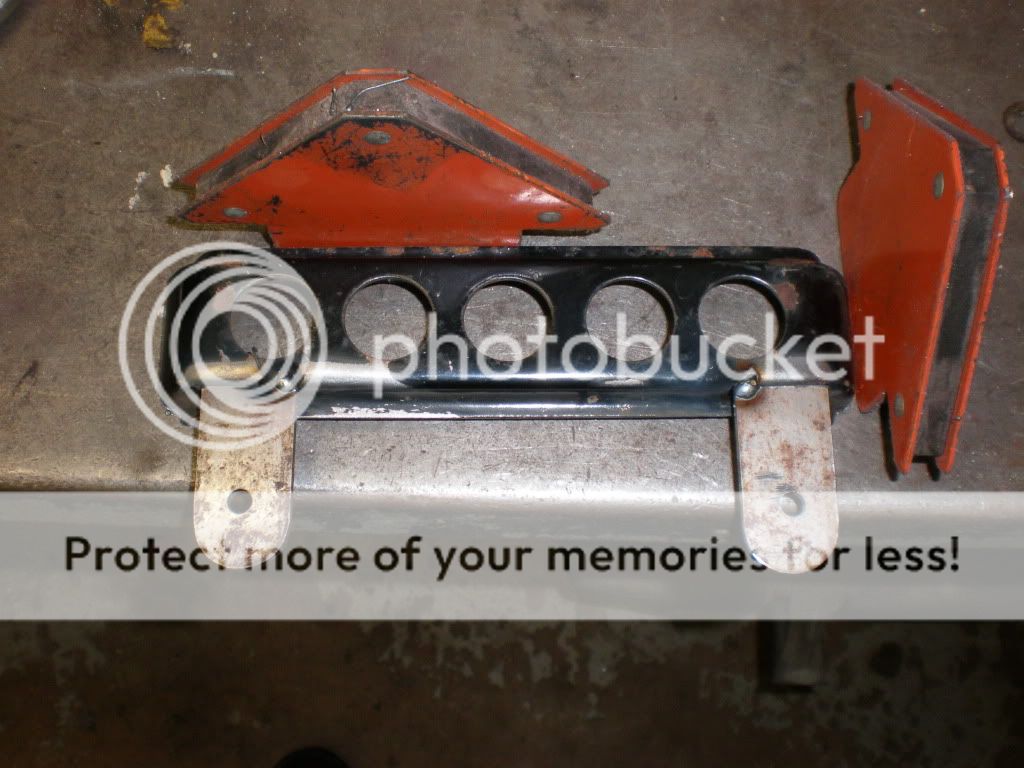
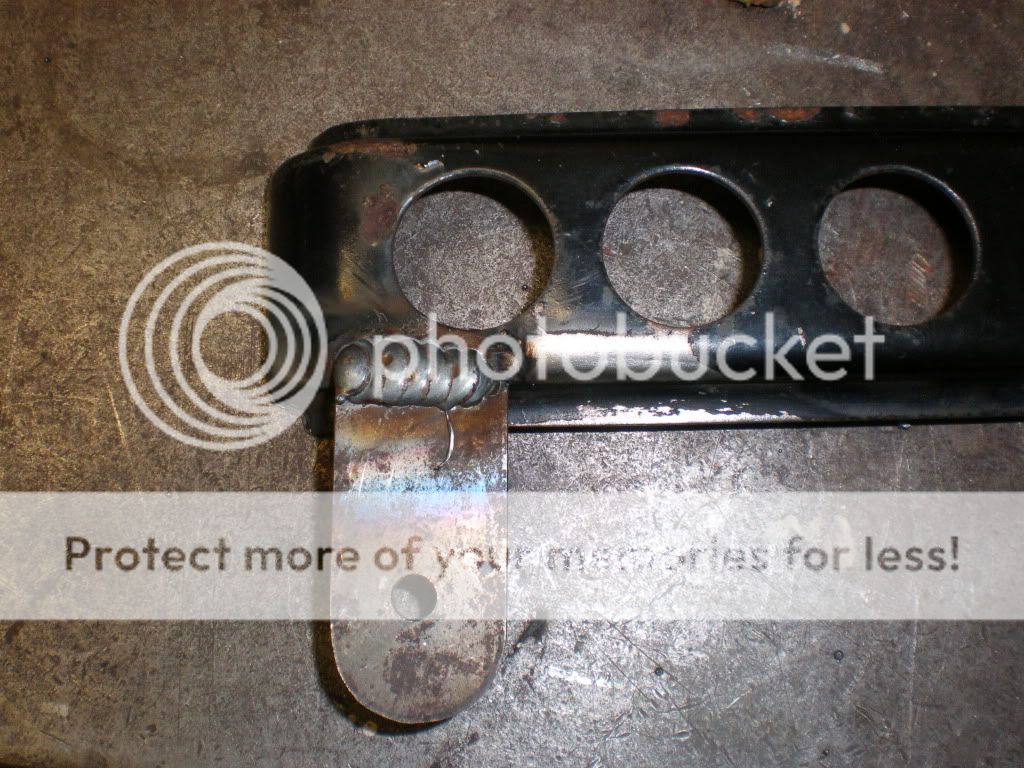
Making the brakects from flat stock.
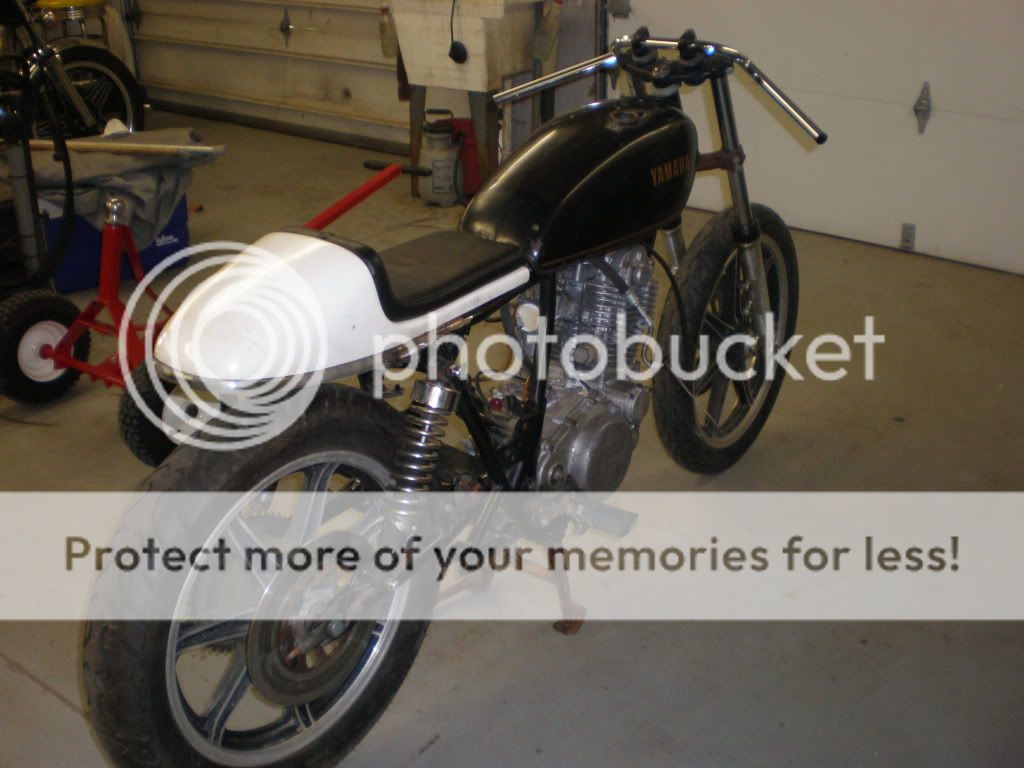

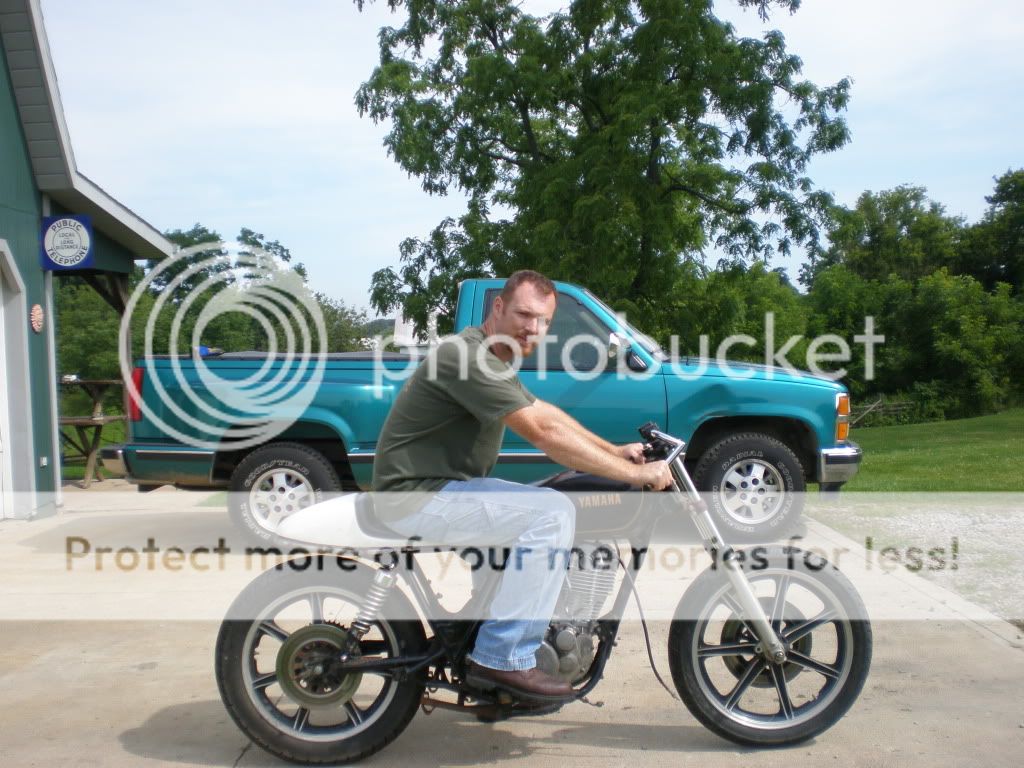
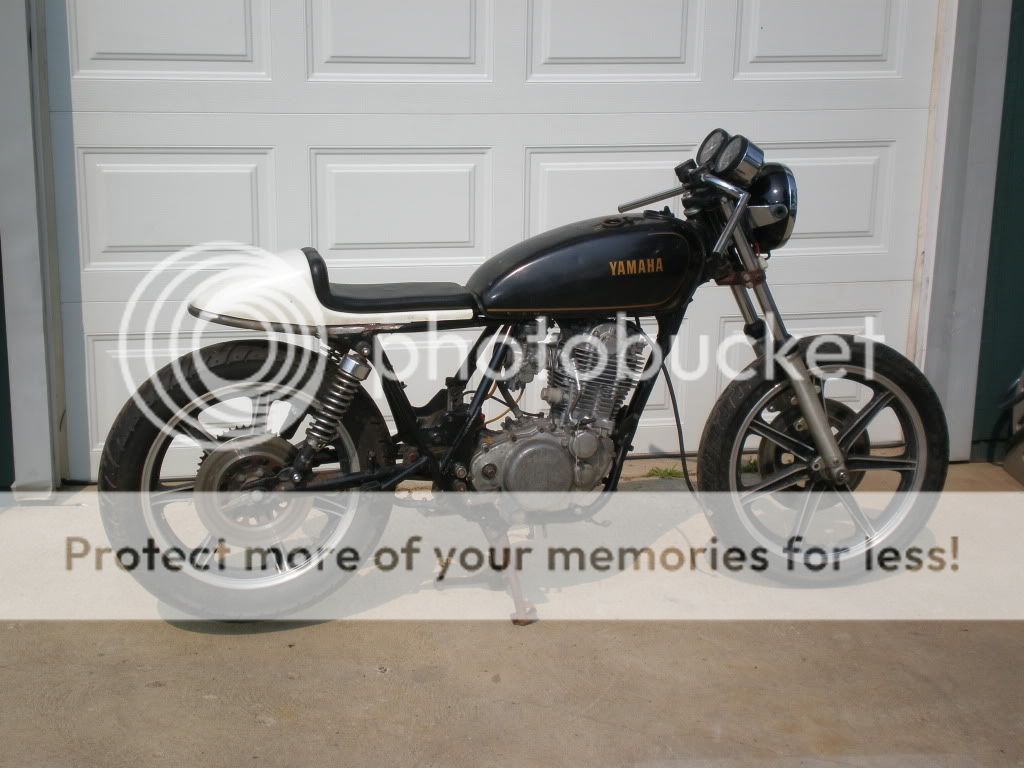
So there you have it! That is my build so far. I plan to pick up a set of 14.25 inch shocks for the rear to raise it up some. I am also debating how to really tuck a tail light into the scheme. I might just do some small bullet signals right behind the shocks that double as the running and brake lights. Let me know what you guys think so far!!!
As I got it.....
The teardown....
The cleanup.....
Before...
After....
And the motor! Forgot to blow the beads off!
My super cool seat find. I will be making a mold of this sometime this week to make some more!
Cutting the rails and test fitting the seat.... You can see how the rear of the tank sags...
Raising the tank....
Steal some bars from the trash and get to cutting!
Test fit them together.
Weld them up.
Slug em'
Test fit them
Weld it up!
Making the brakects from flat stock.
So there you have it! That is my build so far. I plan to pick up a set of 14.25 inch shocks for the rear to raise it up some. I am also debating how to really tuck a tail light into the scheme. I might just do some small bullet signals right behind the shocks that double as the running and brake lights. Let me know what you guys think so far!!!


")