
wfo speedracer
Been Around the Block
So I posted this over on PWCToday.com then I got to thinking most all Yamaha starter solenoids are similar. So if the shoe fits wear it, if not throw it on back in the closet.
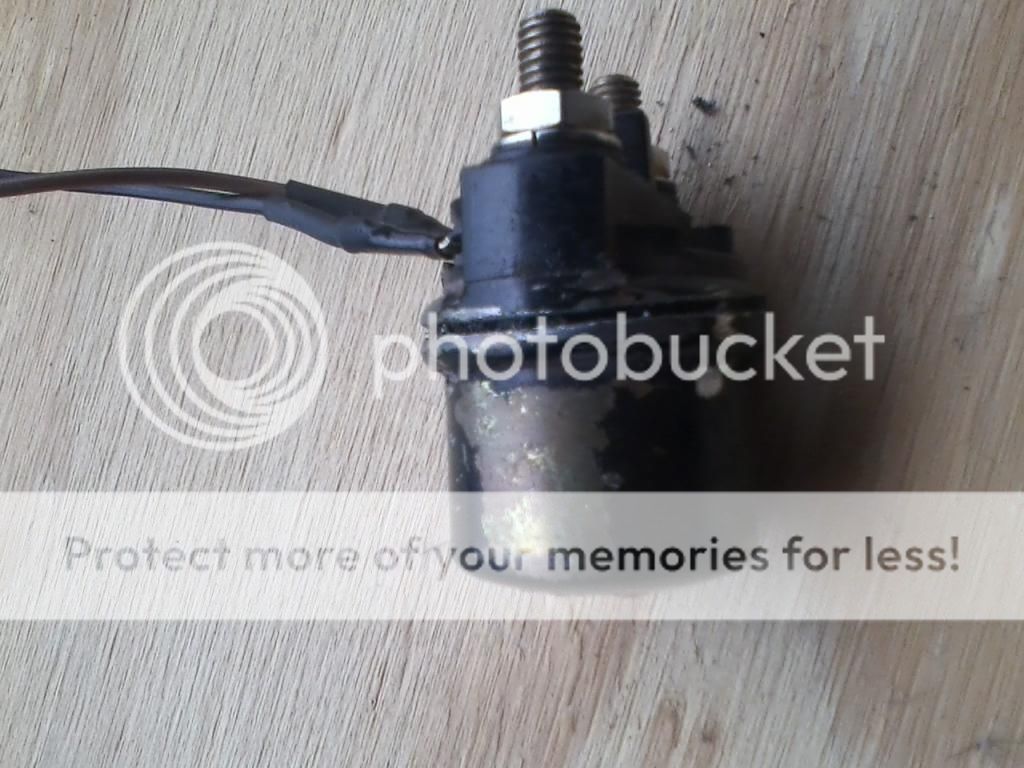
First things first touch the brown wire to battery positive and the black wire to battery positive if it does not click throw it in the round file.
Ok I got a click so time to get it apart, the first one I ground through the metal casing, kinda of messy and not aesthetically pleasing. On the second one I started with a Dremel and a small cutting wheel, face shield required and not very efficient, I finally just chucked it in the vice and used the hacksaw.
The next one I am going to try a large pipe cutter, I believe this will be the ticket, but I am not a plumber and I do not own one so enough of that for the moment.
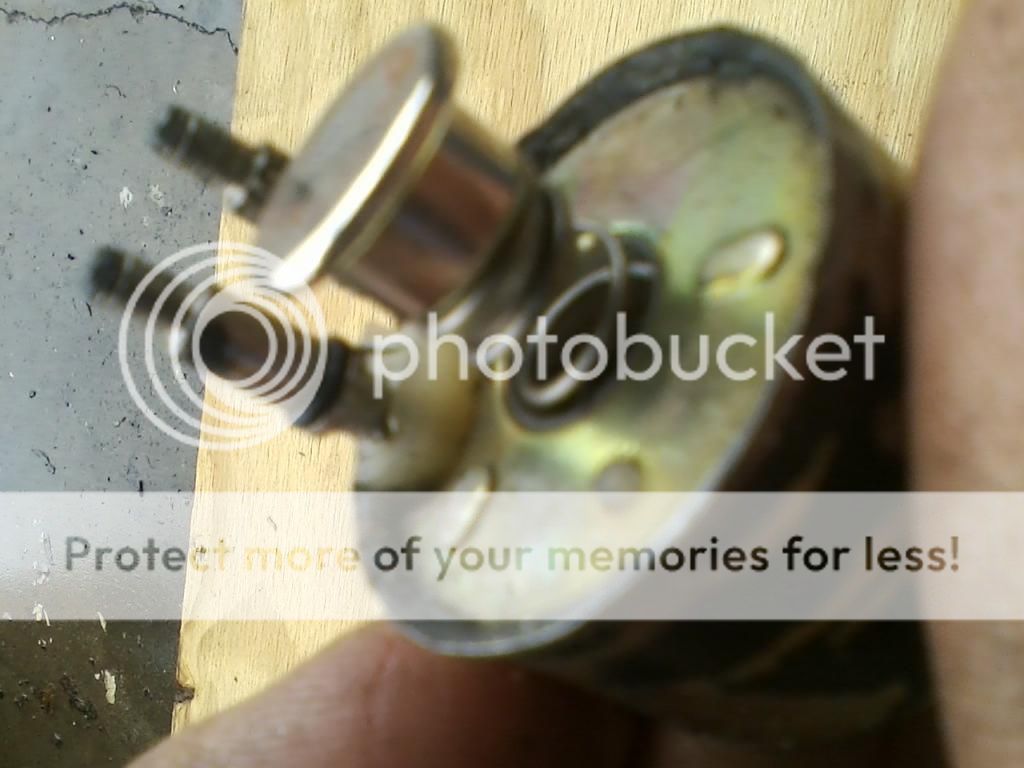
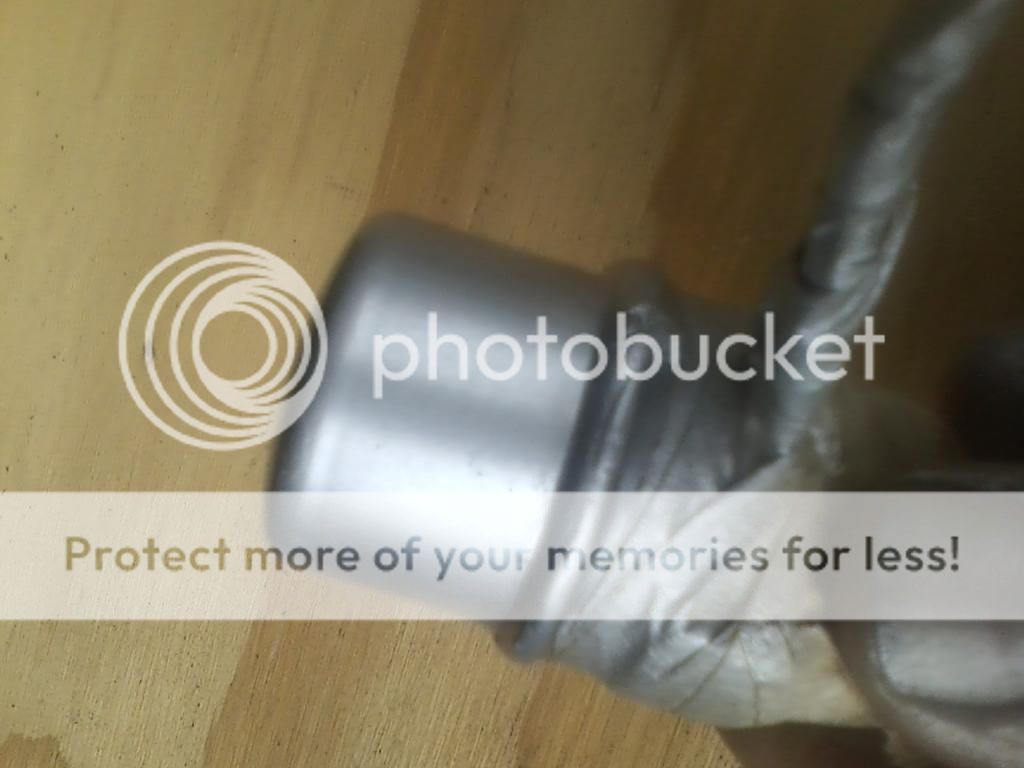
Here are the pics, first pic you can see the cut made around the perimeter of the casing.
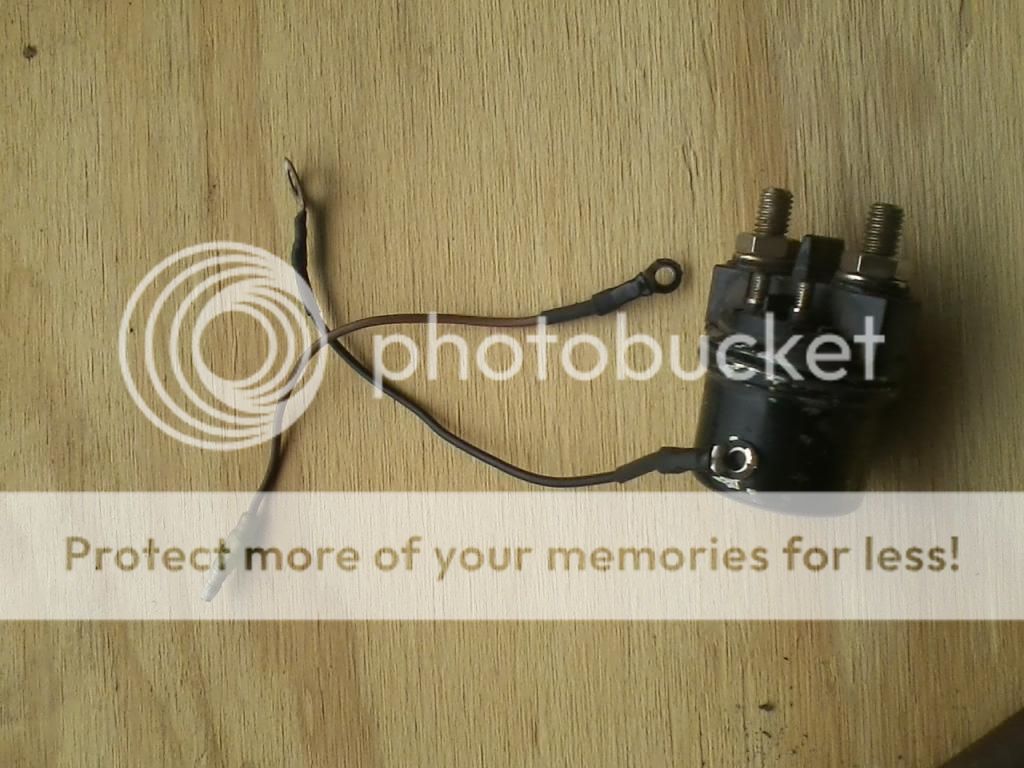
Next remove the brown and black wires from the solenoid.
Ok so now to get it apart. insert the blade of a small screwdriver into the cut, pry it a bit from one side, flip it over and repeat the process, it should come apart easily.

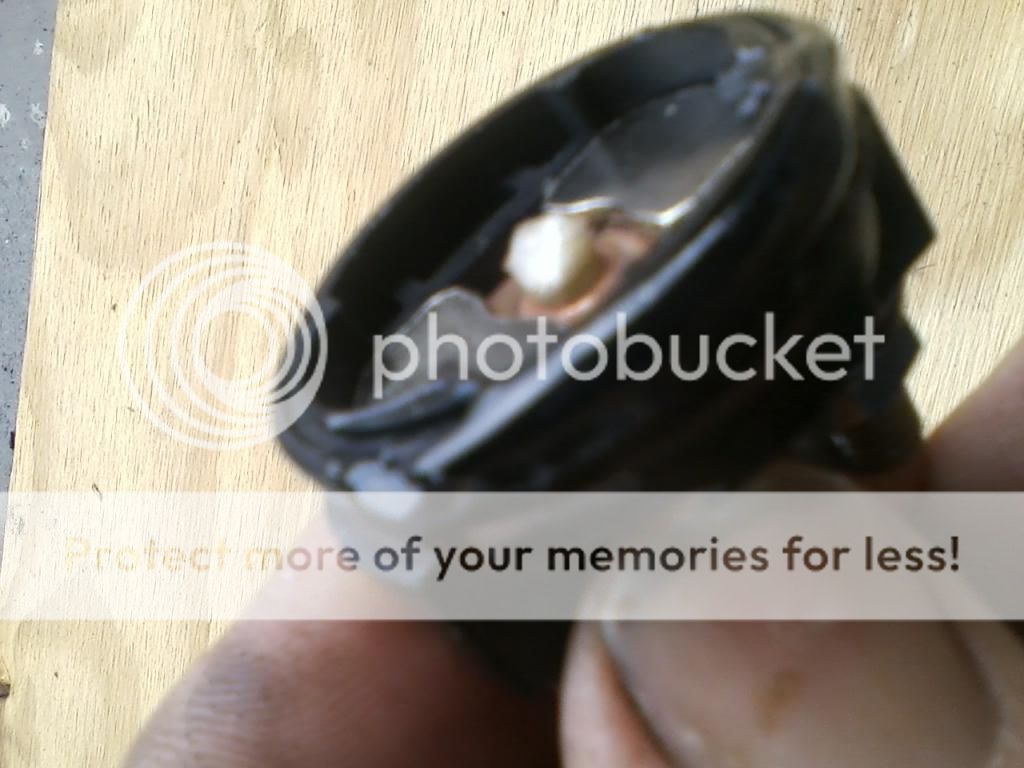
Two halves separated, yake a pair of dykes and remove what s left of the casing on the top part.
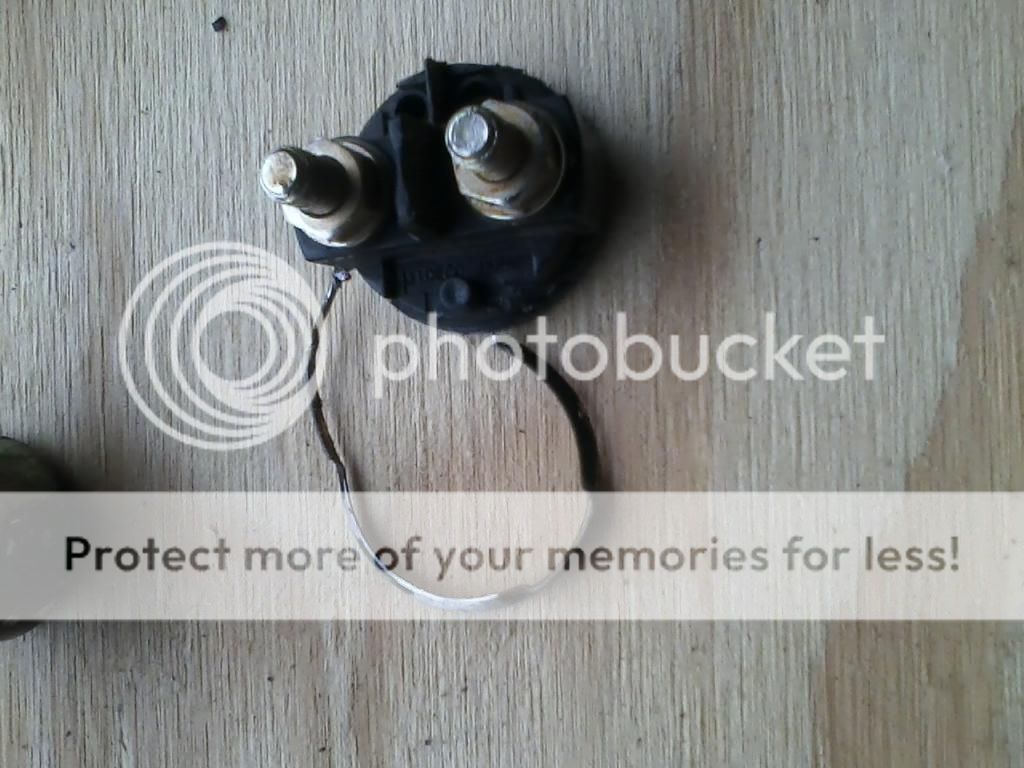
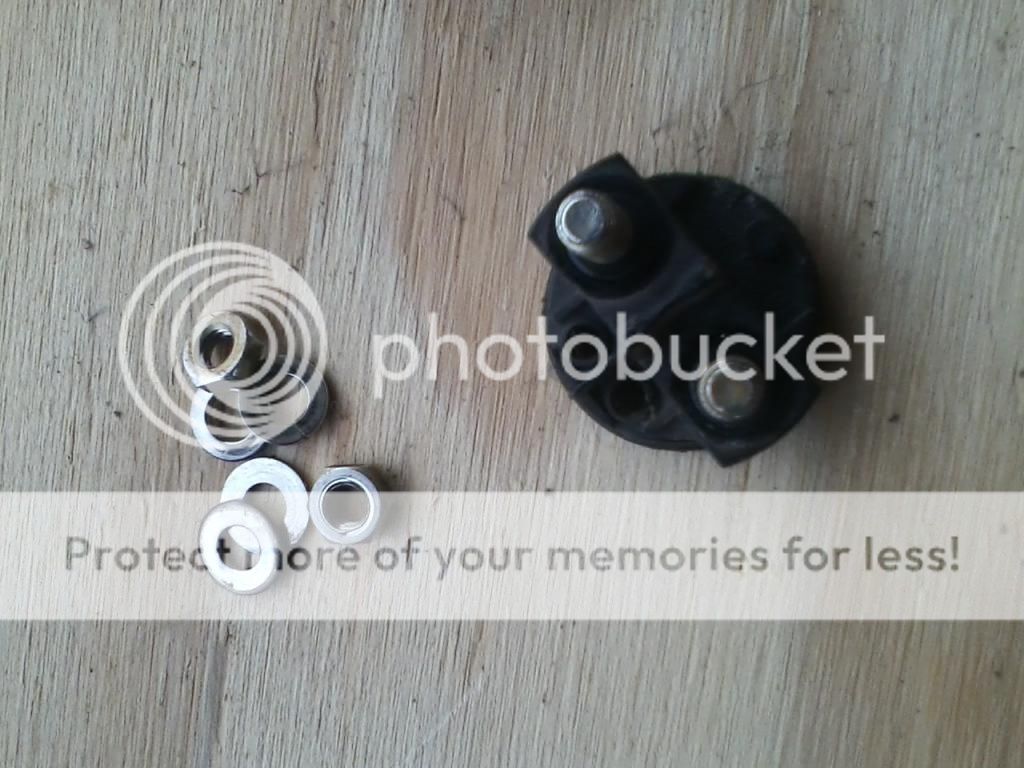
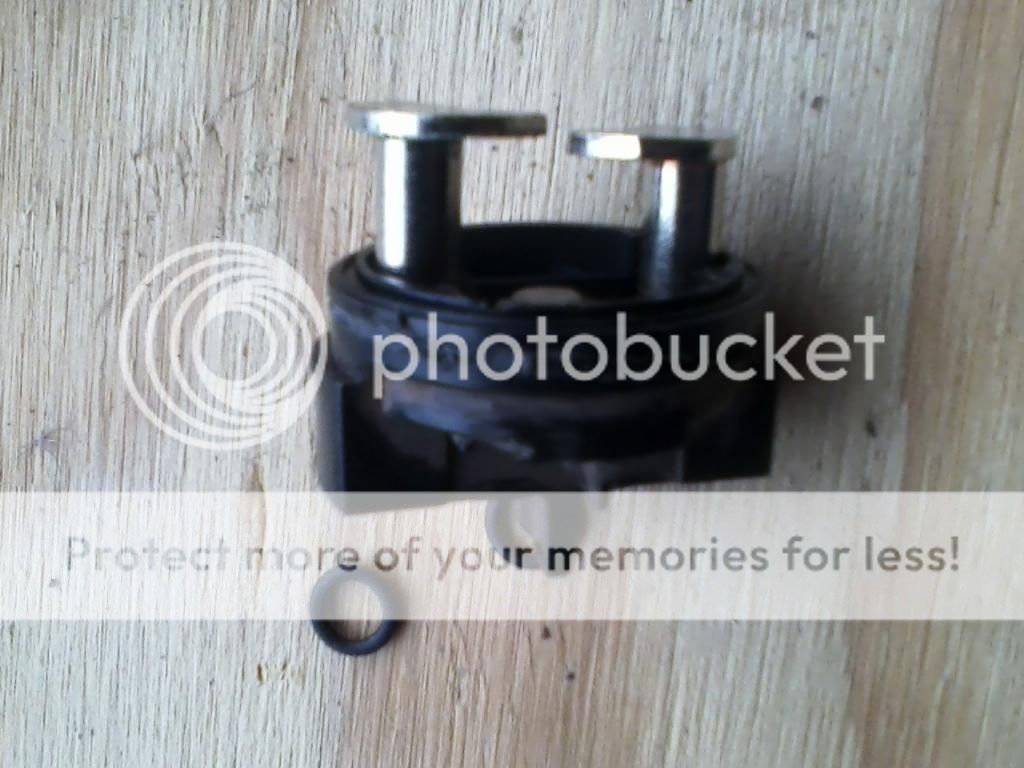
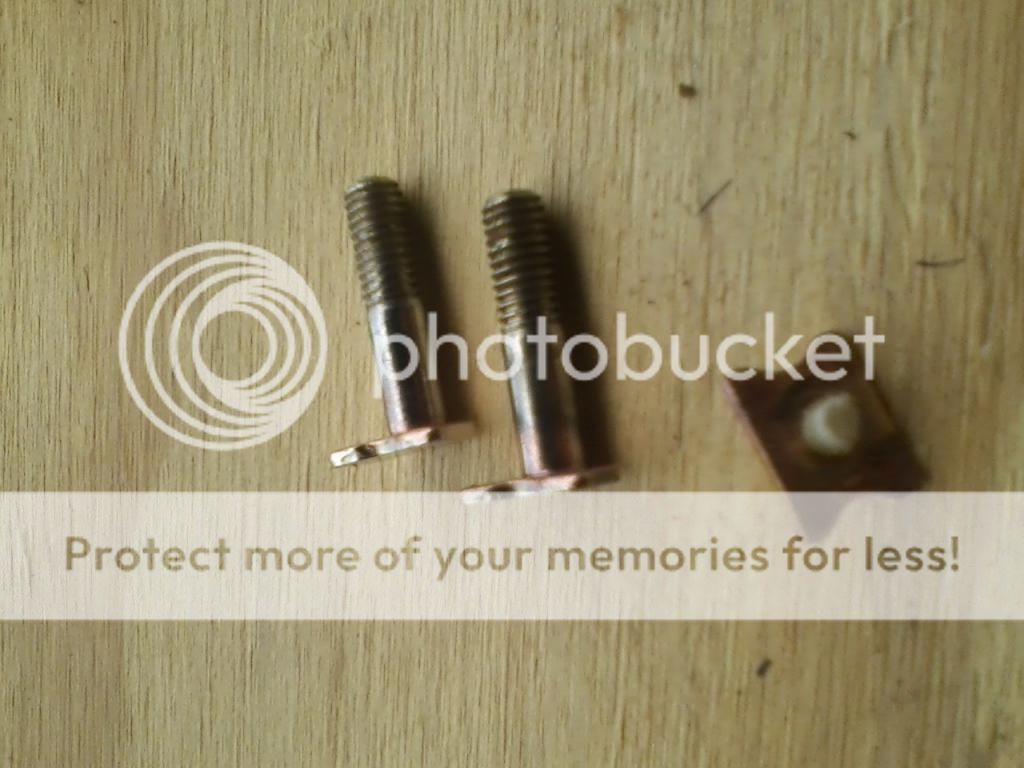
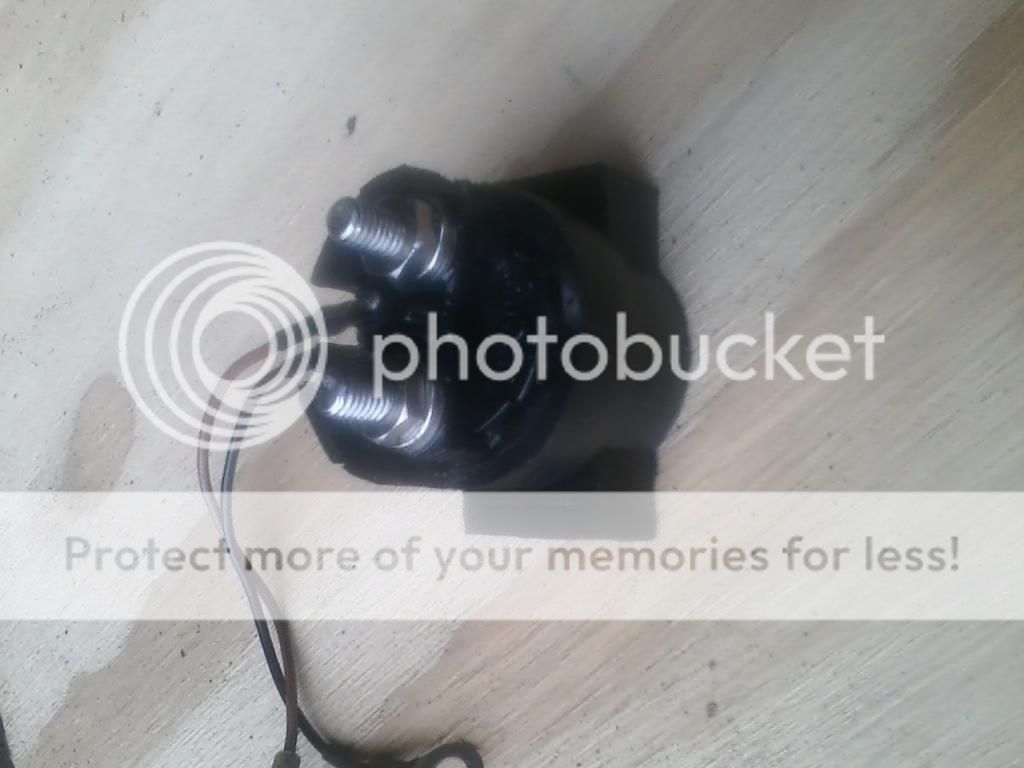
Now remove the two nuts with a 10mm wrench and push the posts out, there are o-rings under the washers keep up with them.
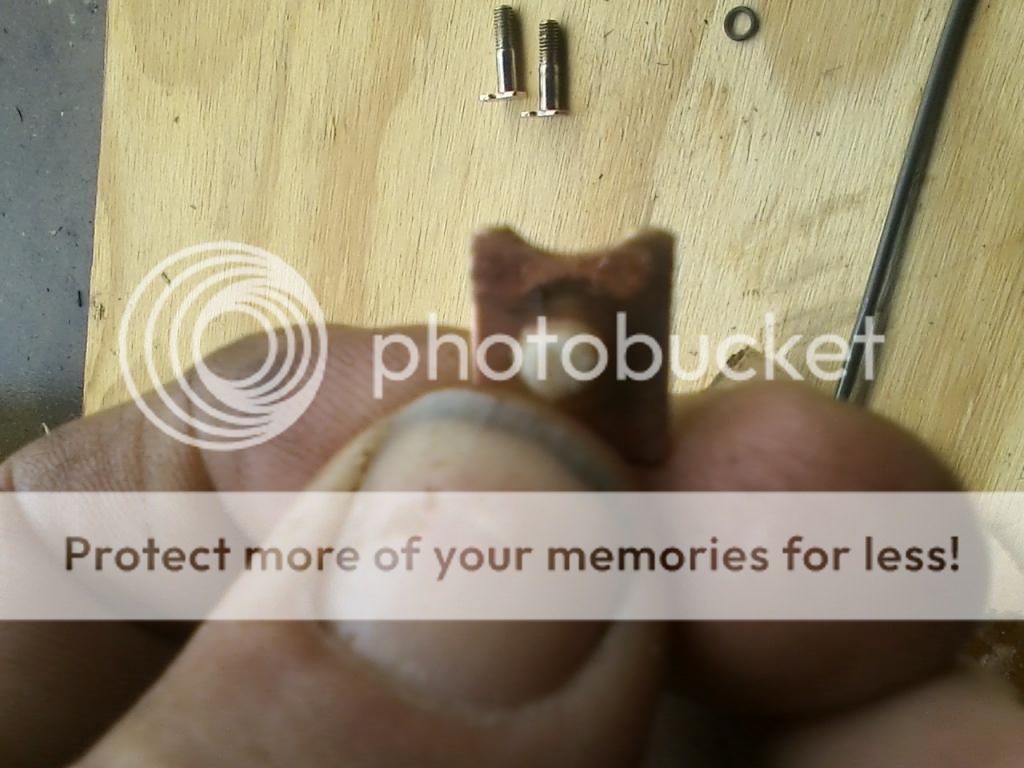
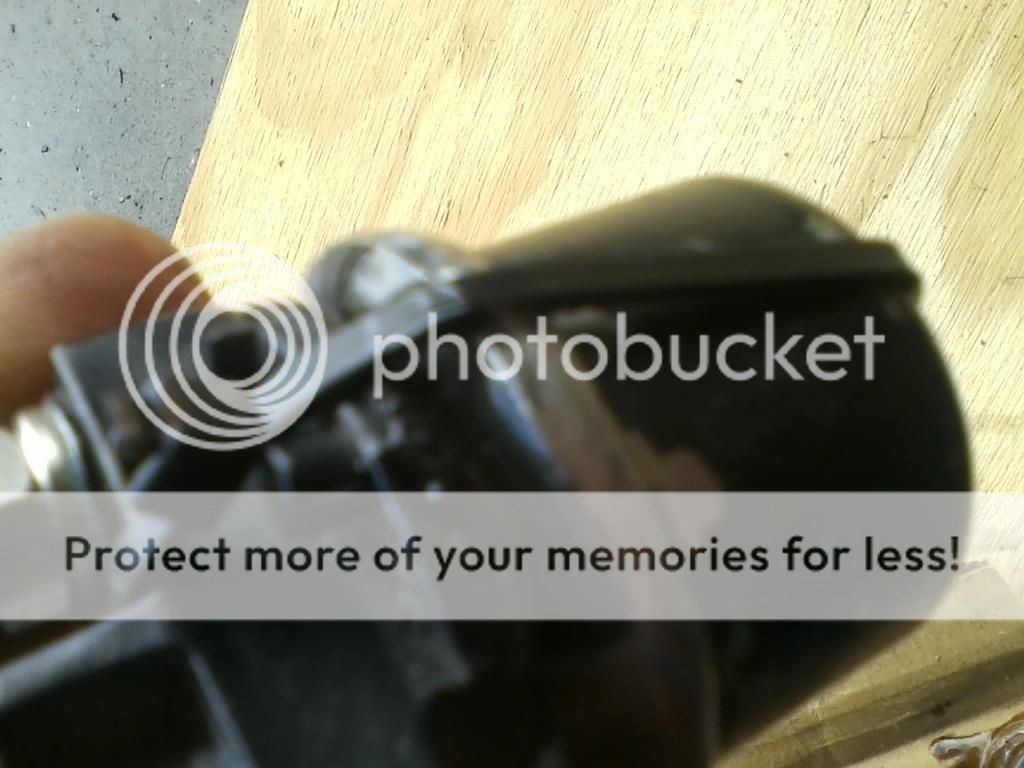
Alright time to rock and roll, contacts removed and not looking good, this one melted the plastic piece inside the contact, game over , well almost . I have a stack of these so I just robbed the contact out of another one. The contact is staked around the plastic stopper, if you will mount it in a vice and put a spacer on one side you can push it out without damage, then reverse the process to put it back together, this way you get basically a new contact.
I filed the contact and hit it with the wire brush on the grinder.

Reassemble the top assy, spring goes in first, then the center contact, then install the two large contact posts, o-rings, washers and nut.
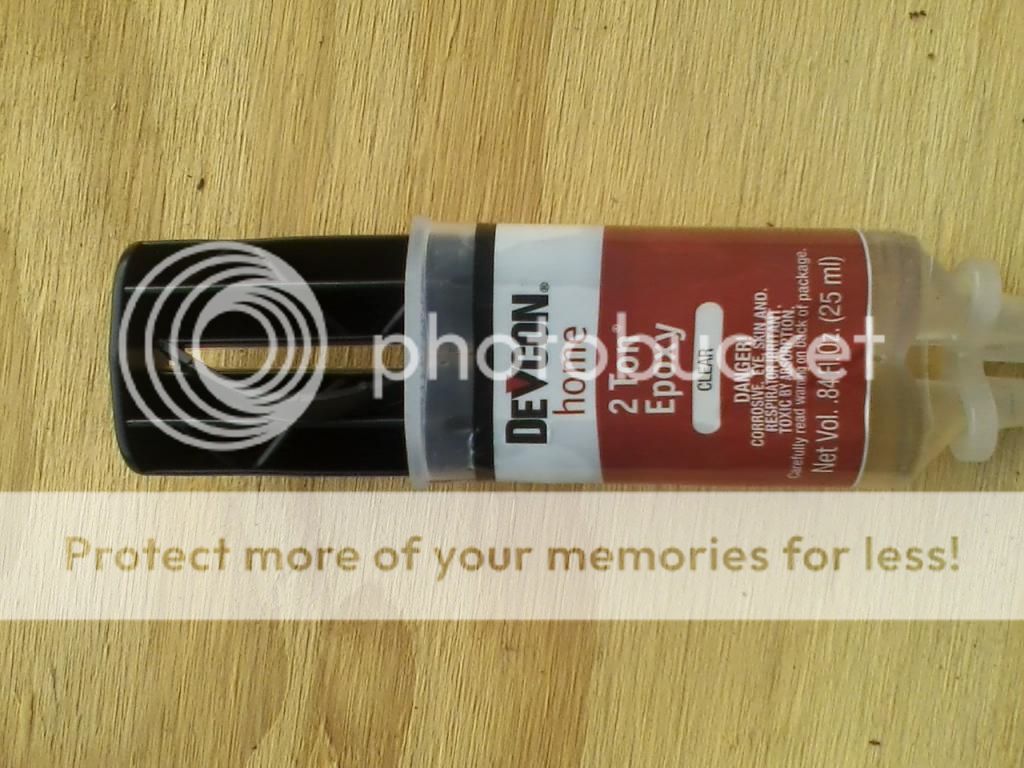
Reassembly time , we are putting this back together with epoxy, this is where how you take it apart becomes important.You need to leave as much of a ledge as possible so you have something to glue to. Mix up some epoxy, I am using this.
Now sparingly apply the epoxy, remember that you have a rubber compression seal in there, apply the epoxy to the top edge. I used a toothpick for this.
This pic shows the amount of epoxy.
Push it back together and use a zip tie to hold the assy together.
The rubber seal should keep the epoxy out of the solenoid so go ahead and take the rest of the epoxy you mixed up and apply it around the gap between the plastic piece and the metal casing. Leave no gaps , set it somewhere and let it dry.
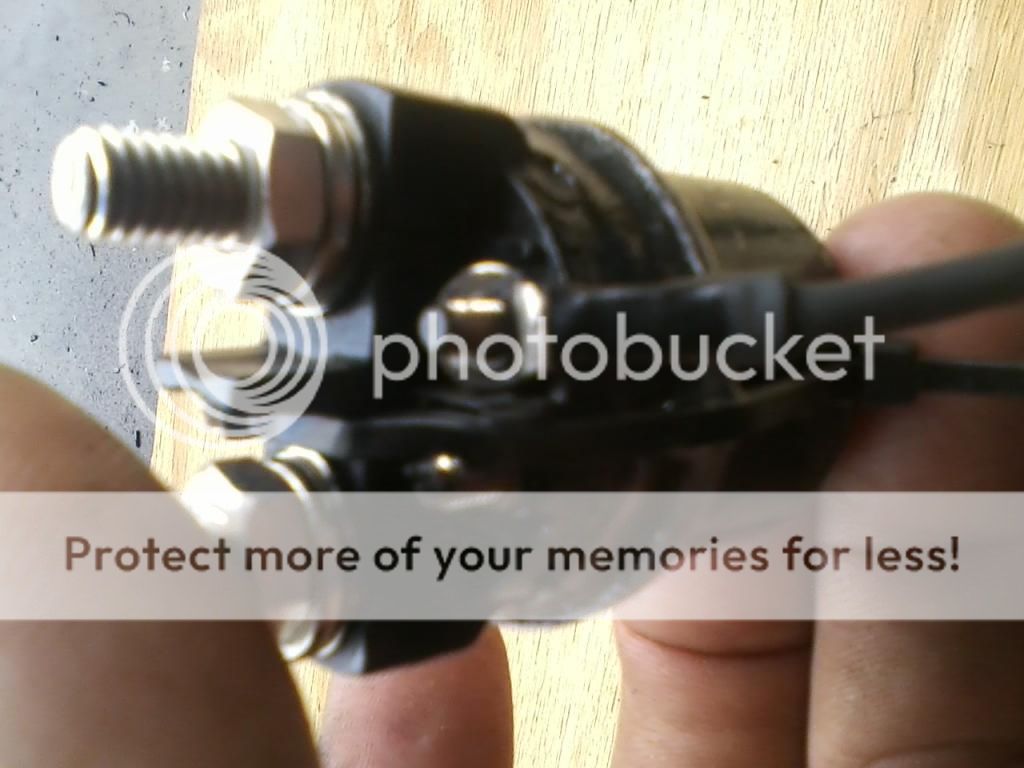
Once its dry reinstall the wires, black wire goes on the Right, brown wire goes on the left.
After its dry I am going to test it to make sure it works then wire brush the metal casing and paint it with black appliance epoxy.
Apparently I am out of black appliance so I went with VHT aluminum.
Once you pop it back into the holder it really does not matter, it looks just like stock.
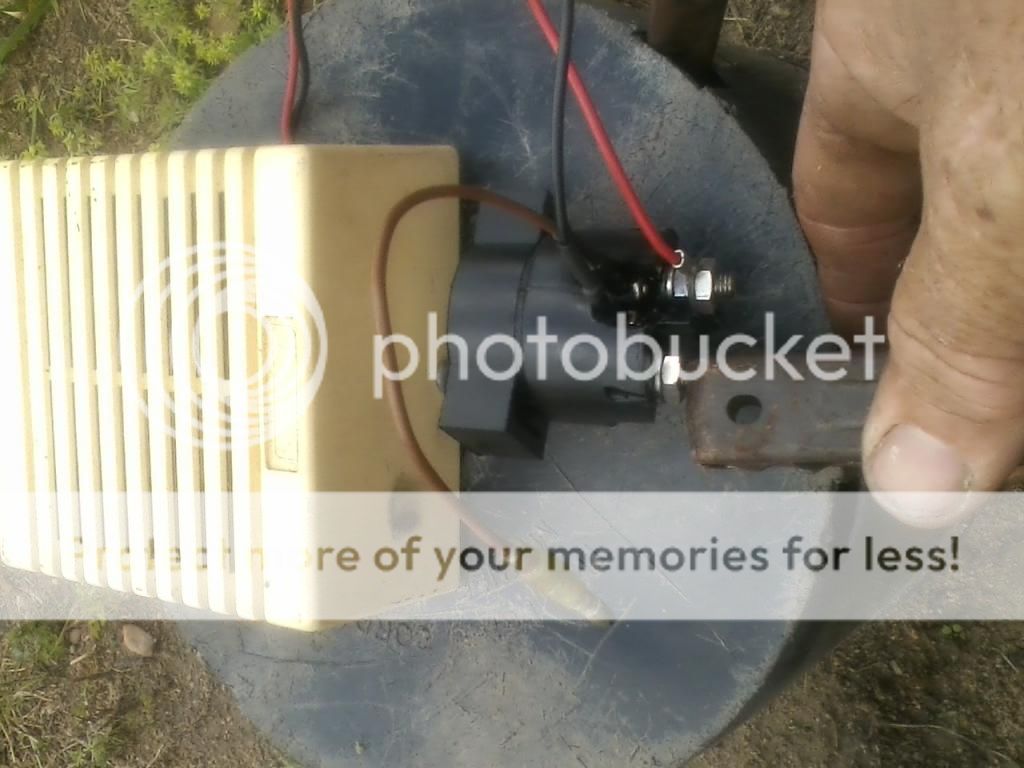
My multimeter is fried apparently so I need another way to check the solenoid (yes there are many more ways than one ) so I hooked up an alarm horn and a power source , bottom line it works and it works well.
First things first touch the brown wire to battery positive and the black wire to battery positive if it does not click throw it in the round file.
Ok I got a click so time to get it apart, the first one I ground through the metal casing, kinda of messy and not aesthetically pleasing. On the second one I started with a Dremel and a small cutting wheel, face shield required and not very efficient, I finally just chucked it in the vice and used the hacksaw.
The next one I am going to try a large pipe cutter, I believe this will be the ticket, but I am not a plumber and I do not own one so enough of that for the moment.
Here are the pics, first pic you can see the cut made around the perimeter of the casing.

Next remove the brown and black wires from the solenoid.

Ok so now to get it apart. insert the blade of a small screwdriver into the cut, pry it a bit from one side, flip it over and repeat the process, it should come apart easily.

Two halves separated, yake a pair of dykes and remove what s left of the casing on the top part.

Now remove the two nuts with a 10mm wrench and push the posts out, there are o-rings under the washers keep up with them.


Alright time to rock and roll, contacts removed and not looking good, this one melted the plastic piece inside the contact, game over , well almost . I have a stack of these so I just robbed the contact out of another one. The contact is staked around the plastic stopper, if you will mount it in a vice and put a spacer on one side you can push it out without damage, then reverse the process to put it back together, this way you get basically a new contact.


I filed the contact and hit it with the wire brush on the grinder.

Reassemble the top assy, spring goes in first, then the center contact, then install the two large contact posts, o-rings, washers and nut.
Reassembly time , we are putting this back together with epoxy, this is where how you take it apart becomes important.You need to leave as much of a ledge as possible so you have something to glue to. Mix up some epoxy, I am using this.

Now sparingly apply the epoxy, remember that you have a rubber compression seal in there, apply the epoxy to the top edge. I used a toothpick for this.

This pic shows the amount of epoxy.

Push it back together and use a zip tie to hold the assy together.


The rubber seal should keep the epoxy out of the solenoid so go ahead and take the rest of the epoxy you mixed up and apply it around the gap between the plastic piece and the metal casing. Leave no gaps , set it somewhere and let it dry.
Once its dry reinstall the wires, black wire goes on the Right, brown wire goes on the left.
After its dry I am going to test it to make sure it works then wire brush the metal casing and paint it with black appliance epoxy.
Apparently I am out of black appliance so I went with VHT aluminum.

Once you pop it back into the holder it really does not matter, it looks just like stock.

My multimeter is fried apparently so I need another way to check the solenoid (yes there are many more ways than one ) so I hooked up an alarm horn and a power source , bottom line it works and it works well.


