shocwav3
Been Around the Block
I have been hanging around a while, and I wanted to get a build thread put up to show my progress thus far on my current project. DTT is a cool site with a shit load of really cool people (kinda rare these days on forums), so I wanted to put my stuff out there to get some feedback and maybe help someone else if I can. (The truth is i am a complete noob and I need much more help than I can give)
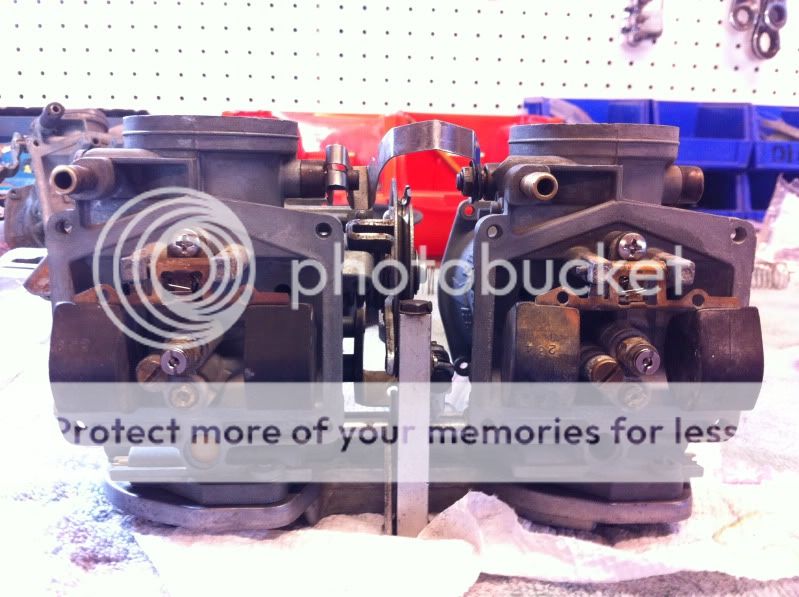
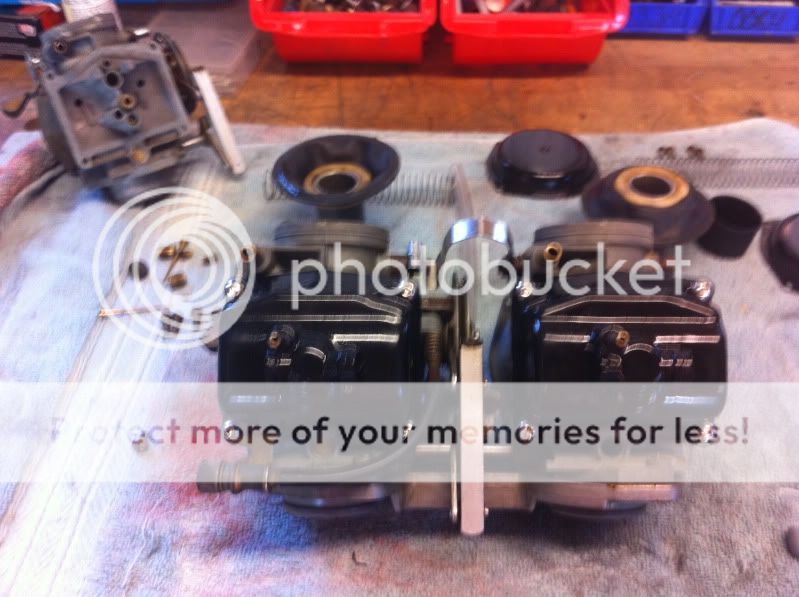
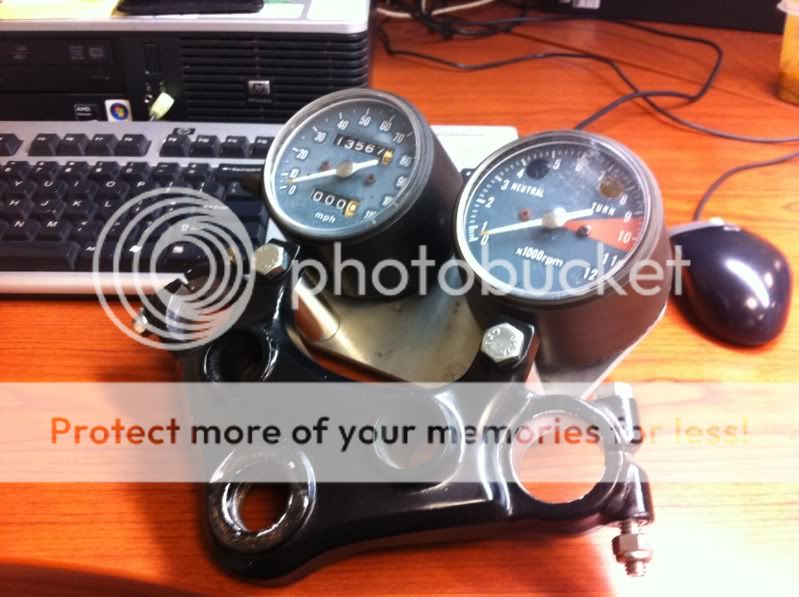
The build is about a year and a half total, I tried to take as many photos along the way but inevitibly I am missing some stuff. The bike goes through essentially 2 builds since the first one was a super cheap, less understood attempt. The second is the one I am currently undertaking.
So without further adieu, pics tell a thousand words.
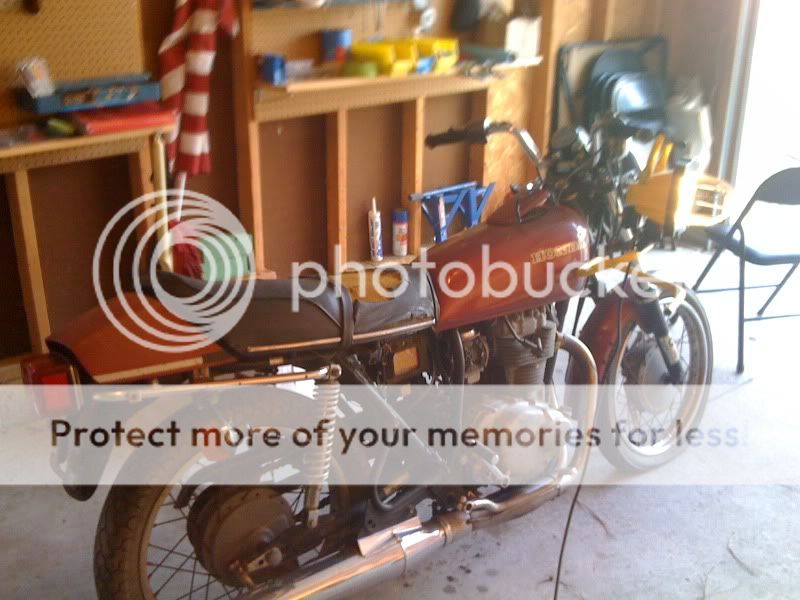
The day I got her home (200 doll hair purchase)
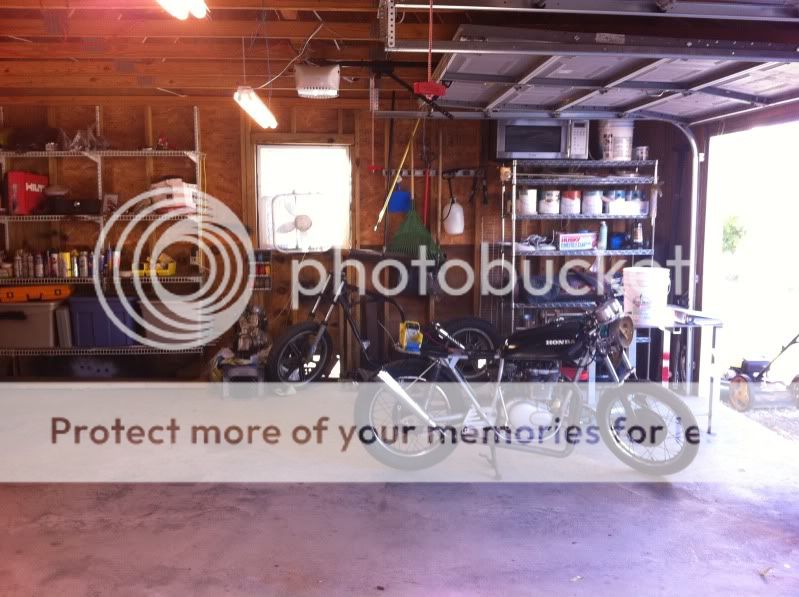
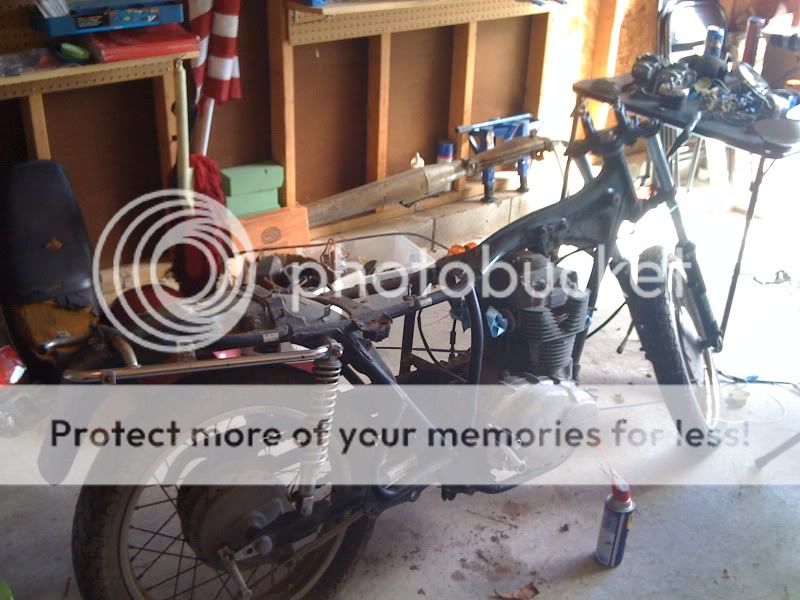
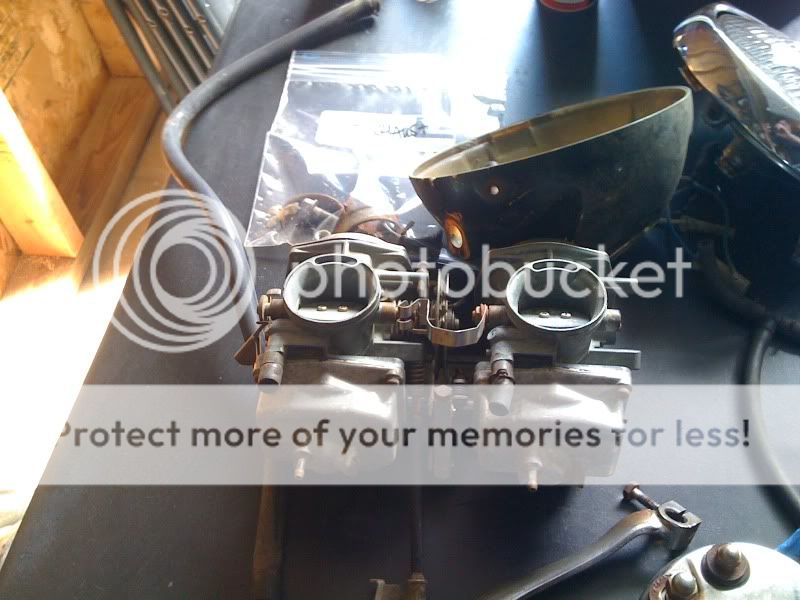
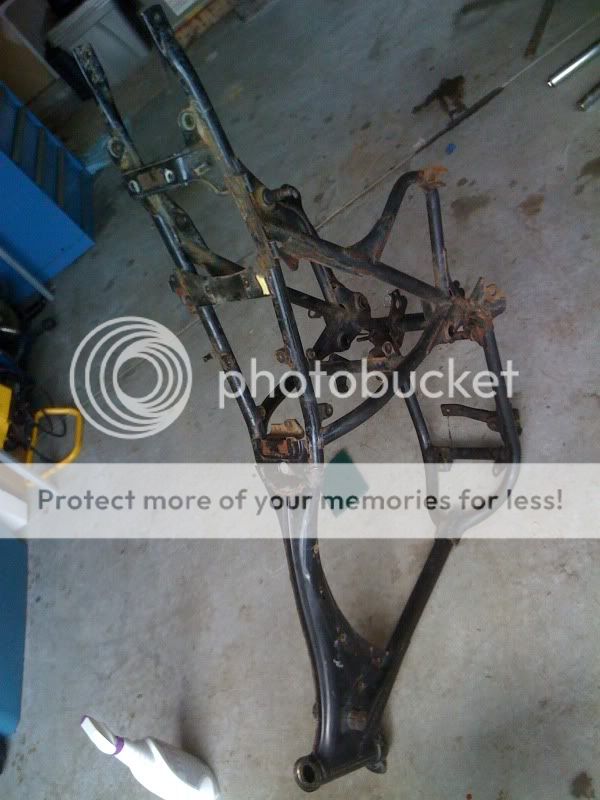
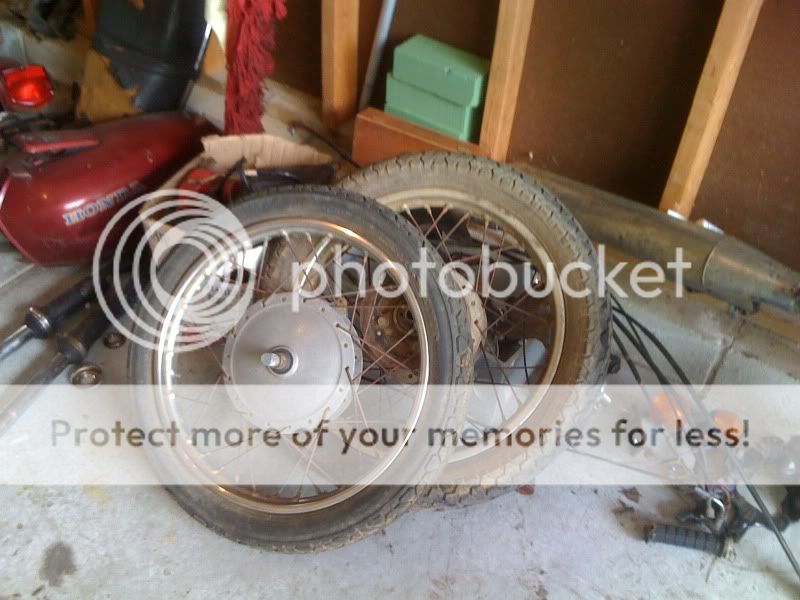
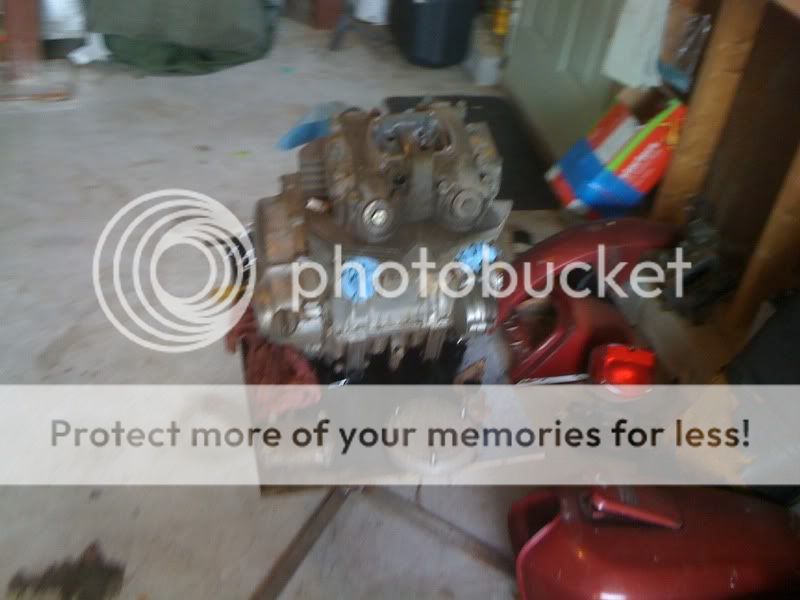
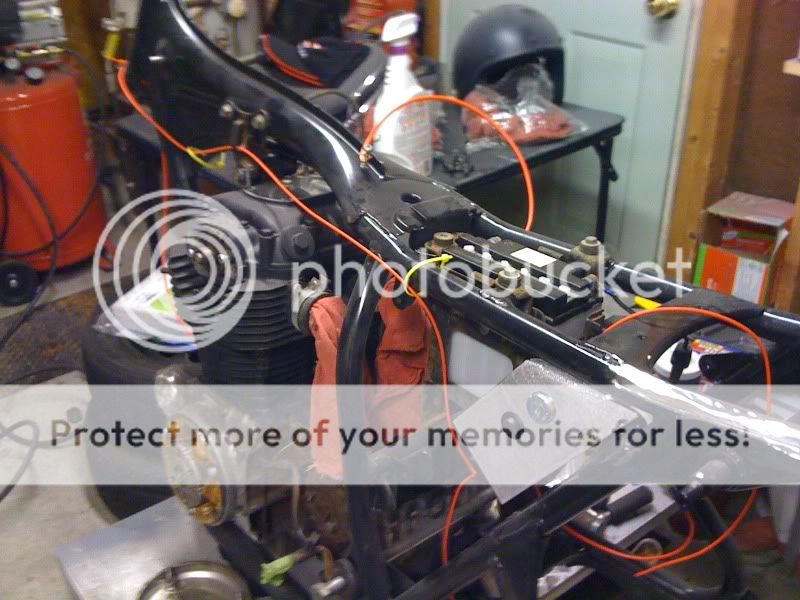
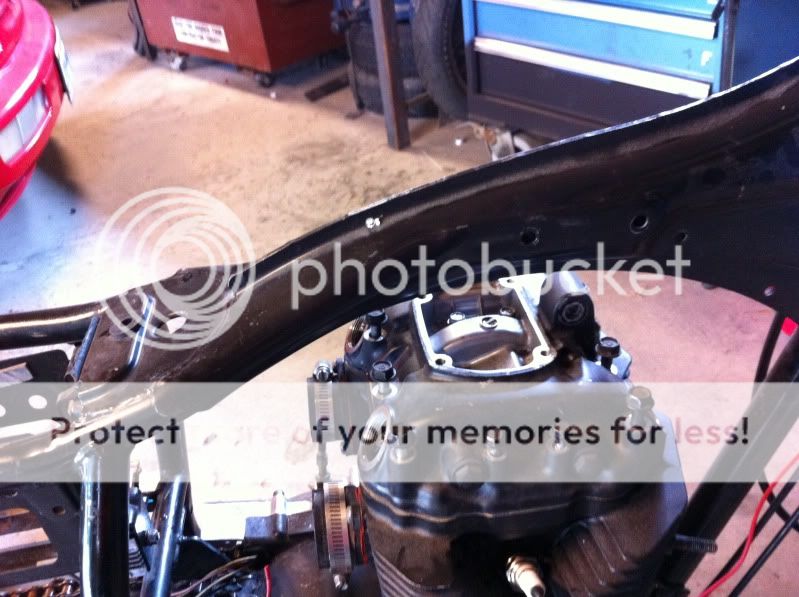
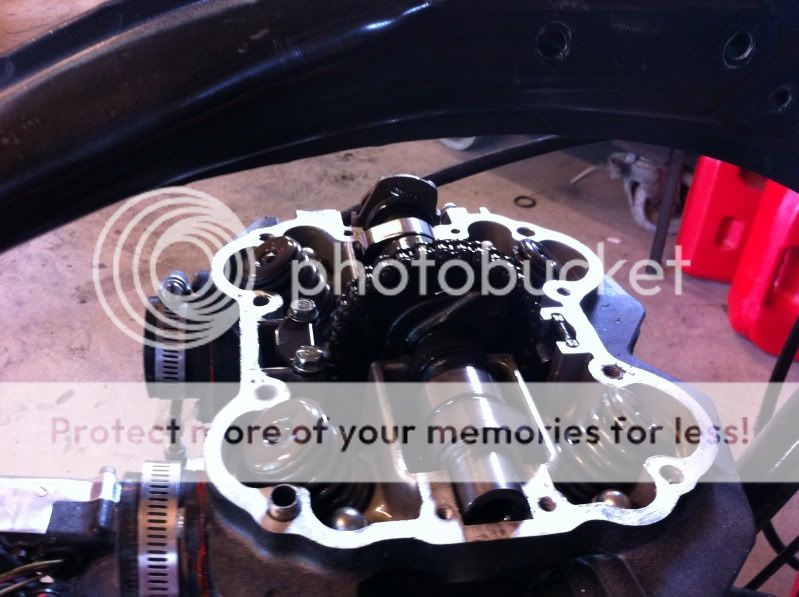
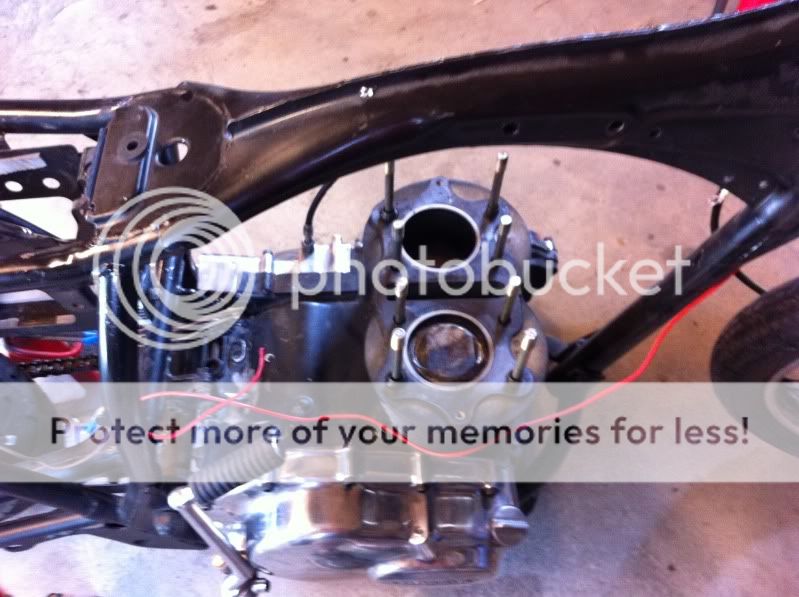
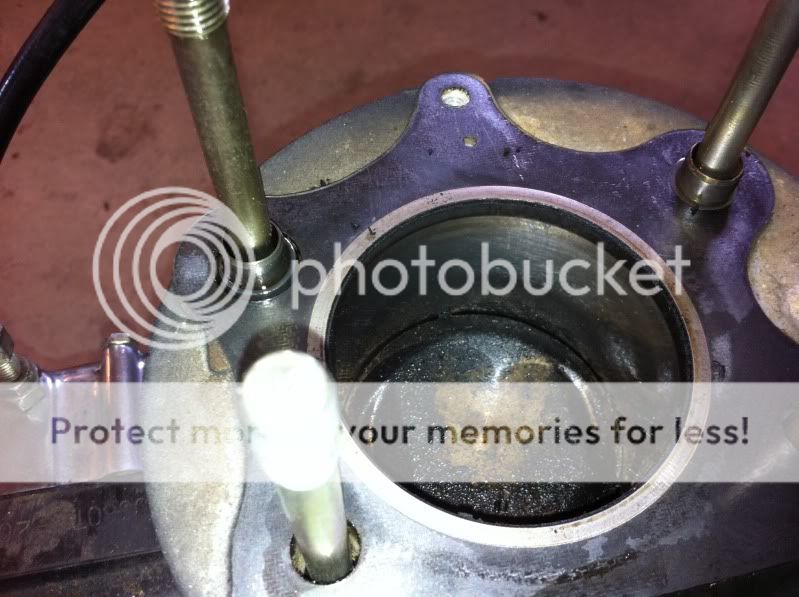
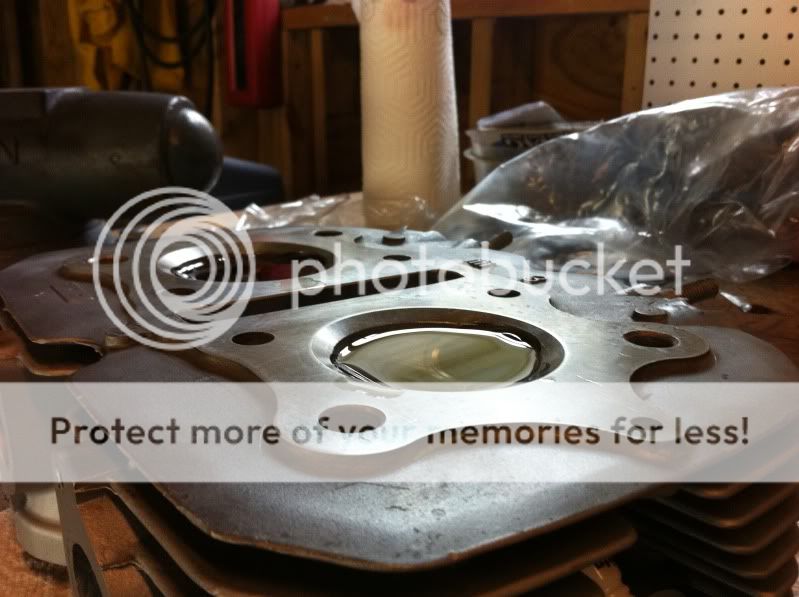
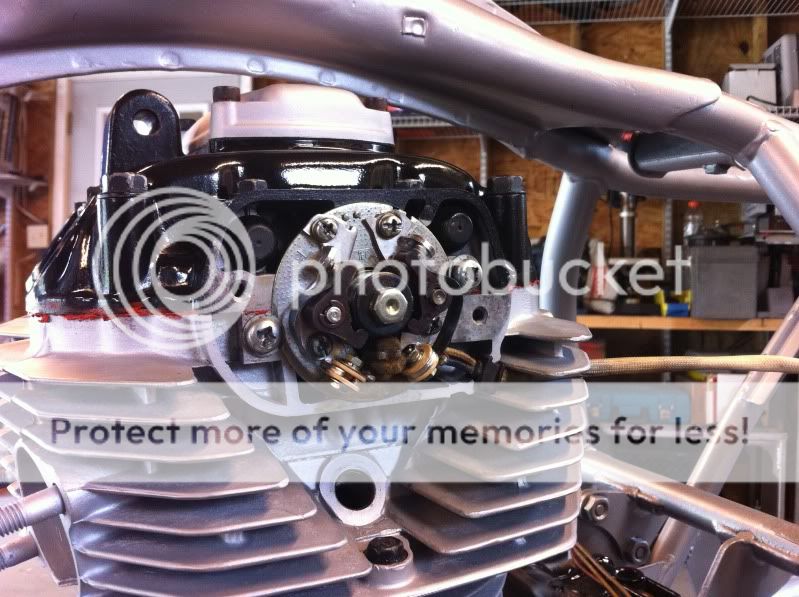
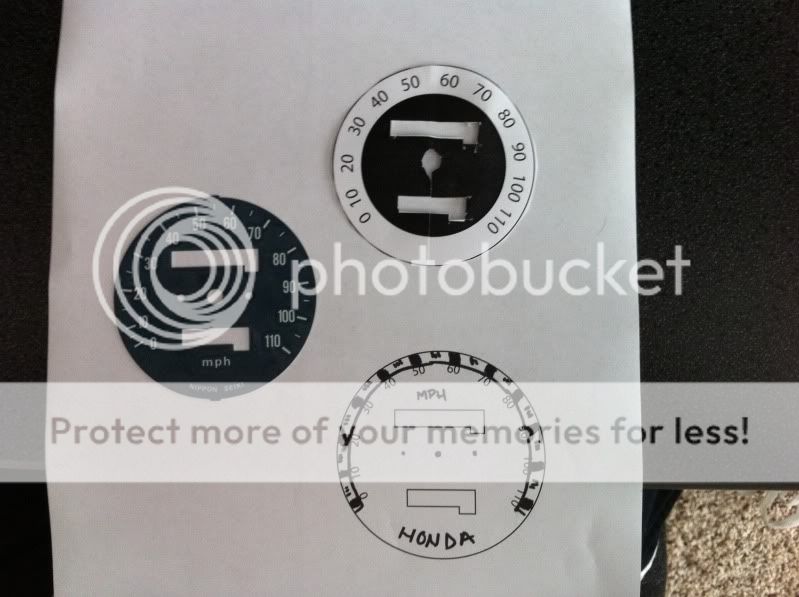
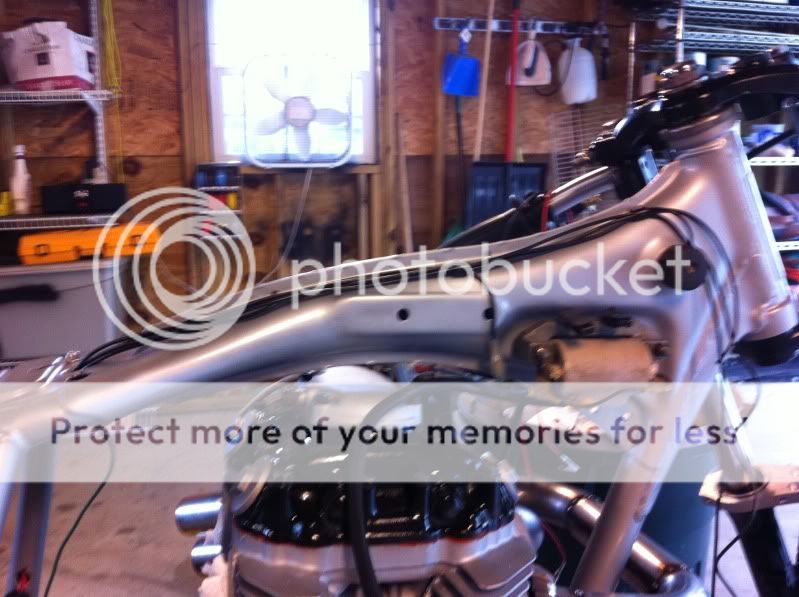
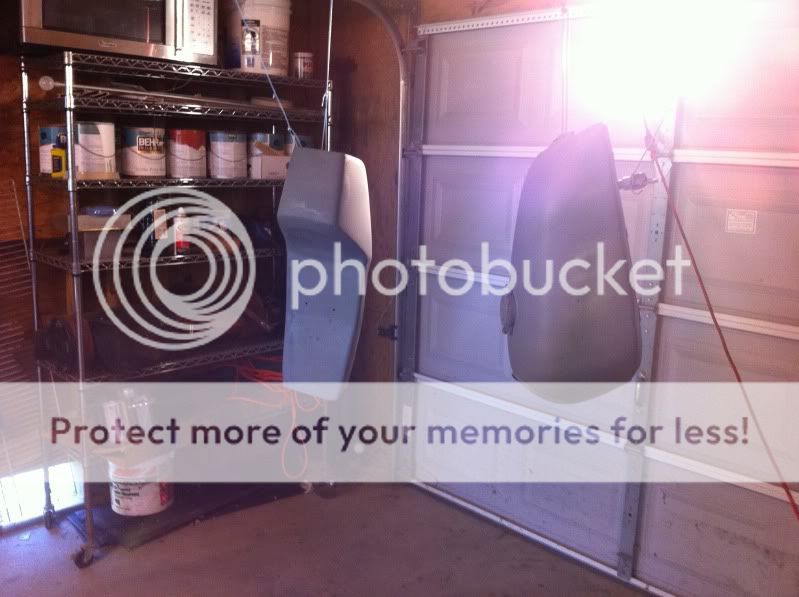
Tear down
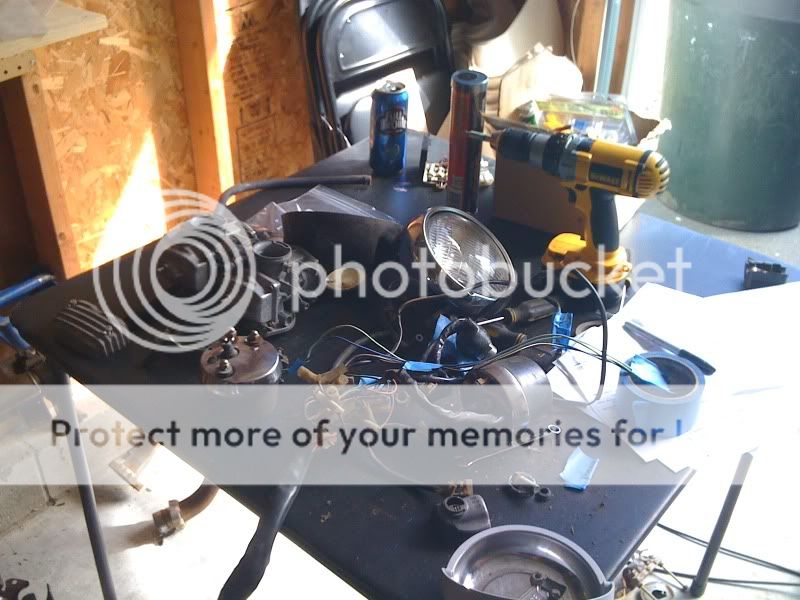
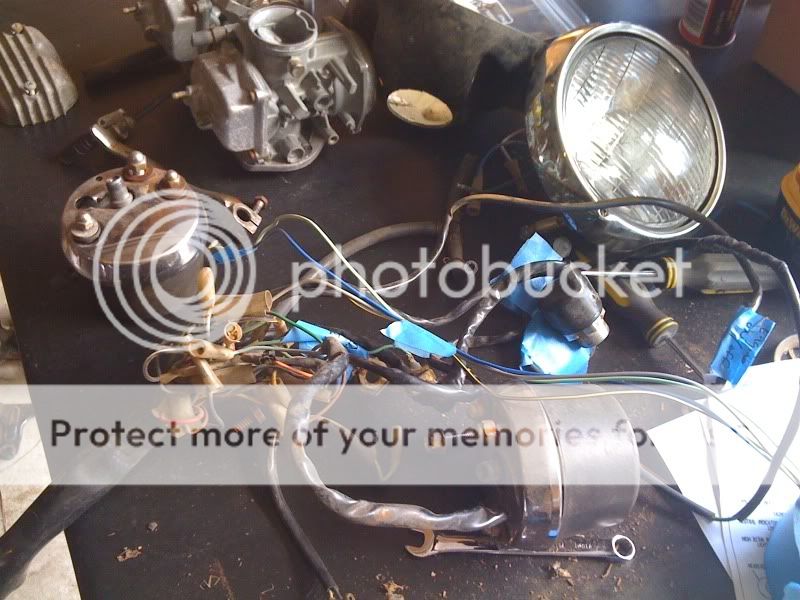
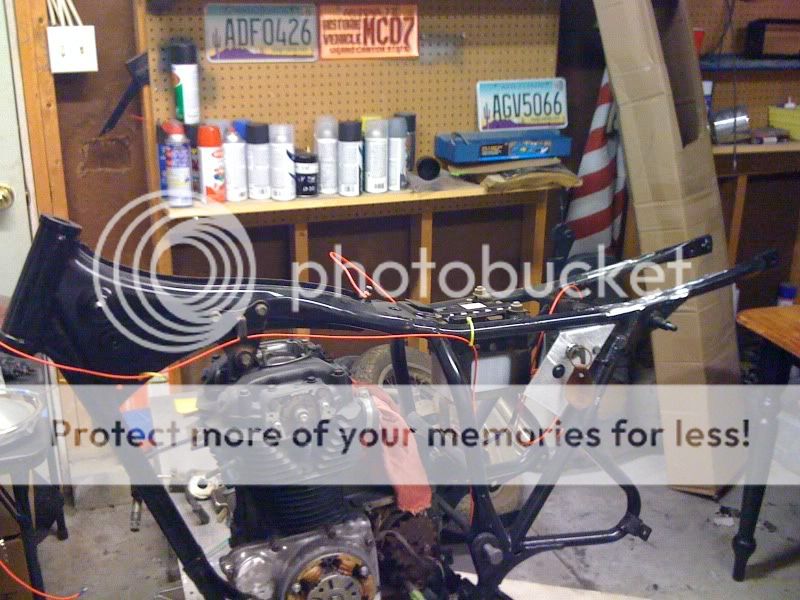
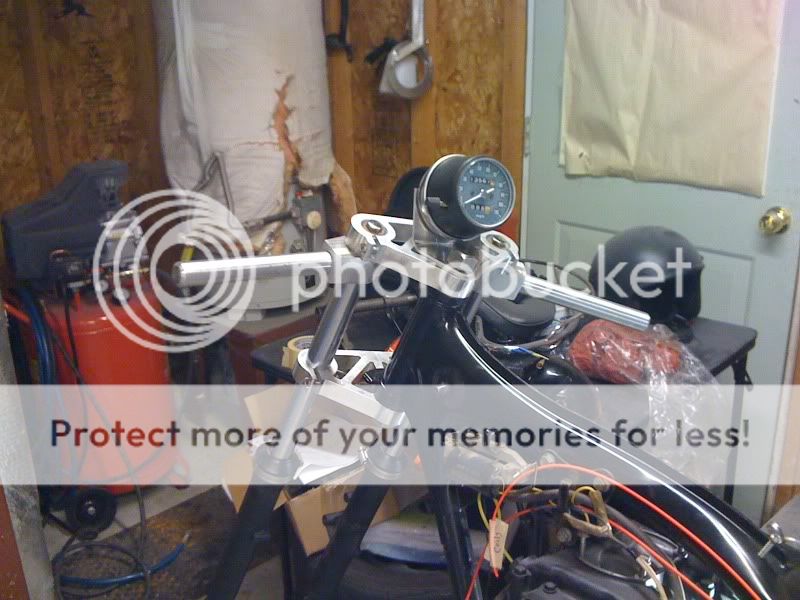
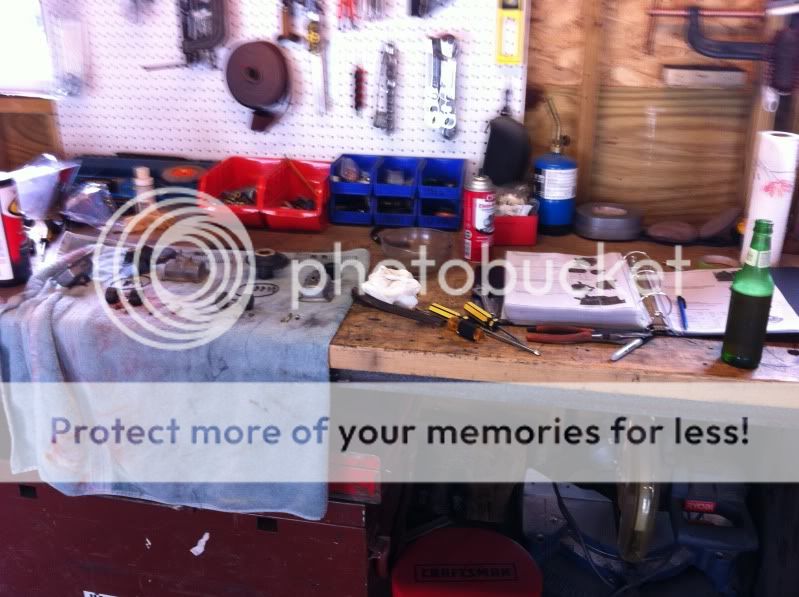
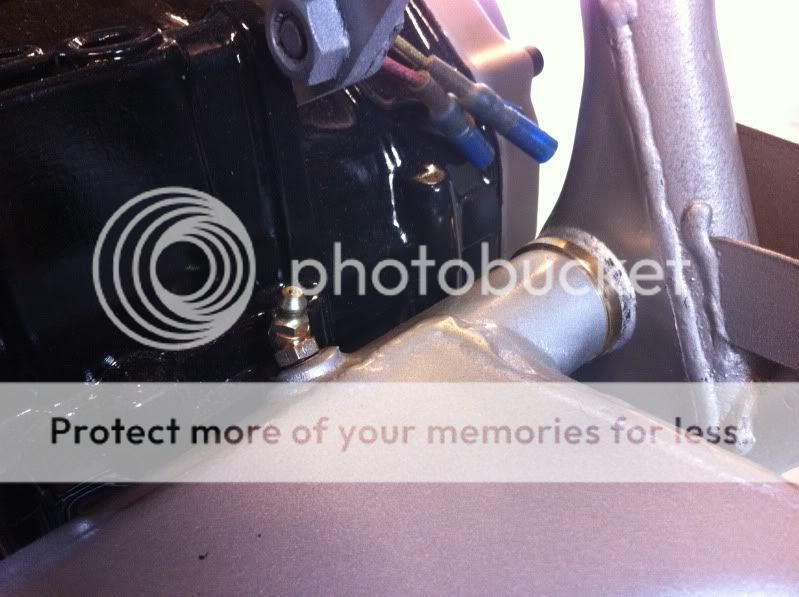
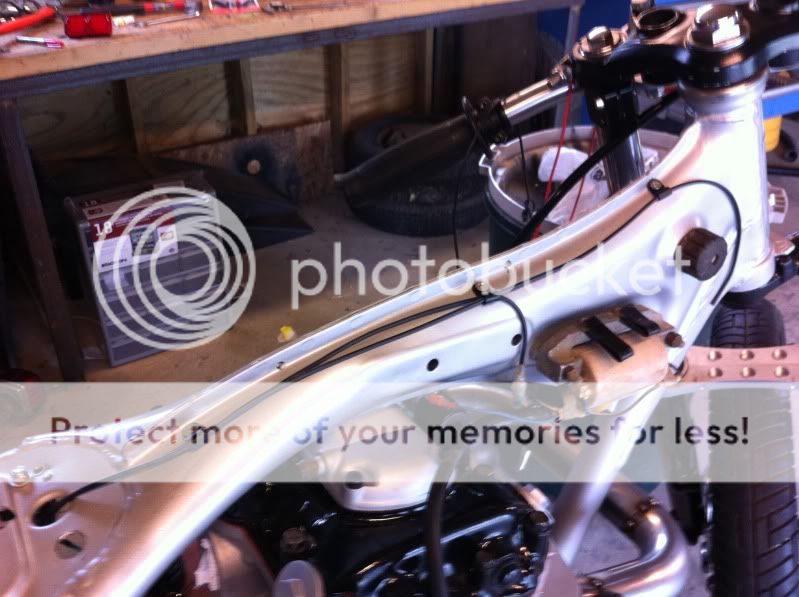
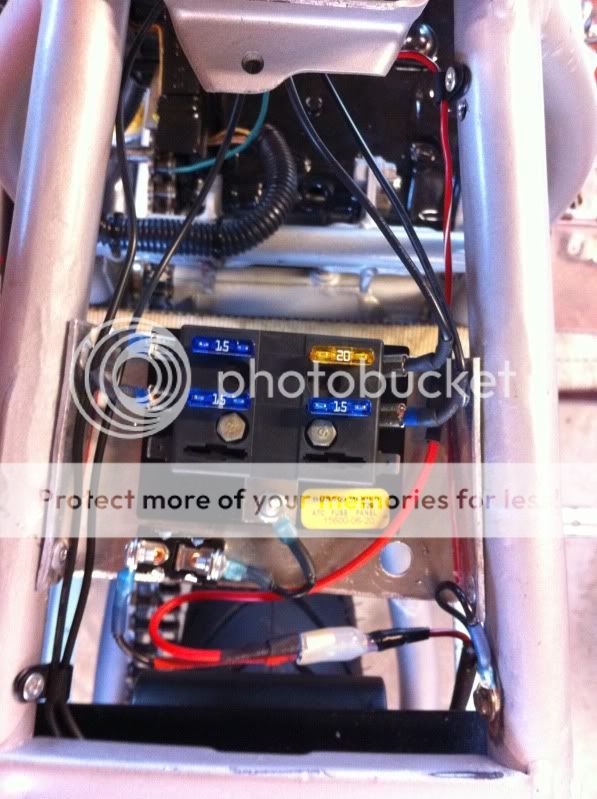
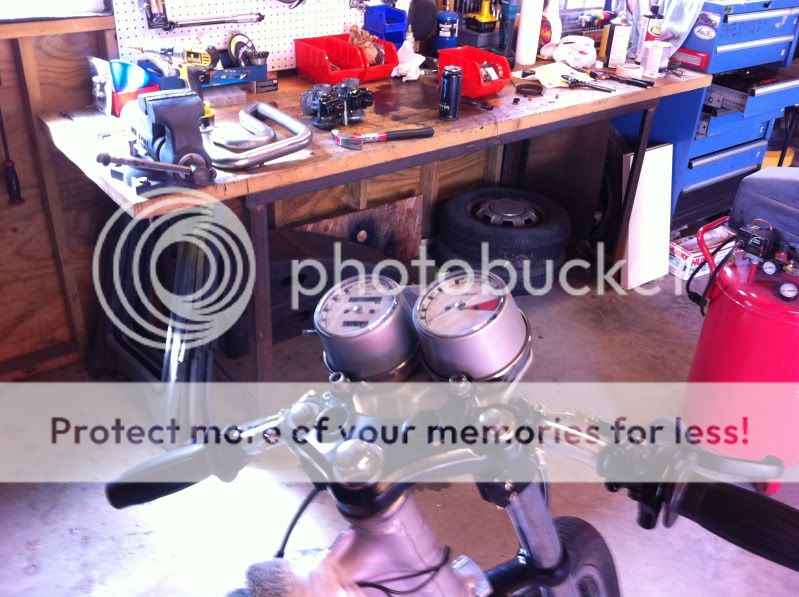
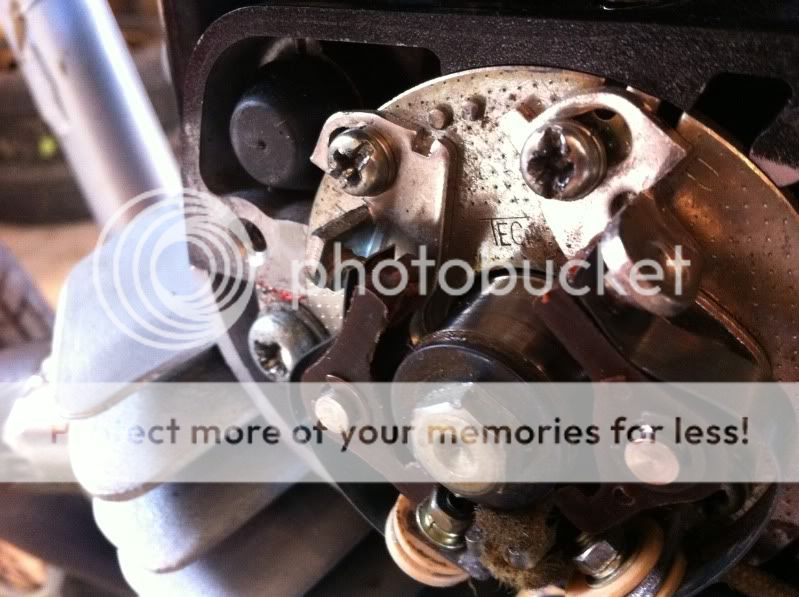
Crazy first attempt at wiring
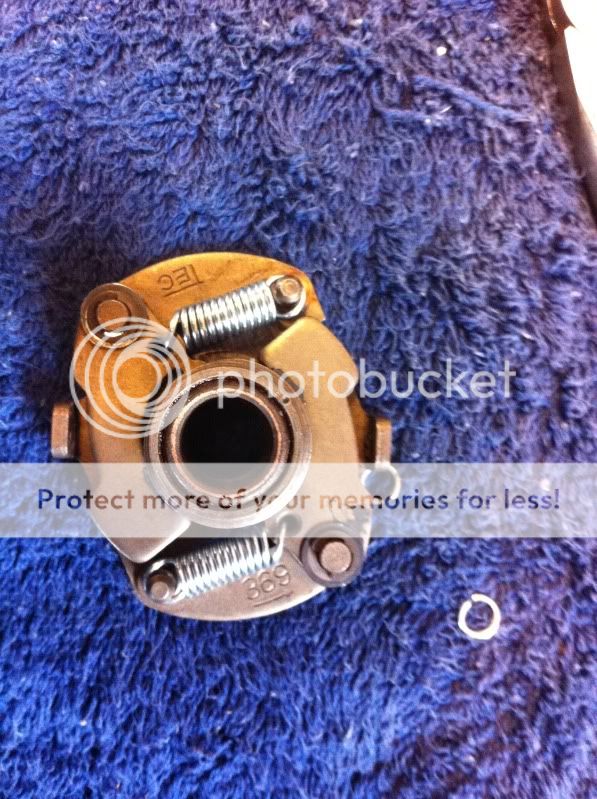
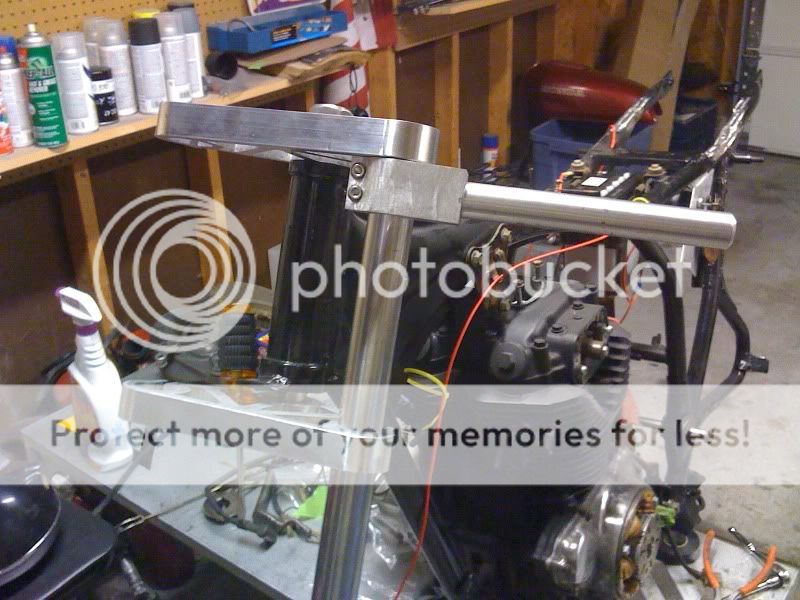
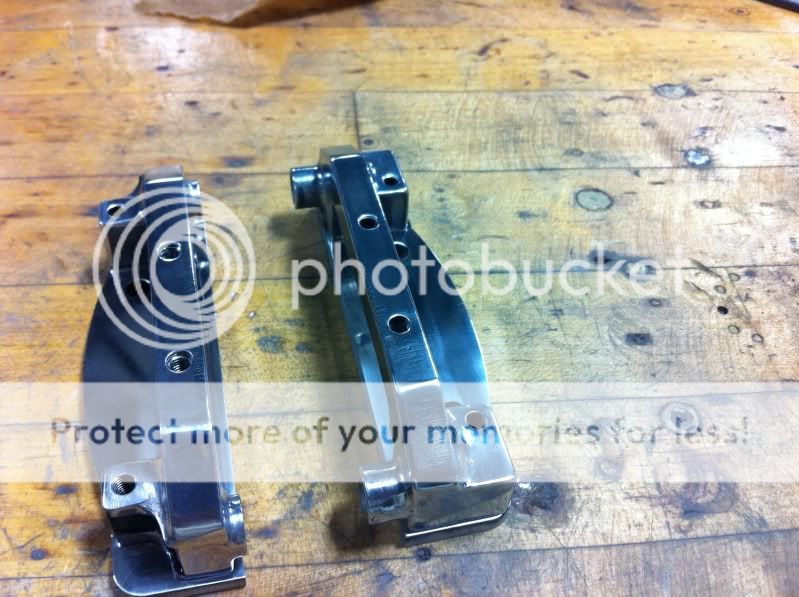
Mock up of some machined parts I made ( I ended up using them on a differnt project)
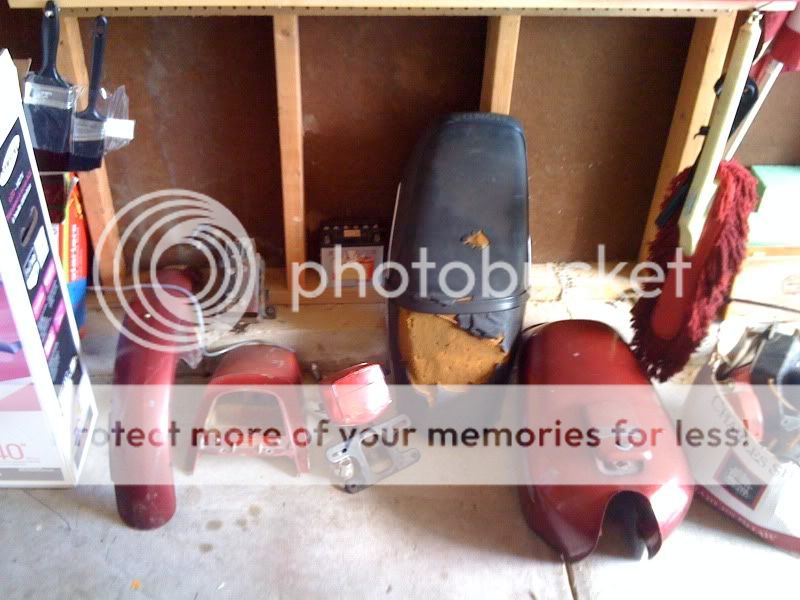
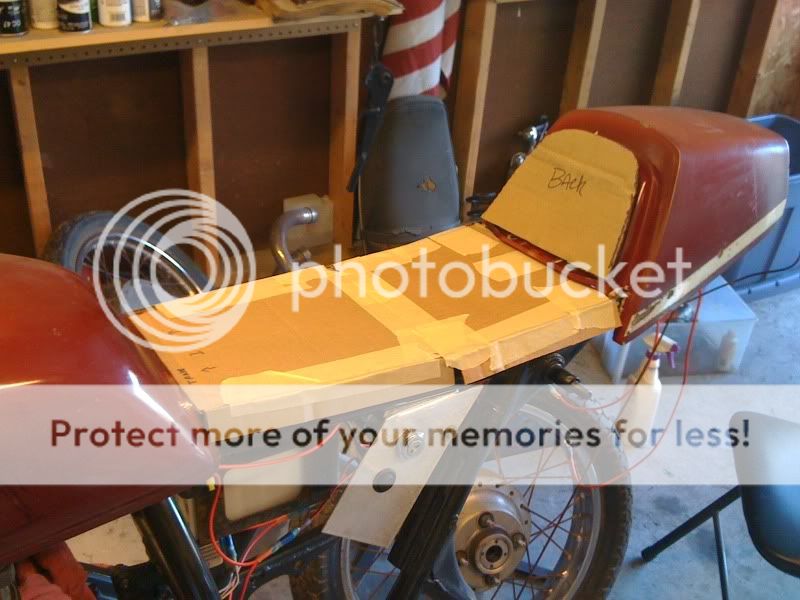
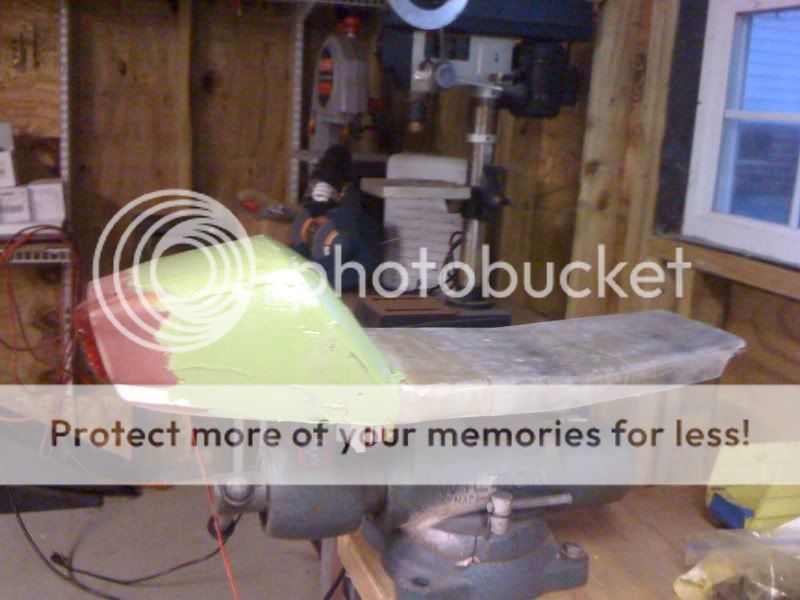
Seat mock up
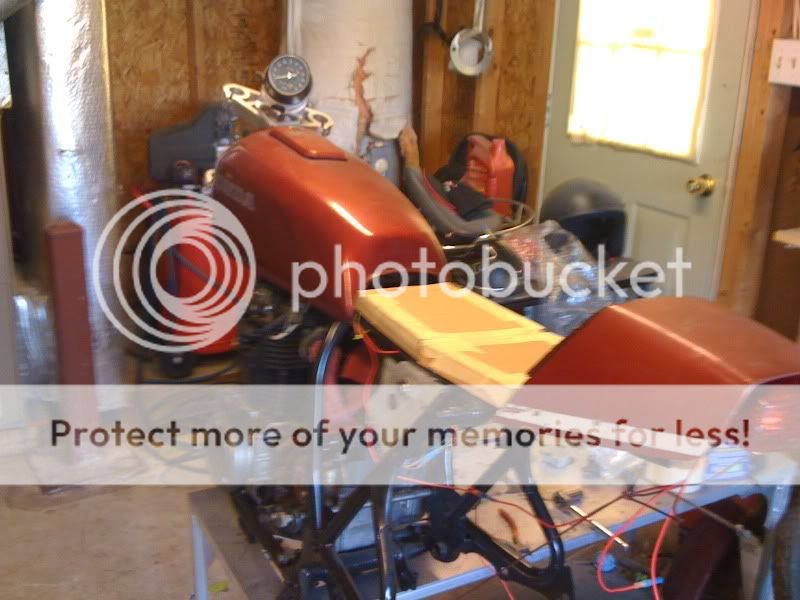

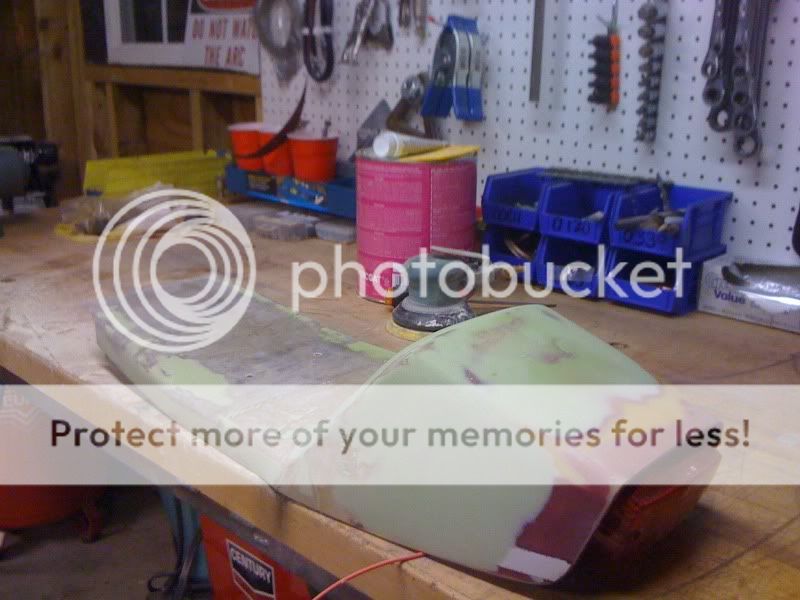
More seat action
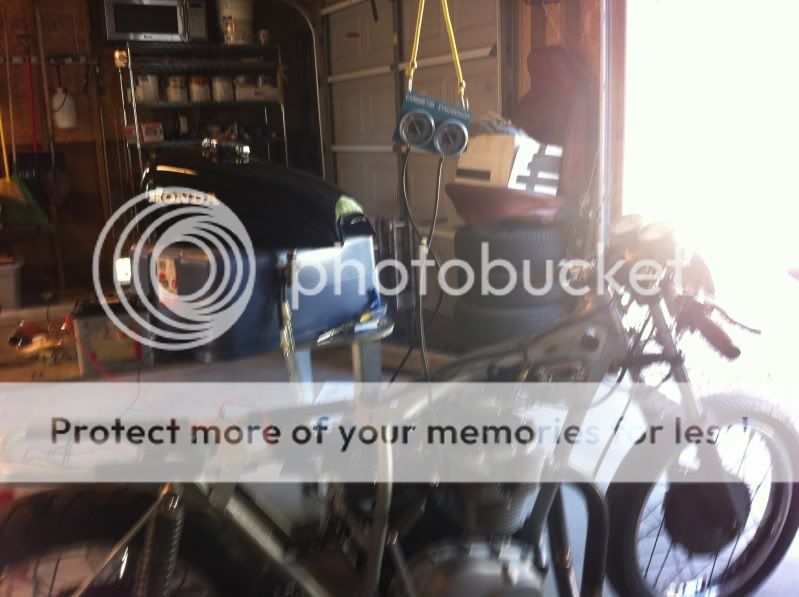
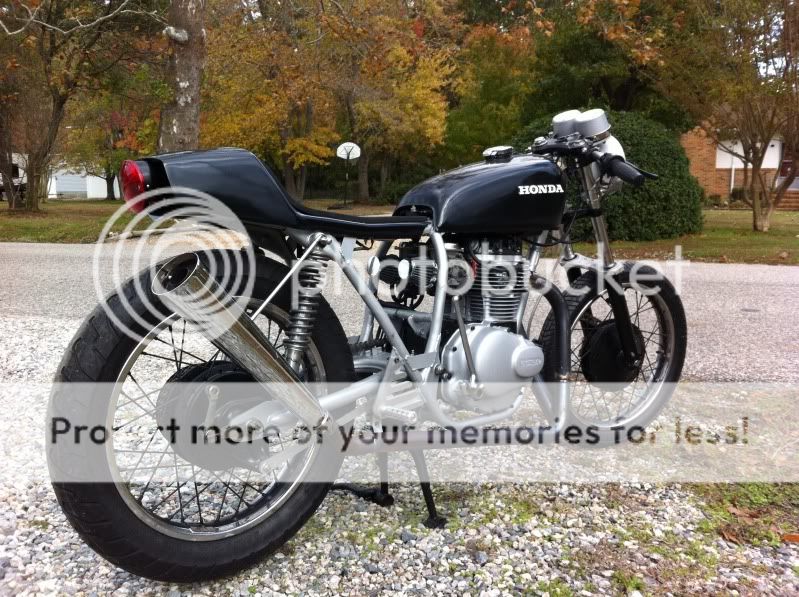
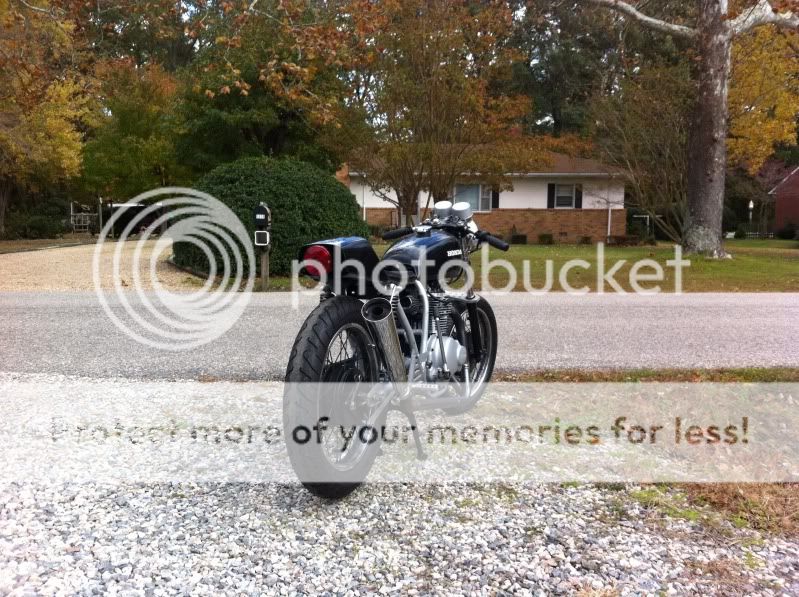
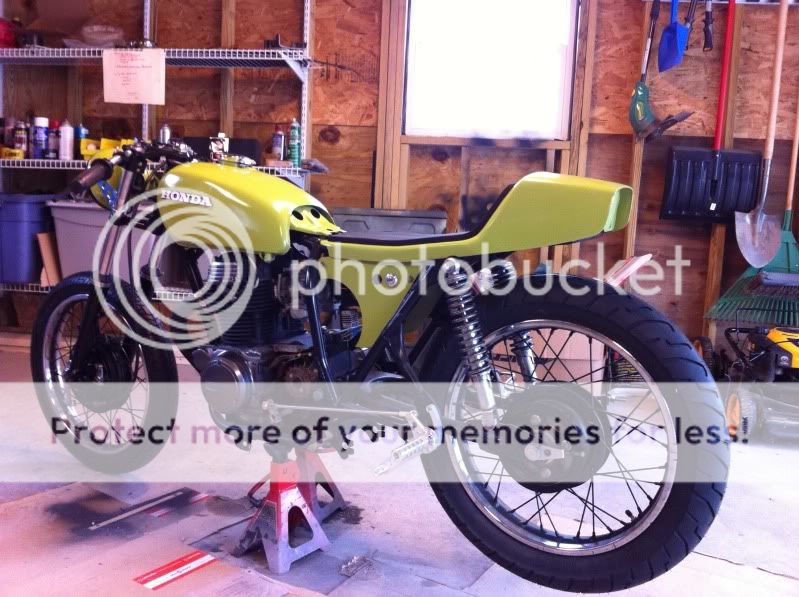
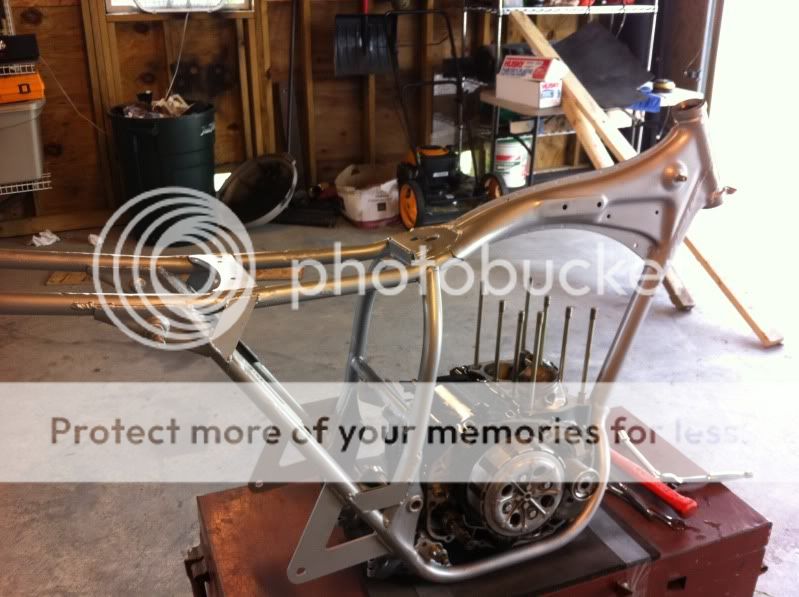
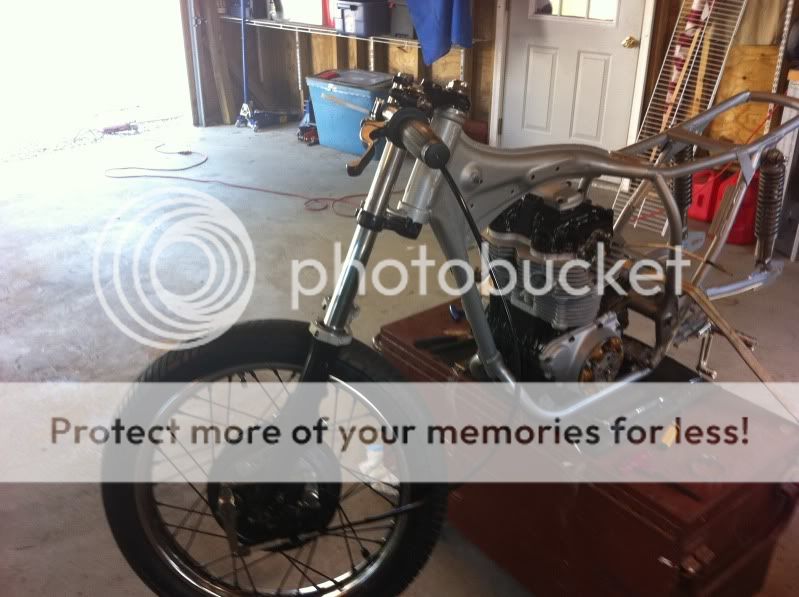
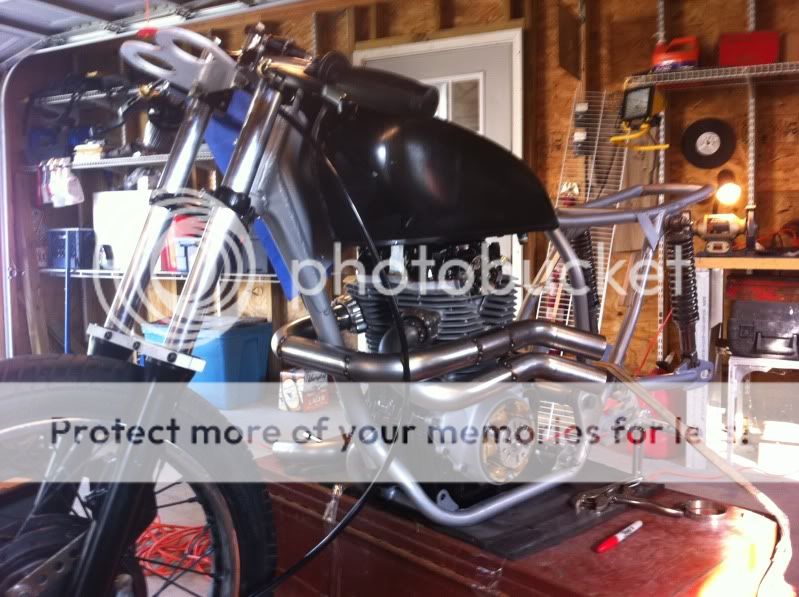
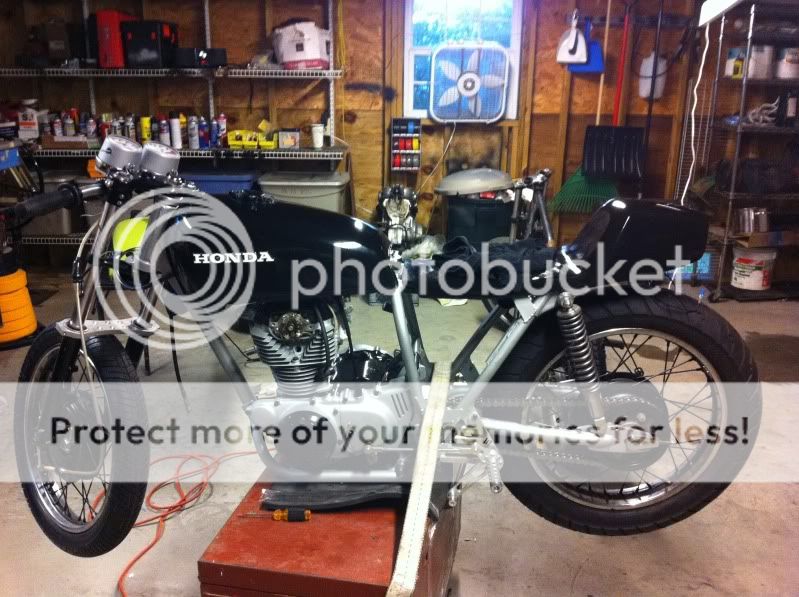
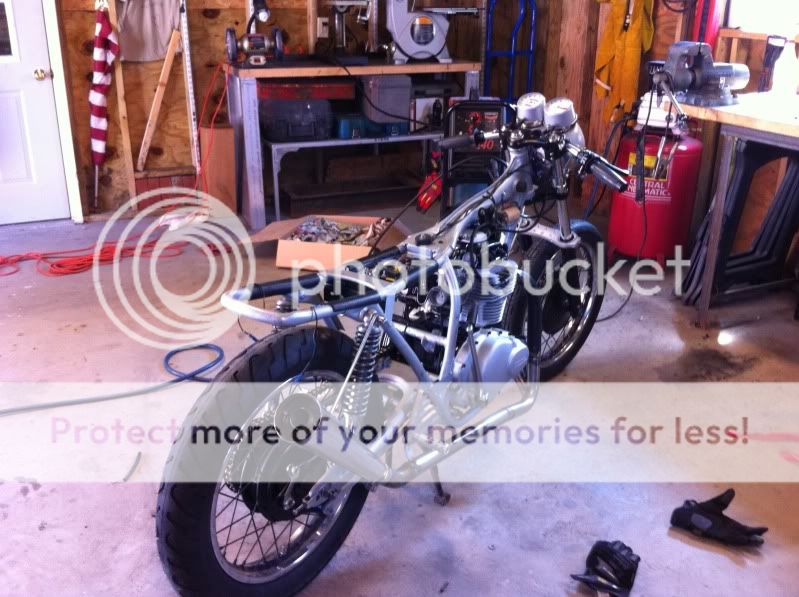
Starting to take shape, the first time
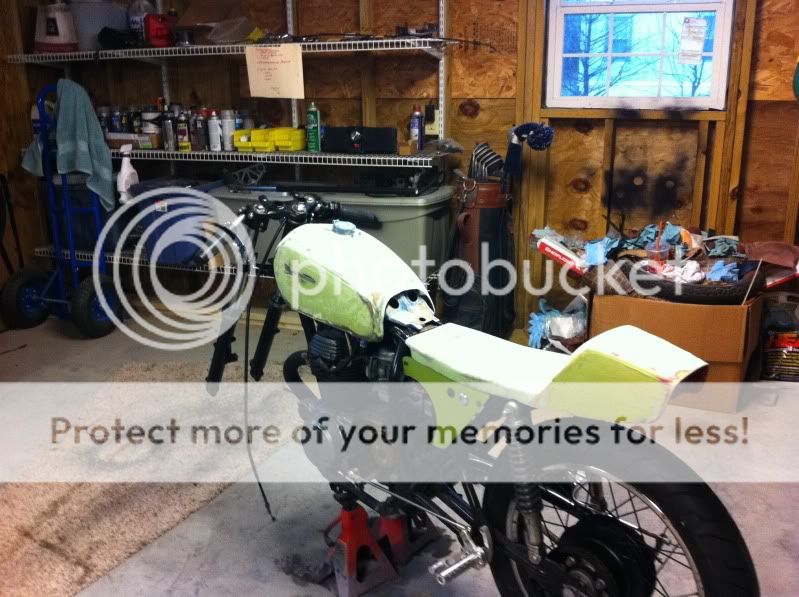
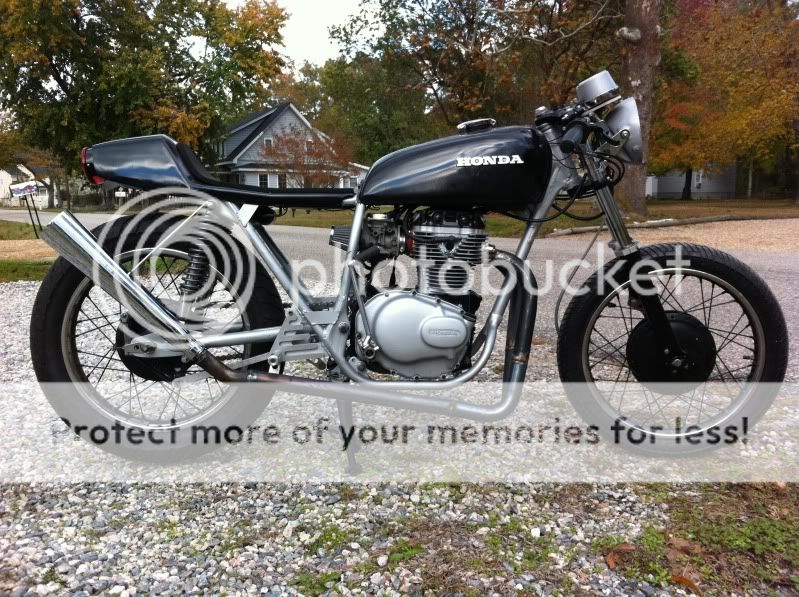
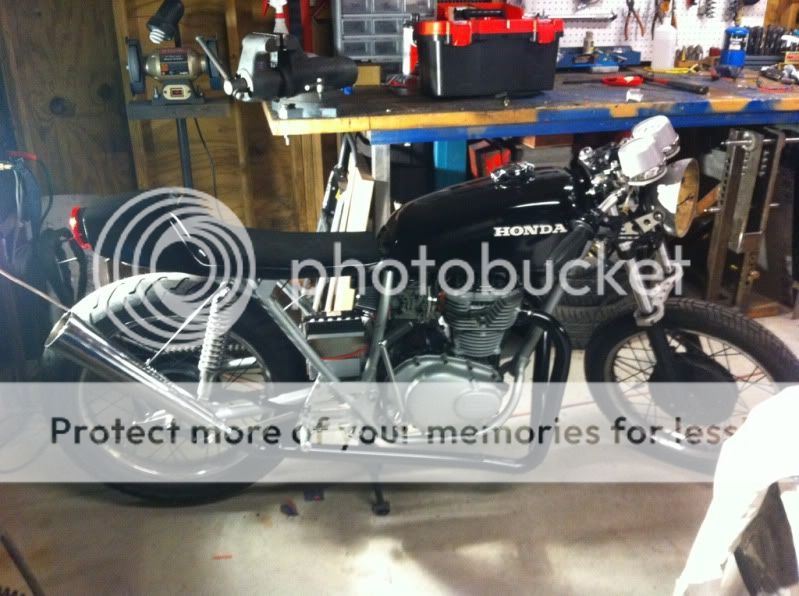
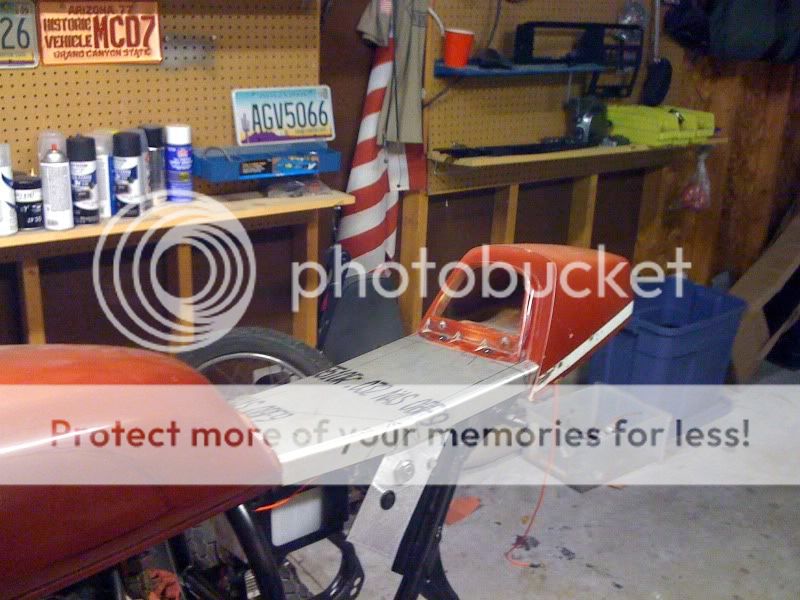
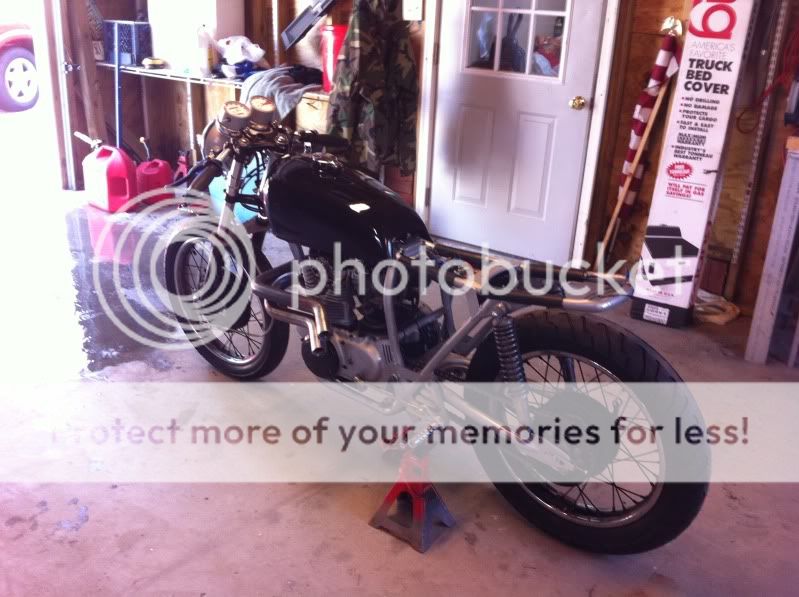
Finished seat...

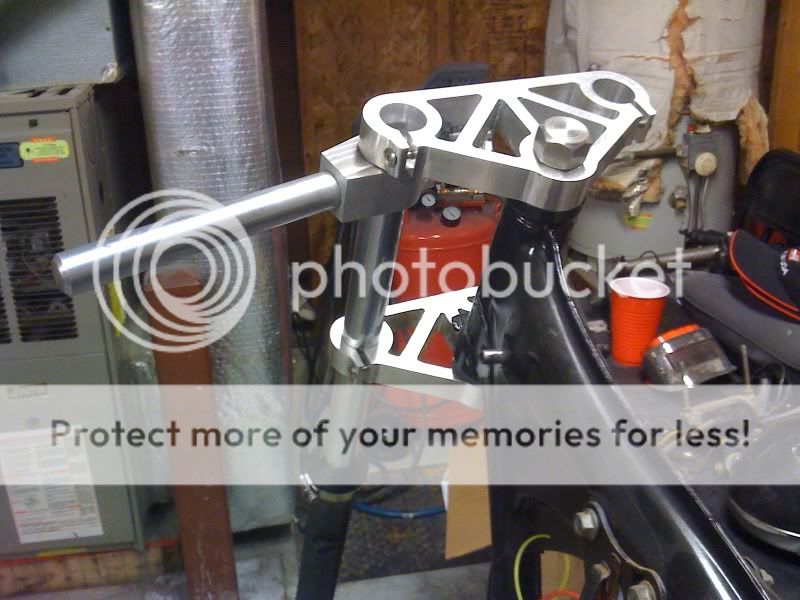
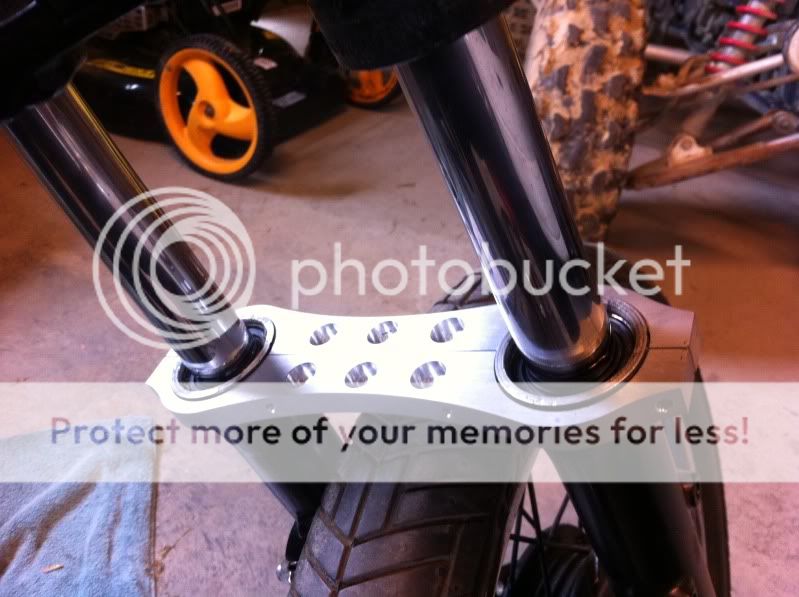
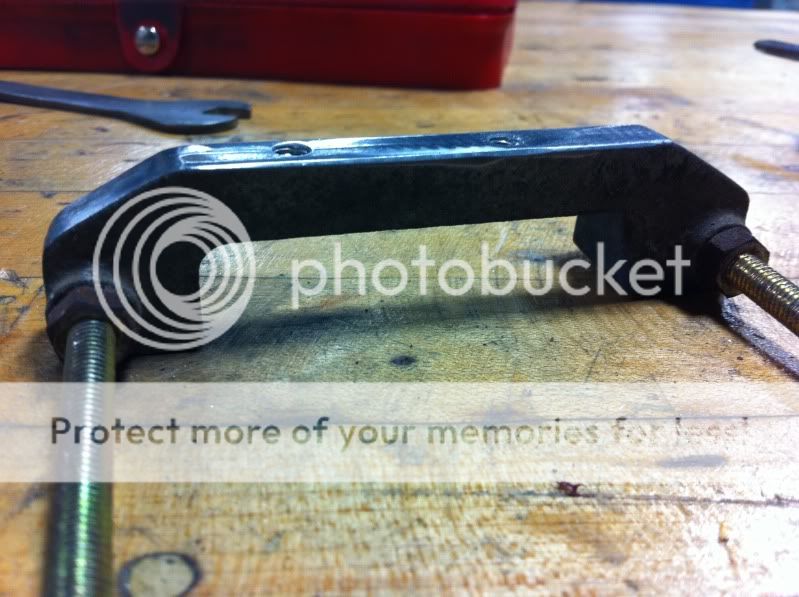
Fork brace I made, happy to make another set for you 360 guys
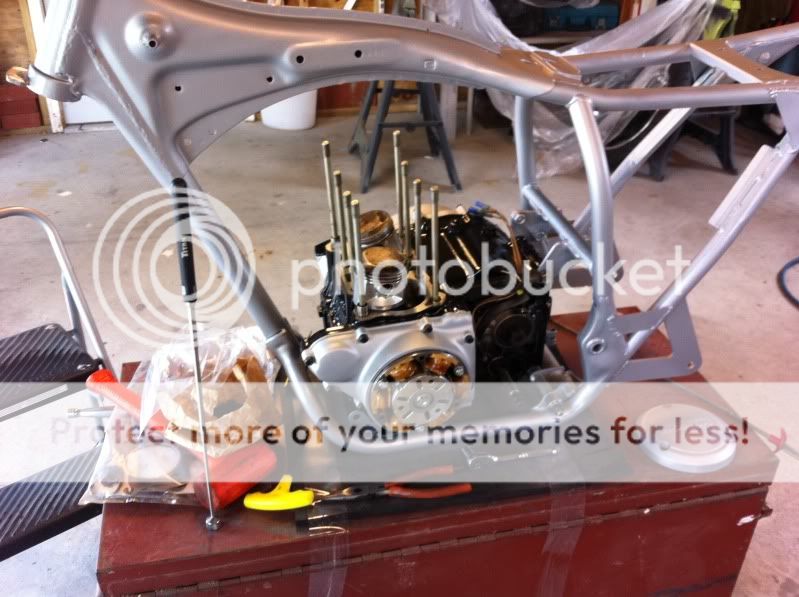
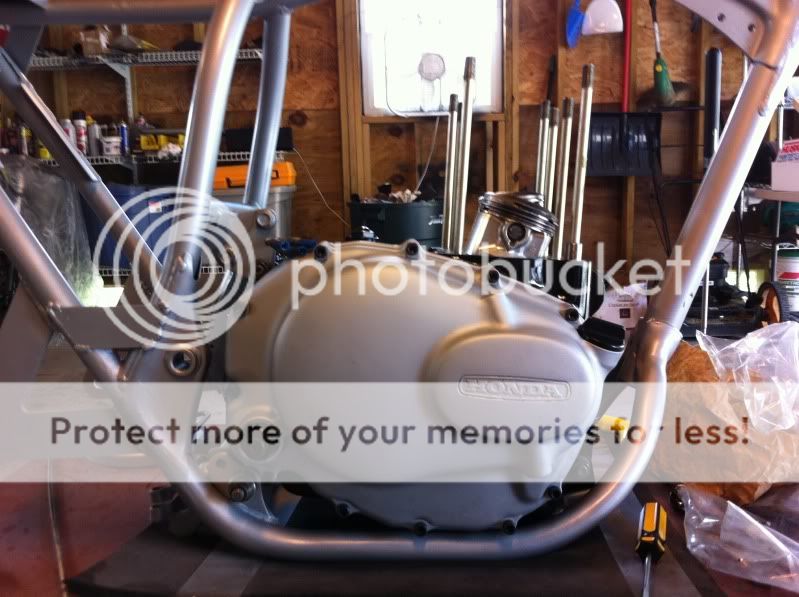
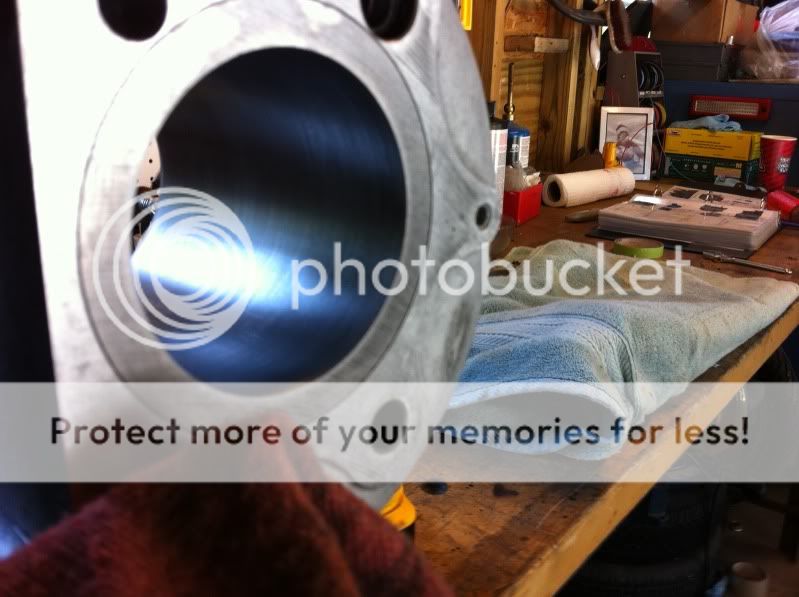
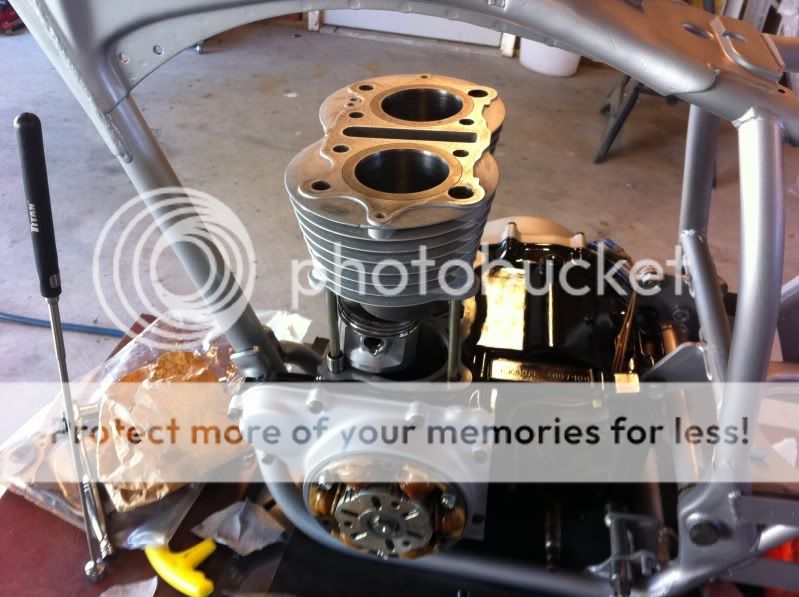
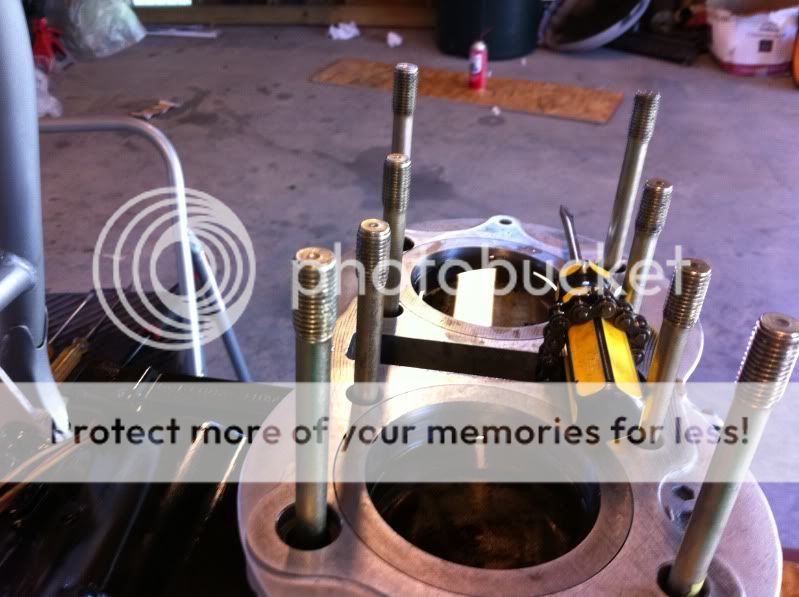
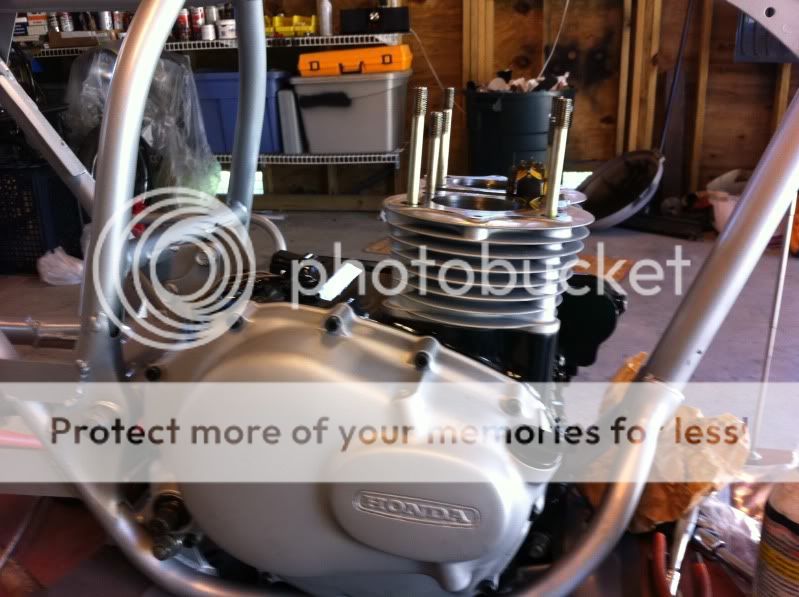
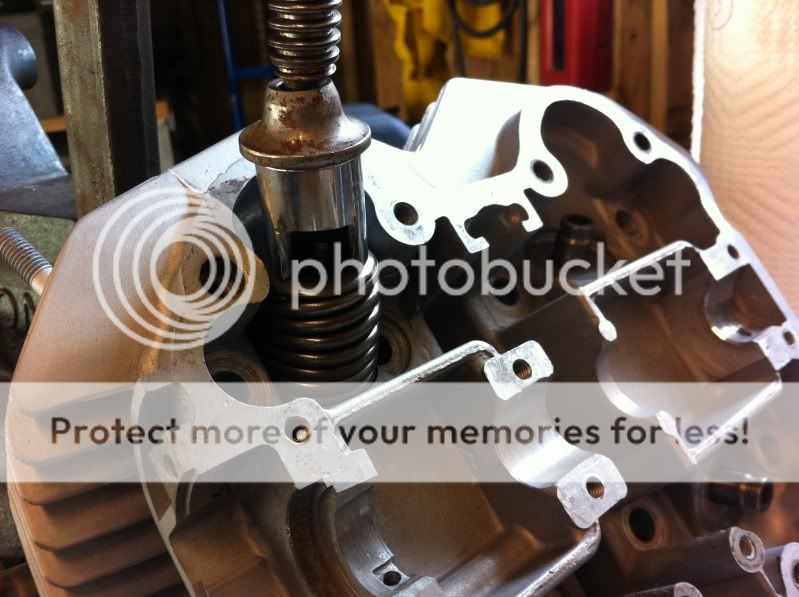
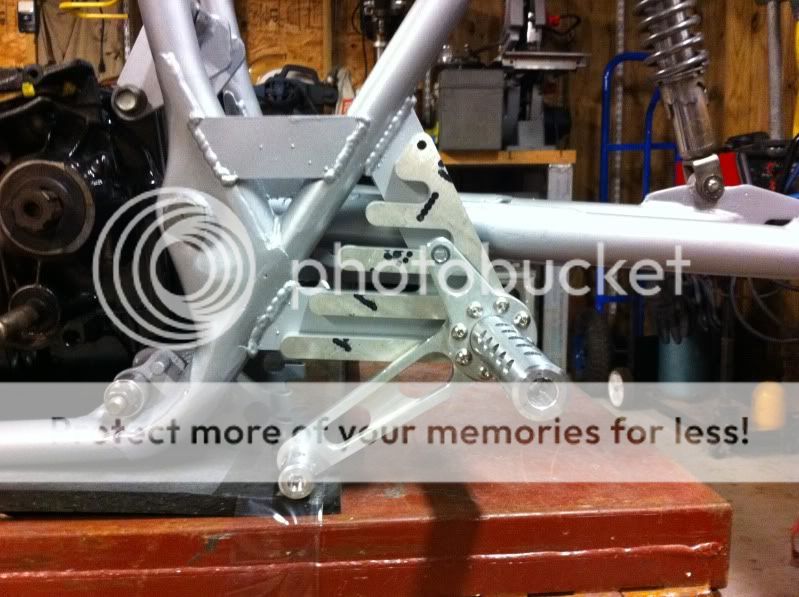
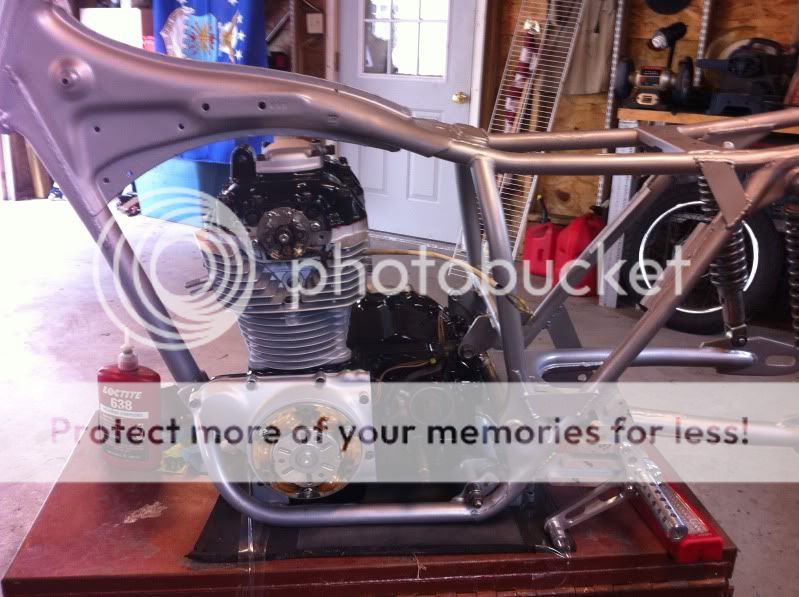
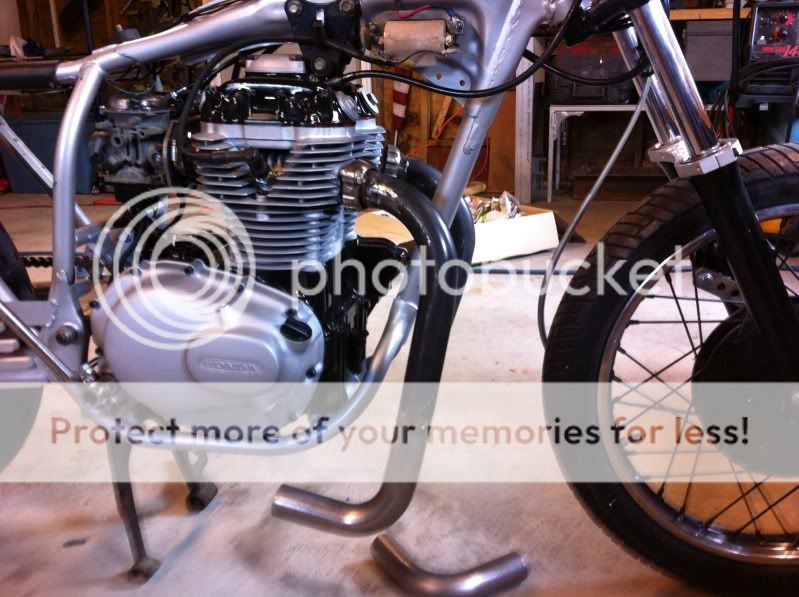
This is where I said, F it. I am going all out, full teardown and rebuild.
Truth is I wasnt that happy with a lot of odds and ends so I needed to do it again otherwise it would eat at me until the end of time.
Next post will start phase II
The build is about a year and a half total, I tried to take as many photos along the way but inevitibly I am missing some stuff. The bike goes through essentially 2 builds since the first one was a super cheap, less understood attempt. The second is the one I am currently undertaking.
So without further adieu, pics tell a thousand words.
The day I got her home (200 doll hair purchase)
Tear down
Crazy first attempt at wiring
Mock up of some machined parts I made ( I ended up using them on a differnt project)
Seat mock up
More seat action
Starting to take shape, the first time
Finished seat...
Fork brace I made, happy to make another set for you 360 guys
This is where I said, F it. I am going all out, full teardown and rebuild.
Truth is I wasnt that happy with a lot of odds and ends so I needed to do it again otherwise it would eat at me until the end of time.
Next post will start phase II


")