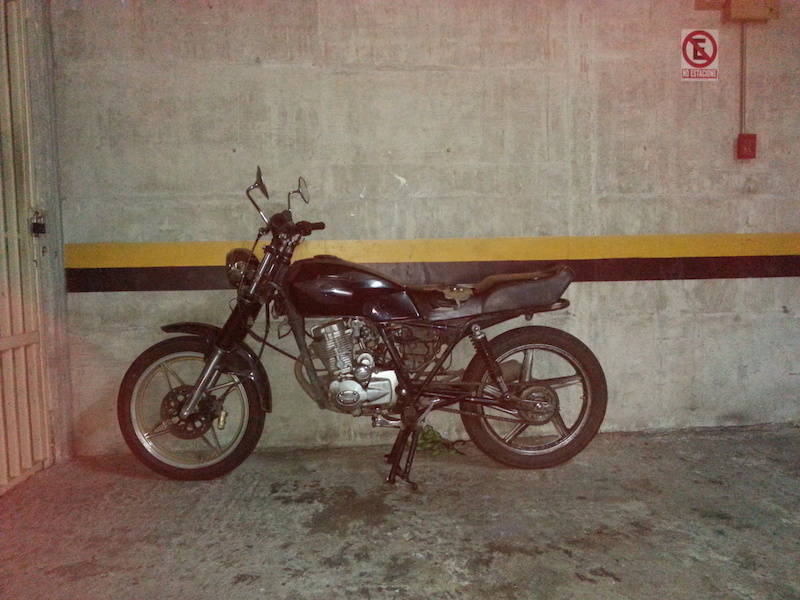
All right guys, I'm back from the dead (the build has been evolving) although I have not posted over a month.
I have left this thread unattended for too many days. This has to come to an end.
Now iI'll present you the evolution my build has taken and why. Being my first build I made some mistakes, that have been corrected, but cost me some time and even had me wondering if what I was going after could be accomplished.
So I'll try to post as many pics as I can, and caption them to make this read enjoyable. Let's Begin!!
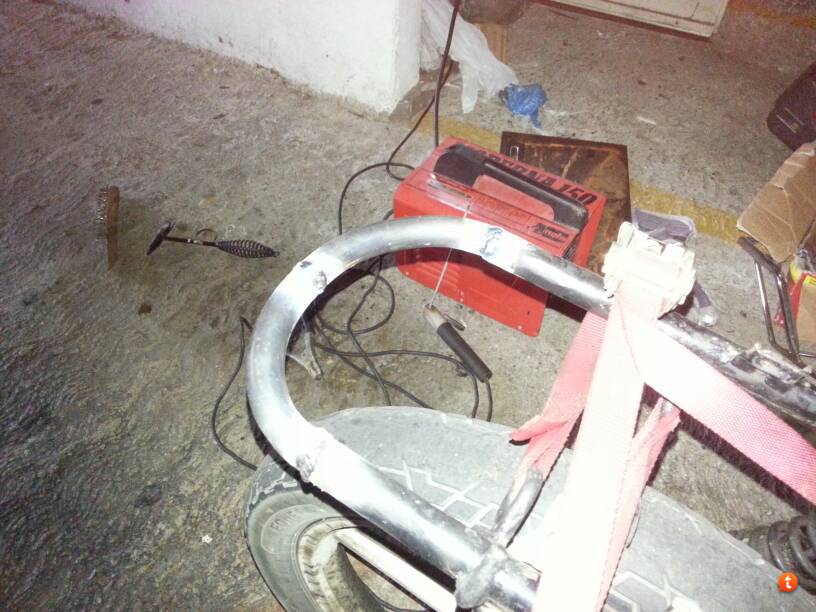
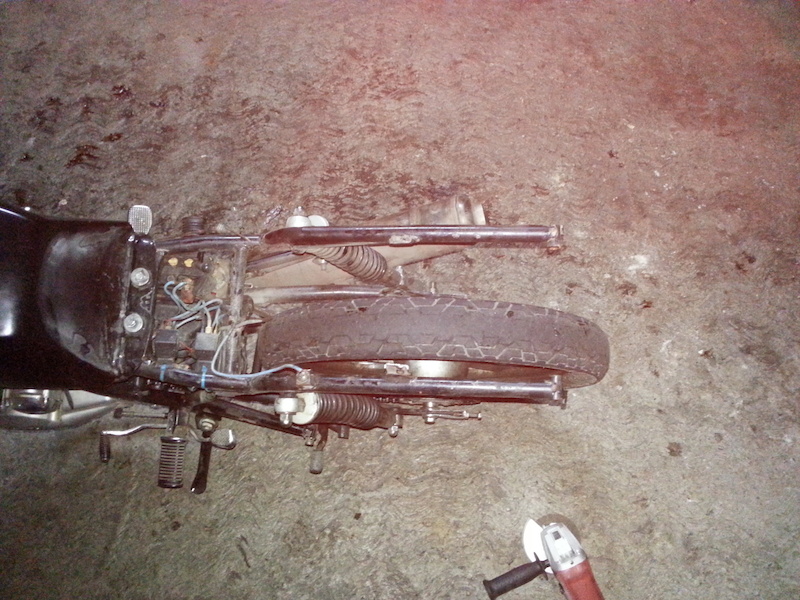
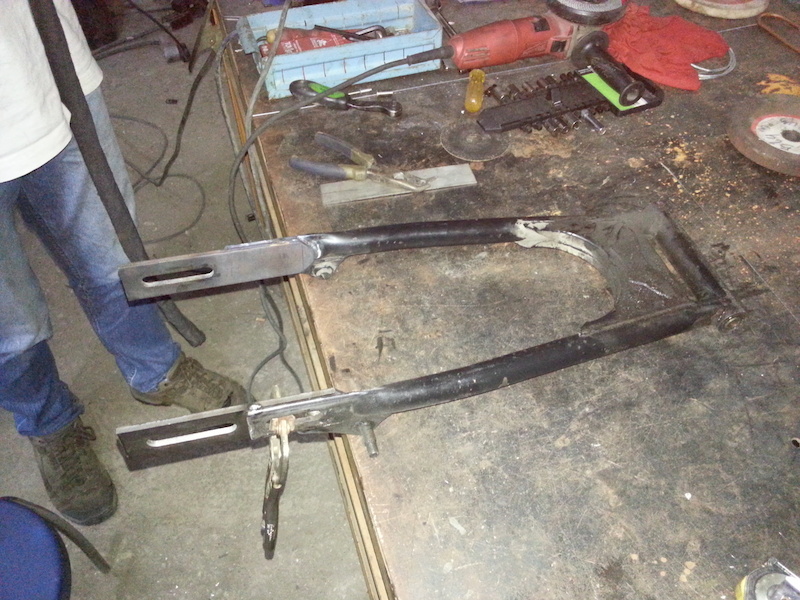
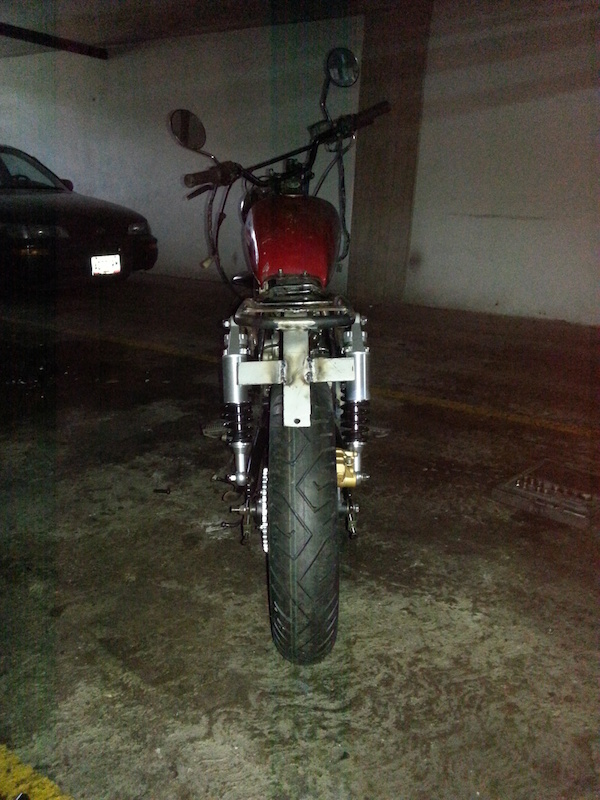
As you can see in the last pics I posted, I have made some swingarm extensions (truly ghetto quality) of about 8 cm (roughly 3in).
Now you would wonder why I wanted to make the swingarm longer? As a fisrt time builder I did not take into account the size of the stock tank, and did not look for another option to make the bike look better. As the stock tank was too long front to back, it made the rear wheel to look to be "under the bike", like if it was too close to the engine, rather that being on the back. So I thought "lets extend the swingarm, it should end up looking good". In the end all I did was mess up a swingarm and lost some time.
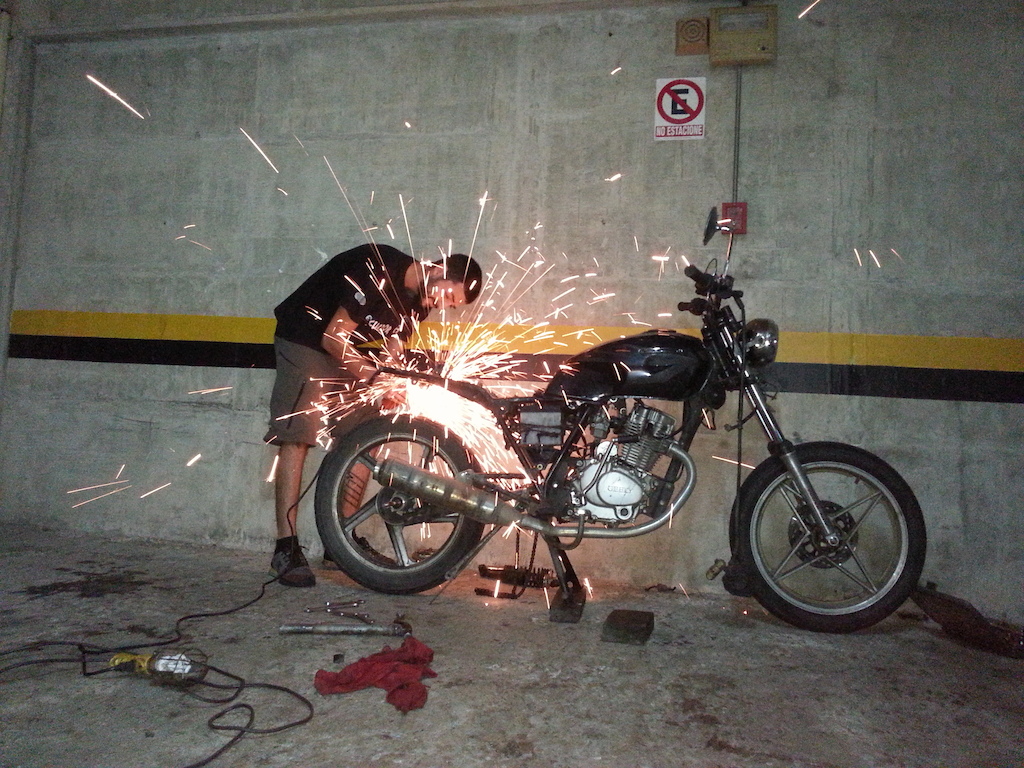
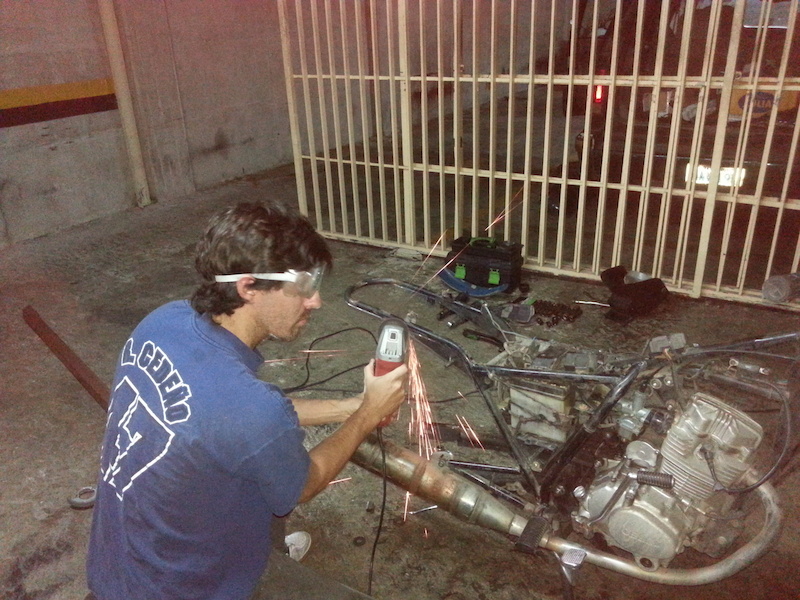
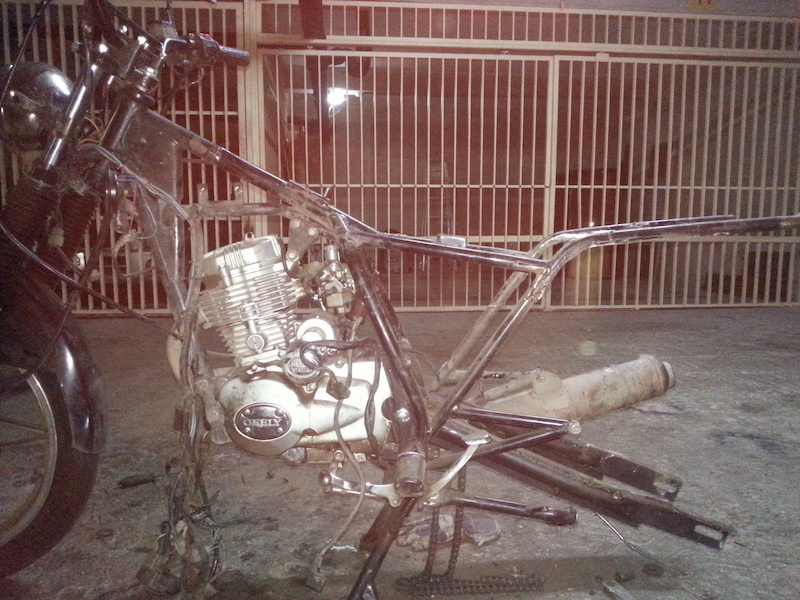
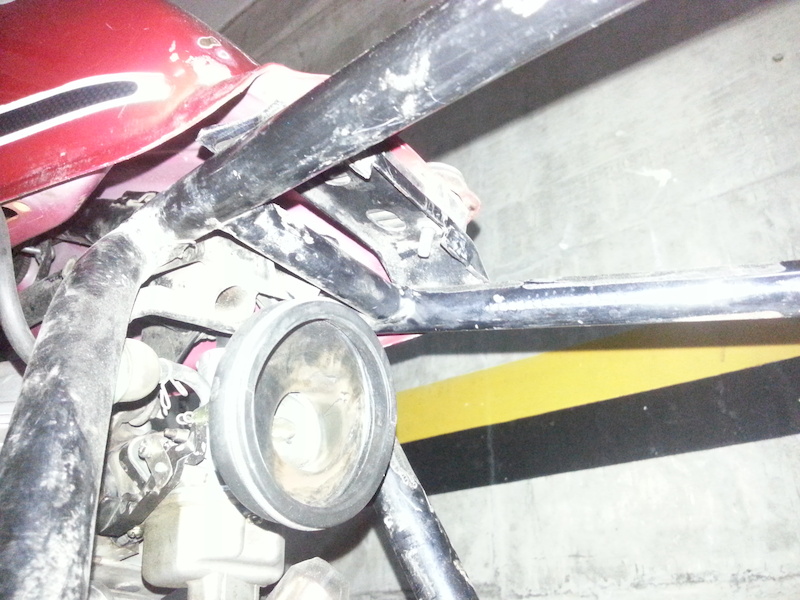
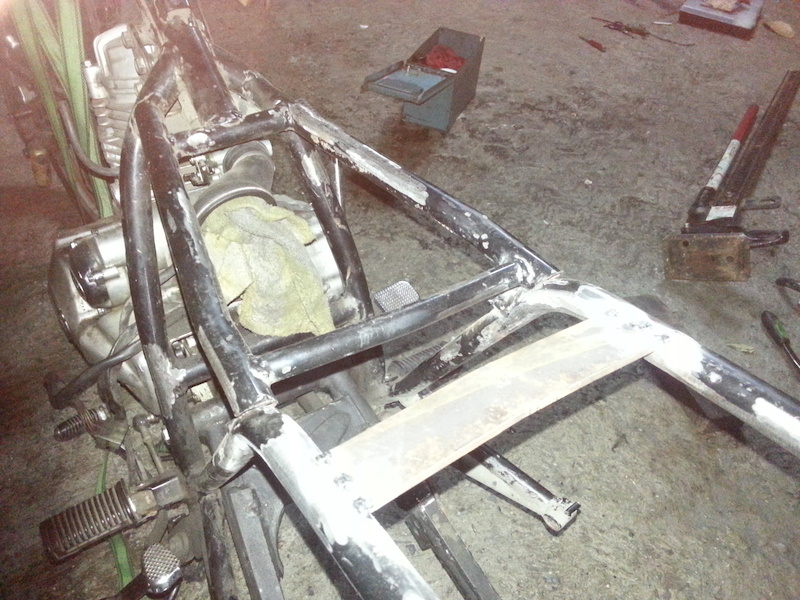
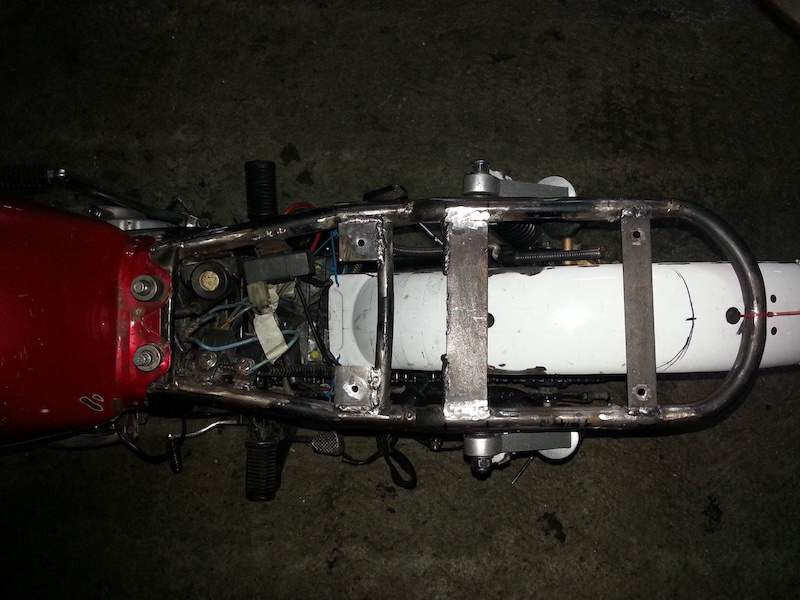
So before going nuts and ruining some bike parts, in the meantime I was also going forward, here I'm de-tabbing and cleaning the frame from unnecessary elements.
Here we have some muck ups I made in paint just to see what I could accomplish with all my stock parts, this subframe arrangement would have needed some really long shocks.
Another important thing to take into account is that this bike came stock with 18" wheels. Looking at those tires one would say lets get some better and meatier rubber, but the bike being a 125cc engine there's no much power nor torque to dig, so having a bigger 18" tire on those rims (awfully horrible rims) would just make the bike to be less responsive. I could just have gone this route anyway by changing pinion and sprocket, but the bike is so small that those rims would simply not work for me.
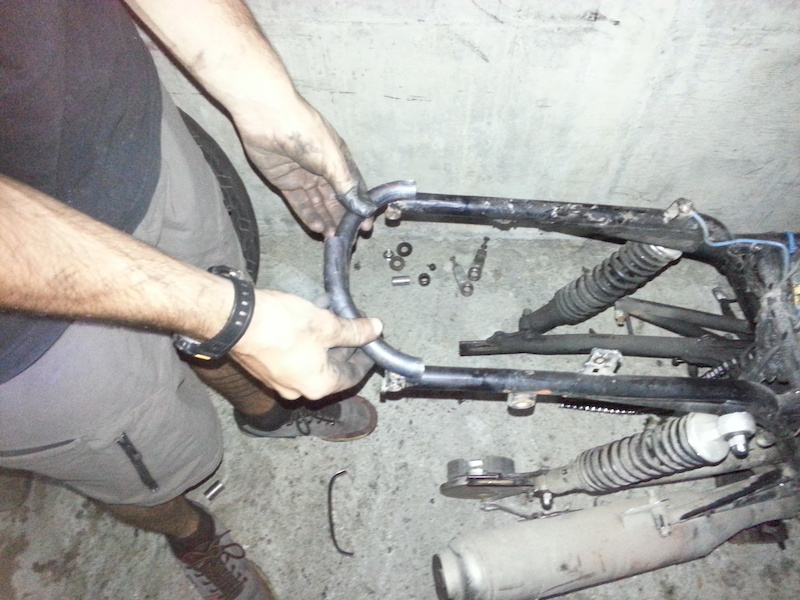
I kept on going forward on the frame building and made the rear loop my self by sand-bending some round tube with a jig I made.
Here Im mocking up the loop to the frame
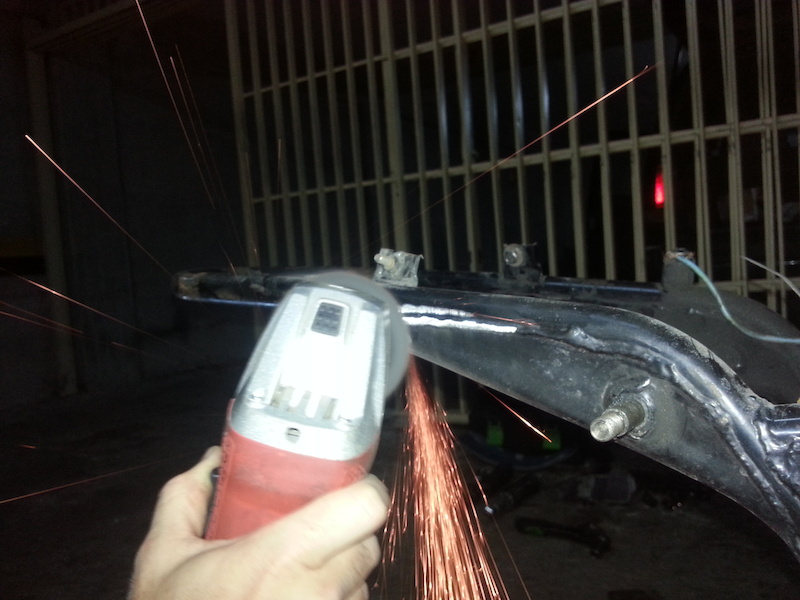
Then began to cut the frame
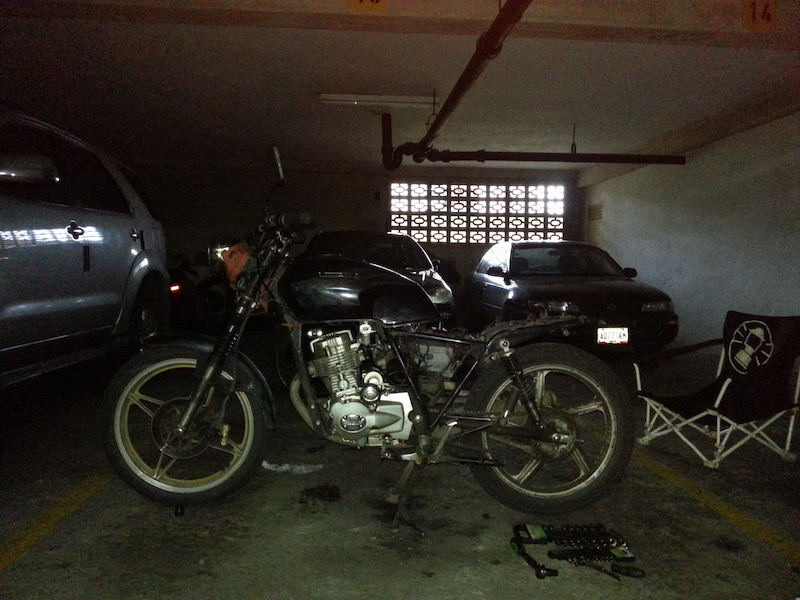
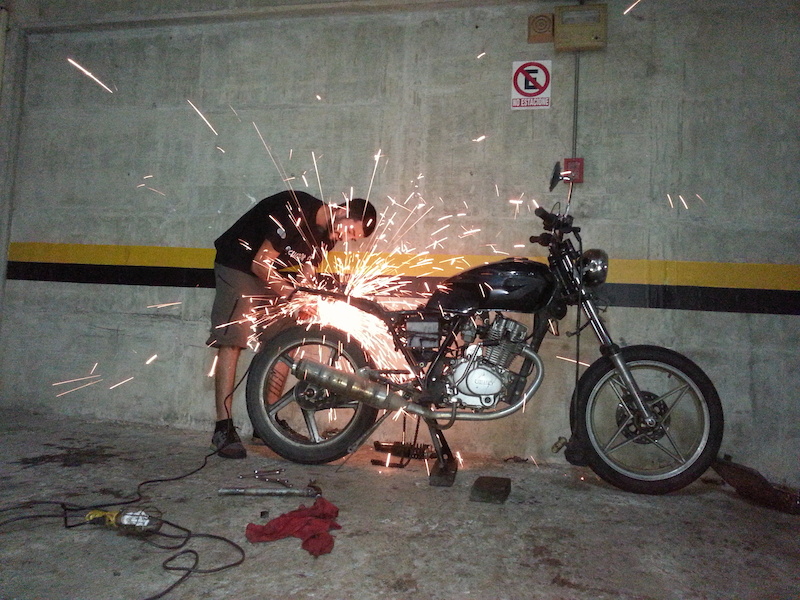
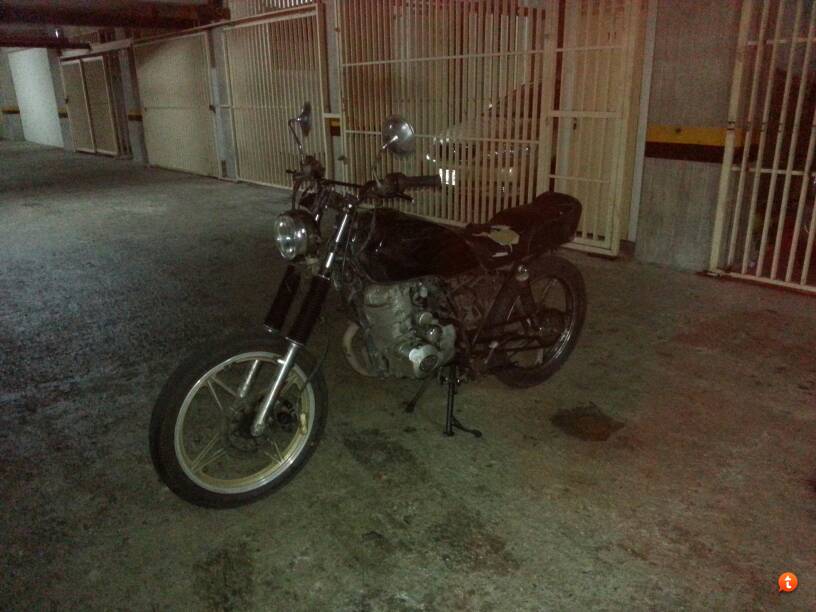
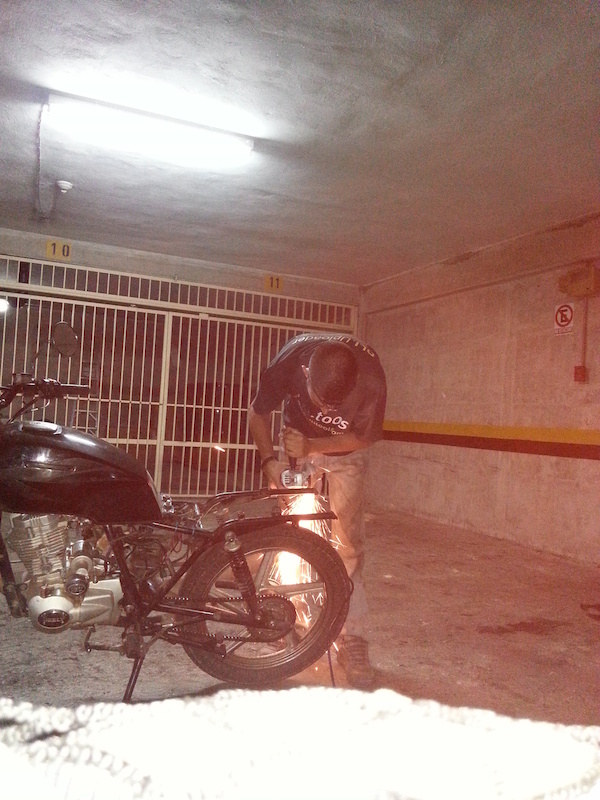
(Sorry for the shitty cellphone pics, I do not own a camera myself and I work on a underground parking lot so no good lighting either)
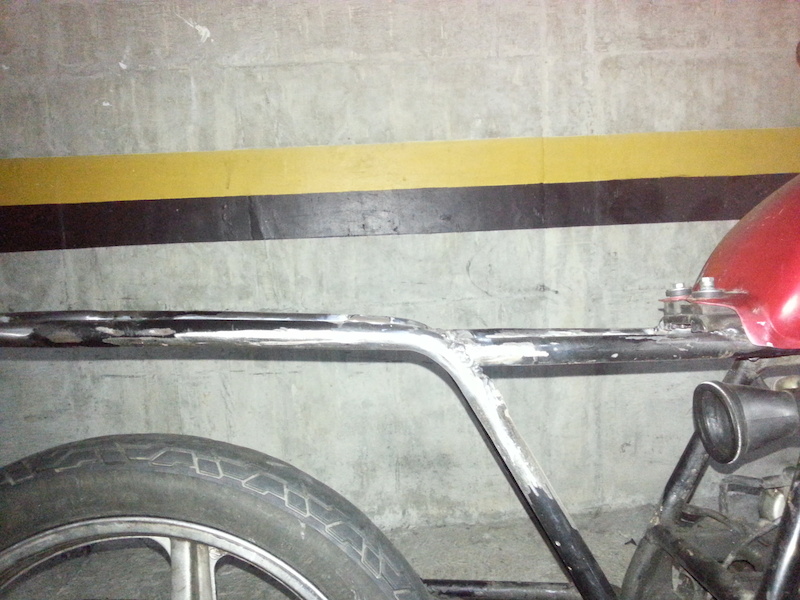
Making the rails fit the loop, to tack it in place (got it 5mm narrower than the rails)
Welded in place
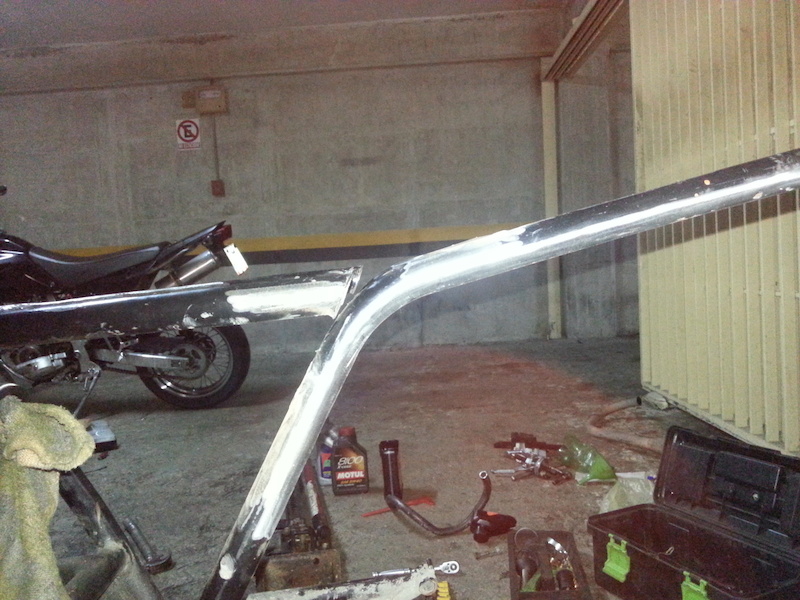
"Final" product
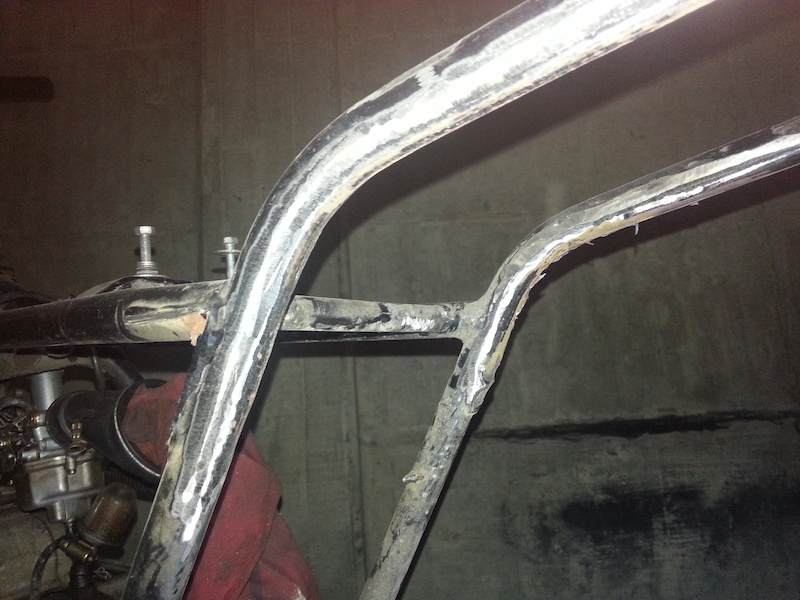
Cleaning the welds
Now ill post the pics of where everything went wrong hahahaha I'll just upload this, although those changes never made it to the last stages of the build, I made some interesting discoveries and learned from the mistake.
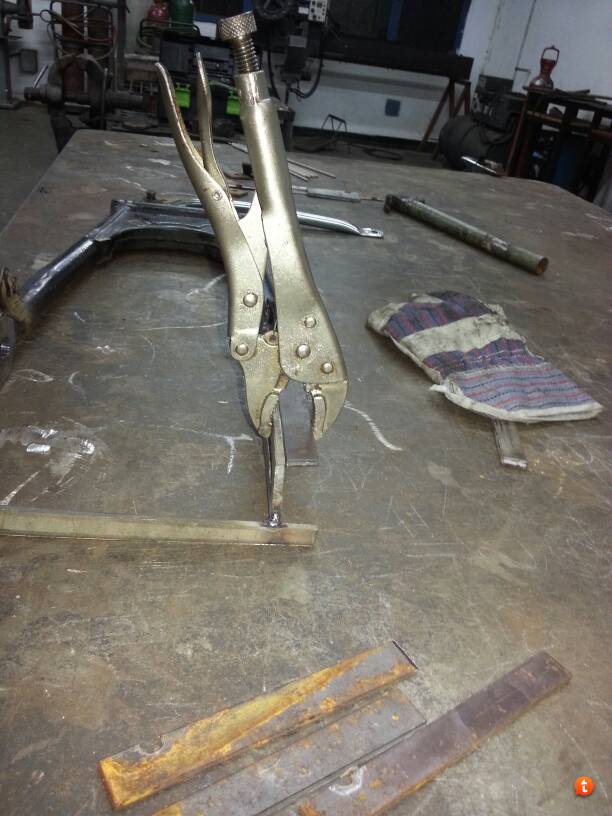
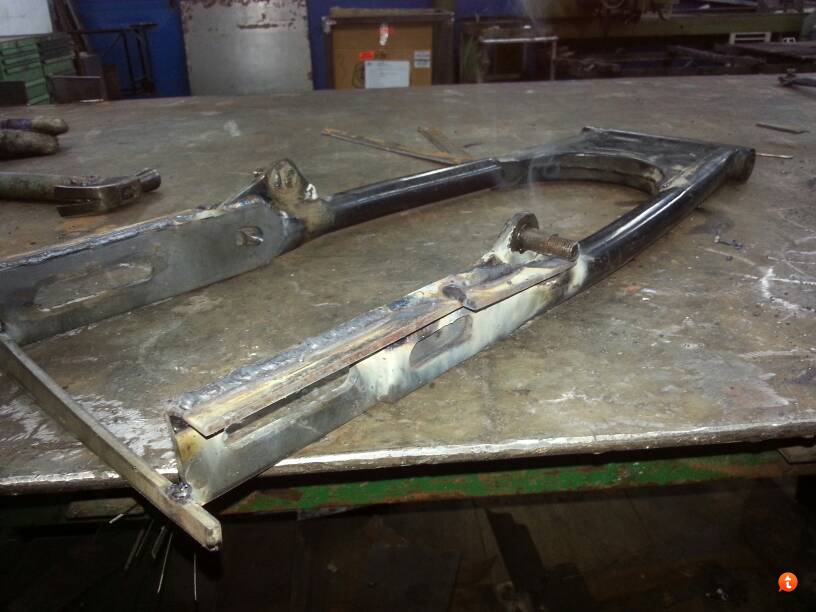
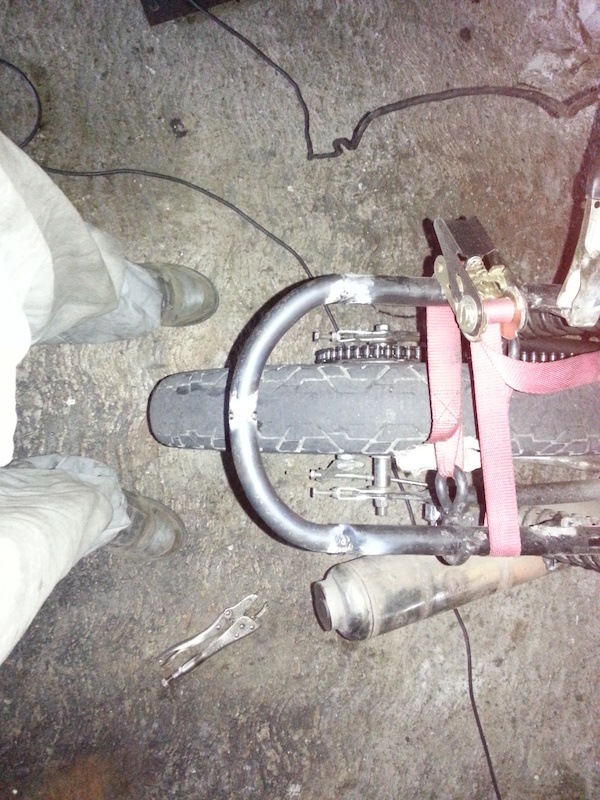
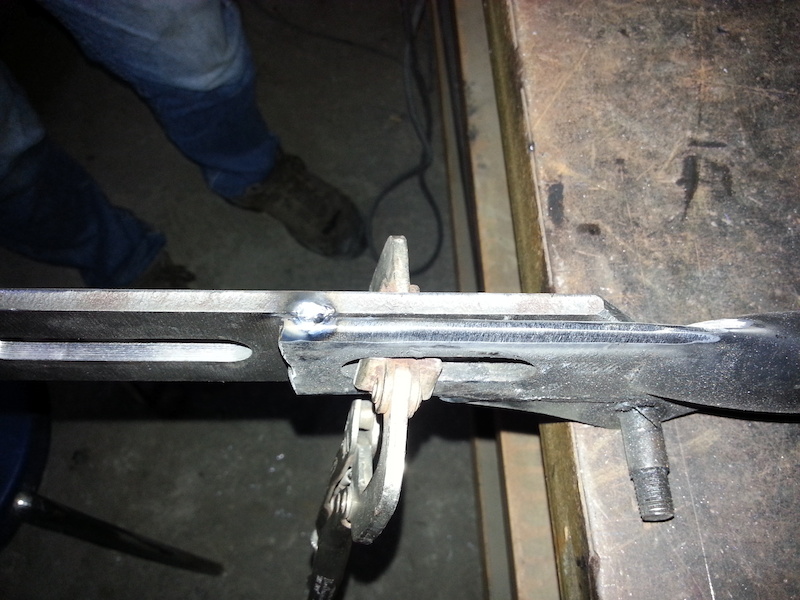
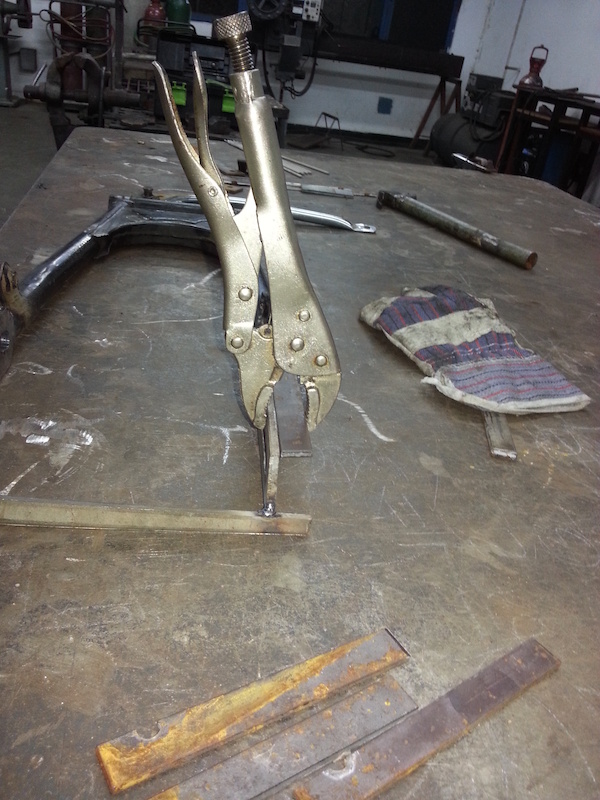
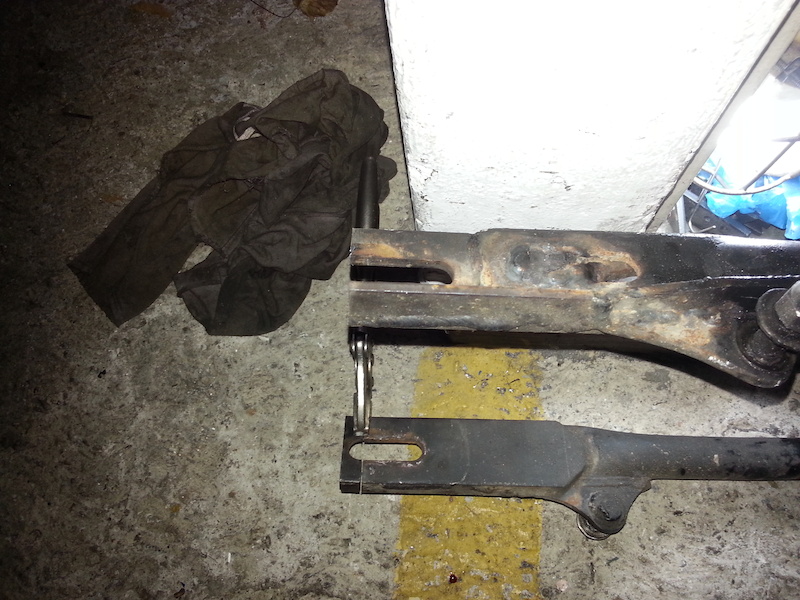
Extending the swingarm :-X
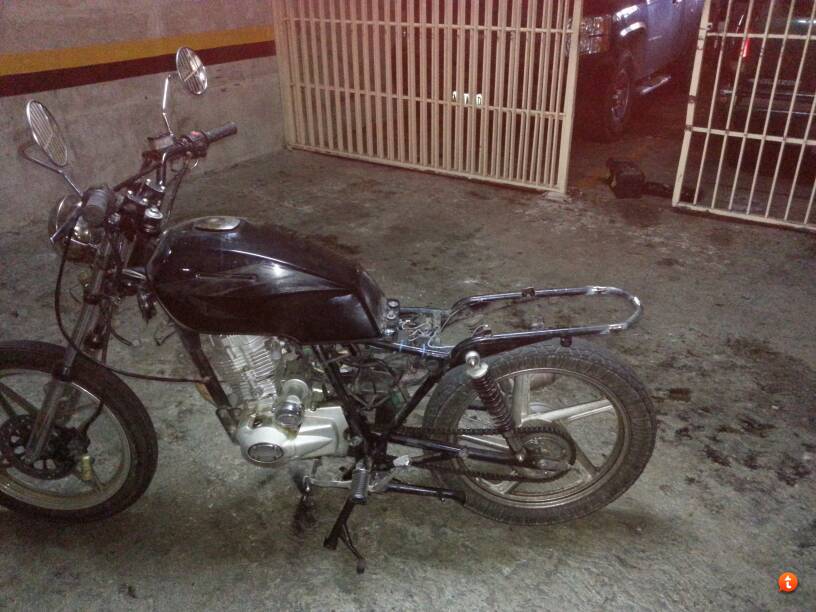
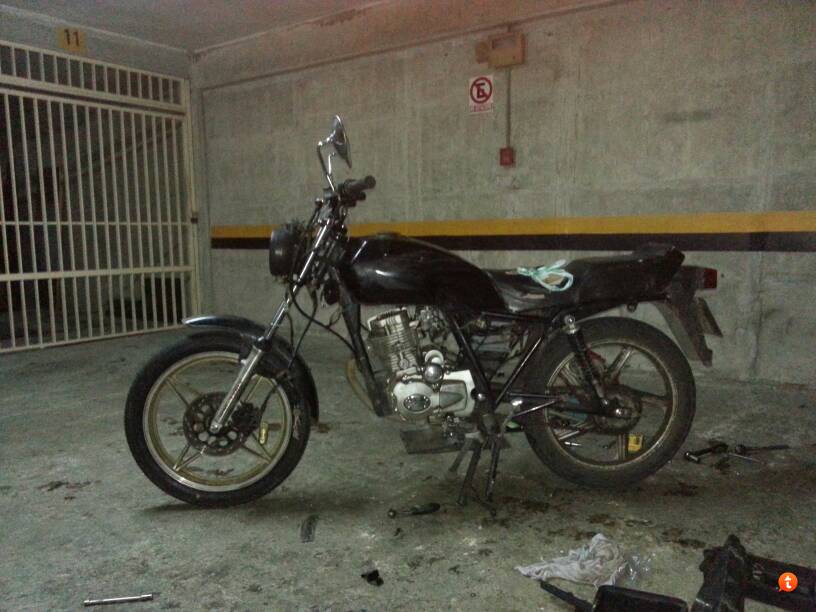
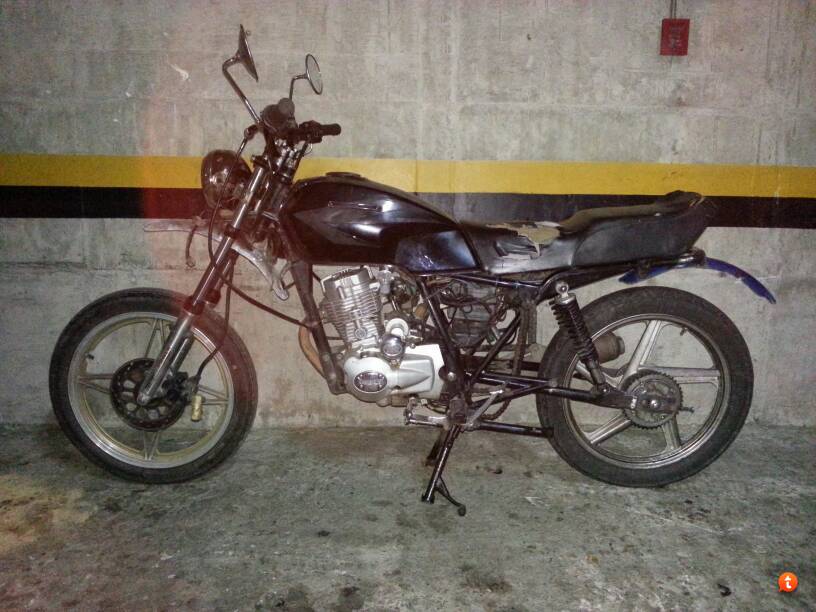
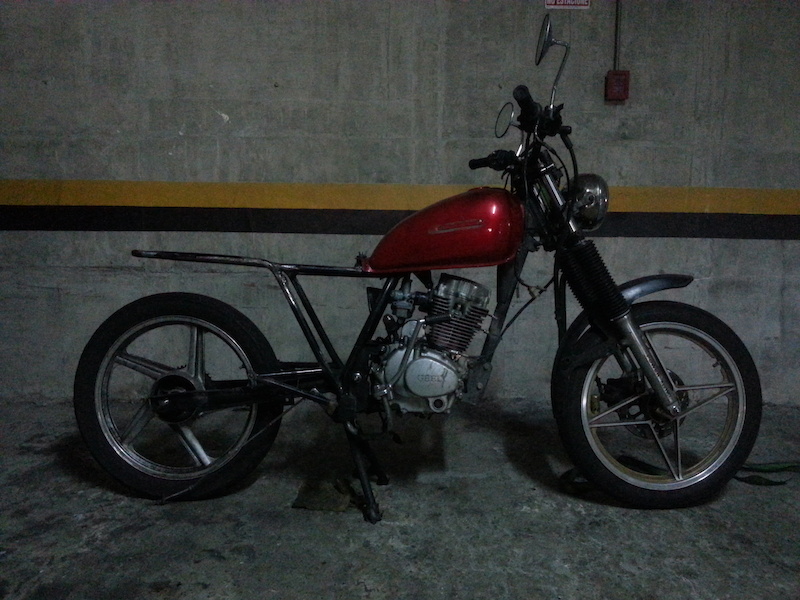
The bike with extensions finished (all this mess was caused by not using another tank before doing the mod)
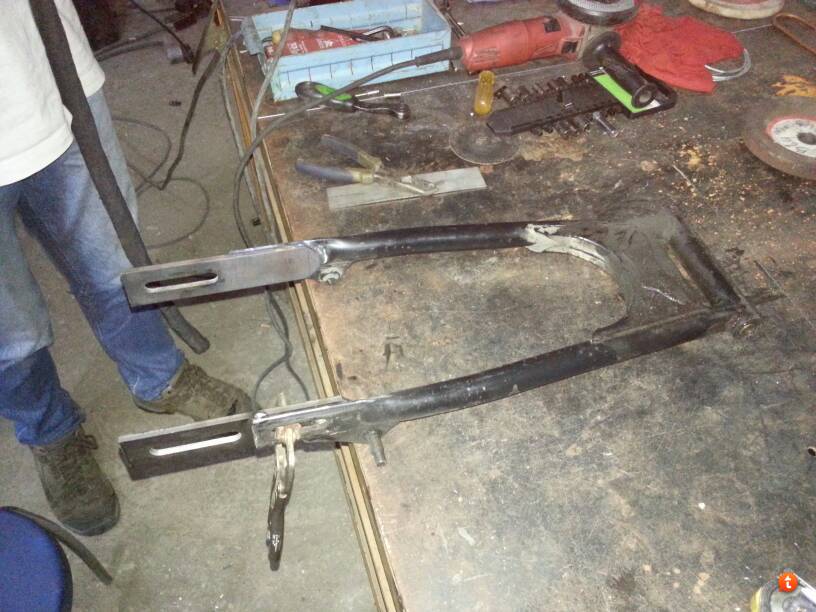
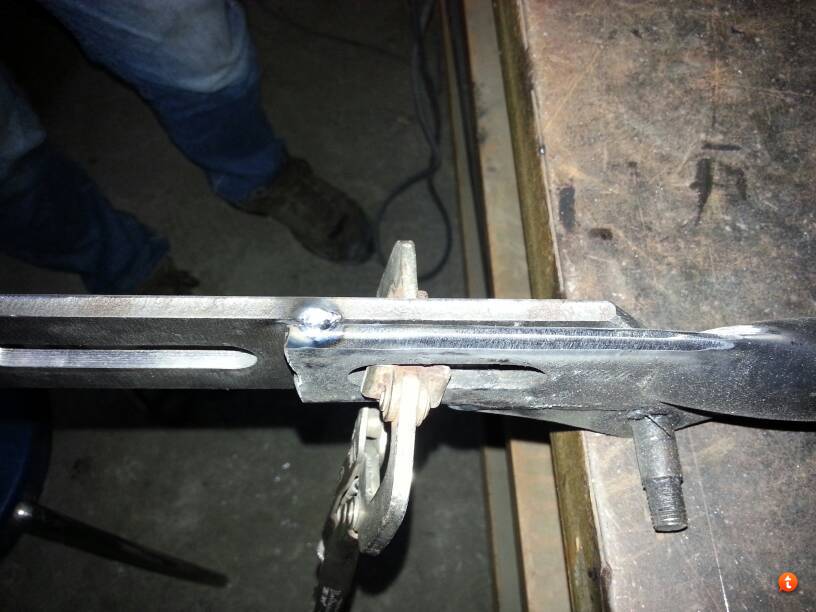
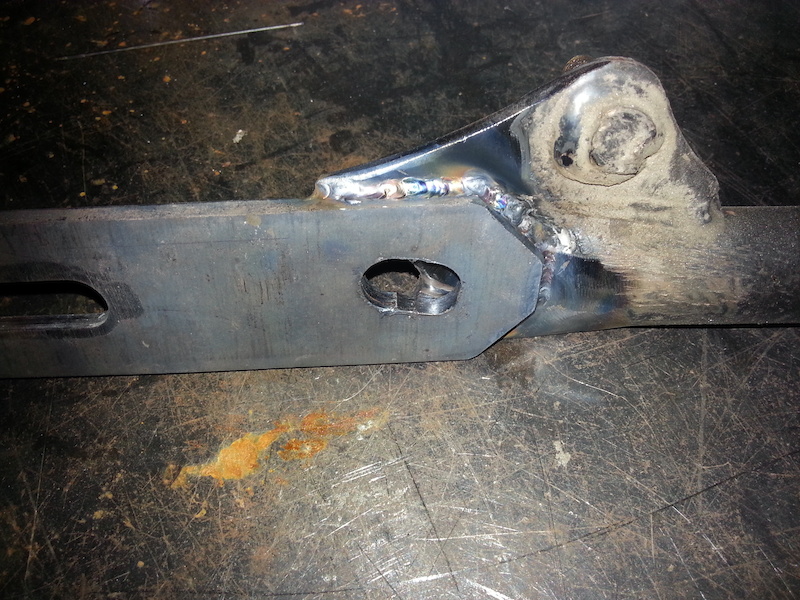
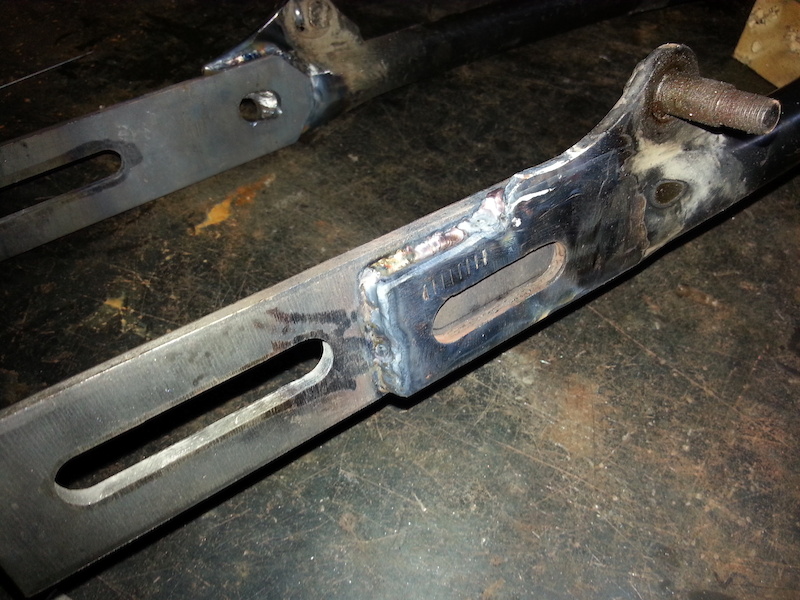
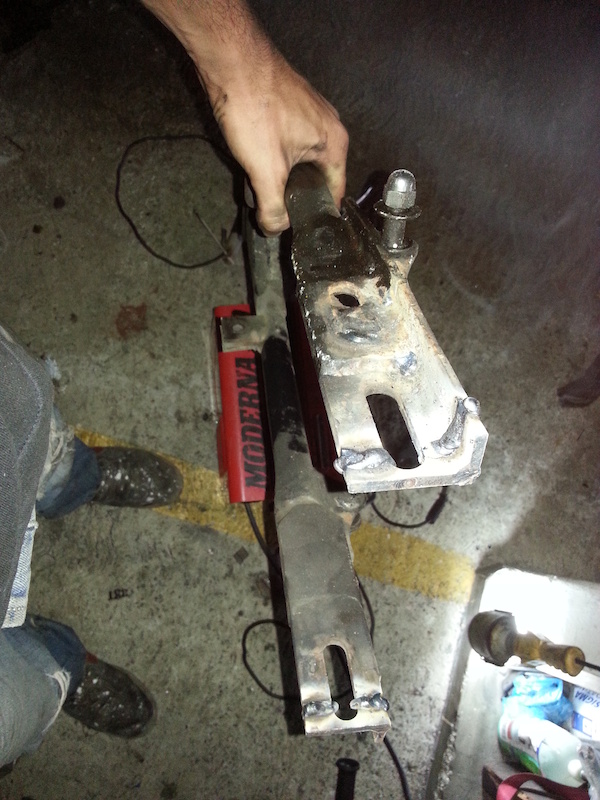
Reinforced the shit out of the extending plates
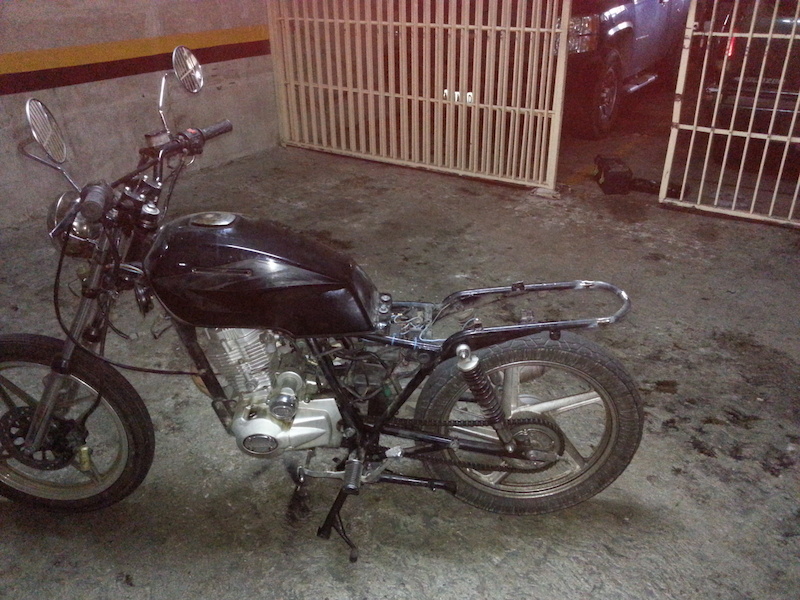
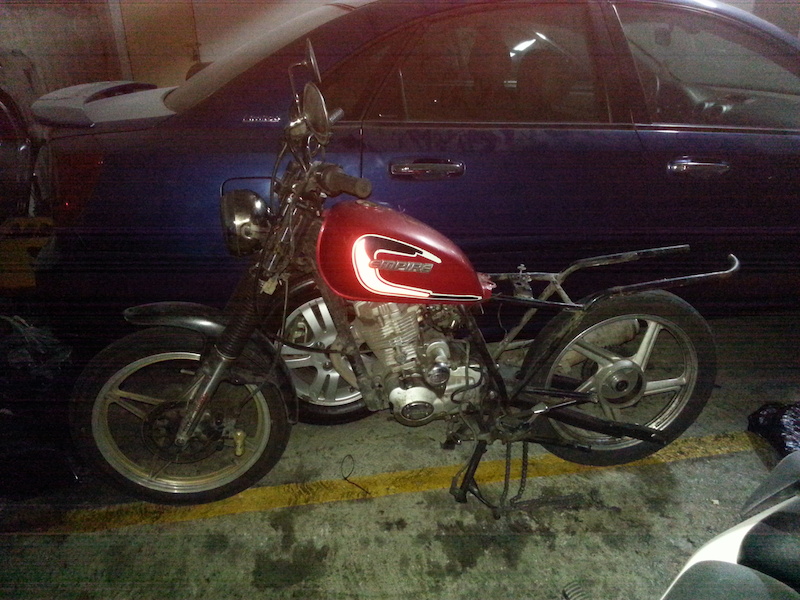
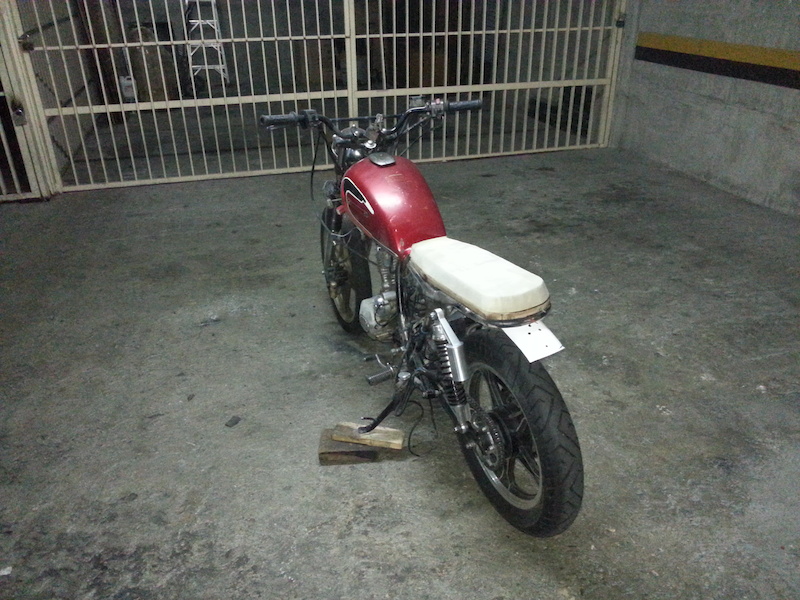
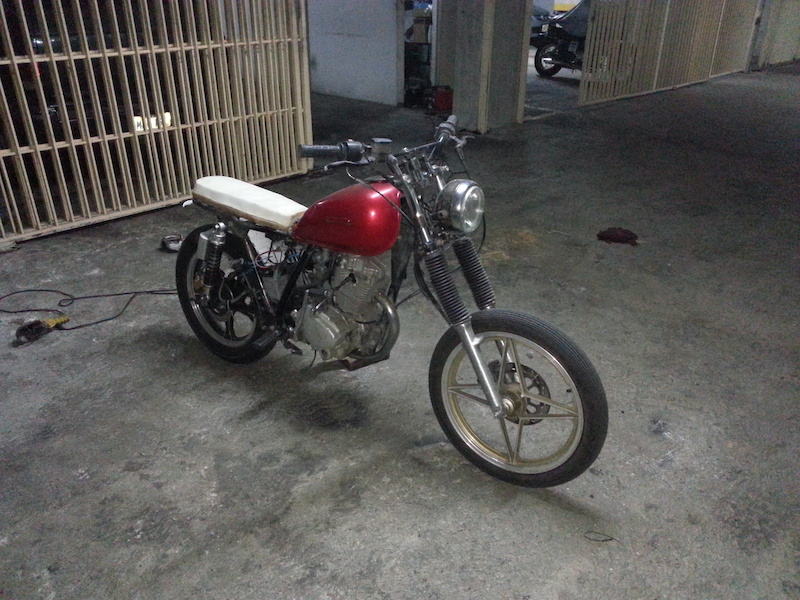
After days of lost work and effort, I managed to find a tank that would suit me well.
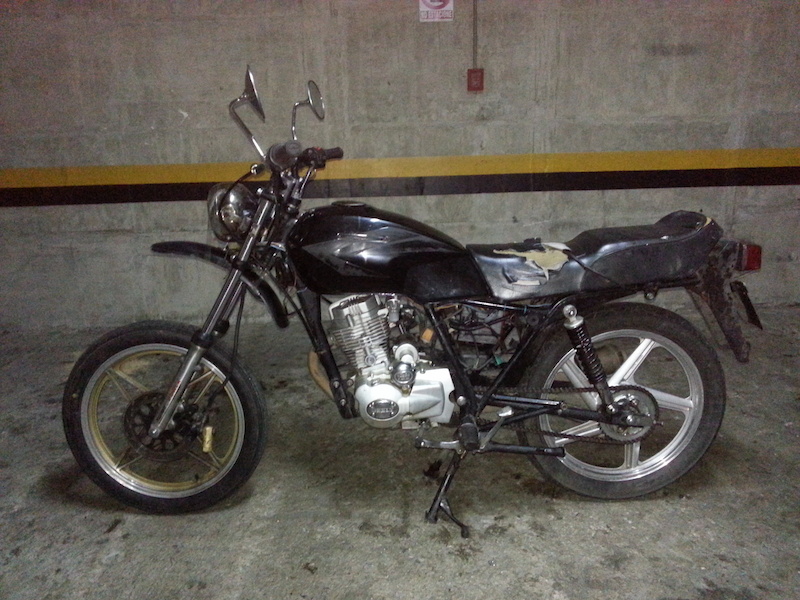
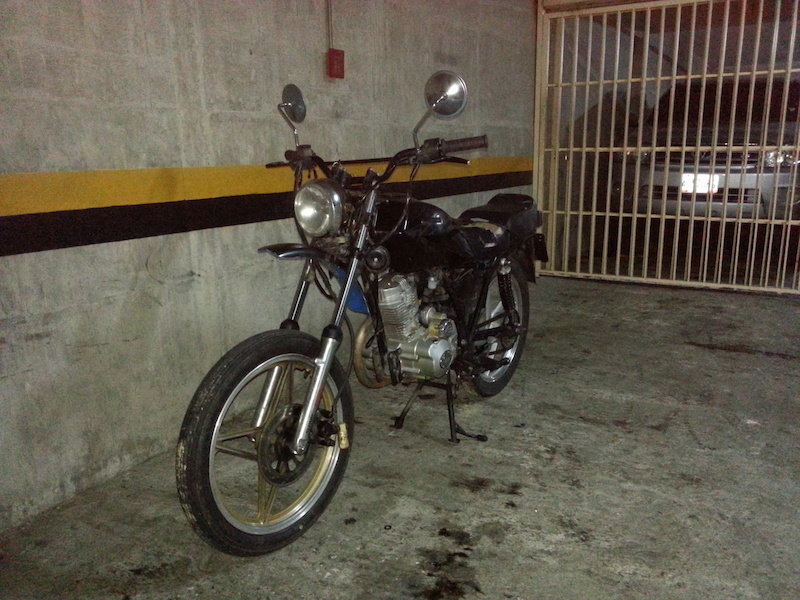
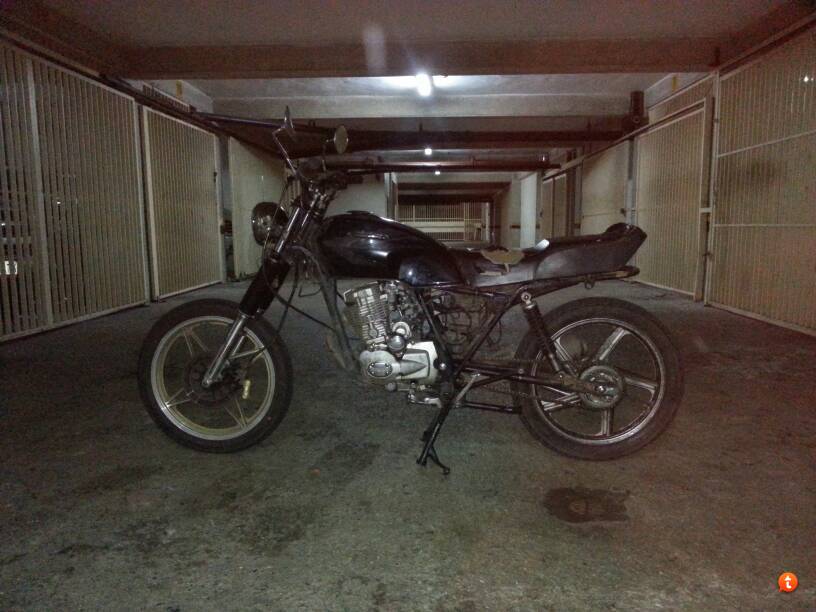
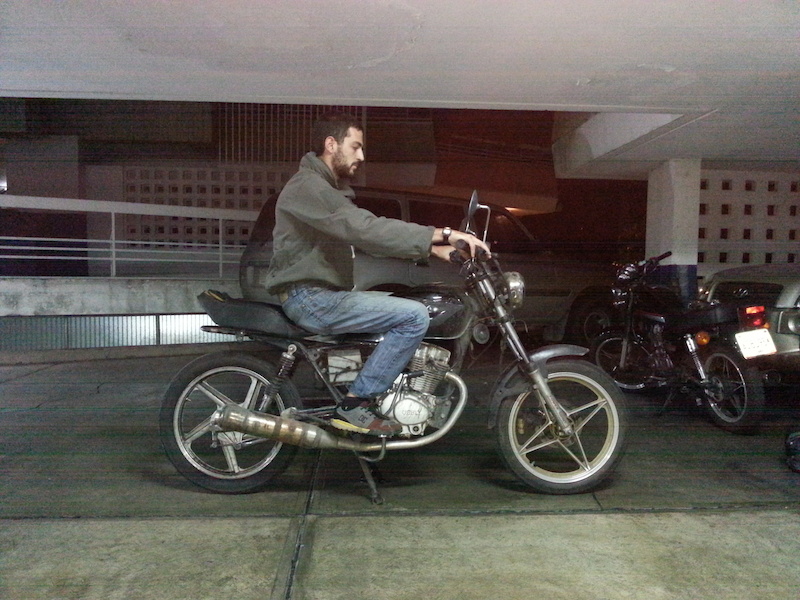
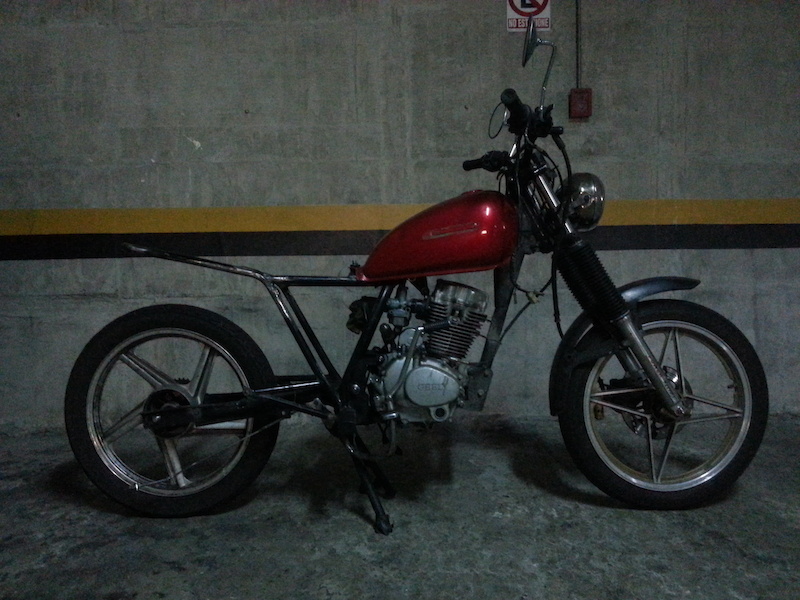
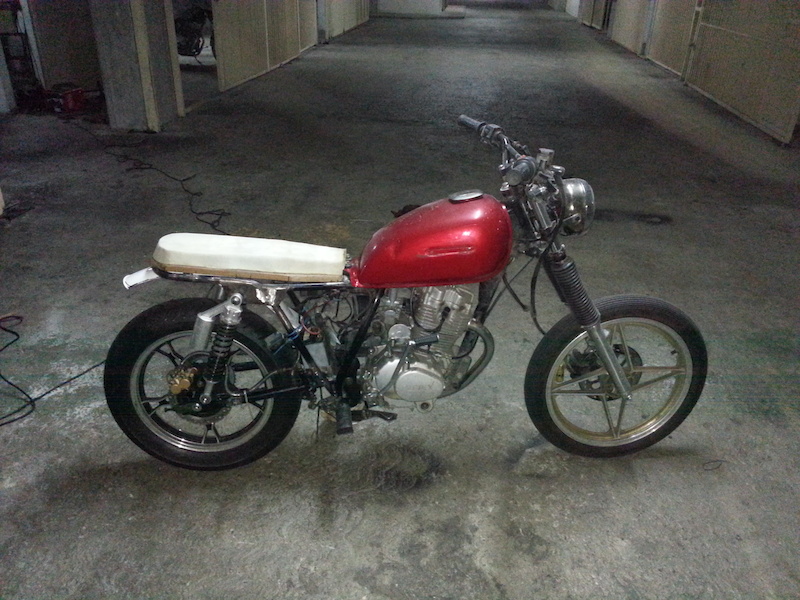
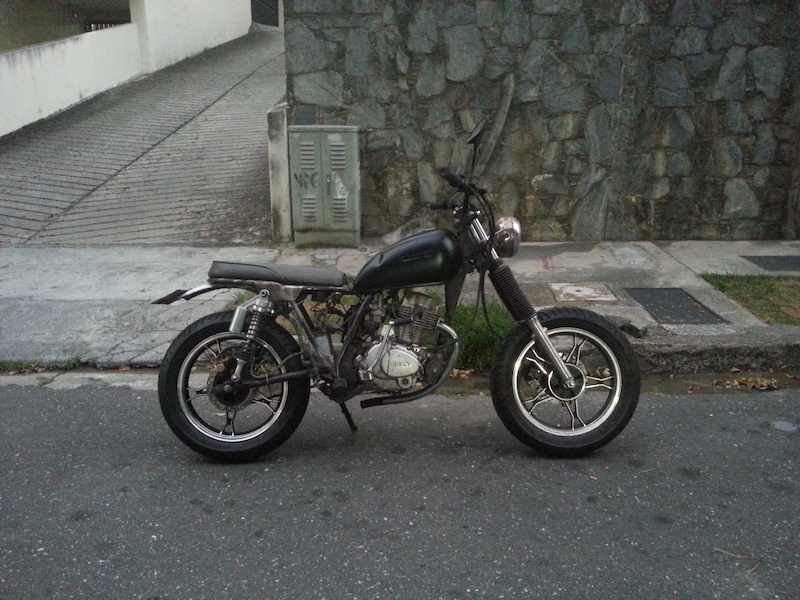
Here I am on my bike, I'm 6'2" so there you can appreciate the size of the bike, in the rigt side of the pic you can spot a GN125 Chinese copy, from which bike I selected the tank from to work from now on
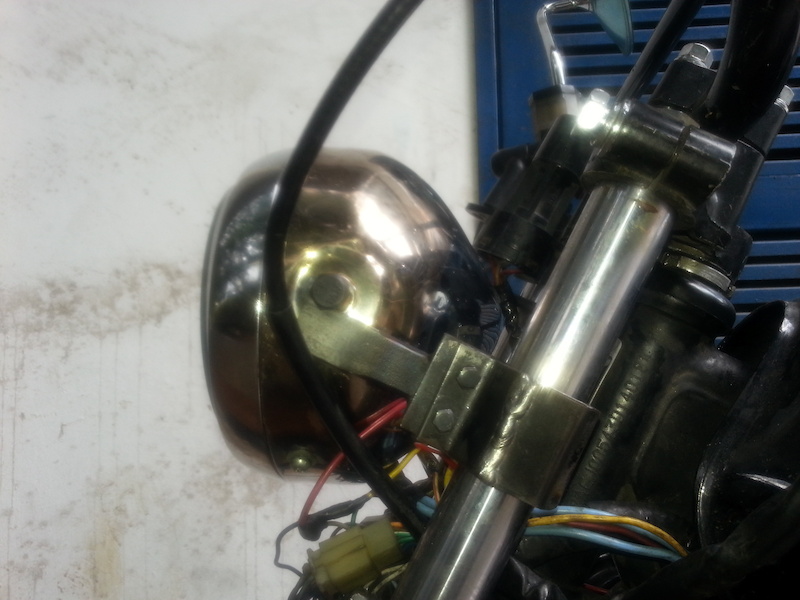
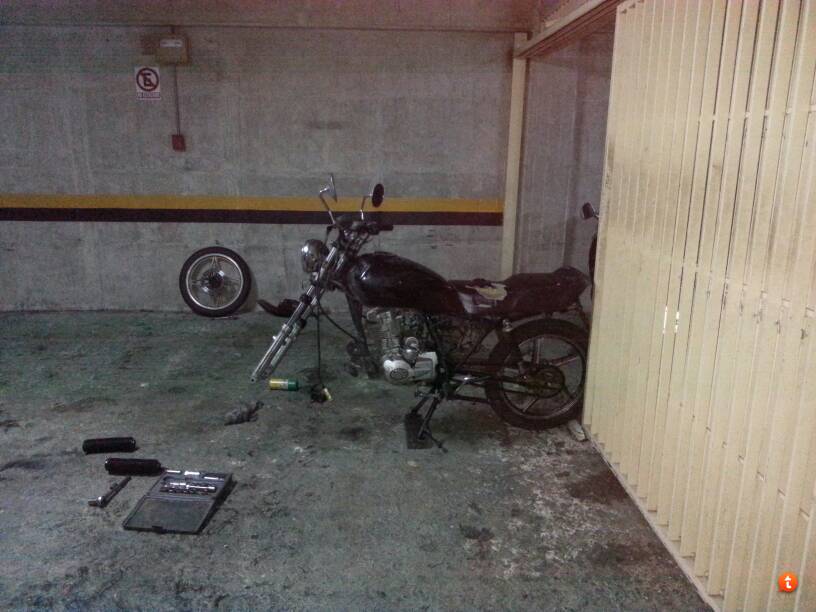
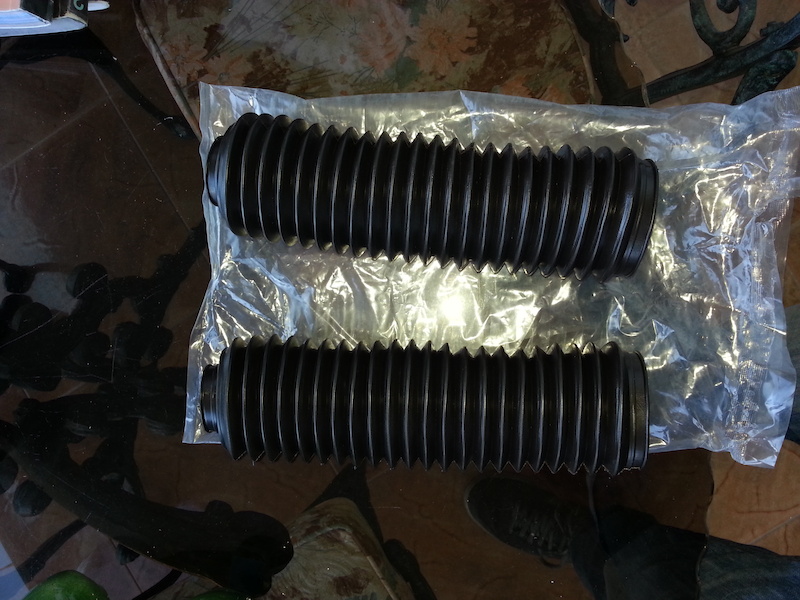
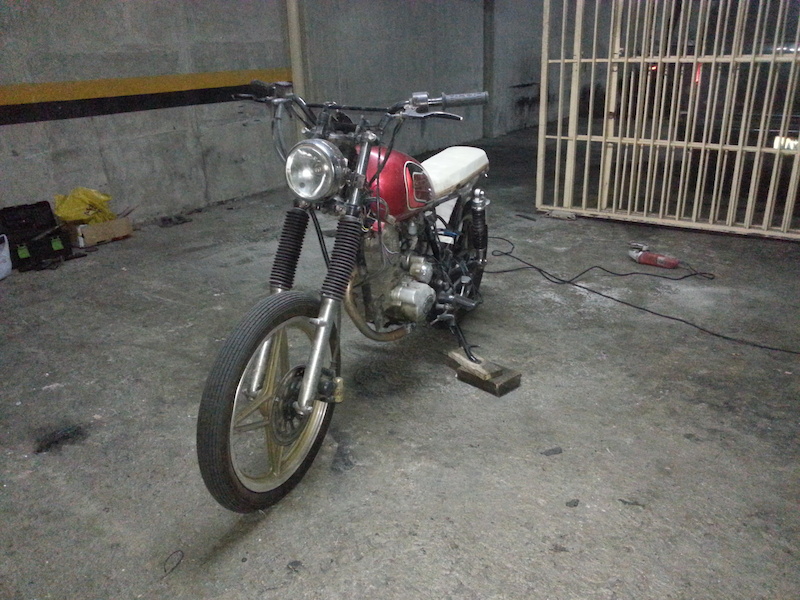
Fork boots
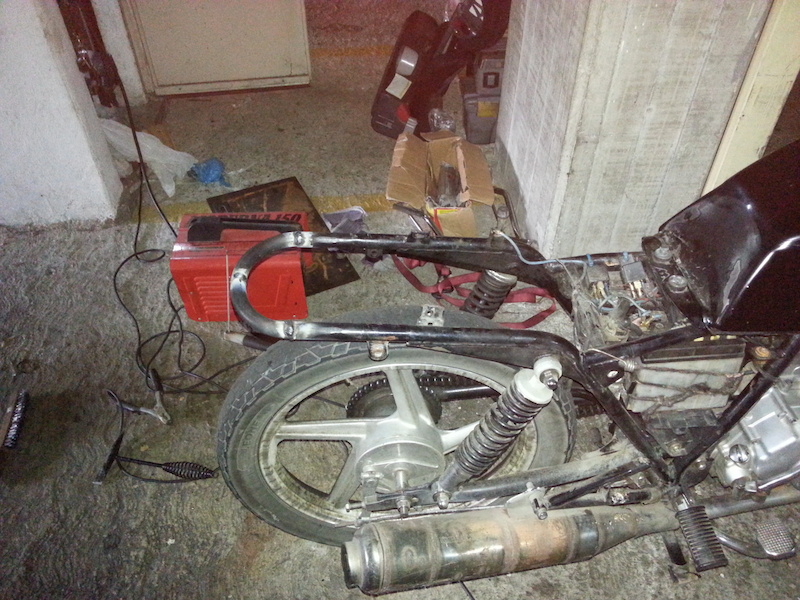
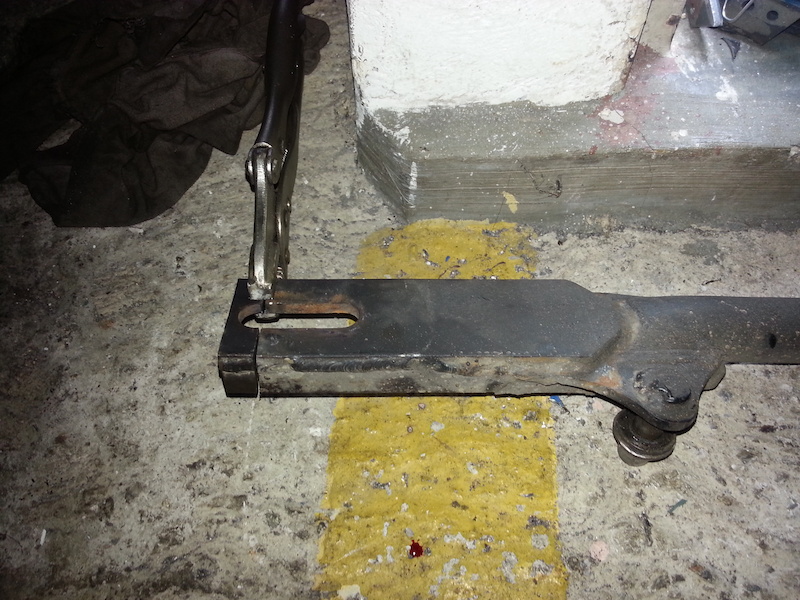
Then I kept on going wrong. As I was realizing that the swingarm was too long, I tried to go backwards.
Finishing and cleaning my mistake hahahahaha
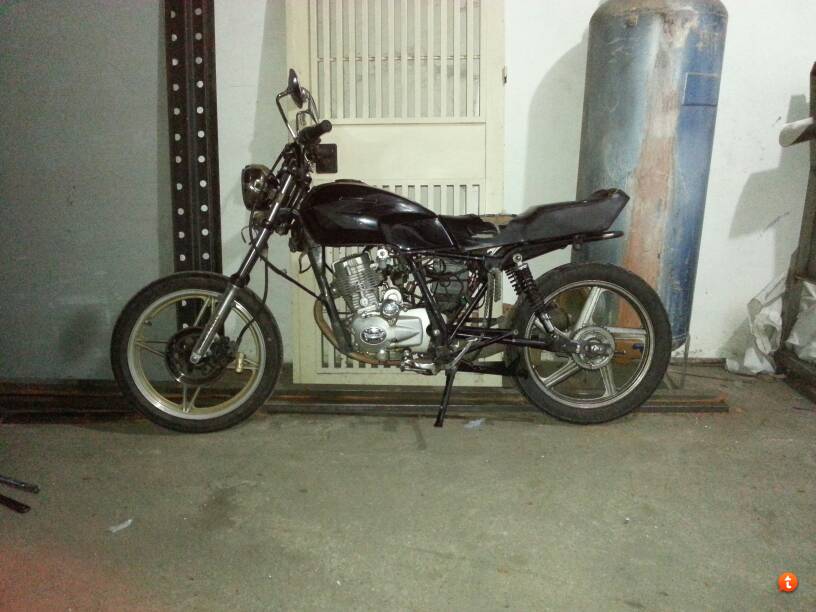
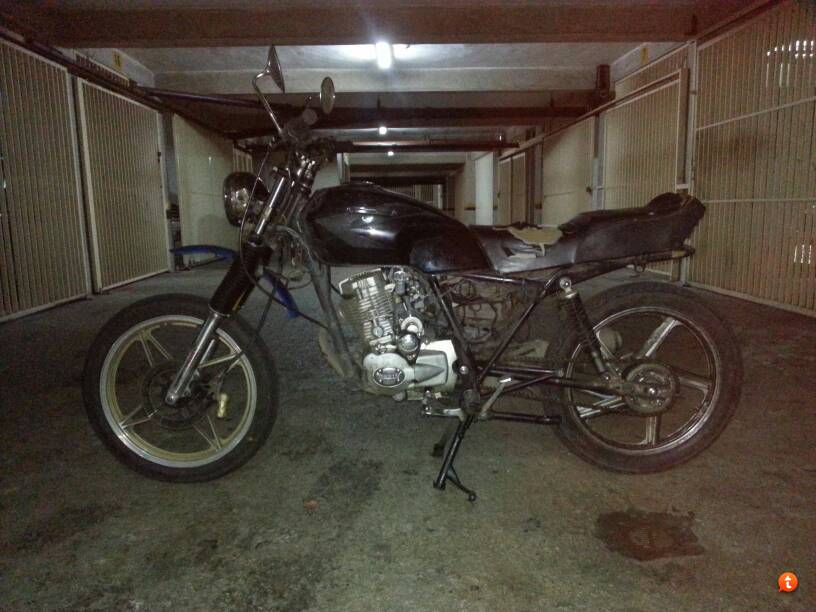
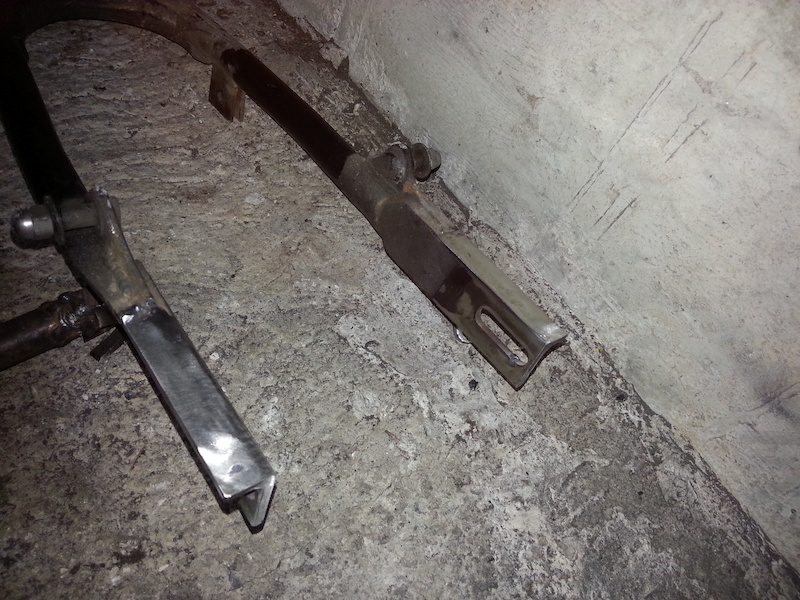
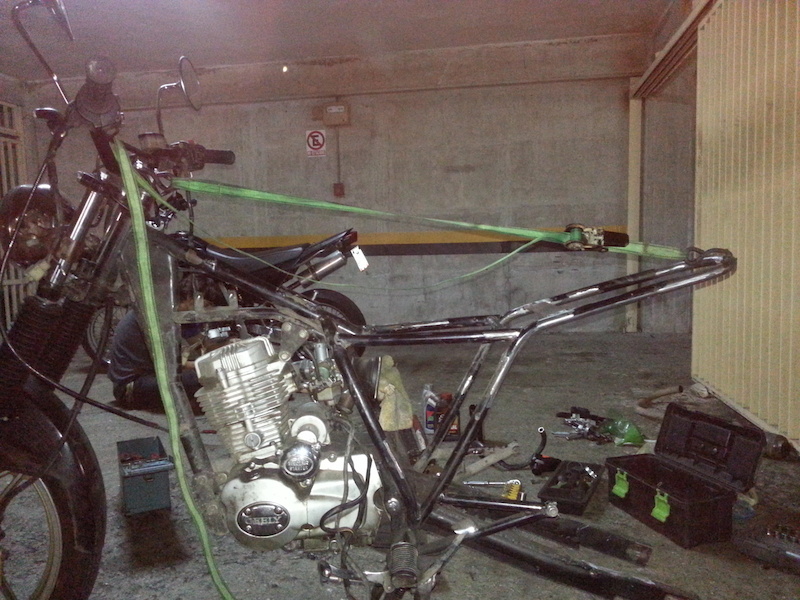
Bike with swingarm extended but shortened
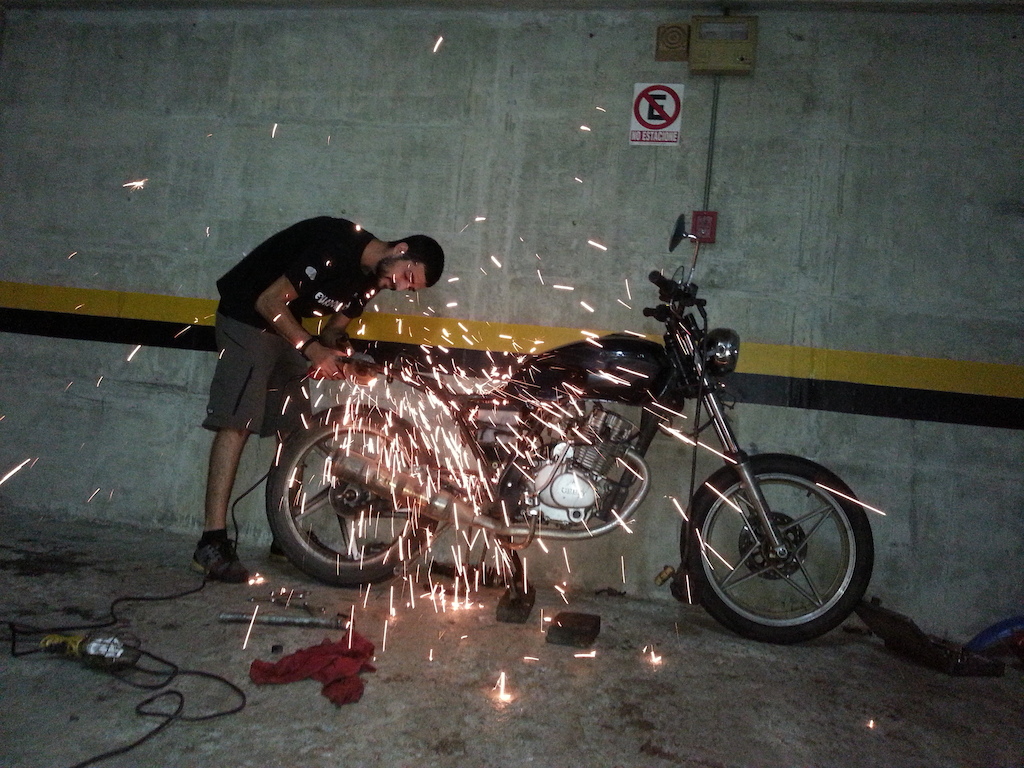
After giving it a lot of thought, reading for days on this forum and trying to have as much information as I could, I began (with my friend nico) to finally get the angle grinder near the frame, and began cutting away.
As I pointed since the first post my intention was to have a bike that has a relaxed position. I was looking for a scrambler/tracker look.
Looking at the frame for some time I visualized that I couldn't get that look with the lines the frame originally had.
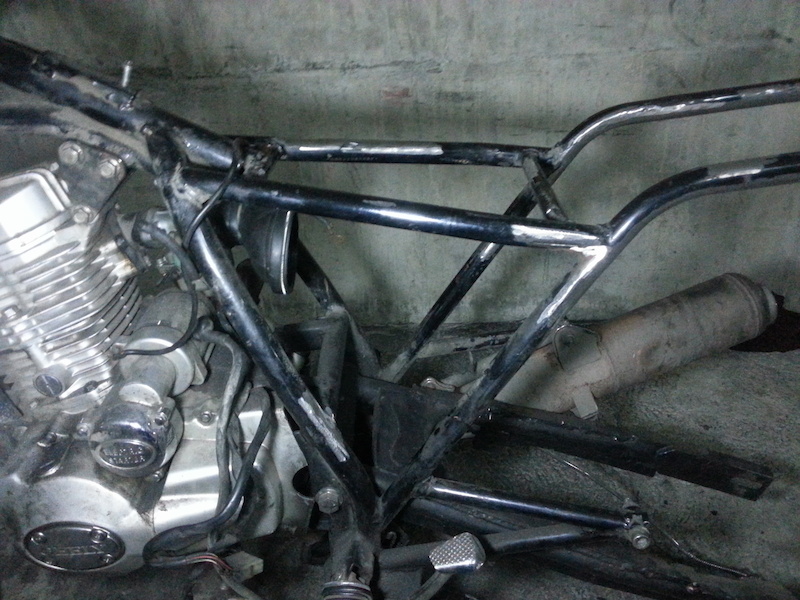
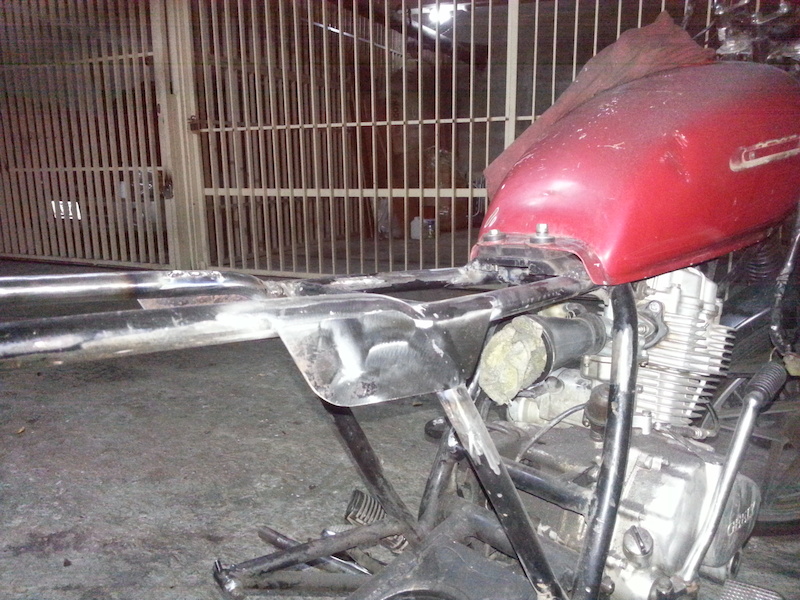
First we removed the upper shock mounts from the frame
Frame clean from tabs and upper shock mounts
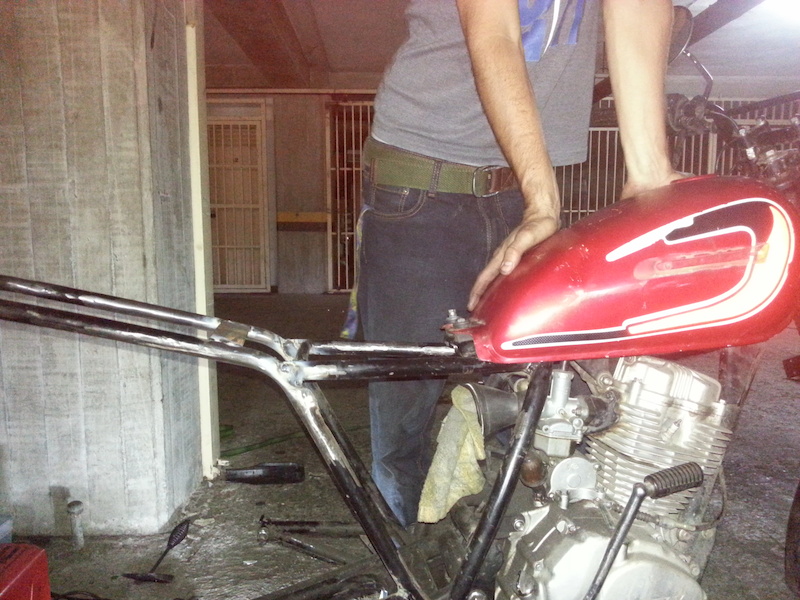
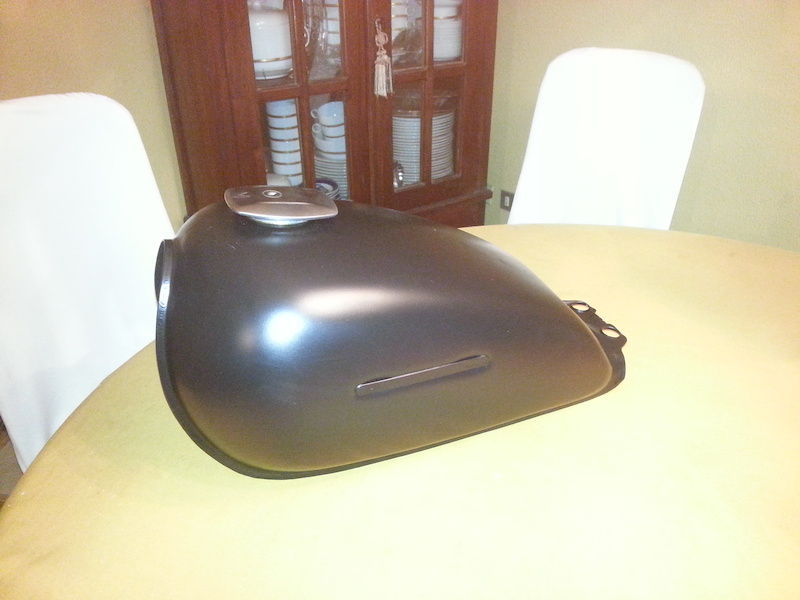
Then I finally got the tank I was looking for (cost me 10 bucks hahahaha SCORE!).
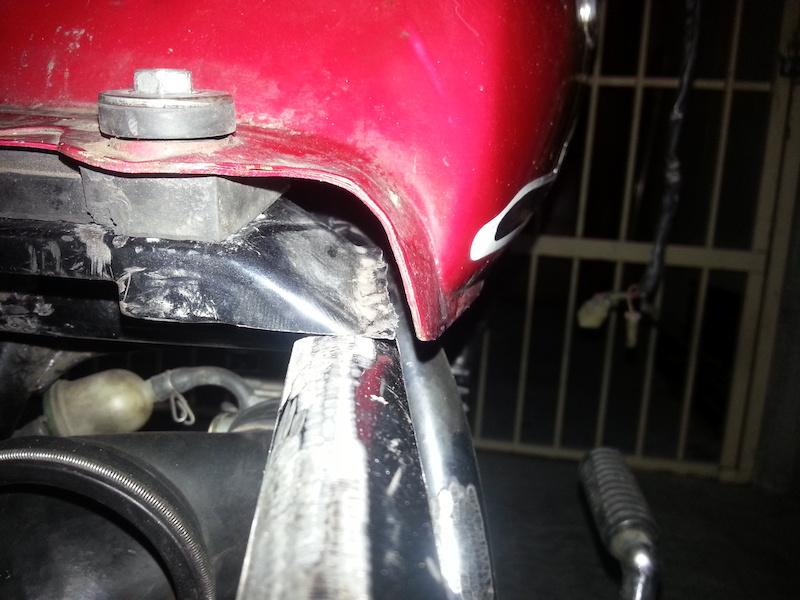
First mock up of the tank. Notice in the first pic where the stock tank mount/bolts are in comparison with the new tank rubber holes.
More cleaning
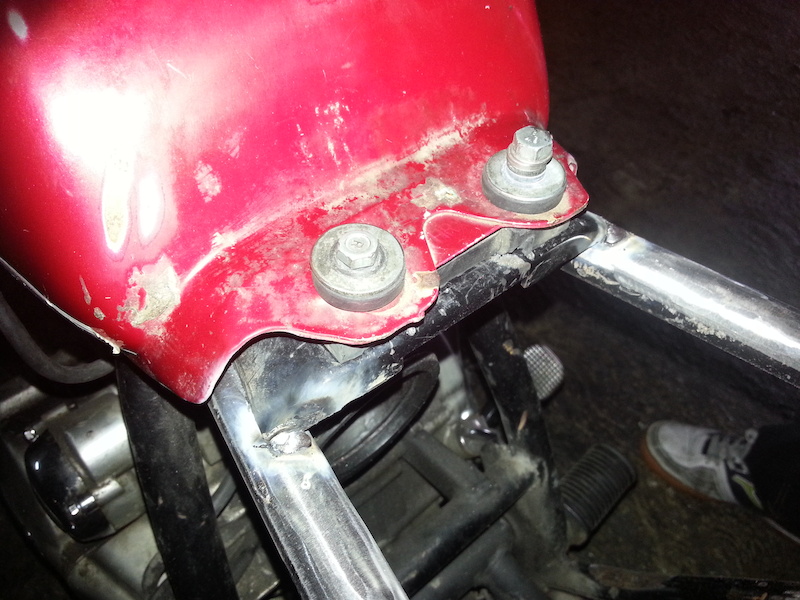
Then I cut the tank mount off the frame, attached it to the new tank and tacked it in place
First mock up
BUT, first things first, if I was going to mod the frame I could not weld the tank mount to the frame yet as the position could change.
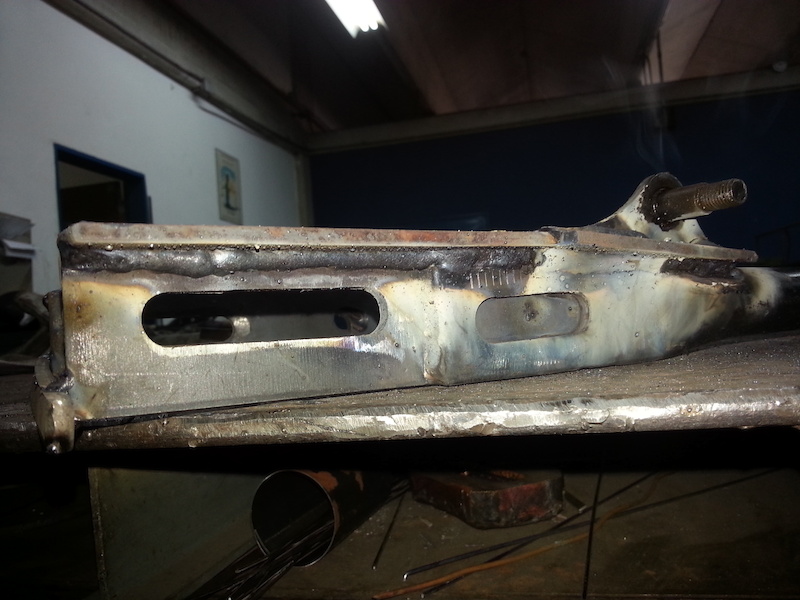
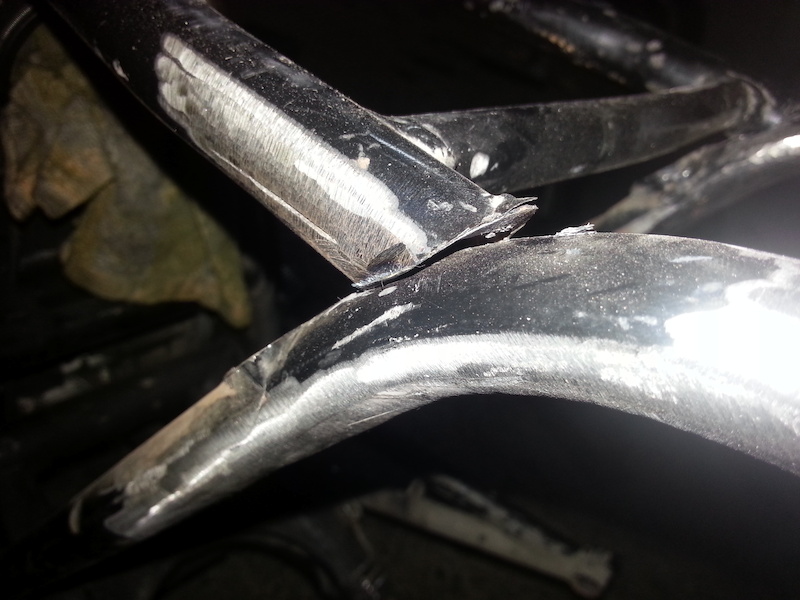
Tacked some flat stock to the frame as a reinforcement, before doing the first cut with the angle grinder.
First cut, notice the grinded spot on the frame tube that comes from under, that's where the front part of the frame rail was originally welded
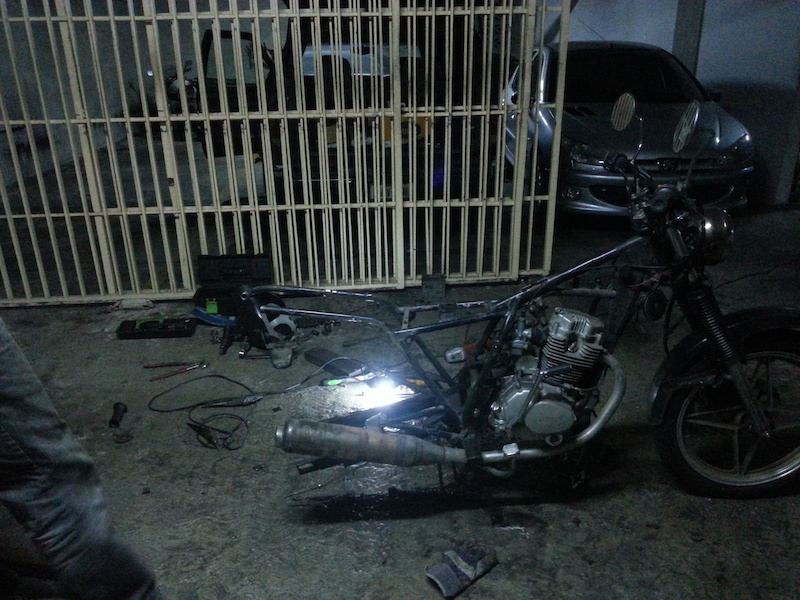
Getting the frame to where it had to be
Adjusting
Frame rails in position and welded, now comes the tank.
Last mockup
Tacked in place
When I bent the frame to this last position, lines where awful on the bike, had to fiddle around just to get them right.
Too High
Too low
Just Right
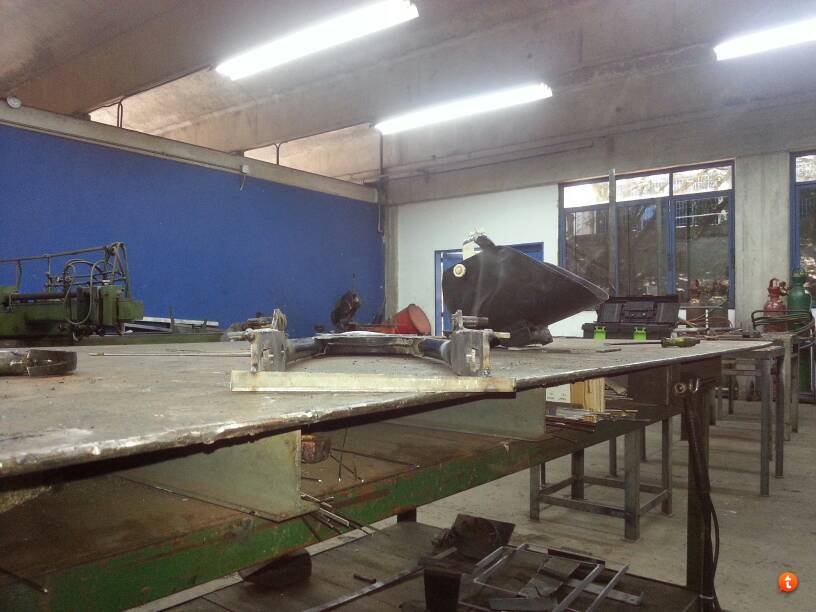
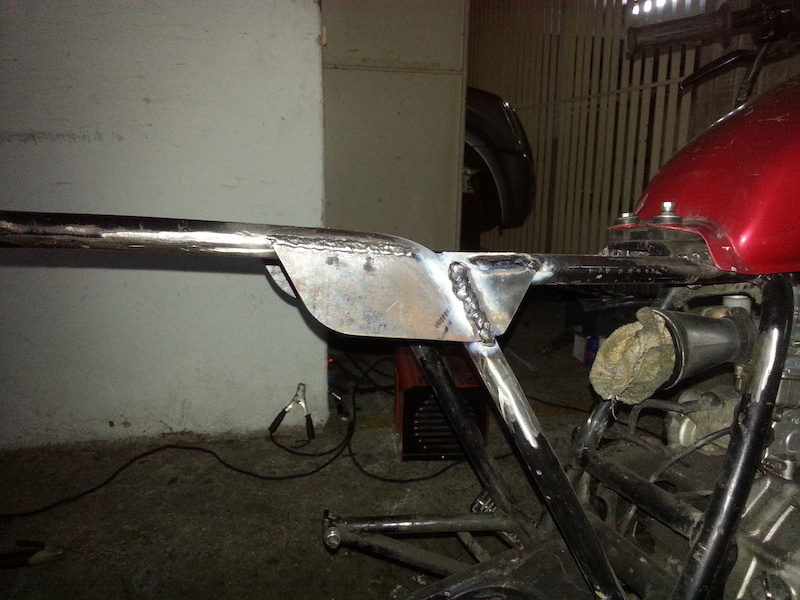
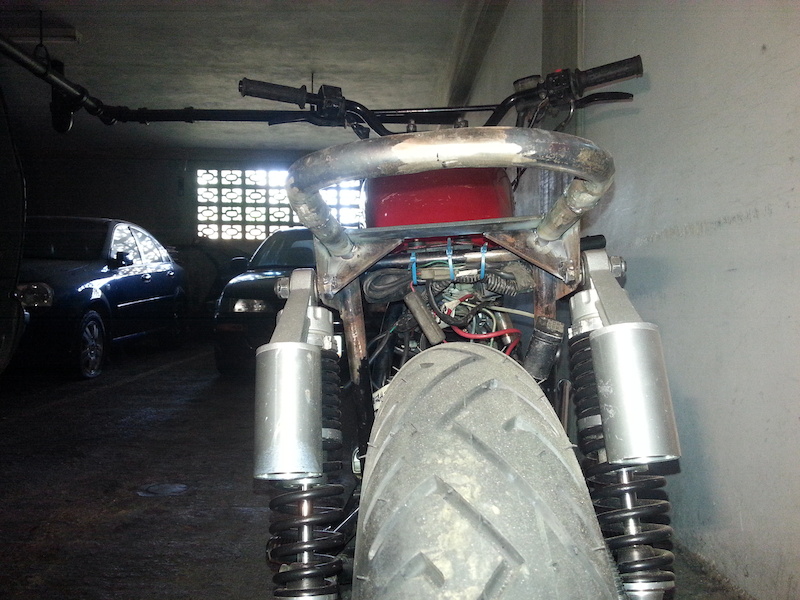
Making a rough mock up of where the upper shock mount would have to be positioned.
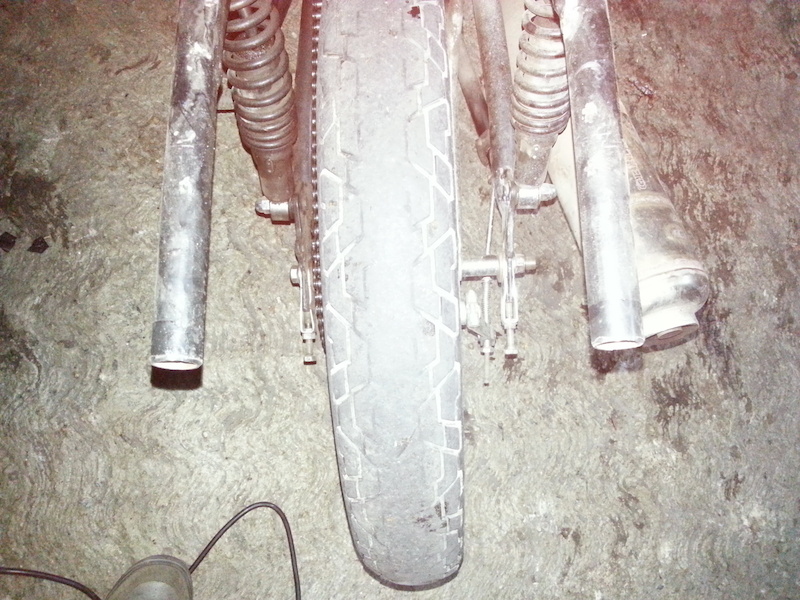
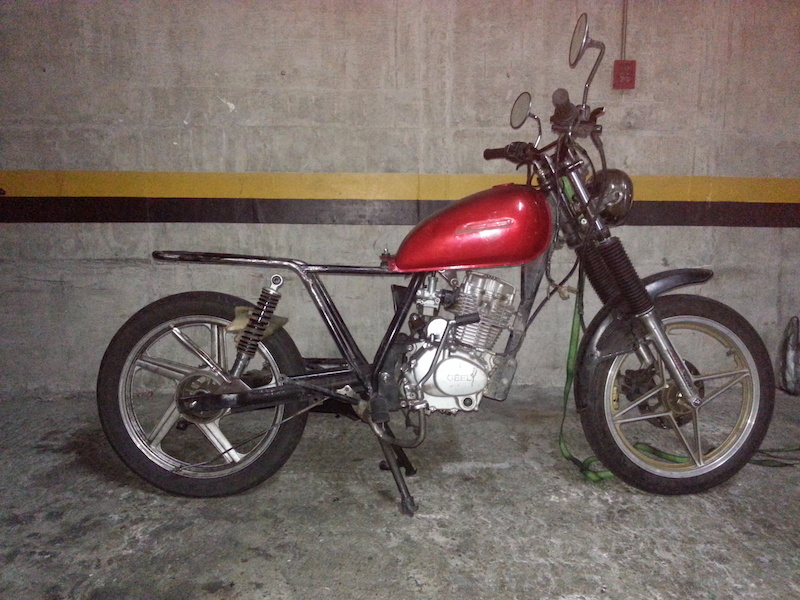
By this time I still had the extended swingarm
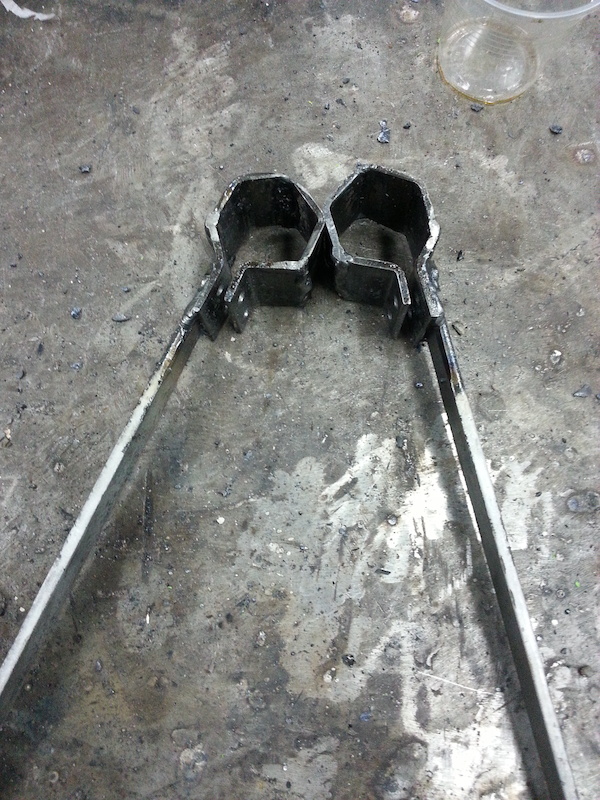
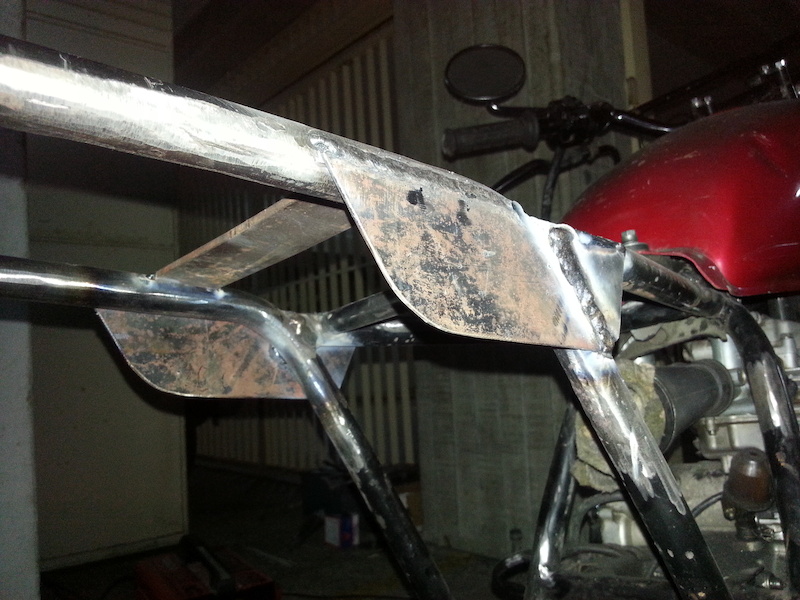
Fabricated some shock plates from 3mm steel, here I am tacking them in place
Welded, with a reinforcement to my frame welds in front of the shock plates
Cleaned
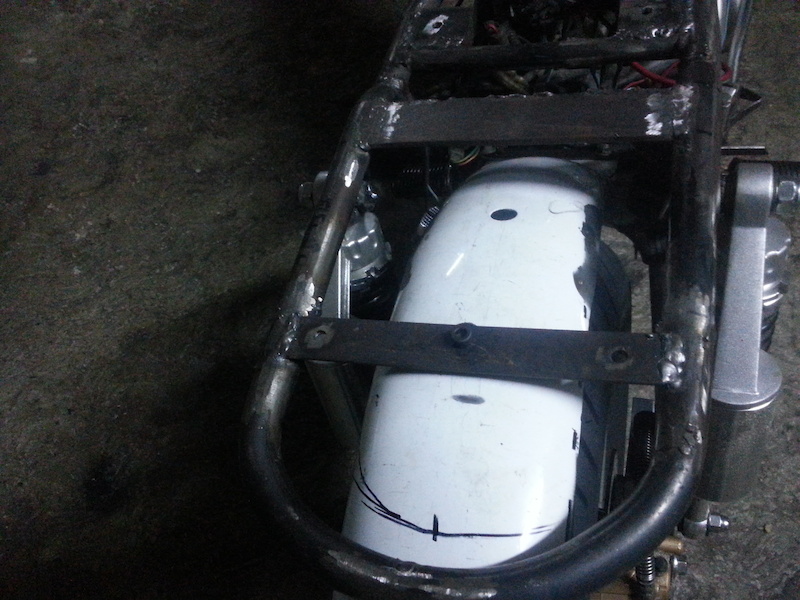
As I finished the top part of the frame, I tried to make a seat pan battery box from scratch using cardboard as a template and then trying to transfer that design to fiberglass.
UNSUCCESSFUL.
Fiberglass resin I had was out of date (did not work well) so ditched this seat pan design.
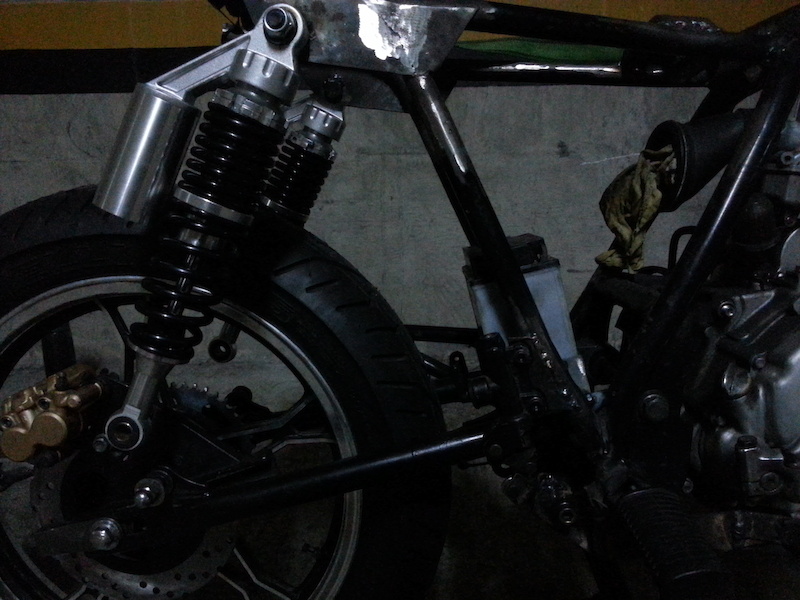
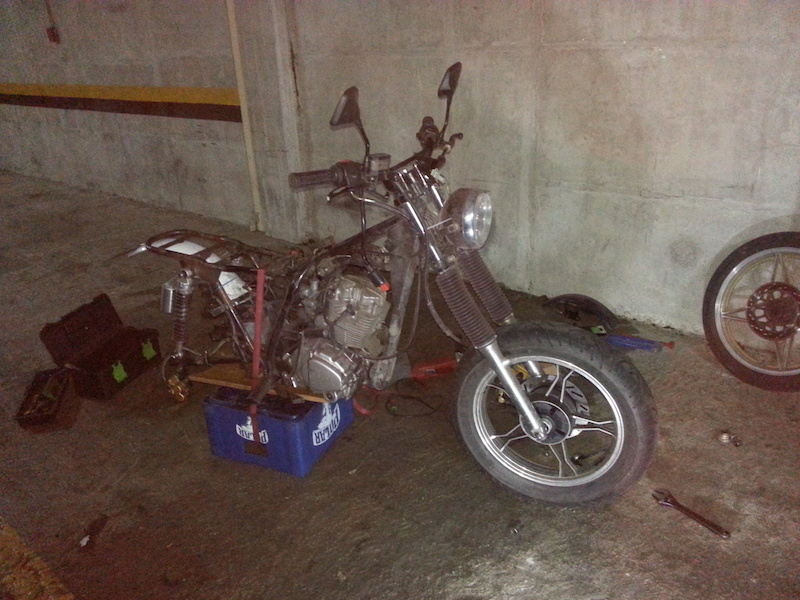
Bought some RFY Shocks, or some replicas of the famous Chinese ones, the aluminum casts on the shocks are exactly the same as the RFY's but they do not have the RFY letters on them.
This shocks came cheap as this are stock equipment on a very popular Chinese bike being sold here in Venezuela.
Drilled away, and welded the bolts to the plates, then installed the shocks.
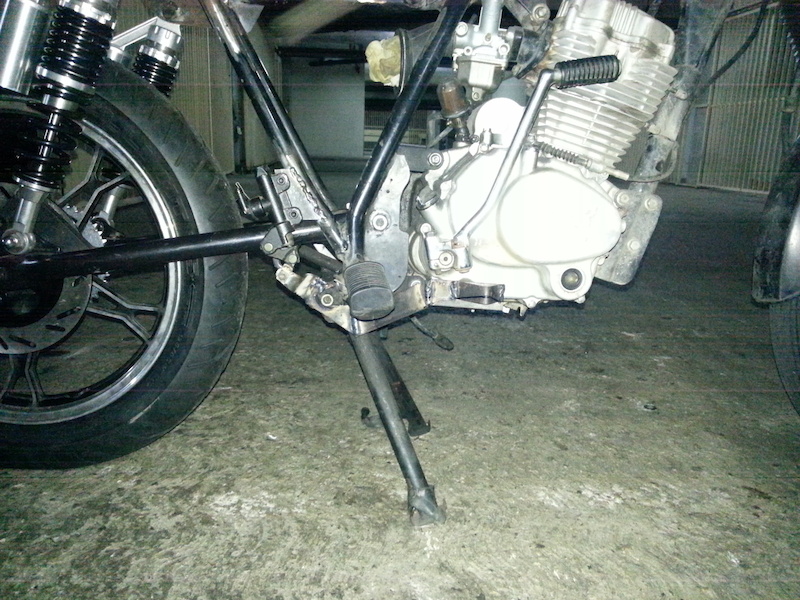
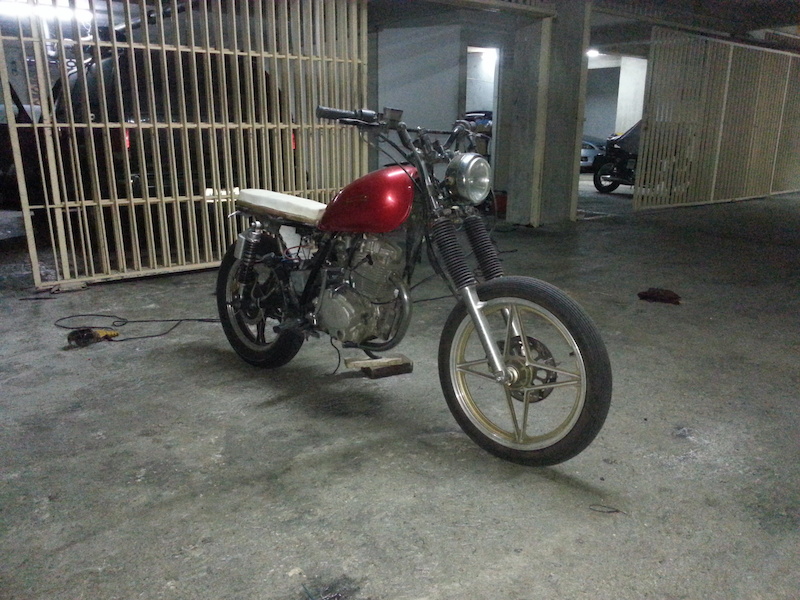
By the time I was making this progress, I did also ditched the extended swingarm and bought a stock one again.
I was trying to make as much progress as posible before the stock swingarm arrived in the mail.
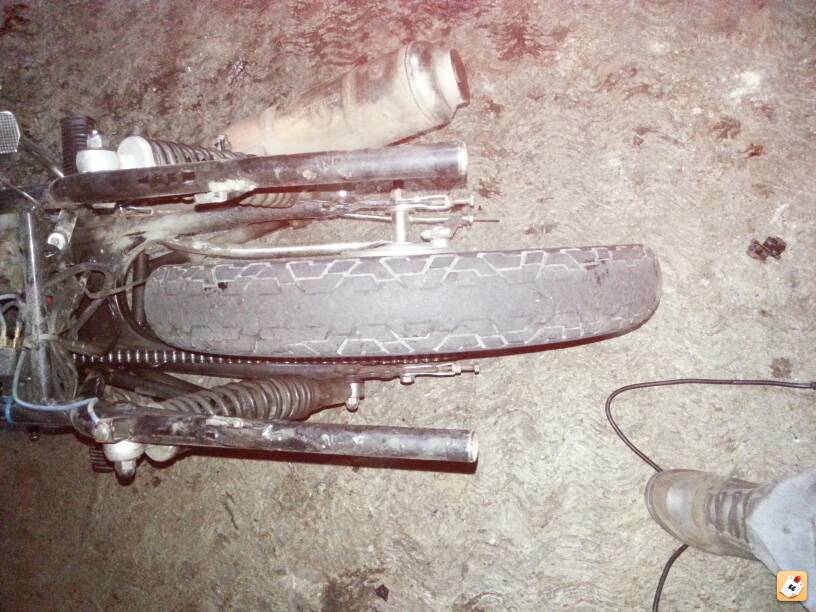
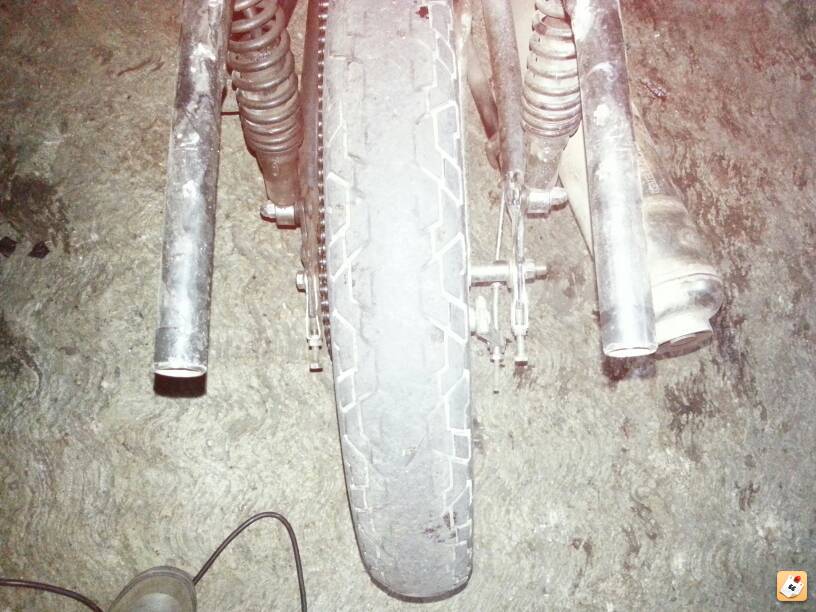
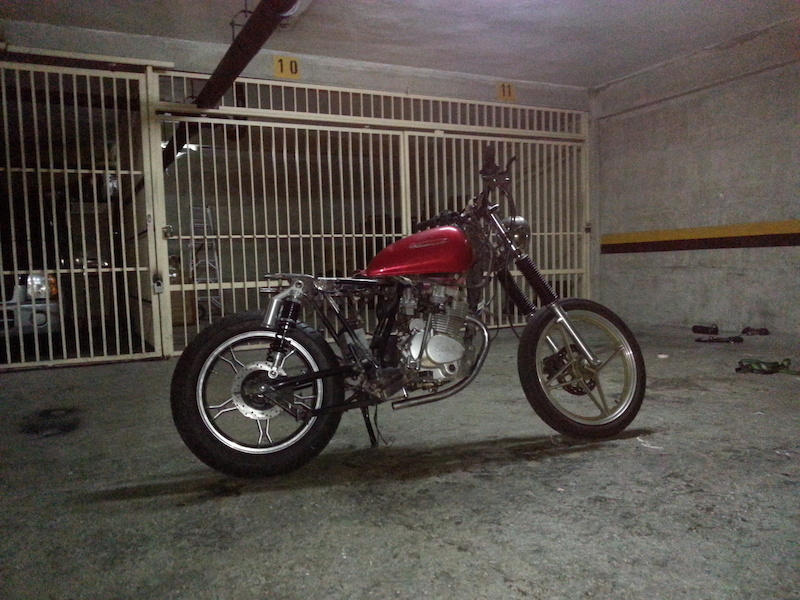
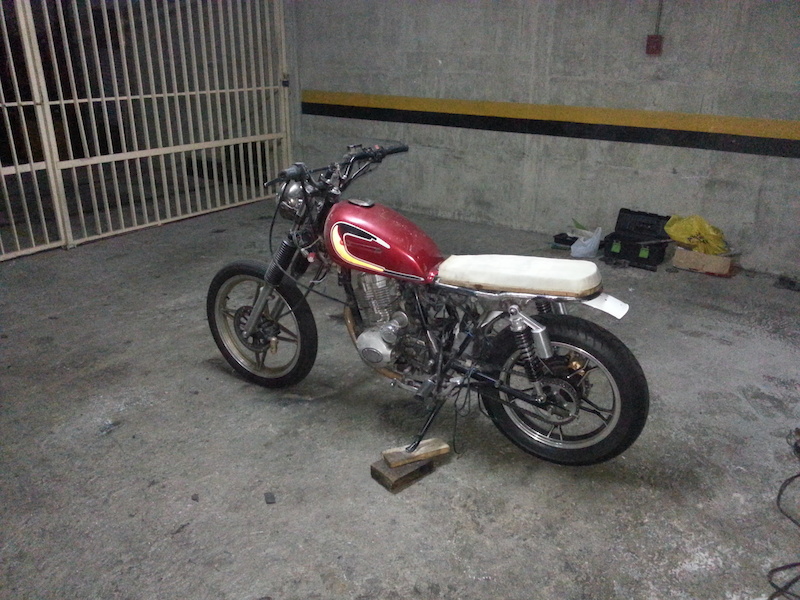
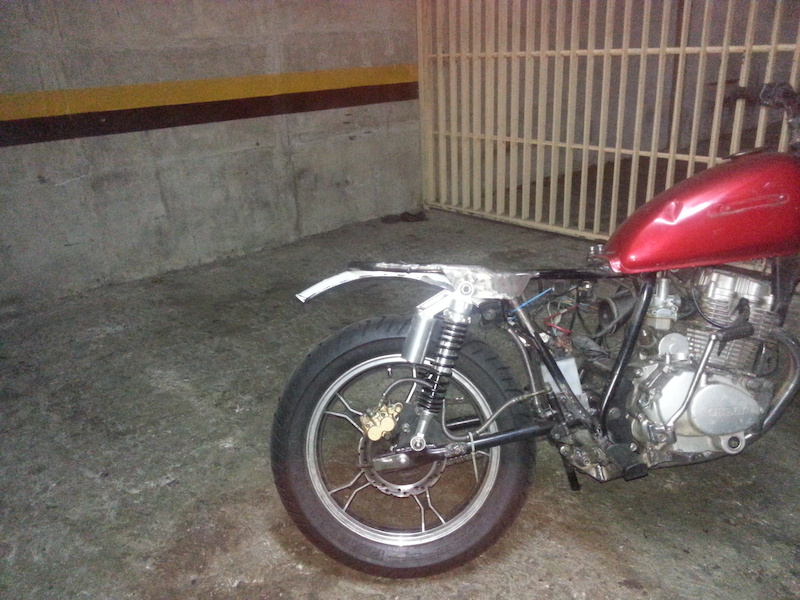
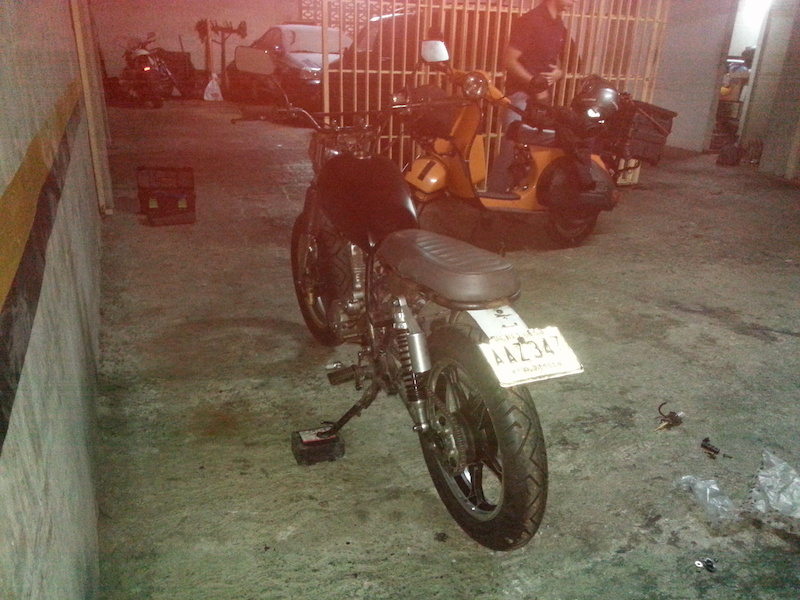
So talking rims and tires again. As the bike is very small, and I wanted bigger rubber I found a GN125 Chinese copy rear rim that uses a disc brake instead of the drum one. This rim is 16" size, having this setup I had lots of options on rubber to select. I ended up buying Pirelli's MT75 in 120/80-16 size. The other side of having this rim is that, as I had tried to make the stock drum brake to perform as I wanted but never made that happen. Enter the new rear disc brake, problem solved.
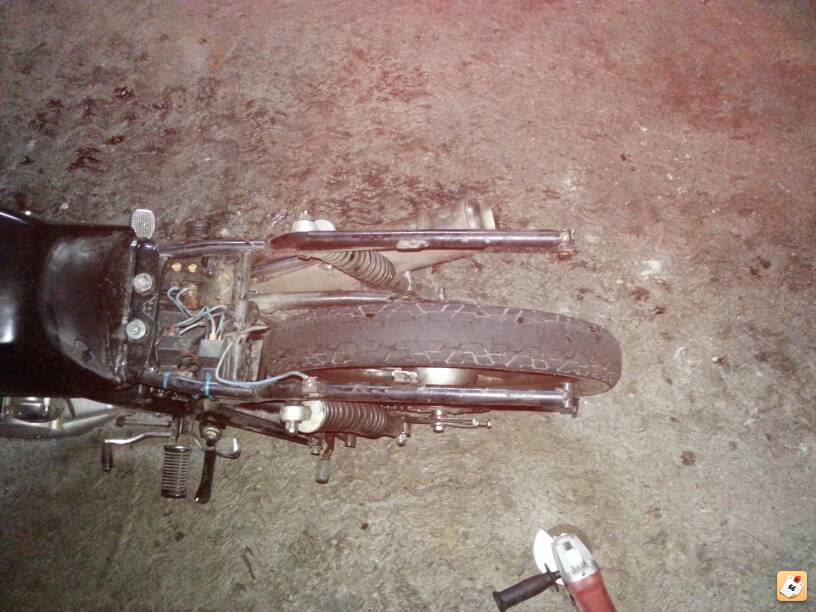
Tire installed. Comparison with the stock rear rim/tire combo (3.25-18")
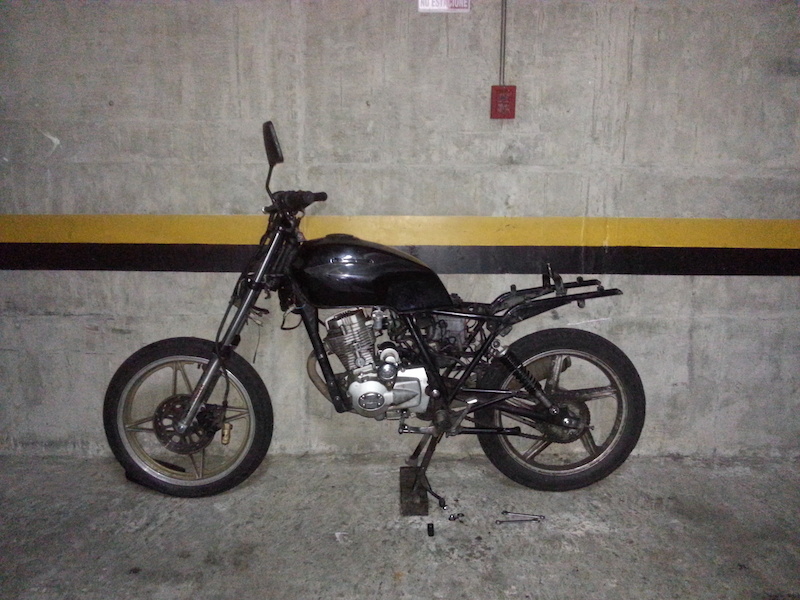
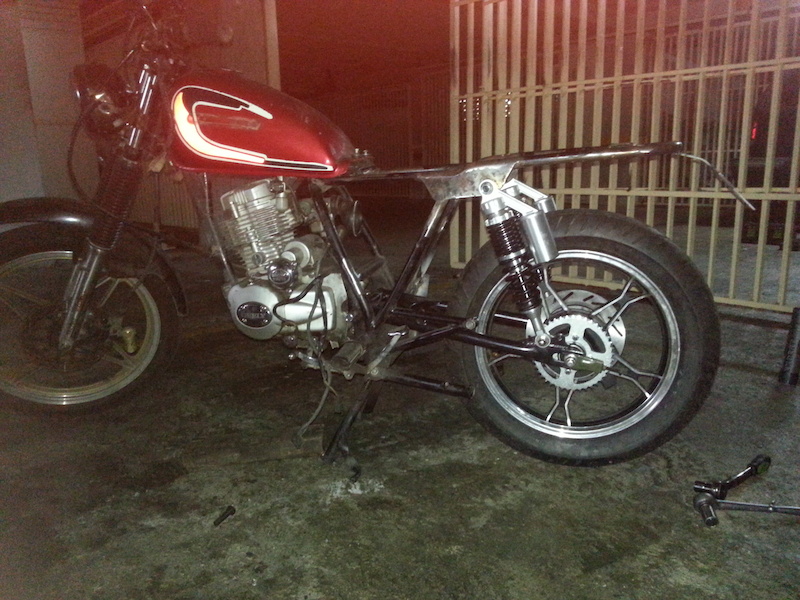
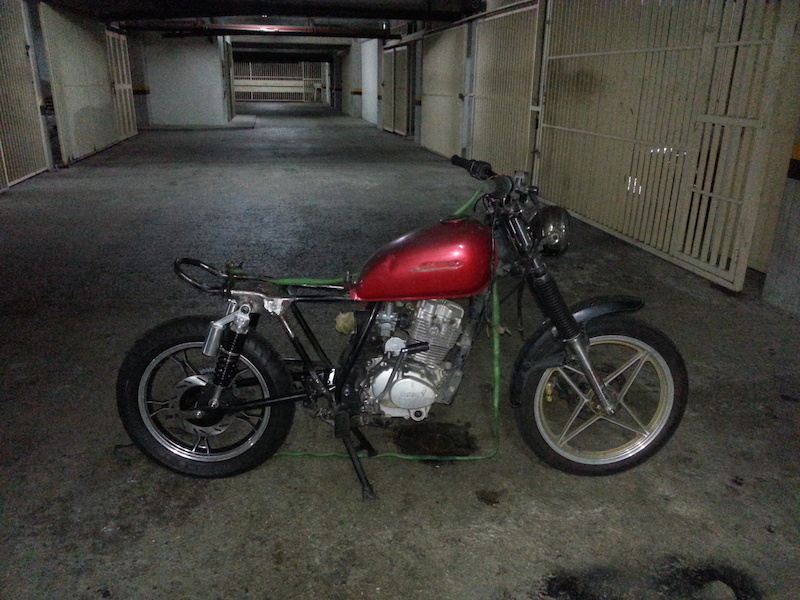
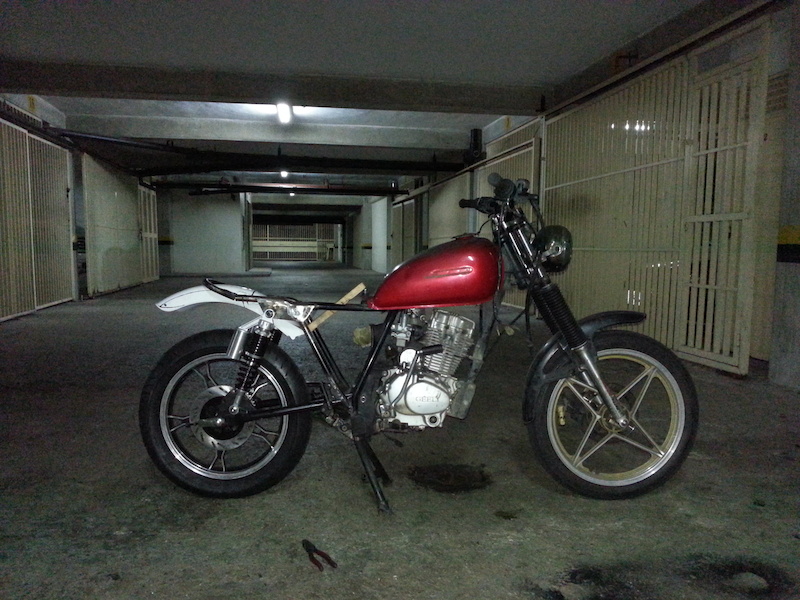
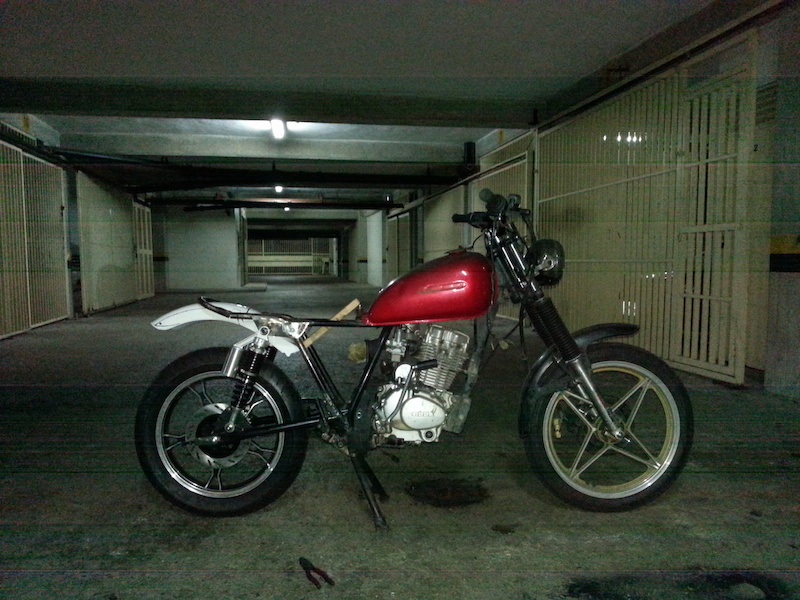
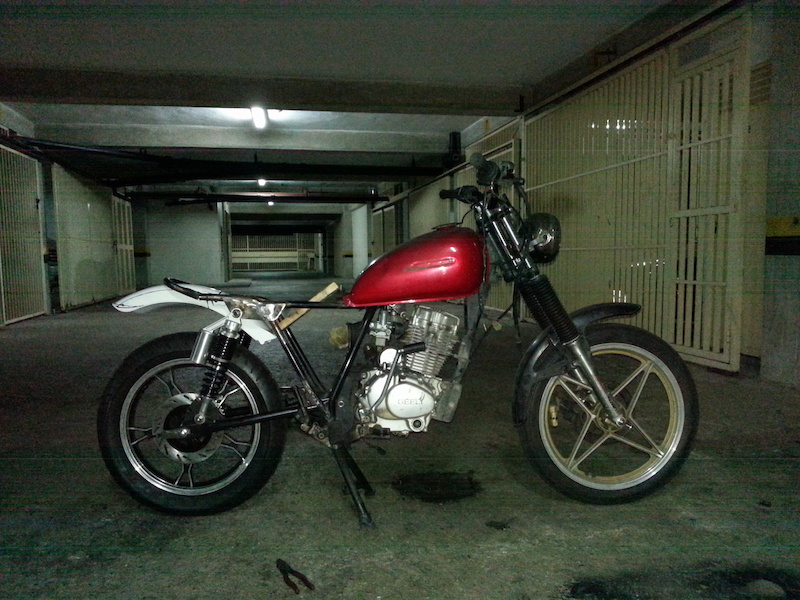
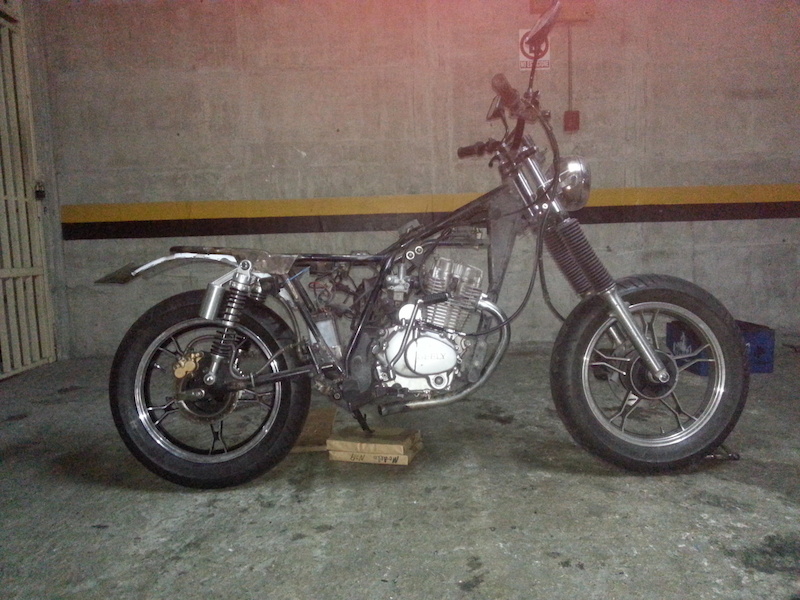
NOW I HAVE A ROLLER!! Mock up on bike, new swingarm as well
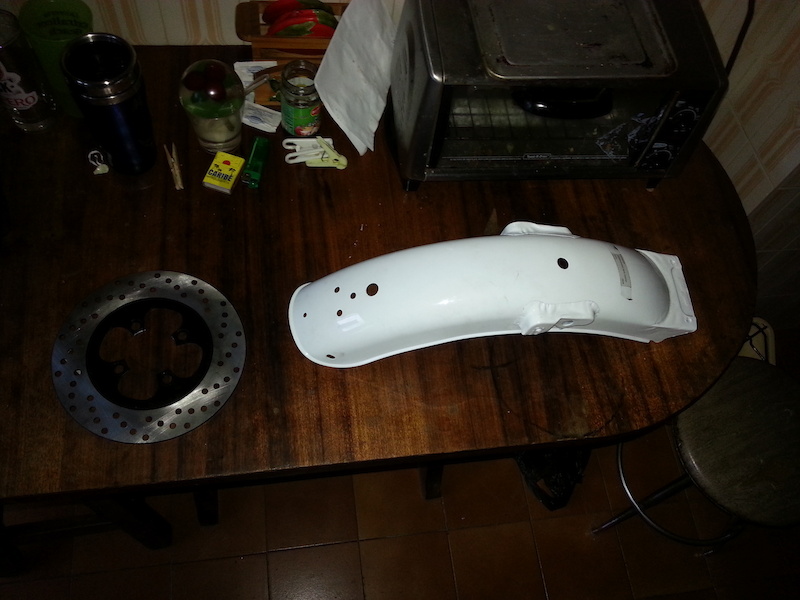
More parts arrived, rear disc and rear fender
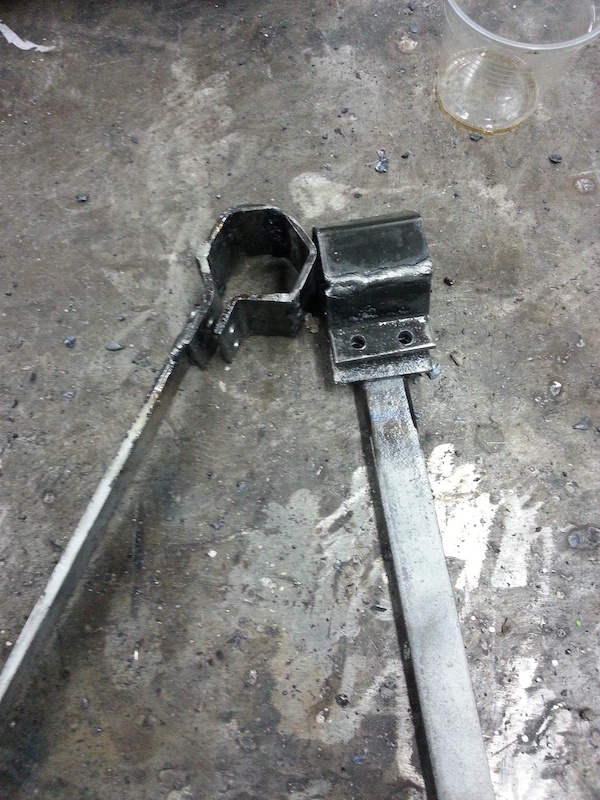
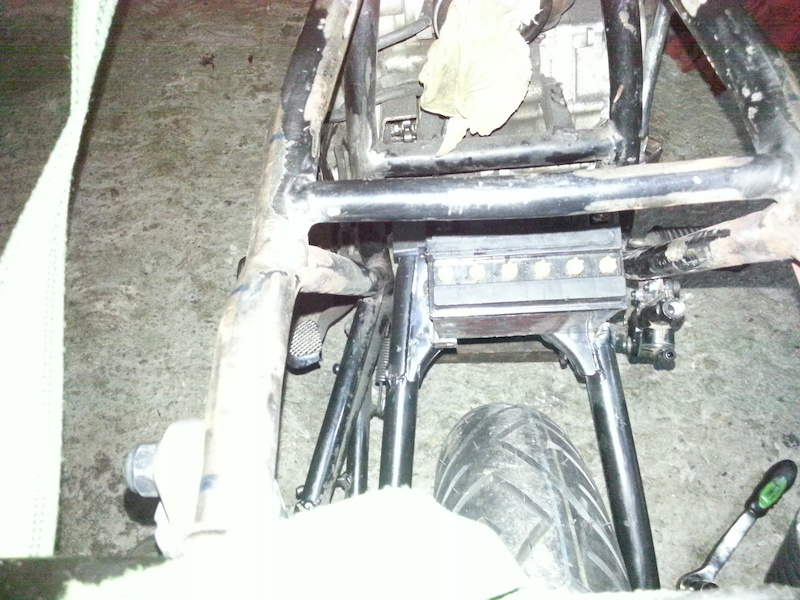
Having a rear disc brake let me wondering where I would mount the rear brake pump.
Removed the right side passenger footpeg mount to have the frame clear of obstacles and fabed and welded a base for the master cilinder.
I used the original brake pedal and pivot to activate the master cylinder, just bent the tab where the brake linkage attached to, to reach the MC. Then fabricated a brake pedal using the stock one. Everything in place.
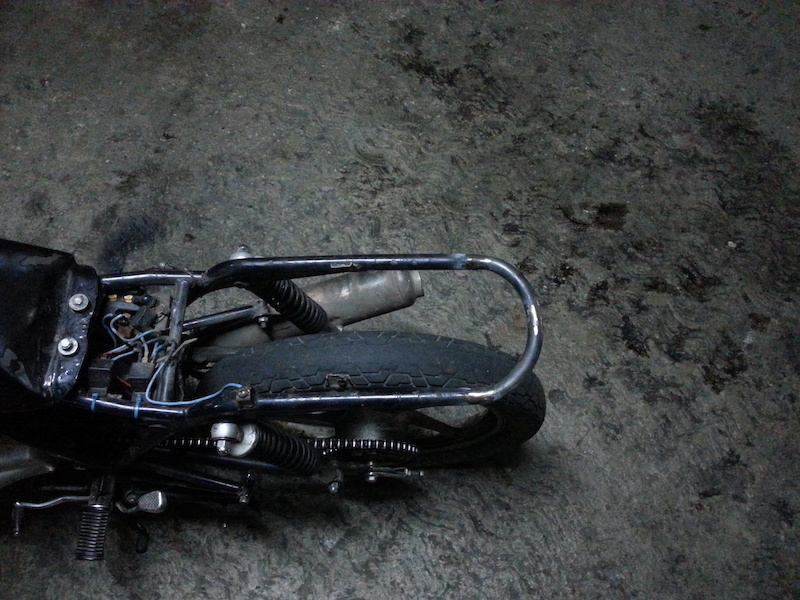
Having a roller and looking at the frame i had to cut the loop just to shorten the rear of the bike a bit, seeing as the loop hanged too far back.
Then mocked up some up swept loop angles. Ended up going flat.
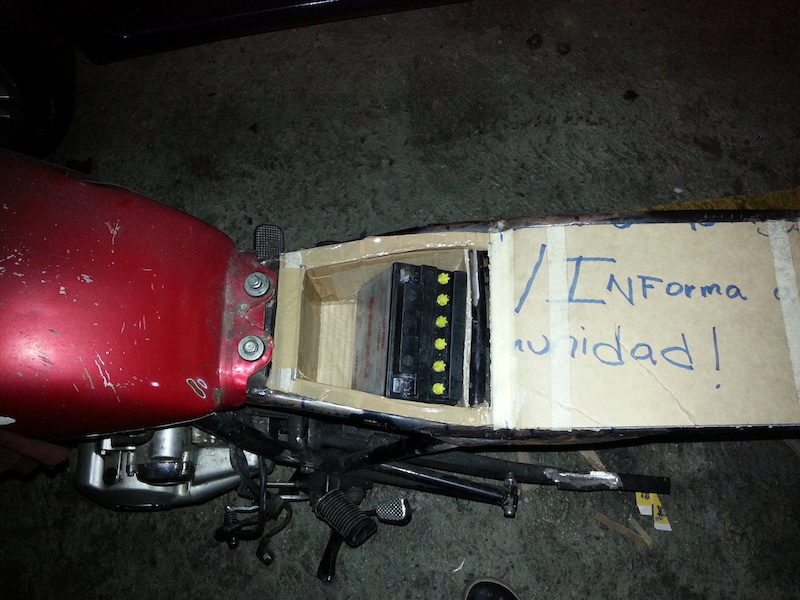
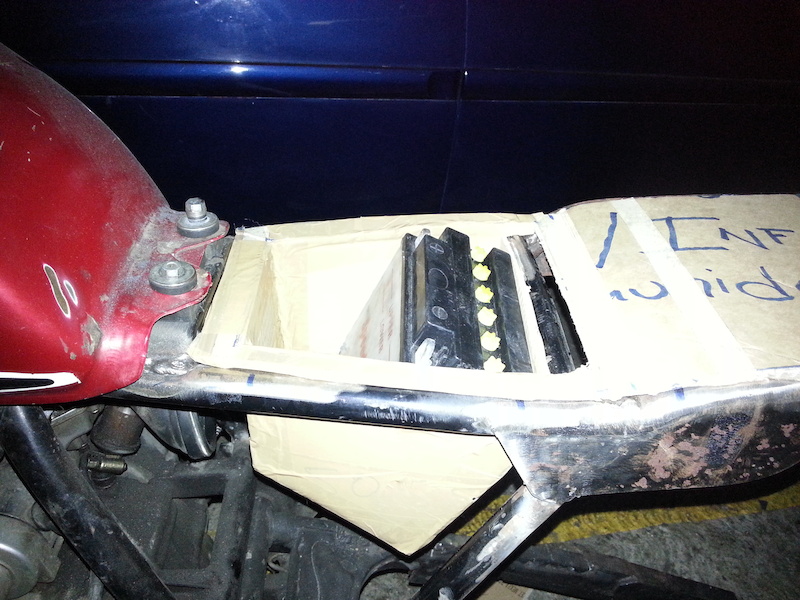
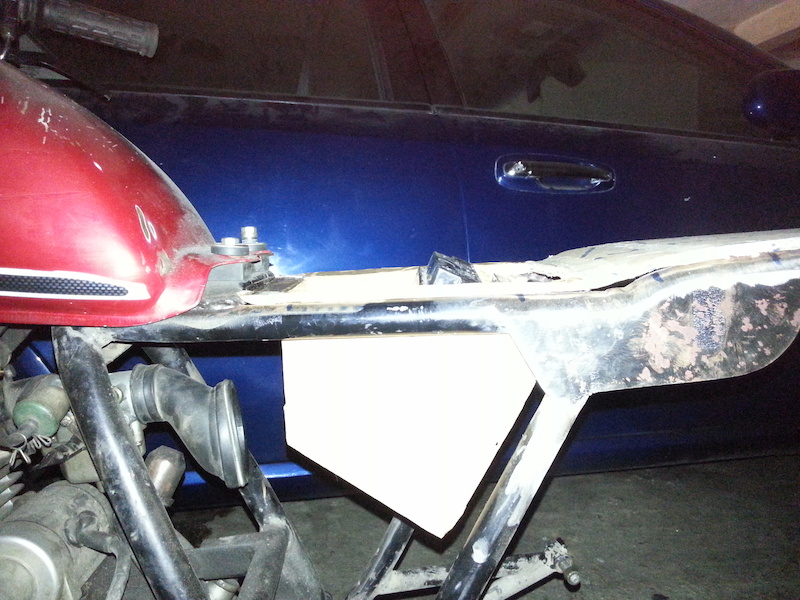
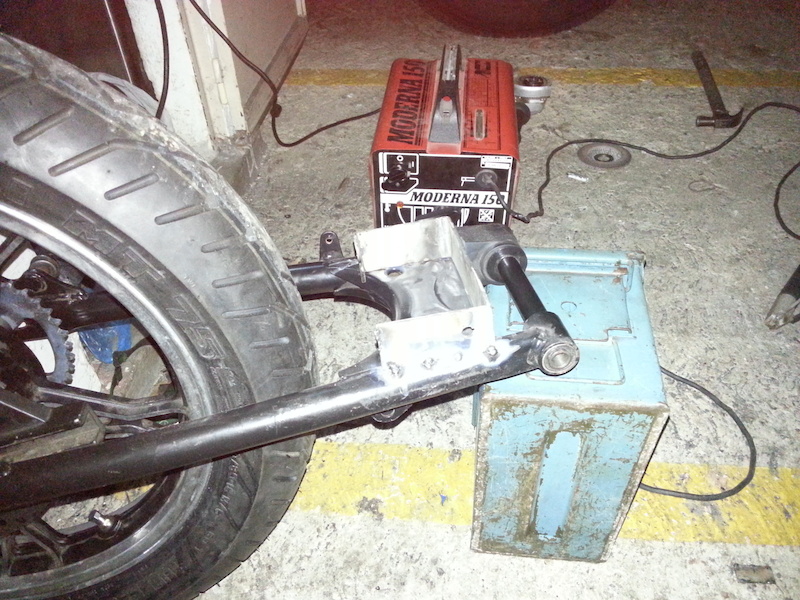
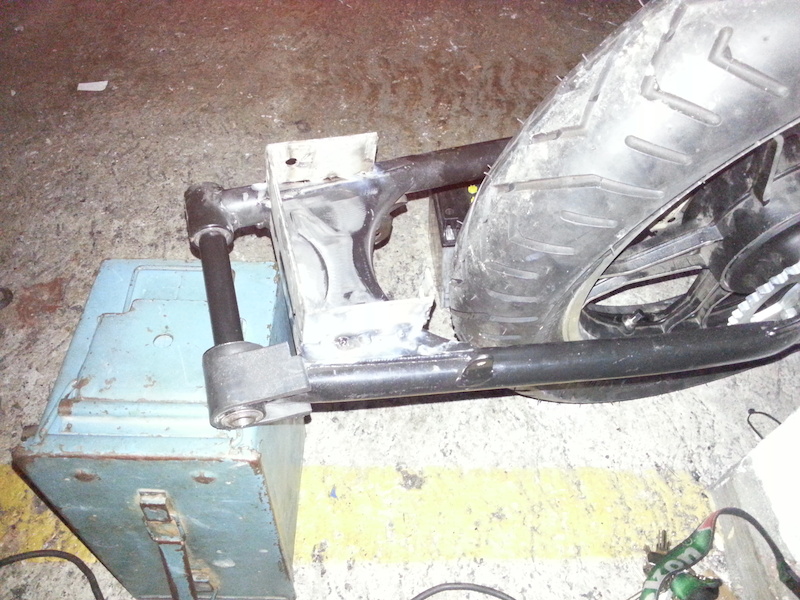
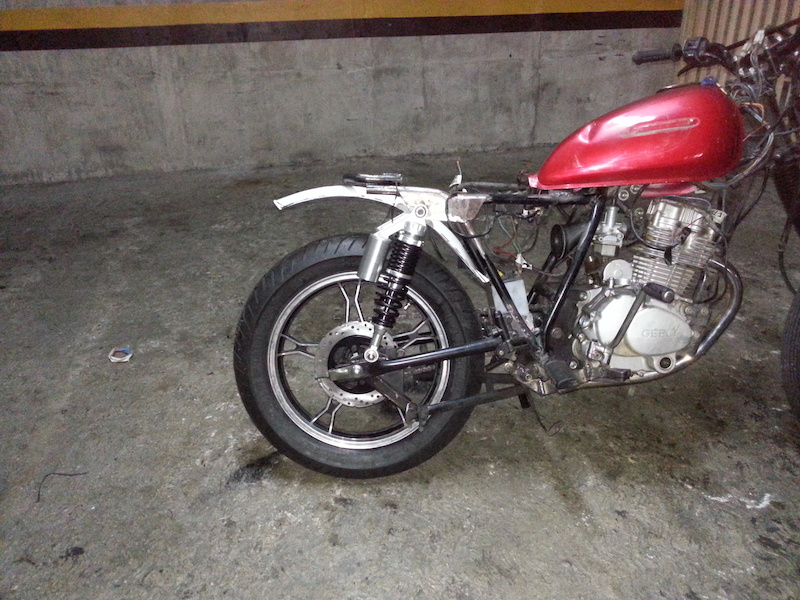
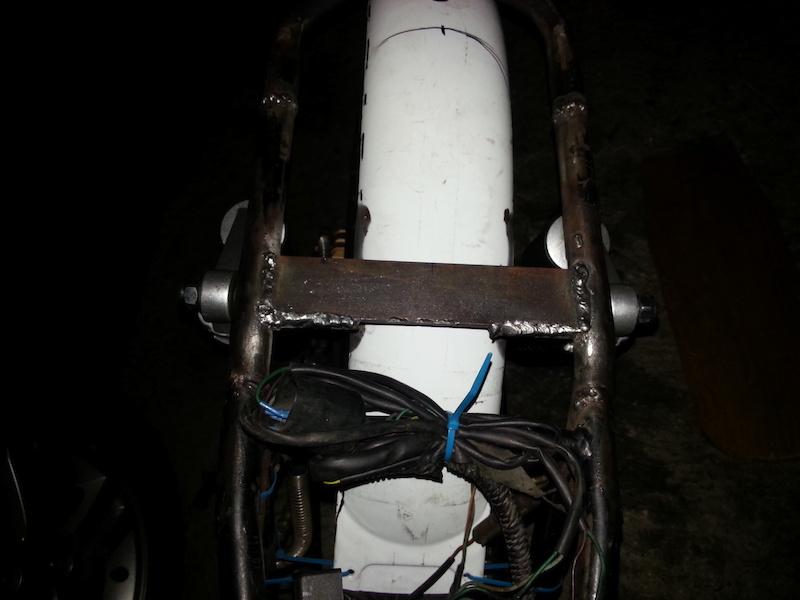
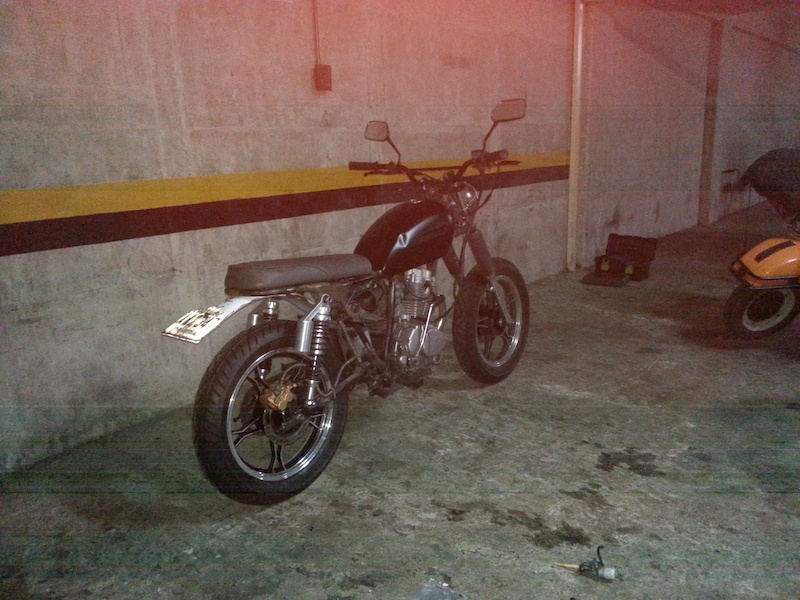
As I tried unsuccessfully to make a batterybox/seatpan out of fiberglass I opted to mount the battery to the swingarm, feature I think looks cool.
The battery used here was for measures only. I had a totally black one that blends right into the bike.
The battery is mounted to the right side of the swingarm in order to let the chain pass by it
Frame cut some more on the back.
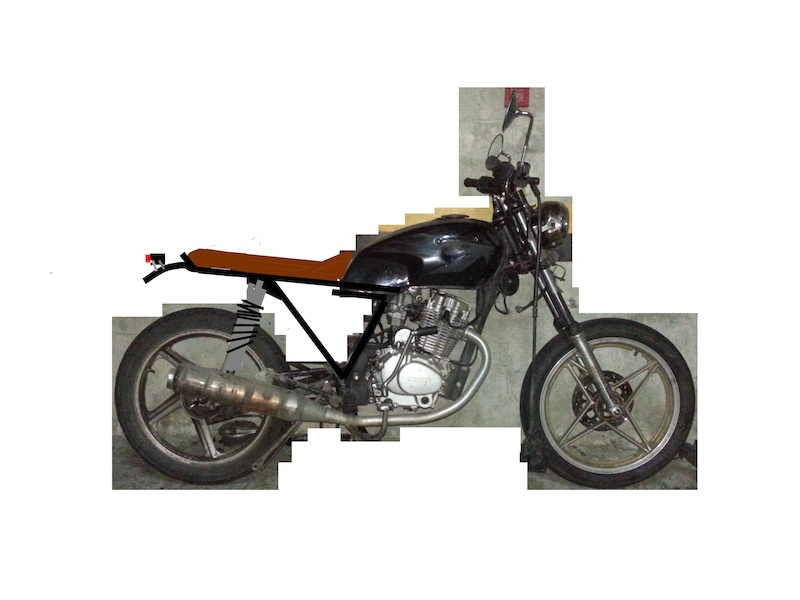
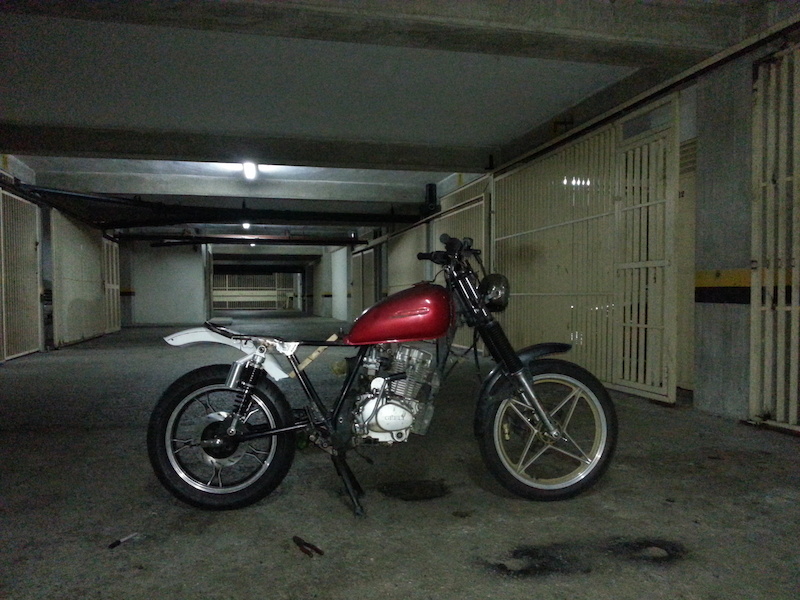
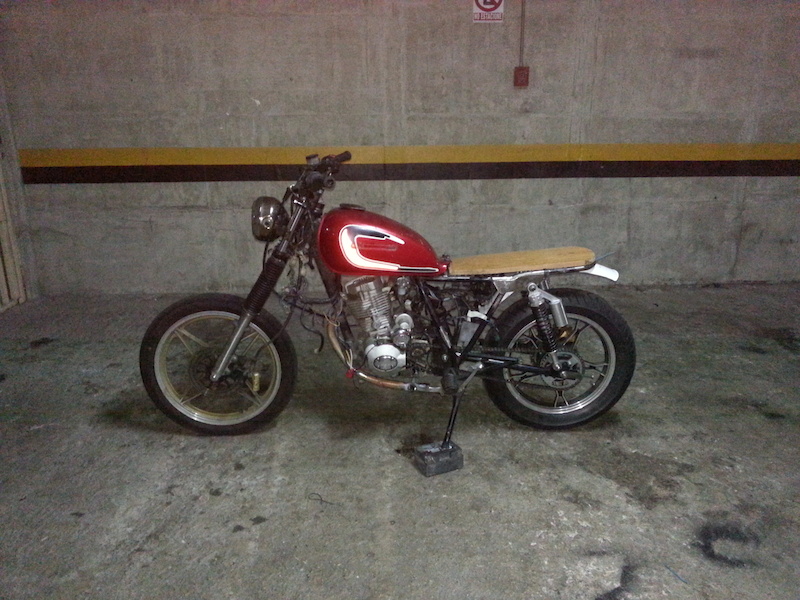
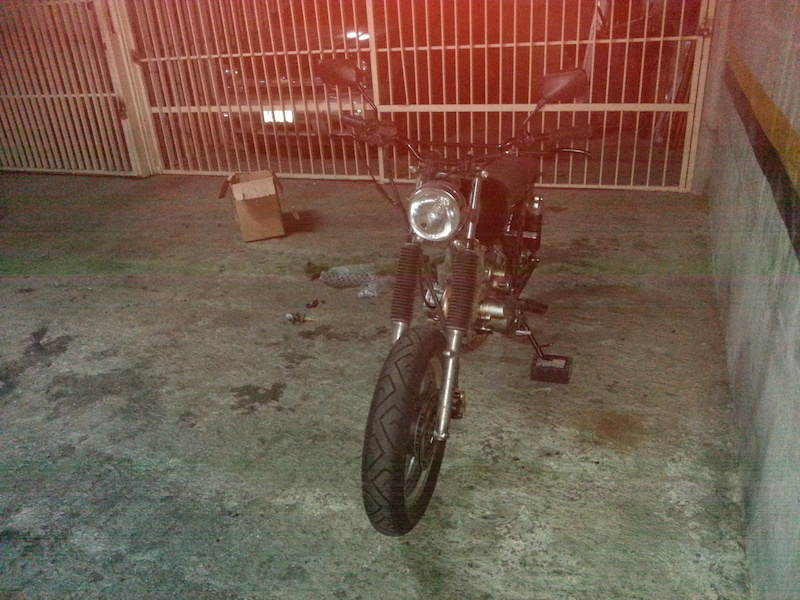
Here I had a roller that resembles more of a scrambler than the stock bike looked like.
I'm missing the rear disc brake to fit correctly (had to machine it down to fit. Too big of a diameter).
Next thing to fab was the brake detent on the swingarm for the caliper mount, connect all the hoses, fit some pads and bleed the brake.
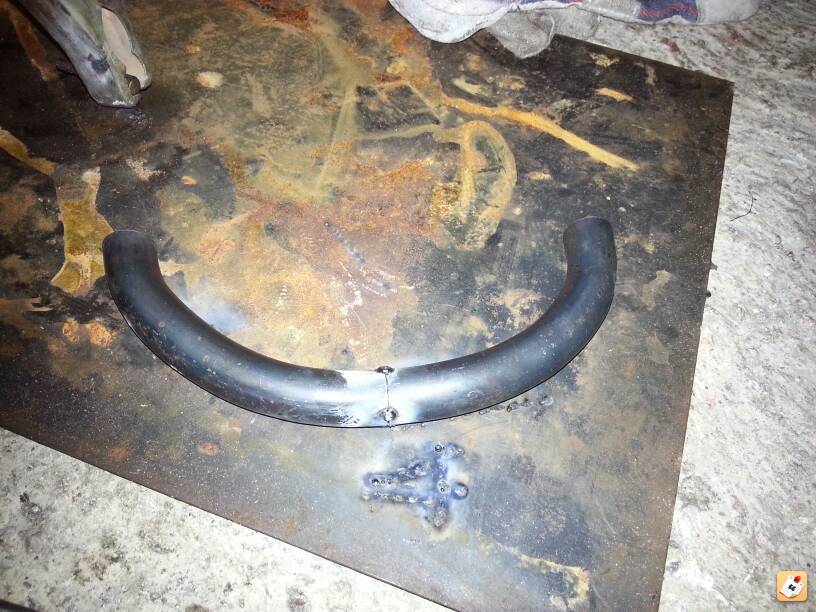
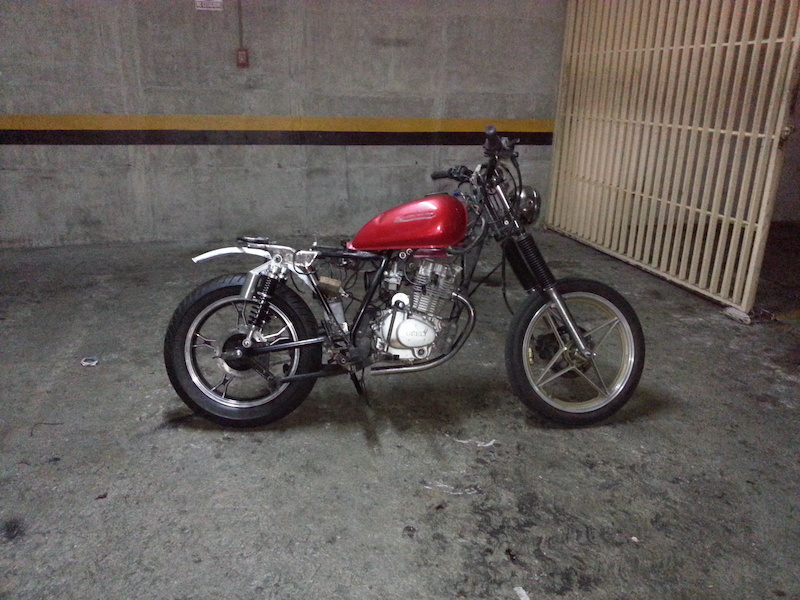
Mocking up the frame length and rear fender trimmed down aswell
I had to cut the exhaust due to the fact that the new brake pedal was on the way. Left it open header until I have some scrap tubing from where to fab a muffler, made a bend on the exhaust as I'm planning to run it going to the left and coming under the bike exiting by the right side of the bike just in front of the rear tire, where the center stand hanged from
Important fabing update.
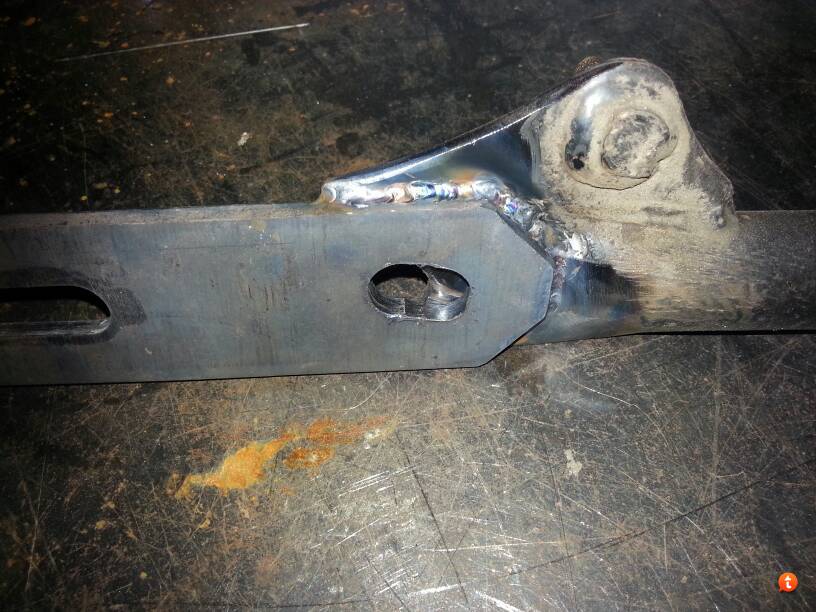
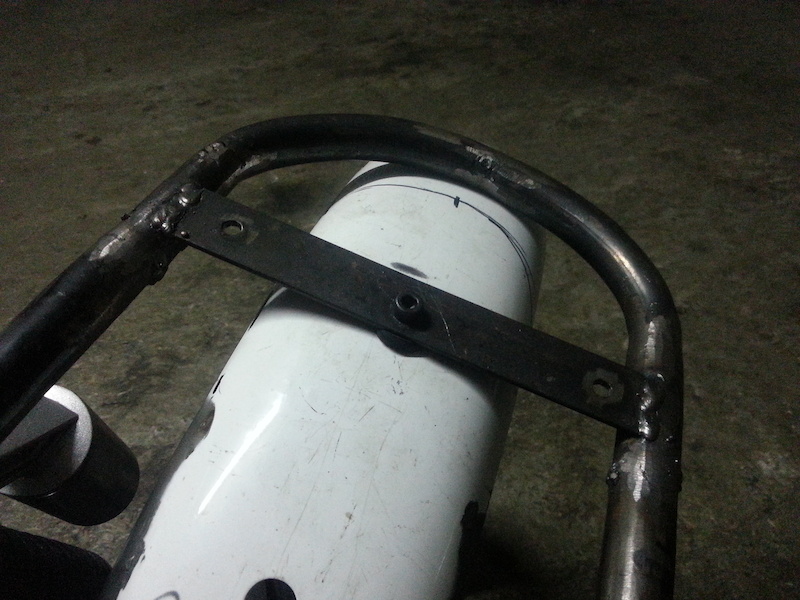
As the 3mm plate used for the rear shock mounts was too thin, I made some reinforcements that were welded to the bolt heads, and then to a brace that was welded to the frame.
Shock Reinforcement on upper frame brace
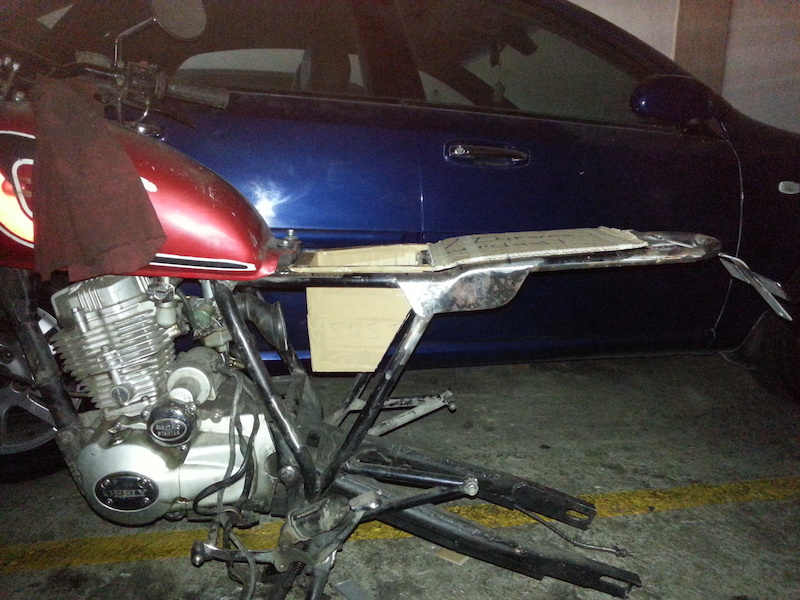
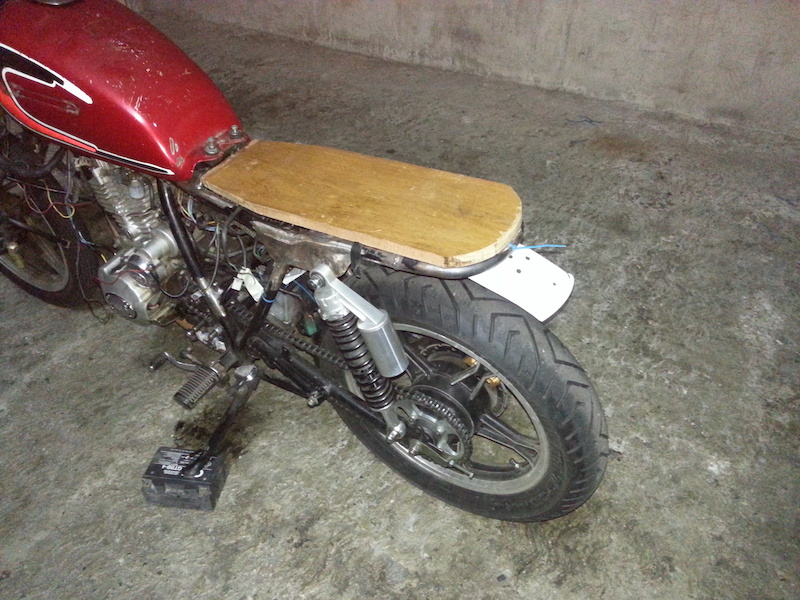
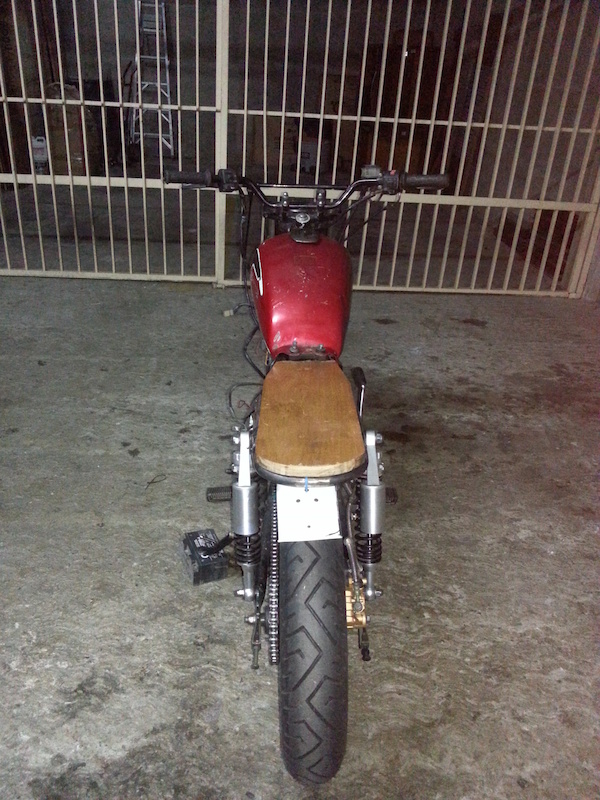
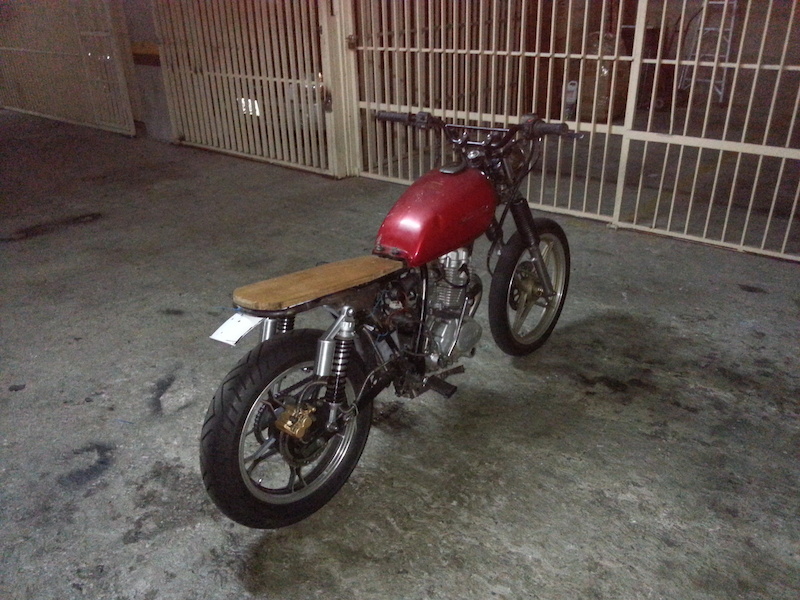
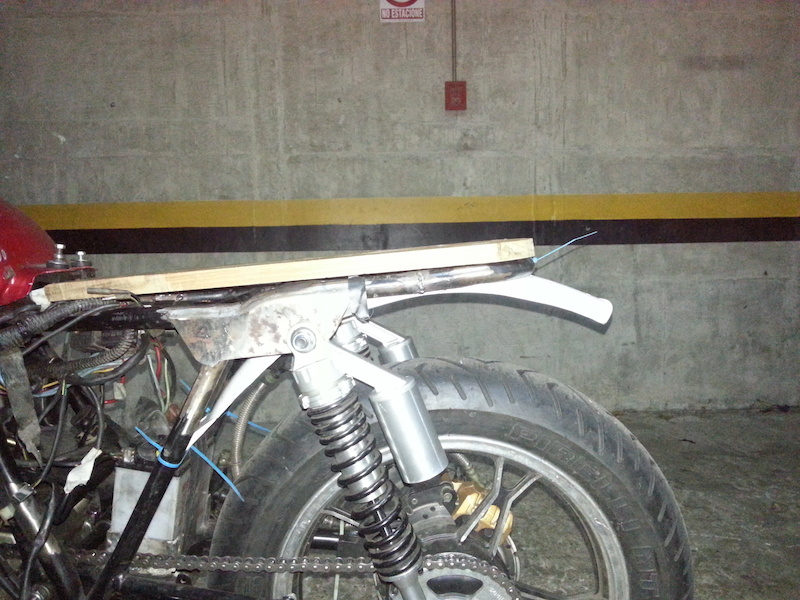
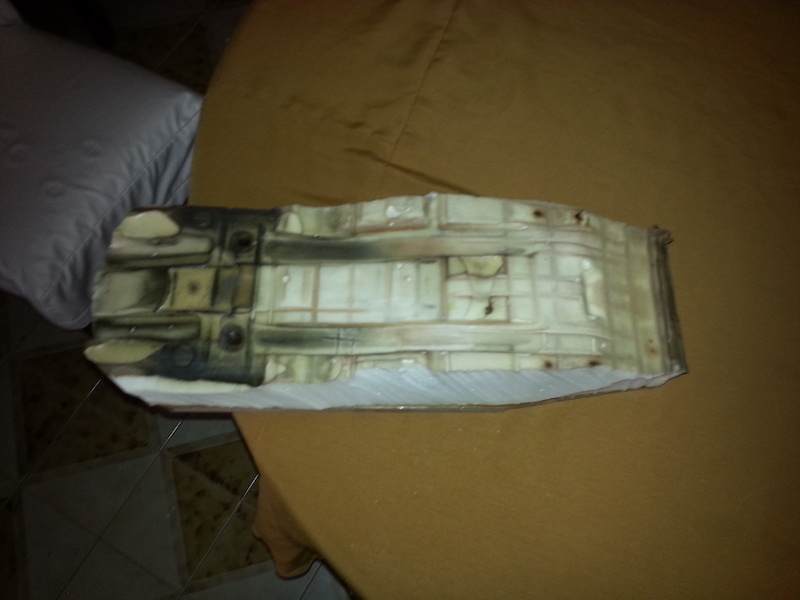
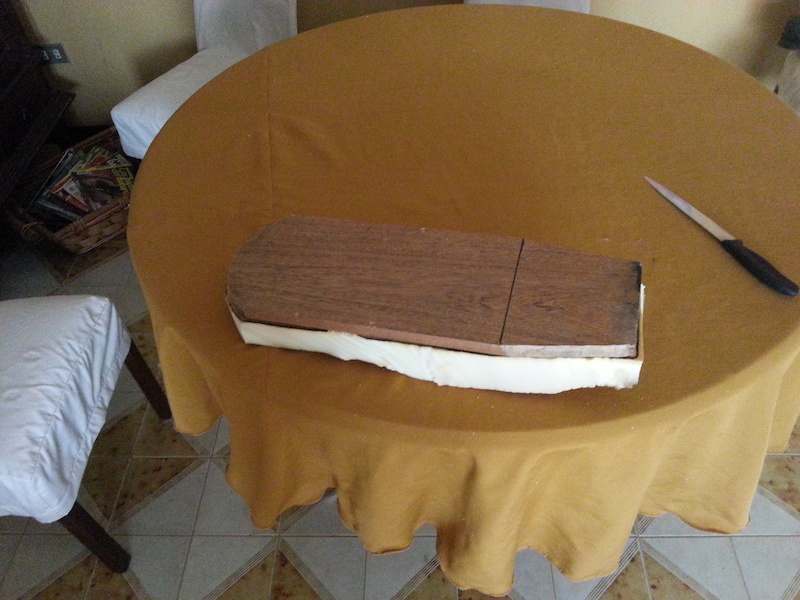
Made a seatpan out of wood (cheap, easy to work on. Bad thing is, is too thick. What the hell)
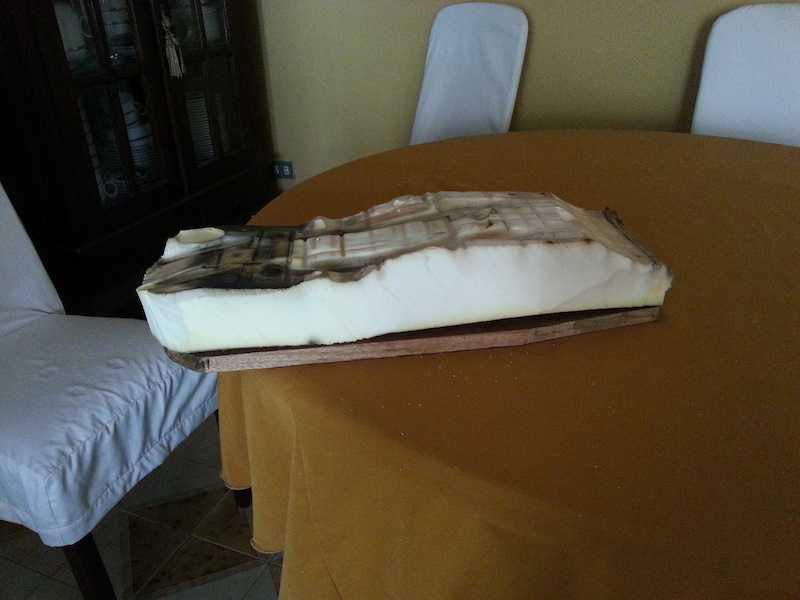
A friend of mine, had an old seat laying around. Used its foam to fabricate mine.
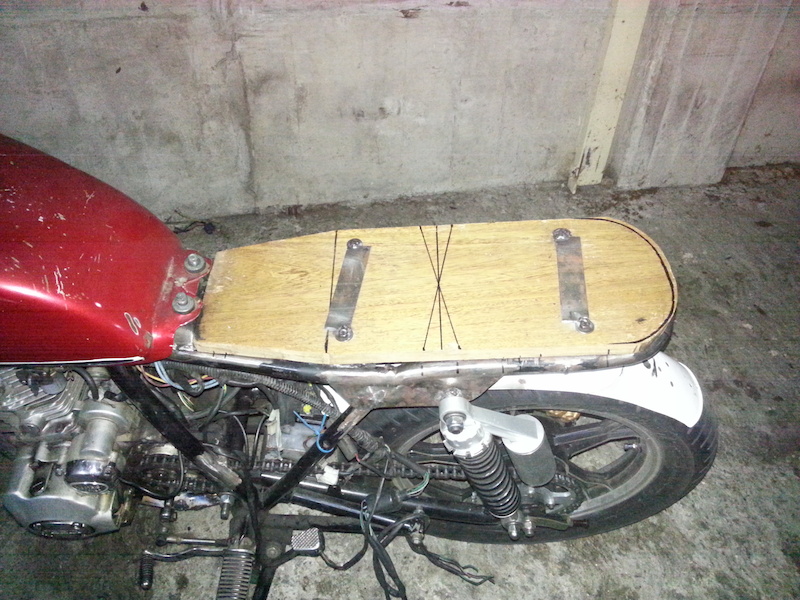
Got the pan in position, fabed some mounts and drilled the pan and frame.
Mounted the bolts and torqued them.
As I was not going to be able to reach the bolt heads on the pan (would be covered by the foam and fabric) welded a thin plate to each of the bolt heads to fasten between them so I could just use a ratchet and socket from underneath the bike to tighten up the pan to the frame.
Then glued the foam to the pan and began to trim foam away until I had the shape I had in mind.
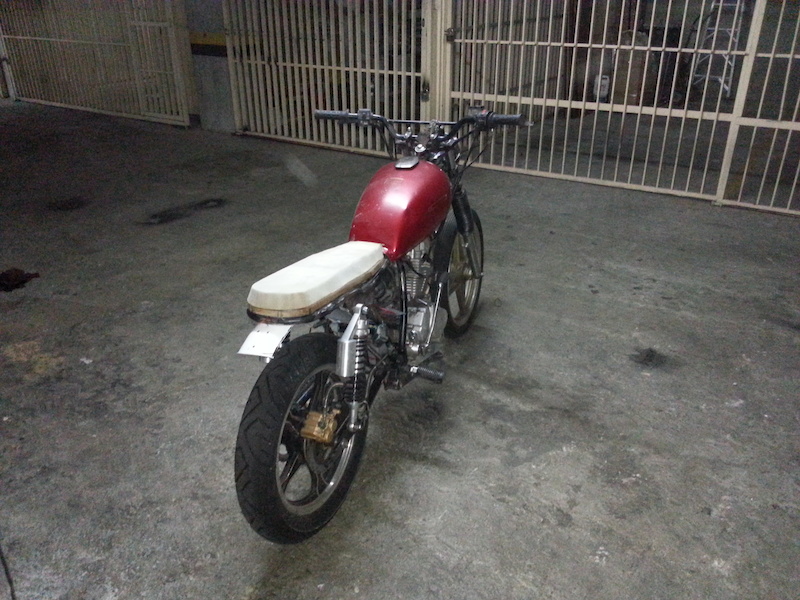
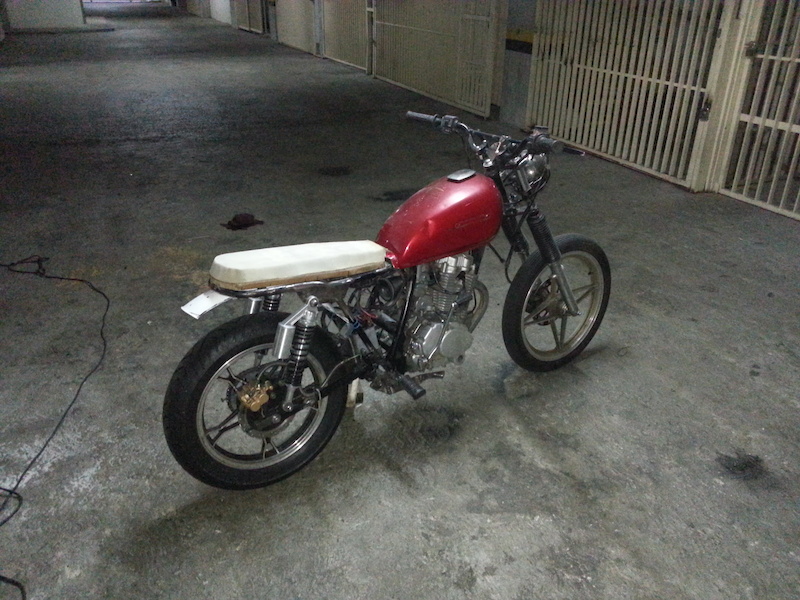
Detail of the seatpan mounts and, shortened and welded rear loop.
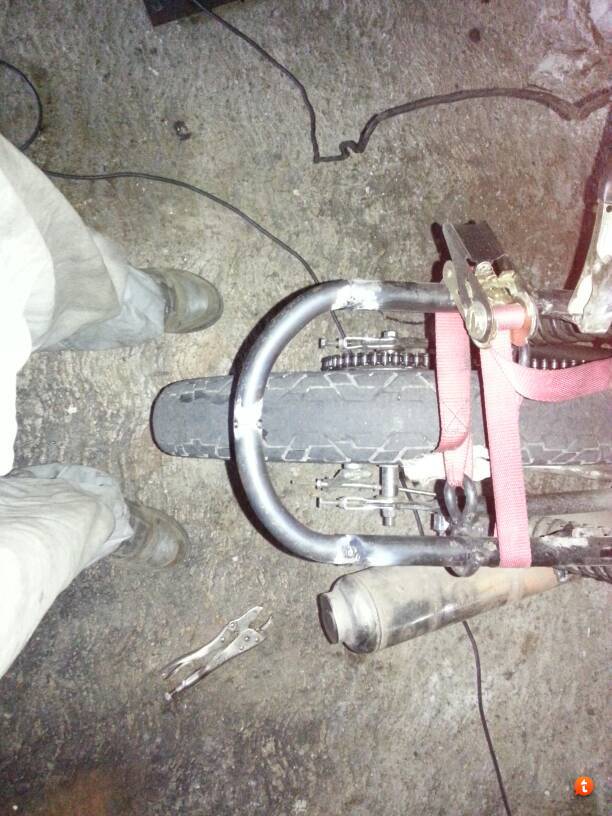
Also final mock up of the rear fender.
Notice it's held by cable ties.
Fender mounted to the frame
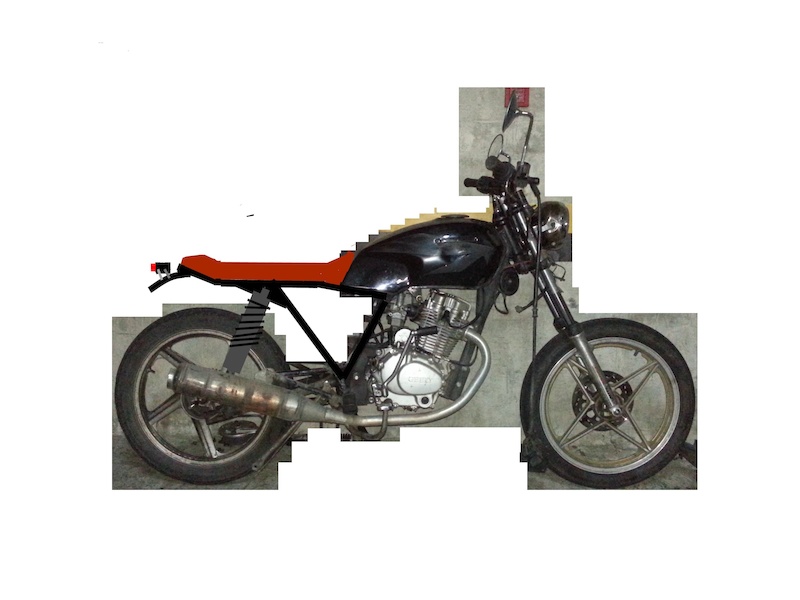
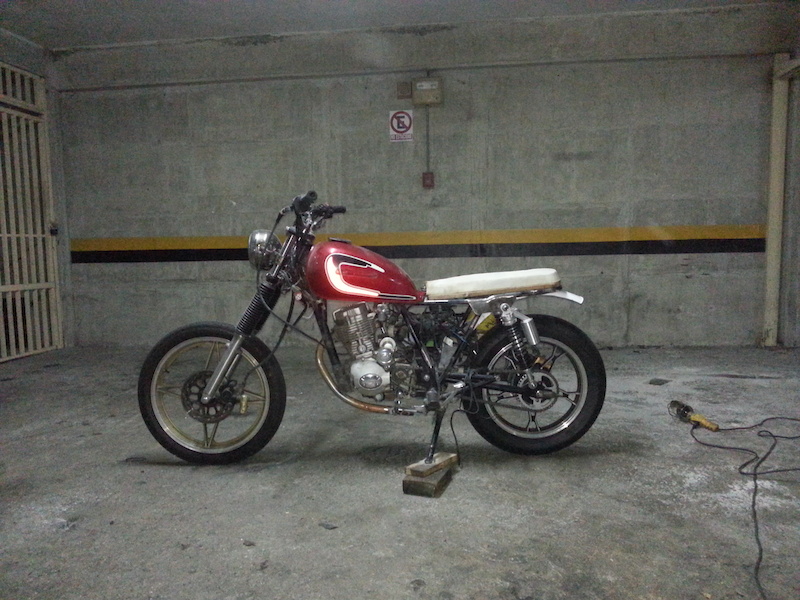
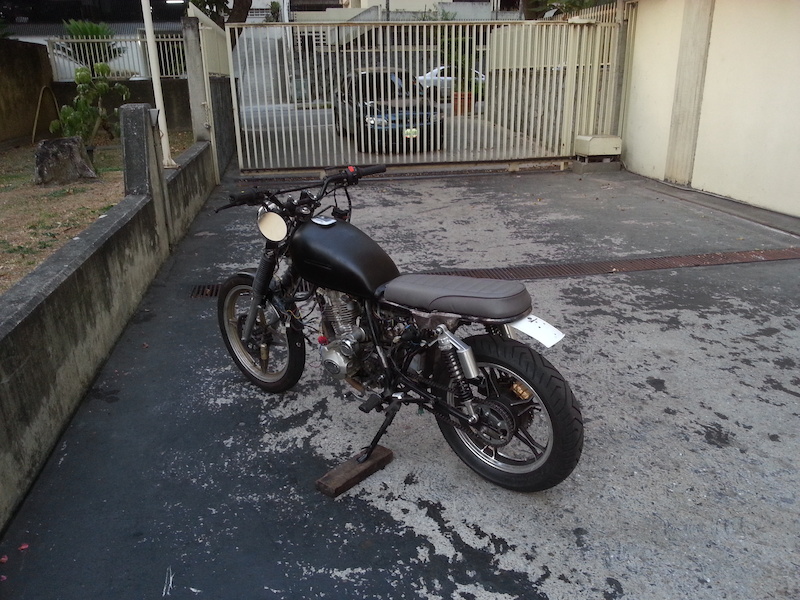
Bike was ready to roll. Rattle can painted the tank as the title states the bike is black and had to go black.