Follow along with the video below to see how to install our site as a web app on your home screen.
Note: This feature currently requires accessing the site using the built-in Safari browser.
We noticed you are blocking ads. DO THE TON only works with community supporters. Most are active members of the site with small businesses. Please consider disabling your ad blocking tool and checking out the businesses that help keep our site up and free.
Got some more parts clean this weekend but not a ton of work.
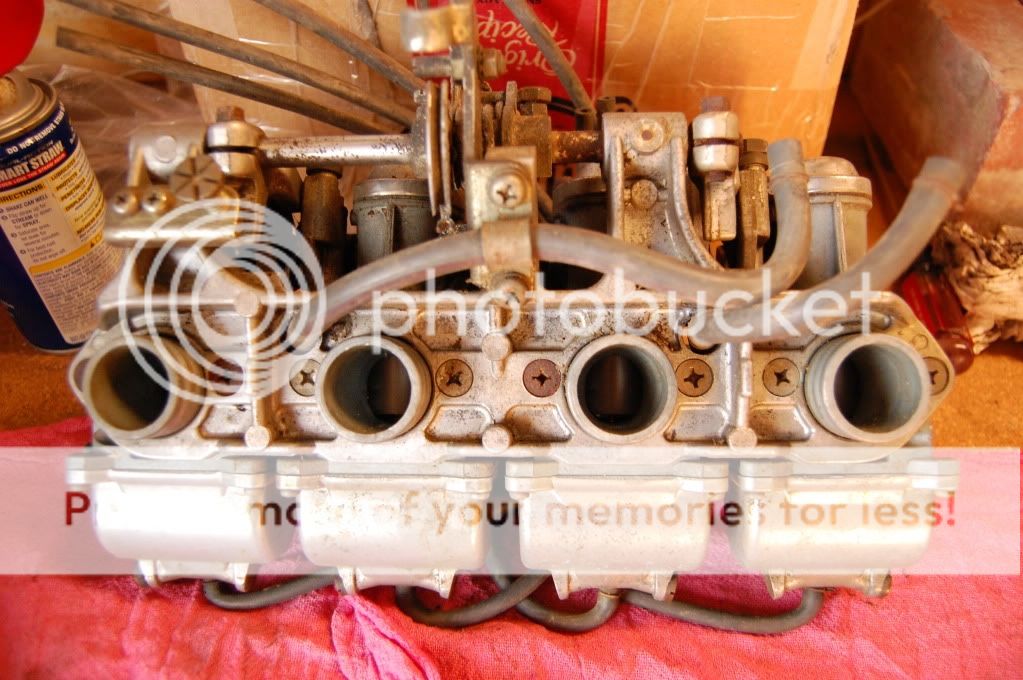
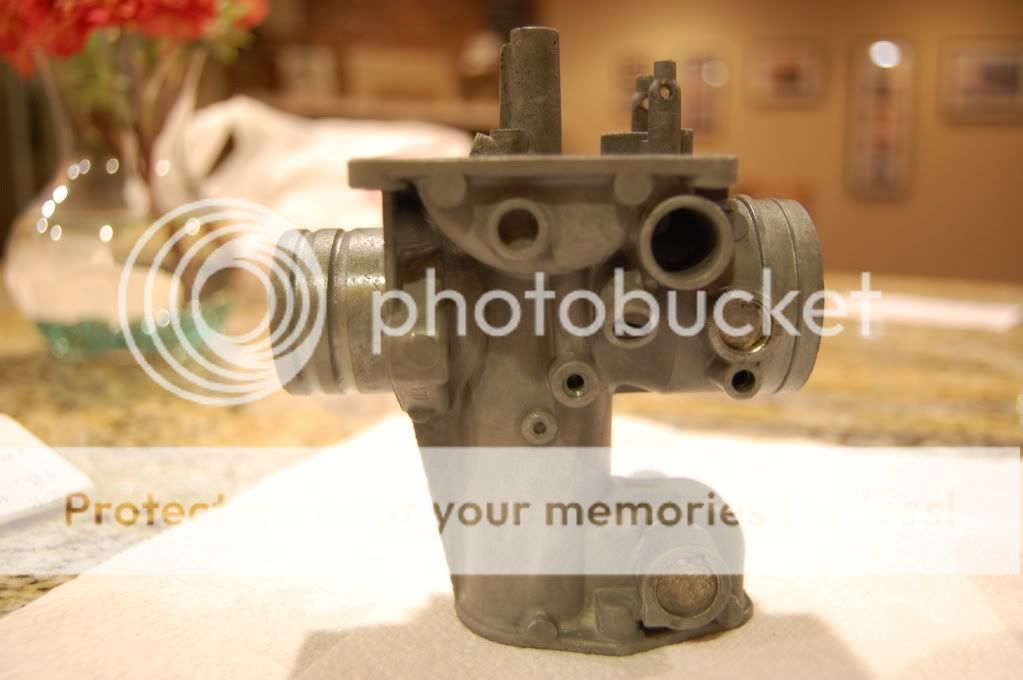
I gor the carbs out of the box from which they came. Looks like they will take a little bit of work but ot in the plces I expected. I remember there being a way to clean them in a boiling bath of lemon juice, is that right? If so... whats the mixture and for how long would I do this?
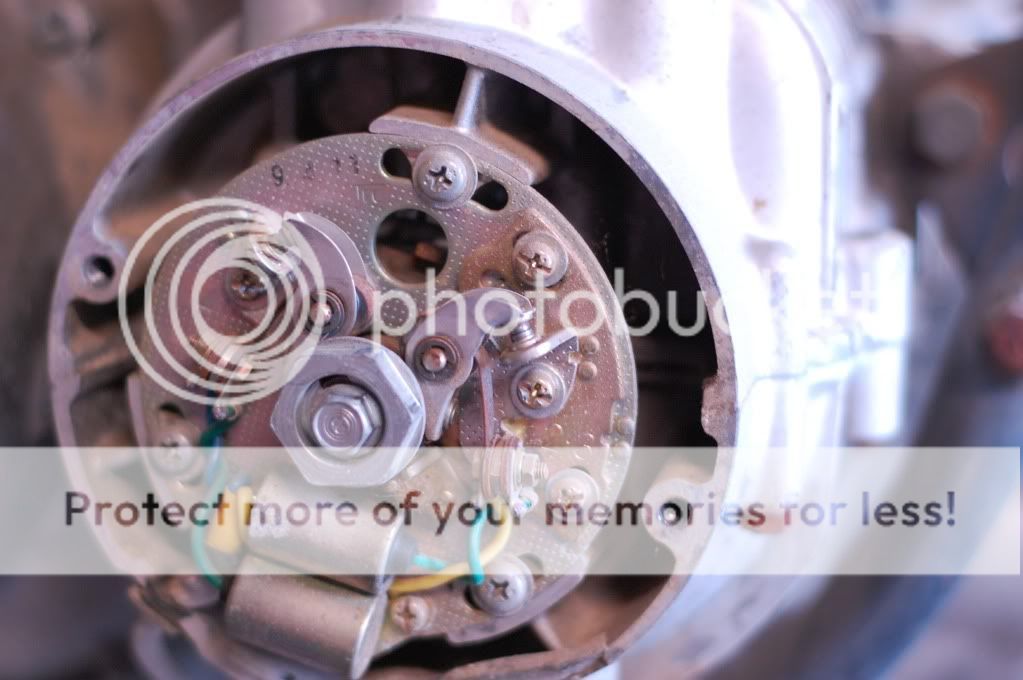
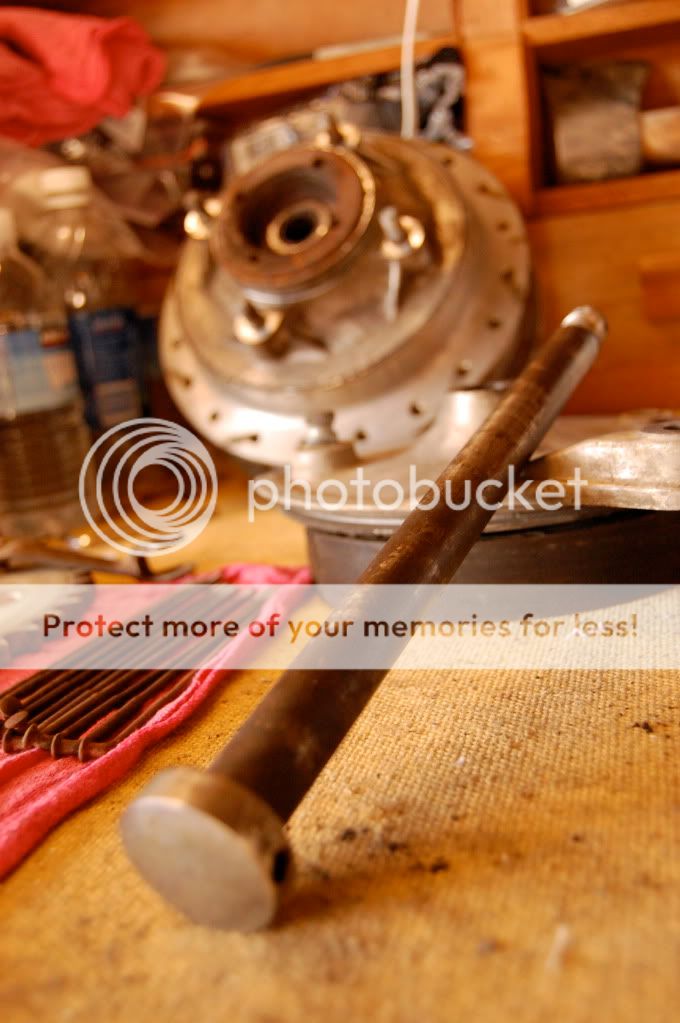
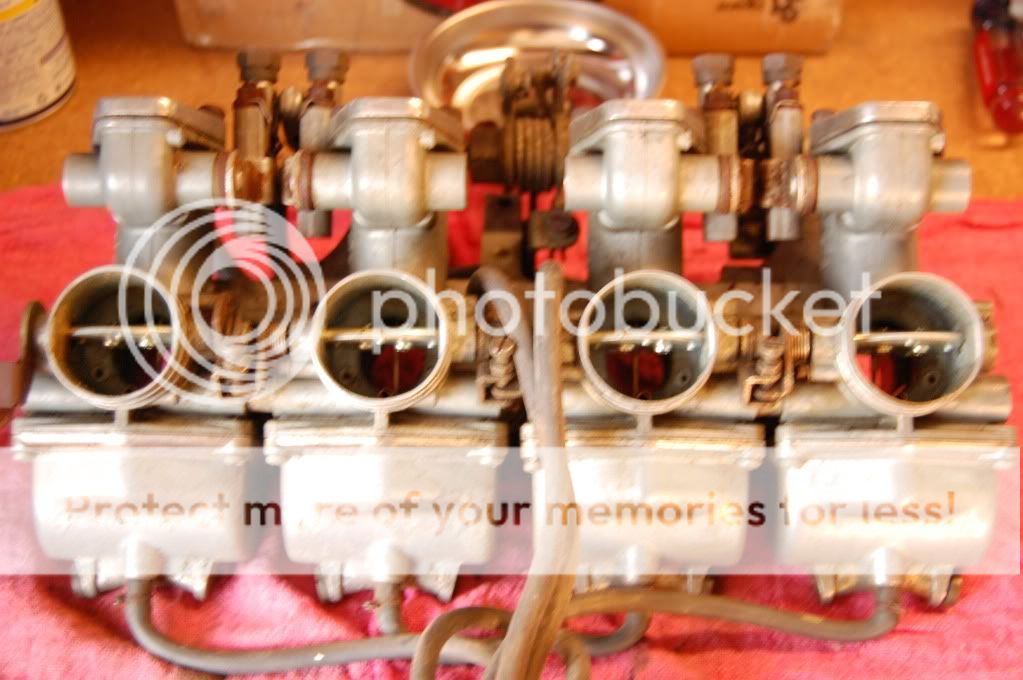
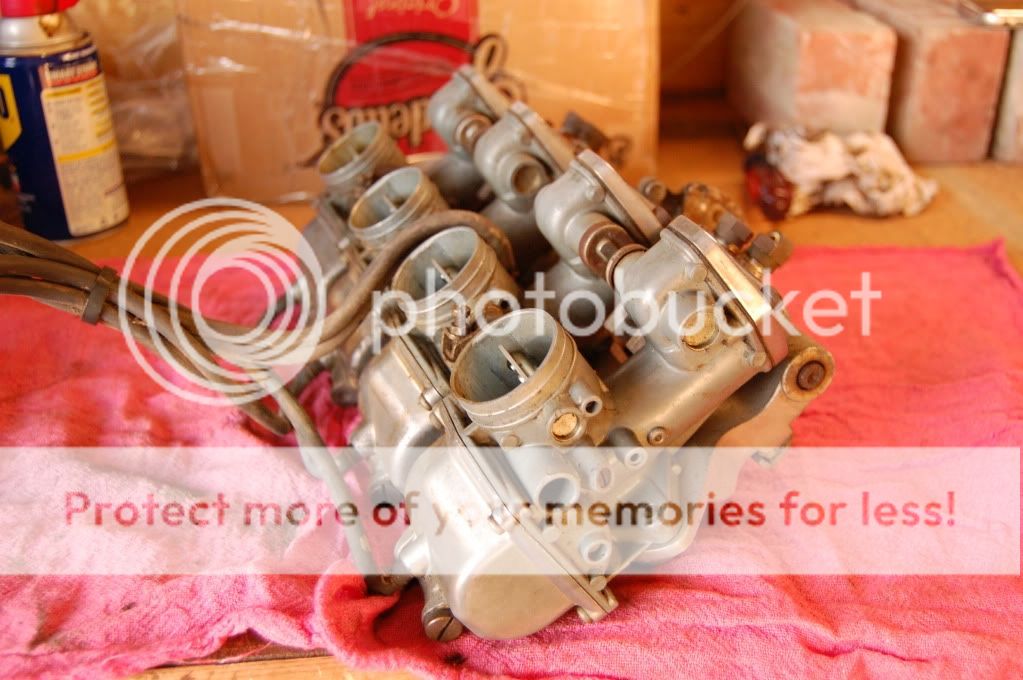
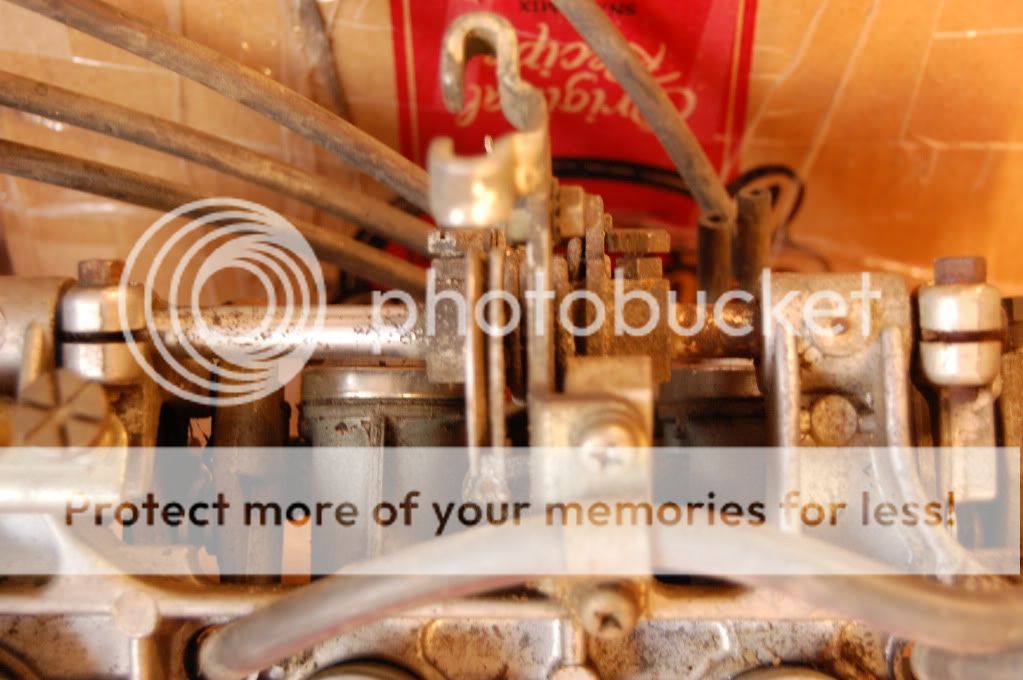
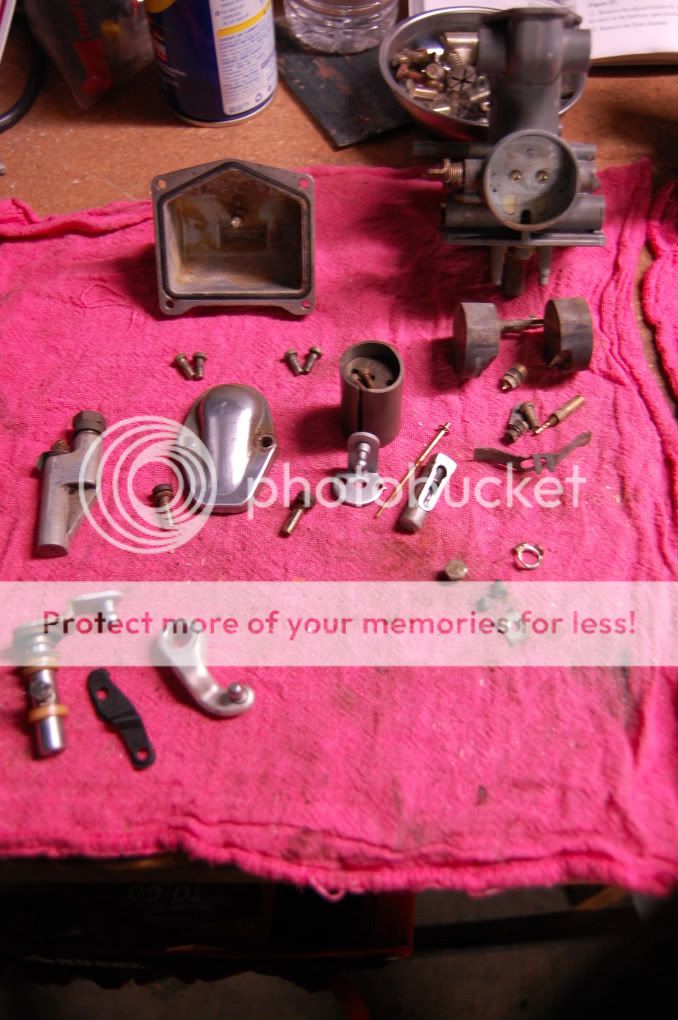
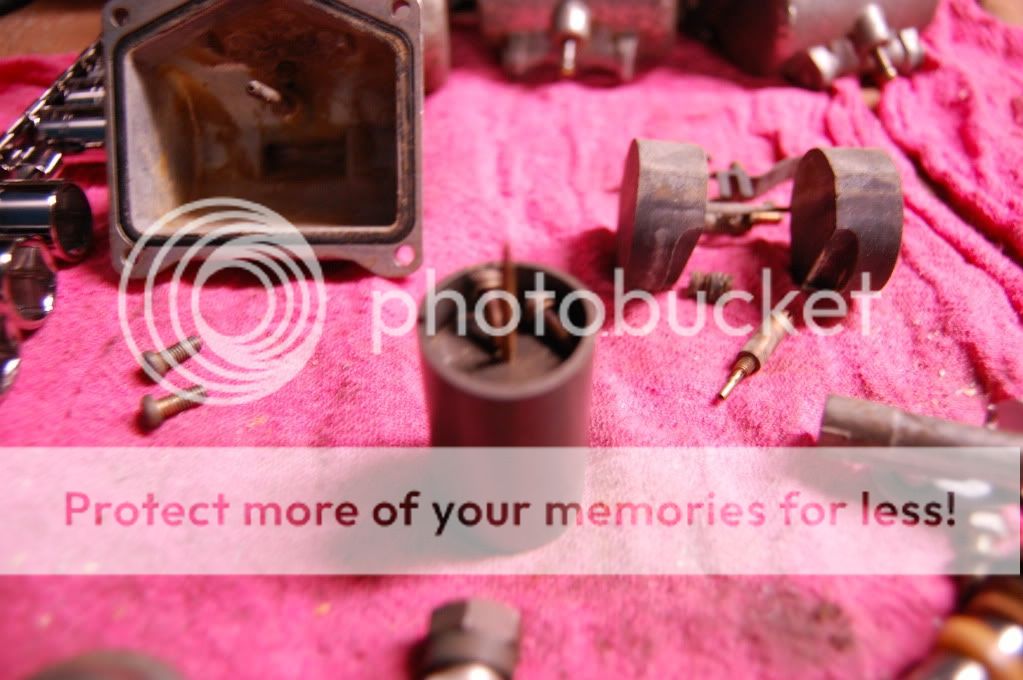
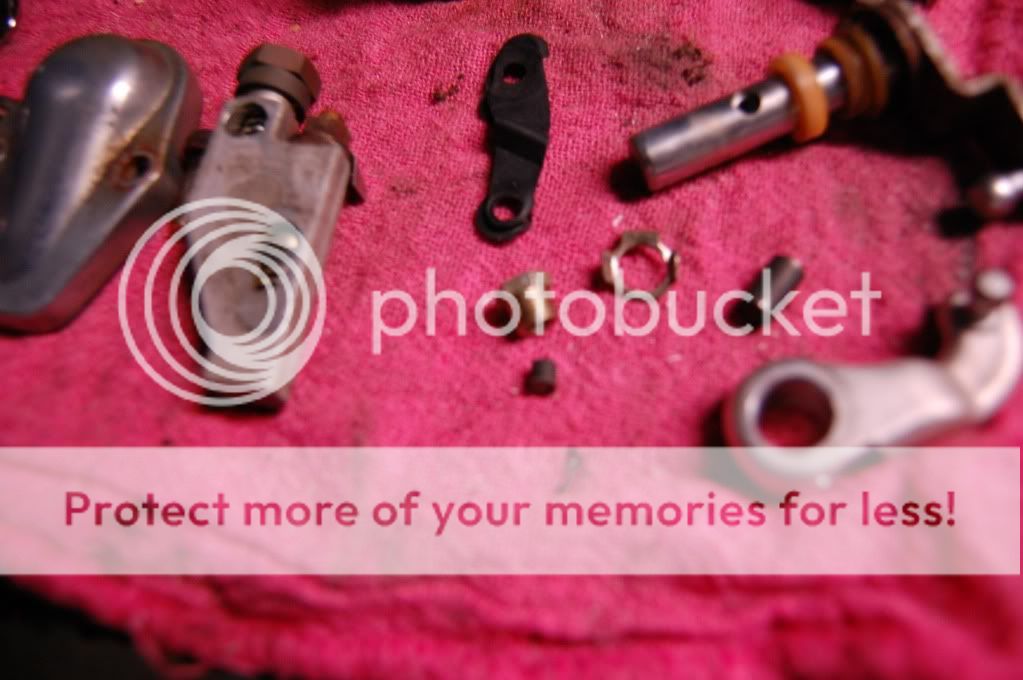
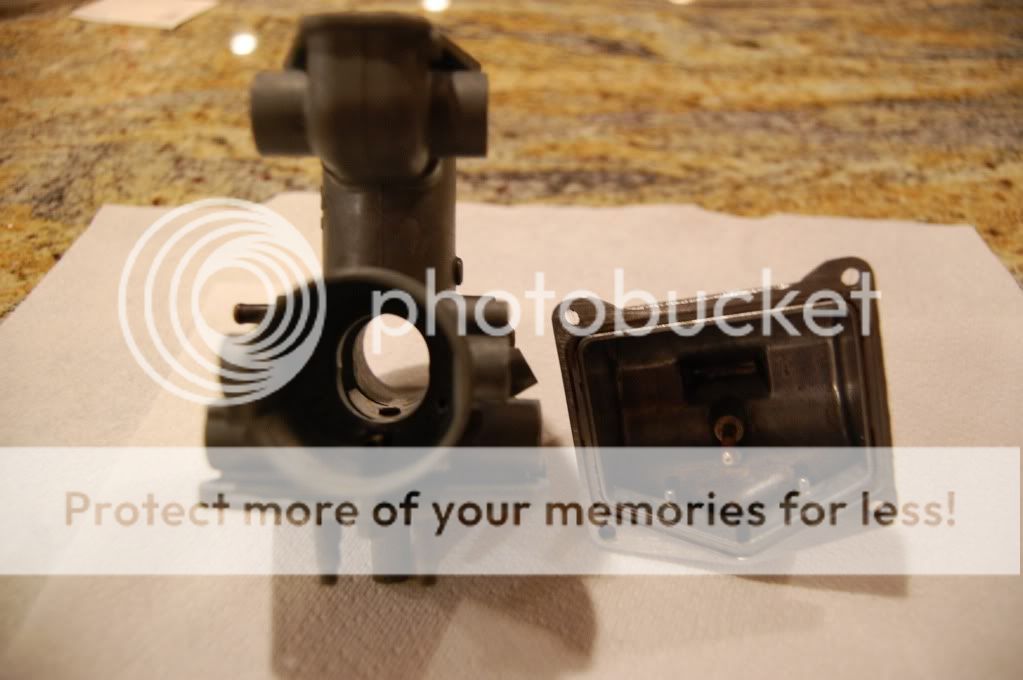
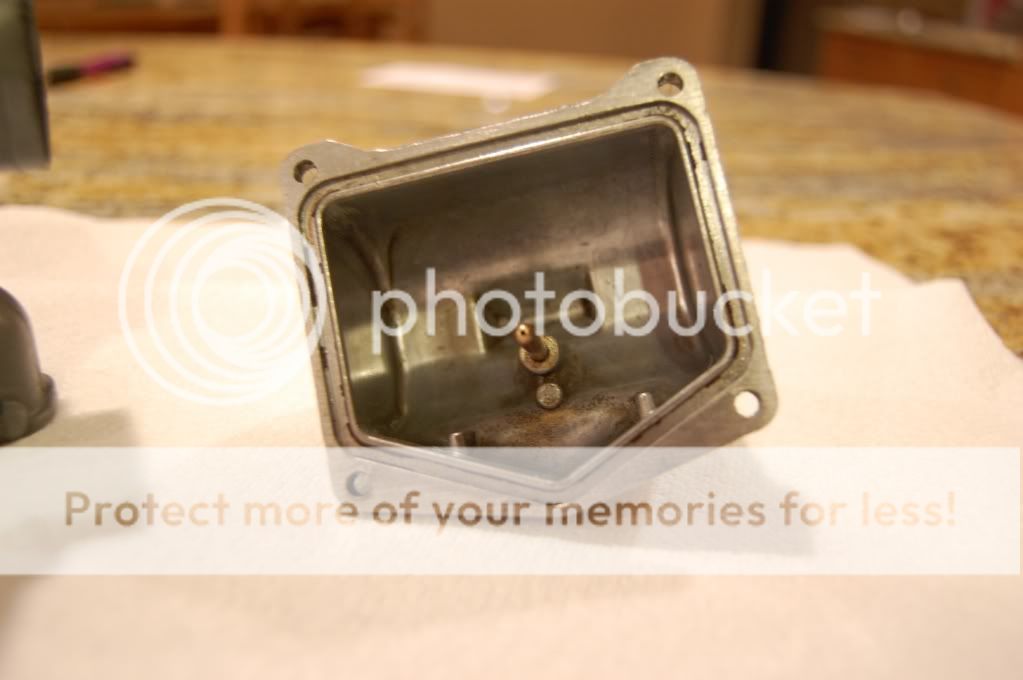
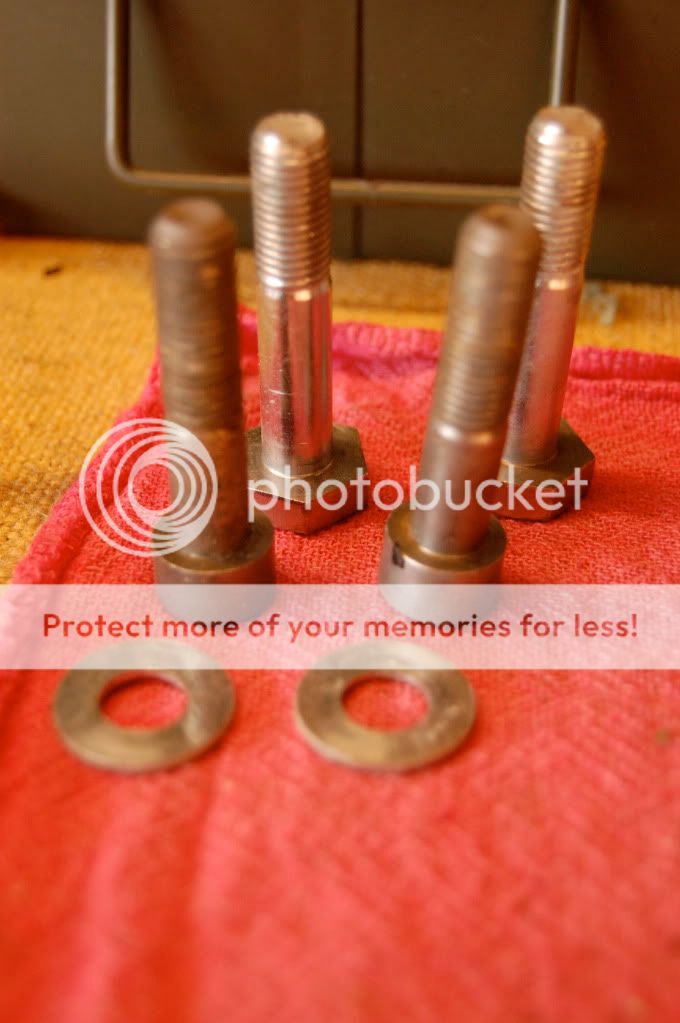
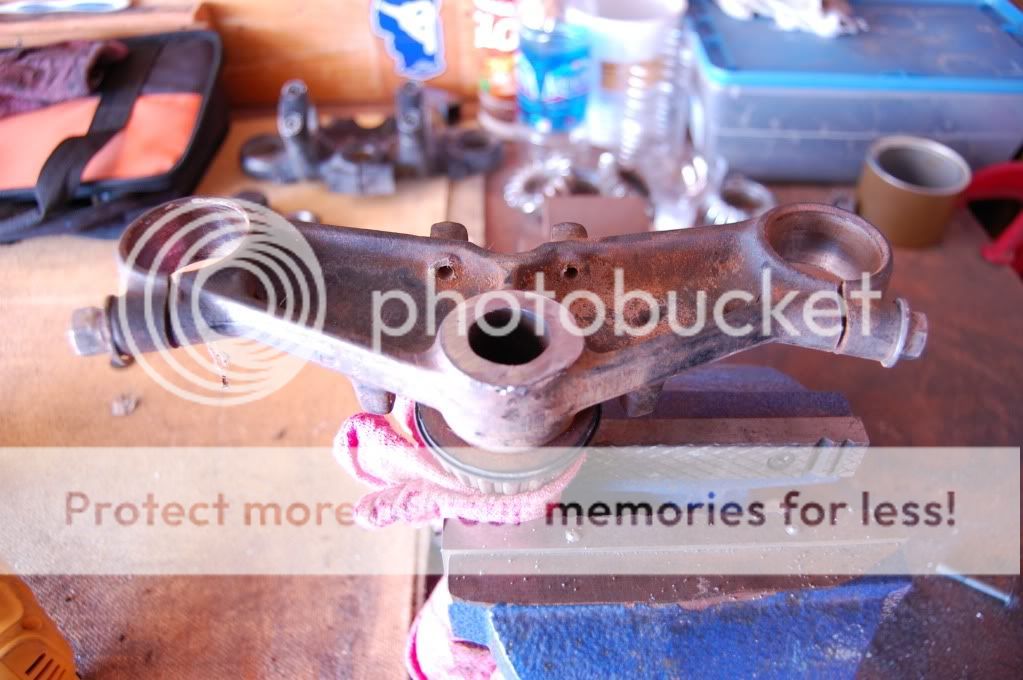
It took me a while to fully get them apart from one another. I tried to take as many pics as I could to help me get them back together however, I dont think you guys want to see every screw. Here are some of the important ones.
I have seen worse:
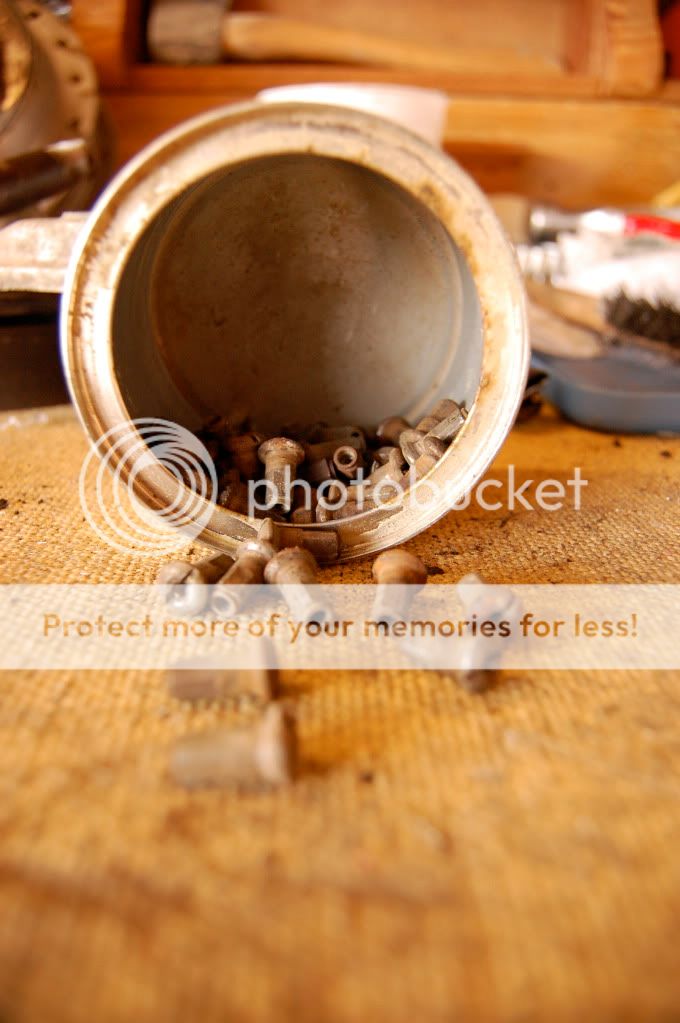
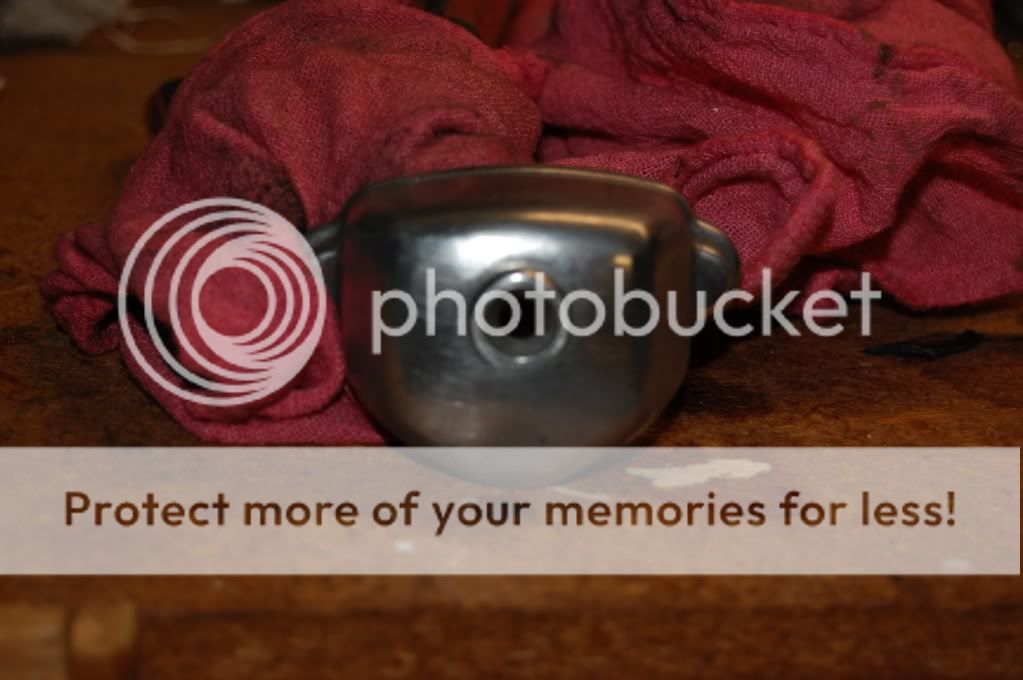
Getting cleaned up:
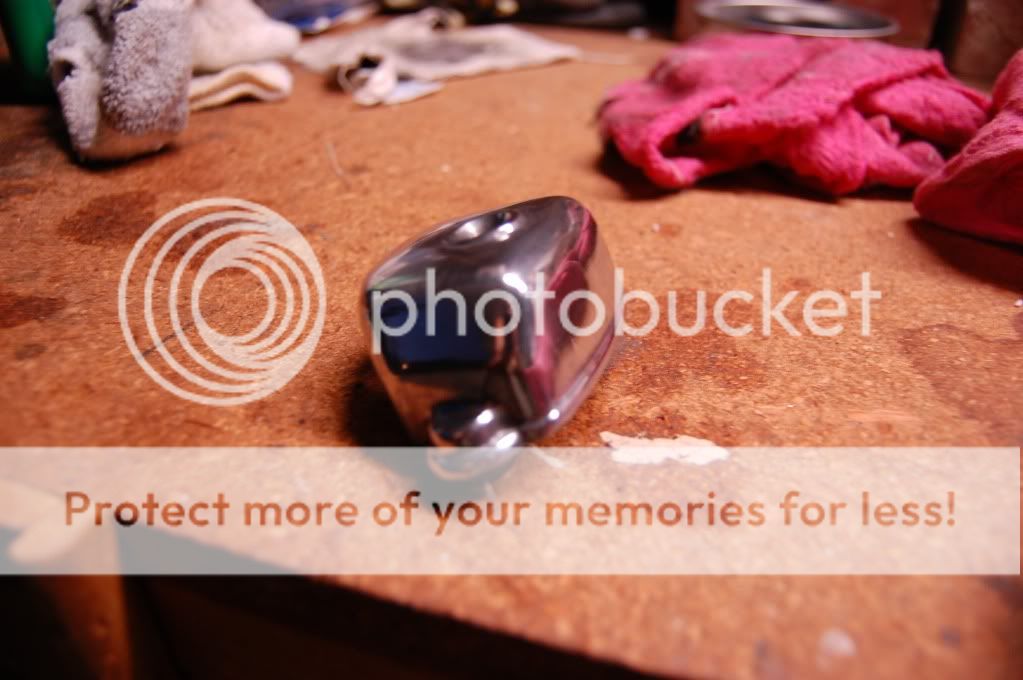
I only cleaned one tonight to test it out. I think it came out nice:
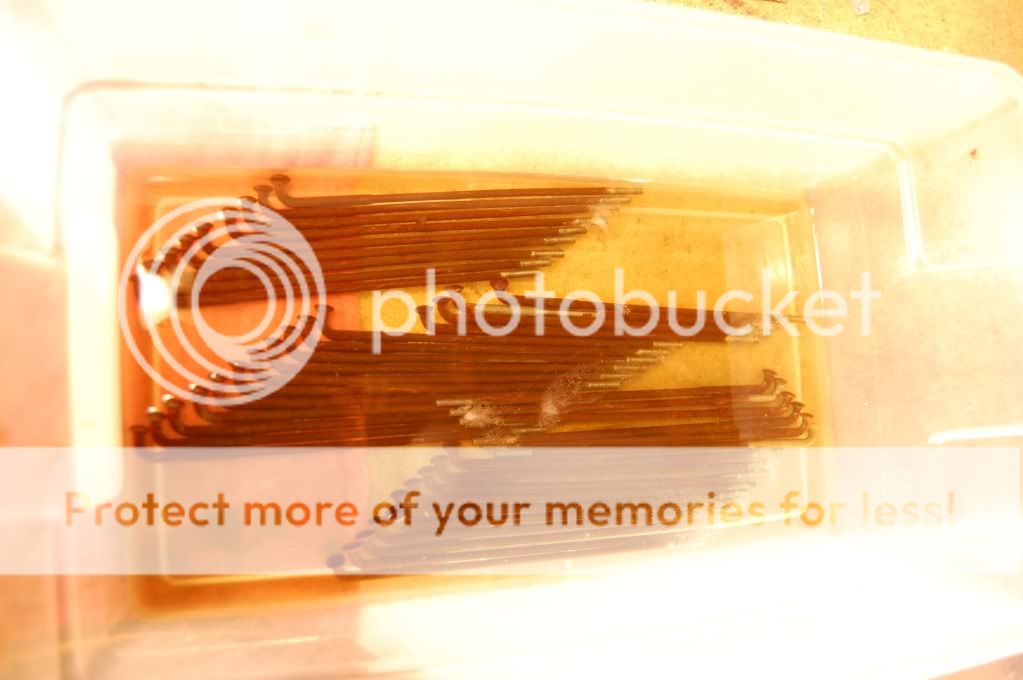
Still need to clean the other screws and get a few kits, but we are making progress.
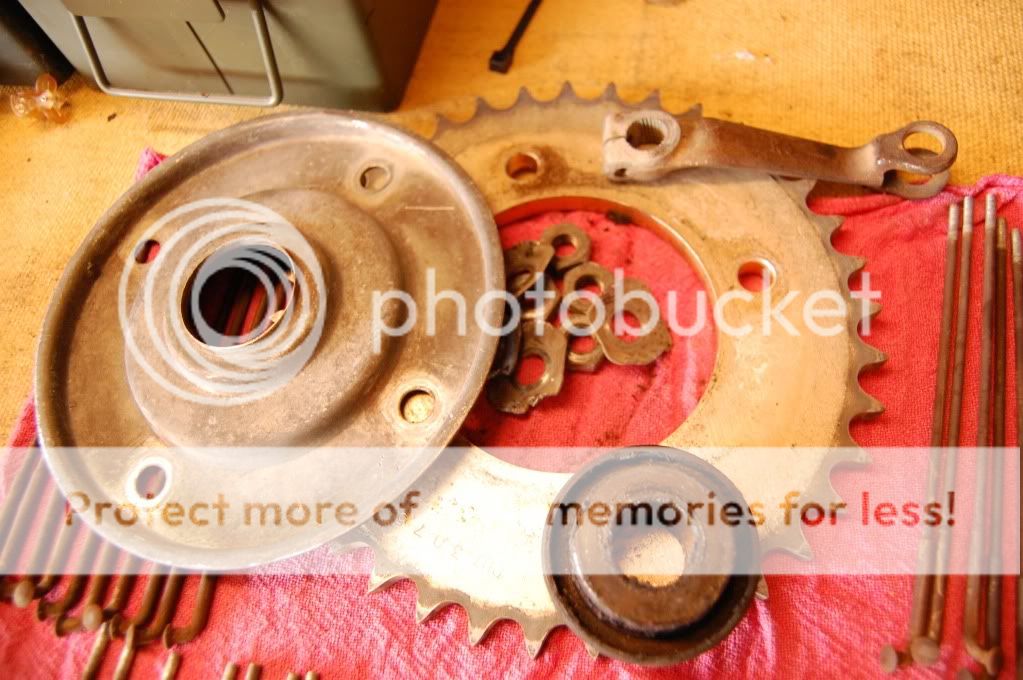
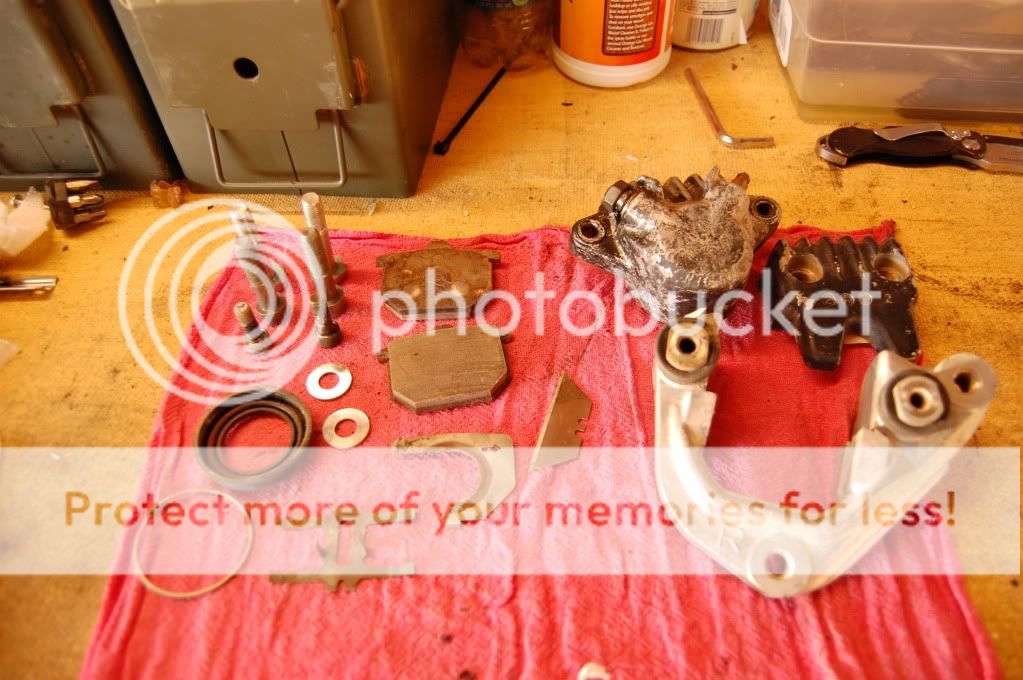
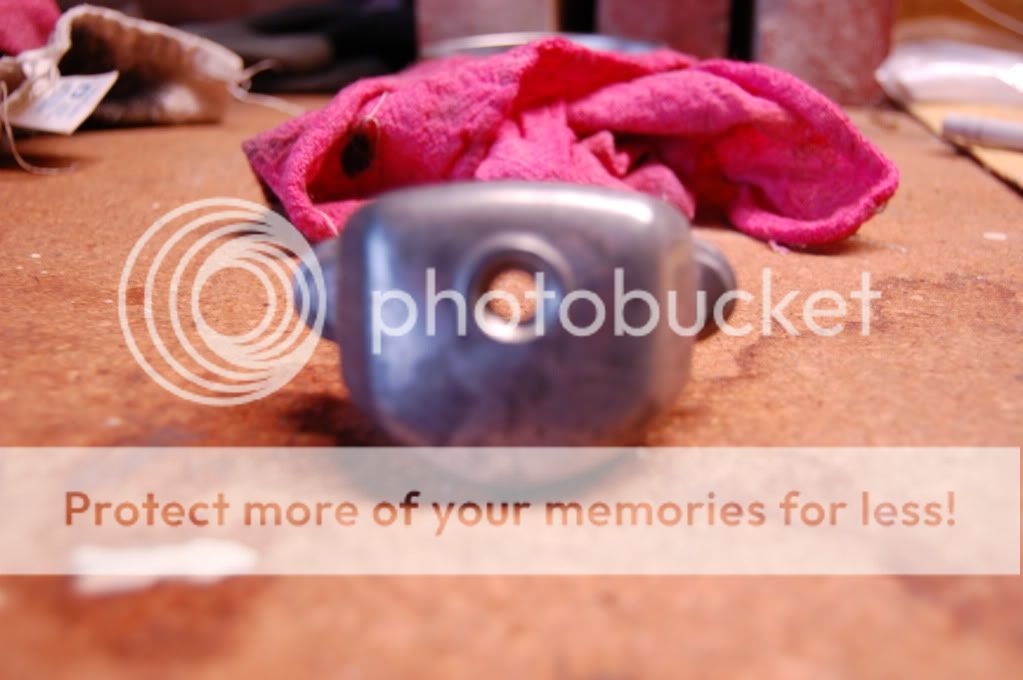
Last thing I wanted to share was that I had gotten the front brakes taken apart and ready to get cleaned up. I got to some of the bolts but not the main parts.
They certainly look unmolested. Usually all the phillips-heads are are burred and useless. The main thing to check is the contact patch on each set. They can pitt and burn, bit id they're nice and flat, and make even contact when closed, you're good to go.
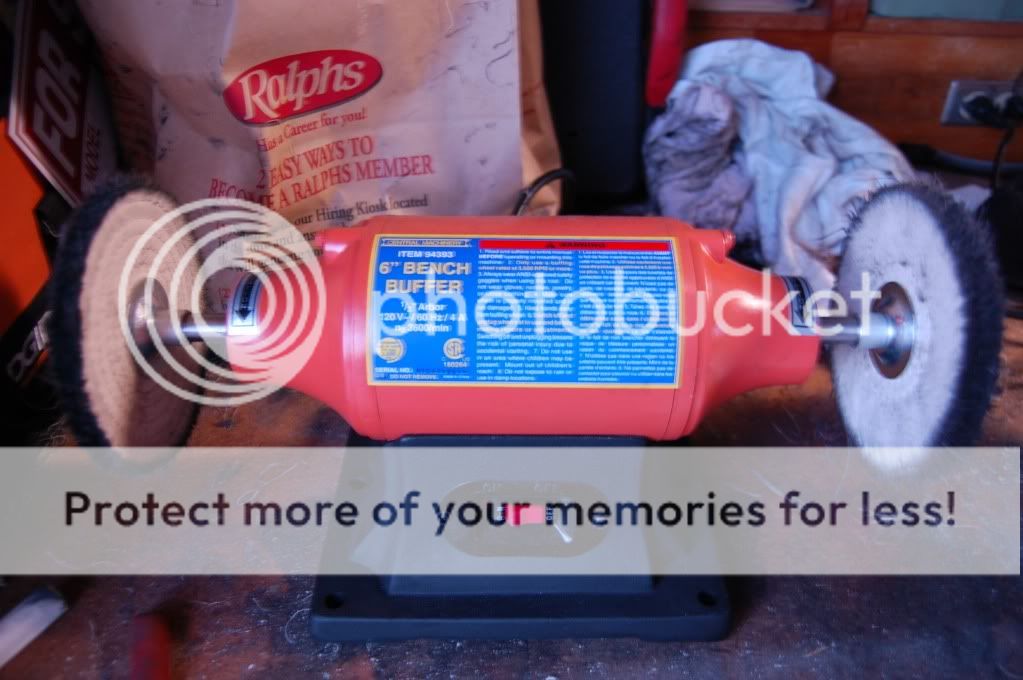
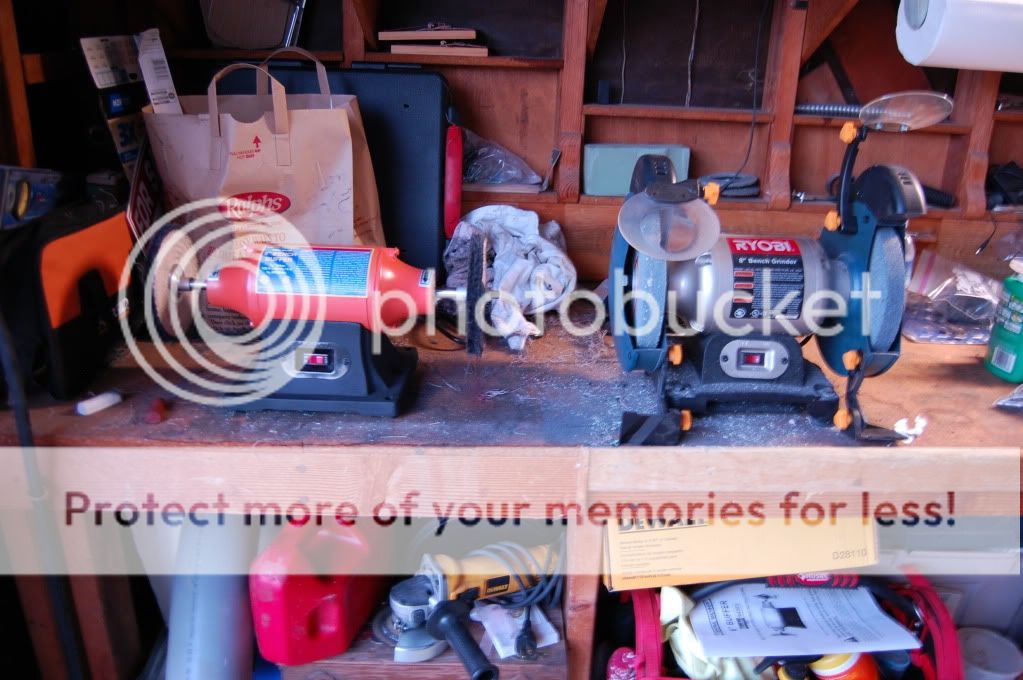
Since there are five pay periods this month, I decided to splurg a bit and pick up a buffer wheel from Harbor Freight. I know its made in China and all but hey... $50 for all the bits on this build seems well worth it.
Put it right next to the Grinder:
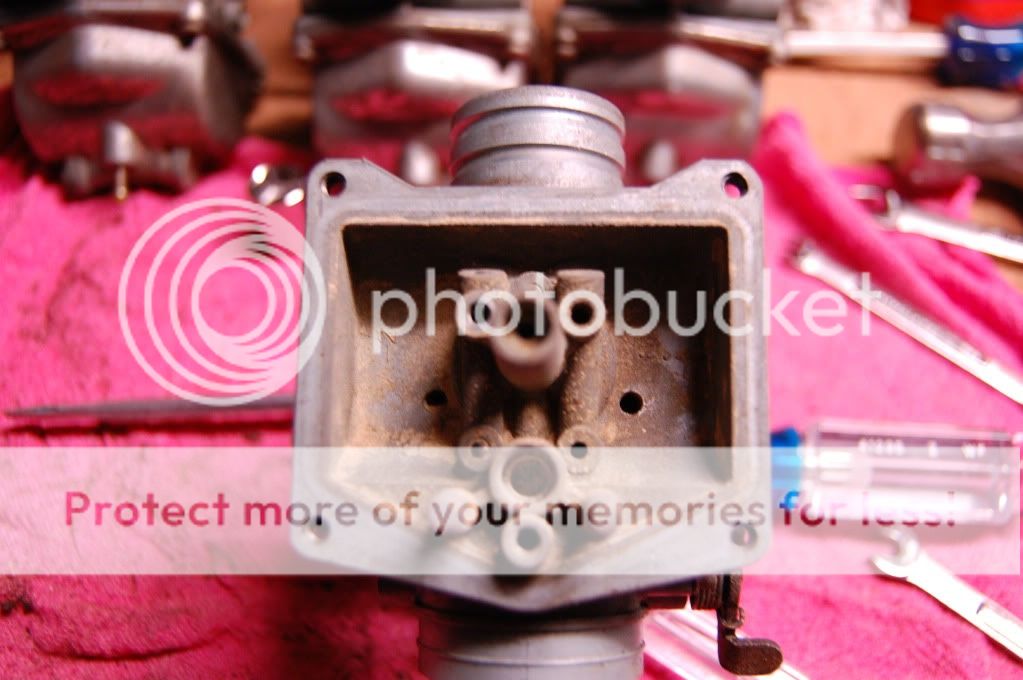
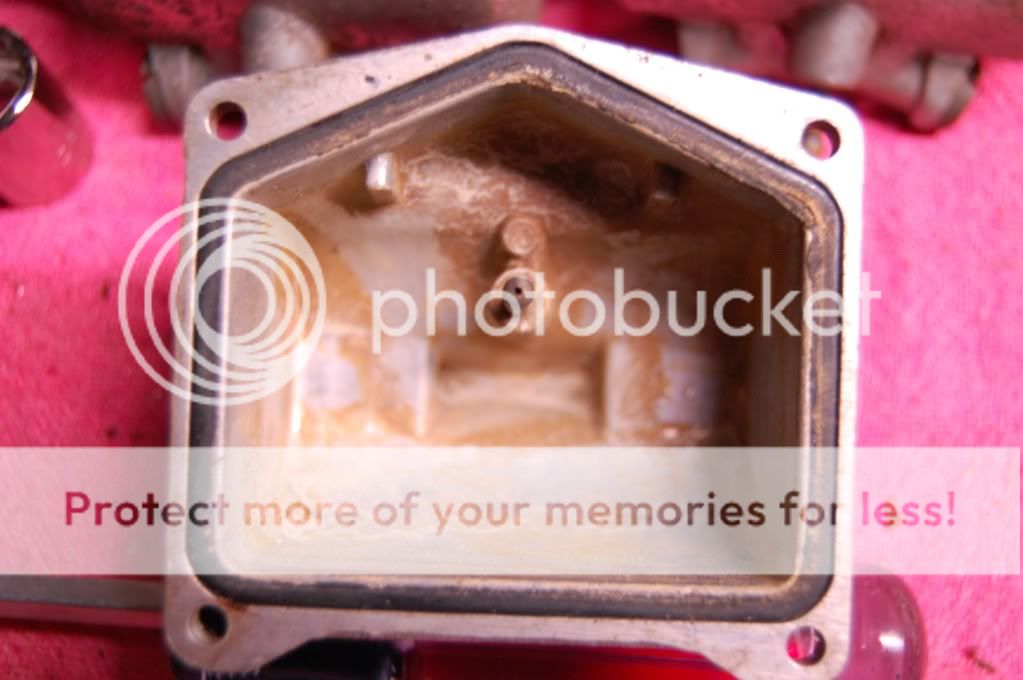
I Started by getting down on the float bowls and the top of my carbs. Although I didnt document the process on this one, I can essentially give you a before and after shot:
Then I did one of the tappet covers. My process was the same as everyone else's. I started with 220 to get all the really dark spots out, then 500 then 1000 and finally steel wool before I hit the buffer. Next, I hit one pad with the coarse compound the other with the polishing and, viola!
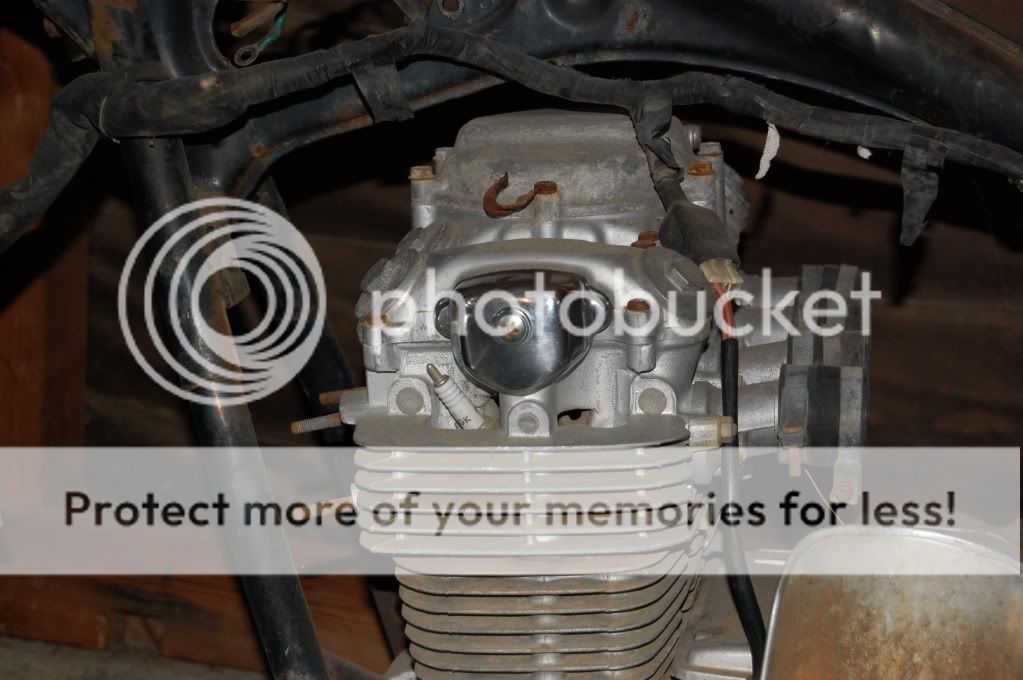
At the start, fresh off the bike and 40 years old:
After the sand paper:
After the wheel:
And finally, the only polished thing on the engine so far, but... the weekend is still young:
Love the new buffer... Im looking at the objects in my house in a whole new light... its like there are infinite possibilities!!!
Anywho - I did some more polishing today (tappet covers and some forks). I also started to work on the steering stem for the GL tripple. From my understanding, I am supposed to grind the bottom weld until I can knock out the stem... I started with this:
I guess I just wanted verification that Im on the right track cause that bitch is not moving....
You're on the right track. You'll need to grind down past the flange on the stem, and you should see a faint 'crack' appear that shows the stem tube inside the triple's boss. Be sure to grind it down squarely, and you can use this crack as a guide. Once you see it as a complete circle, you should be able to bang the stem out from the top.
So... Today I polished up the forks from the GL. They look purdy! I'll post the pics soon...
Also, Im not really sure what to do. I have this stem out of a 77 GL1000, I found the "crack" and I started pounding on this stem and it moved a bit... but definitely not enough to come out and I am really fucking up this stem... like the top is useless now which, in all reality is ok because I have no use for the stem afterwards but... is there something Im missing here? Perhaps I need to get something from the other side grounded down?
Haven't seen a pic, but have you removed the lower bearing race? If that's still on, you won't be able to push it through. It should go through from the bottom tho?
No... I have not removed that. Damn... OK when I get home today I will post some pics however, I fear that I have damages that part in the vice. Am I going to use the bearing brace from the original 550 stem? It seems as though I would, right?
No... I have not removed that. Damn... OK when I get home today I will post some pics however, I fear that I have damages that part in the vice. Am I going to use the bearing brace from the original 550 stem? It seems as though I would, right?
Firstly. I've just been back and seen your pics :. I should have picked it up earlier that the bearing was still attached. Sorry 'bout that. That will need to be replaced anyway. You can't (easily) get it of without damaging it, and the trend is to use a set of tapered bearings as replacements. The usual method of removing the race is to split it gently with a dremel or similar fine ginder. If you're not using you stem then you have a bit more lattitude, but normally you would try not to nick it . You can punch the stem out form the bottom if you have the right sized drift, but you might damage the stem housing.
Oh no worries man. I really have no use for the stem other than a re-sell which would be minimal.
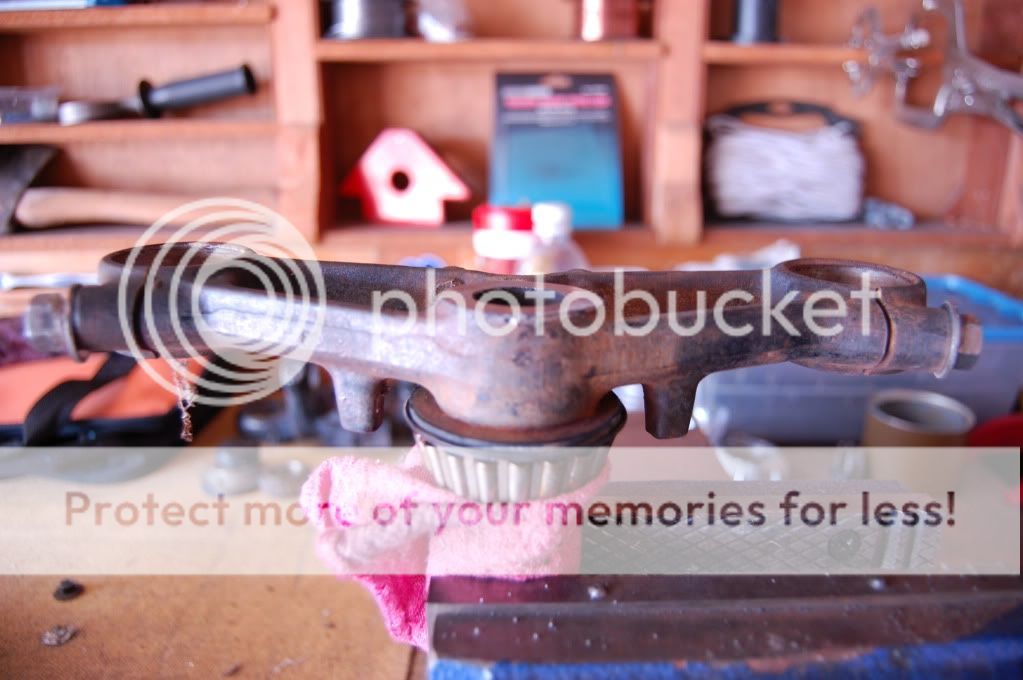
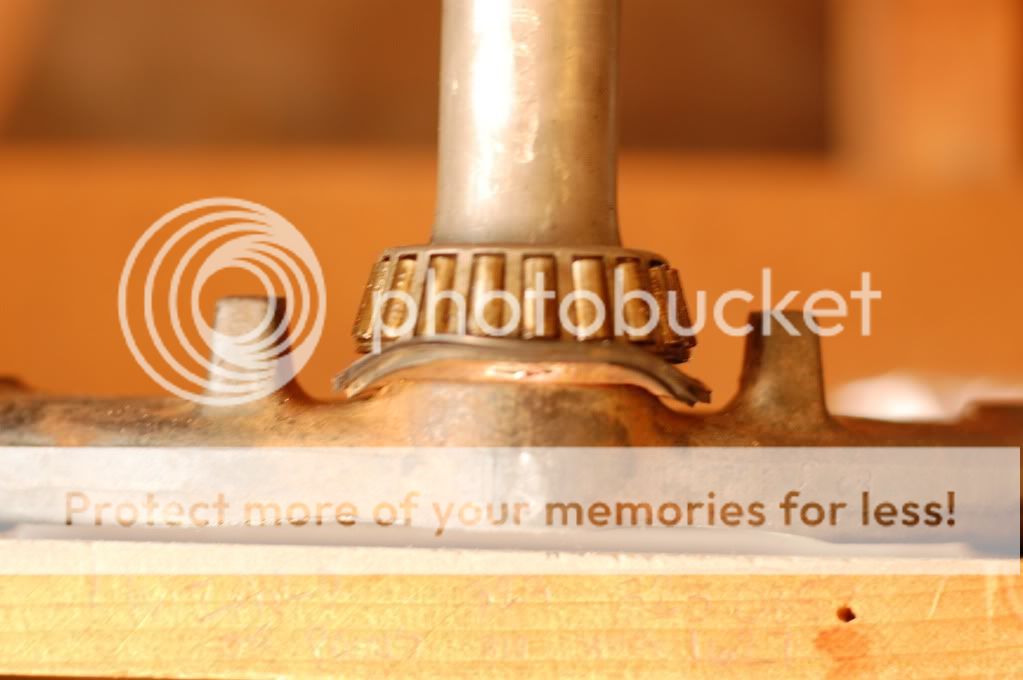
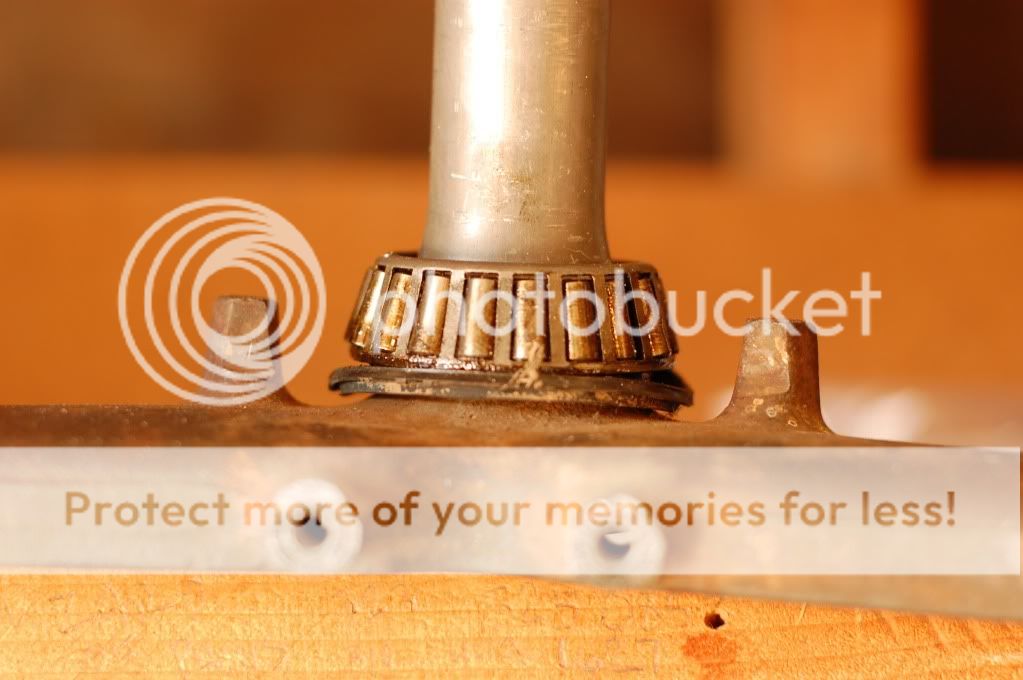
So just so Im clear you mean to literally split the little "dish" that the bearings would sit inside... I do have a tapered set for this triple that came with the set up but its sitting on that lip. I should be home in 3 hours so I can post a pic if my question unclear.
Either way, Im very grateful for the help so please don't sweat it.
Yep. that's it. If you have some pipe that will fit neatly on the stem (inner circle in this pic), then you may be able to belt it out from this end. Otherwise, you'll have to remove the bearing from the top view, and hammer the stem down.
If you can gently heat the casting, it will help either way. I know when guys refit the new stem, the throw it in the freezer for a while, while heating the triple up in the oven a bit. Allows them to slide together a bit easier. Stem must be fe in from the bottom, and if it has a flange on it, it wouldn't hurt to tack-weld it in a couple of places. If it doesn't have a flange (for some reason?), then you should definitely weld it. Probably all the way around, although I've heard guys talk of the extreme heat distorting the triples so the forks no longer align? mayb tack it in 4 corners (of the circle!)
I have been busy setting up stuff to sell on ebay and CL so I can fund some more parts.
I did get a set of bolts for the engine and the carbs. I need engine gaskets and I can start to tear down the engine for a rebuild, although Im a little nervous as to what I might find in there.
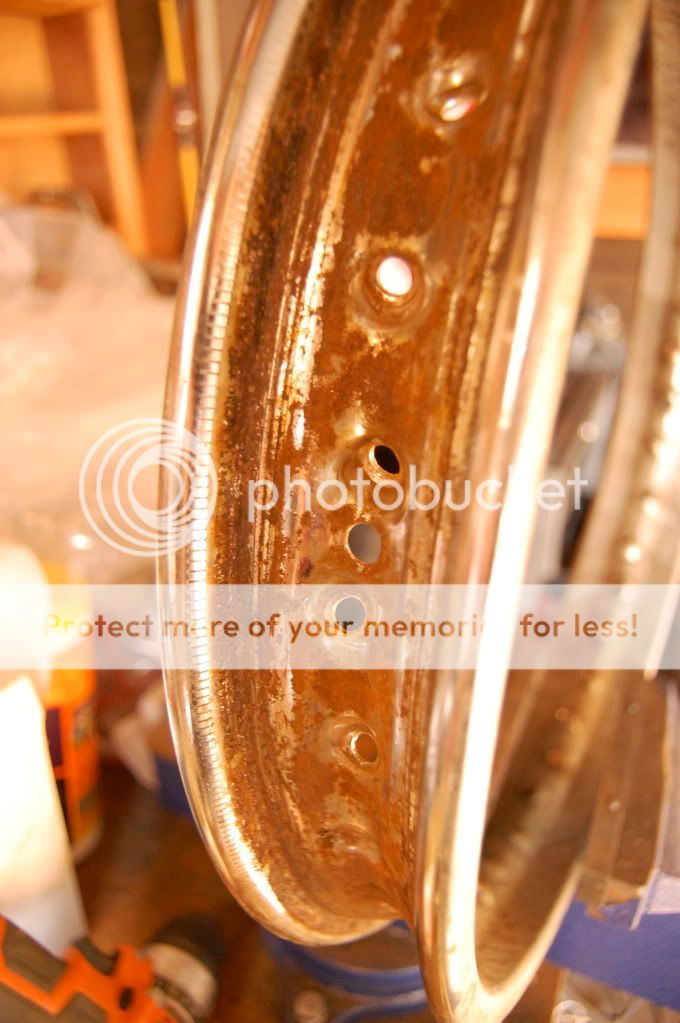
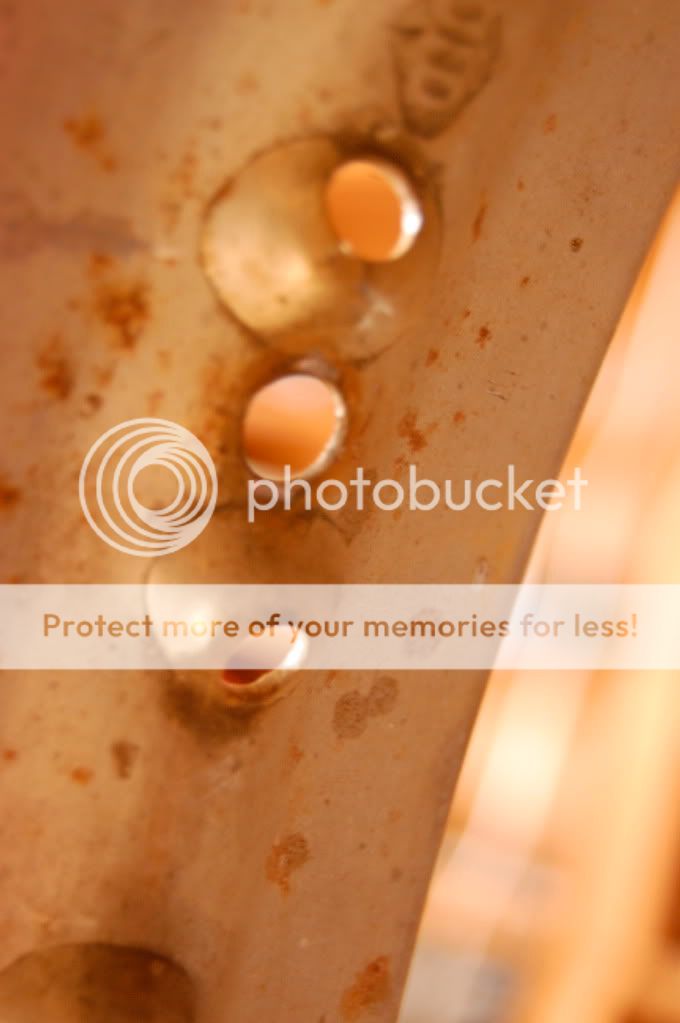
I striped down rotors so I can paint but I want to drill them first so maybe I can pick up some cutting fluid this weekend and shoot over to my buddies house.
A while back someone posted a bunch of drill templates and I cant find them anywhere. Anyone remember who did it/where they were?
This site uses cookies to help personalise content, tailor your experience and to keep you logged in if you register.
By continuing to use this site, you are consenting to our use of cookies.