Follow along with the video below to see how to install our site as a web app on your home screen.
Note: This feature currently requires accessing the site using the built-in Safari browser.
We noticed you are blocking ads. DO THE TON only works with community supporters. Most are active members of the site with small businesses. Please consider disabling your ad blocking tool and checking out the businesses that help keep our site up and free.
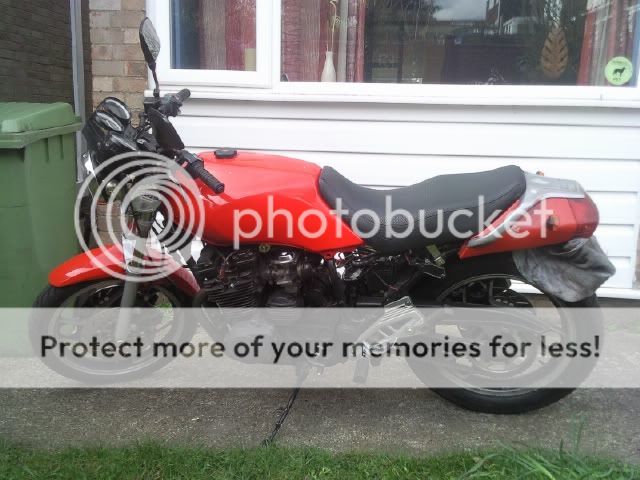
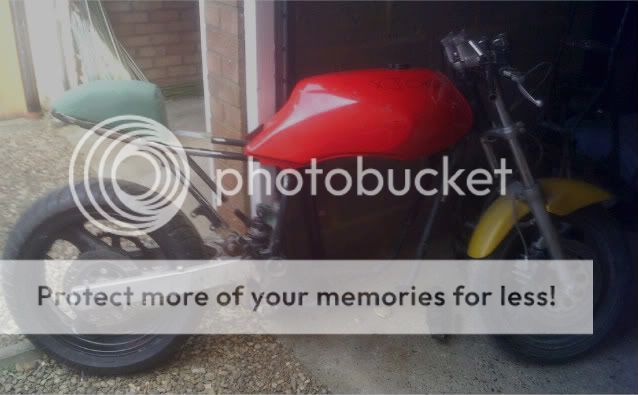
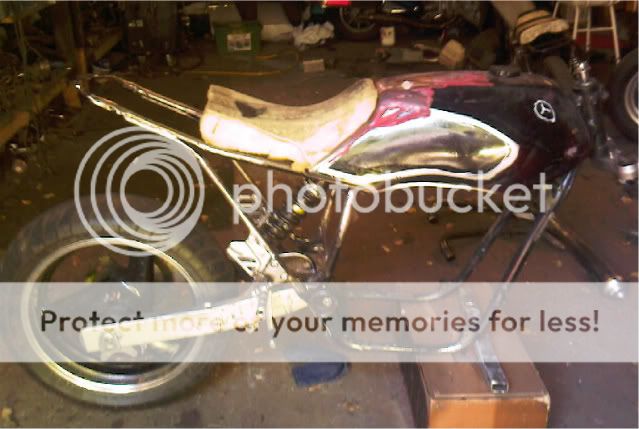
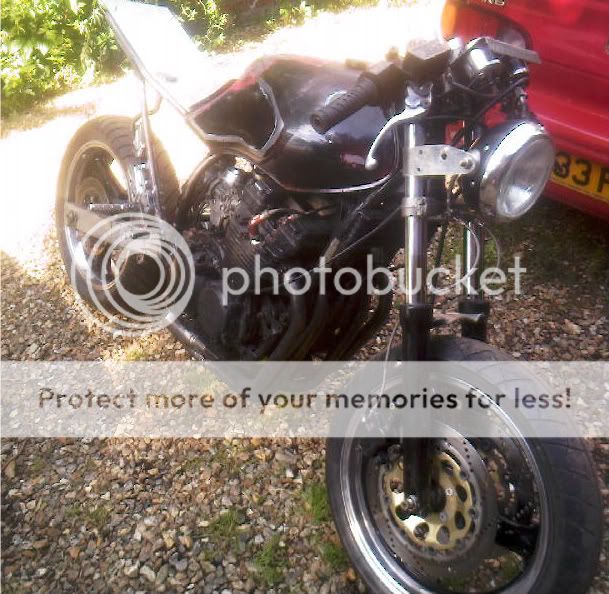
Bought an xj600 Pre diversion with turning it into cafe project. But really the shape is too 80s to be a cafe but i'm gonna do what i can to include cafe influences in the build so bit of a cafe fighter.
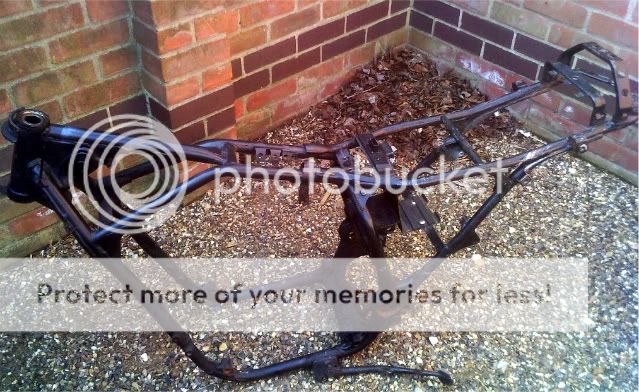
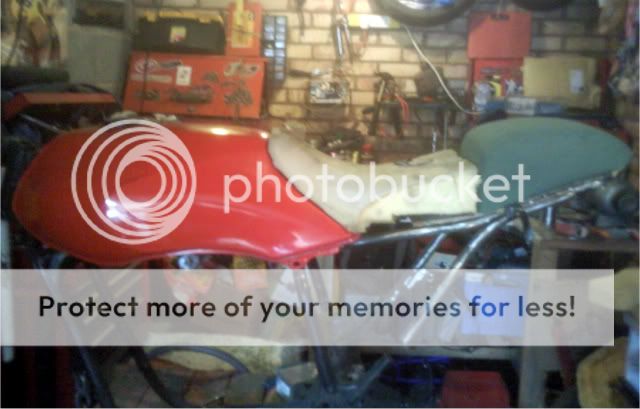
here's the old girl as i bought her.
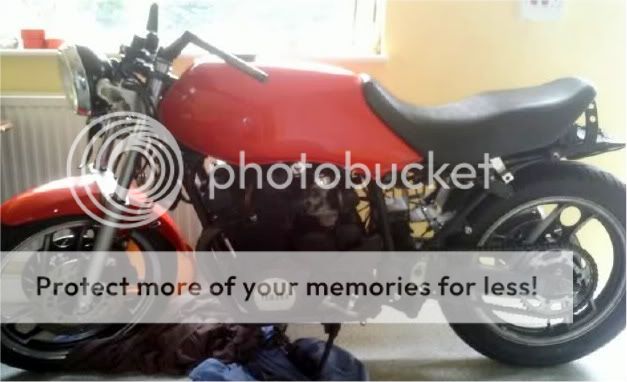
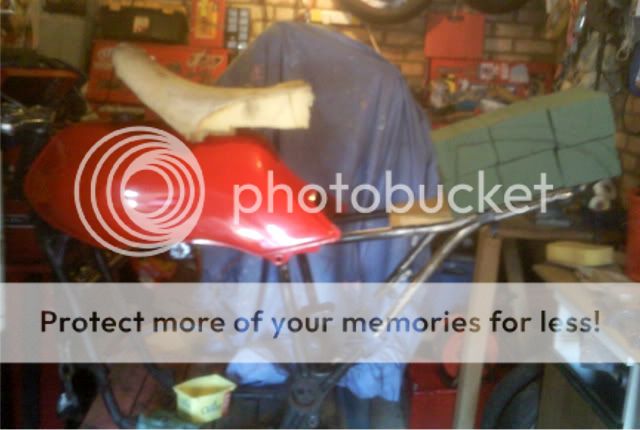
Just having look at shape of frame and tank...knew early on would have to keep seat because of shape of the tank.
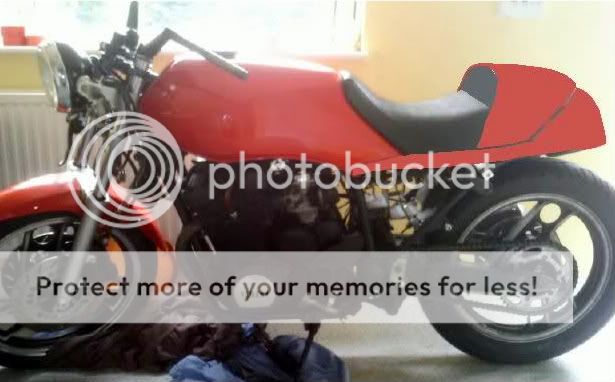
Here was basic photoshop of a cafe idea
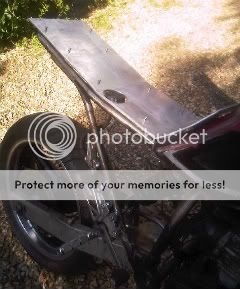
Going to try fibre glass my own seat hump. Never done anything like that so should be interesting.
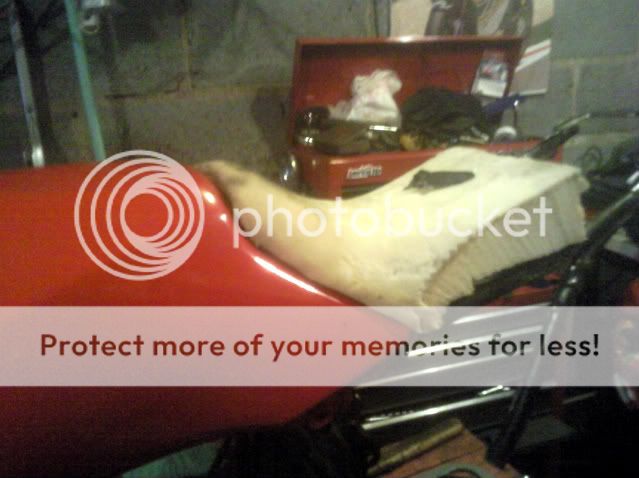
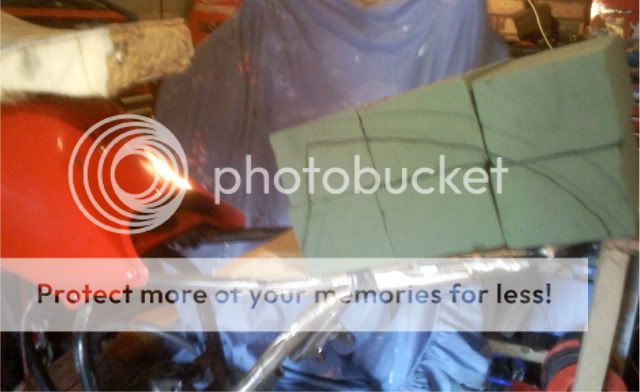
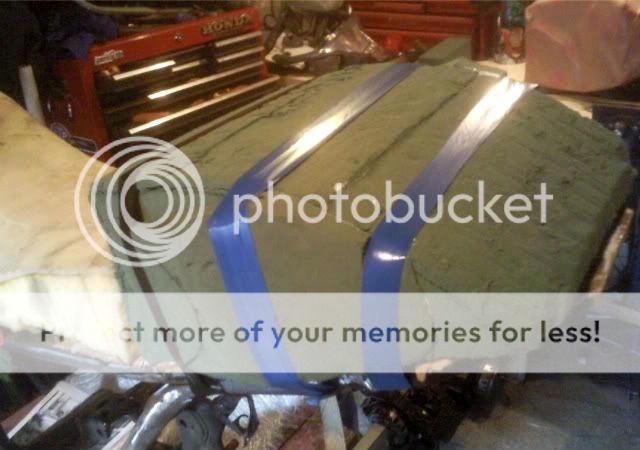
Purchased some of that oasis florists foam and glued some blocks together for basic hump.
Its easy to work with so started cutting out...
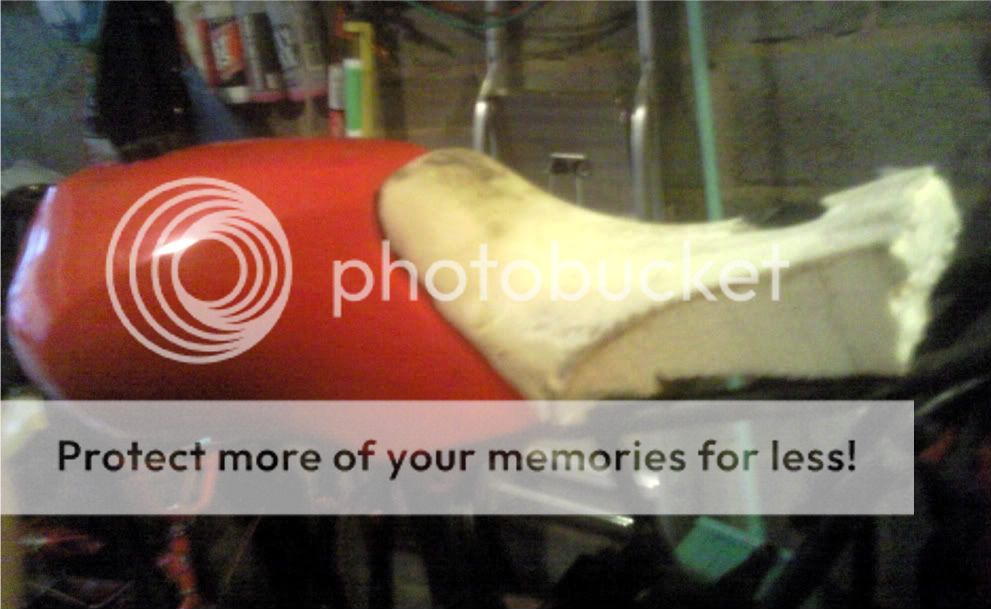
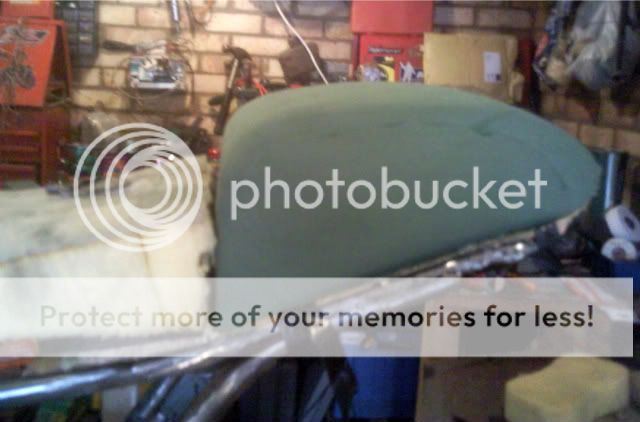
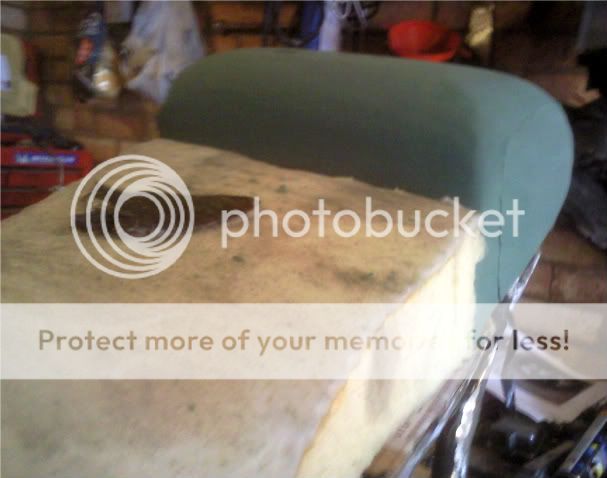
Then came the sanding and shaping.........
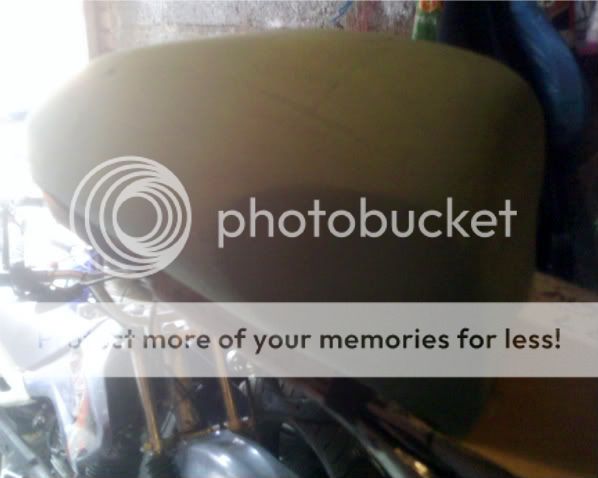
so thats the general shape...might just need fine tuning.
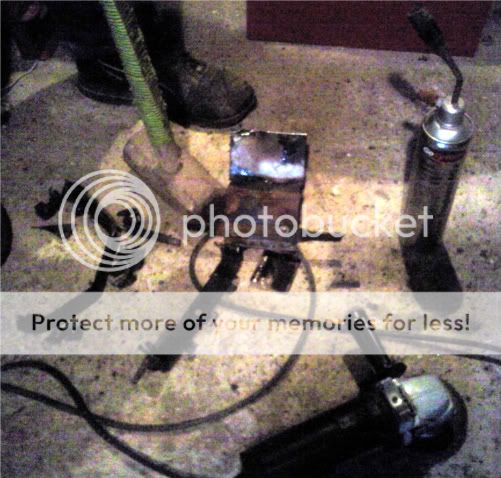
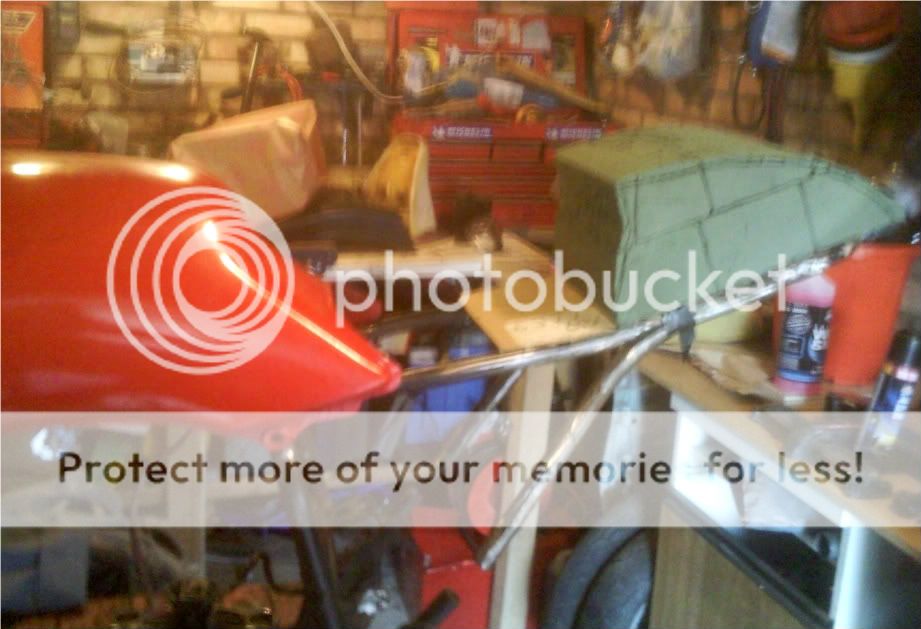
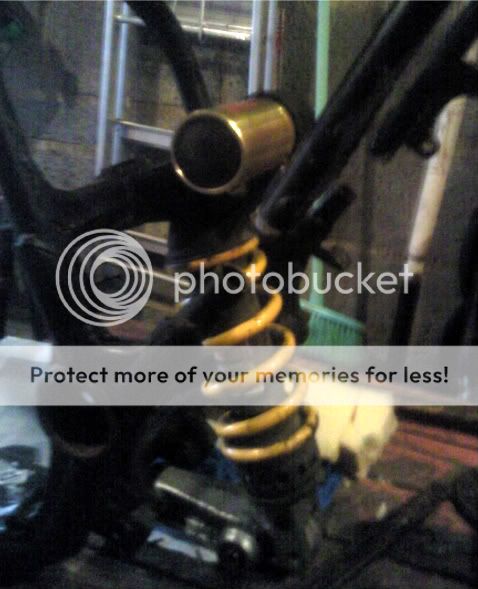
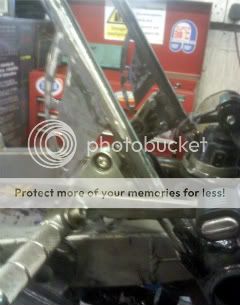
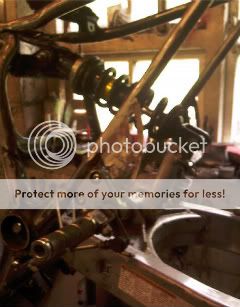
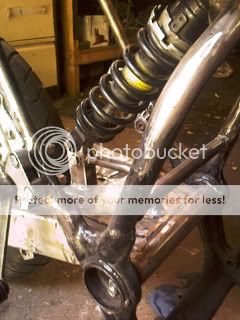
While doing the grinding i tried to fit a different shock but nothing seemed to fit ...
The linkages sat at an unworkable angle and at end of day is only 120 section 18inch rear wheel. Something in more modern fitment would be an advantage.
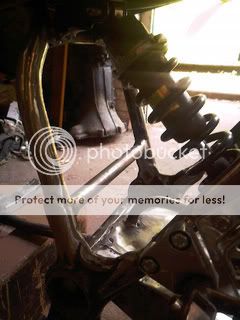
did some home work and found gs500 swing arm has same pivot width but with gs cush drive and 4.5 inch bandit rim would take 160 section tyre.
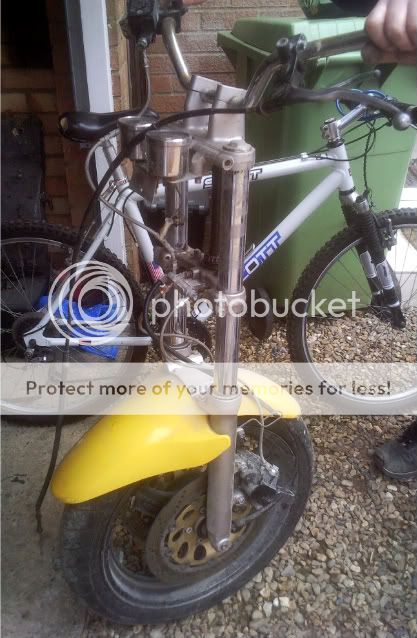
But then a complete bandit frontend and swinger found its way into my garage.
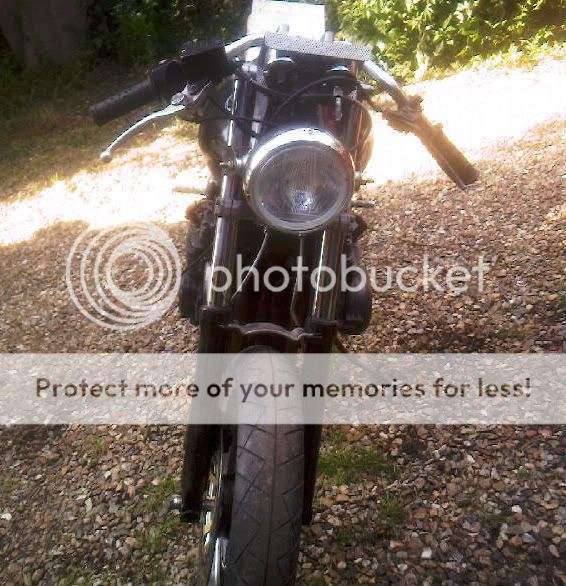
The frontend was so easy to swap.
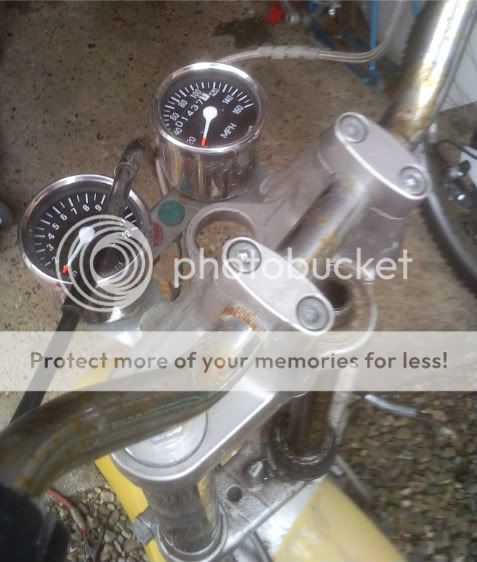
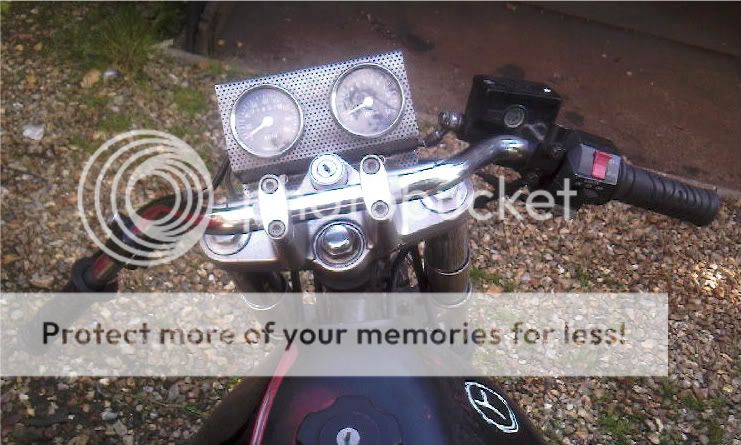
And even came with a couple of chrome clocks which will save some time hunting some down later on.
The rear had the swingarm narrowed to correct width and new bushings made to suit before it came to me so fitted straight in.
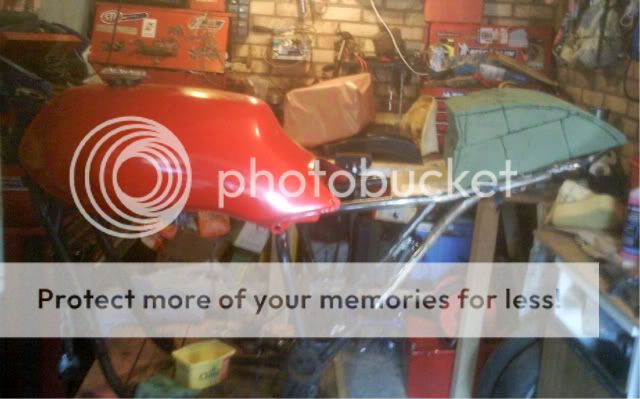
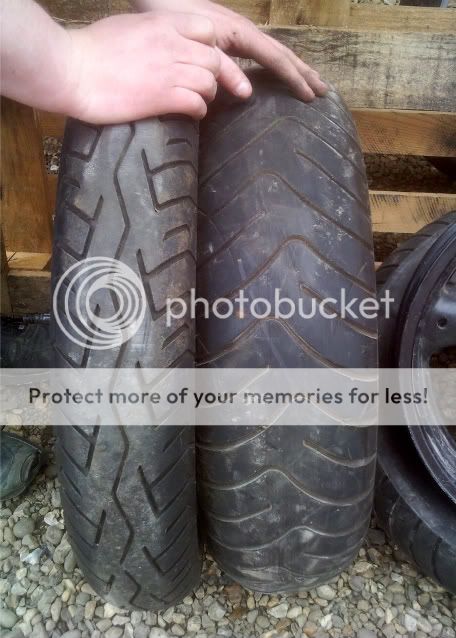
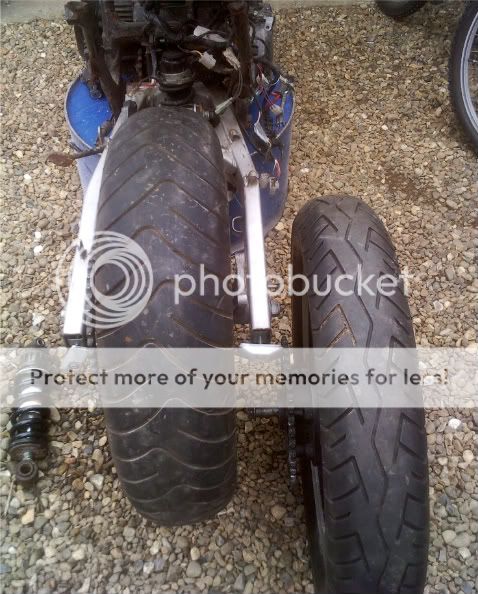
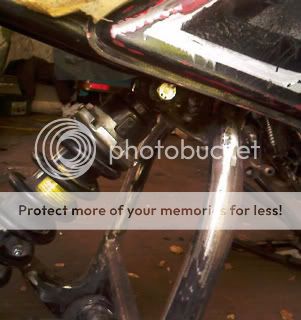
You can see difference in widths of tyres in next photos.
I absolutely love the direction of this build. I was wondering what year the bike is? I am considering buying a Seca 2 to learn to ride on and get cheap insurance. I think I might redo the rear subframe to try and get something close to what you have there.
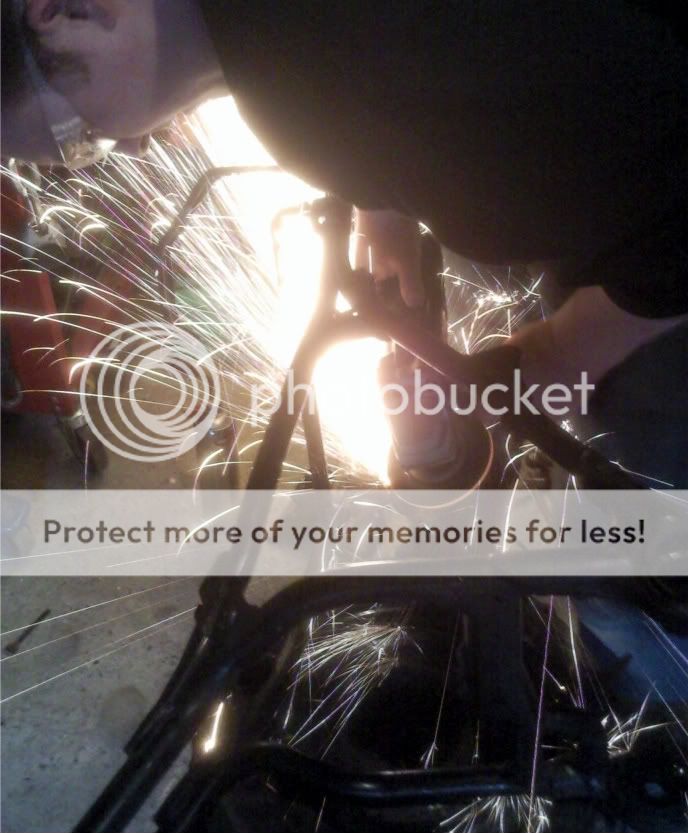
As i dont have welding equipment and would look like pigeon shit anyway i've been tidying up all cutting and grinding so can get all welding done at once by someone more proficient.
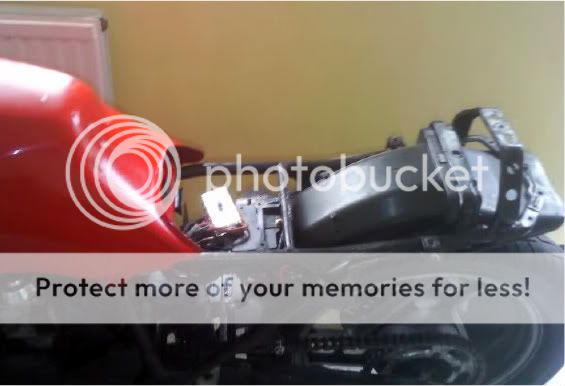
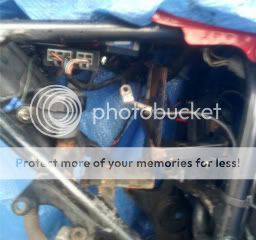
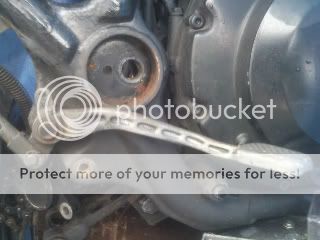
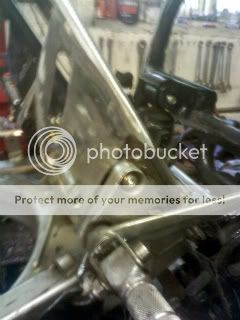
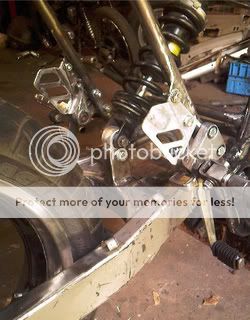
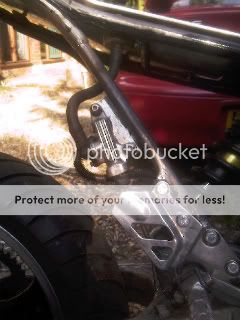
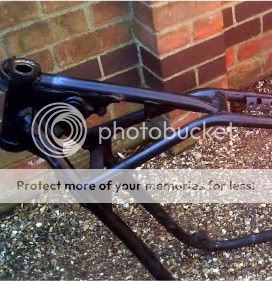
The brake controls were on a pivot on frame moulding but as probably fitting clubmans or drag bars will be fitting rearsets in completely different place.
On above photo i cut out the entire area to left of the frame spar (whole pivot mounting plate) thinking that the frame spar would be solid so i could just clean the area up......... ??? but no its hollow so cleaned up best i could and will need a plate welding on to cover.
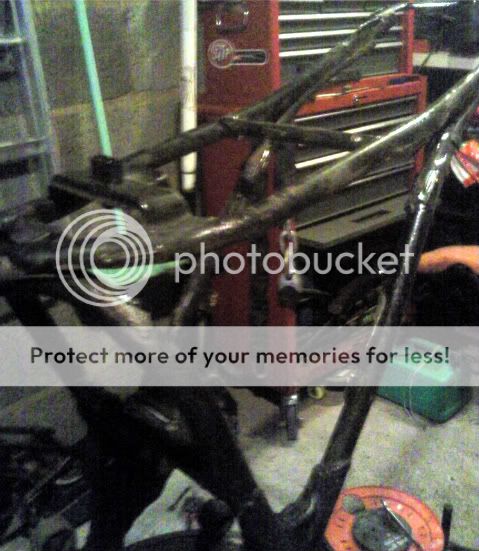
So now i'm hunting down some rearsets to fit.....i can get subframe , rearset mounting and frame spars welded up then crack on with seat unit.
Got use of welder and compressor so been prepping fork legs and swingarm for a coat of black. Picking up some welding wire tomorrow and mates gonna make start welding my frame.
First time in 8 months my little girl is being baby sat at family and i'm sat on kitchen floor sanding and polishing rear rim........she did say i didnt spend enough time in the house. ;D
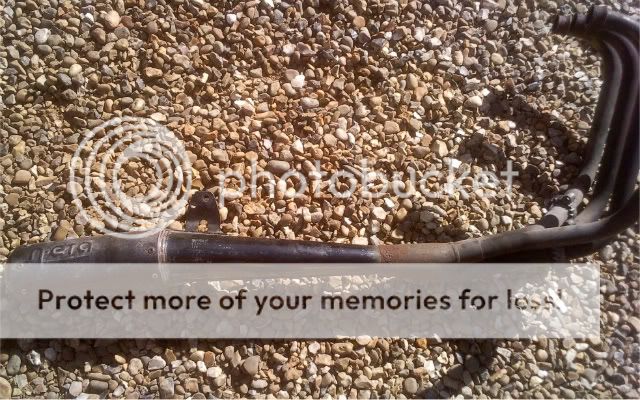
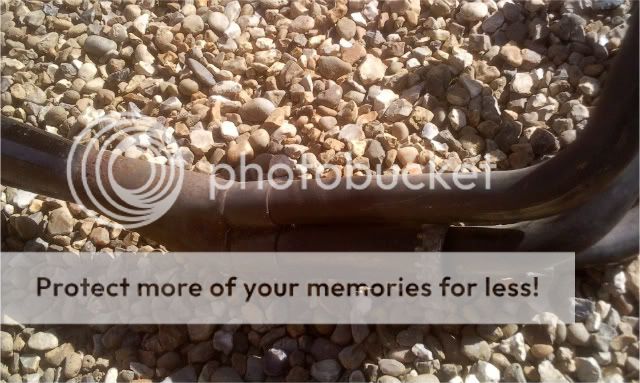
On the exhaust side it came with a motad Neta exhaust
Thought about cutting the collector off and getting reverse cone or such like.
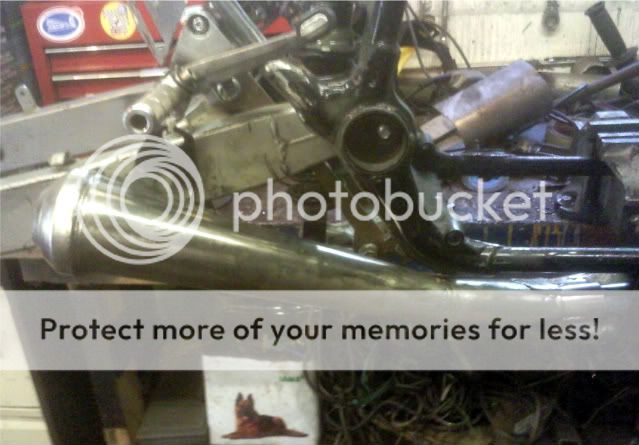
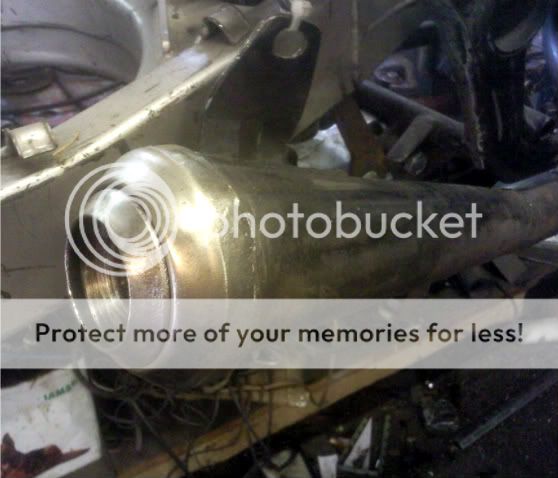
But ended up taking the end can off and making new baffles to fit in the cone section before it with an end cap on.
The subframe supports have been replaced and welded up and some mounting plates for a set of Fz rearsets added, along with some heel plates
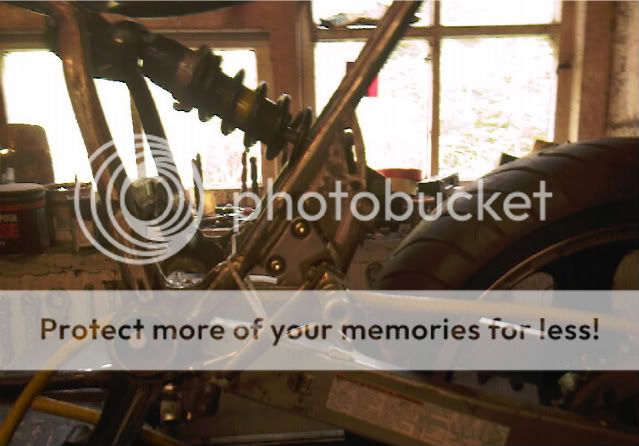
Going to look at top bracing the swingarm and running the shock horizontally, will add pics of progress.
looking really good. i love to see the vision others can have for a bike. not sure i would have seen what you're seeing in this bike. can't wait to see your final product.
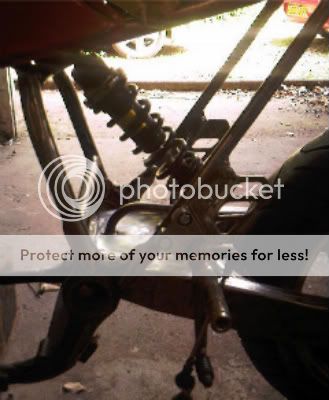
It started off as a standard Bandit 600 rear swingarm and wheel, but swinger modified to direct link. Tyre is standard Bandit rear so its 17" 160 section.
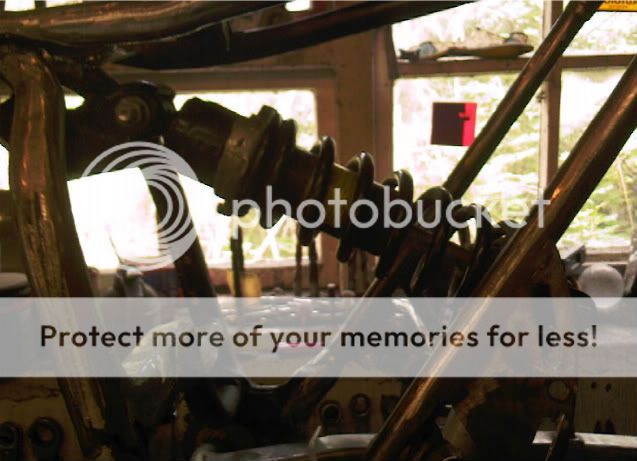
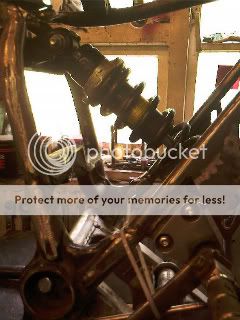
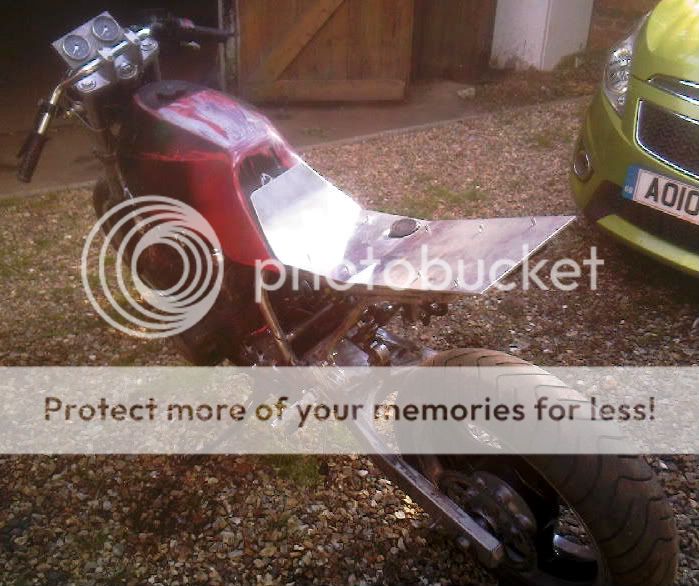
Swingarm pretty much done so had to refit the engine and frontend to check that the stance looked even and the shock was up to the job........
Welded on mountings for rear master cylinder and made an aluminium seat pan.
Used some stainless mesh to make new clock surrounds, toying with making a front cowl/number board with this for the front as well.
Apart from the battery which will be under the seat hump gonna plate across the spars under the frame tube and mount all solenoids,relays and gubbings under the tank.
This site uses cookies to help personalise content, tailor your experience and to keep you logged in if you register.
By continuing to use this site, you are consenting to our use of cookies.