XS 250 Cafe Racer

HotelBushranger

New Member
Figure I'll post this up and scunge some info off you blokes ;)

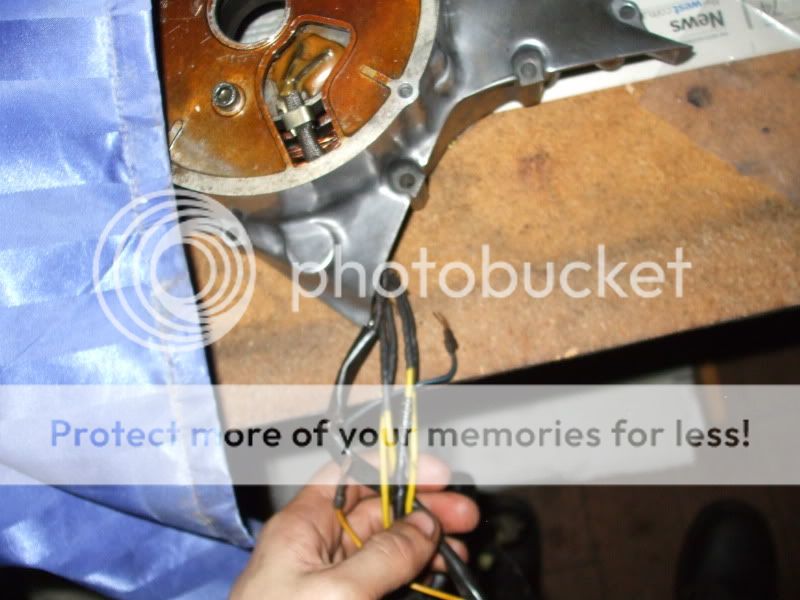
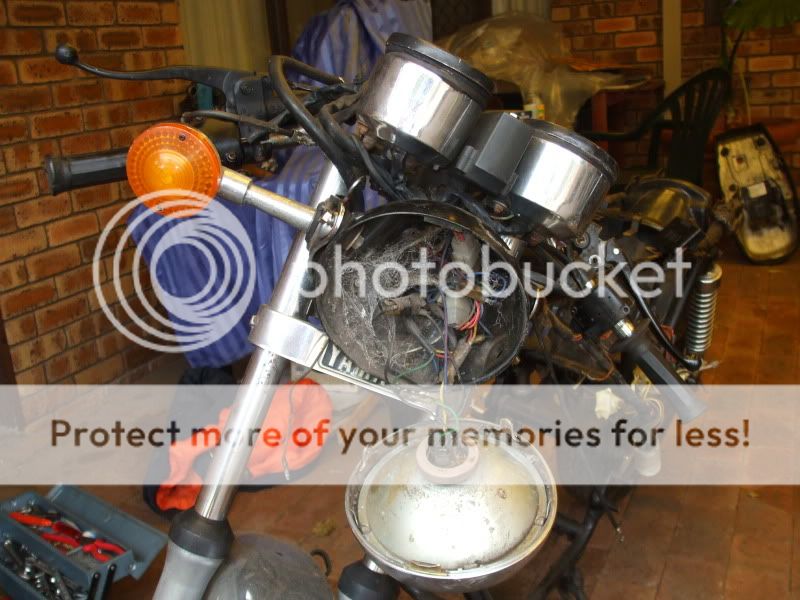
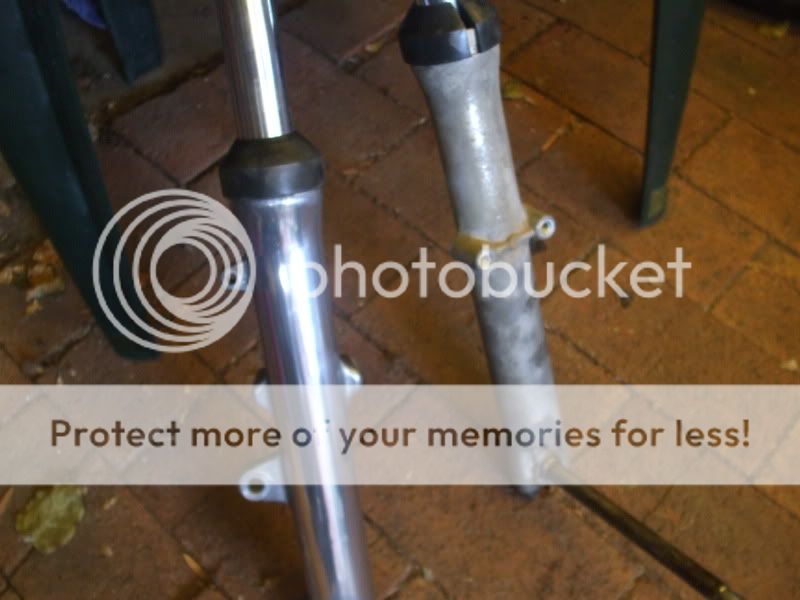
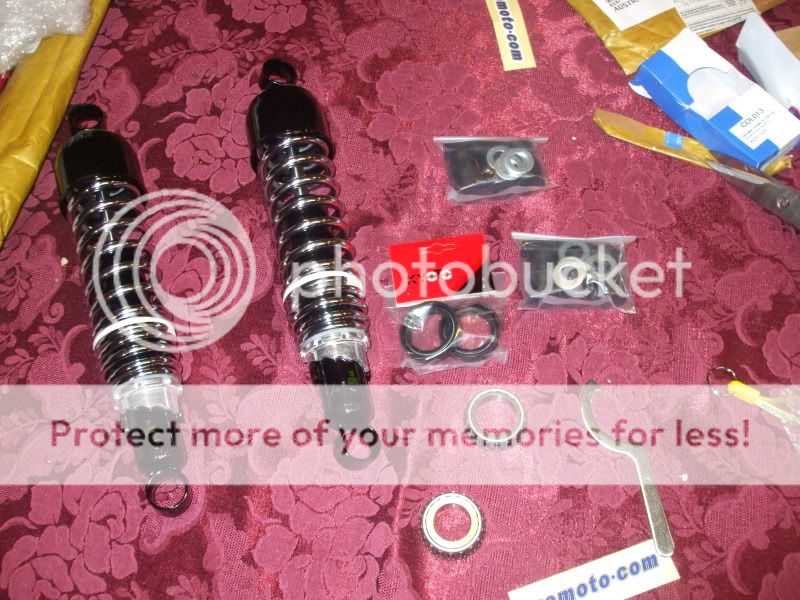
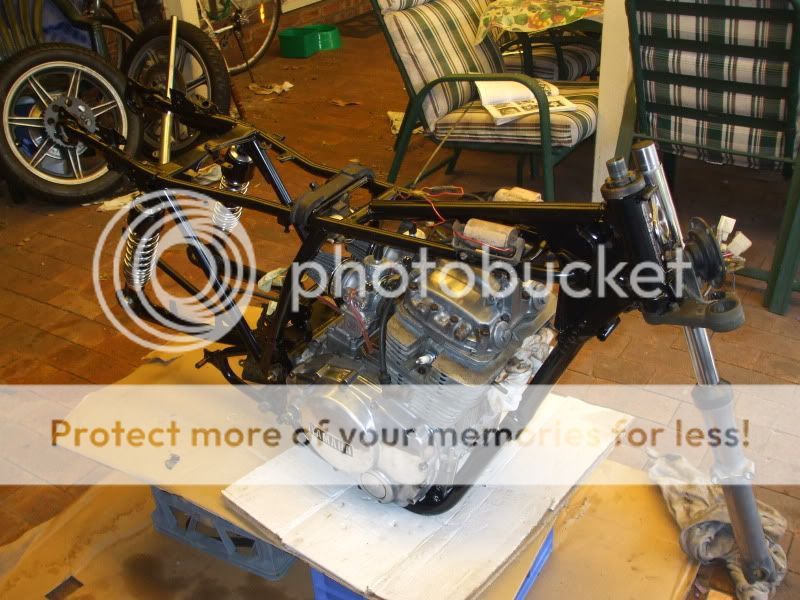
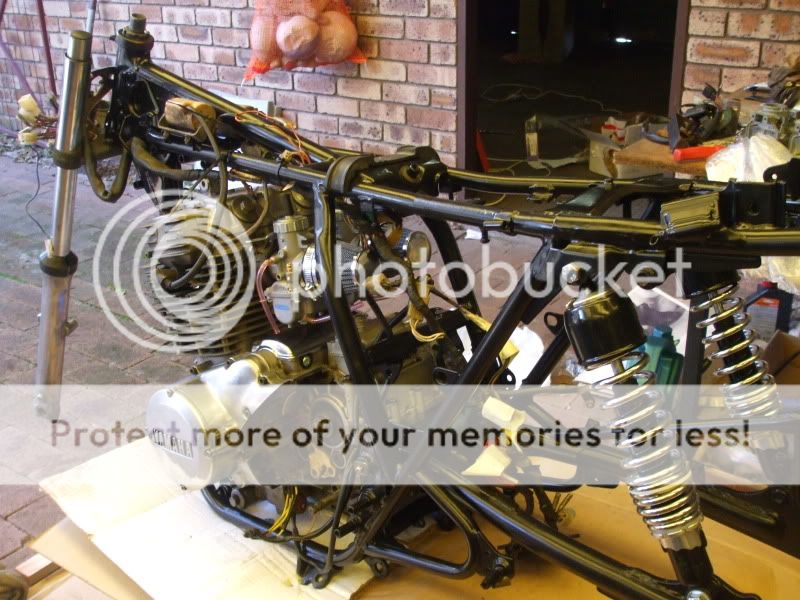
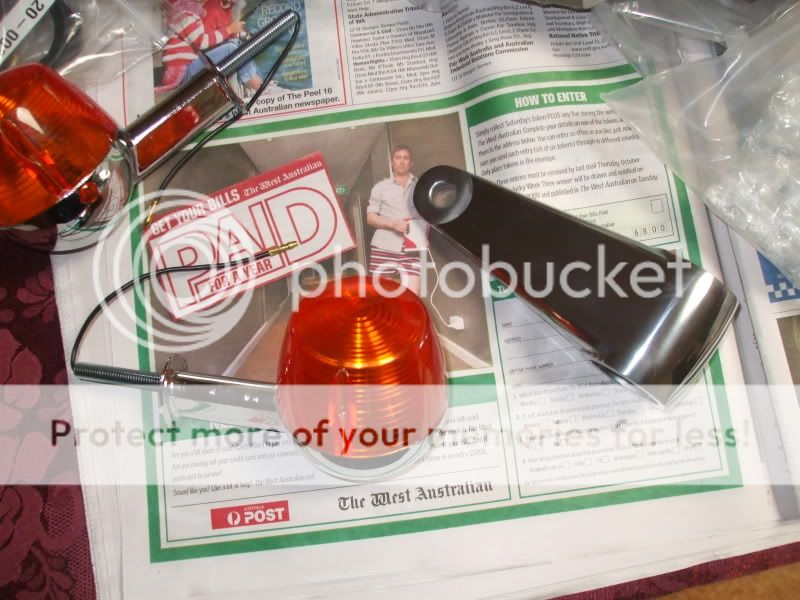
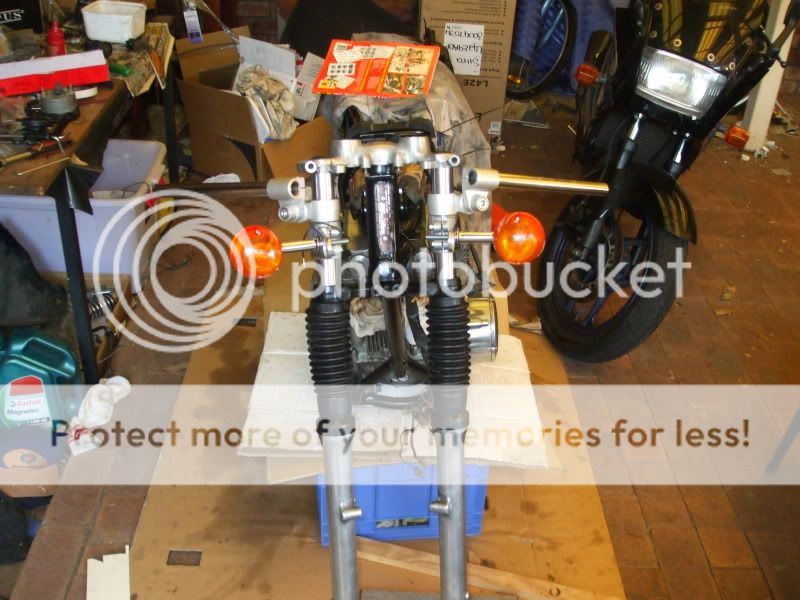
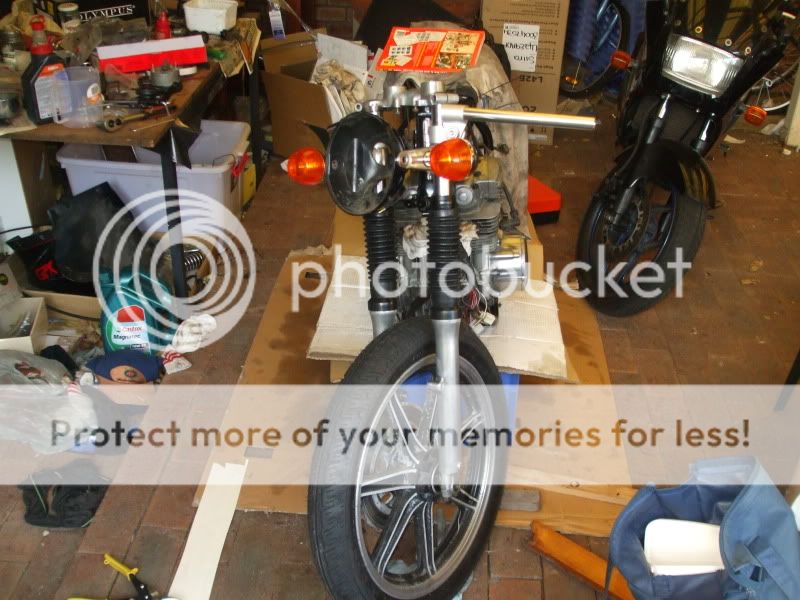
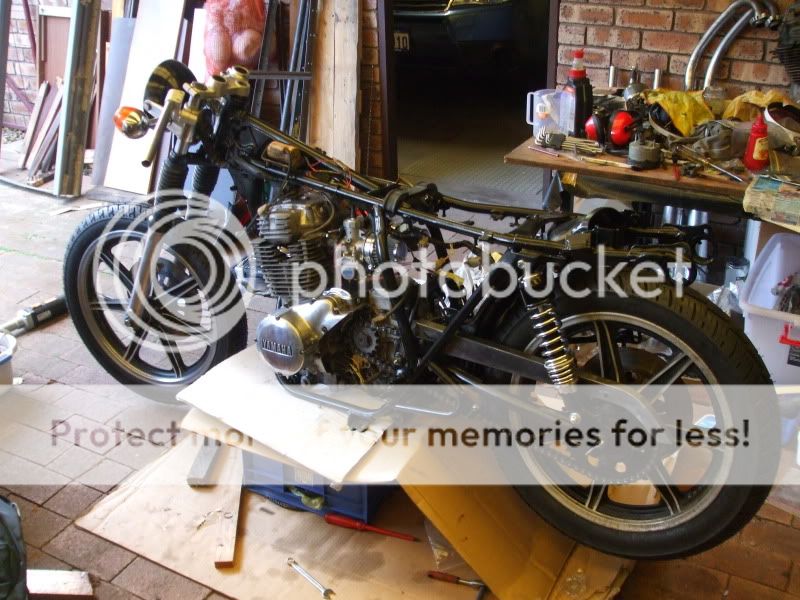
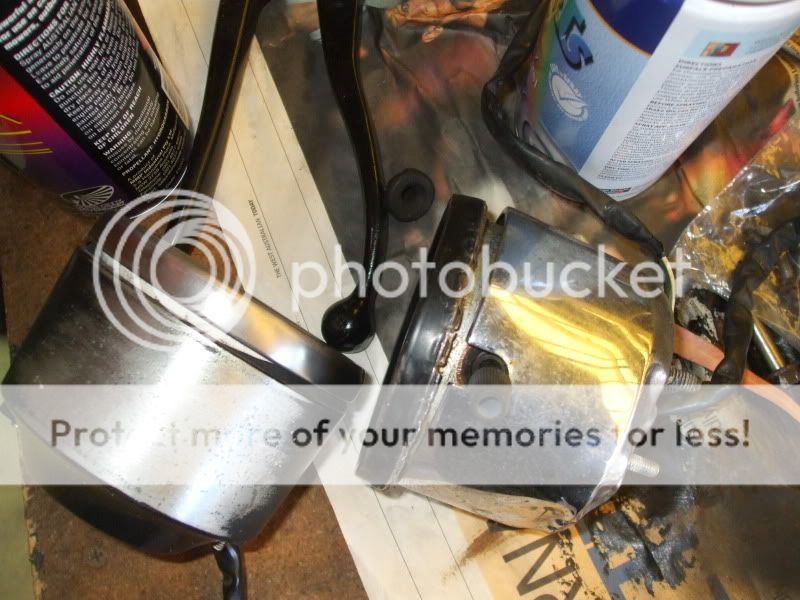
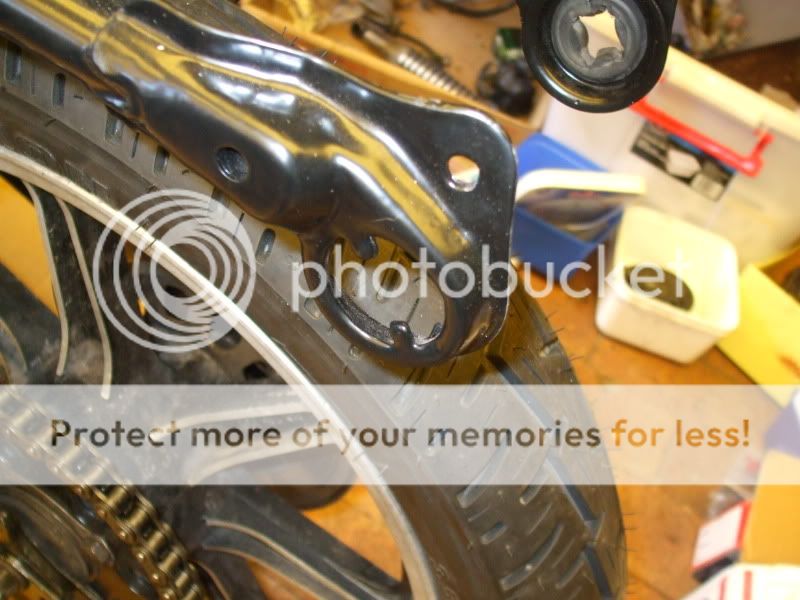
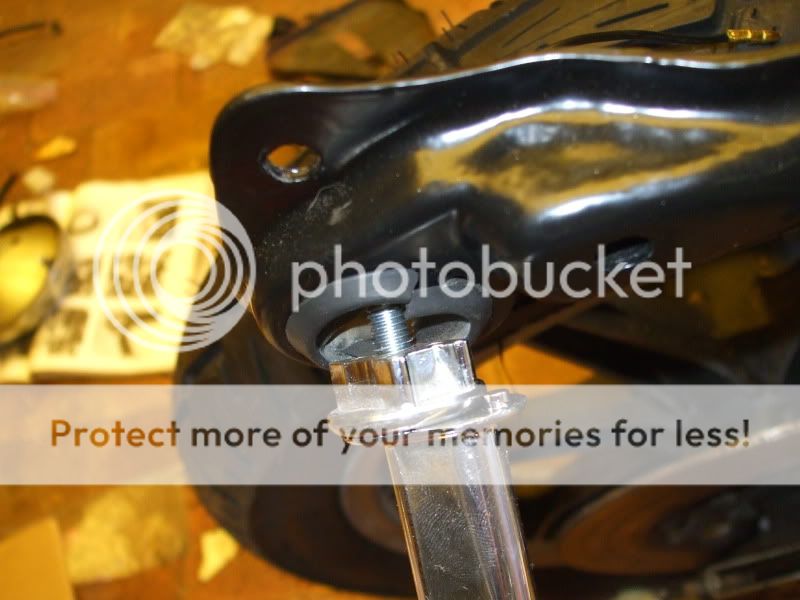
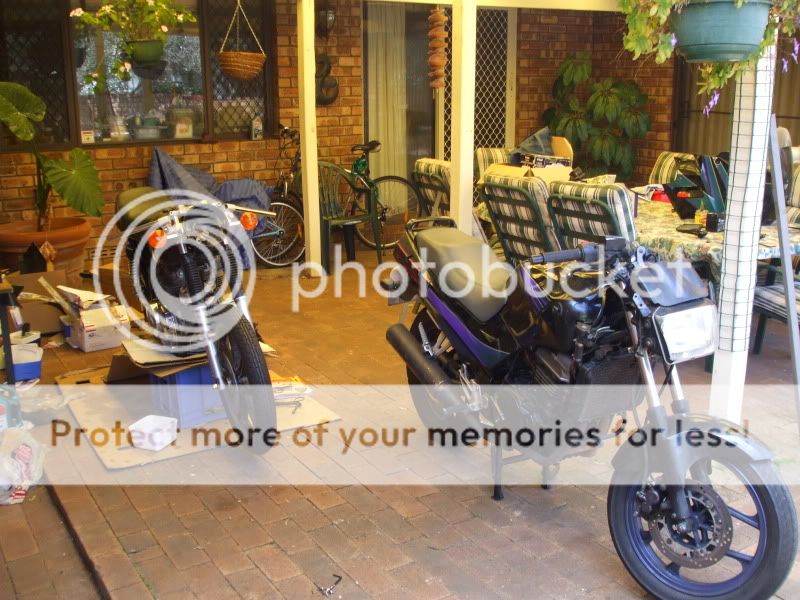
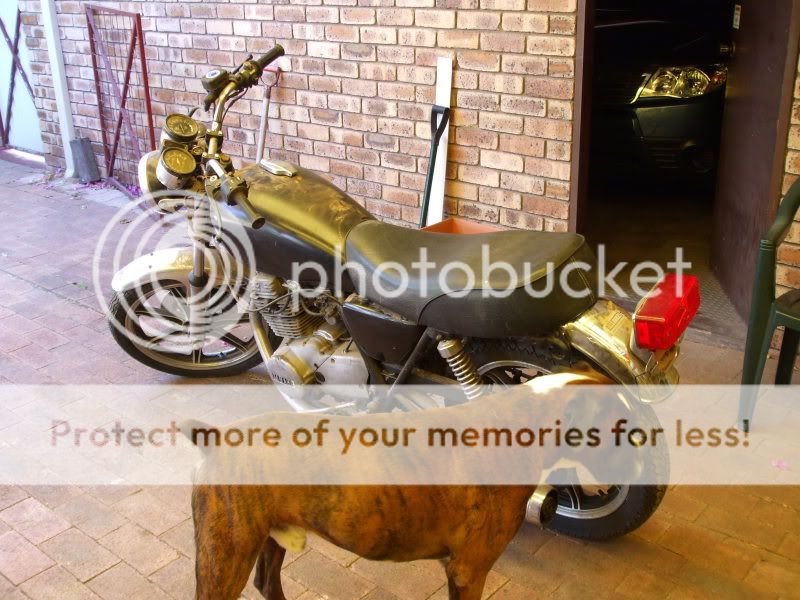
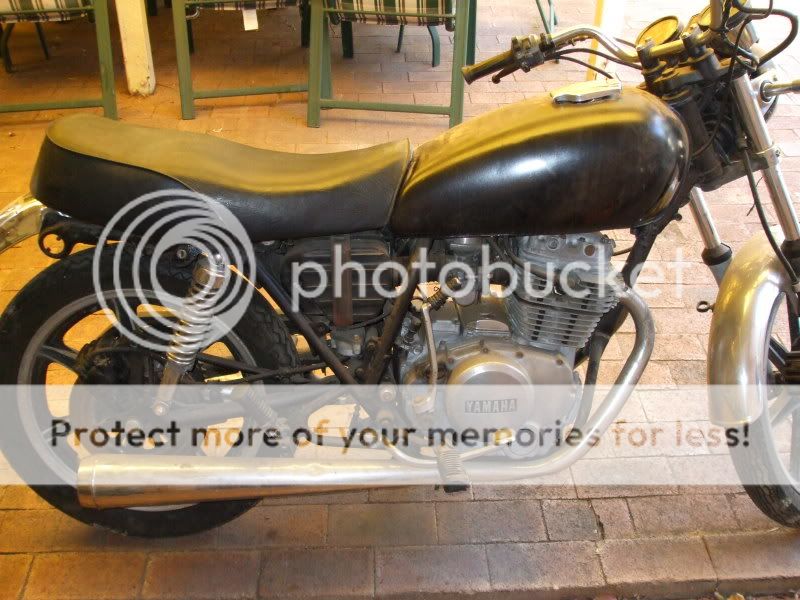
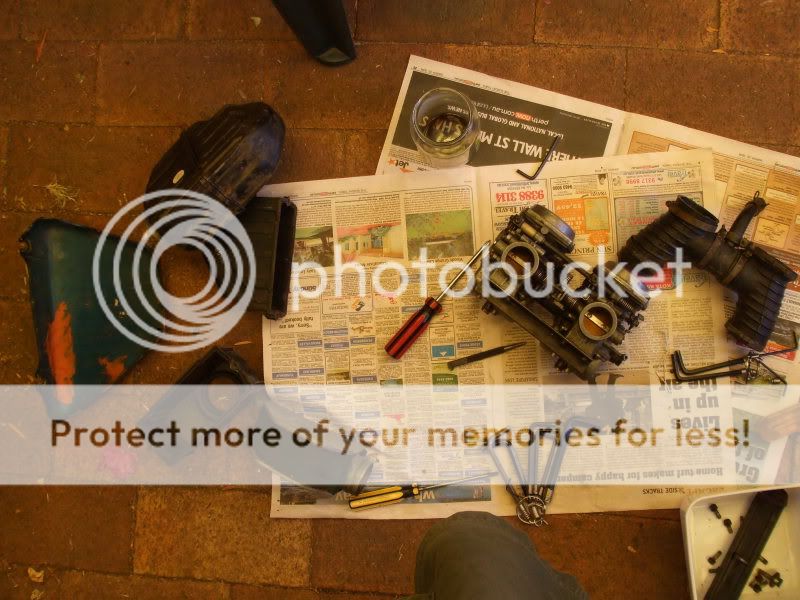
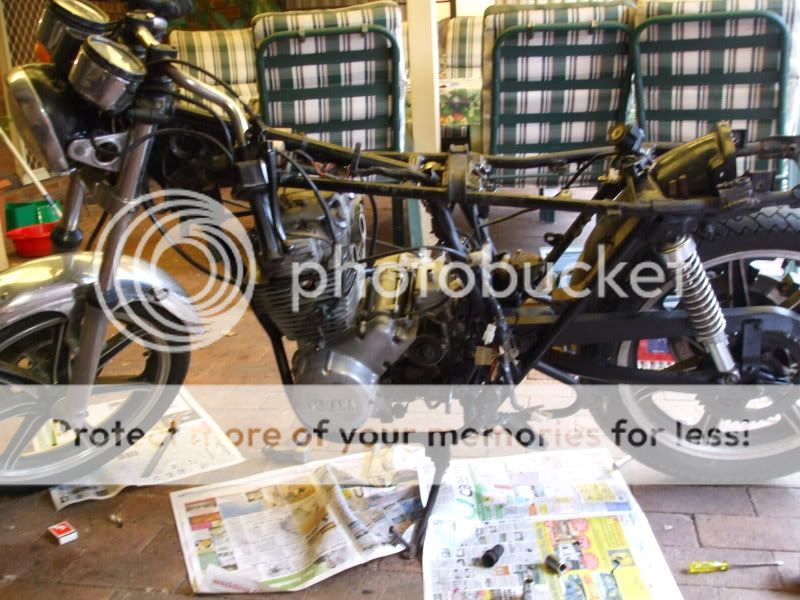
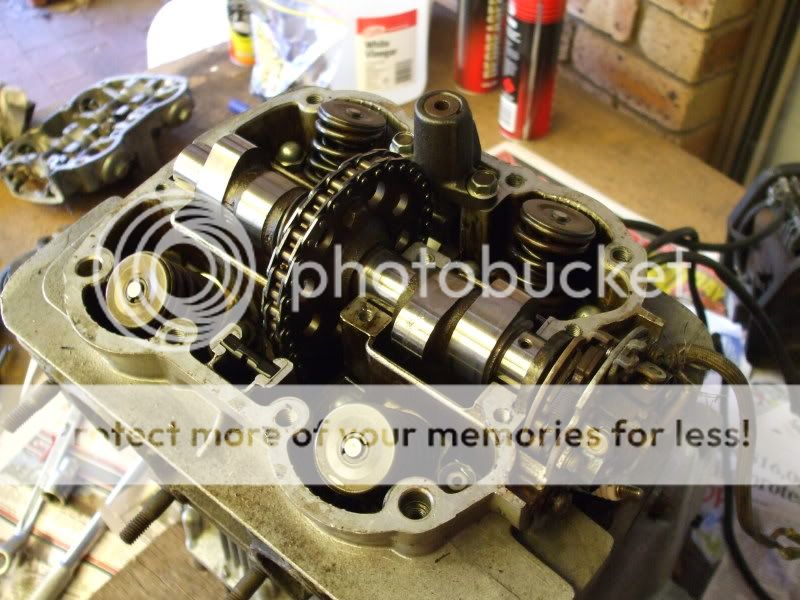
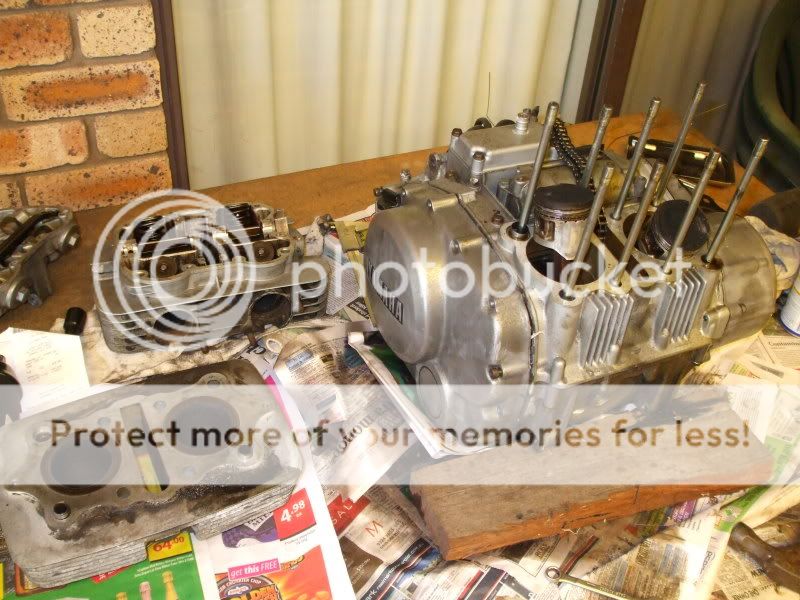
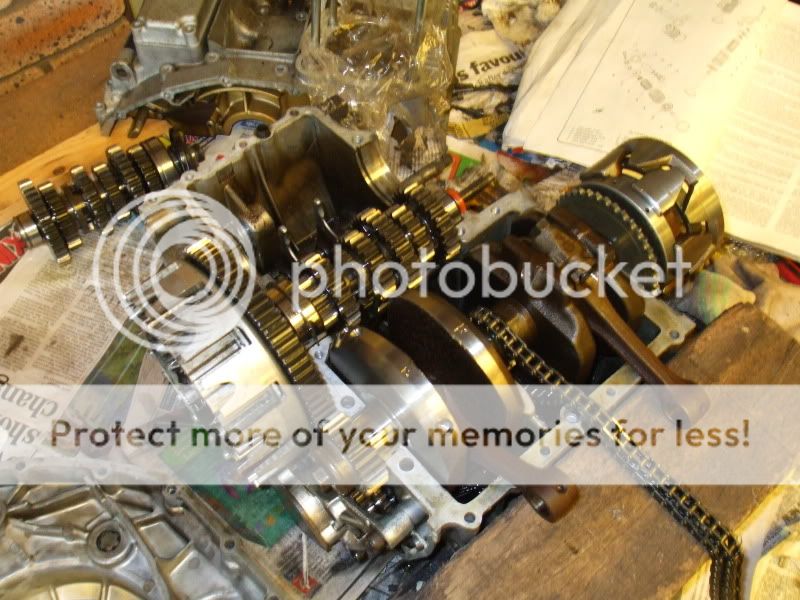
My 1980 Yamaha XS 250, bought for $300 after sitting in a blokes shed for a few years. Was originally going to keep it stock but have decided to cafe racer it.
DSCF0546.jpg

DSCF0548.jpg

DSCF0549.jpg

DSCF0556.jpg

DSCF0559.jpg

DSCF0601.jpg

DSCF0616.jpg

DSCF0624.jpg

DSCF0628.jpg

DSCF0651.jpg

DSCF0694.jpg

DSCF0693.jpg

DSCF0696.jpg

DSCF0697.jpg


Lessons learnt so far:
a) Don't start indescriminately start taking things apart.
b) Make sure everything is put away in labelled bags.
c) Plan your work (ties in with a).
d) Have plenty of time.
e) Have plenty of money.
f) Have plenty of clothes you don't mind getting covered in oil.
g) Have understanding parents.

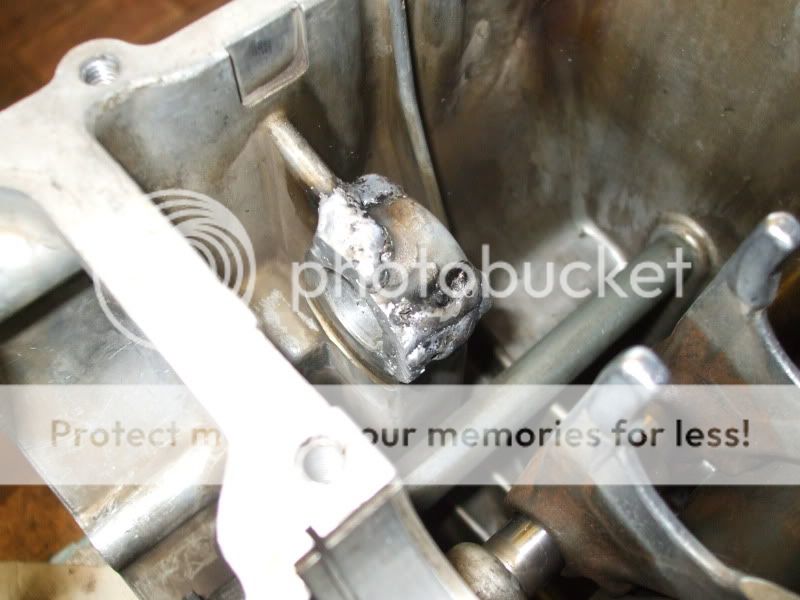
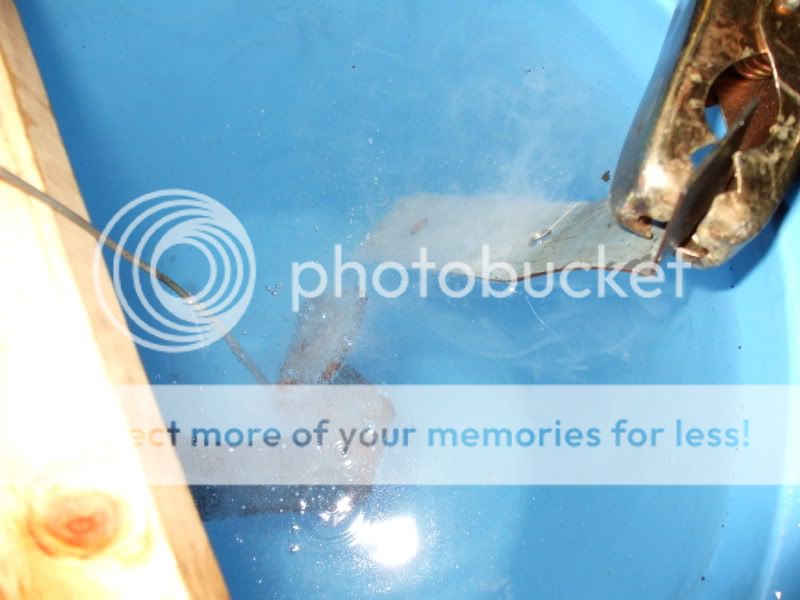
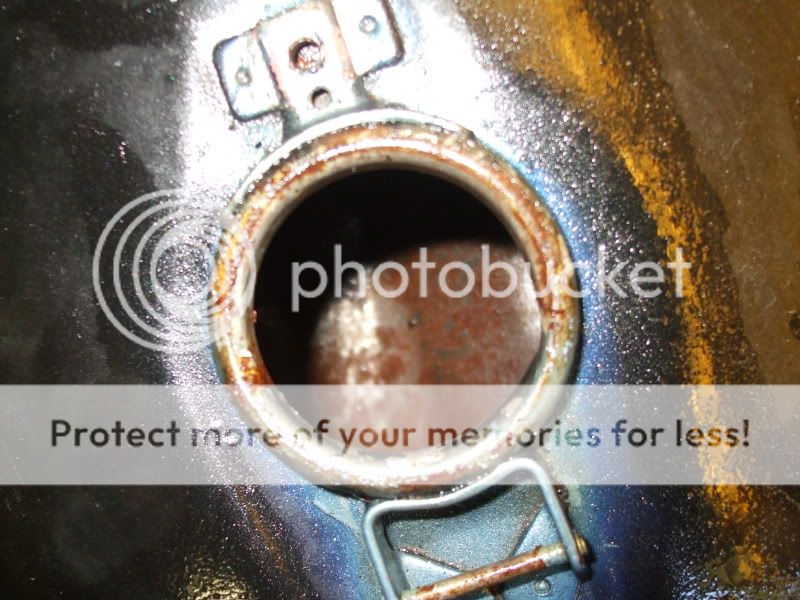
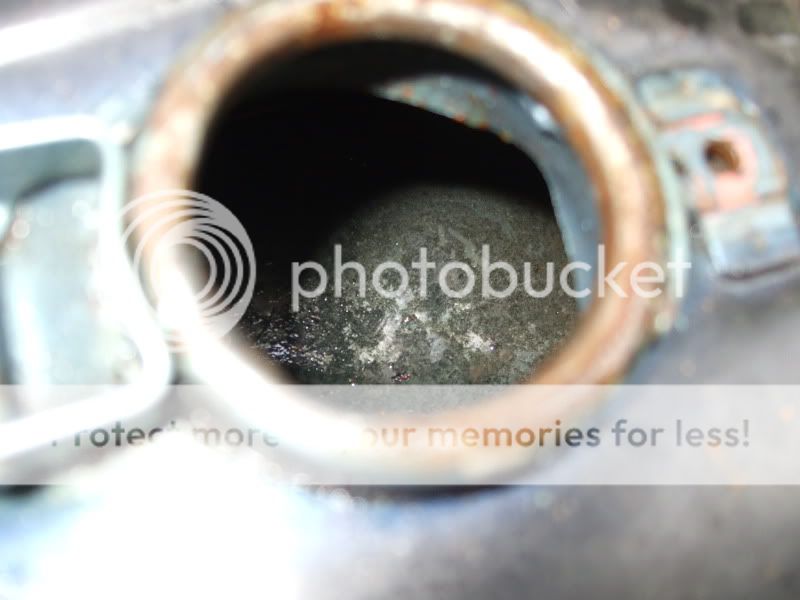
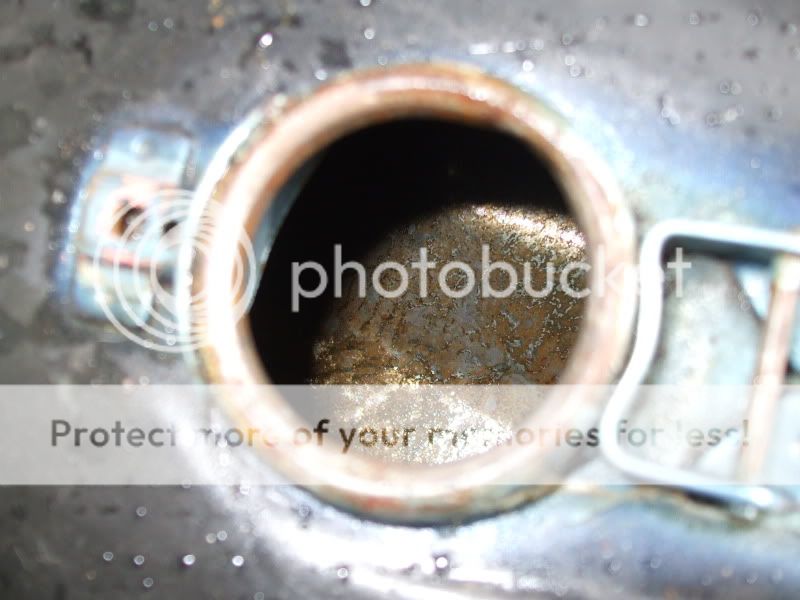
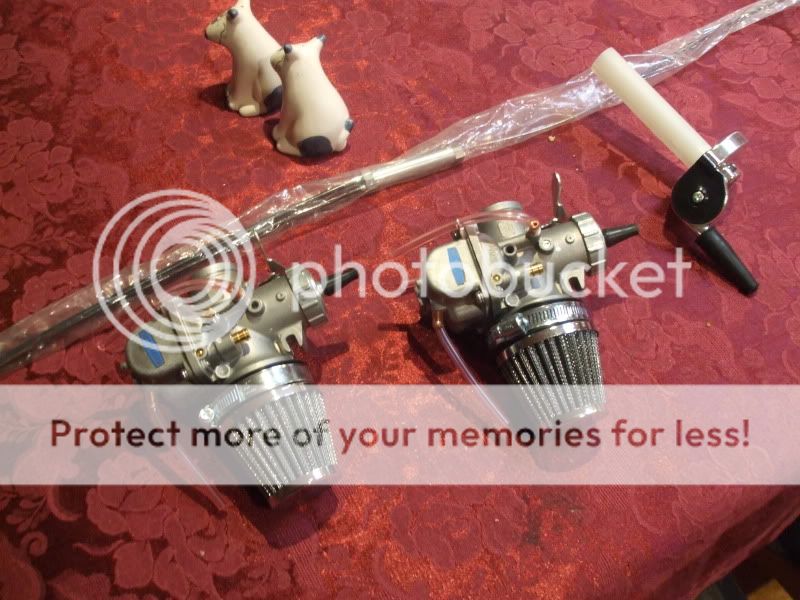
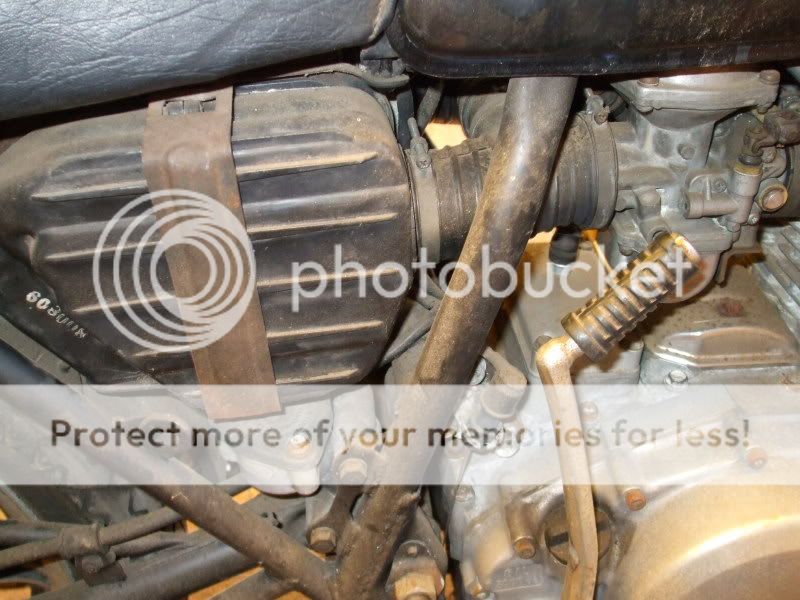
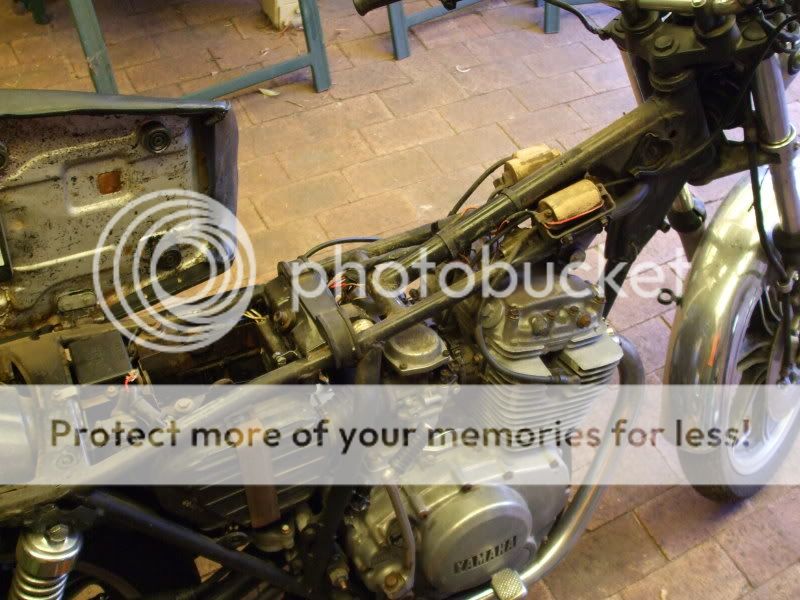
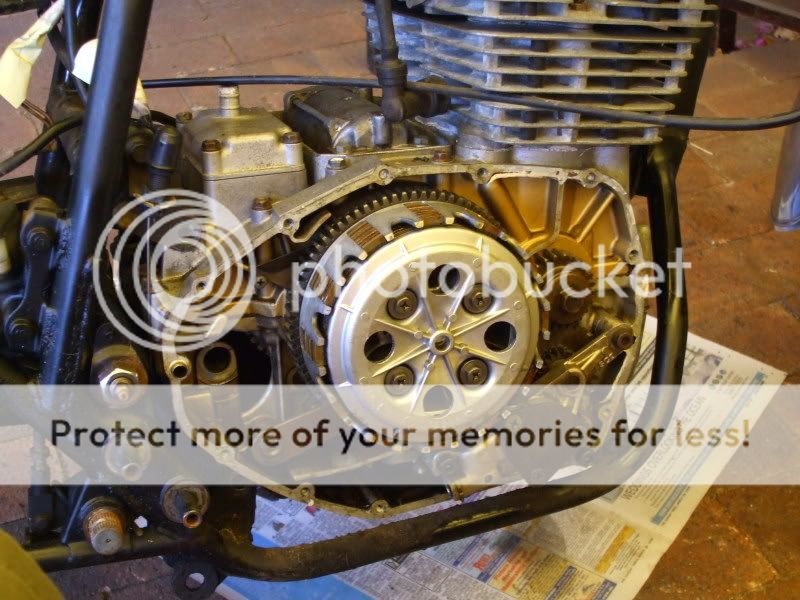
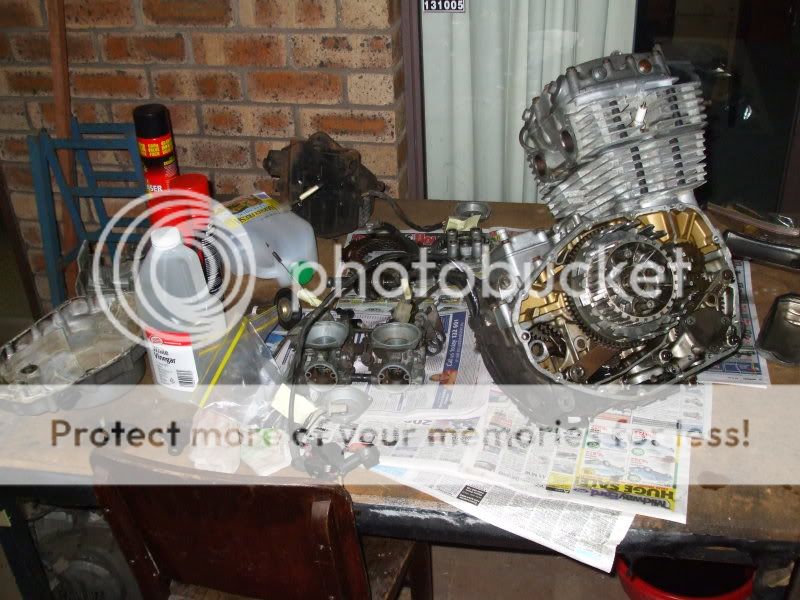
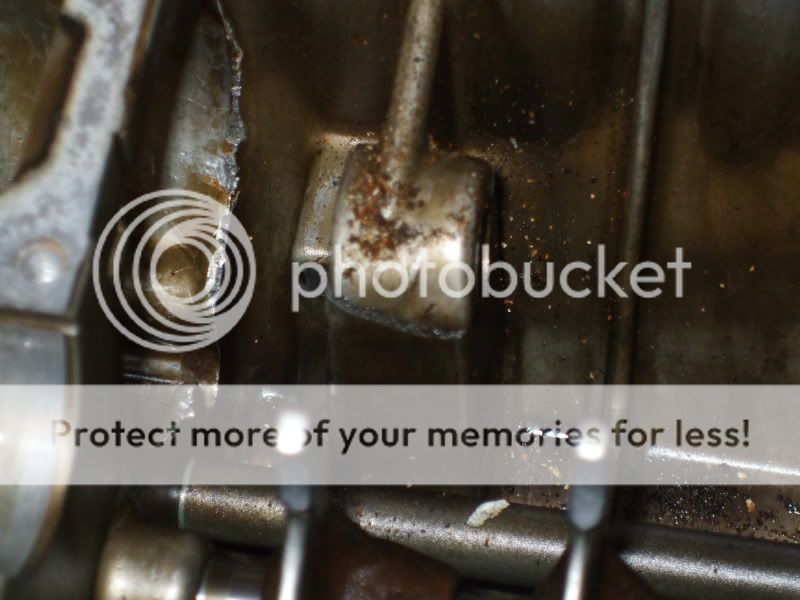
Need to get that crack in the kickstarter recess fixed, once that's done I can put the engine back together. Have just ordered new clutch plates, chain and sprocket kit, and a +2 tooth rear sprocket. Saving up to buy these:
http://www.sportingforless.com/ProductDetails.asp?ProductCode=C04

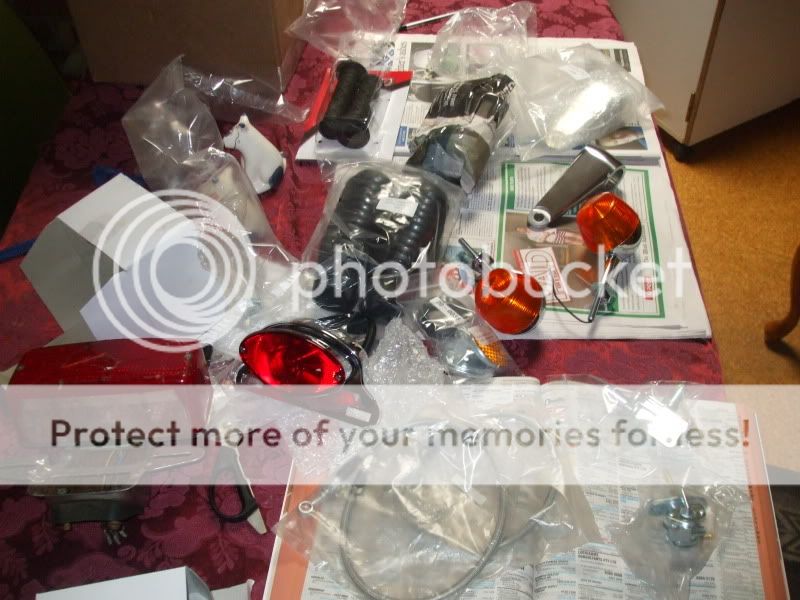
Also not sure on things like brakes, want to give it better front brakes so have been looking at MikesXS, but seems 650 and 250 master cylinders aren't compatible, was given advice by the Yamaha Club to just get a 'modern' master cylinder, don't exactly know what that suggests ??? Also have plans for the tank and seat, going to repaint the tank and hopefully make my own cafe seat.

Think that's about it at the moment, will try to keep up to date and any advice would be greatly appreciated.

Cheers guys
 
Those lessons you've learnt already are invaluable - although I forget most of them by the time I start a new project :D

That crack in the cases looks a bit nasty - make sure you find an experienced welder to fix that or you'll risk warping the case - and having to look for another engine :-[

Being a single disc front end, pretty well any JAP master will work - MCS sell new ones for under $100, or look on eBay for one off any newish sports bike (RGV, GSXR, ZX6, etc...). Most of these are remote resevoir, but the naked bike ones are usually built in (early GSXR, Bandit, etc)

Good luck with it - and don't be afraid to ask ;)
 
Thanks very much mate, I'll get onto those JAP's. A bloke I know has offered to weld the crack for me (he's a professional welder) for a couple 6 packs of beer 8) It helps knowing people ;)

Edit: What's the difference between remote reservoir and built in?
 
sporting for less is where i got my clubmans. i got them through an auction on ebay though. they were speedy with sending things out. good luck saving for the carbs!
 
HotelBushranger said:
Edit: What's the difference between remote reservoir and built in?

The one you have is built in, remote resevoir is like the rear set-up where you have a fluid container and a tube going to the M/C.
 
Got that crack welded for a couple 6 packs of beer 8)
DSCF0709.jpg


Also got some polishing done
DSCF0711.jpg


Things are a bit slow, in the middle of uni exams then off to Puckapunyal for a month long Army Reserve course :( should help pay for all my parts though.
 
Good stuff, and I hear you on those last four lessons! Good polishing, too.

Cheers - boingk
 
Crankcase 1 HotelBushranger 0

Well, after getting more gasket cement on myself than the crankcase, and shouting the sort of profanities that would turn a priest white, I've decided to come to the internets for guidance, as I'm currently in the 'take a break or burn the house down' phase. Realised I should use some gasket cement for the crankcase, so went and got some, applied it where I felt I should, had to keep trying and re-trying to get the camchain through the top half, which meant having to place the top half down, which meant getting everything under it stuck to the cement (doh!), eventually got the cases together and started tightening everything up. Was up to about the last bolt when I played with the crankshaft - it didn't budge, whereas normally it's quite easy to rotate it. Cue loud profanity number one. Undid everything again, took the crankcases apart with some effort, cement doesn't seem to be touching the crankshaft at all (although it was dangerously close to some of the bearings). Okay, put it back together (cue loud profanity no. 2 whilst putting the cases back together, although by this stage I had worked out a better way of getting the camchain through), and start tightening things, still not rotating (cue no.3) and take it apart again, nothing but notice there is some cement on the conrods, got as much as I could off with a pointed file. Put it back together and find that only after tightening a couple of long bolts on the bottom of the case, in the centre and solenoid side, that the crankshaft blocks. Sorry for the long paragraph but any ideas how to remedy this?
 
Have you extended the camchain before trying to spin the crank? If not, it can bunch up on the bottom sprocket and "lock" the crank.
 
Thought I had it - seems the mainshaft selector forks were fitted to the wrong bit. Refit them, shafts now spin freely, put crankcase back on, tighten the bolts - and the crankshaft still gets stuck :( :'(

Wtf could it be?!
 
Victory! Experimented a bit with keeping out the main and layshafts so eliminated the crankshaft from being the problem, fiddled around with fitting and re-fitting the shafts and reversed one of the circlips in the bearings and now she runs nice and smooth :D Now to clean up the pistons.

The manual says the cylinder head has 2 gaskets but mine only came with one, should I order a new full gasket set or would it be alright to risk just using one? Keeping in mind it's an air cooled engine.

And now the kickstarter's being a hassle to fit. It's never easy is it...
 
glad you sorted it out! your making me scared to open mine!! :eek: stop it :( hahaha (i probably wont unless i find a xs400 topend)
 
Nah, reckon it's a good idea to open it up, just in case theres something wrong with the piston, conrods, etc.

Just make sure you know how to put it back together 8)
 
Hey guys, bit of an update:
Got the crack welded
DSCF0709.jpg

And some polishing done, that was months ago so doesn't look as nice now :(
DSCF0711.jpg

DSCF0751.jpg

What's the best way to clean this out? My effort was pretty scodgy, just using a...name escapes me at the moment but a sort of hard nylon brush thingo on a drill and a toothbrush and kero
Electrolysis practice run
DSCF0763.jpg

Before
DSCF0759.jpg

After
DSCF0784.jpg

After a day or so after emptying the tank, getting some surface rust
DSCF0785.jpg

Have some rust converter so waiting for the tank to dry out completely before applying it
Dodgy electrics
DSCF0677.jpg

Fixed
DSCF0789.jpg


Engine is pretty much all back together, just have to put the kickstarter gear in which is turning out to be a prick of a thing, DBL you got a photo of how yours is positioned in the recess? Not sure how it specifically goes in. Next step is to apply the rust converter, then start to strip the frame of electrics and crap so I can sand that down, as well as the swingarm wheels and tank. It'd be nice to have a couple weeks full time to work on this, I've had this bike for about 6 months now :(
 
Sorry guys, have been out of it lately. Current progress:
DSCF0805.jpg

DSCF0834.jpg

DSCF1142.jpg

DSCF1210.jpg

DSCF1212.jpg

DSCF1218.jpg

DSCF1221.jpg

DSCF1232.jpg

DSCF1233.jpg

DSCF1243.jpg

DSCF1251.jpg

DSCF1260.jpg

DSCF1277.jpg

DSCF1280.jpg

DSCF1279.jpg

DSCF1276.jpg


Current issues: The instrument dial seals, what can I do about these? I need new ones and I don't know whether to go DIY with some foam, rubber and silicon or if there's somewhere I can go. Keep in mind I'm in Western Australia.

Also a couple electrical issues, will have to do a bit of wiring to match the new tail light to the wiring harness.

The new carbs don't fit snuggly enough into the rubber boots as the manifolds are different sizes, will need to find a way to fix that too.

Think I've got it about covered, any advice would be appreciated :) Love the builds I'm seeing on this site too!
 
Back
Top Bottom