Follow along with the video below to see how to install our site as a web app on your home screen.
Note: This feature currently requires accessing the site using the built-in Safari browser.
We noticed you are blocking ads. DO THE TON only works with community supporters. Most are active members of the site with small businesses. Please consider disabling your ad blocking tool and checking out the businesses that help keep our site up and free.
clem, lol yea, I try to keep it lighthearted. My camera is a nikon D5000, so yea it shoots video but is really meant for photos.
How to make those old valve covers look like new again
When sanding, keep in mind that you can always start at a lower or higher grit depending on the level of scratches that are already on the surface of the metal. Likewise don't be afraid to try out different buffing compounds on the wheel.
I've rediscovered this thread, just getting into building up a new XS engine for my bike. Will be making much use of your YouTube vids so leave them up
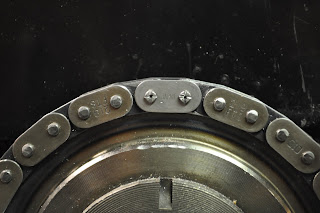
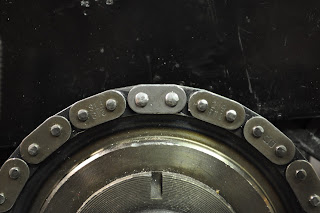
Finishing up the engine. I've put the master link in and have "peened" the head over to lock the link in place. I started by marking the surface with a chisel and then coming back with a ball peen hammer.
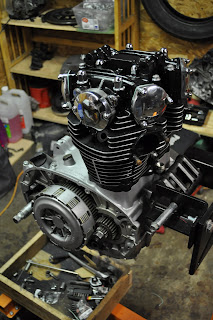
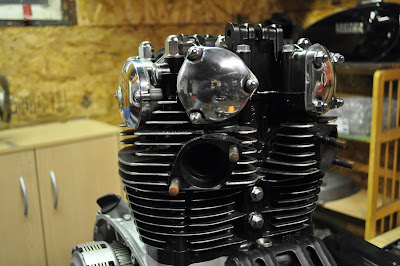
There is a pattern for torquing down the head bolts and I followed it to a T. Valve covers are all on now and its looking good. Just need to finish polishing the side covers and we're in business.
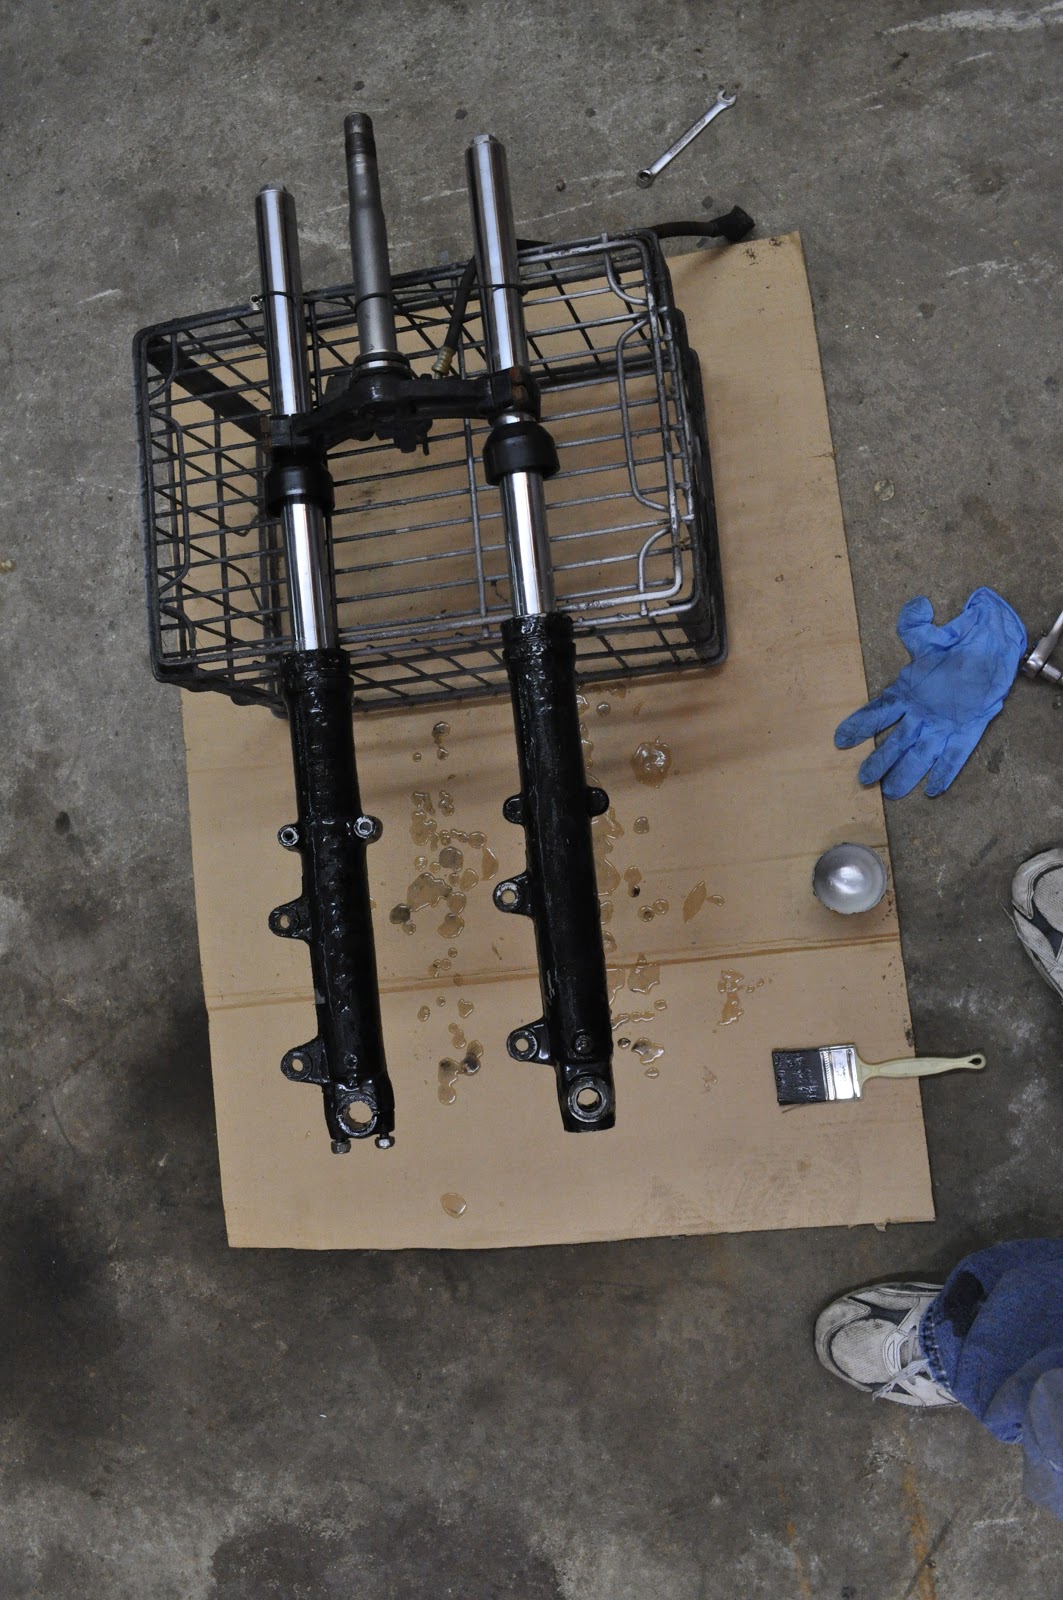
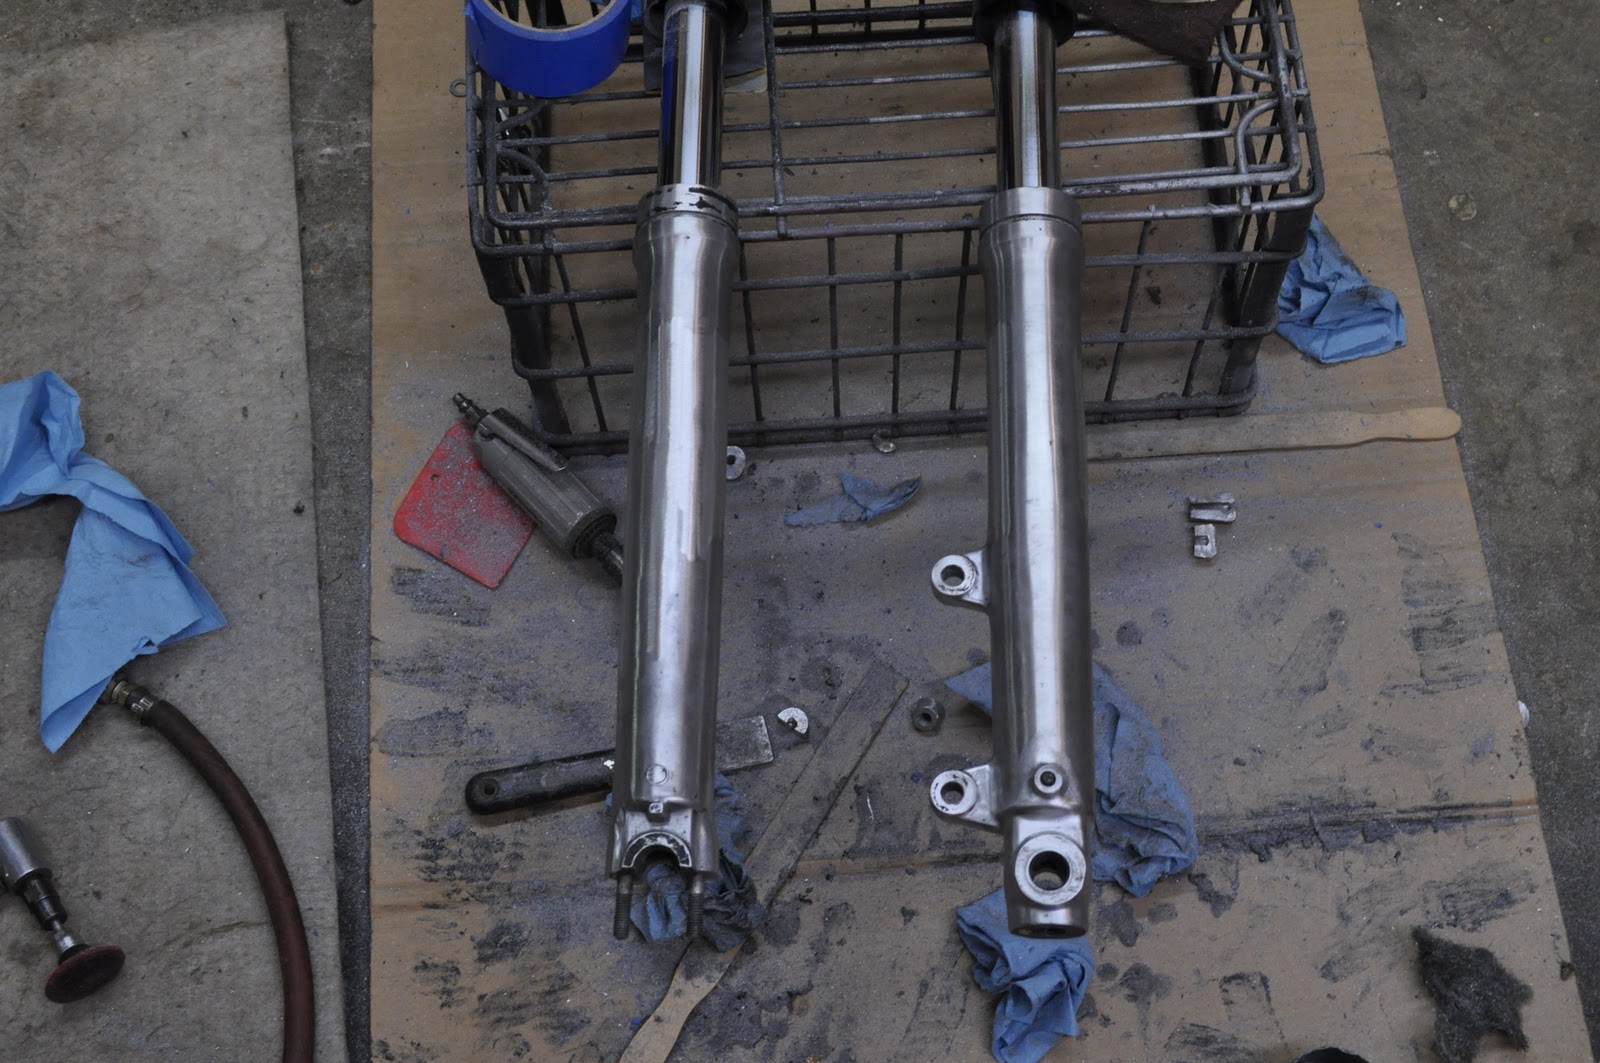
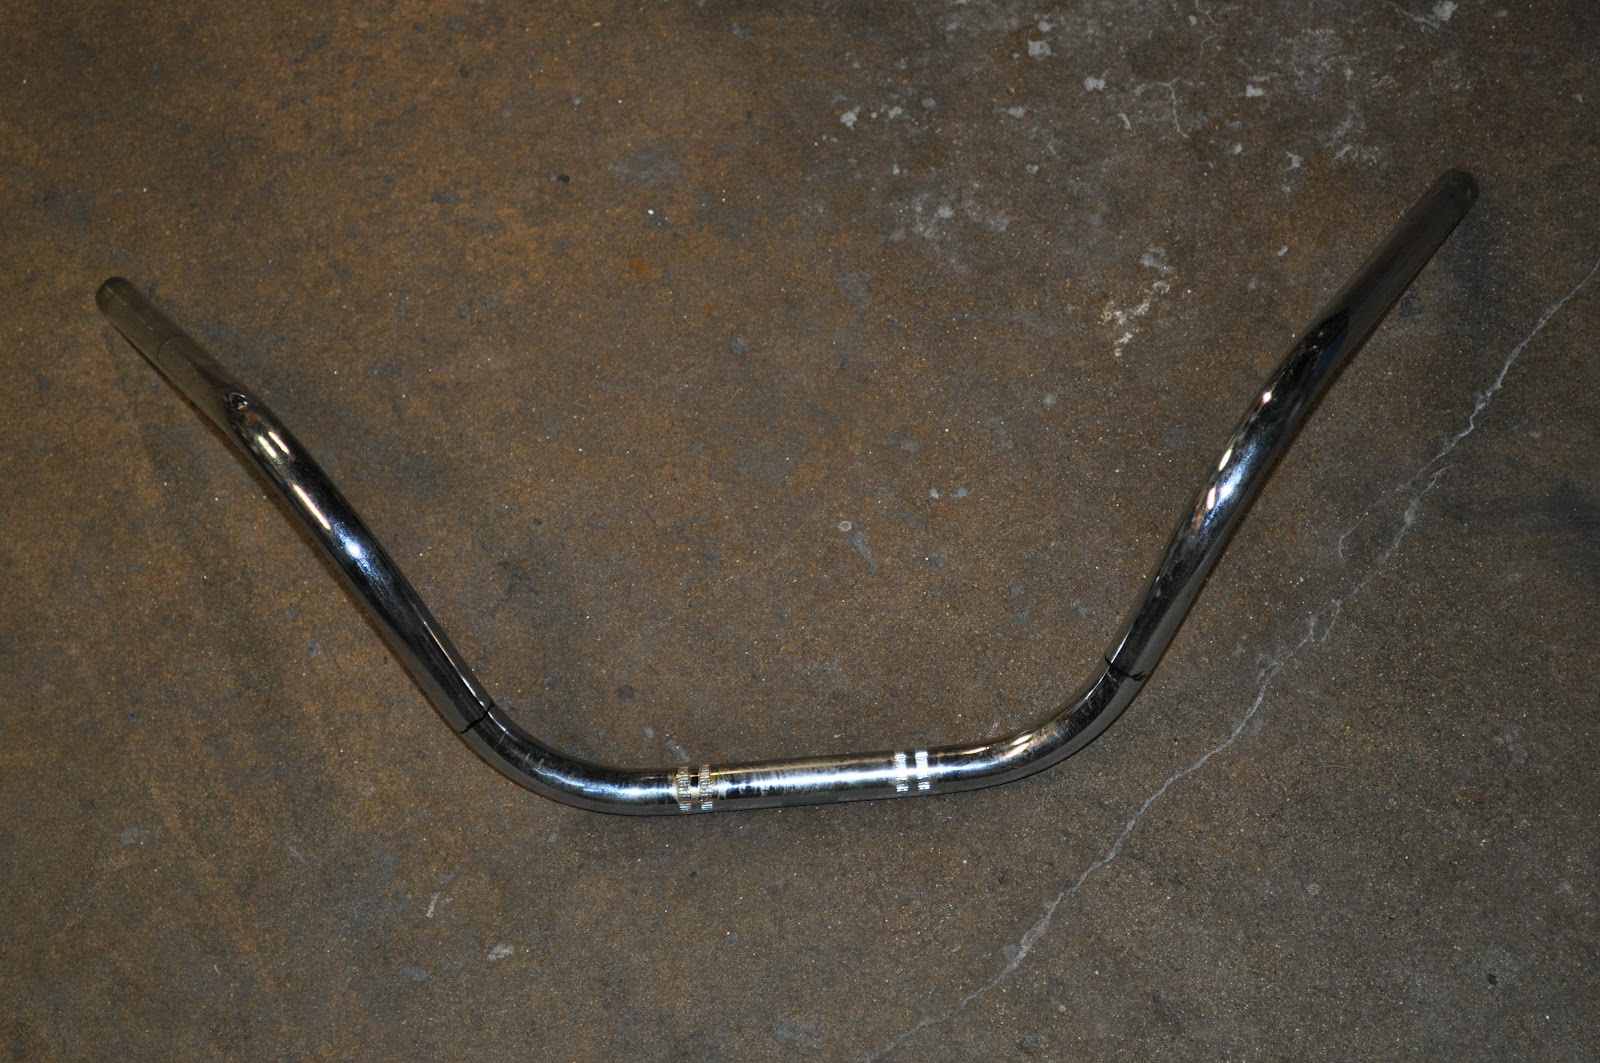
Shaving forks
I really like the look of polished forks. I keep seeing them online and I thought since I know how to polish I would give this a whirl. I figured the most difficult part would be the actual cutting of material. Mostly the entire process was difficult though.
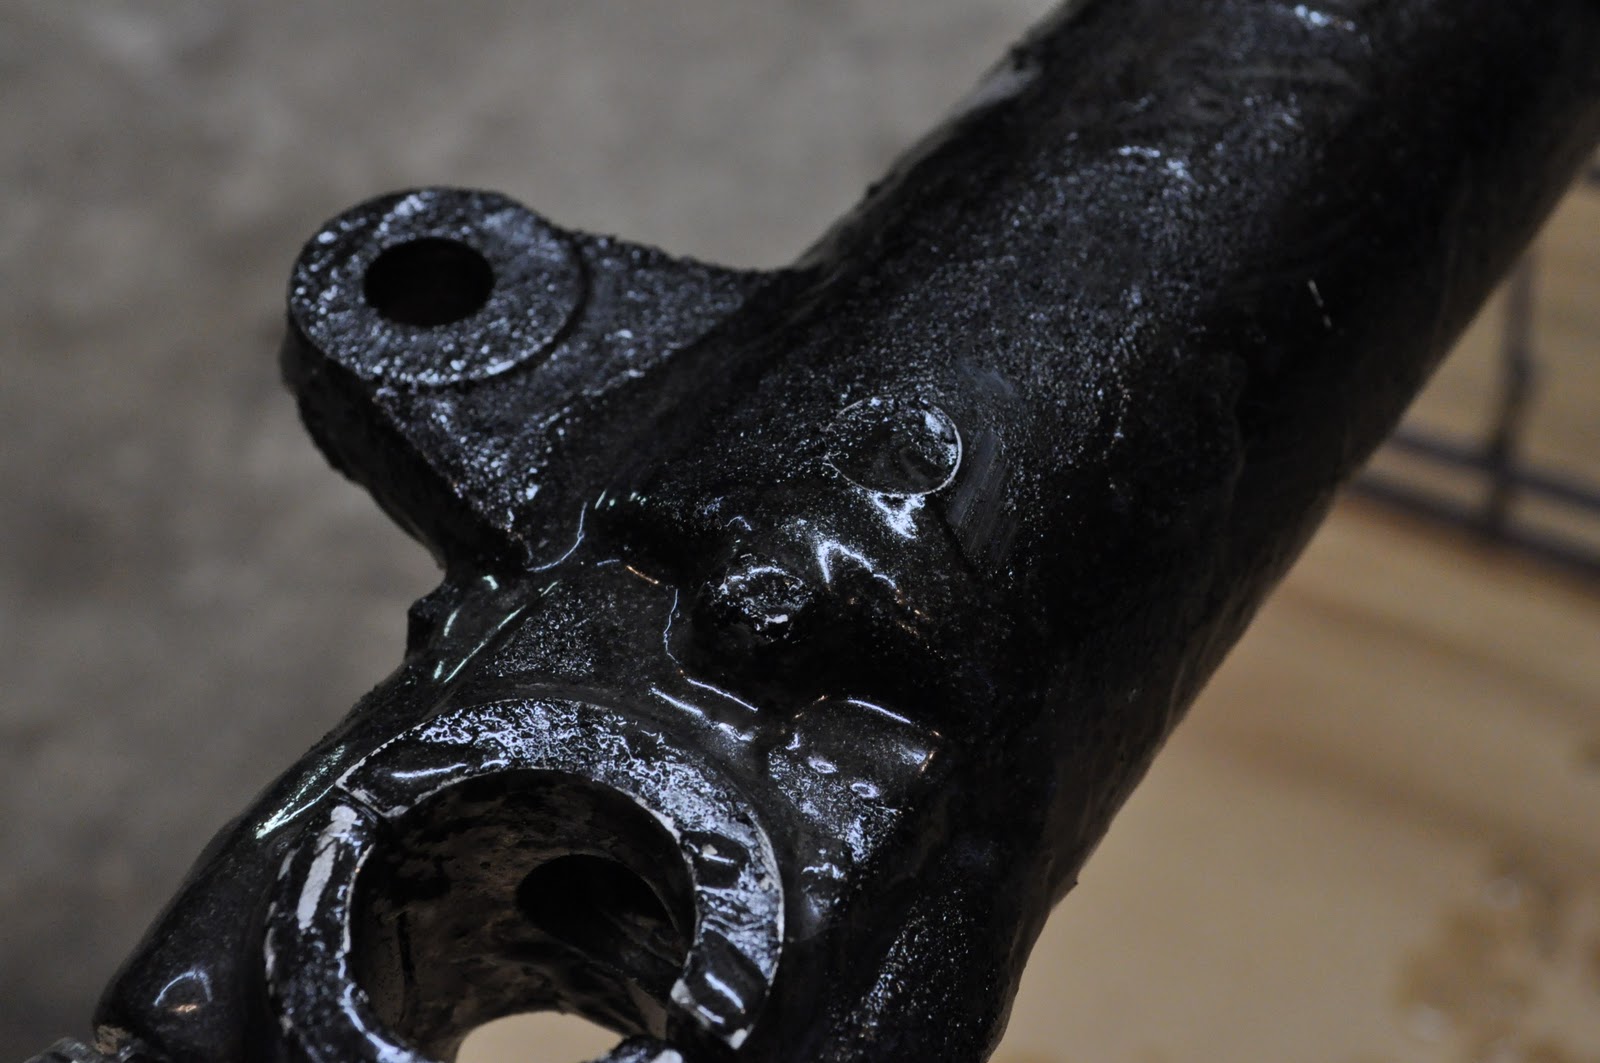
Here I'm using paint stripper to remove the original paint. Buy a GOOD stripper. I didn't find the best stuff and I paid for it with a longer removal process involving several coats...
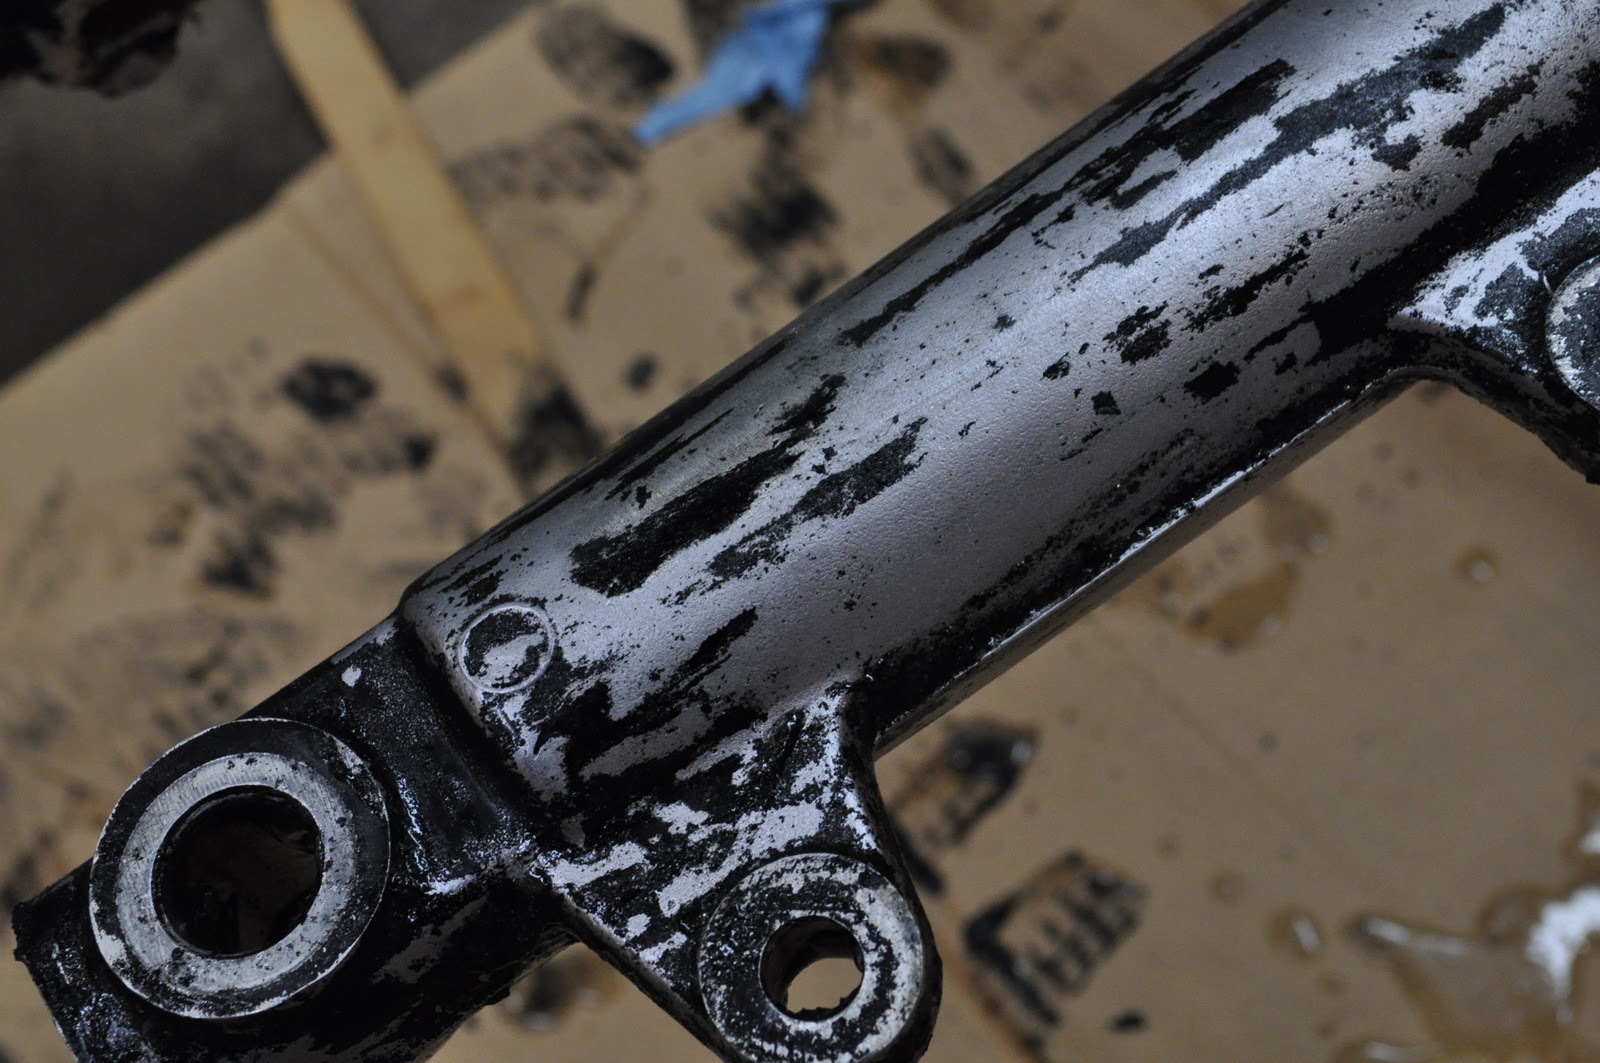
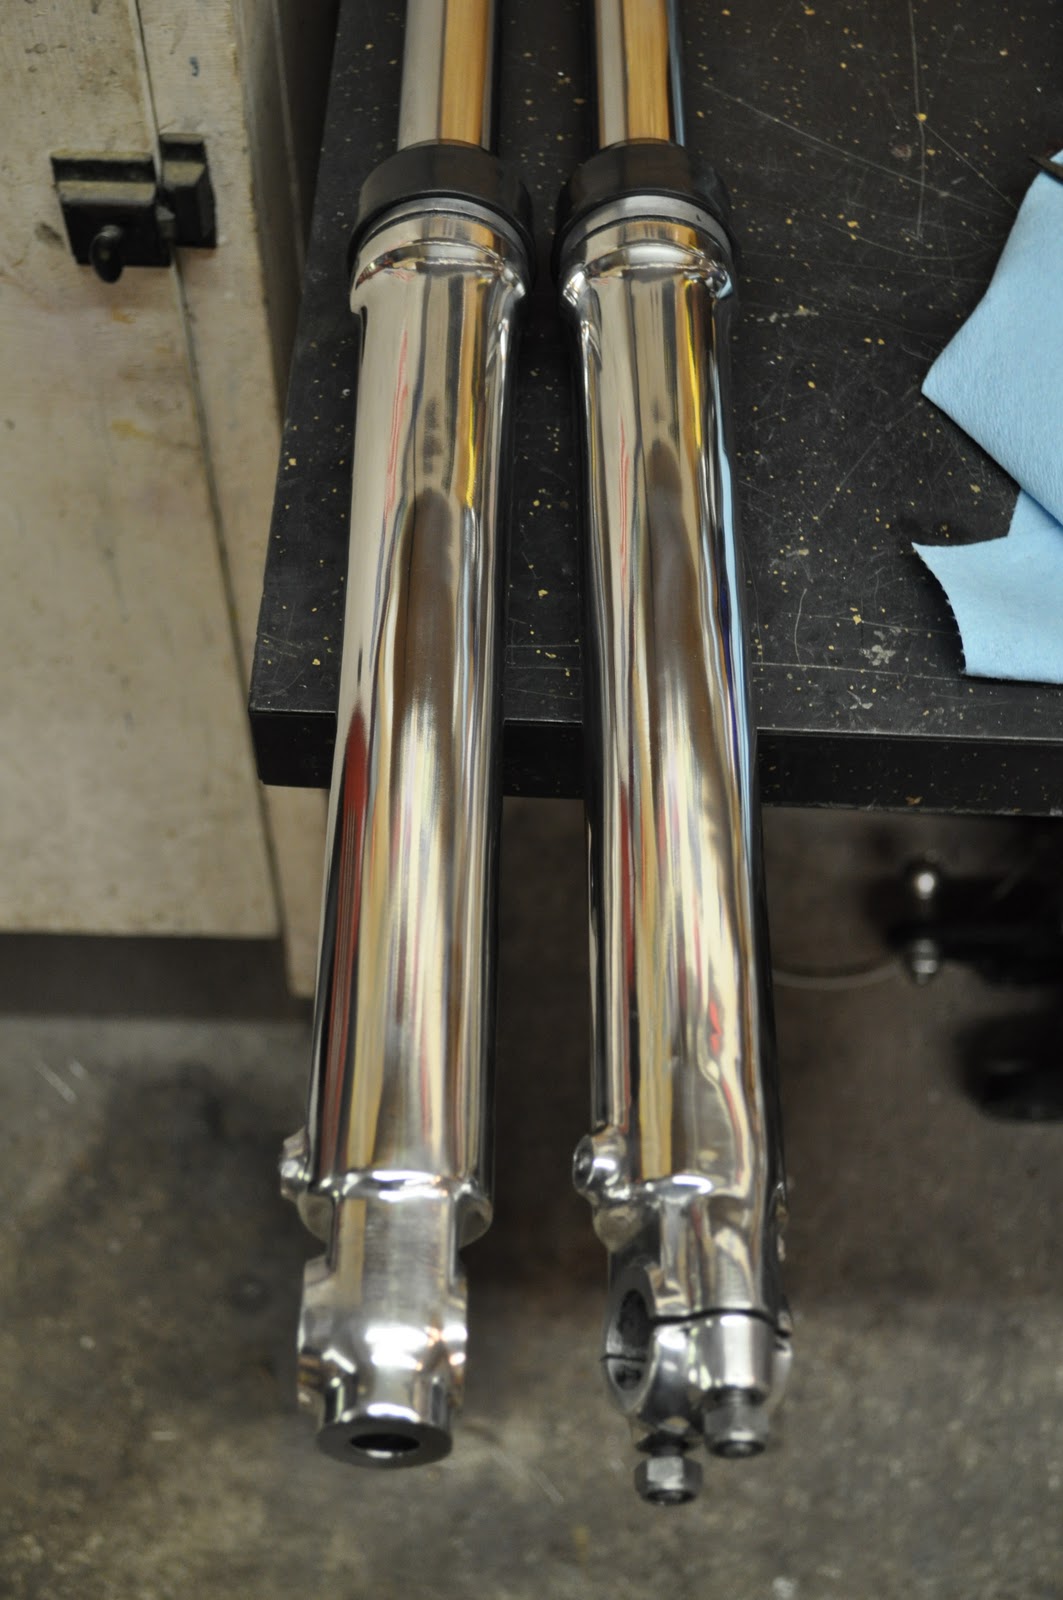
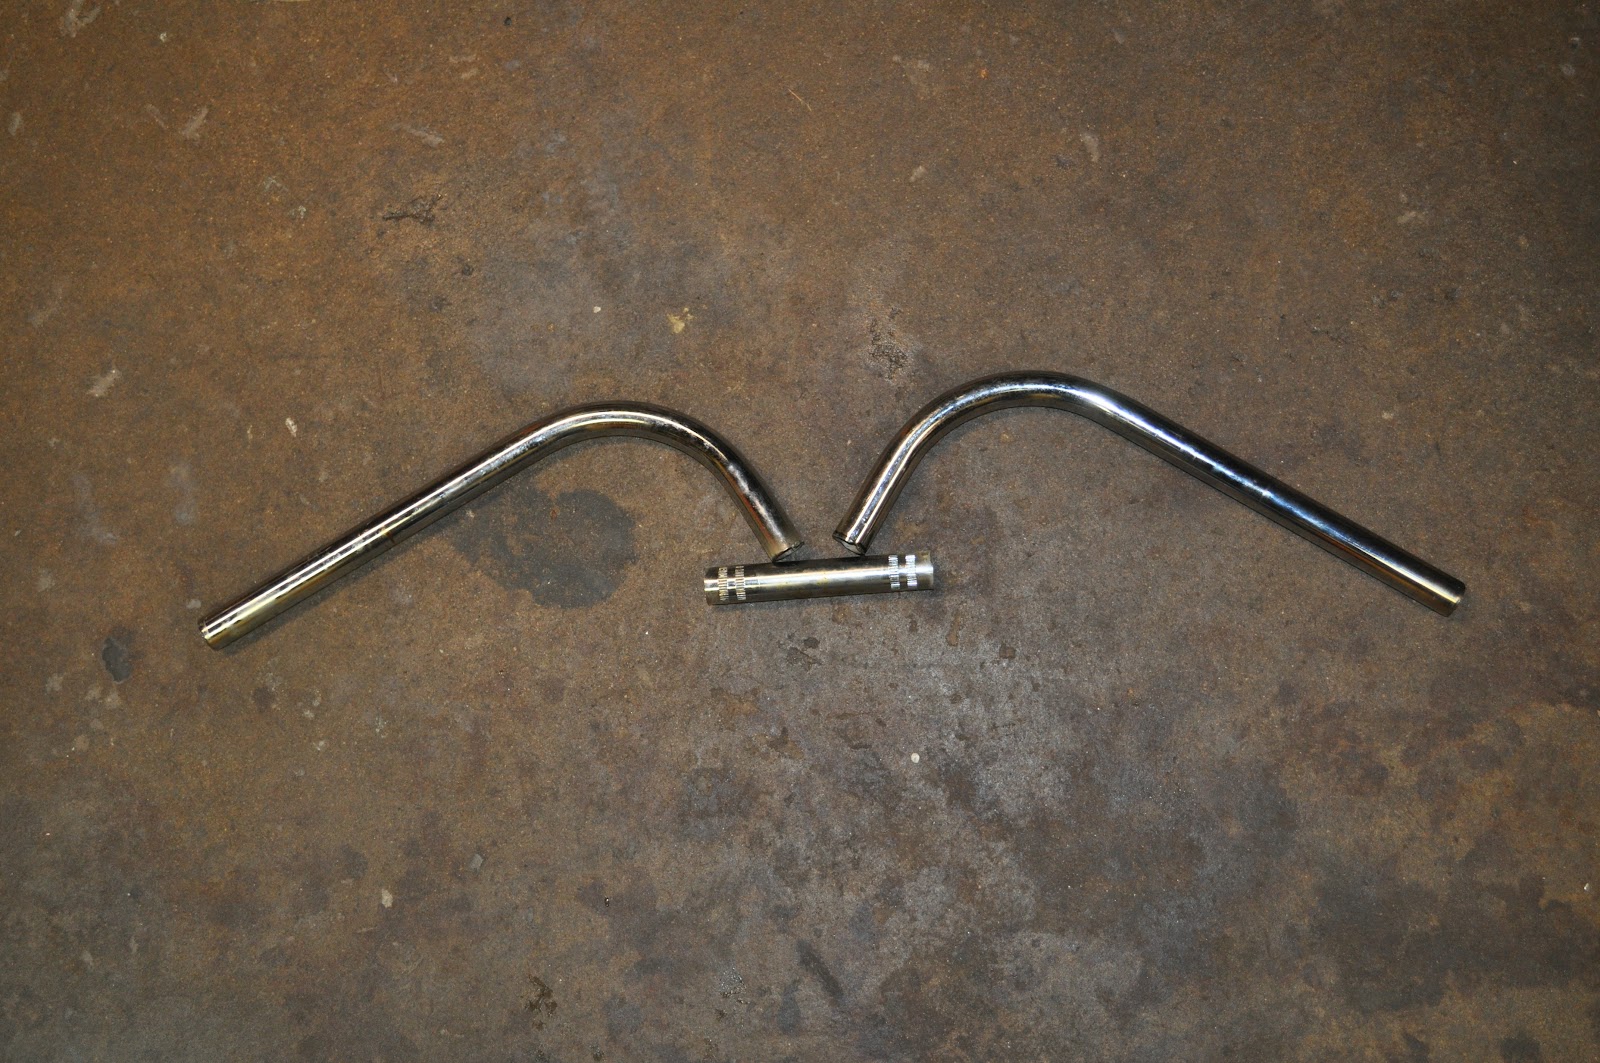
Grinding off the tabs for the fender and left brake were not terribly difficult, just time consuming. I used my Dad's air powered cutoff wheel.
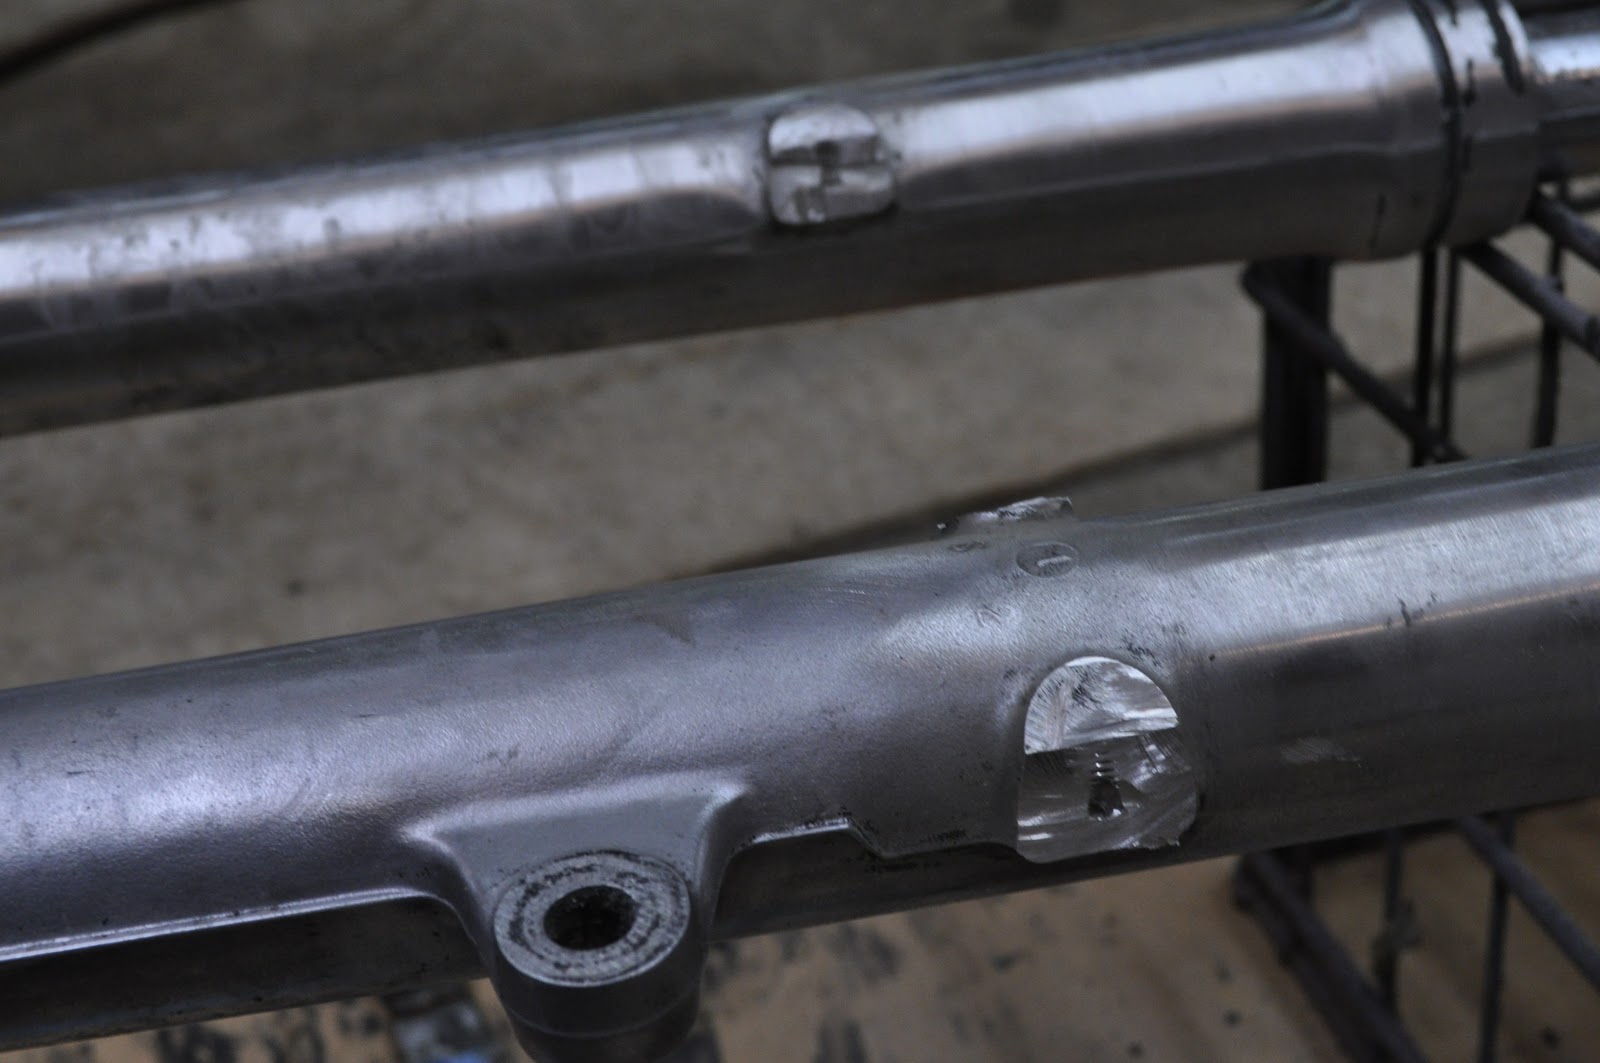
From there it was a matter of grinding the material flush with a 90 degree sanding wheel (also the old man's). Then sanding through the grits as usual... (I did use some scotch bright pads to make the grinding cleaner before sanding)
I polished with two compounds black (coarse) and white (fine) to make them really shine.
I would say the whole process took me about 5 hours
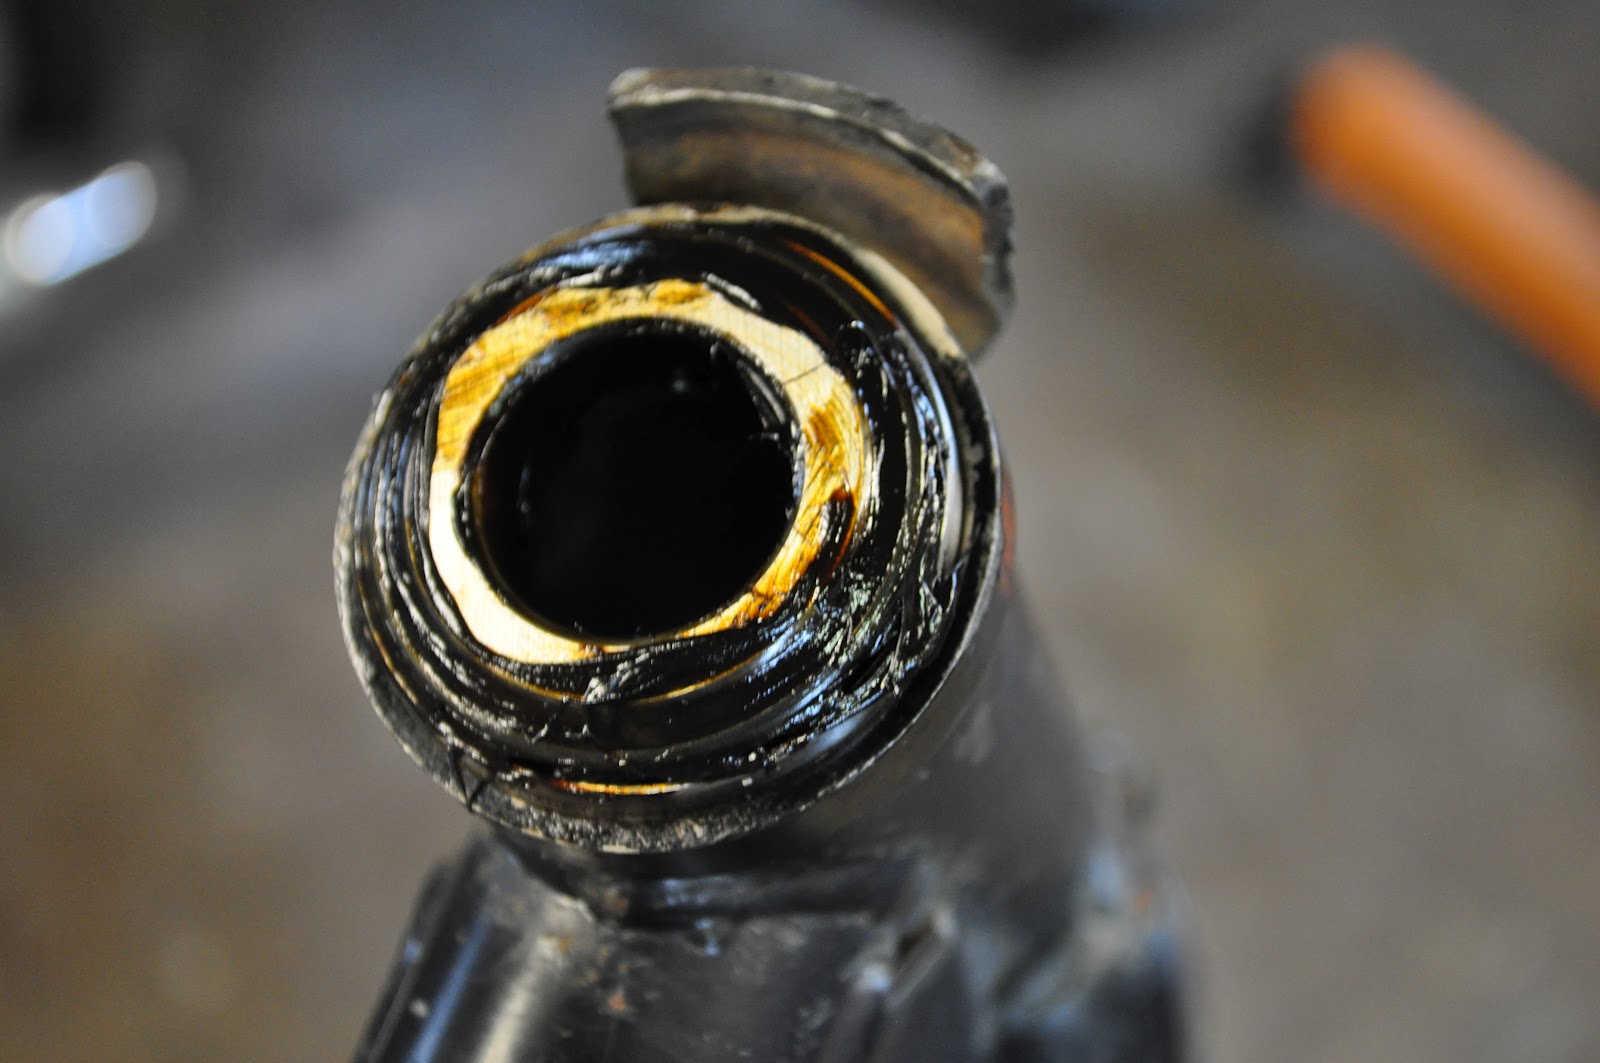
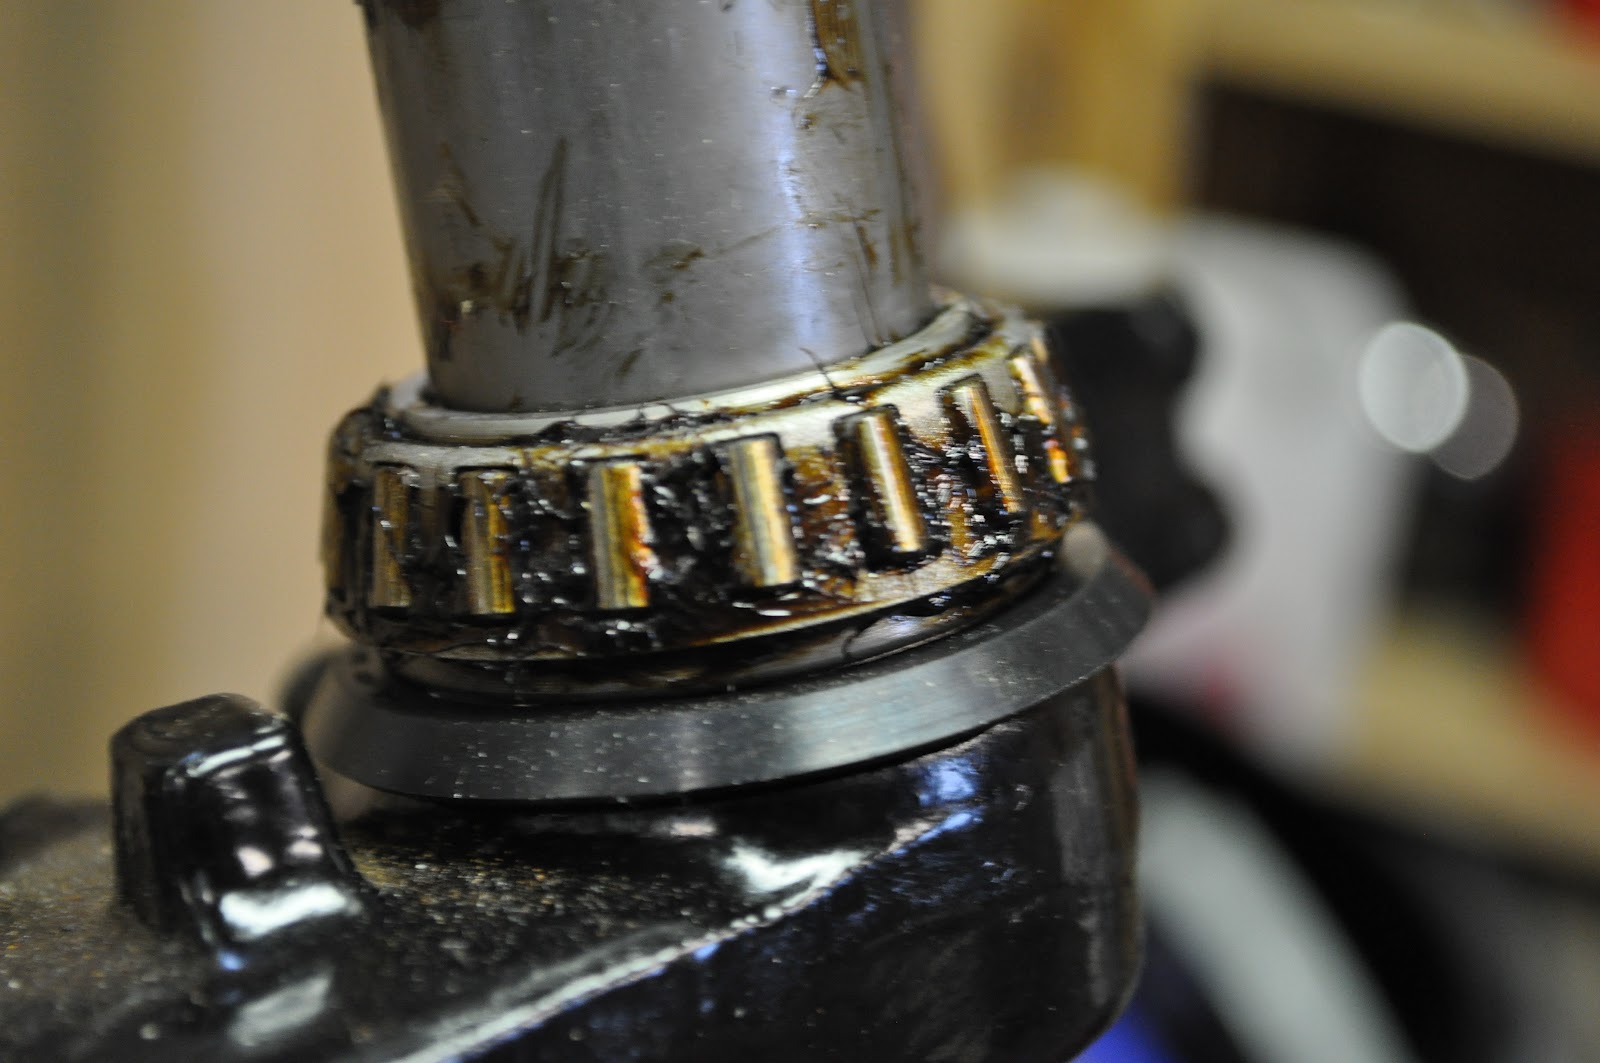
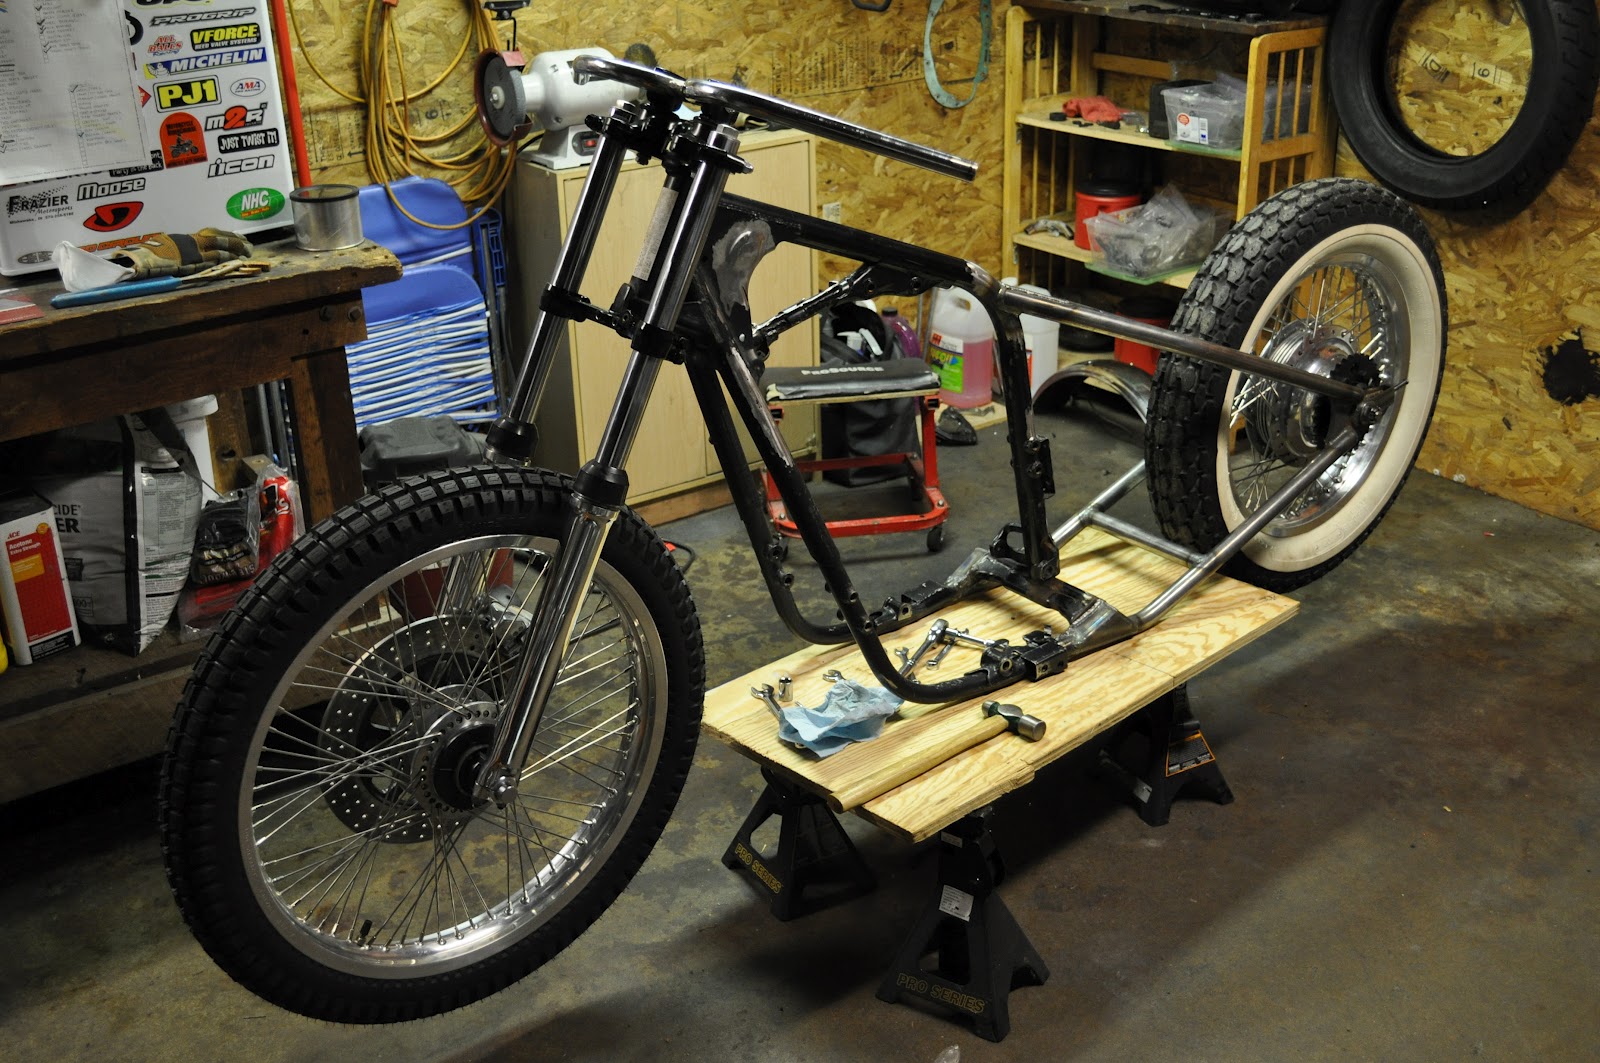
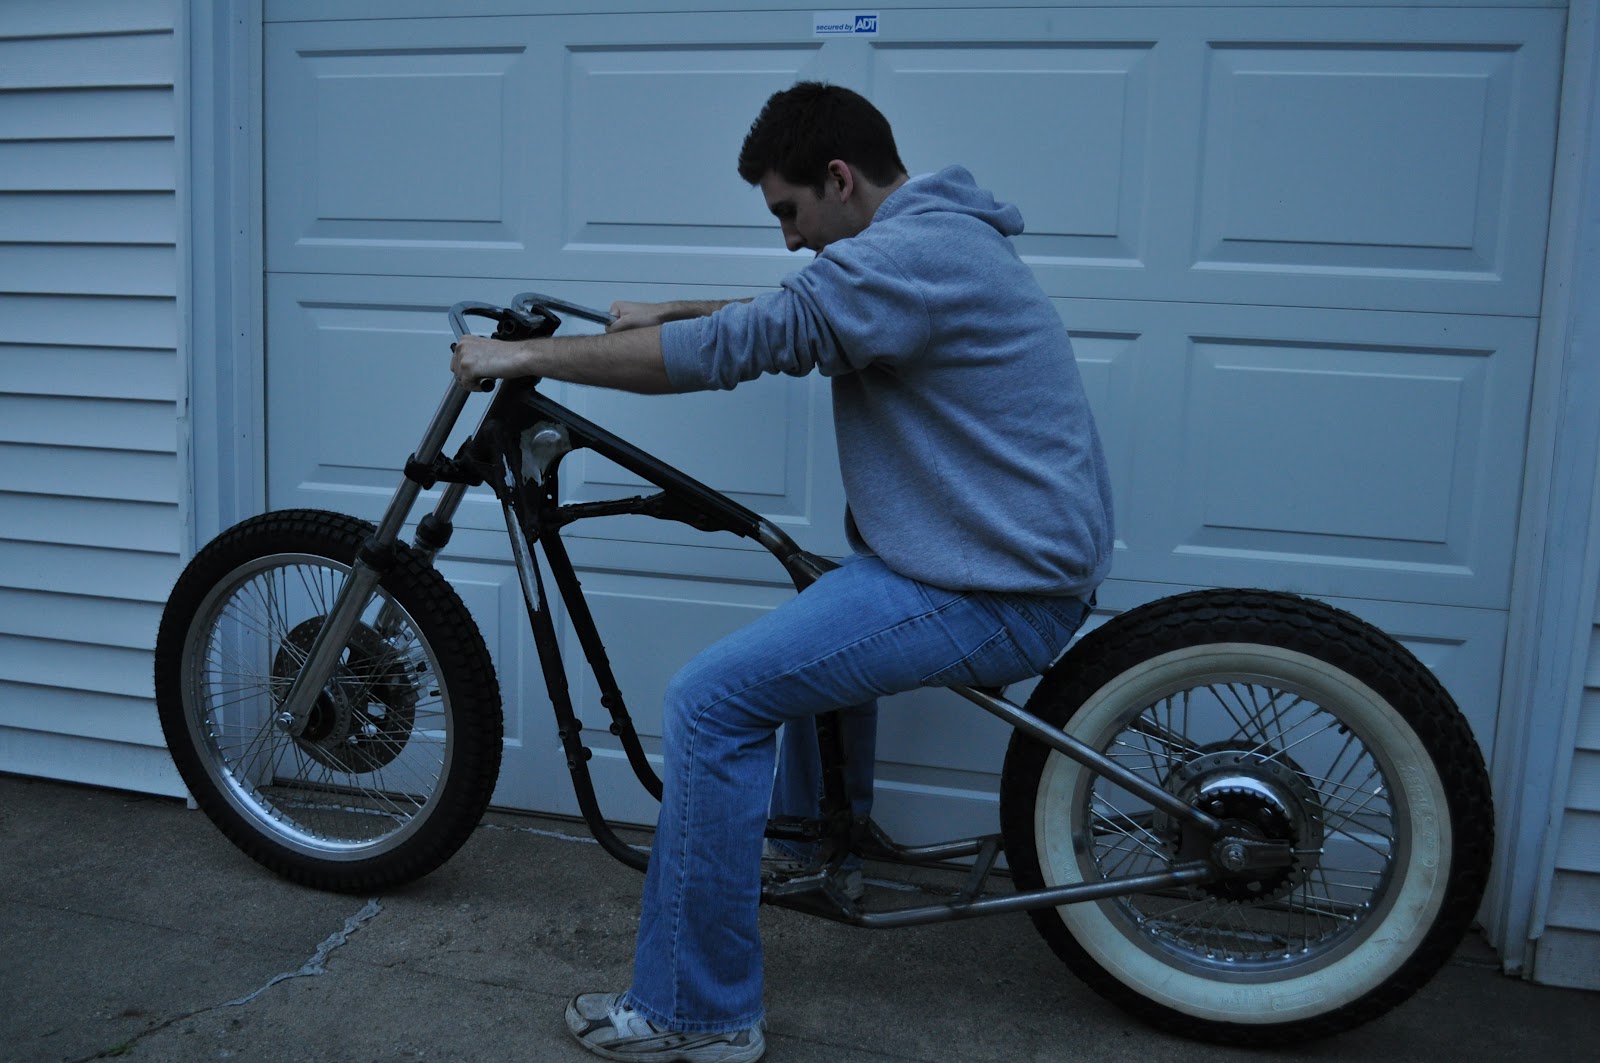
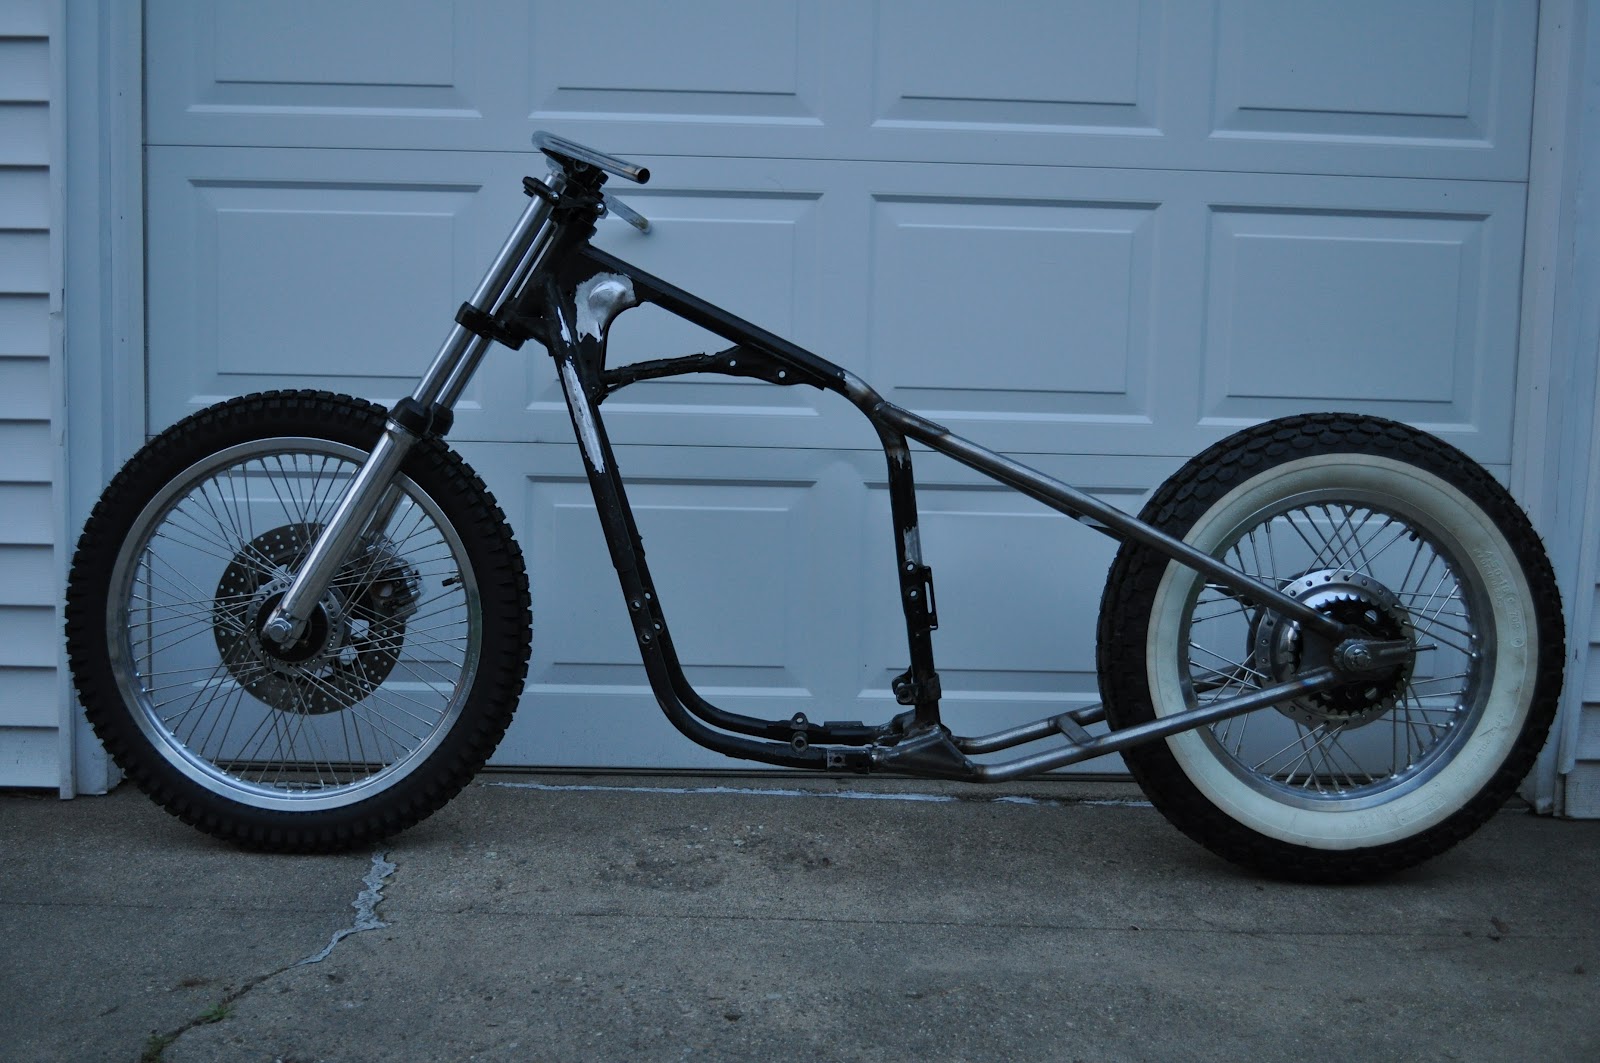
Still focused on getting a rolling chassis together. My fundage for this project has dried up and I'm still trying to do things that are cheap/free. I still need to get a front tire/tubes, and neck bearings and I might just have a roller in 2 or 3 weeks.
oooh good eye, yes I will be getting the "upgrade" bearings so didn't notice that. I removed the inside neck races but forgot about that one. Thanks Tim!
I hope you enjoy the photos as I have not been able to create any "how to" vids lately.
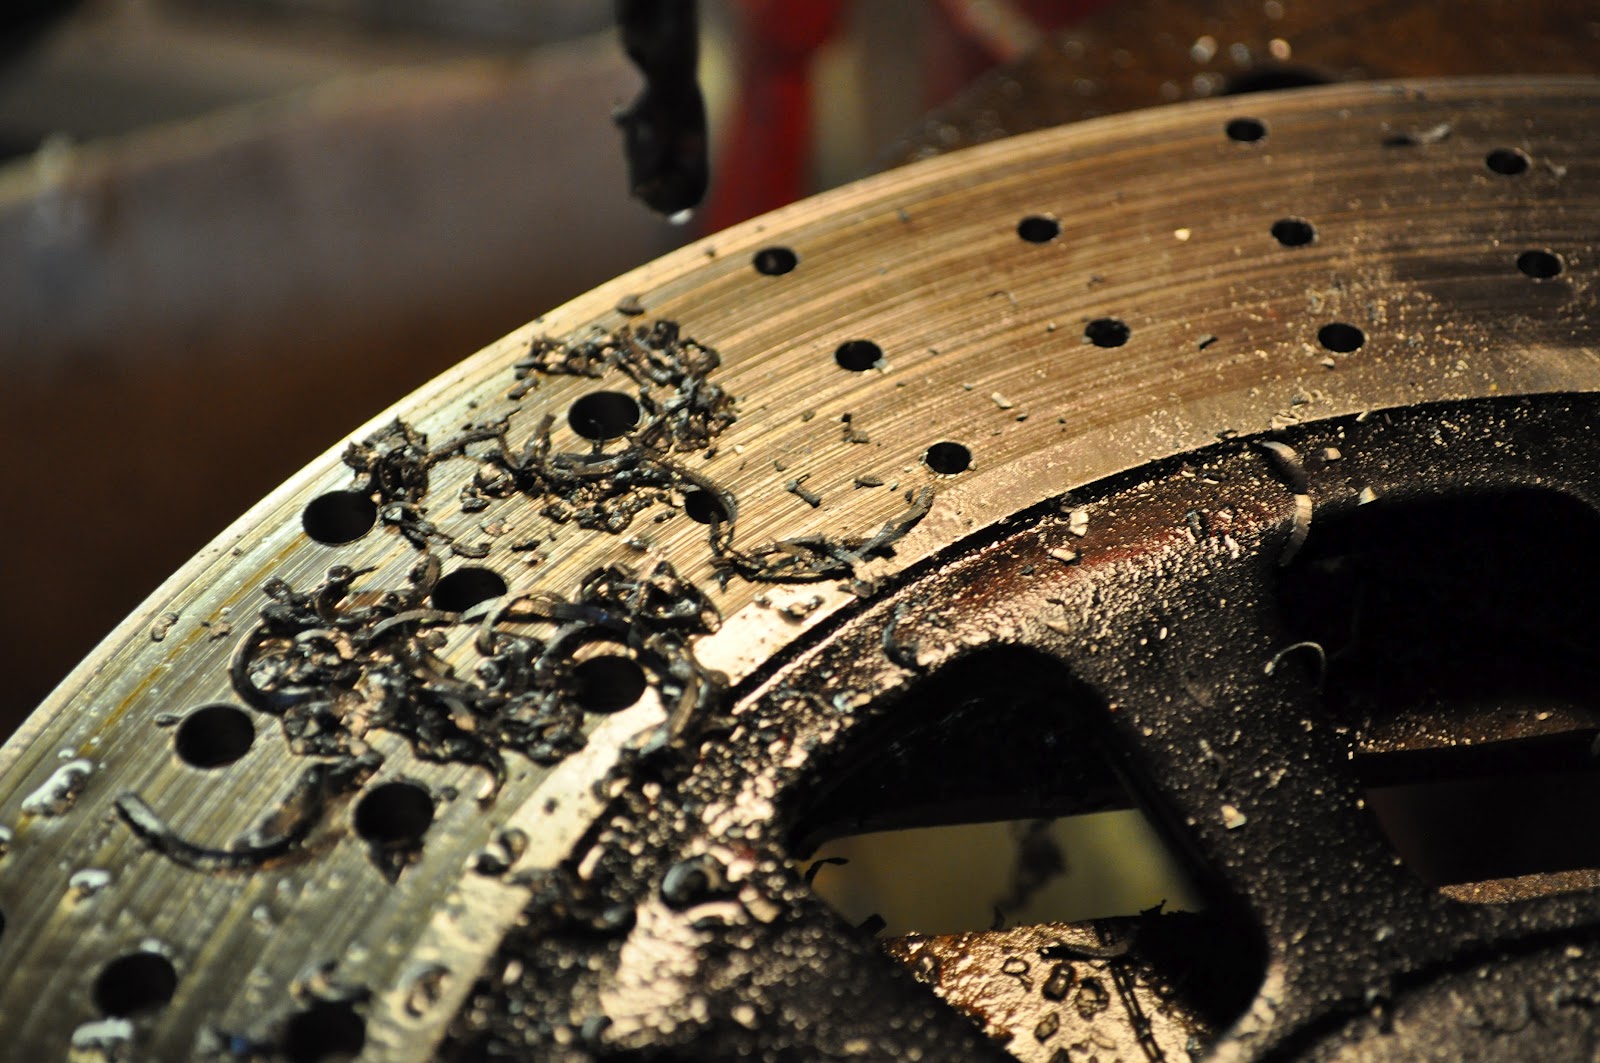
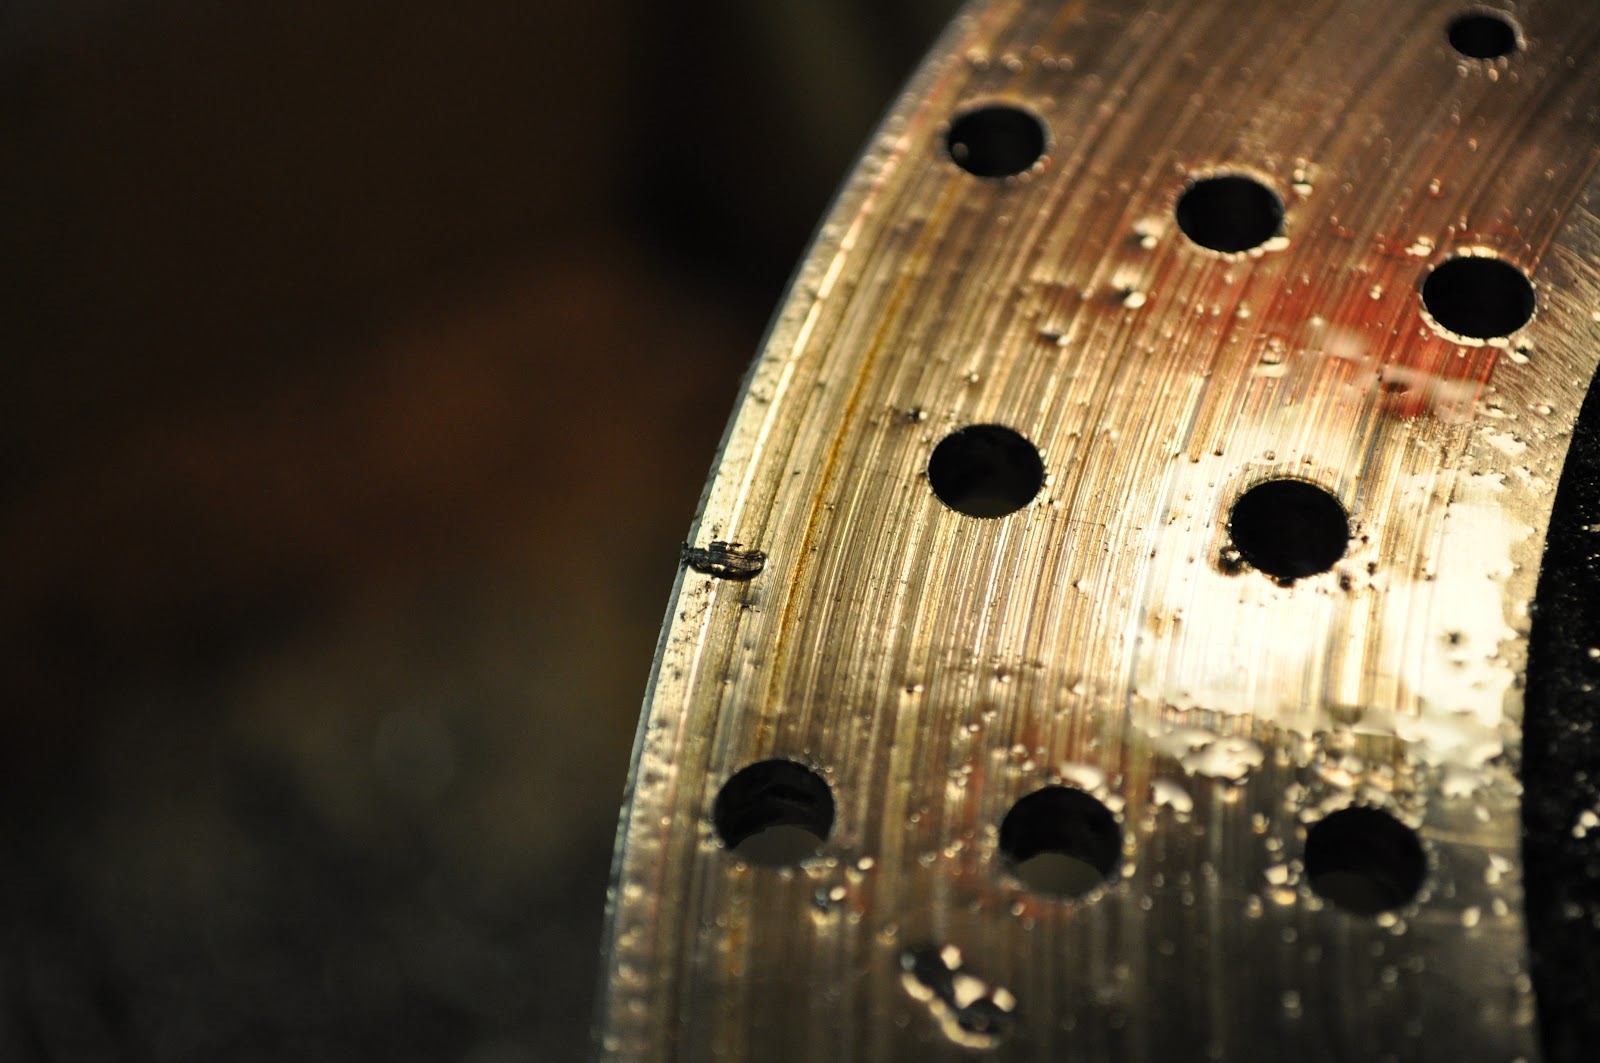
Drilling the rotor was fun, lol I should say time consuming... I'll have to post a video of that sometime soon though.
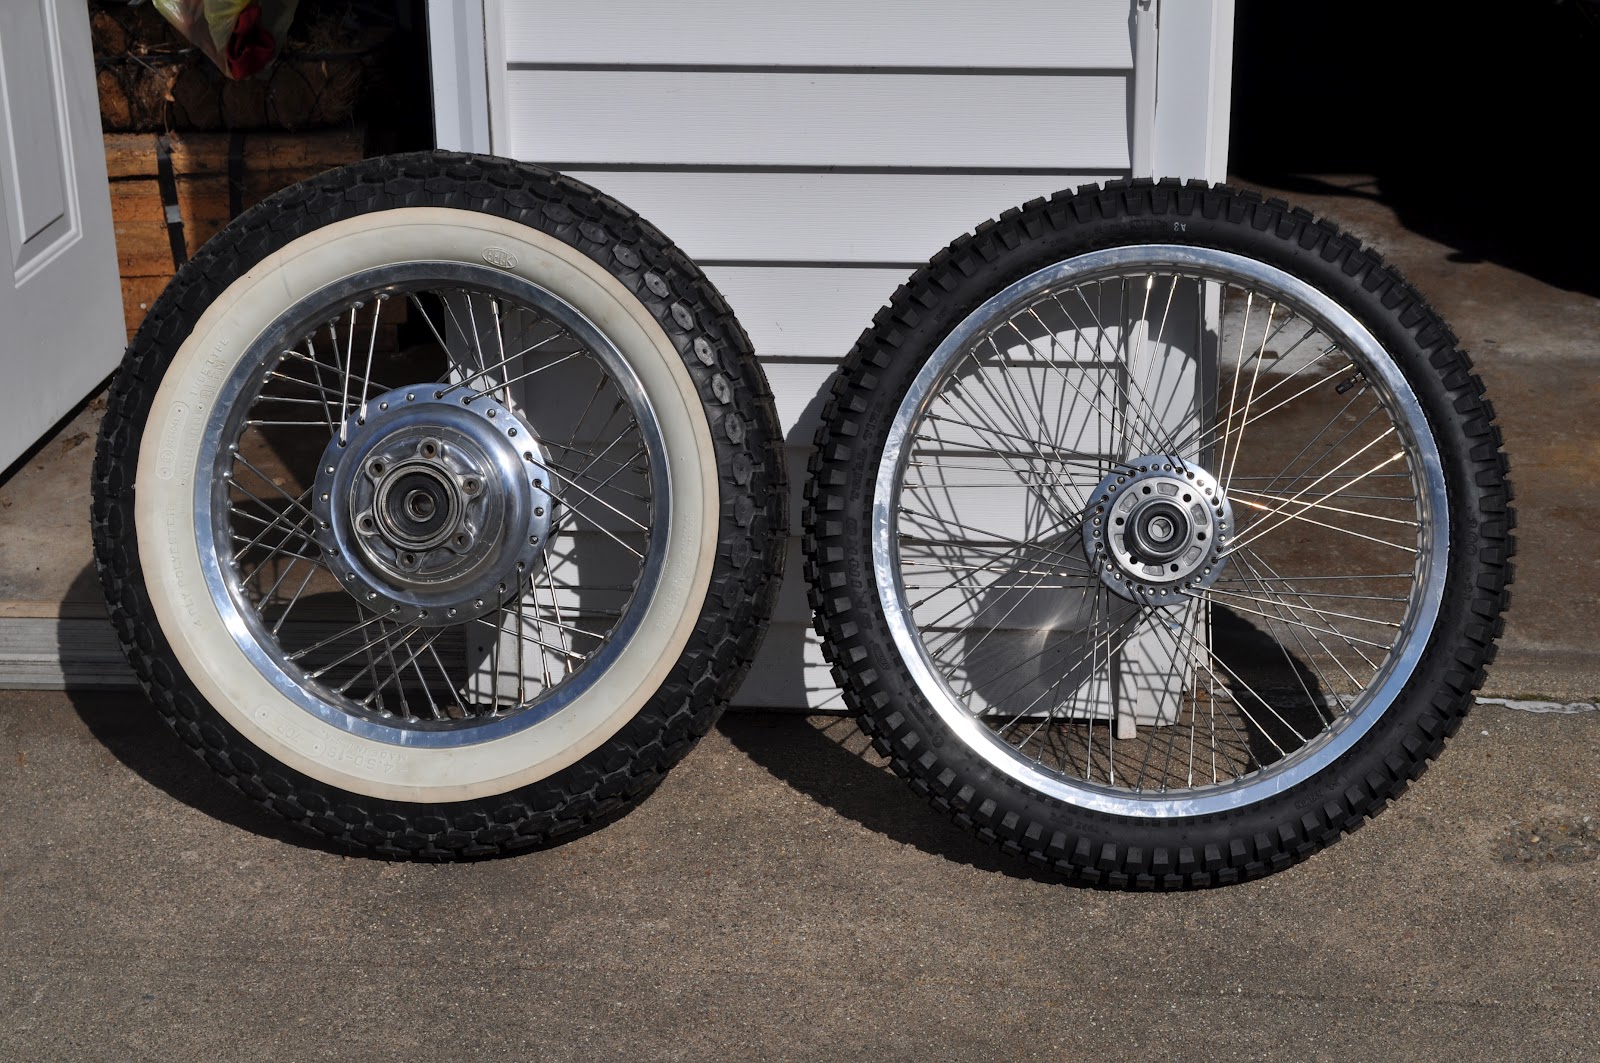
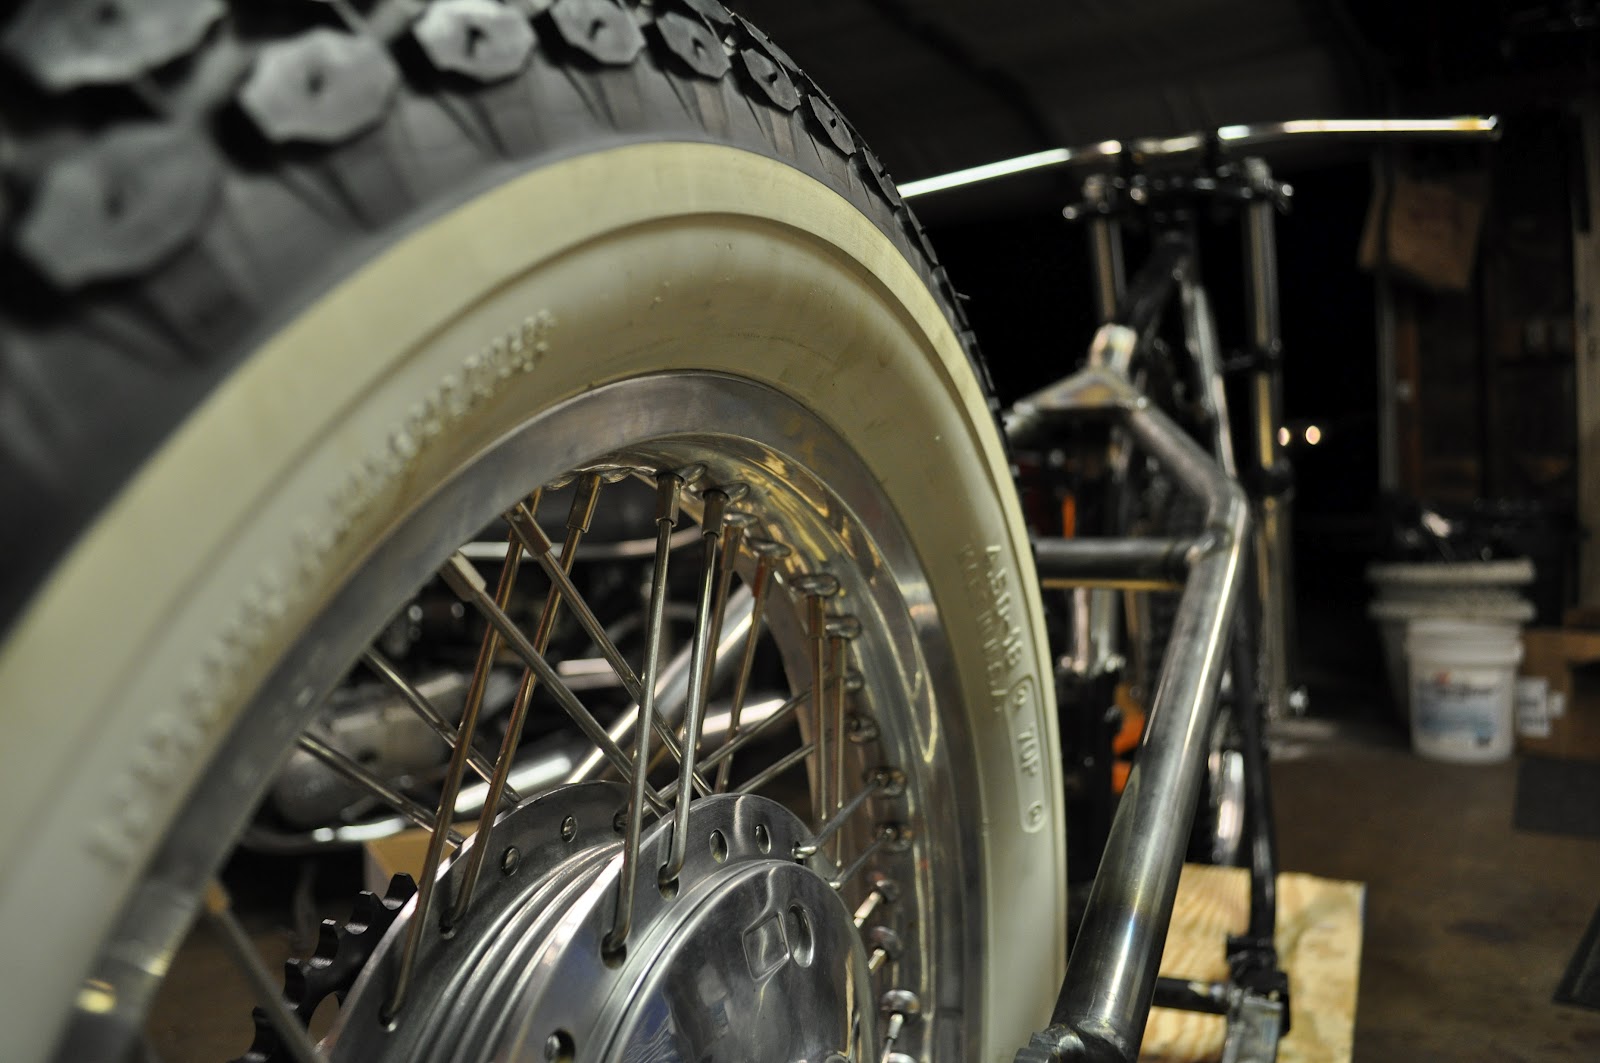
Decided to go with that front tire you found for your build Tim. Thanks for the link btw. I think it works well with the rear that I had already purchased. Couldn't find a knobby whitewall front for the life of me... oh well :
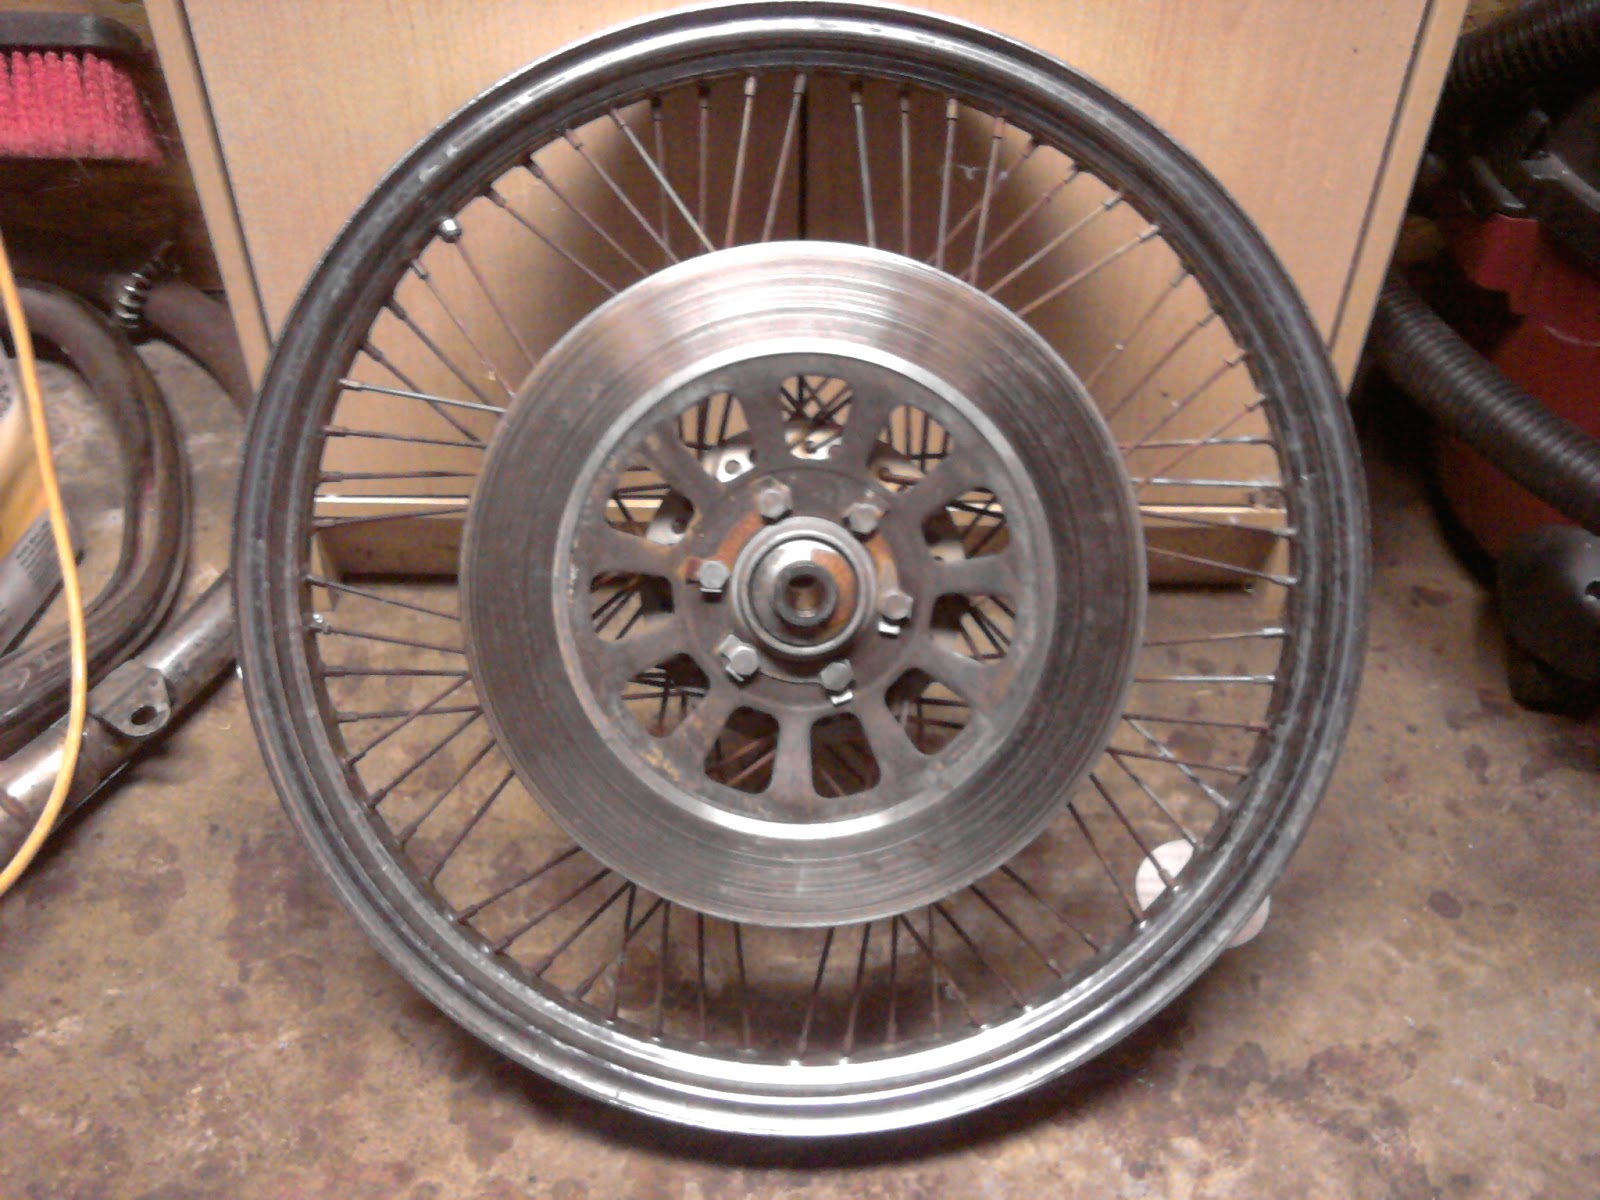
Front rim before dissasembly
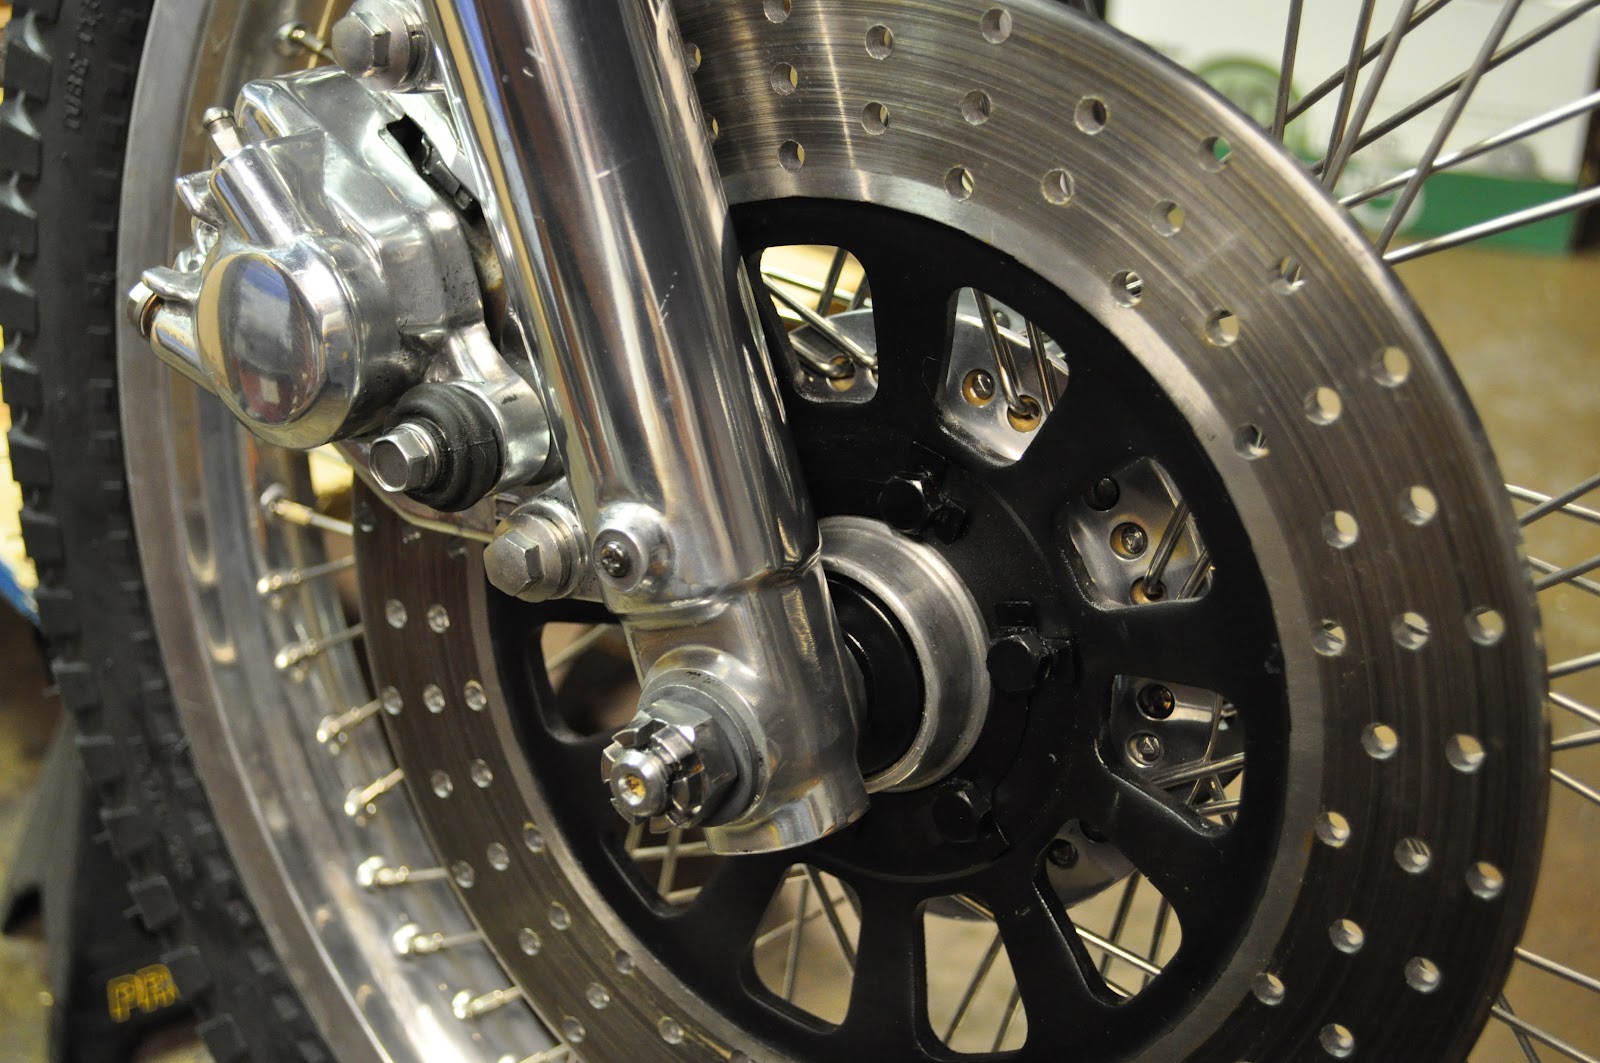
Front rim after with tire mounted and super cool totally awesome drilled rotor.
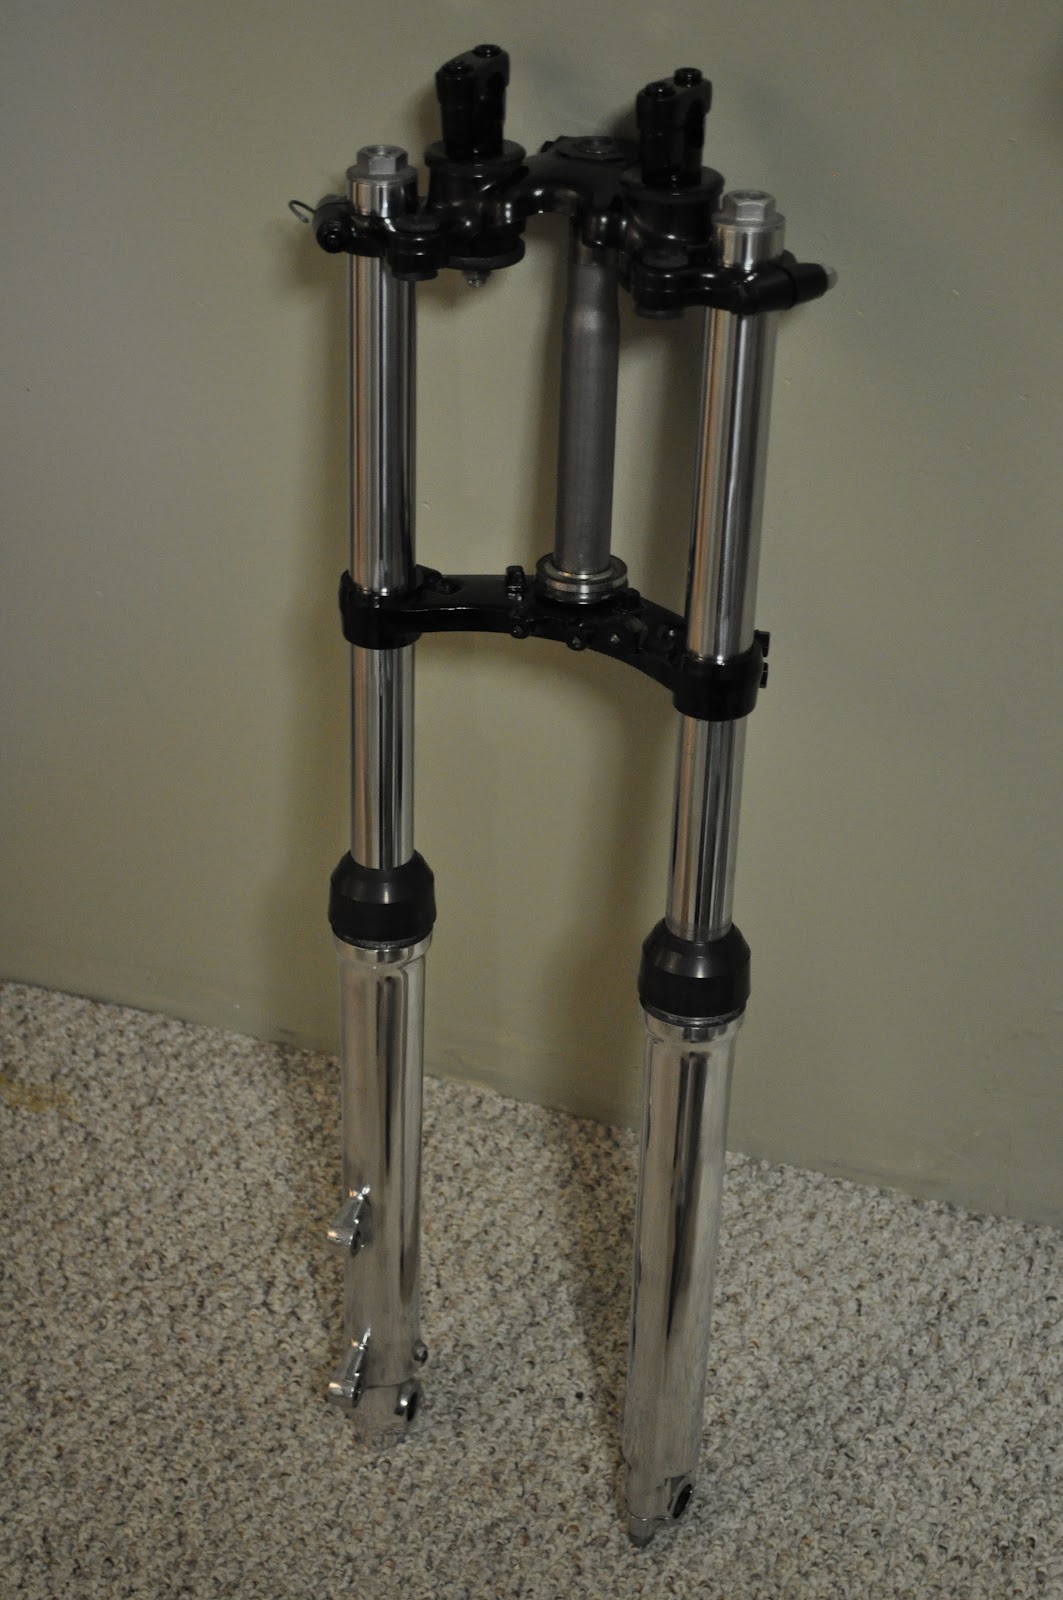
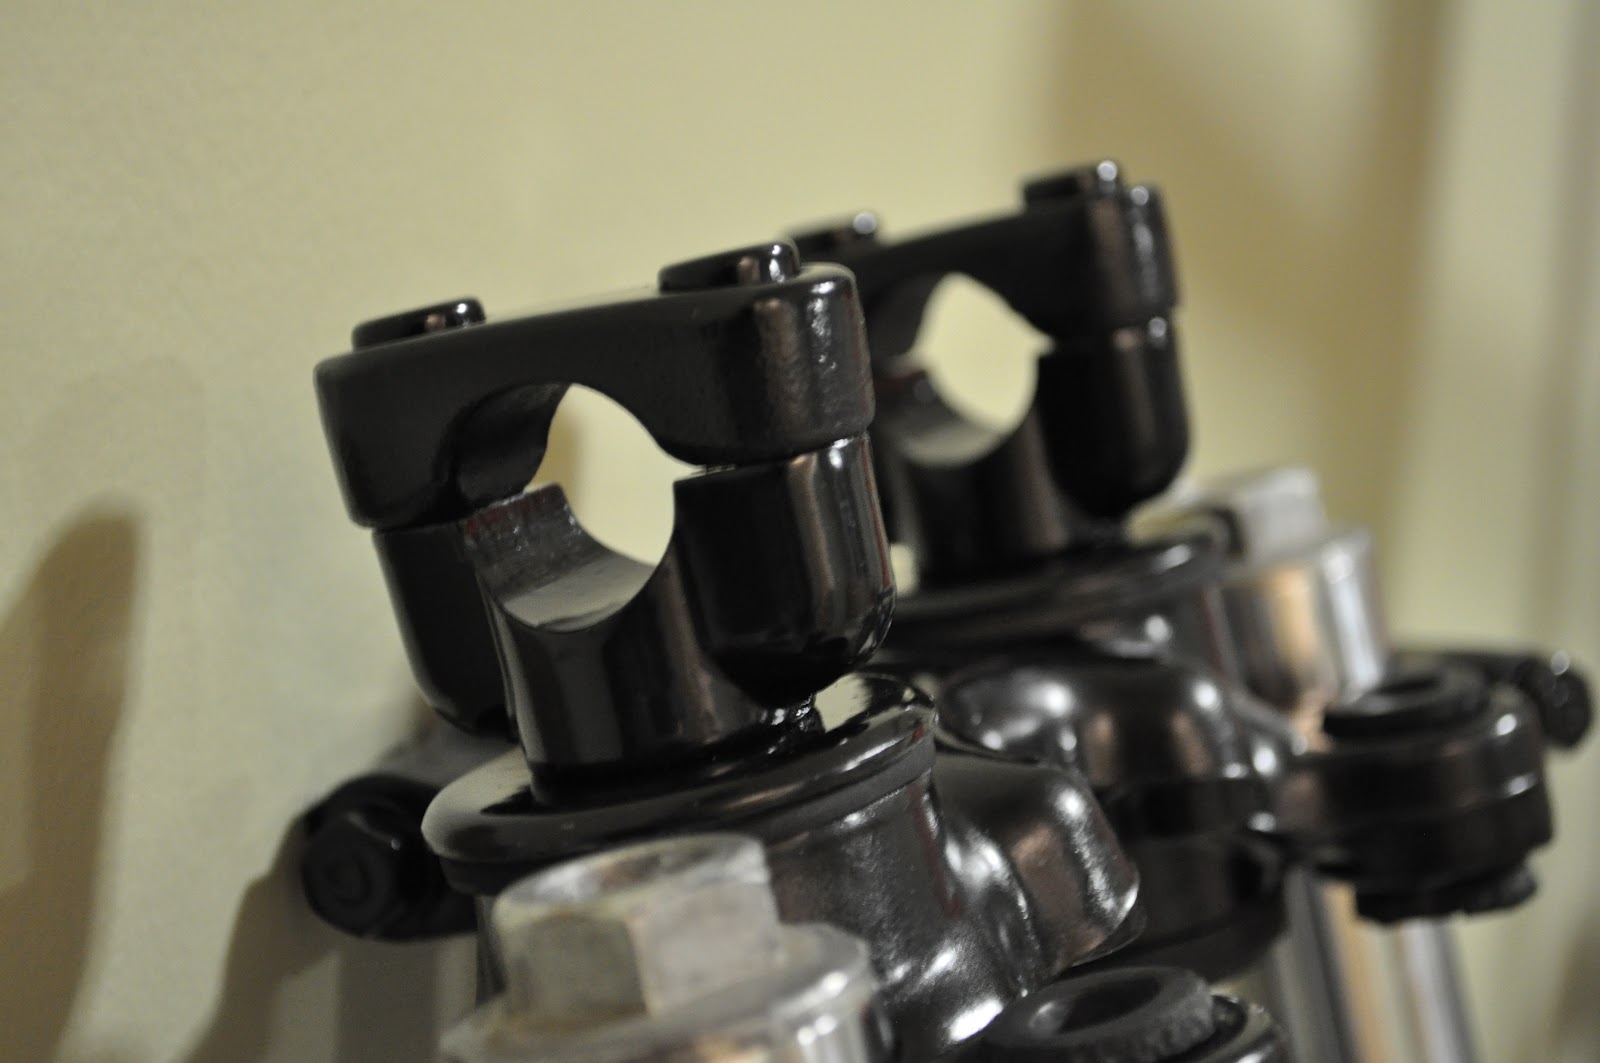
Just been working away on this stuff... New neck bearings, polished caliper and drilled rotor, rear break assembly back together, handle bars and triple trees painted and assembled:
Tim said:
You need to chamfer those rotor holes - at least I think you do.
I've read both sides of for/against chamfering brake holes. The majority of stock drilled rotors I see are un chamfered so I'm gonna just go without. Time will only tell though how they hold up...
Re: XS650 Project Black Beauty --- Rolling Chassis
Awesome build- great work!
I'd second that about chamfering the holes in the rotor. I don't think it would be necessary if a person got an absolutely perfect hole that was all flat in one plane, but that is pretty impossible. I think I can see some burrs in the photos- which is fine and normal, but should be addressed.
It just needs a little relief to make sure the burrs are gone. You can probably set the drill press to a depth and then just repeat it so they all come out even.
I don't know what you have for tooling, but most countersinks I've seen are 82 degrees for countersinking screw heads. That doesn't make the nicest chamfer as it cuts in deeper than it does wide. 90 degrees would probably look best.
Re: XS650 Project Black Beauty --- Rolling Chassis
Thank you all for the praise!
I'm gonna go back and hit all the holes on the rotor with a large bit to clean them up, and give it a slight chamfer.
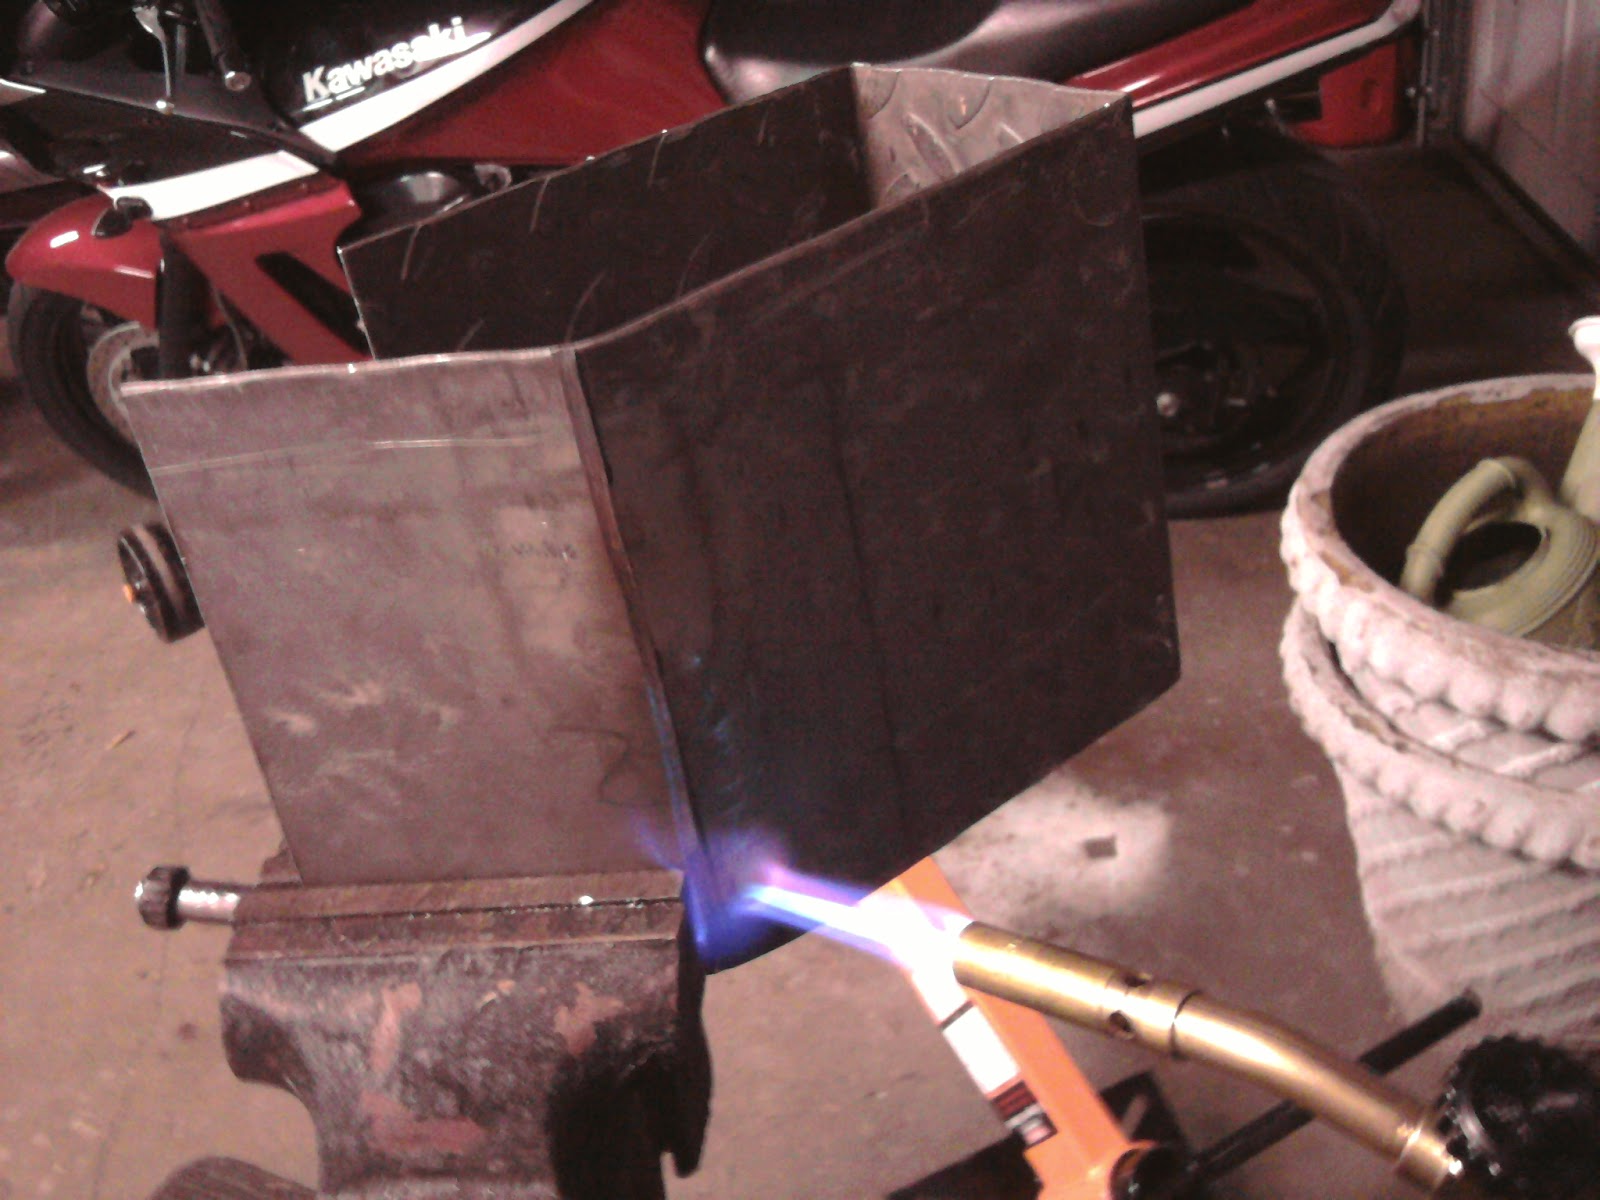
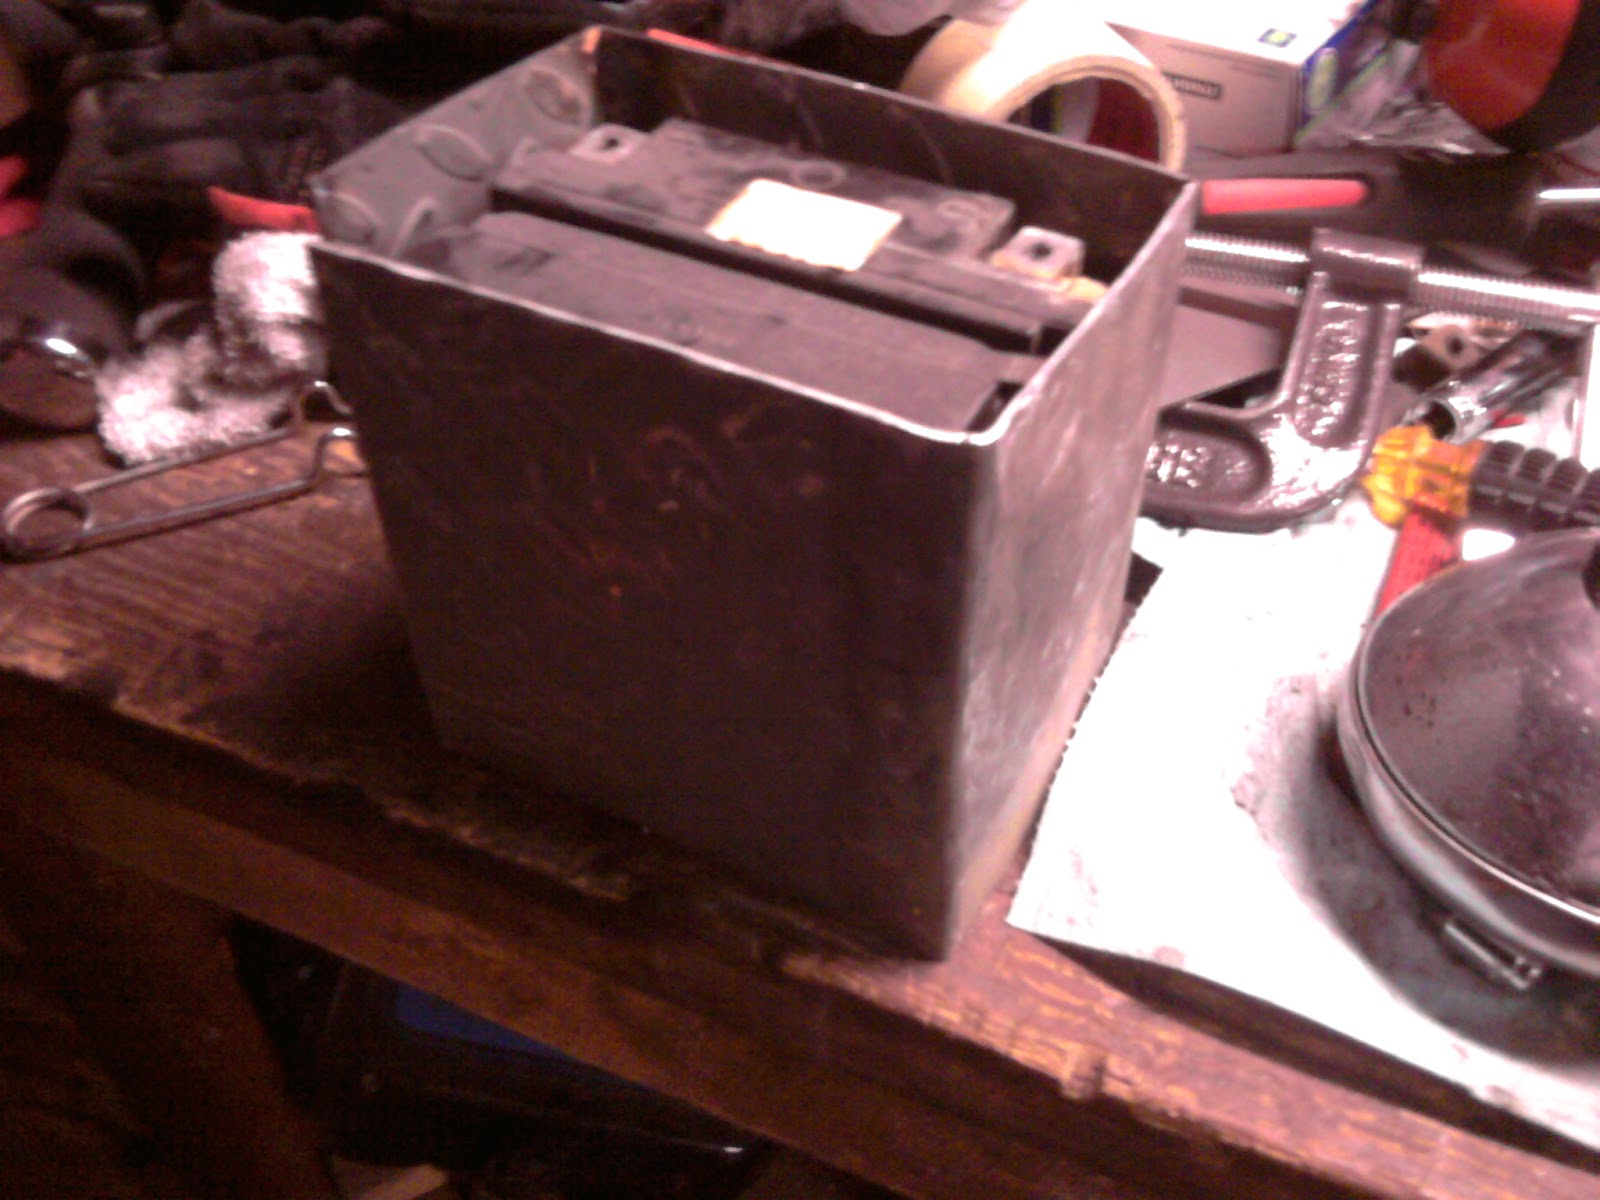
Another budget saving task at hand: the battery box. These things retail online for 50 clams, can't afford that so screw it, I'll build one. A nice neighbor scrounged some scrap 1/8 flat stock and diamond plate for me. So I used my grinder to make slow but somewhat square cuts...
My metal working skills are quite limited, but I was left with a sense of accomplishment at the end of the night.
Heat. Bend. Repeat.
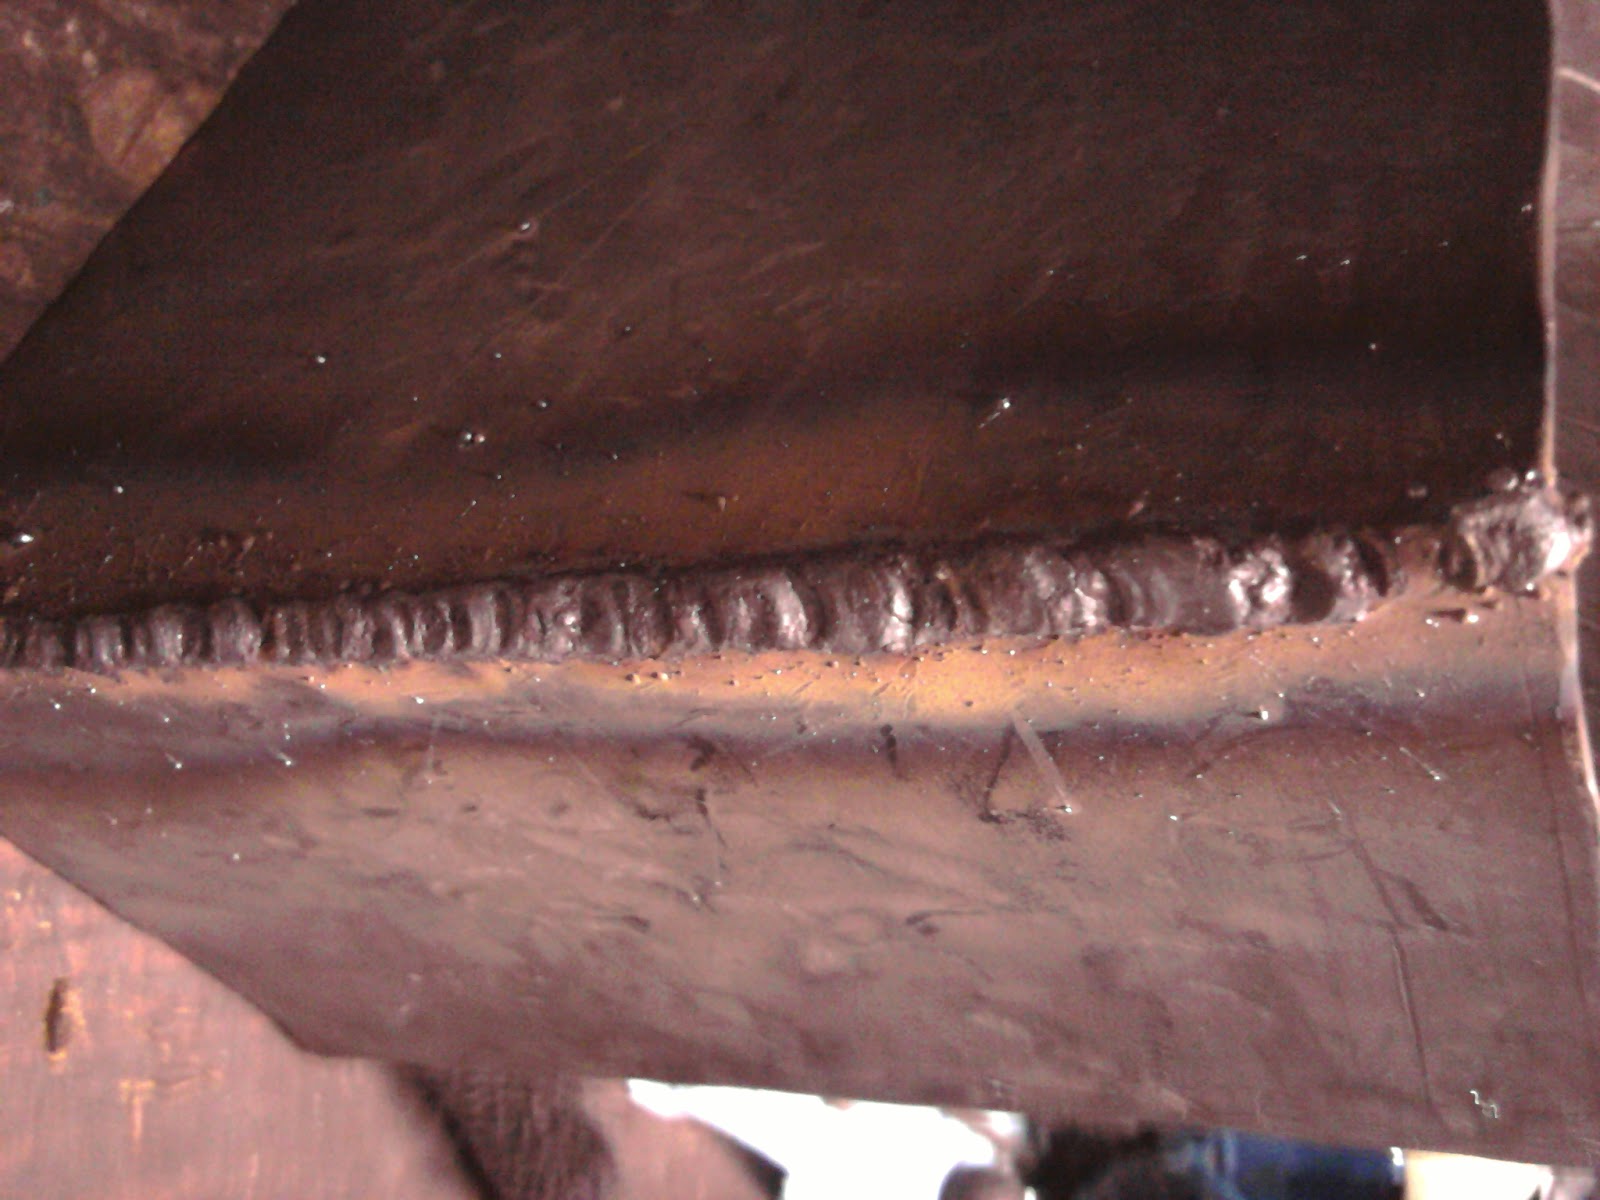
The weld ain't much to look at but whatever my battery won't hate me for it...
This site uses cookies to help personalise content, tailor your experience and to keep you logged in if you register.
By continuing to use this site, you are consenting to our use of cookies.

")