
We noticed you are blocking ads. DO THE TON only works with community supporters. Most are active members of the site with small businesses. Please consider disabling your ad blocking tool and checking out the businesses that help keep our site up and free.
You are using an out of date browser. It may not display this or other websites correctly.
You should upgrade or use an alternative browser.
You should upgrade or use an alternative browser.
XS650 Project Black Beauty --- On The Road Yet???
- Thread starter leggers
- Start date
leggers
Active Member
Re: XS650 Project Black Beauty --- Rolling Chassis
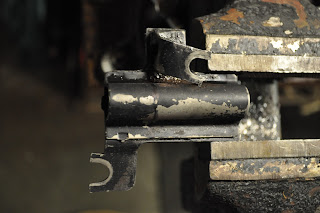
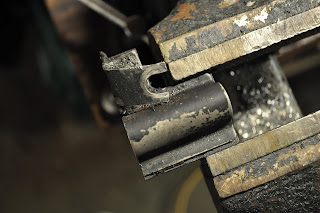
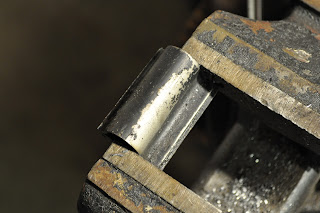
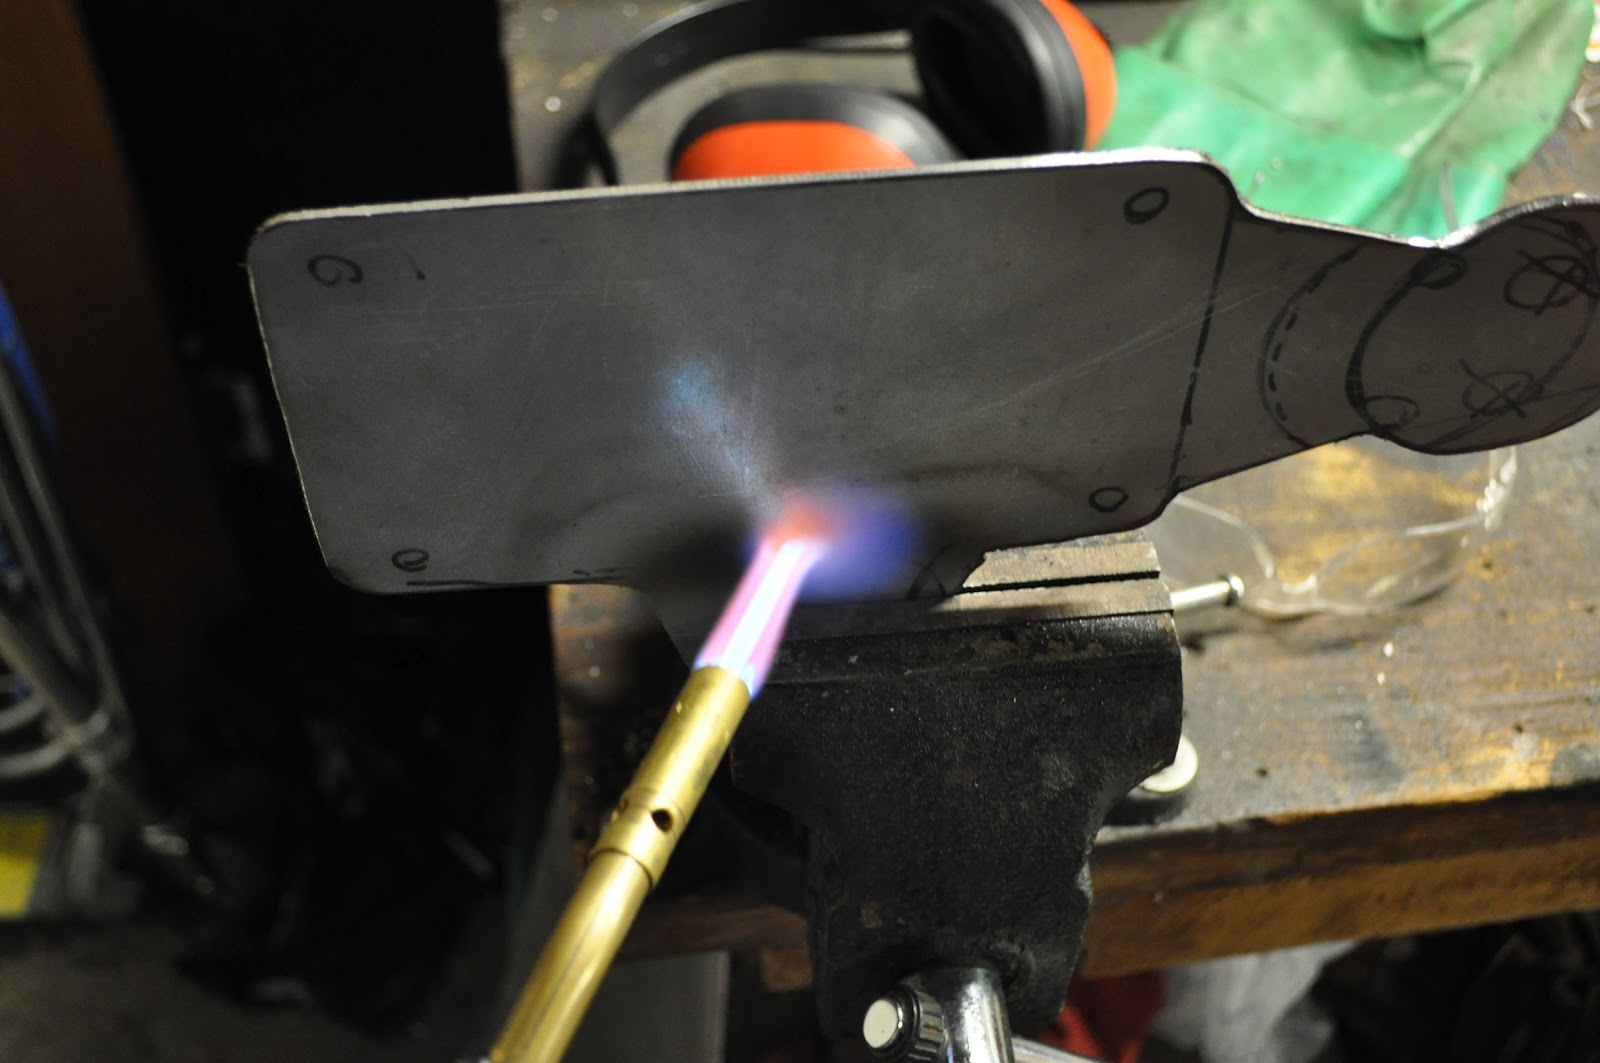
lol yea, its not something that I might recommend to others since it took some time and a lot of hammering. However it did get the job done. Also to note, I scored the edges that were being folded with a grinder to get a semi-straight seam/bend, it helped out a lot.
Sonreir said:I had no idea a propane blow torch got hot enough to bend steel. Every day is a school day.
lol yea, its not something that I might recommend to others since it took some time and a lot of hammering. However it did get the job done. Also to note, I scored the edges that were being folded with a grinder to get a semi-straight seam/bend, it helped out a lot.
Re: XS650 Project Black Beauty --- Rolling Chassis
yep at my work we cut up wrecked locomotives and rebuild them. propane/o2 cutting heating rigs are niceVonYinzer said:We use propane (with O2) at work with a cutting torch attachment to cut through 3" thick plate steel. Hell we cut through anything with it. I just had to burn a hole in a 5" thick cast iron "box" this week.
leggers
Active Member
Re: XS650 Project Black Beauty --- Rolling Chassis
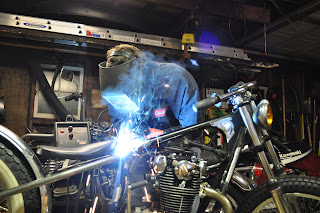
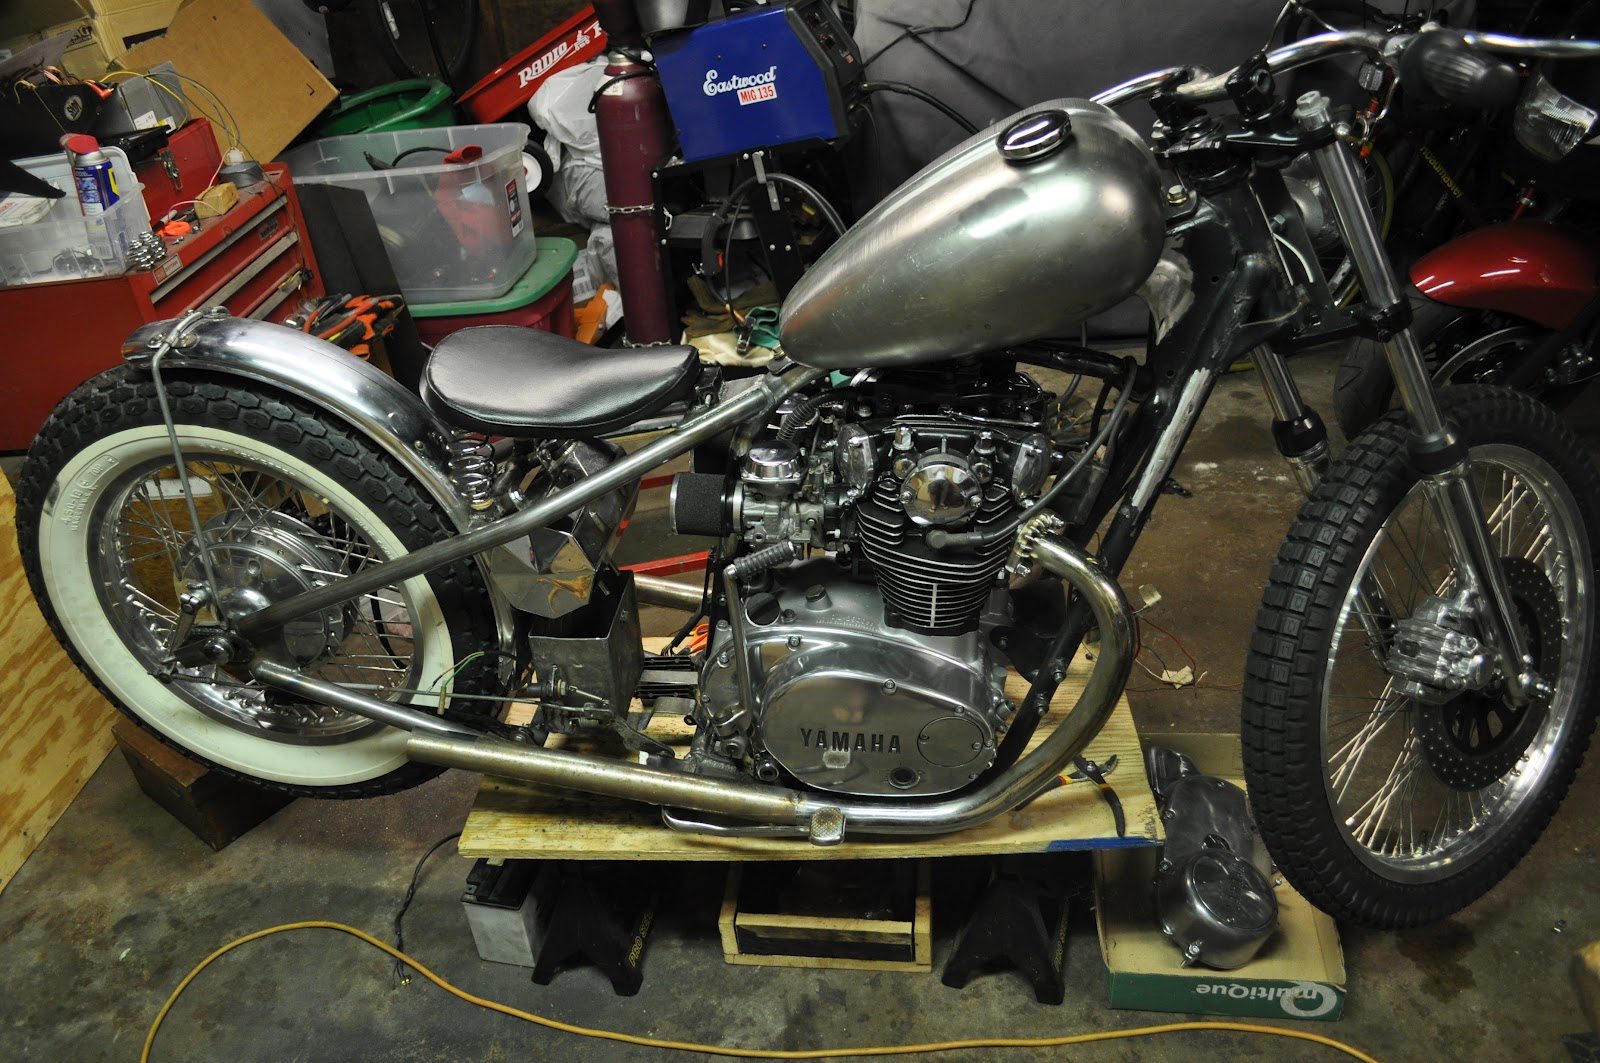
Progress feels good. Especially when you have two of your buds help lift a "heavier than it looked" engine off a stand and slap it into a frame. Well it didn't quite get slapped in, but the entire feat was accomplished one Monday night with the help of a few beverages.")
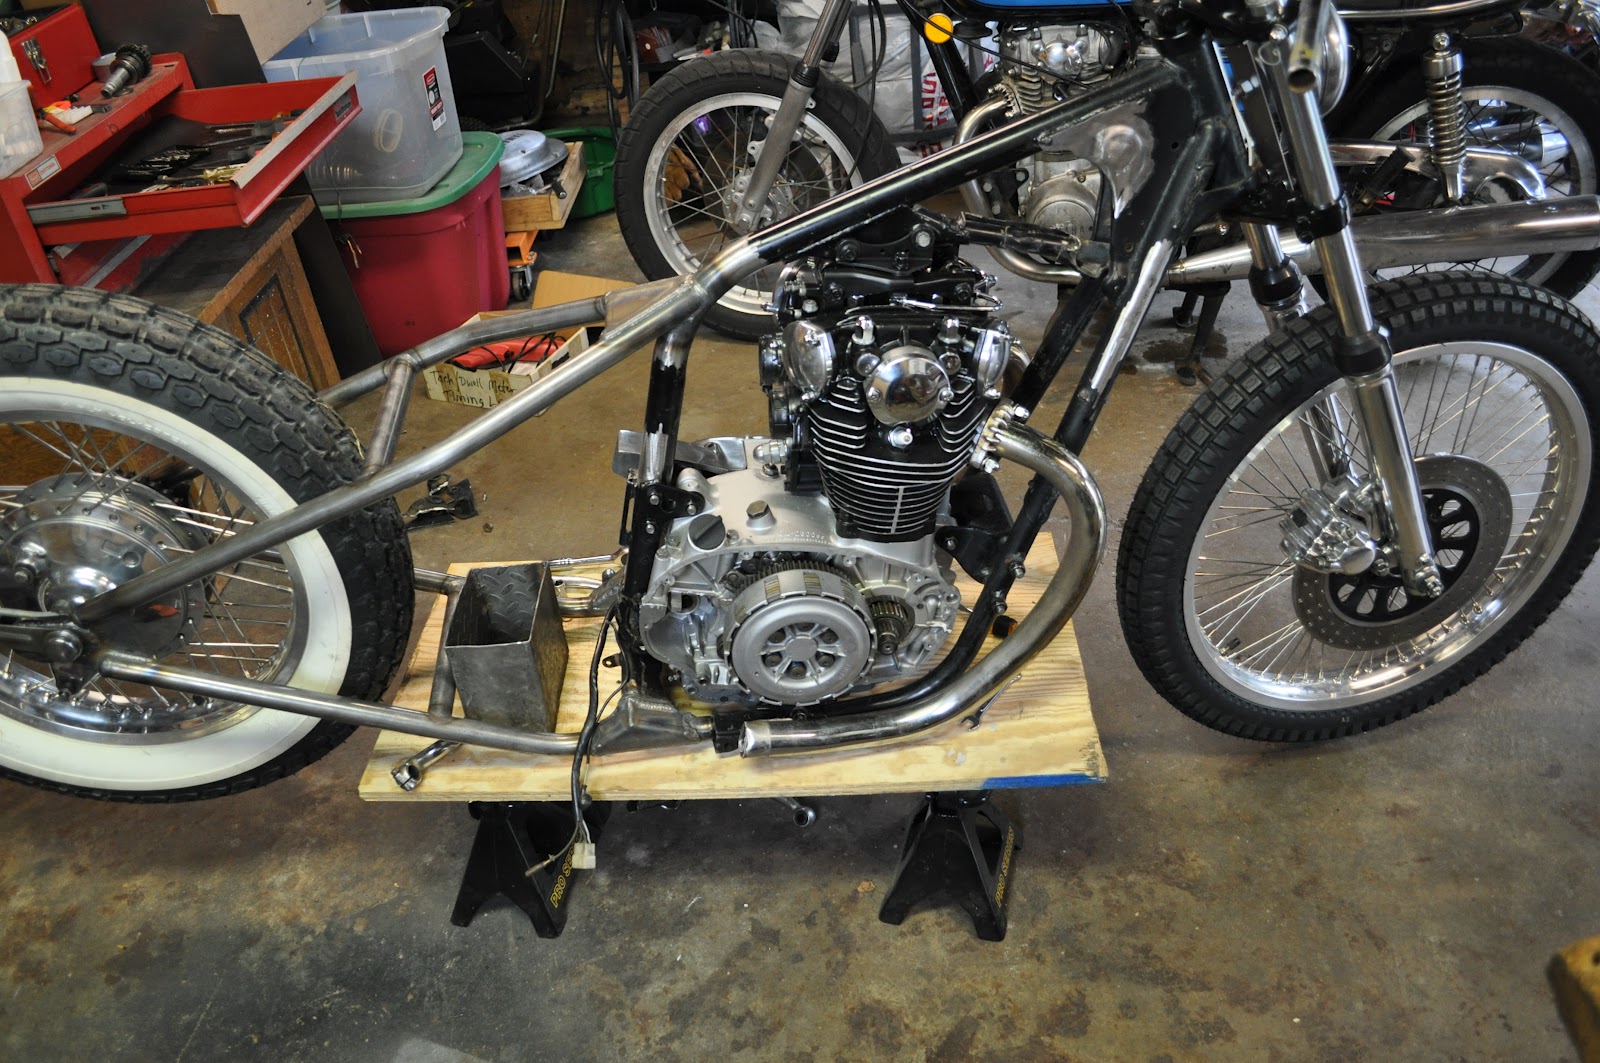
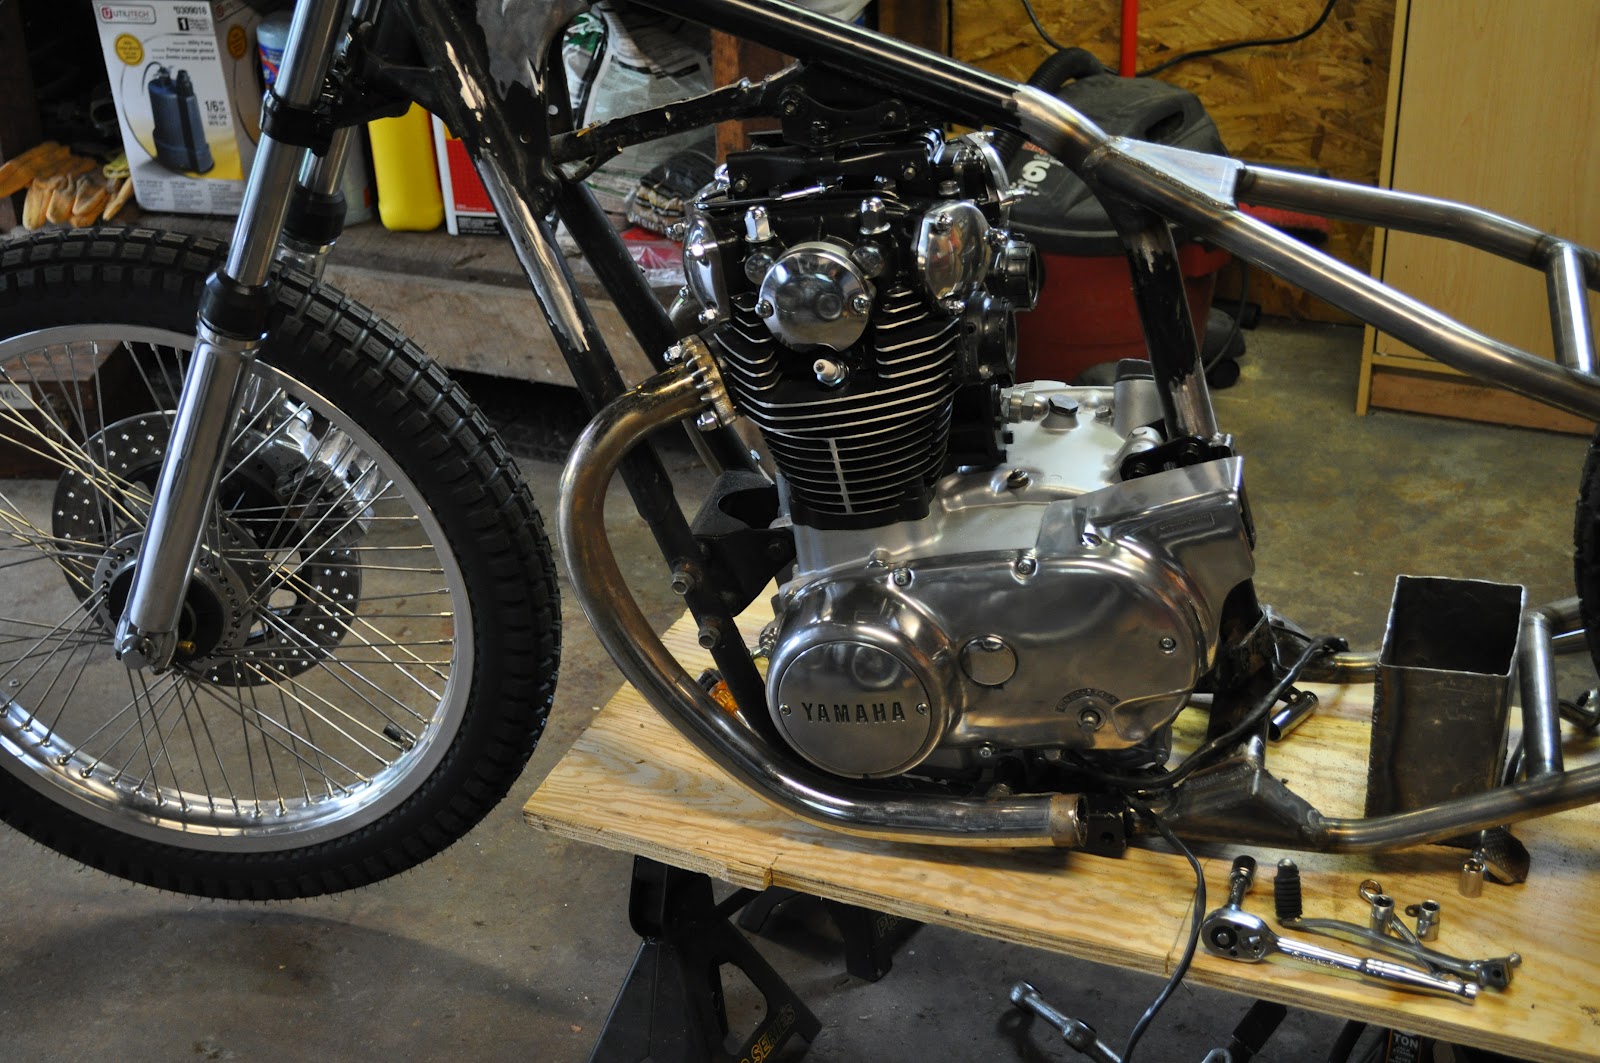
Progress feels good. Especially when you have two of your buds help lift a "heavier than it looked" engine off a stand and slap it into a frame. Well it didn't quite get slapped in, but the entire feat was accomplished one Monday night with the help of a few beverages.
leggers
Active Member
Re: XS650 Project Black Beauty --- Rolling Chassis
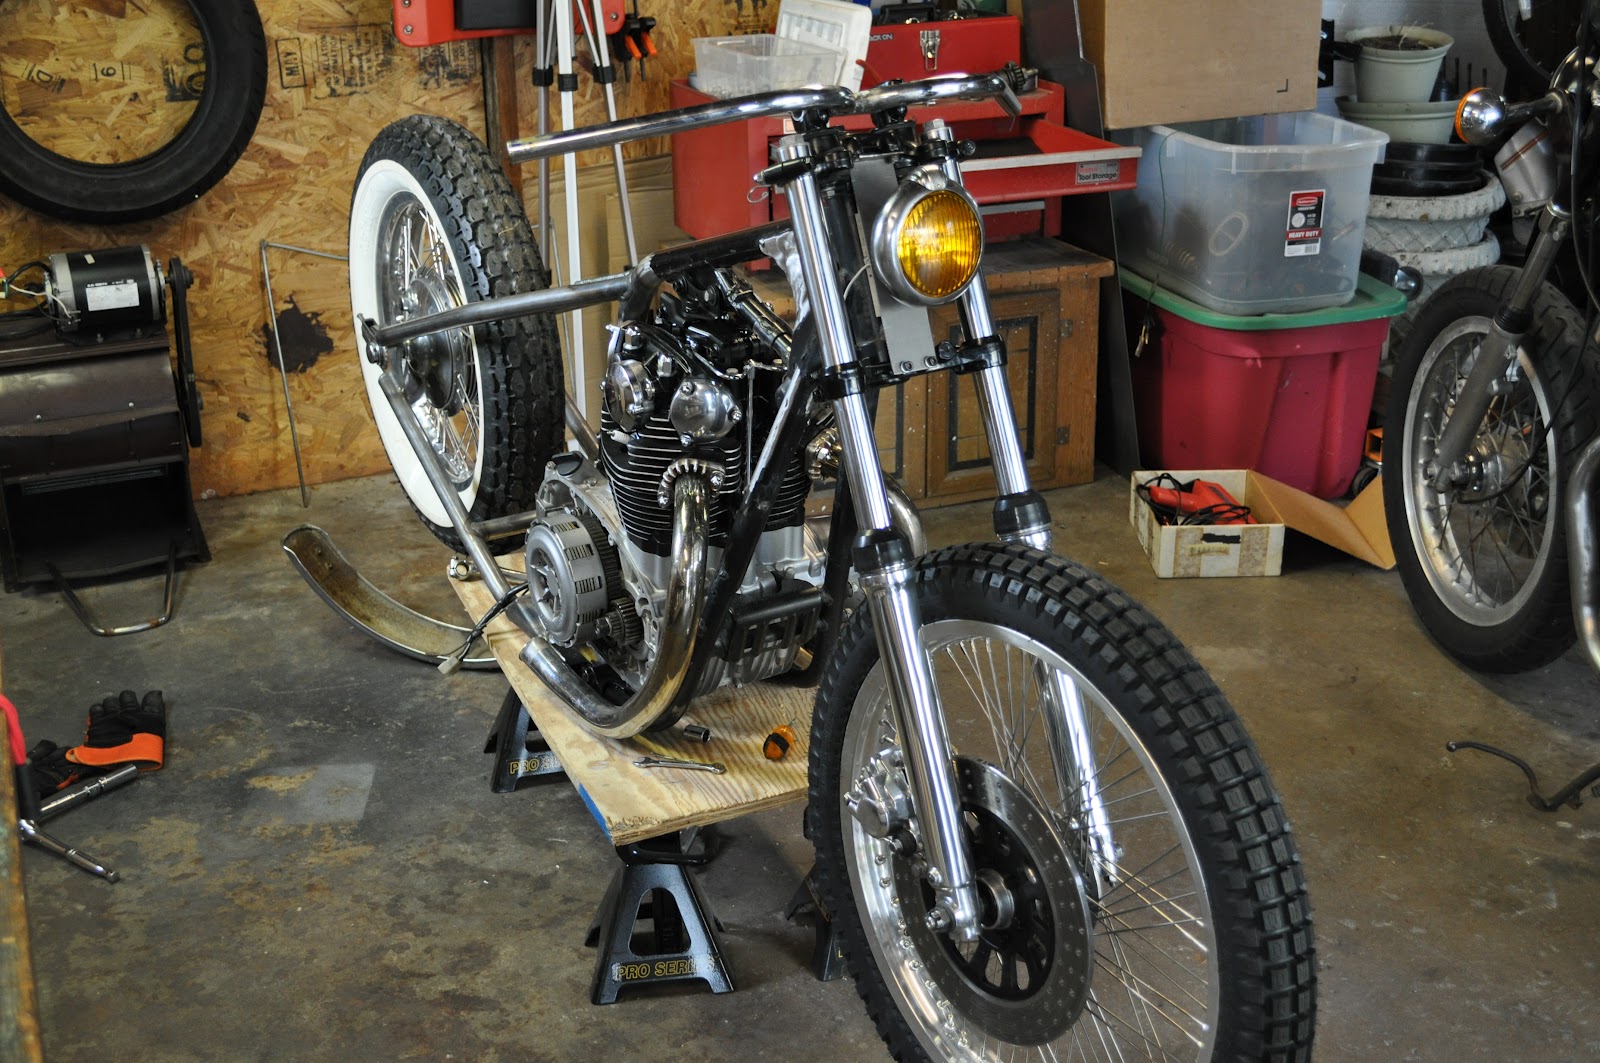
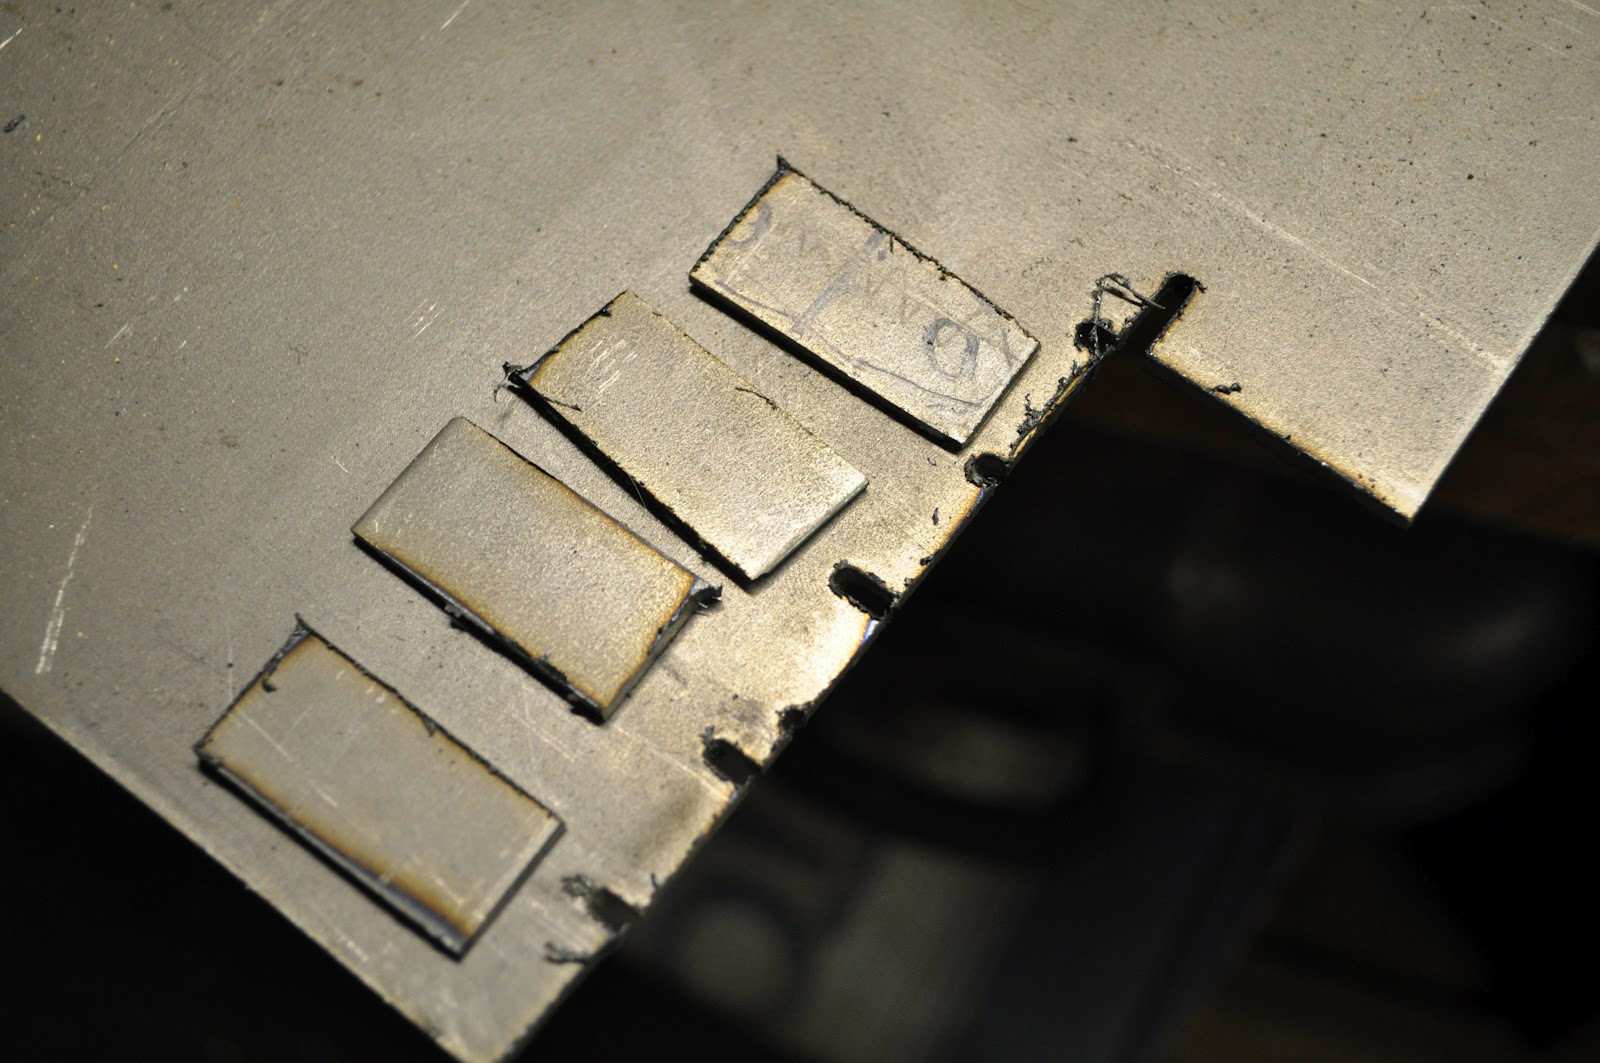
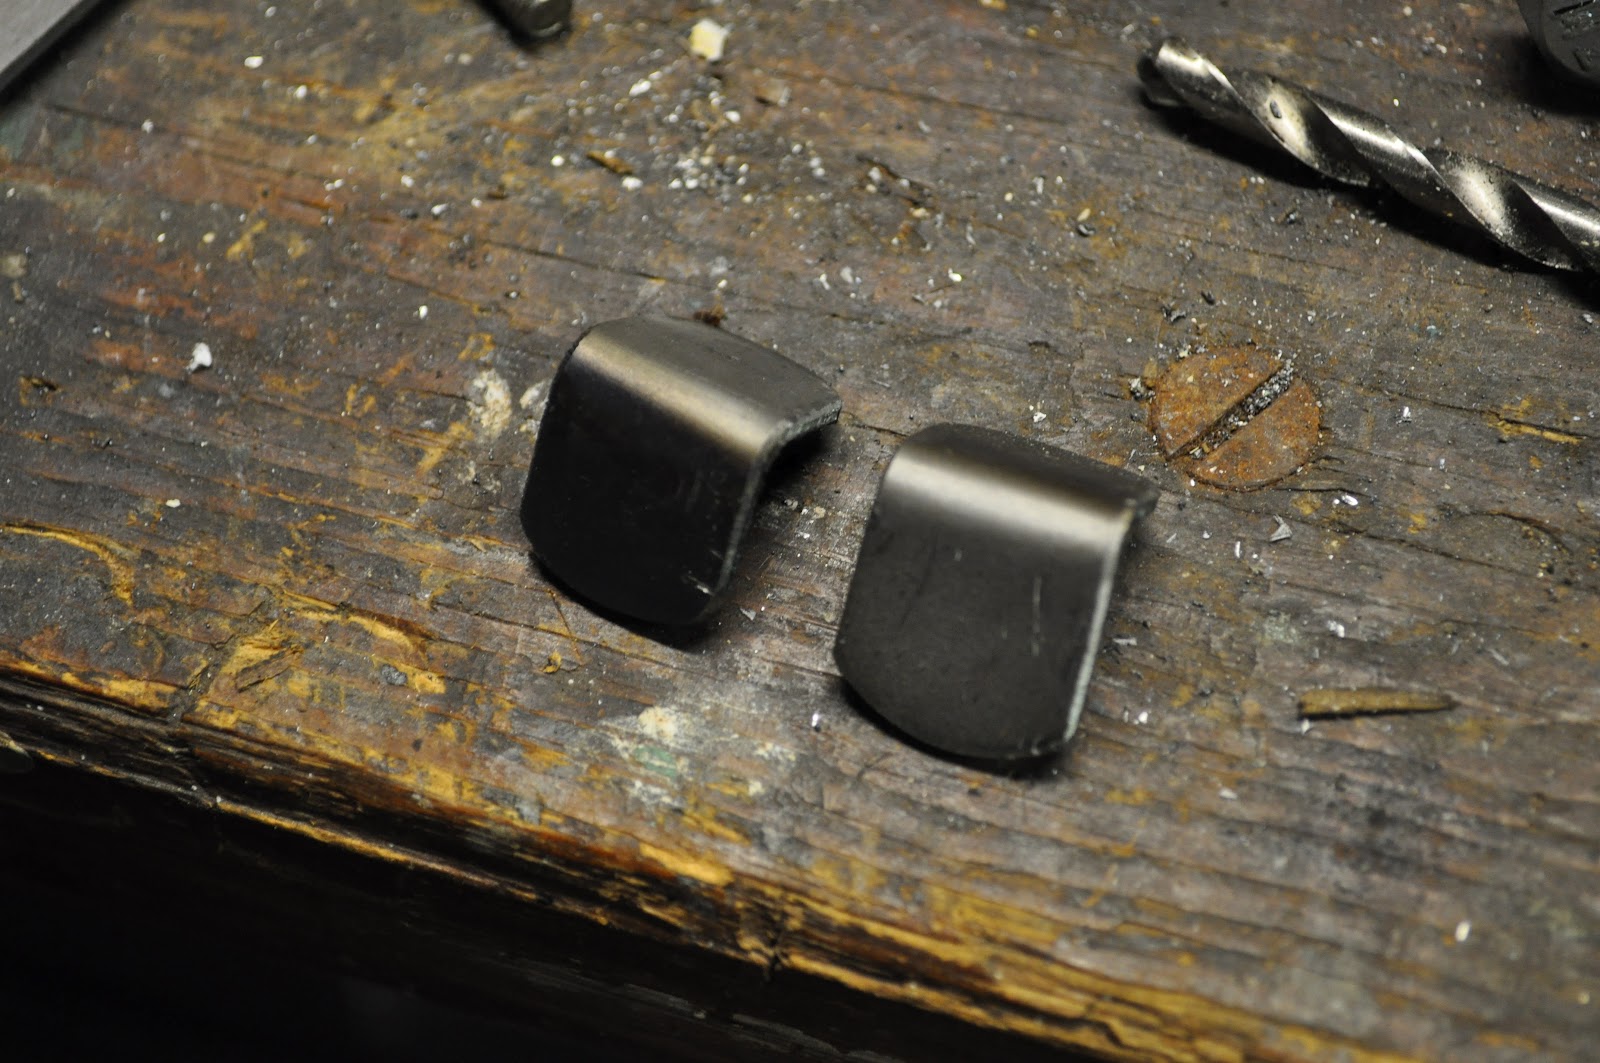
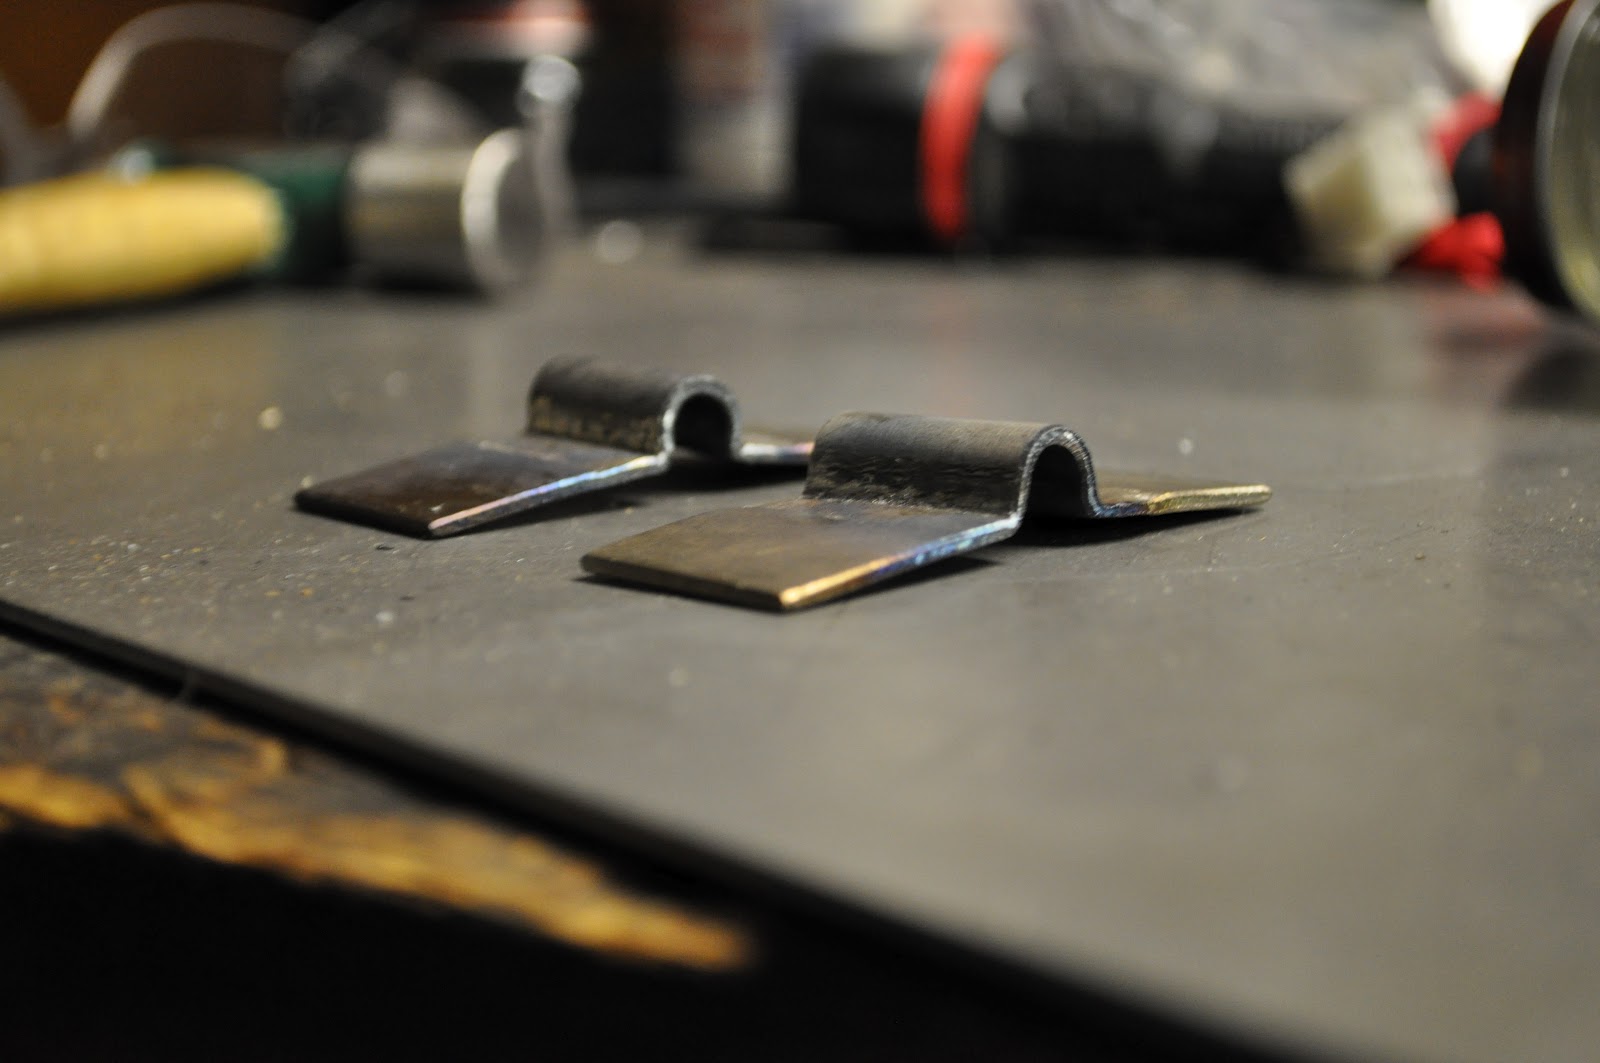
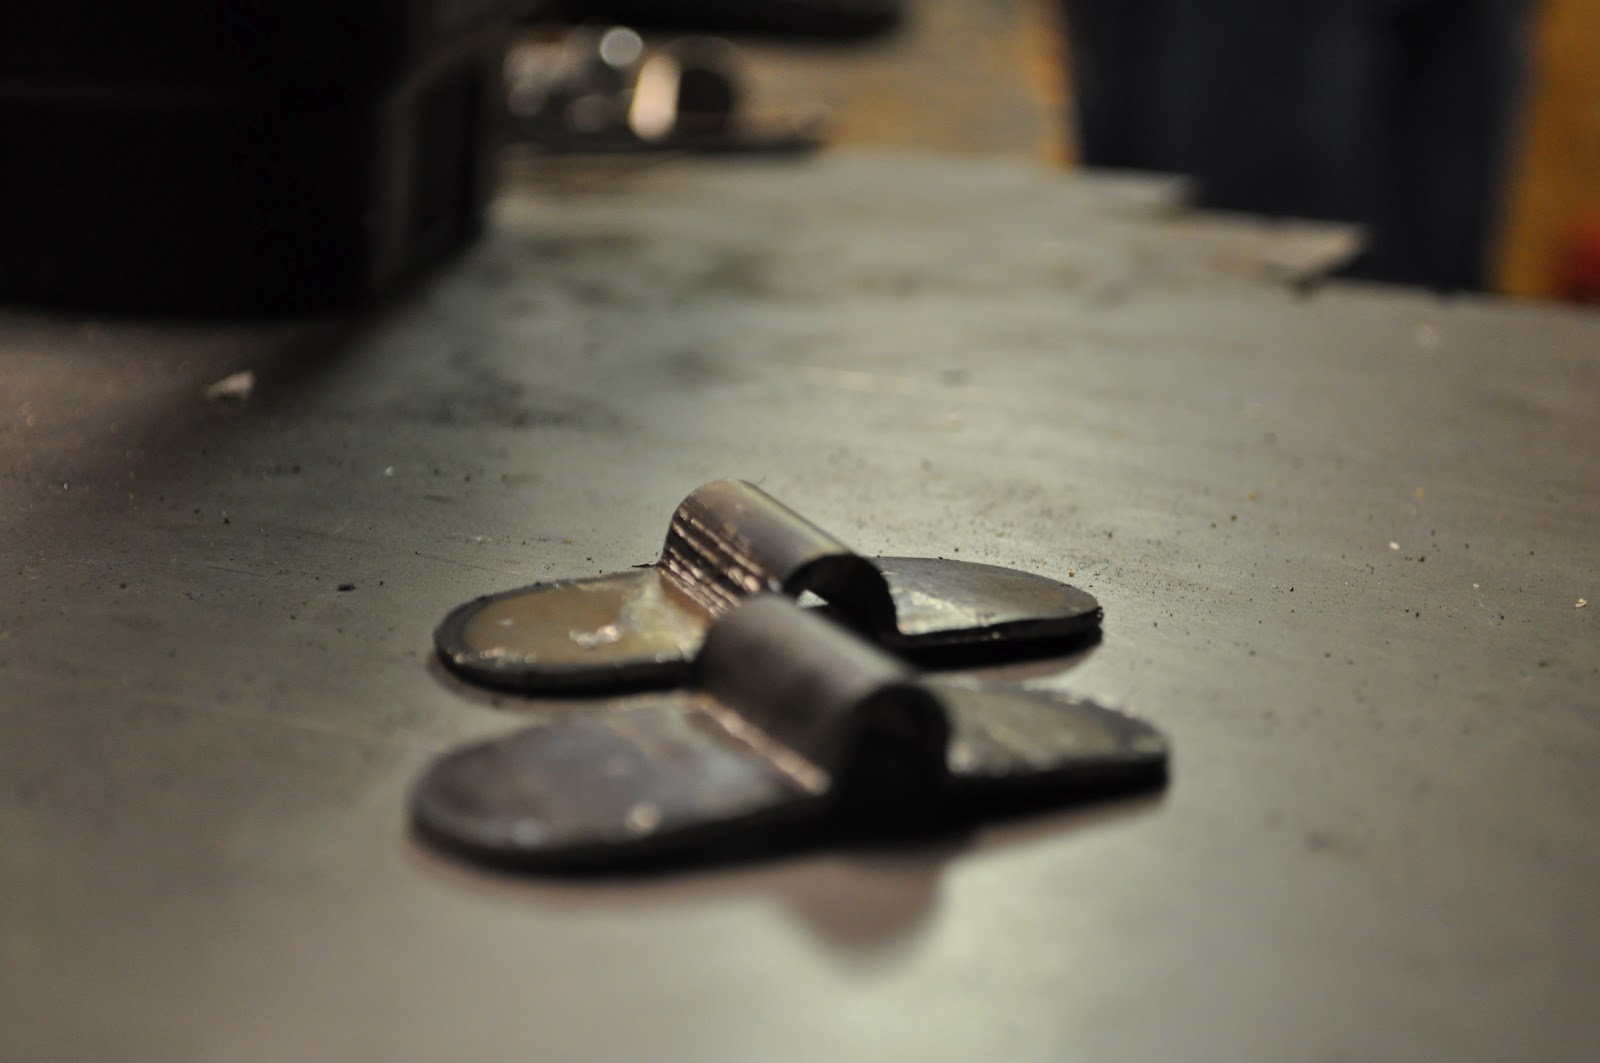
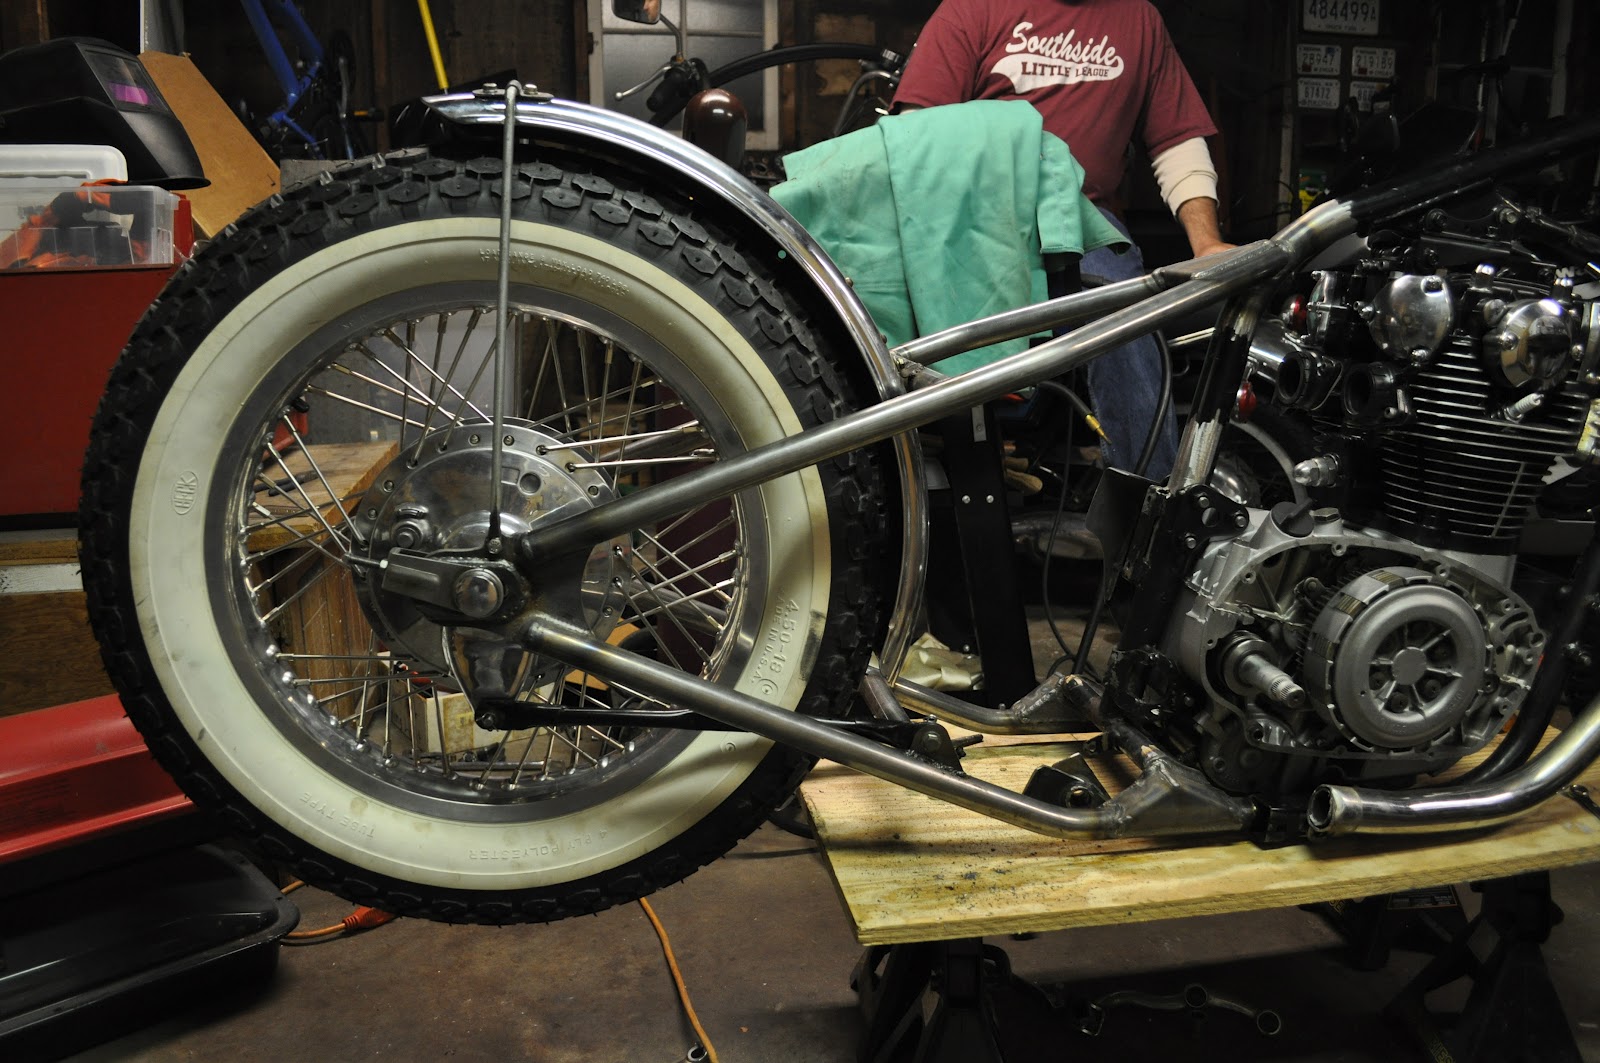
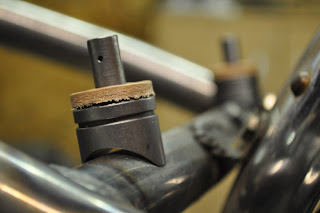
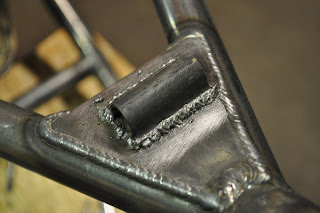
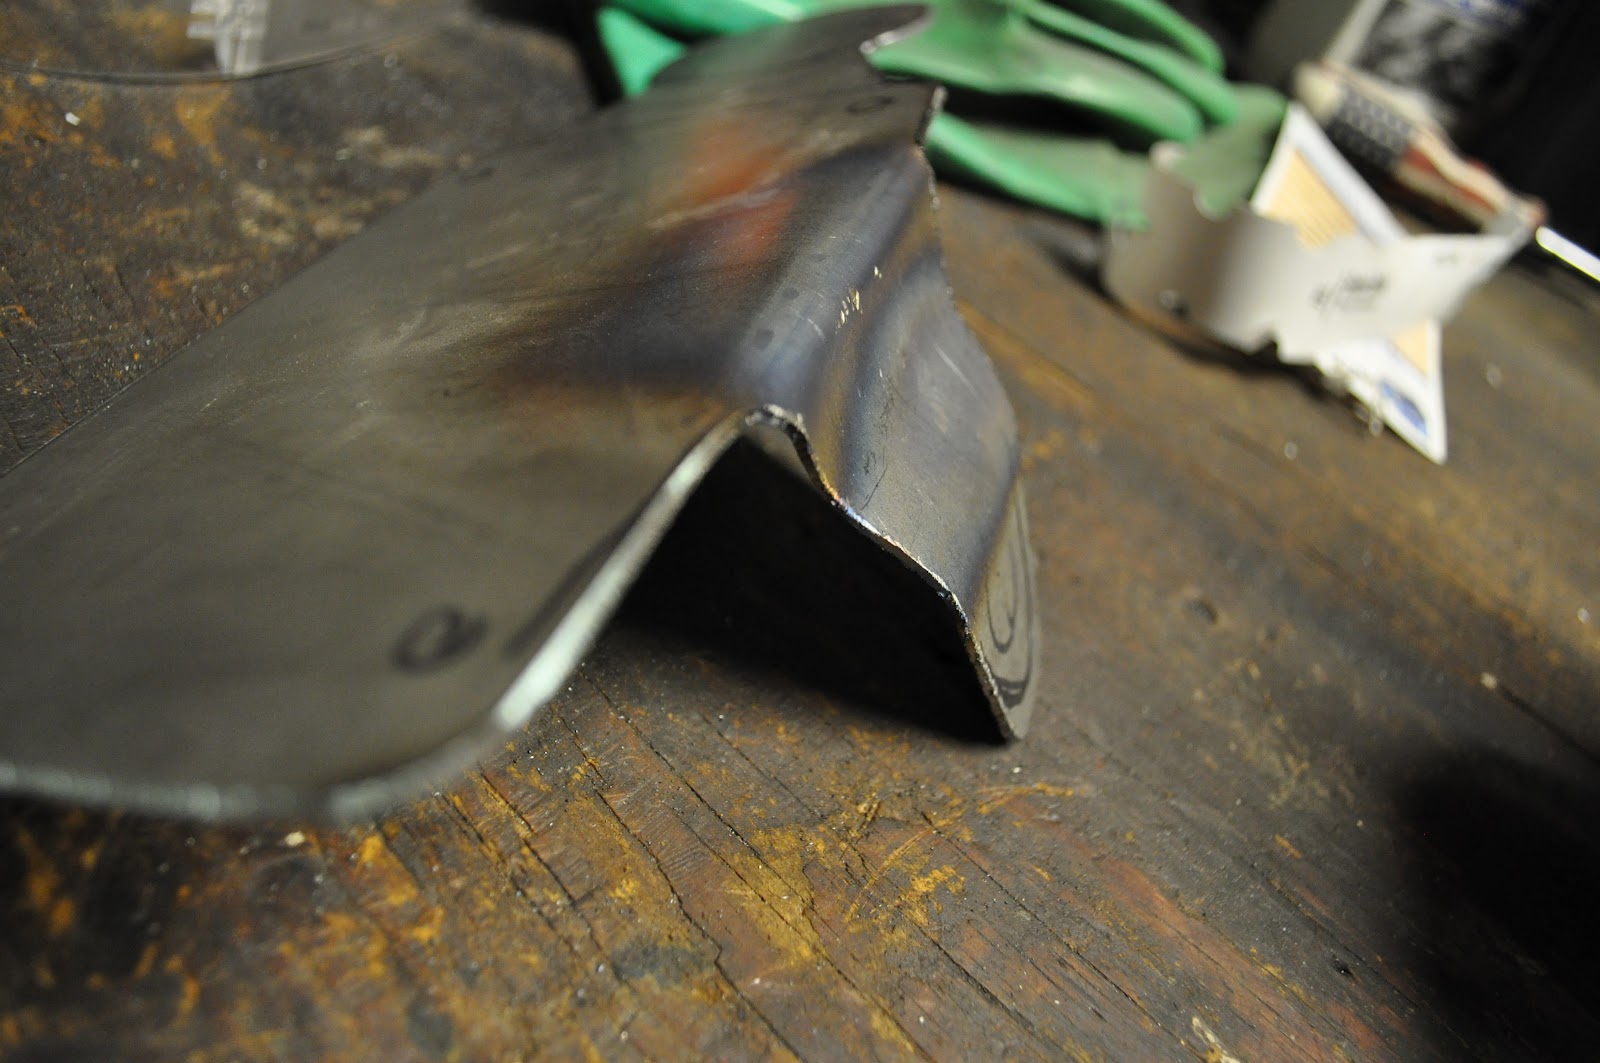
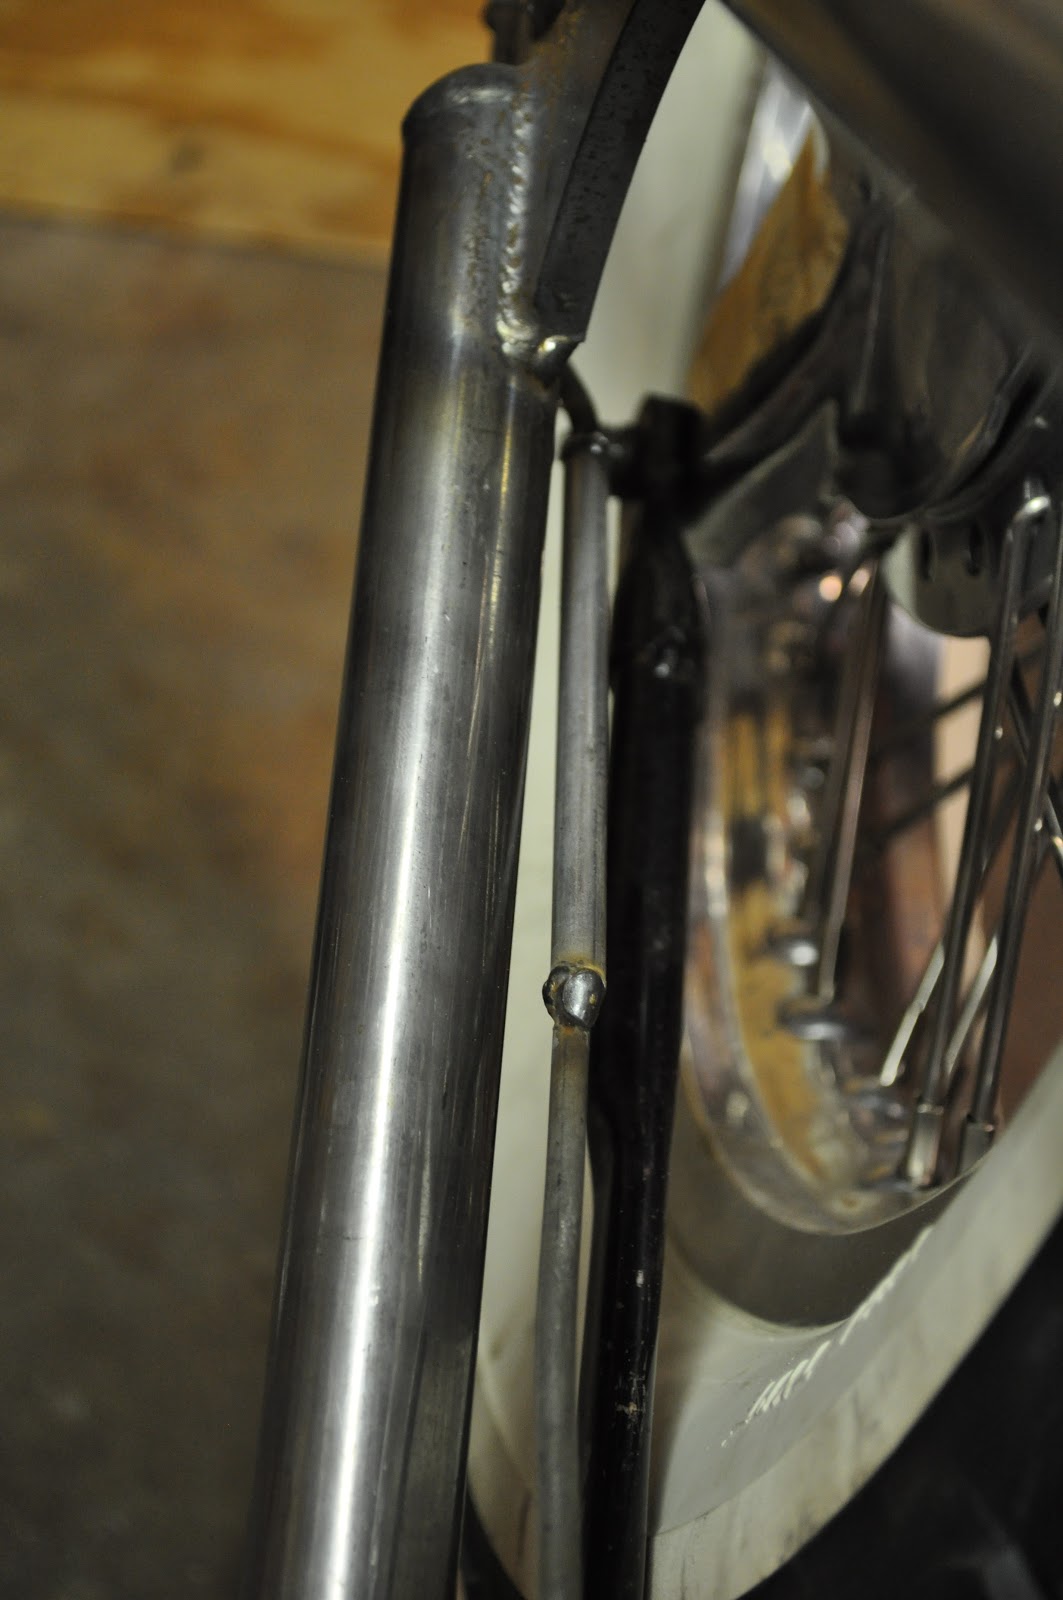
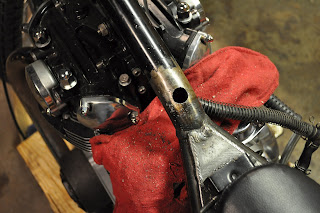
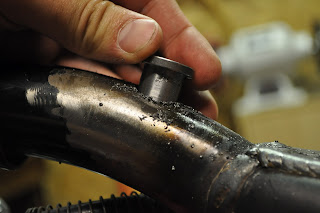
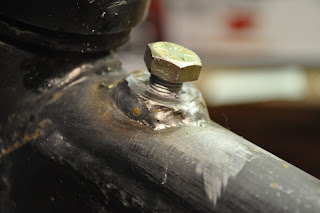
Worked on the fender mounting some more. Banged out some tabs from scrap, and welded to the frame. The fender bracket was bent by hand also and has a few imperfections but looks decent, very minimalist.
Brake stay tab was also welded on, and next big step for me will be the brake lever and linkage control.
leggers
Active Member
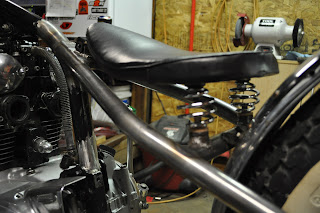
Re: XS650 Project Black Beauty --- Seat ON
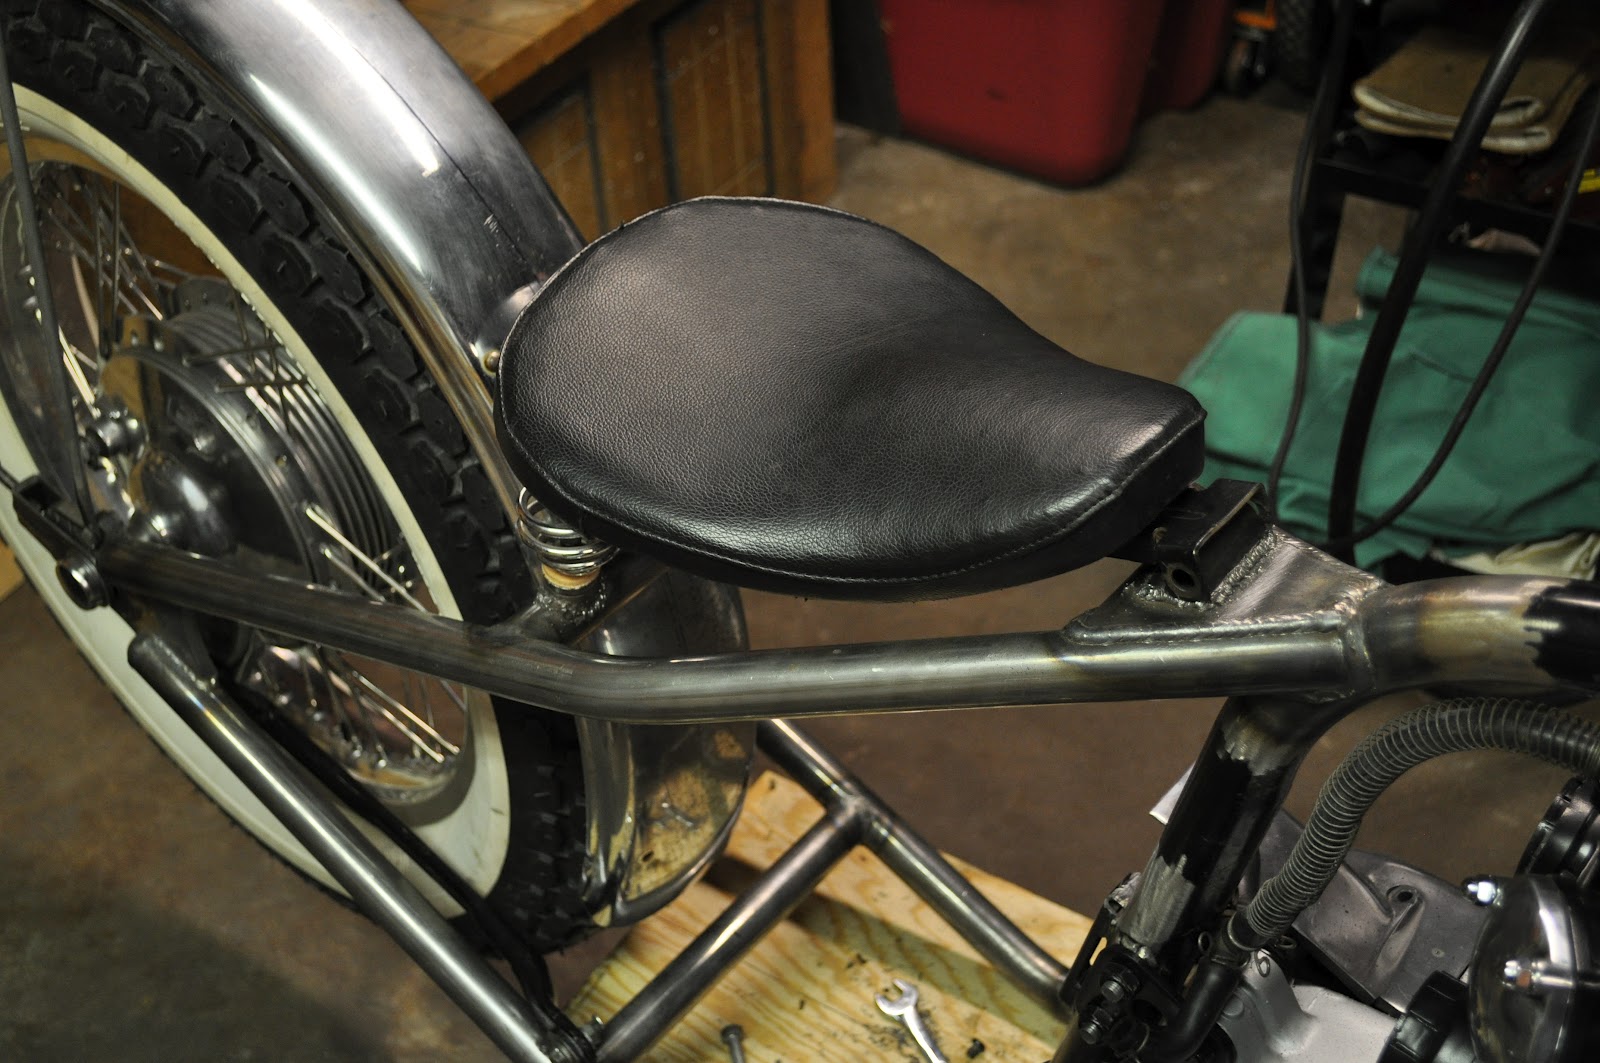
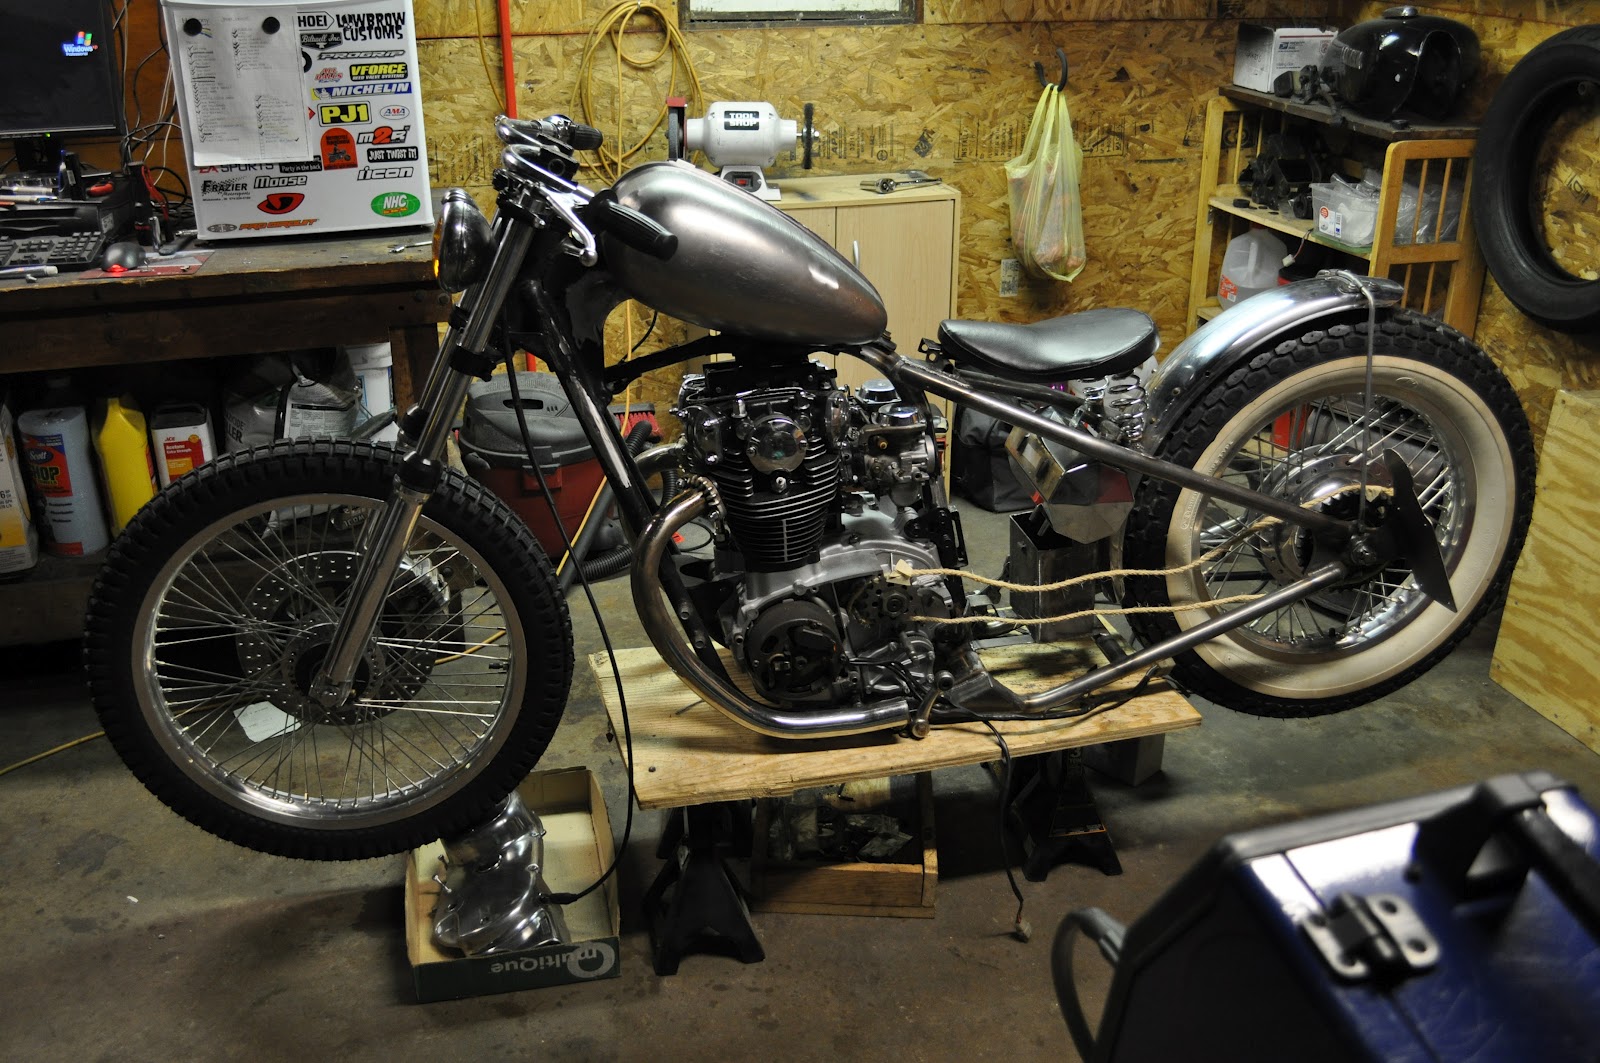
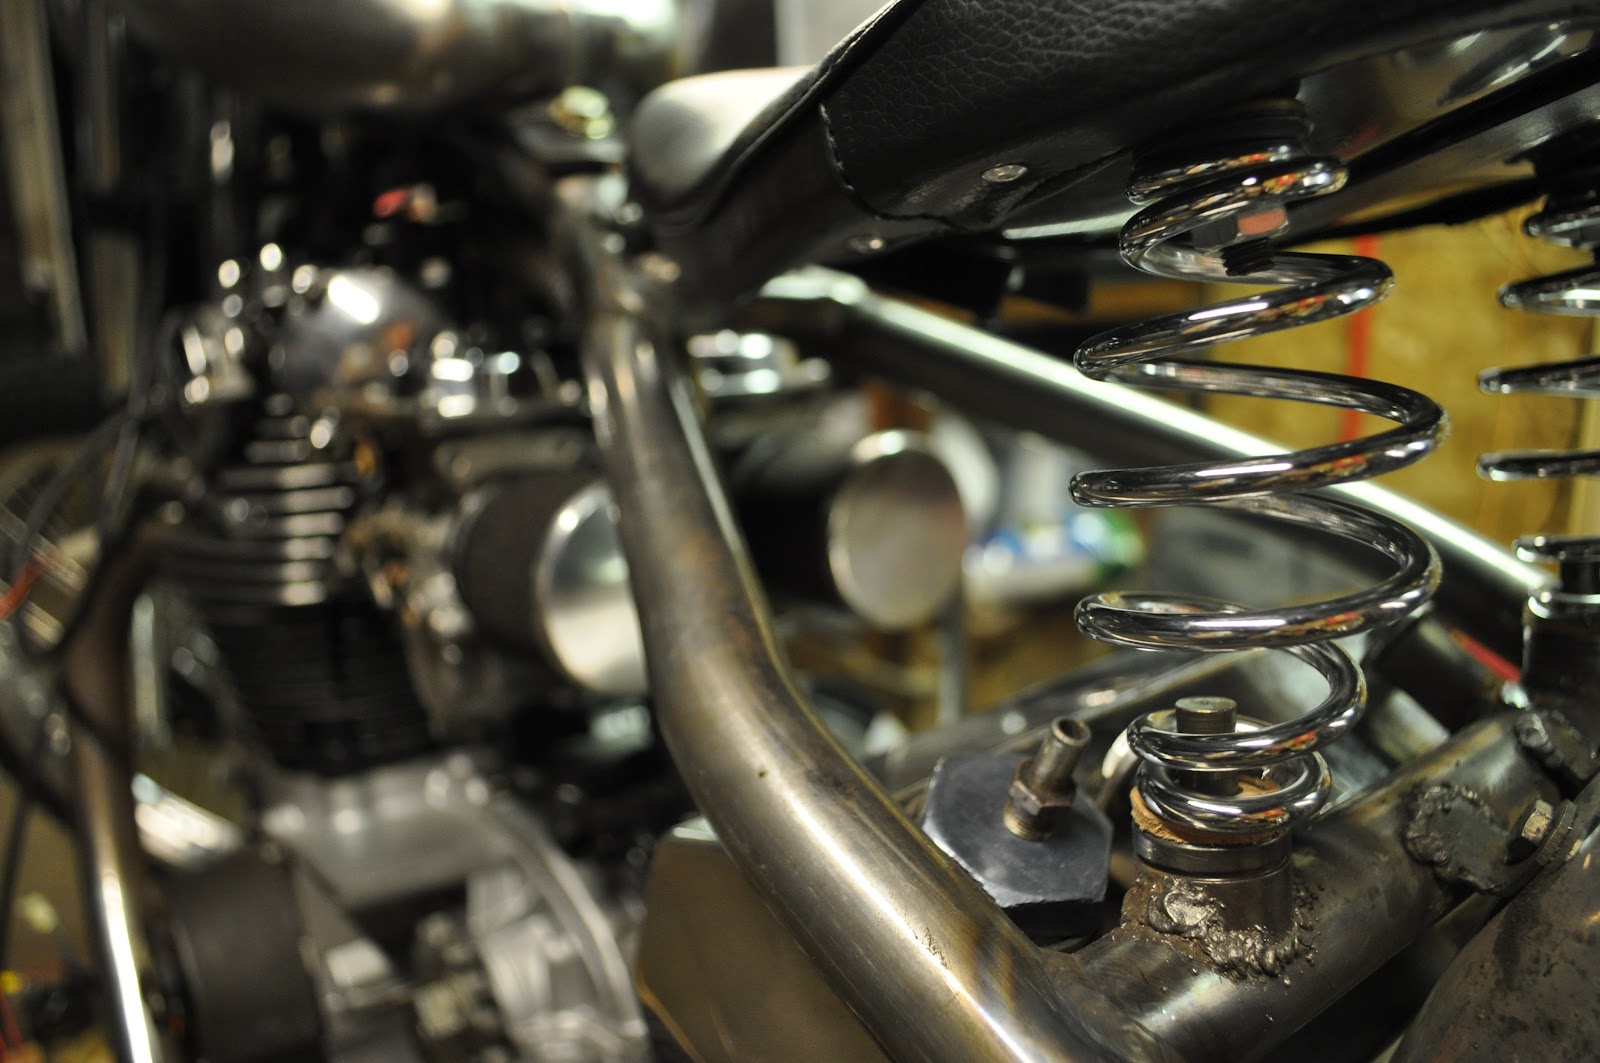
Yay the solo seat finally came in the mail. I cannibalized a piece from the old center stand to use as the mount for the front of the seat. My lovely wife bought me the spring pegs for my birthday. I'll let the pictures do the talking because there's really not much to say else to say.
Thanks!VonYinzer said:That looks great man! Keep it up!
Yay the solo seat finally came in the mail. I cannibalized a piece from the old center stand to use as the mount for the front of the seat. My lovely wife bought me the spring pegs for my birthday. I'll let the pictures do the talking because there's really not much to say else to say.
leggers
Active Member
Re: XS650 Project Black Beauty --- Seat ON
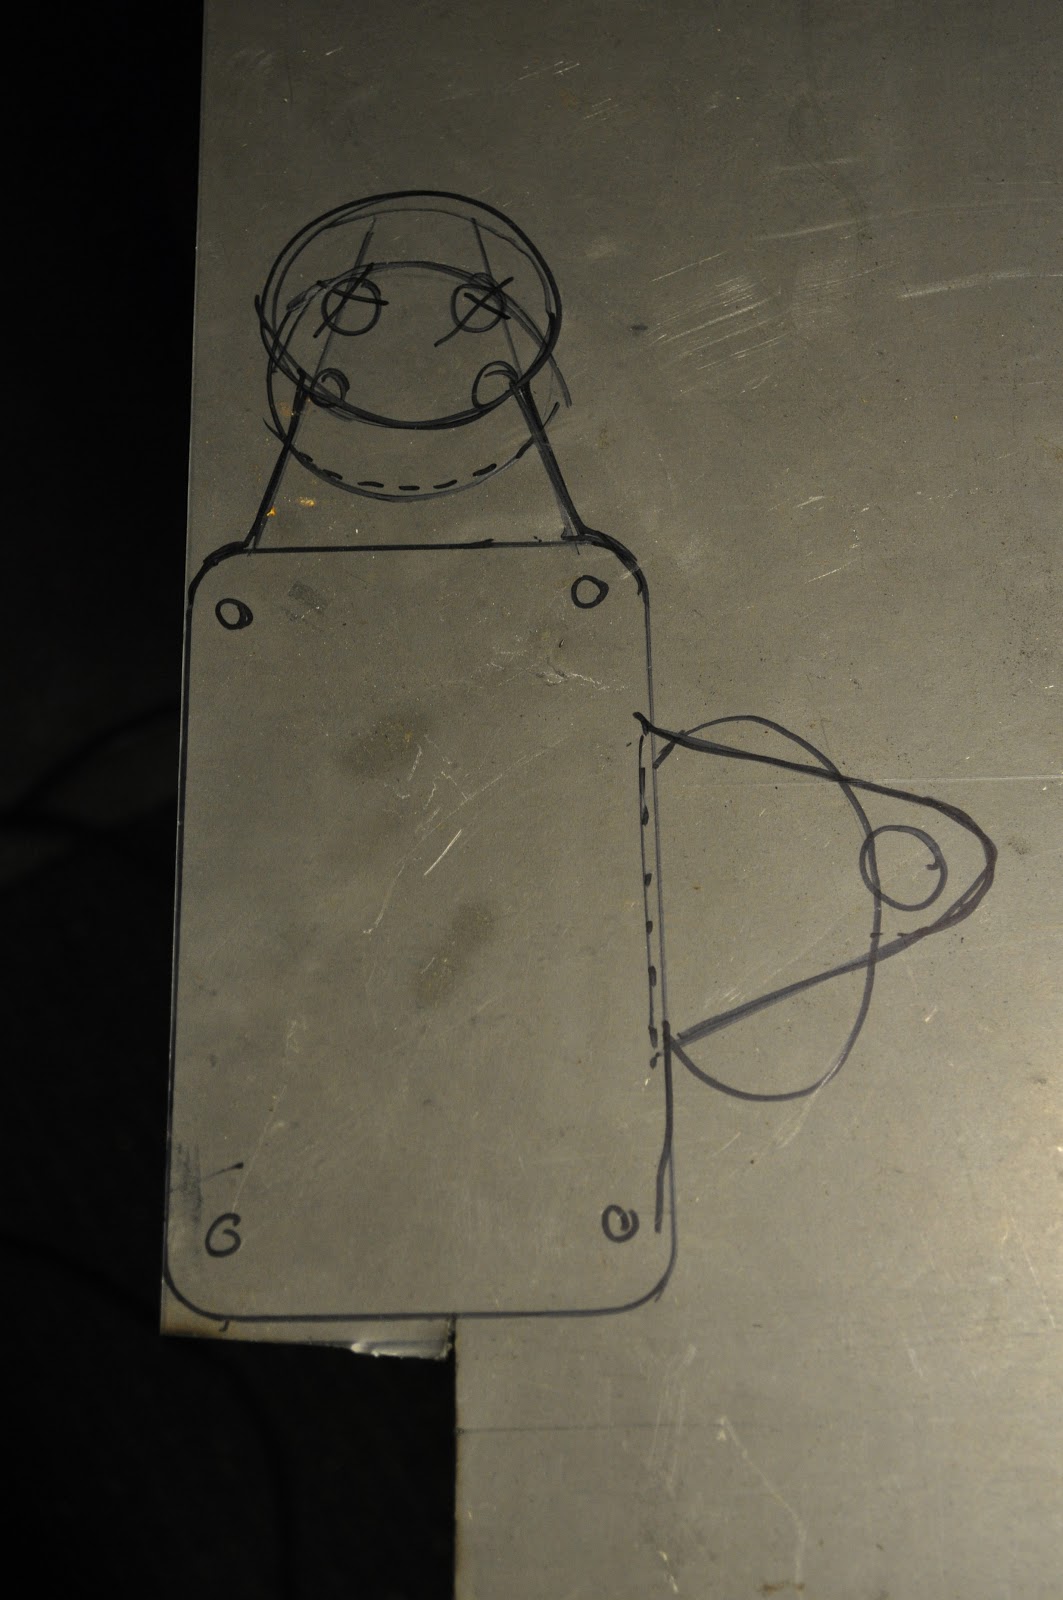
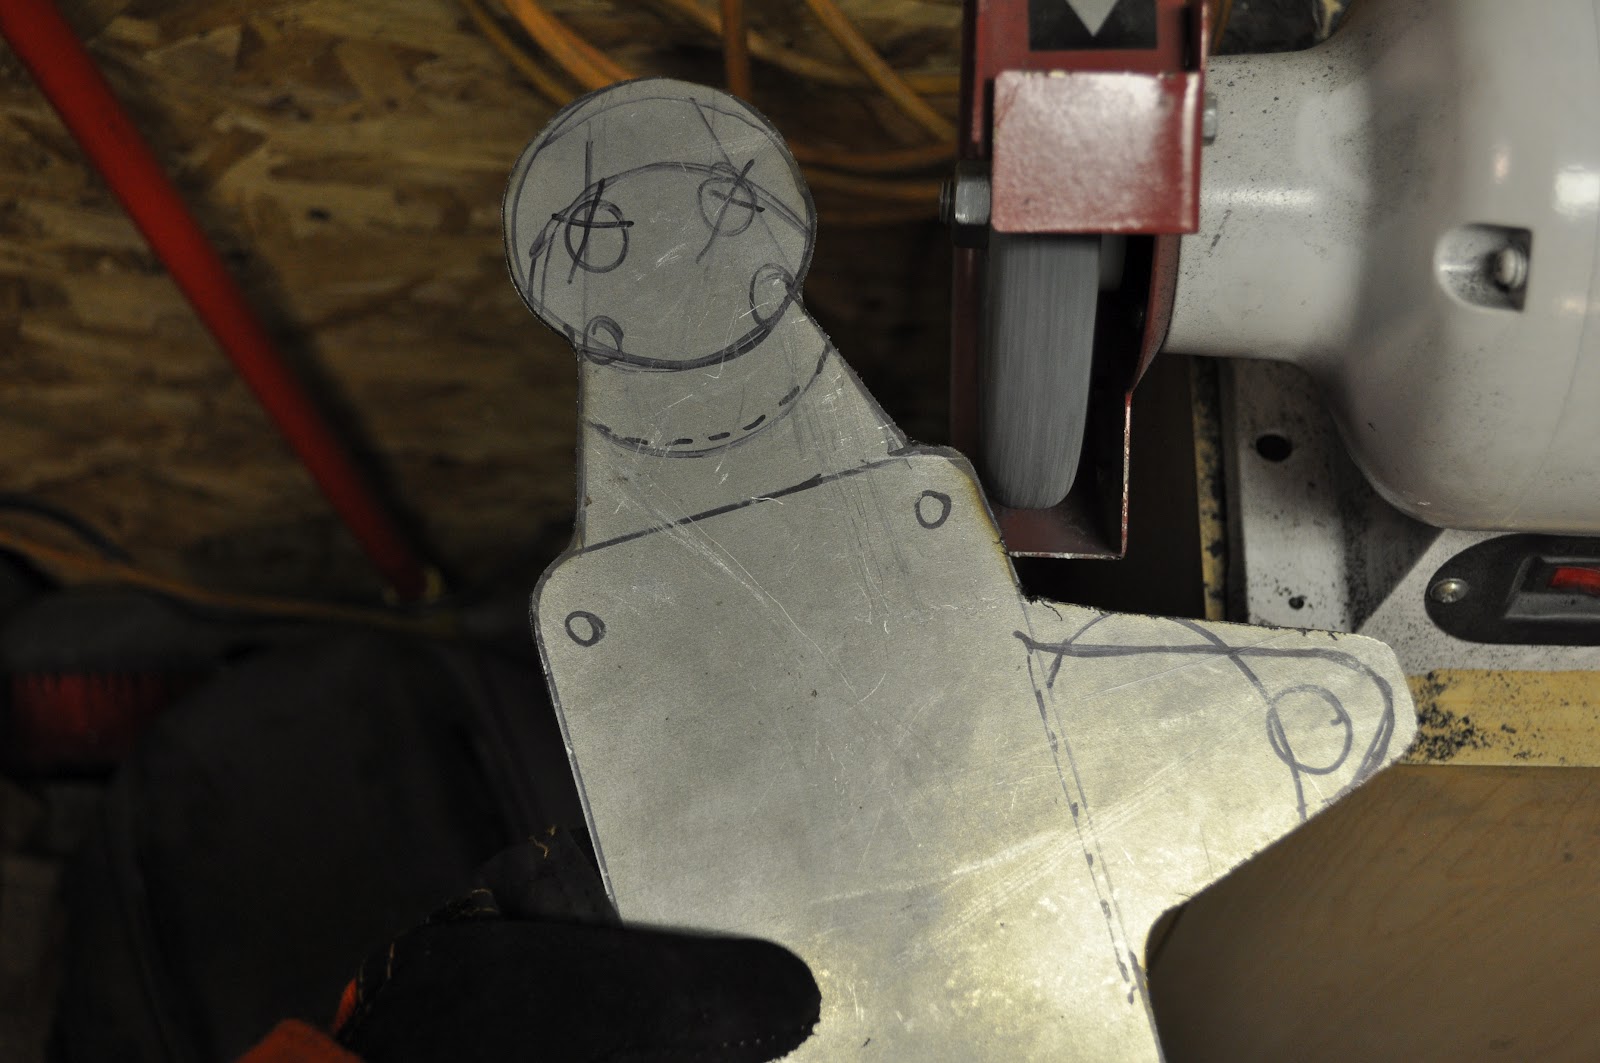
License plate frame! I just traced a template from a license plate, then added some freehand tabs for the axle and stop/running light.
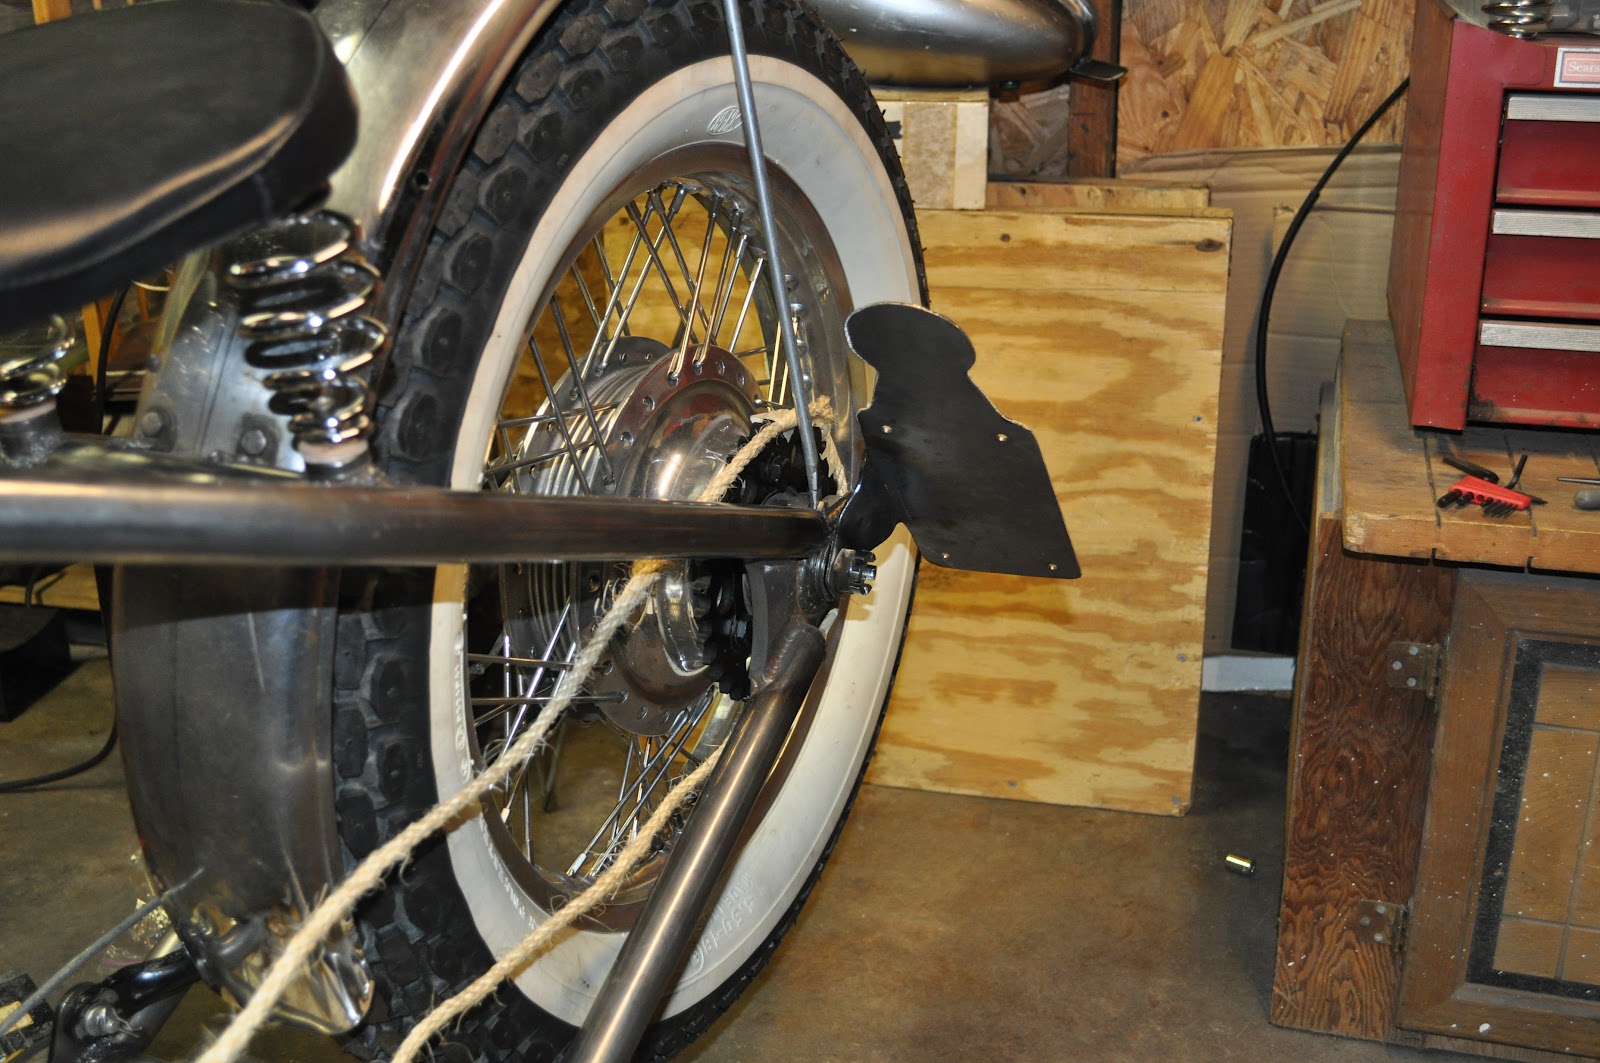
I hope that chain will last
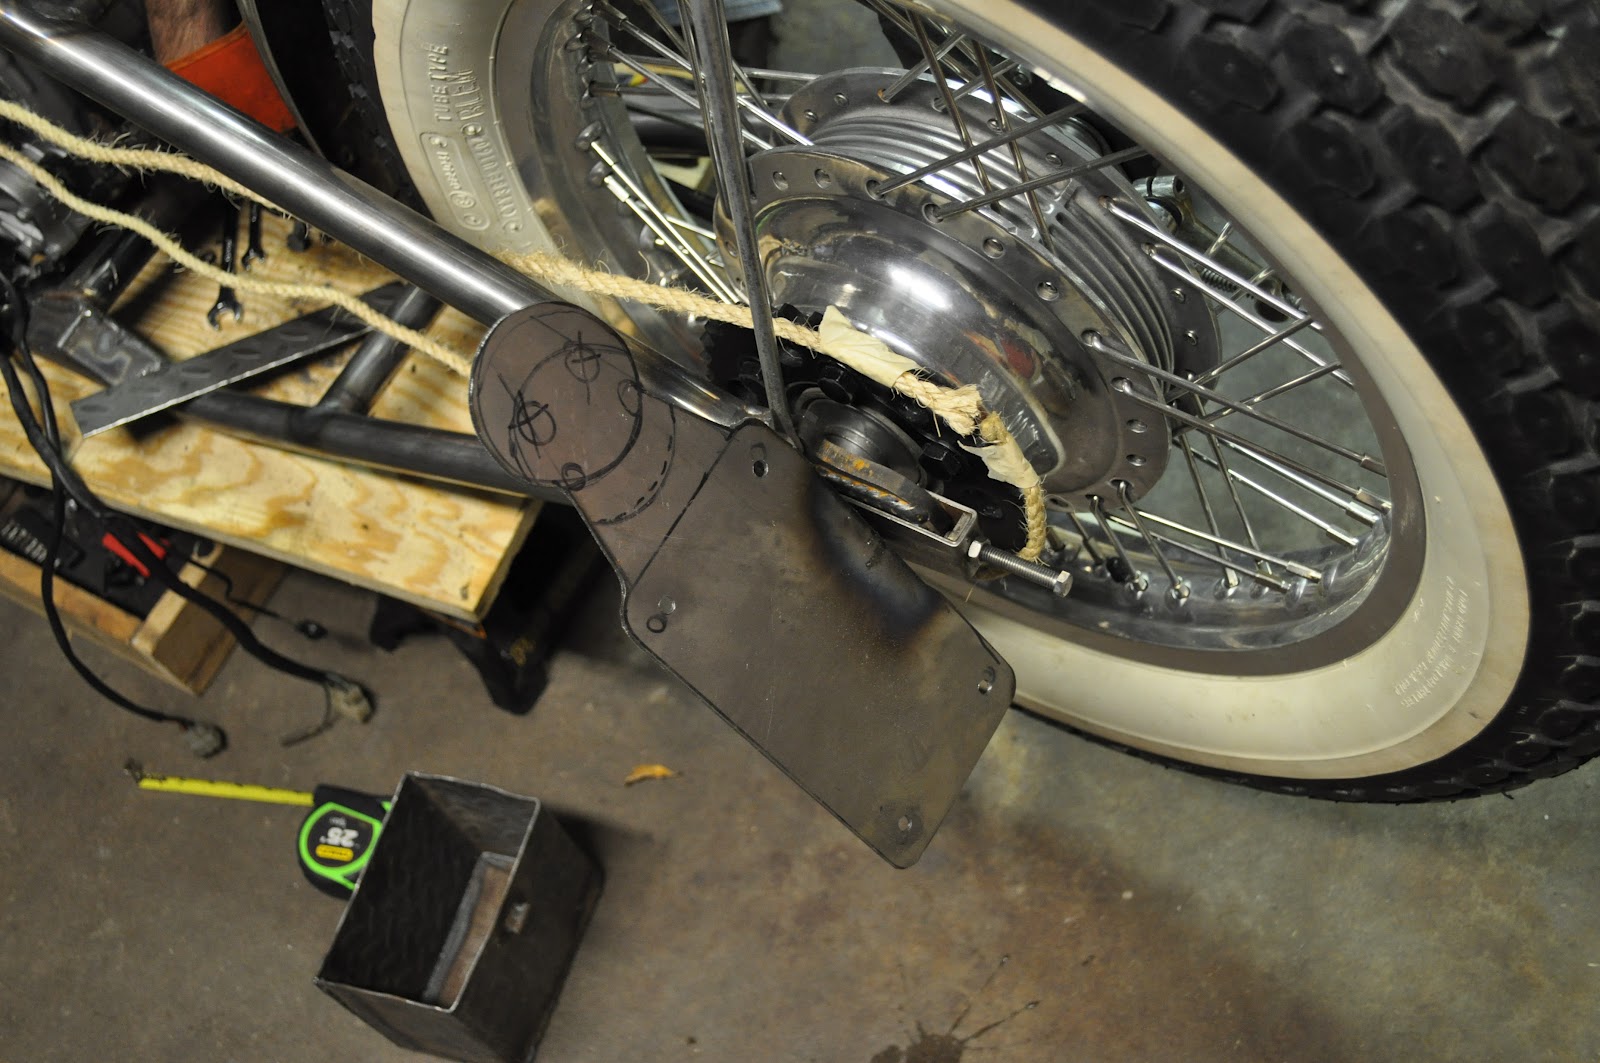
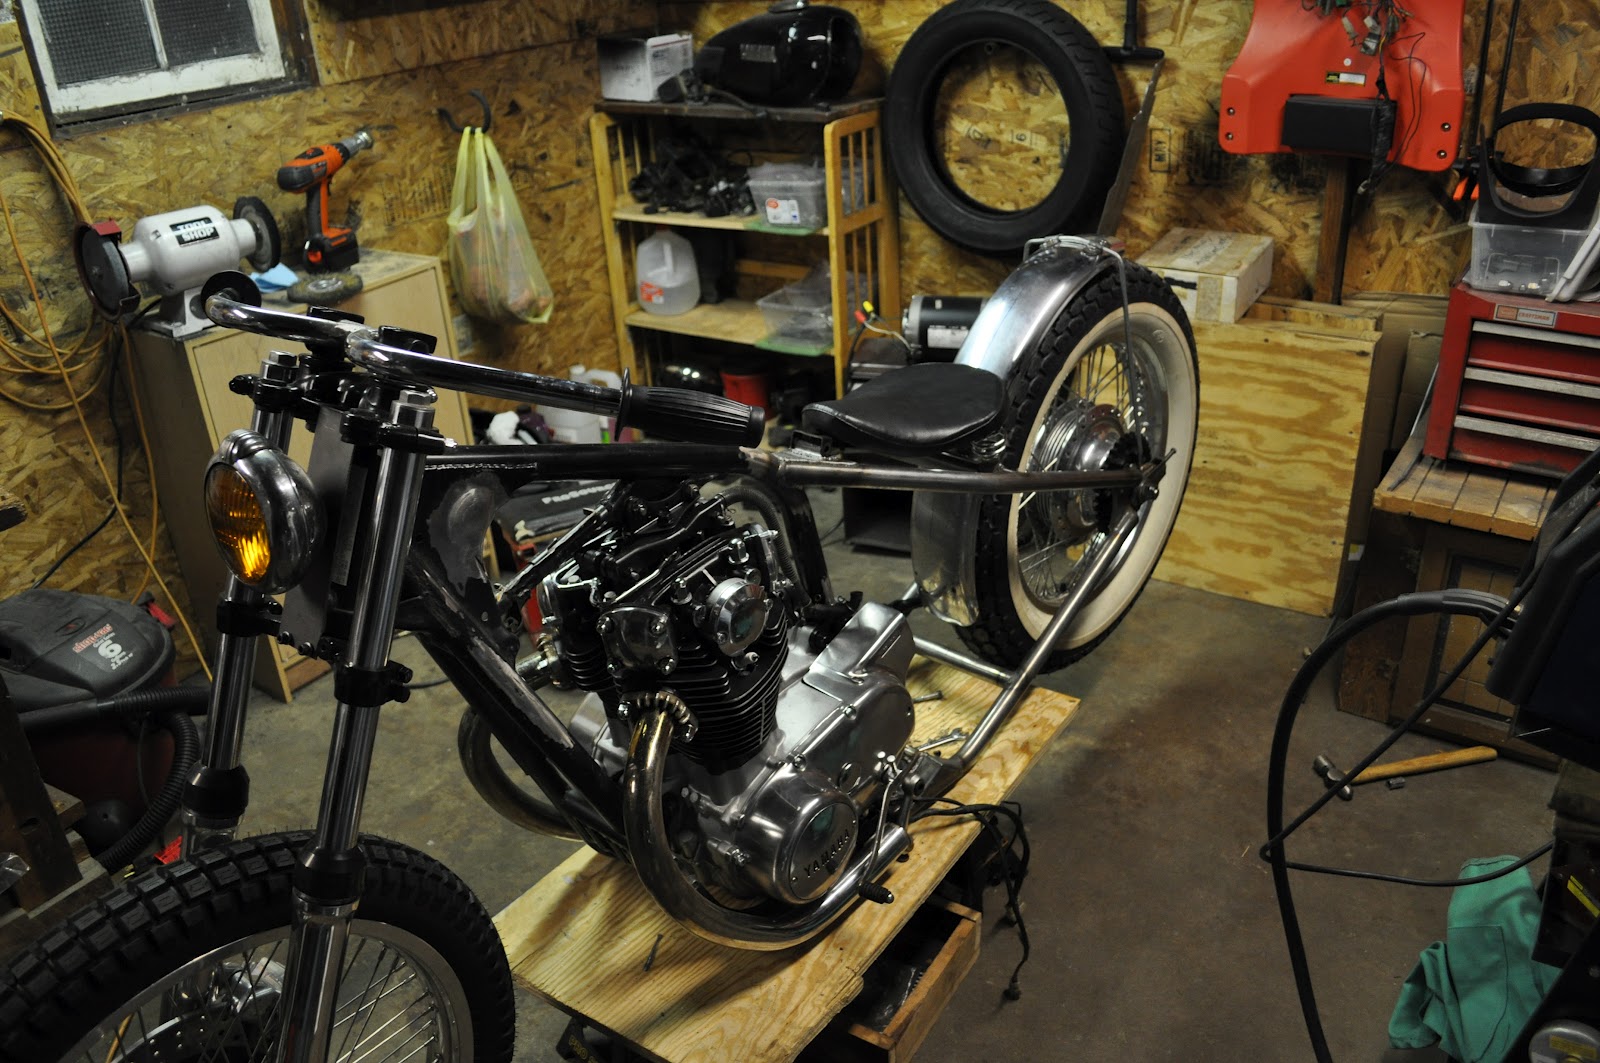
Cut a hole for the axle and we're ready to go. I ordered the brake light so it should be coming in the next week or so. Hopefully the circle I cut out for the light is going to be big enough, I didn't have a measurement, but that can be tweaked after the light arrives. (fingers crossed)

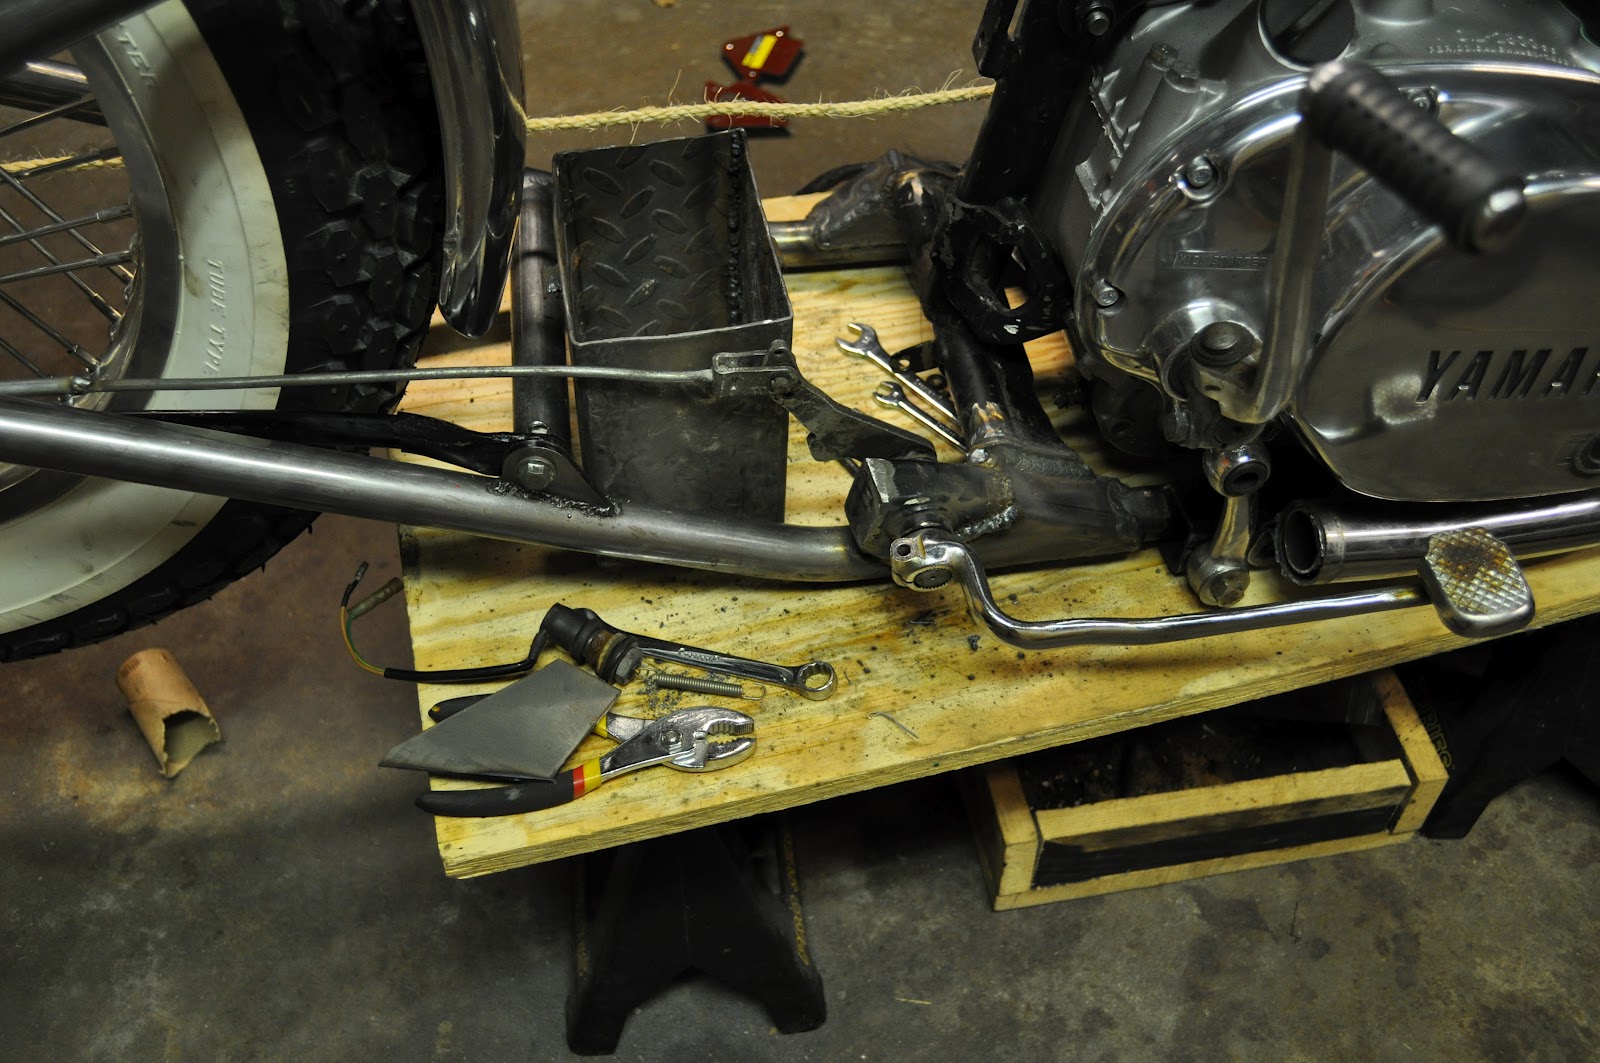
We set the battery box in there just for looks to see if all my clearances are ok. Its gonna be tight but I'm ok with that.
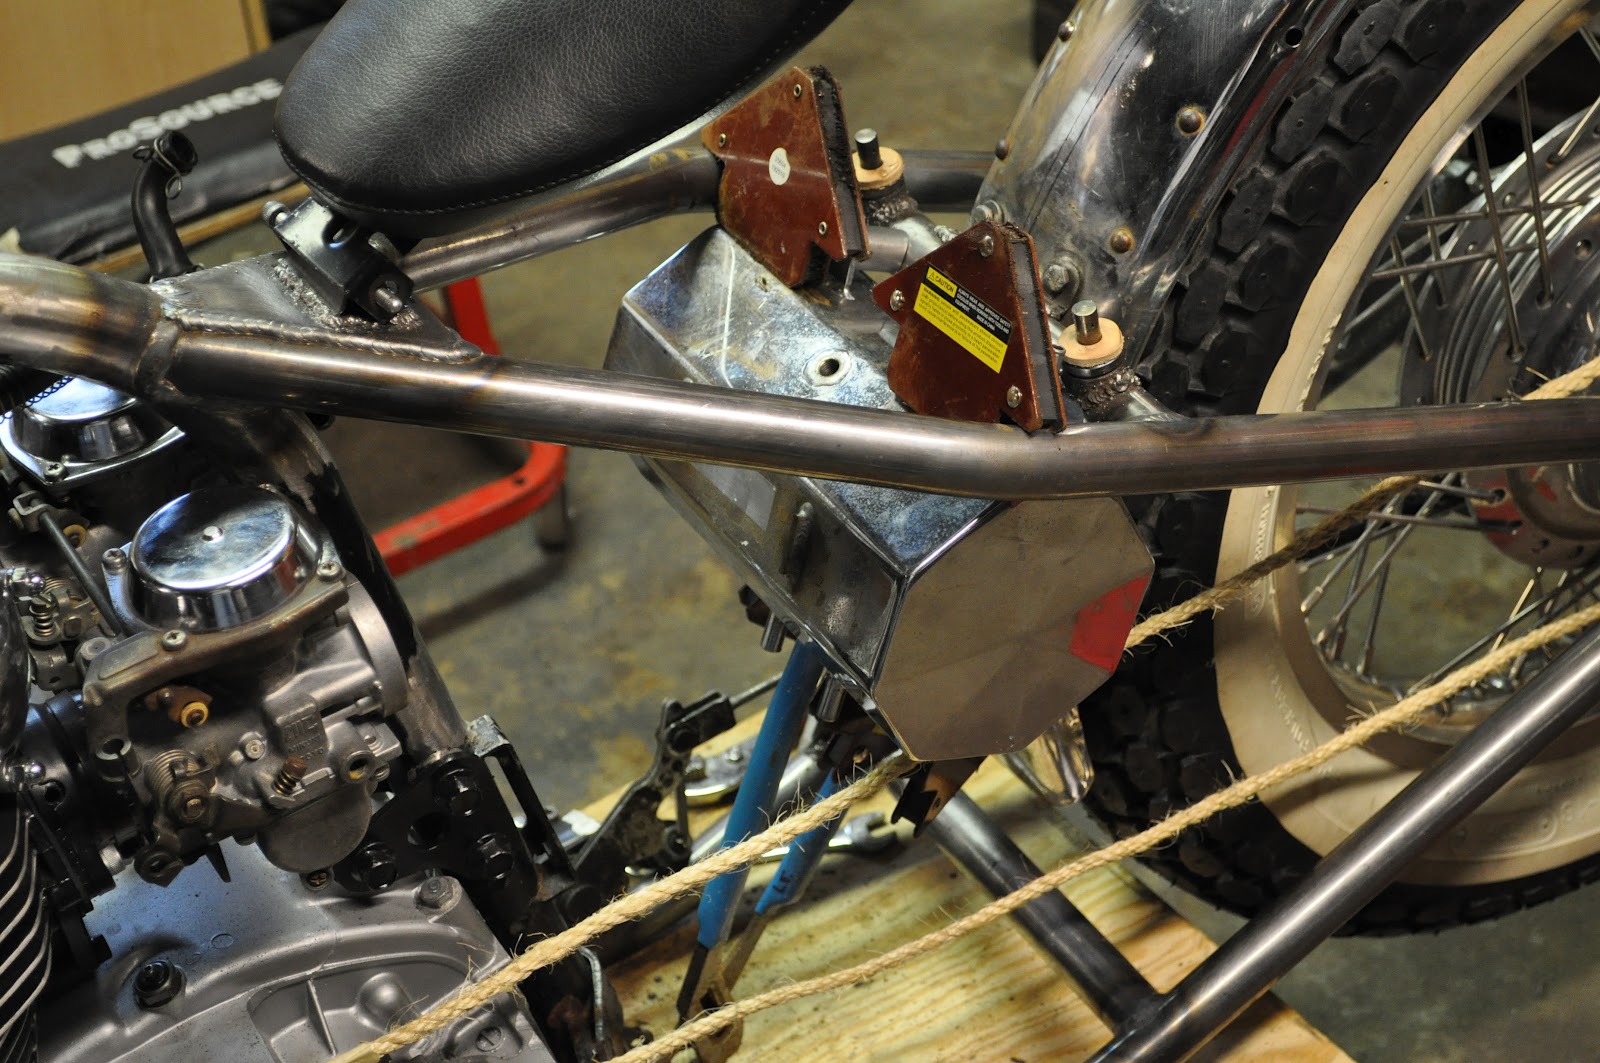
Next step should be to mount the "fake oil tank" for electronics. Mount the gas tank, wire it up, weld the battery box mounts, workout the footpegs, and try to get her runnin'. I'm gettin close.
License plate frame! I just traced a template from a license plate, then added some freehand tabs for the axle and stop/running light.
I hope that chain will last
Cut a hole for the axle and we're ready to go. I ordered the brake light so it should be coming in the next week or so. Hopefully the circle I cut out for the light is going to be big enough, I didn't have a measurement, but that can be tweaked after the light arrives. (fingers crossed)
We set the battery box in there just for looks to see if all my clearances are ok. Its gonna be tight but I'm ok with that.
Next step should be to mount the "fake oil tank" for electronics. Mount the gas tank, wire it up, weld the battery box mounts, workout the footpegs, and try to get her runnin'. I'm gettin close.
JustinLonghorn
No Purple Hearts, No Blue Ribbons
Re: XS650 Project Black Beauty --- Seat ON
Rad.
Rad.
leggers
Active Member
Re: XS650 Project Black Beauty --- Seat ON
Working on that!!! lol
Thanks!
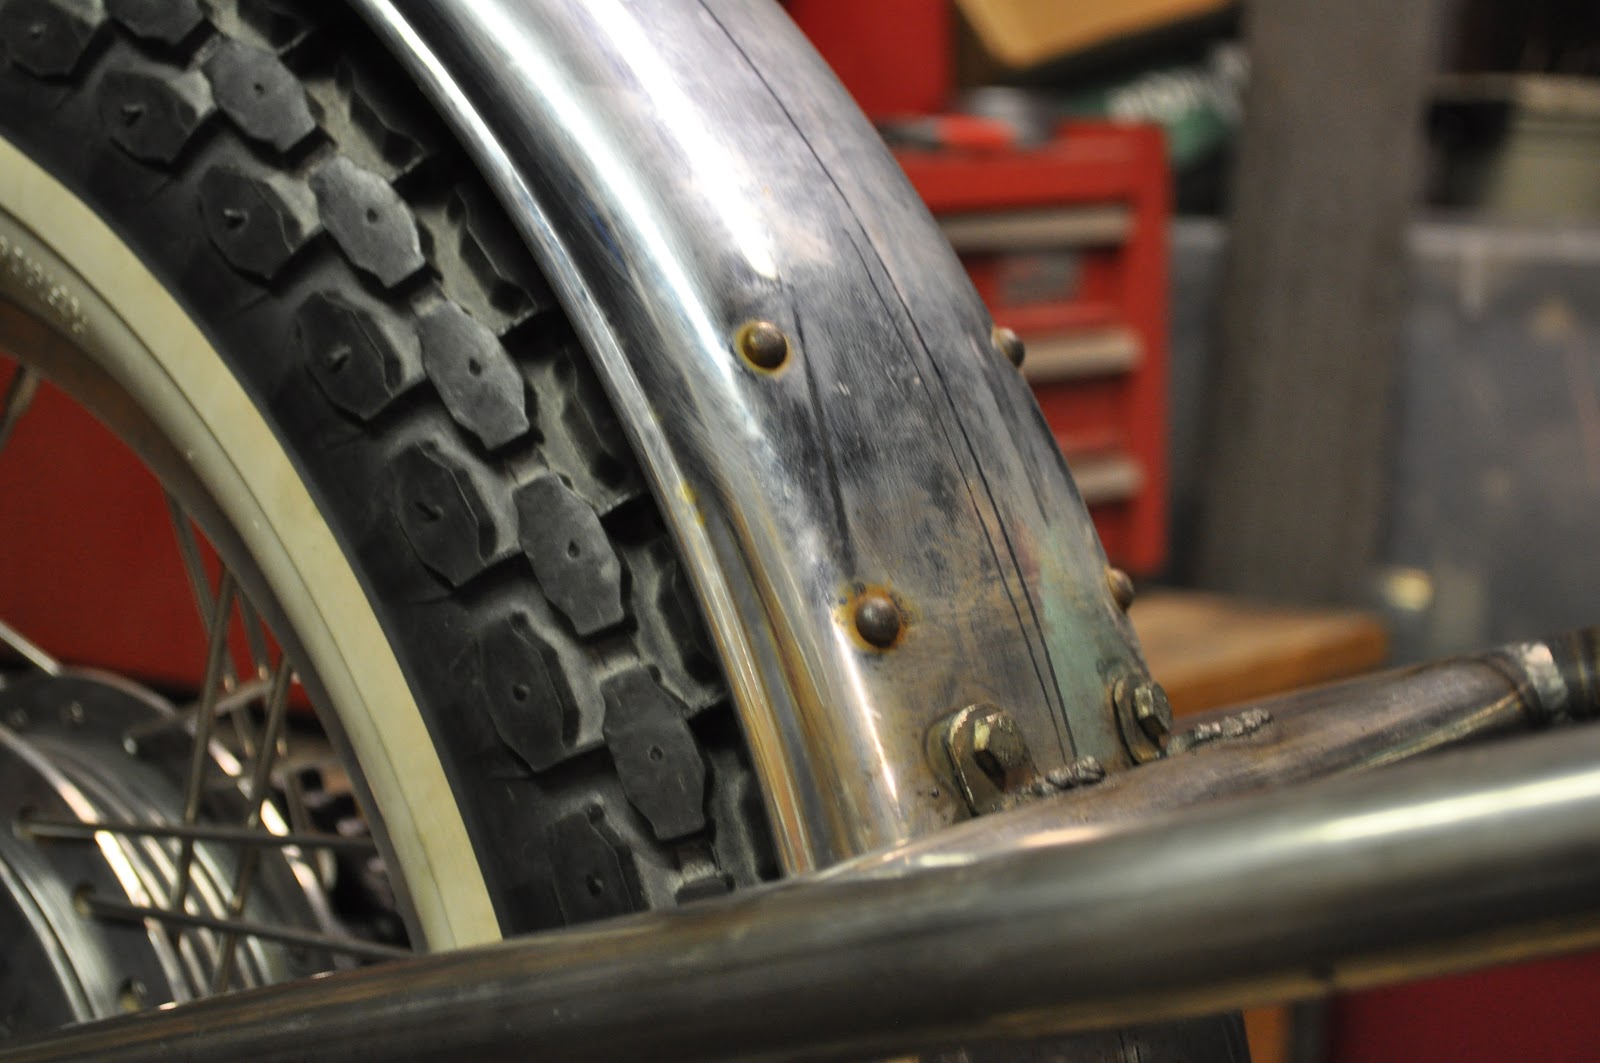
Thanks, yea at first I really wasn't a fan of the Heritage Special spoke pattern, but now I think its grown on me and I'm digging em'. I really wanted to get white walls for the front and back, but I couldn't find a similar front tire in the correct size and white wall.
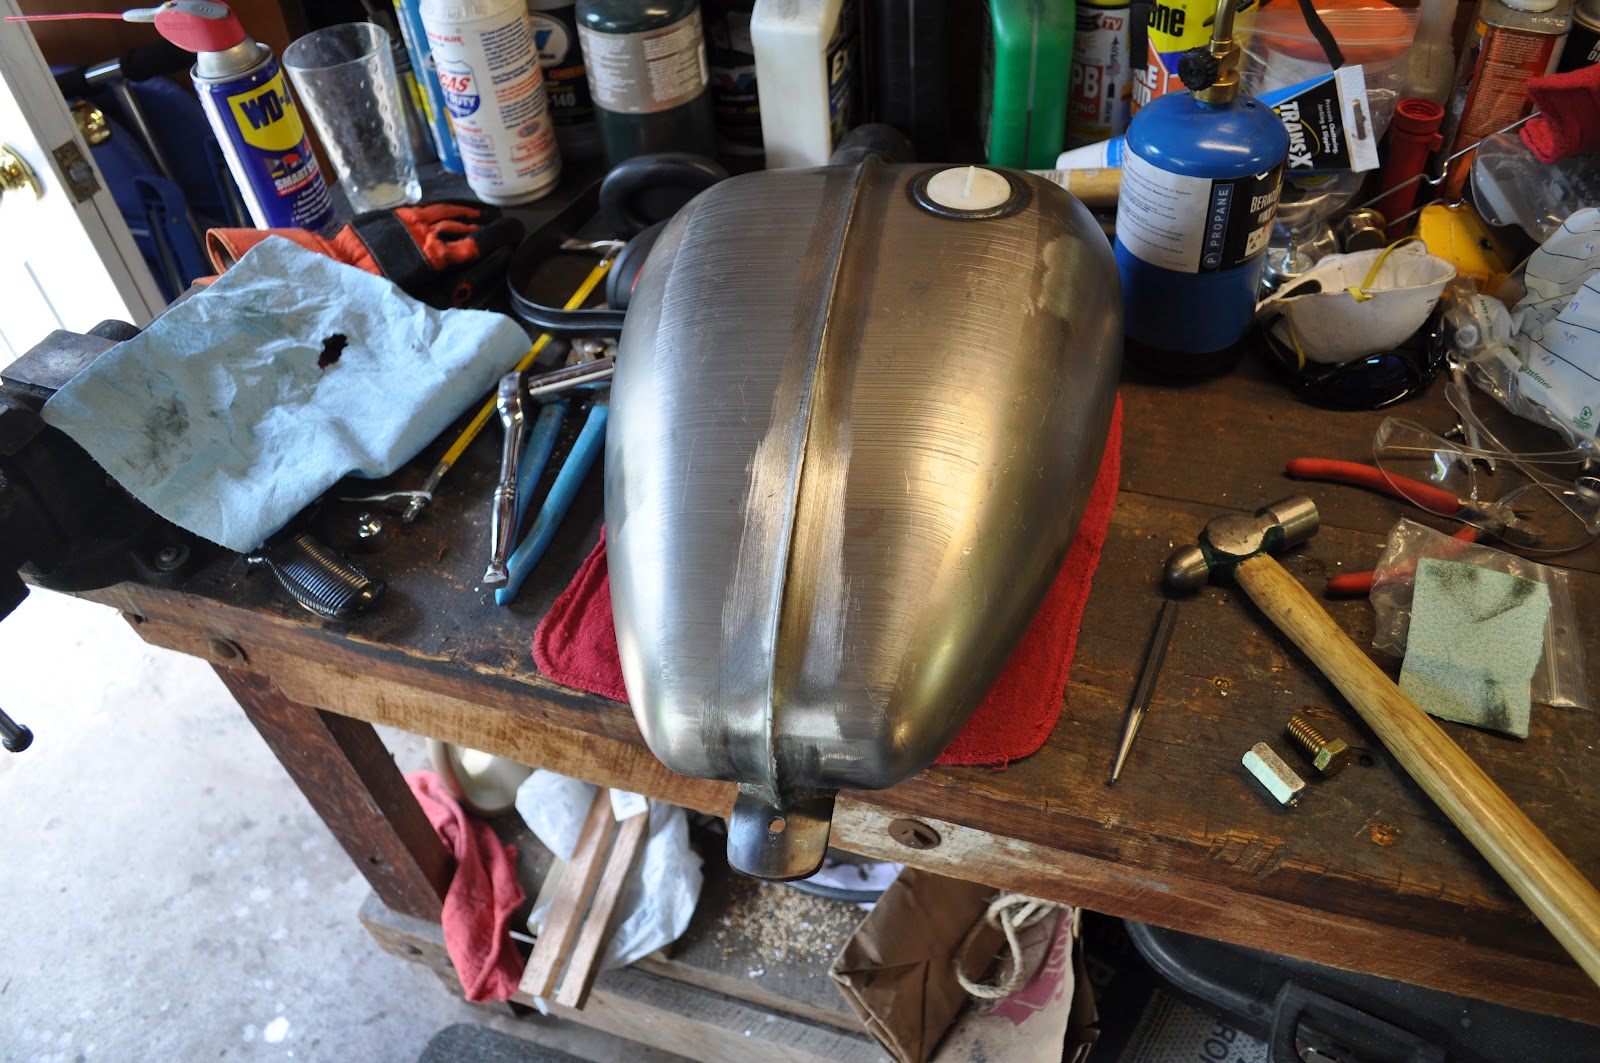
UPDATE: Wasn't getting spark after I wired it all up so I ordered a new coil. Got the new coil, and was able to get a nice bright spark, but as I tried test firing it ran for 3 seconds and died. I took a peek at the carbs before trying to kick it over again, and it was spewing gas out of the air filter. Doh! I took the carbs off to adjust the floats and discovered the float needle valves on both carbs were seized. Fuck. So, back to ordering parts, should have them Monday. I'll reassemble and do a test fire, then post a vid if she gets going. Just taking it a little at a time...
I might post another pic between now and then, I painted the exhaust with some high temp paint.
SloKrt said:Looking good! not get her running! then tear it down for paint....
Working on that!!! lol
JustinLonghorn said:Rad.
Thanks!
gray said:Awesome build. The tires and spoke pattern really set it off.
Thanks, yea at first I really wasn't a fan of the Heritage Special spoke pattern, but now I think its grown on me and I'm digging em'. I really wanted to get white walls for the front and back, but I couldn't find a similar front tire in the correct size and white wall.
UPDATE: Wasn't getting spark after I wired it all up so I ordered a new coil. Got the new coil, and was able to get a nice bright spark, but as I tried test firing it ran for 3 seconds and died. I took a peek at the carbs before trying to kick it over again, and it was spewing gas out of the air filter. Doh! I took the carbs off to adjust the floats and discovered the float needle valves on both carbs were seized. Fuck. So, back to ordering parts, should have them Monday. I'll reassemble and do a test fire, then post a vid if she gets going. Just taking it a little at a time...
I might post another pic between now and then, I painted the exhaust with some high temp paint.
Captmilk76
Coast to Coast
Re: XS650 Project Black Beauty --- Seat ON
Love the front tires and spokes, nice look!
Love the front tires and spokes, nice look!
Captmilk76
Coast to Coast
Re: XS650 Project Black Beauty --- Seat ON
Was it balls drilling those rotors? I'm thinking of doing mine.
Was it balls drilling those rotors? I'm thinking of doing mine.
leggers
Active Member
Re: XS650 Project Black Beauty --- Seat ON
Thanks Man!
uh, yea. It was a lot more work than what I had expected, but I really wanted the look of a drilled rotor. The pattern I chose is why it was so painfully slow (close to a hundred holes). I went through several drill bits, but it was worth it. Just go slow and take your time, when you rush, you break shit.
Here's the thread where I got my pattern:
http://www.xs650.com/forum/showthread.php?t=12671
Captmilk76 said:Love the front tires and spokes, nice look!
Thanks Man!
Captmilk76 said:Was it balls drilling those rotors? I'm thinking of doing mine.
uh, yea. It was a lot more work than what I had expected, but I really wanted the look of a drilled rotor. The pattern I chose is why it was so painfully slow (close to a hundred holes). I went through several drill bits, but it was worth it. Just go slow and take your time, when you rush, you break shit.
Here's the thread where I got my pattern:
http://www.xs650.com/forum/showthread.php?t=12671
JustinLonghorn
No Purple Hearts, No Blue Ribbons
Re: XS650 Project Black Beauty --- Its Alive Inside
Congrats, man! It's always a great feeling.
Congrats, man! It's always a great feeling.


