kMoto
Been Around the Block
Re: CB360 Cafe Project *Engine Time*
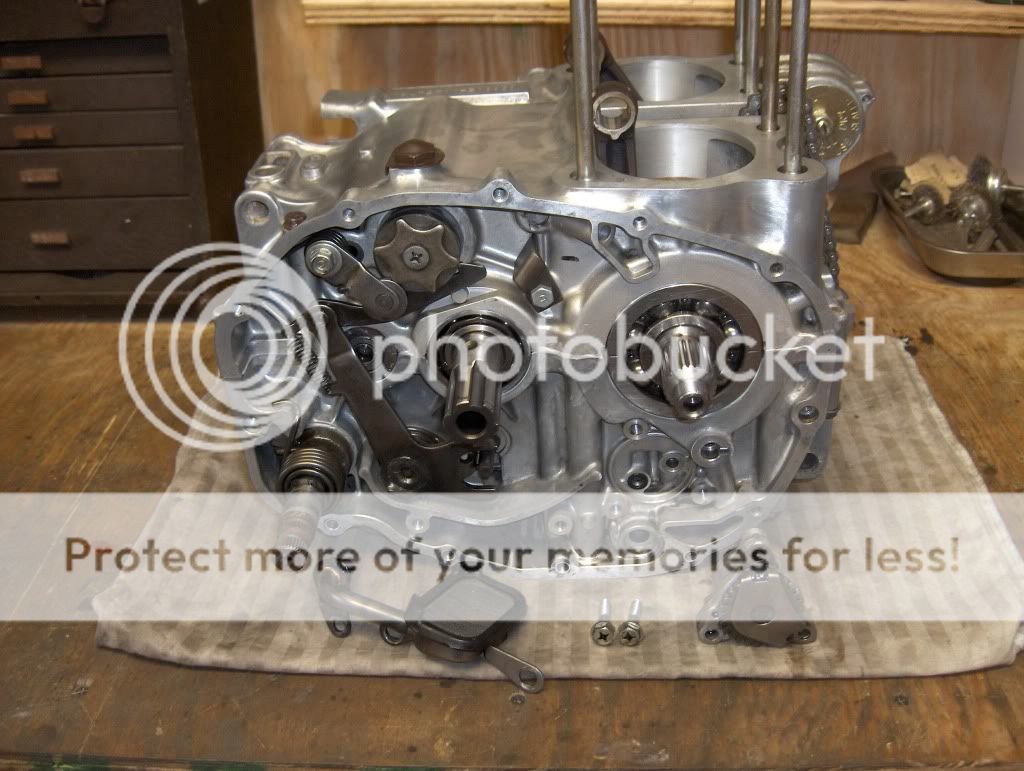
crazypj, I'm trying to decide if I want to use this old tensioner or not. Since I haven't actually seen a broken tensioner, I'm trying to understand it more. When the old ones break, exactly where and how does it break? Does it break straight through near one of the ends/curls? Or does the slipper material come off of the metal base?
Also, does making sure your cam chain is tensioned properly on a regular basis prevent or prolong the breaking point of the old tensioner?
I can't stand to ride a bike that I know something could go wrong at any minute, especially something that I could prevent. Is calling the tensioner a ticking time bomb and ignorant exageration?
Thanks.


")


