
You are using an out of date browser. It may not display this or other websites correctly.
You should upgrade or use an alternative browser.
You should upgrade or use an alternative browser.
cx'y 500
- Thread starter IED
- Start date


IED
Been Around the Block
So earlier today I figured out how to dismantle my shocks, now I've given all the parts a good clean
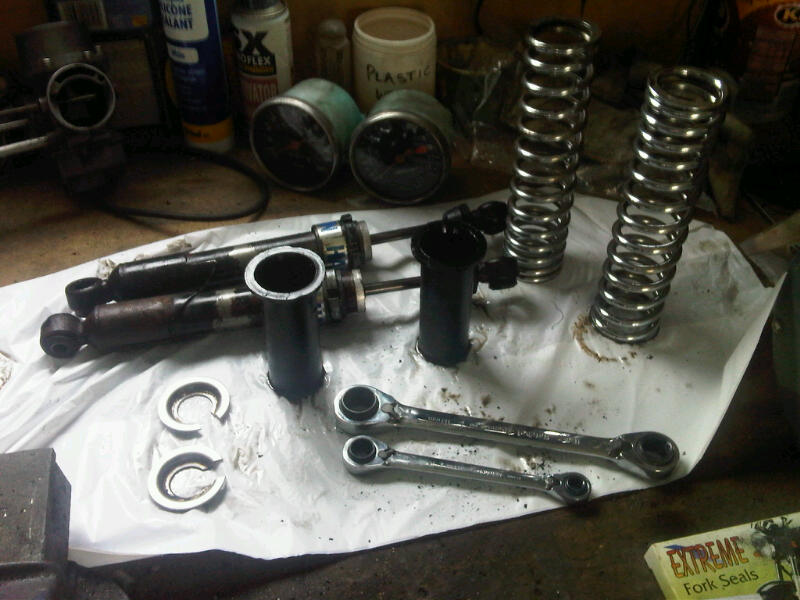
Then I got rid of the rust and paint on the body of the shocks

These tubes cover the shock plunger shaft and seal and protect it from dirt etc.
This bike is no longer going to be a daily ride to work and will get a clean after every trip so I'm not bothered about grime, but I do want to see the shafts, so I cut down the protective tubes

I'll get some paint tomorrow and give them a blast, then give it a few days and get them back together.

Then I got rid of the rust and paint on the body of the shocks
These tubes cover the shock plunger shaft and seal and protect it from dirt etc.
This bike is no longer going to be a daily ride to work and will get a clean after every trip so I'm not bothered about grime, but I do want to see the shafts, so I cut down the protective tubes
I'll get some paint tomorrow and give them a blast, then give it a few days and get them back together.

IED
Been Around the Block
Last year I won Feb Fighter of the month on Custom Fighters mate, and one of the comments I got was
"Yeah well, we would all have nice bikes if we had the money to throw at them"
The guy was way off base because I dont have a lot of money. What I do have is drive, energy, and an ability to think my way around problems. Its easy to buy new stuff off the shelf if you have the money, but its more fun to put a bit of effort in to renovating a part mate.
"Yeah well, we would all have nice bikes if we had the money to throw at them"
The guy was way off base because I dont have a lot of money. What I do have is drive, energy, and an ability to think my way around problems. Its easy to buy new stuff off the shelf if you have the money, but its more fun to put a bit of effort in to renovating a part mate.
IED
Been Around the Block
Pleased its getting your creative thoughts spinning round in your head matey.
So, back to the shocks for a moment.
After striping off all the old paint I went over them with meths to get rid of any grease or dirt then gave them a blast of matalic black.
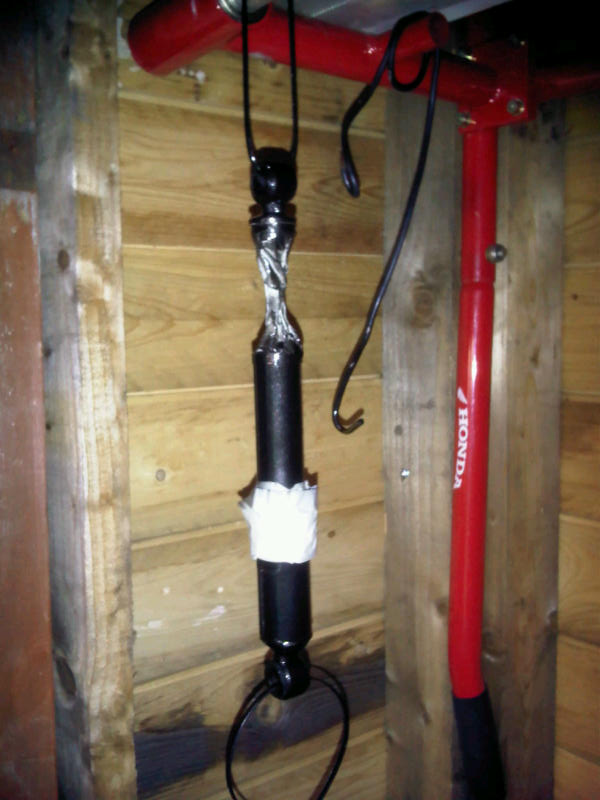
Yesterday I was talking to a really nice guy from Hagen Shocks and told him what I was doing and he offered to supply new decals for my shocks free of charge. Result, they arrived today.

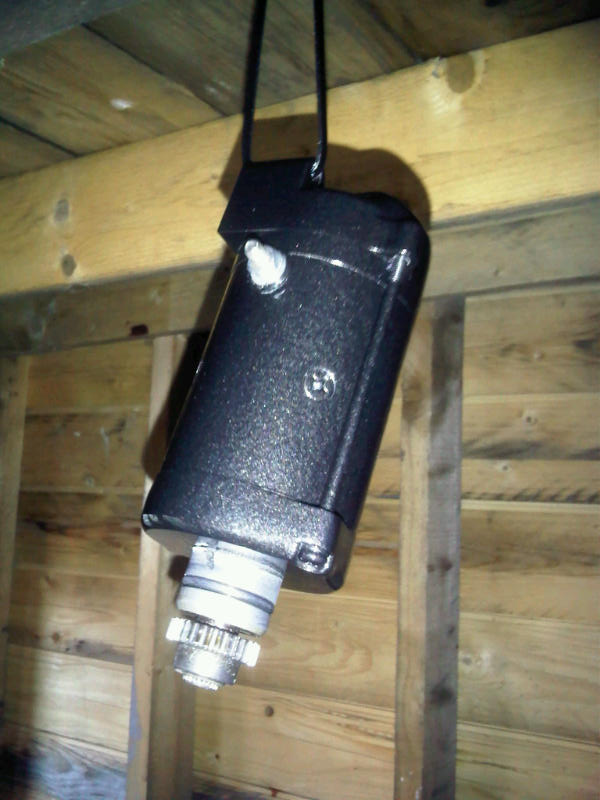
I painted the starter motor and a few other bits too

The next thing on the cards is to convert the engine to an electric fan. I need to replace this temp sender unit with a thermostatic fan switch. The only one I have been able to find that is a direct screw in fit is in America, so I brought on on Amazon last night.

It was £26.00 including shipping.
Its a BWD Automotive TFS500 Radiator Fan Switch


So, back to the shocks for a moment.
After striping off all the old paint I went over them with meths to get rid of any grease or dirt then gave them a blast of matalic black.
Yesterday I was talking to a really nice guy from Hagen Shocks and told him what I was doing and he offered to supply new decals for my shocks free of charge. Result, they arrived today.
I painted the starter motor and a few other bits too
The next thing on the cards is to convert the engine to an electric fan. I need to replace this temp sender unit with a thermostatic fan switch. The only one I have been able to find that is a direct screw in fit is in America, so I brought on on Amazon last night.
It was £26.00 including shipping.
Its a BWD Automotive TFS500 Radiator Fan Switch


IED
Been Around the Block
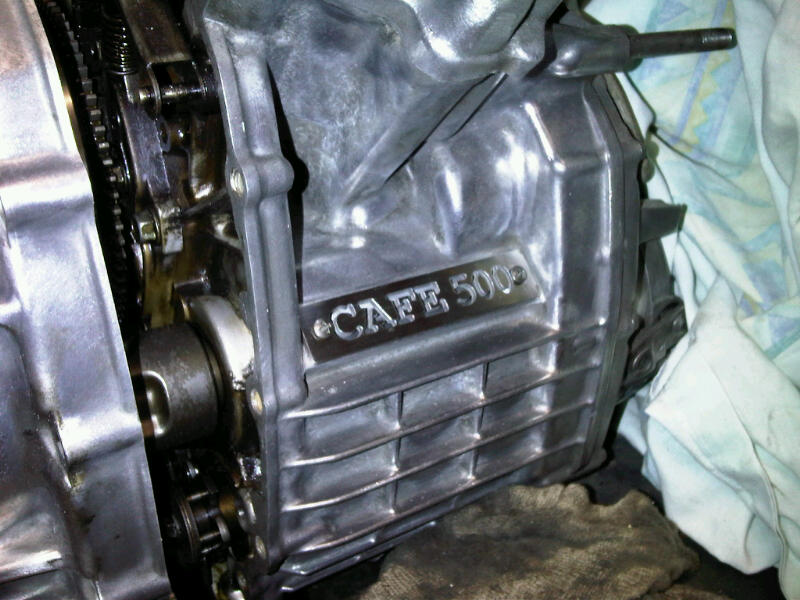
I understand that the generators on CX's are very unreliable, so I've decided to get mine rewound.
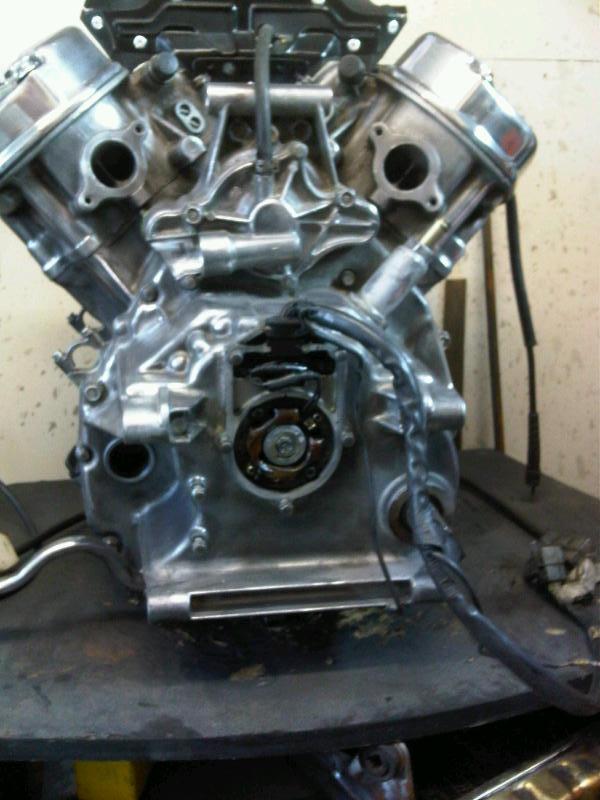
Some of the bolts are a little awkward to get to and the gear shift has to come off

The water impeller came off next

Then the rear engine case came right off

and the generator is tucked inside
five bolts and its out

ready to go off to be rewound

Some of the bolts are a little awkward to get to and the gear shift has to come off
The water impeller came off next
Then the rear engine case came right off
and the generator is tucked inside
five bolts and its out
ready to go off to be rewound


bikeboy
Over 1,000 Posts
Erskine said:For some reason I didn't expect the gennie to be so small.
..or diffucult to get too! I don't think I'e seen one buried that far in before. Good call on getting it done now rather than when it's back together!
moving along nicely.
ian
IED
Been Around the Block
Well I thought it made sense, rather than breeze over it and have it bite me later.
I've been thinking about my exhaust for a while now and know I want it a cone shape (very cafe racer) and slung low.
I was having a tidy up in my shed extension and spotted the Motacs exhaust can it came with and thought I might be able to do something with it.

So out came the grinder and I started to chop

When I cut it I left the welds on the bits I wanted to join so there was more metal thickness to weld

I clamped the two together and stuck a few tack welds around it

I know my weldings a bit rough but it will grind back, and thats all that matters

I'll go over it with my power file and tidy it up a bit mor then paint it black

And thats another job done.
I've been thinking about my exhaust for a while now and know I want it a cone shape (very cafe racer) and slung low.
I was having a tidy up in my shed extension and spotted the Motacs exhaust can it came with and thought I might be able to do something with it.
So out came the grinder and I started to chop
When I cut it I left the welds on the bits I wanted to join so there was more metal thickness to weld
I clamped the two together and stuck a few tack welds around it
I know my weldings a bit rough but it will grind back, and thats all that matters
I'll go over it with my power file and tidy it up a bit mor then paint it black
And thats another job done.

IED
Been Around the Block
Thanks Ian.
So I've decided to fit an electric fan to my CX500 for the following reasons
The advantages are some increase in performance.
Better cooling cycle.
Little or no chance of the Mechanical fan grenading the Radiator.
Faster engine warm up.
Parts are easy to source and replace.
My fan switch arrived from the States today, for anyone interested in tapping the switch into their thermostat housing instead of soldering one onto the radiator, this unit is a direct screw in. But then you lose your temperature gauge, but its no biggy because I dont want one any way
BWD TFS500. You should be able to find it at most auto parts stores, I paid $26.00 including shipping.
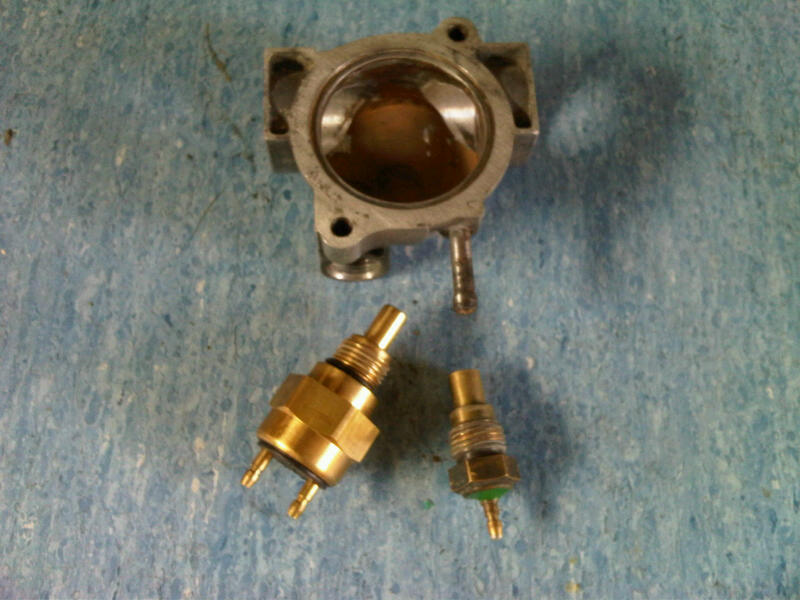
Although it has an O ring I used a little plumbers mate on the threads to make sure it had a good seal

It looks like it was made for the job

new O ring and thermostat

and copper grease on the threads of the new stainless cap head bolts

then the thermostat housing can go back on
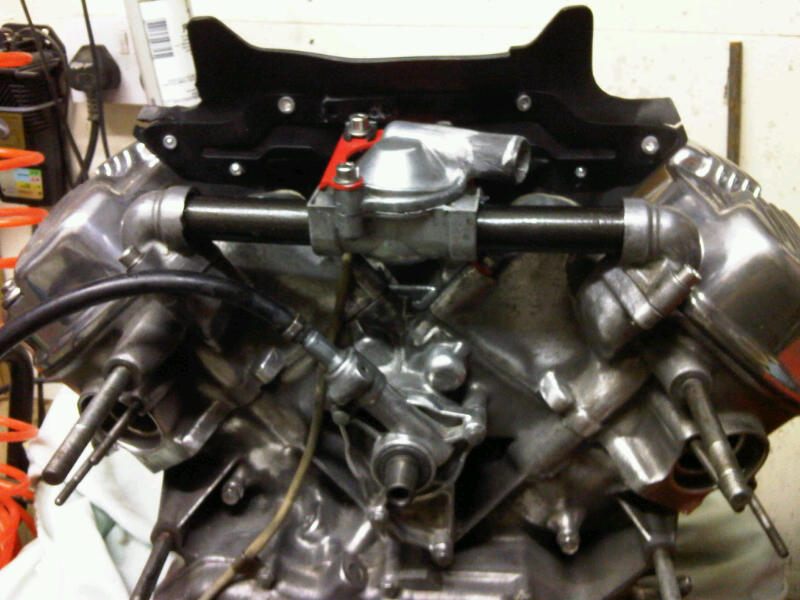
I'm going to use a rad off a ZXR600 RR as I understand the size and power they draw is just a out right fo the CX.
So I've decided to fit an electric fan to my CX500 for the following reasons
The advantages are some increase in performance.
Better cooling cycle.
Little or no chance of the Mechanical fan grenading the Radiator.
Faster engine warm up.
Parts are easy to source and replace.
My fan switch arrived from the States today, for anyone interested in tapping the switch into their thermostat housing instead of soldering one onto the radiator, this unit is a direct screw in. But then you lose your temperature gauge, but its no biggy because I dont want one any way
BWD TFS500. You should be able to find it at most auto parts stores, I paid $26.00 including shipping.
Although it has an O ring I used a little plumbers mate on the threads to make sure it had a good seal
It looks like it was made for the job
new O ring and thermostat
and copper grease on the threads of the new stainless cap head bolts
then the thermostat housing can go back on
I'm going to use a rad off a ZXR600 RR as I understand the size and power they draw is just a out right fo the CX.

