Freshening up...

guitargeek said:
2640420195_ae08d4426c_b.jpg

I think your on to something here.Cat armor you could make a killing at Renaissance Fairs.Just kidding nice work as usual can't wait to get mine back to start screwing around with it again.

 
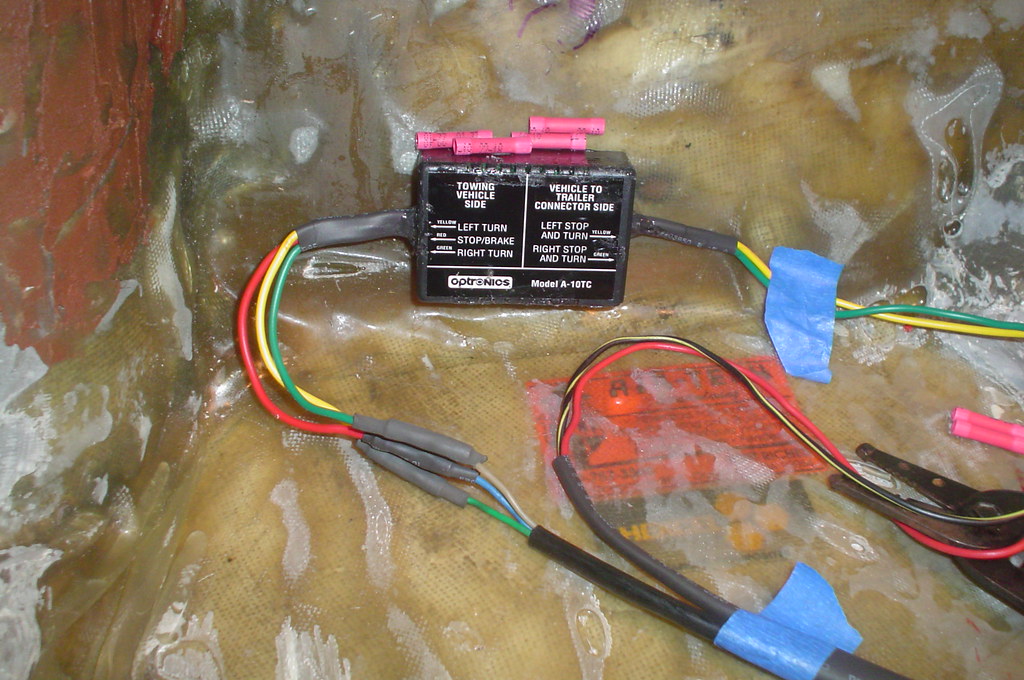
Laying out the rear lighting subharness:

2773485847_0076ce059e_b.jpg


The plan is to glass in all the wires and leave a pigtail with the connector where I can tuck it away.

Fitting the bits up, making sure everything cohabits parsimoniously:

2774337502_6f329feb20_b.jpg


Looks like I'll need to bend the tag up a bit. Any of y'all ever get hassled for that?

2774381498_d293c64178_b.jpg
 
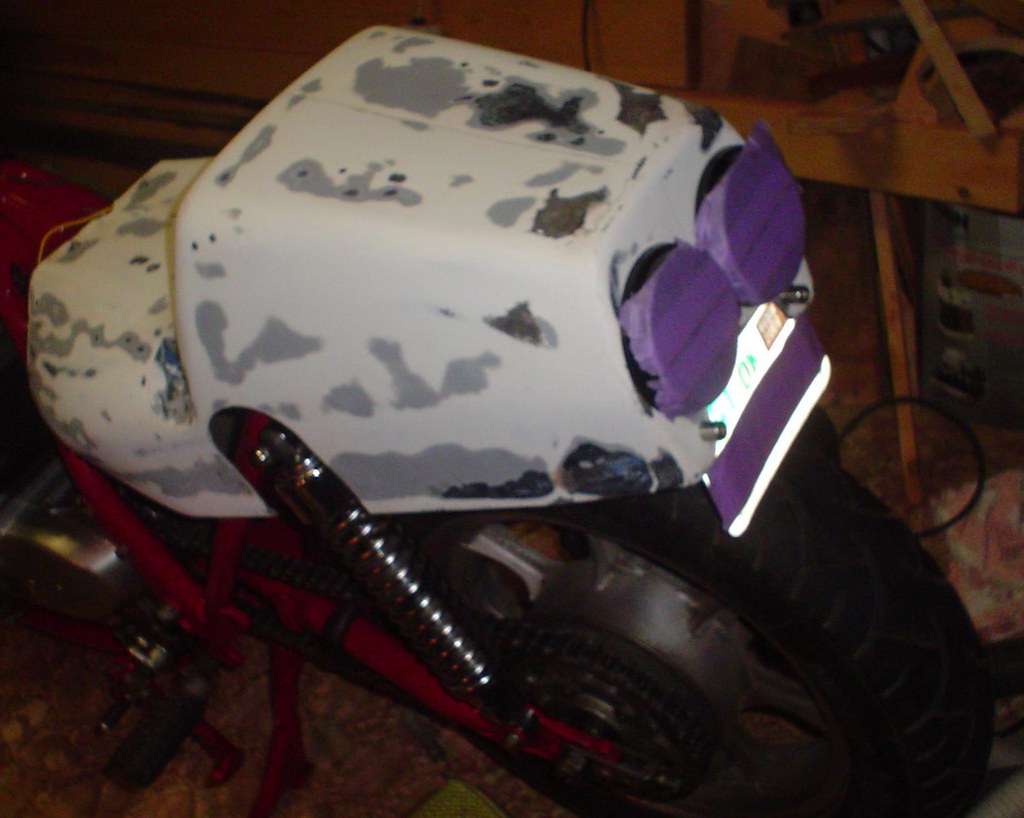
Looks like the seat pan hangs kinda low. can you get it trimmed up so that there isn't that weird spot around/over the shocks?

Otherwise looks nice. Good idea on glassing in the wires (if the resin doesn't eat the plastic on them).

cheers.
 
philos1 said:
Looks like the seat pan hangs kinda low.
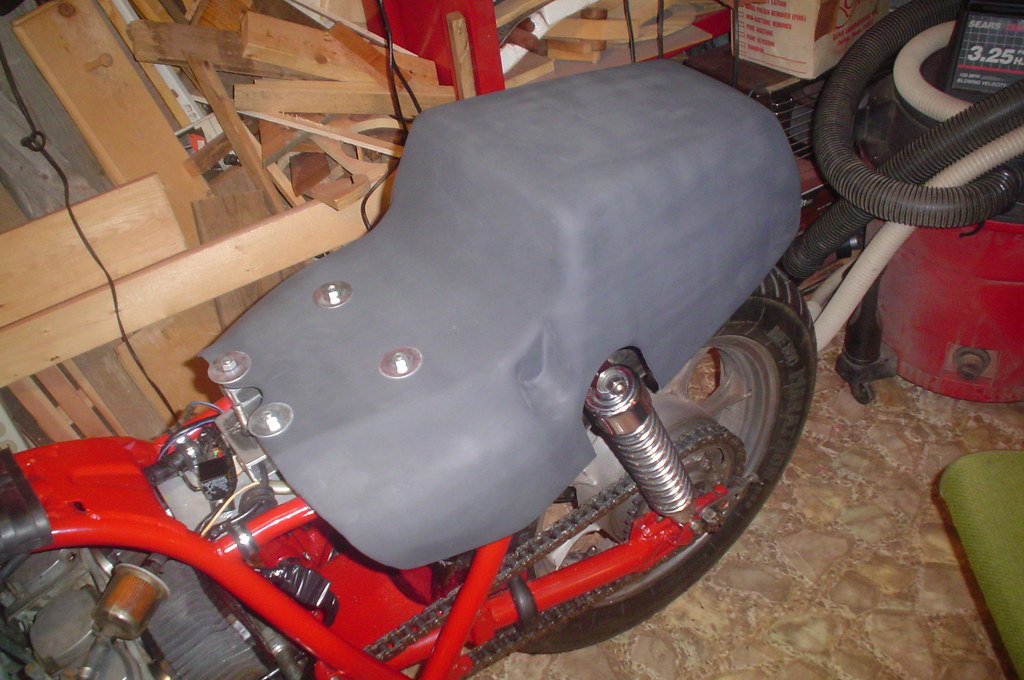
No, it's actually a bit tall. It's definitely an aggressive riding position.

can you get it trimmed up so that there isn't that weird spot around/over the shocks?
So I should... cut away more fiberglass so there isn't a hole where the shocks go? Like, "I cut it three times and it's still too short"?

This seat is from a TZ250, which has a monoshock swingarm. Not much I could do but make cutouts for my dual shocks... or switch to a mono swingarm. If I was going to switch to a mono swingarm, I'd want the back wheel and brakes to go with it. Then, of course, I'd want a matching front end.

Maybe next time...

Otherwise looks nice. Good idea on glassing in the wires (if the resin doesn't eat the plastic on them).

cheers.
Yeah, I've got little bits of wire that I trimmed off, I'll put some resin on them and see if there's a reaction.
 
2777317961_f144b4bff5_b.jpg


2777321381_4c398d10e8_b.jpg


Fixed the gas leak.

Wally World doesn't stock NGK plugs, and their reference books are woefully inadequate. After much eyeballing and deliberation, I settled on a Bosch plug, the 4306.

2777308573_b0c7ab7fc8_b.jpg


2777314731_3fe6568940_b.jpg


After installing them, I poked the starter button and got a much more enthusiastic response! I didn't add more fuel and actually start the thing up because I didn't want to fumigate myself.

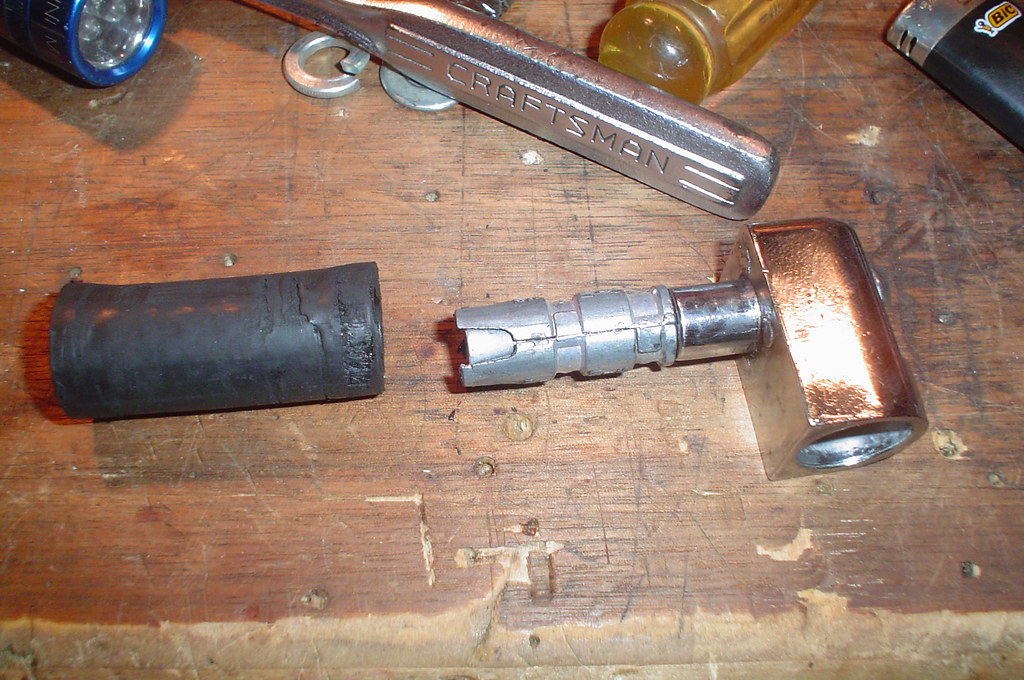
I moved on to my mirror mounts. These are the Emgo copies of Napoleon bar end mirrors, and the mounting hardware sucks. I devised a scheme with some rubber hose that just fit inside the handlebars, and some anchors that just barely fit inside that hose:

2778140154_858dd9102c_b.jpg


2778145946_8ea86d4fb7_b.jpg


I swear, my engine went together easier than this!
All this just to install some mirrors...

2777294919_e261283db7_b.jpg
 
Great work. I think your attention to the details is paying off. I'm looking forward to seeing the finished product.
 
Looks like you're doing a great job man, the only thing I'd worry about it the JB on the fuel tank. Nothing like riding a rolling comet impression.
I don't think it's hardy enough with regard t the fuel....I'd hate to hear that you had to change your screen name to "Crispy Critter" one day..
 
Swagger said:
Looks like you're doing a great job man, the only thing I'd worry about it the JB on the fuel tank. Nothing like riding a rolling comet impression.
I don't think it's hardy enough with regard t the fuel....I'd hate to hear that you had to change your screen name to "Crispy Critter" one day..
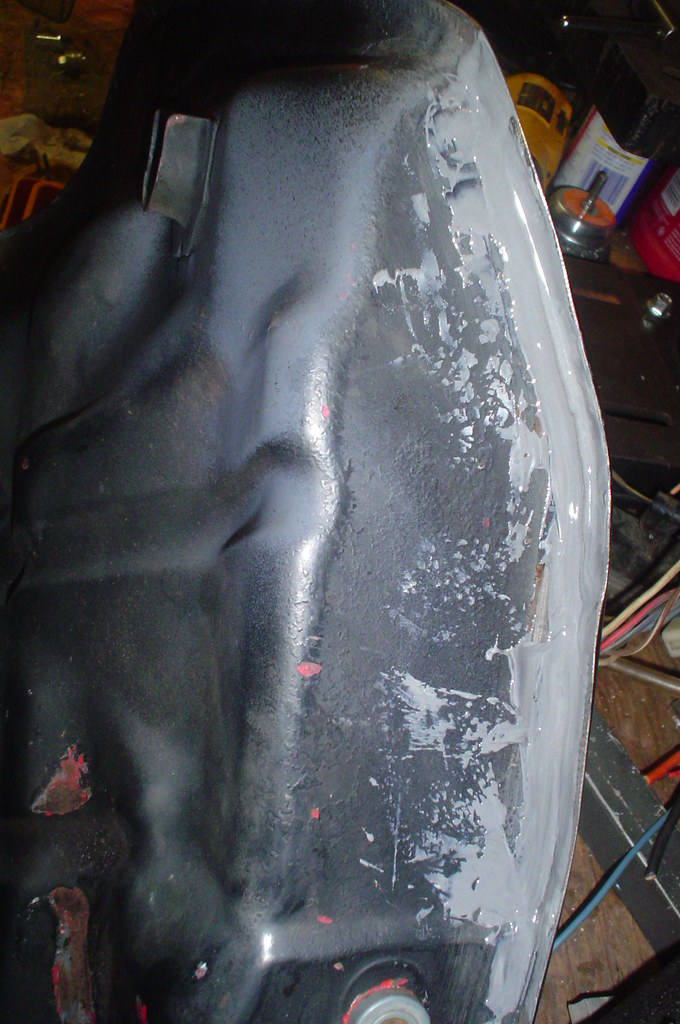
I googled the hell out of it before I did it, and it seems that many, many people have successfully used J-B Weld to repair leaking fuel tanks (and a lot of other things like cracked heads and engine blocks), but for everyone who has used it there seem to be just as many who doubt it would work. I'm keeping my eye out for another GPz tank, but not because I doubt the J-B Weld, but because of the shear mass of Bondo on the tank! :D I'm afraid I'll hit a bump and a big slab of Bondo will fall off, hahaha!

http://jbweld.net/products/uses.php
 
man it is looking awesome! I think i am going to copy that mount process on the bobber fender i am mounting on teh back of mine! looks good!
 
JRK5892 said:
man it is looking awesome! I think i am going to copy that mount process on the bobber fender i am mounting on teh back of mine! looks good!
Bobber fender? You mean the hugger on the swingarm, or flipping the outer fender around to make it the inner fender?
 
my rear fender... here is the one i have going right now... it is all dented up though so i would like a new one, no big deal, i just have to bondo it up before paint... it is going to rider the rear tire mounted to the swing arm
i78ql4.jpg

2djuttw.jpg
 
2782638077_ecb79d179a_b.jpg


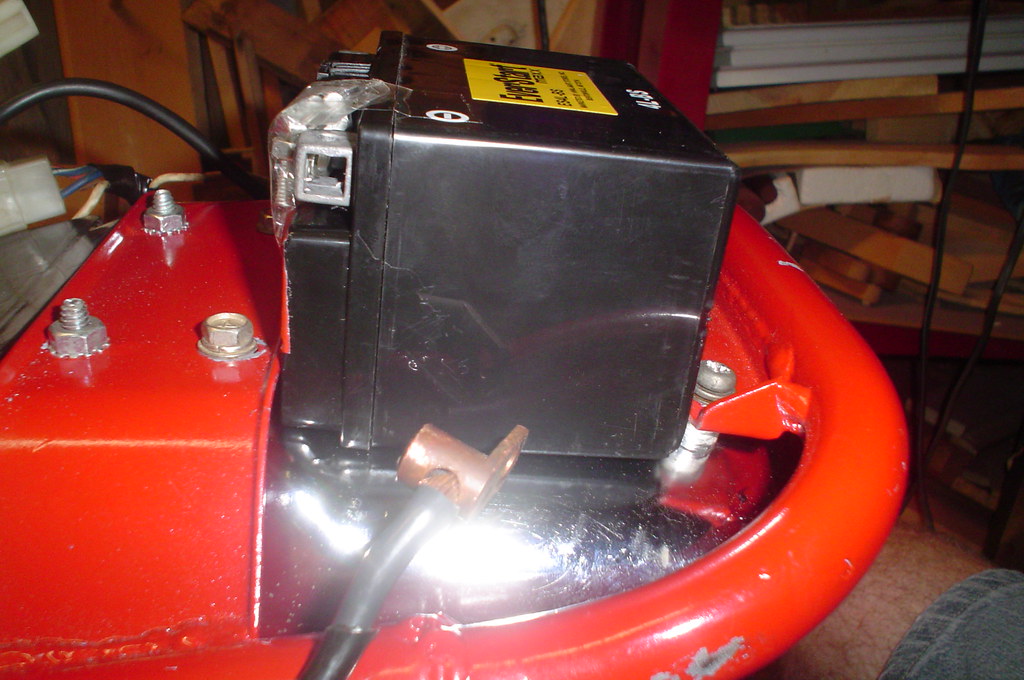
I got a little tiny AGM battery. I'll be installing it where the battery is now, only laid over on it's side. I'm also gonna flip the fender around so it's on the rear again, and I'll cut it even shorter and use it as the battery tray. I'll cut down the plastic inner fender and put it back in it's original place (you won't see it when the seat's on).

So I've been in fiberglass and bondo hell the last few days.

2783923370_8300ce8692_b.jpg


2783499316_d5239a5a65_b.jpg


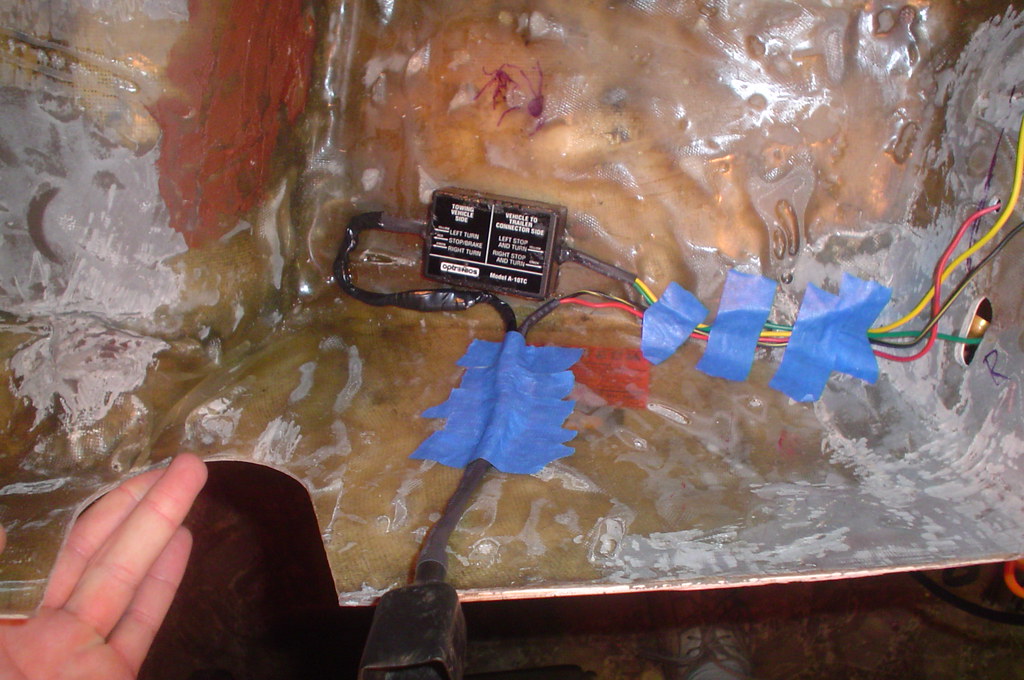
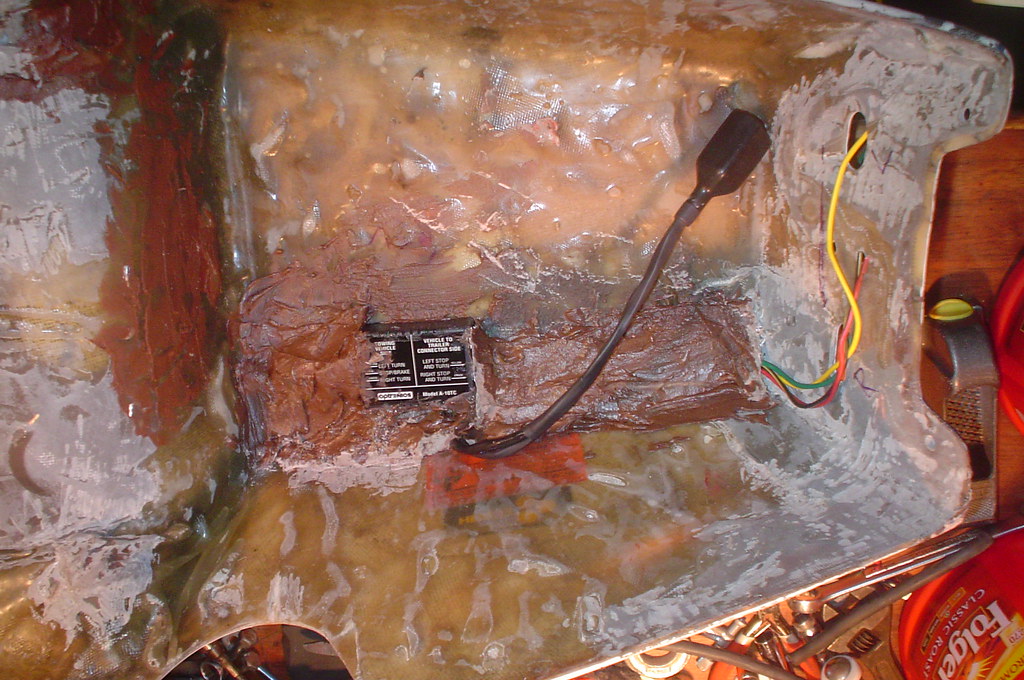
I glassed in the wiring for the tail lights:

2787953617_7960452bda_b.jpg


2788817240_71729e9351_b.jpg


2788819778_d76ef09f68_b.jpg


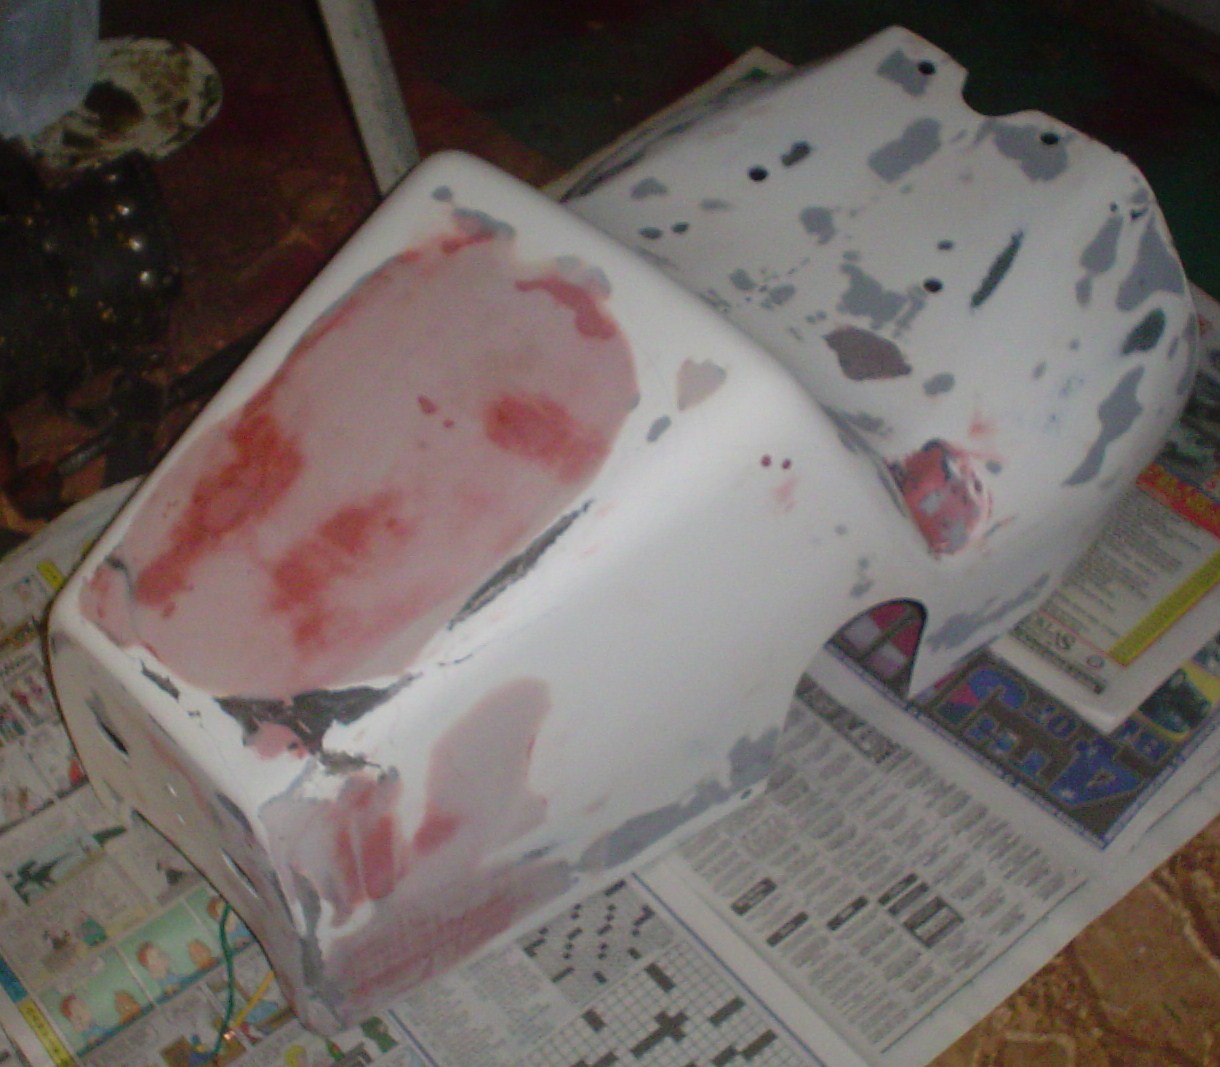
First coat of primer.

2788286443_c5d5b2fa86_o.jpg


2789139982_206b8a9763_o.jpg
 
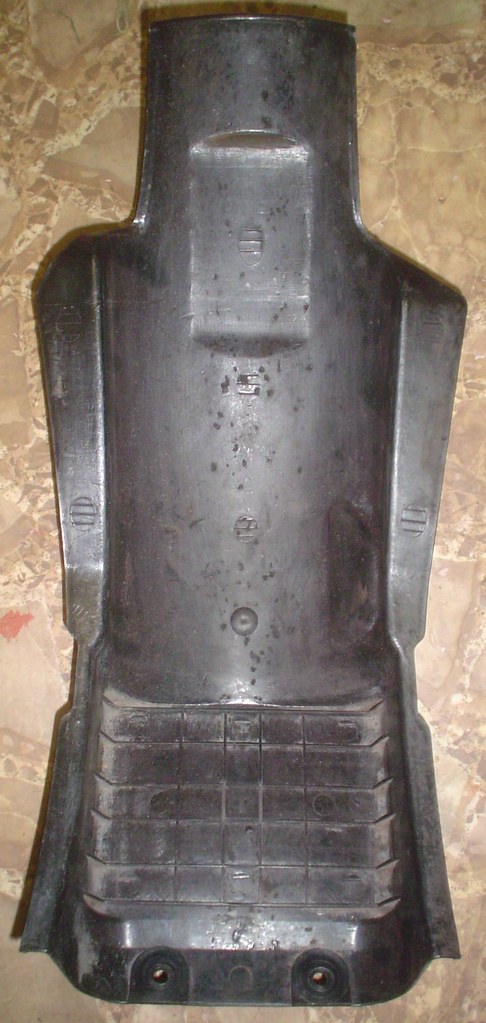
I cut down my inner fender:

2790844251_c95c5f0c75_b.jpg


2791695366_89b1ff7ffb.jpg


2790858427_891d05bd65_b.jpg


I put the back fender back on the back, then started fitting up the little battery:

2790870459_38cd64f196_b.jpg


I'll work more on how to secure that to the frame later.

Meanwhile, work continues on the seat:

2791647580_8f86271aeb_b.jpg


2791637716_0a15aa693f_b.jpg


The top bolt goes under the rear frame loop, the bottom one is there to help spread the load and I'll attach the ground bus there.

More primer:

2790815965_3f9854f436_b.jpg


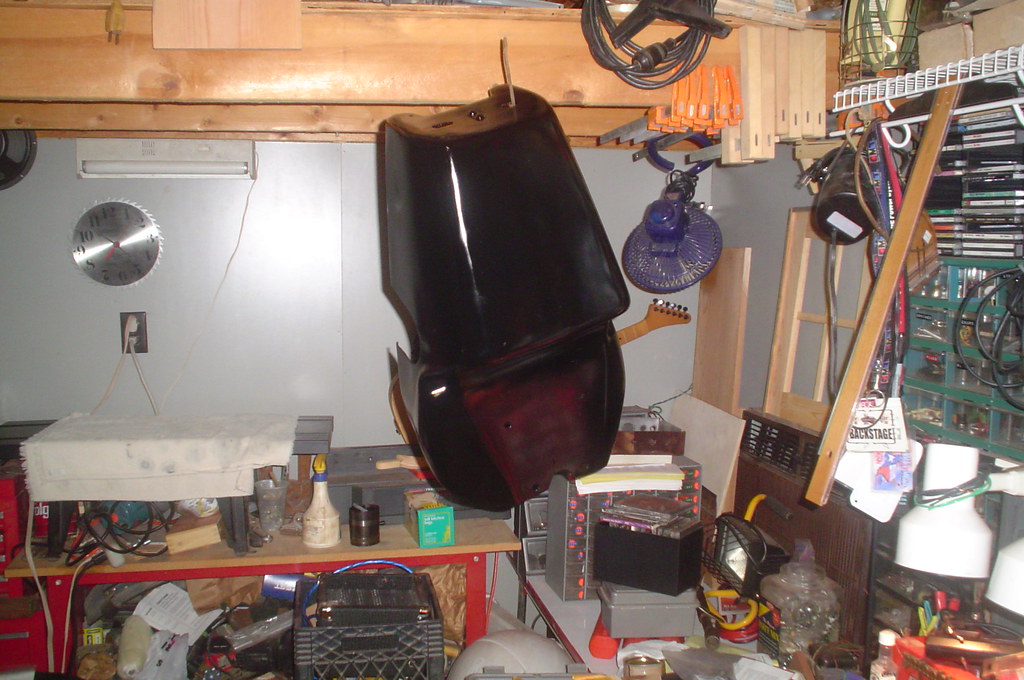
I added a coat of this stuff to the underside of the seat:

2790832325_9fb592af37_b.jpg


2791368650_74cd2bbd88_b.jpg
 
I cut the rear fender down so it'd fit under the tailpiece:

2791514785_b3937b1d5a_b.jpg


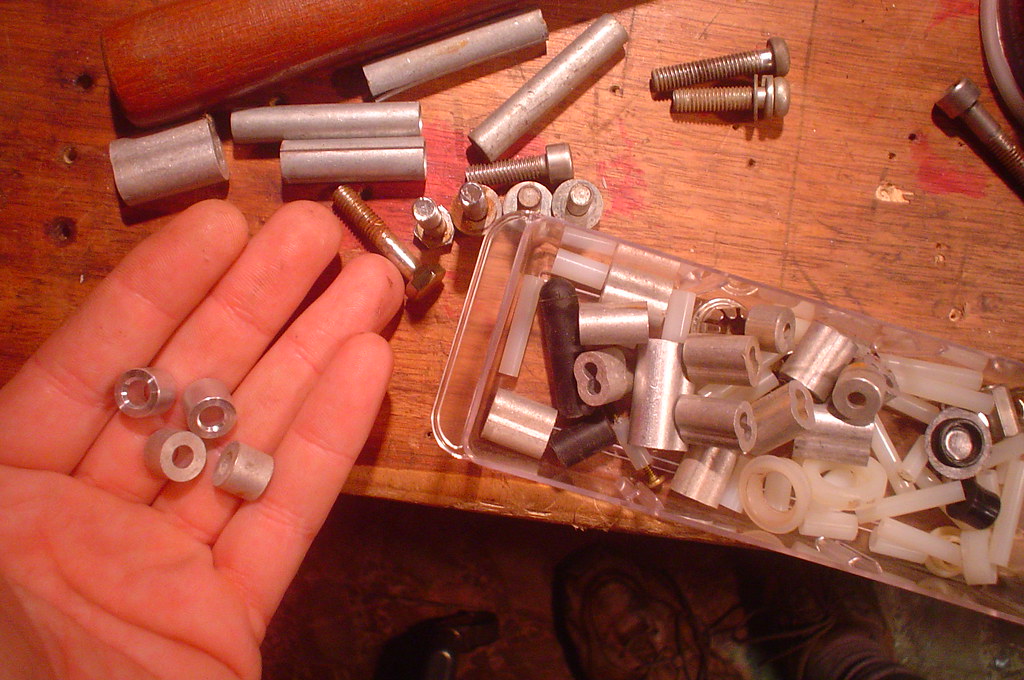
Alas, the little battery stuck up higher than the big battery had, so I had to lower the fender some. To a achieve this, I needed some spacers...

2792372492_f0806e2247_b.jpg


...which needed to be drilled out...

2791522273_eea710741a_o.jpg


This lowered the fender about 3/8":

2791526461_cf2e5ed933_b.jpg


2792379102_2e9ca496fc_b.jpg


2792381146_a435fe67af_b.jpg
 
Hey presto, the seat fits!

2792348890_3400c4a820_b.jpg


2792387314_dc64854f52_b.jpg


2792389574_5c4dbc5148_b.jpg


2791496015_813fac53c7_b.jpg


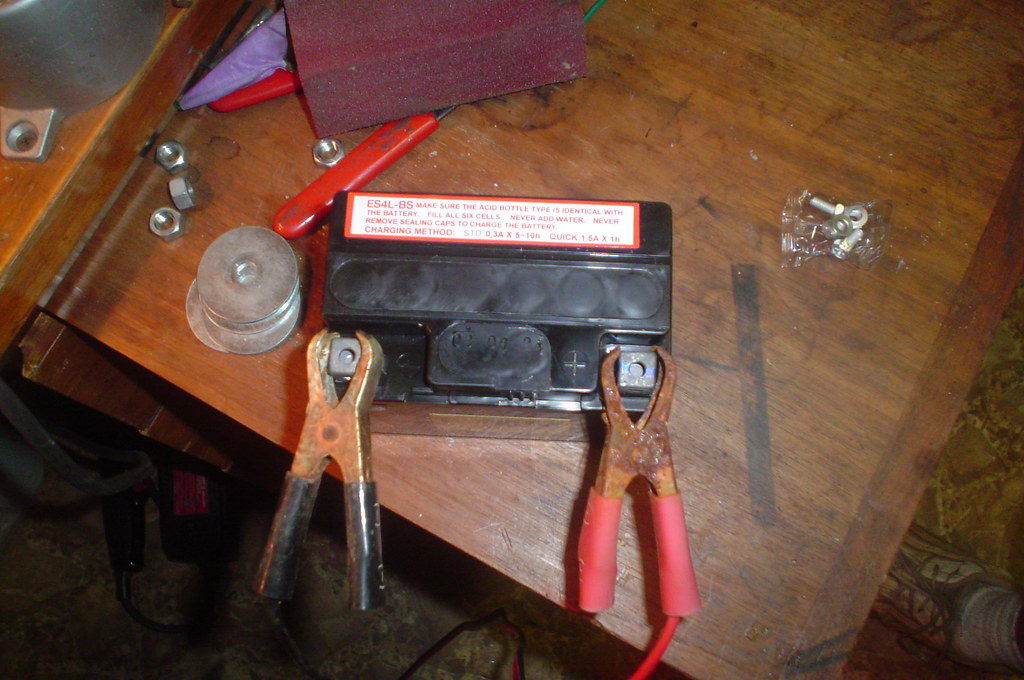
I started prepping my new battery...

2801515865_26848d3f89_b.jpg


2802346224_51ec92762c_b.jpg


Still working on the battery tray, feathering the battery's nest...

2801501409_b3b8fed712_b.jpg


None more black...

2802352046_36dac6e08e_b.jpg
 
Back
Top Bottom