
You are using an out of date browser. It may not display this or other websites correctly.
You should upgrade or use an alternative browser.
You should upgrade or use an alternative browser.
My CB650 project...
- Thread starter gsdapollo
- Start date

tWistedWheelz
BUILT NOT BOUGHT!
NICE!

Big R
Heaven is so far away.
Great paintin man! Really top notch!
I know this isn't a problem with your new brake system but I just want to point out in case somebody reads this later - make sure every last drop of DOT 3/4 fluid is out before adding DOT 5. The mixture is not compatible!
JRK5892 said:use DOT 5 when you put it all togehter and you do not have to worry about the paint getting ruined on the caliper
I know this isn't a problem with your new brake system but I just want to point out in case somebody reads this later - make sure every last drop of DOT 3/4 fluid is out before adding DOT 5. The mixture is not compatible!

bikeboy
Over 1,000 Posts
There you go! I told you the caliper would look a million dollars if you did it properly 
And it does. Well done. If I could be a real pain (and I will so I don't know why I'm asking ;D) I'd suggest you mask off the 'low' areas on the caliper with some low-tak tape, and just leave the HONDA exposed. Then grab some 600 wet and dry on a flat blaock and gently sand the red paint off the letters. It will give you a really sharp edge, and a silver base to put your white on, which will cover better than the red.
And as others have suggested, if you're going the DOT5 route, you need to have removed all traces of the old fluid from every component. If you're not confident you can do that, then go with the DOT4.
looking good. That tank came out well too.
cheers
ian
tWistedWheelz
BUILT NOT BOUGHT!
bikeboy said:And it does. Well done. If I could be a real pain (and I will so I don't know why I'm asking ;D) I'd suggest you mask off the 'low' areas on the caliper with some low-tak tape, and just leave the HONDA exposed. Then grab some 600 wet and dry on a flat blaock and gently sand the red paint off the letters. It will give you a really sharp edge, and a silver base to put your white on, which will cover better than the red.
Yep, that is the route I would take on the honda letters too!

gsdapollo
Been Around the Block
Thanks guys, glad you like!! To comment on the DOT5 suggestion, yes the calipers are completely free of any brake fluid but theres still some older fluid left in the brake and clutch lines (not sure if I last used 3 or 4). How do I go about flushing those out? Also, theres probably some old fluid left in the clutch itself so I would need to flush that out too. So should I just use DOT5 for the brakes and keep the clutch on the older fluid? Or say screw it and use the older DOT altogether? And with the HONDA letters, I was pretty much thinking of the same process; mask, light sand, then laying very thin layers of white paint so that it doesnt run. I made that mistake the first time I did them, i had way to much paint on the brush and it built up, ran a little and didnt dry very well. Where can I get the low-tak tape from? Should I sand the red all the way back down to bare metal, or just enough so that it has some bite to it? Thanks again!!
tWistedWheelz
BUILT NOT BOUGHT!
If you do your masking and sanding right, you will not need to worry with a brush, you can use a can!
gsdapollo
Been Around the Block
Re: My CB650 project... ALMOST FINISHED!!!
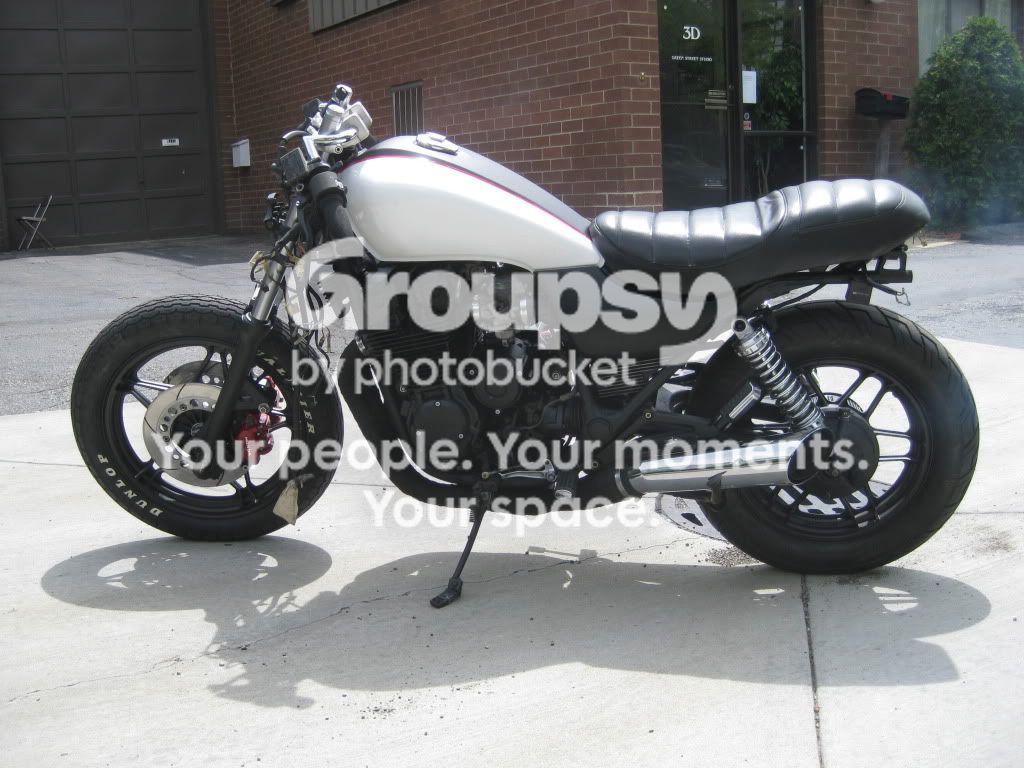
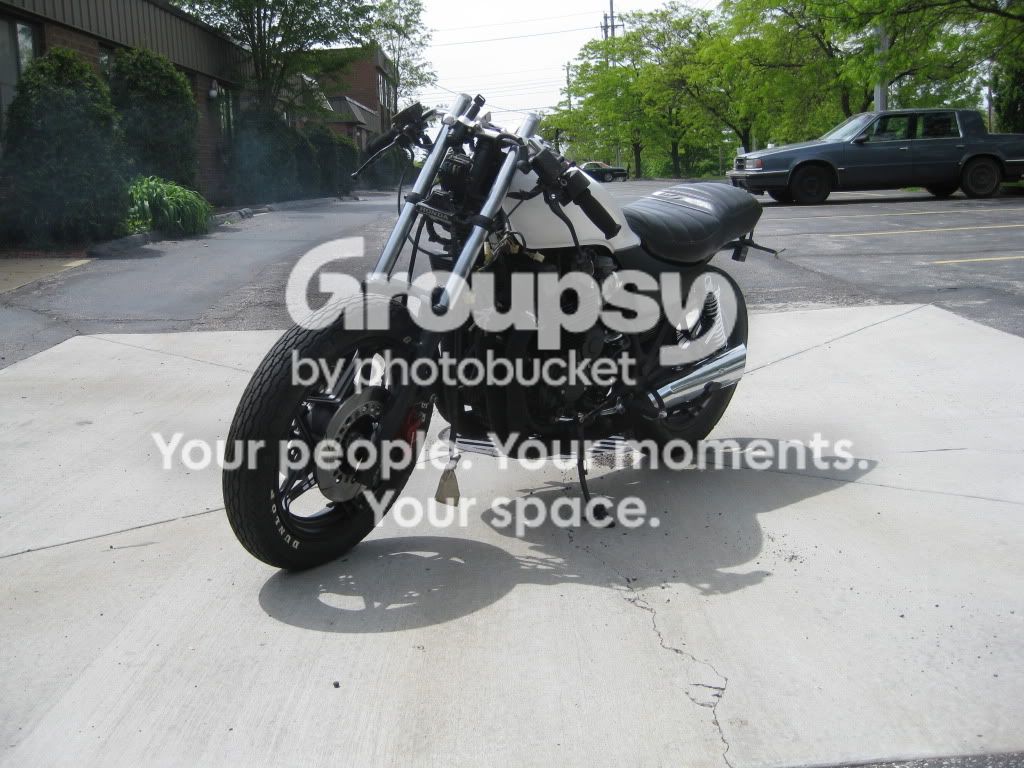
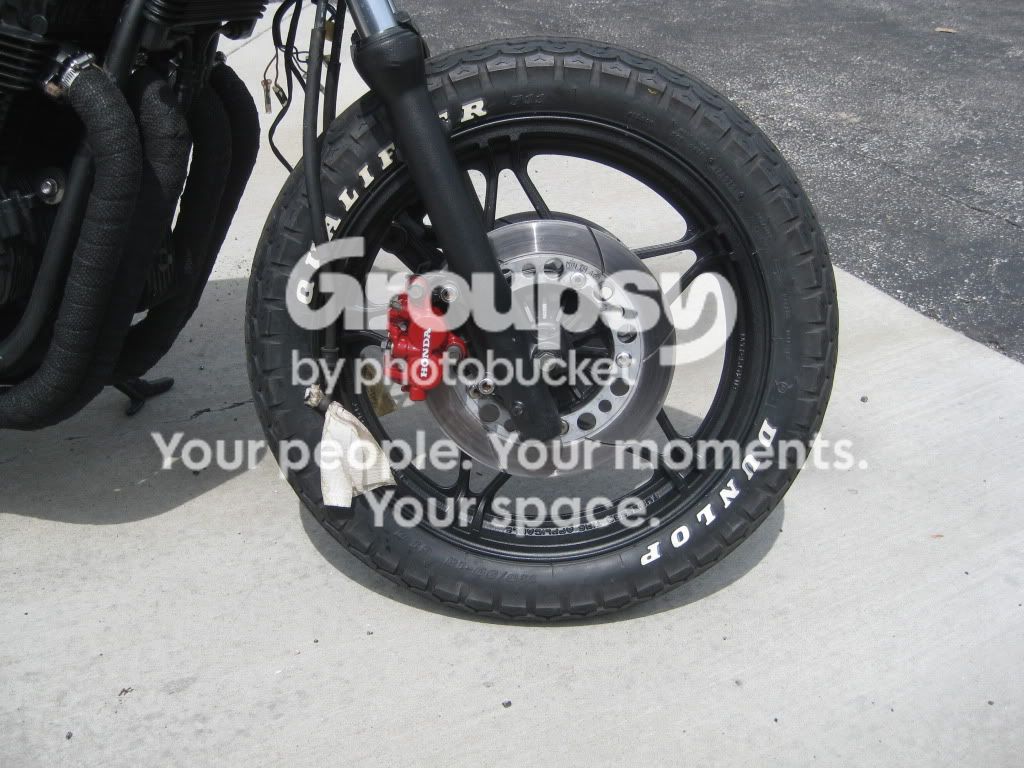
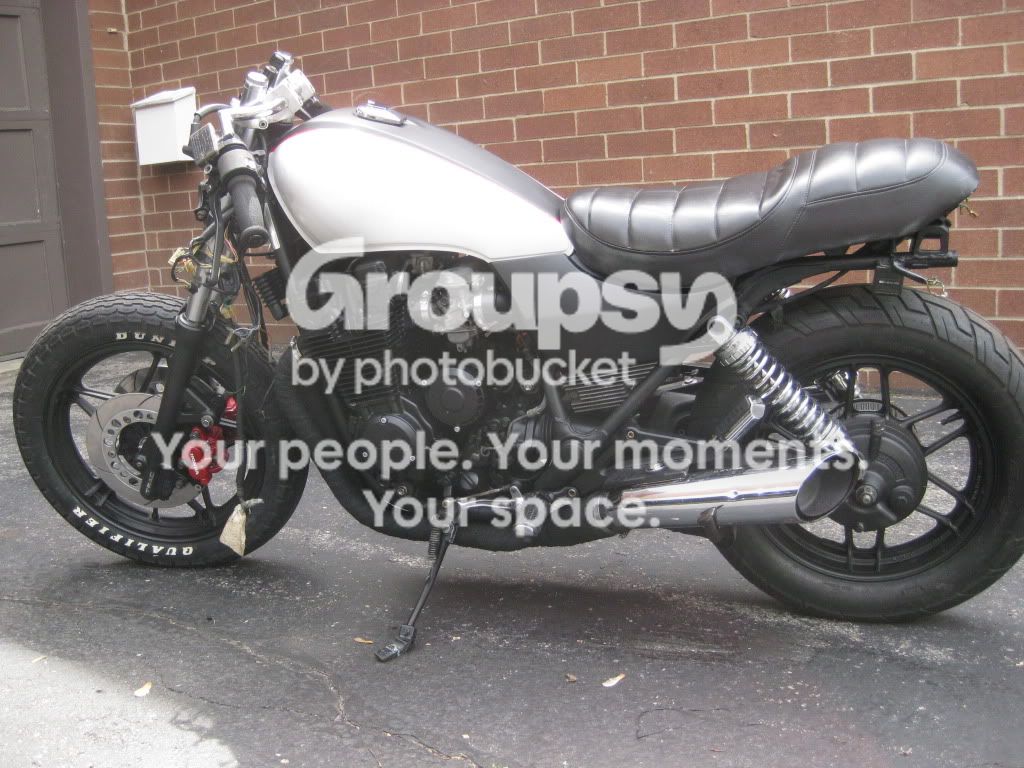
Well Ladies and Gentleman, I finally got her all back together. I still have a few things left to do and since it's going to be about a month or so before Dime City gets a new shipment of Acewell gauges, I have that much time to finish everything else. This is my first bike and build so its definately not perfect, but I have to say, it turned out way better than I had planned. I have to thank everyone for their help and advice, and even their criticisms at times, in getting through this project pretty much unscathed. At this point, the bike is about 90% done, but mechanically the bike is complete, everything else is electrical related. I hope you guys like, enjoy!!
List of things left to do:
- Fix the tailight. As of now I cant get the brake light to work, but the taillight works fine. Its either a broken switch or I need to clean up the connections so Im trying to figure out which one it is.
- Get the turn signals working. I wasnt able to get the rears to work at all with the new markers I got off ebay so I will try hooking up the stock ones and see if they work, if not, I will test the leads and see if any current is coming through. If i remember correctly they were working before I started so I'm not sure what the issue is there.
- Attach the universal speedo sensor. Im waiting to connect my brake calipers because I need to attached the sensor to the caliper bracket so I figure its not worth connecting and bleeding the brakes now if I have to take them off again to attach the sensor.
- Bleed the clutch
- Attach the speedometer. Waiting for Dime City to restock.
- Adjust the steering. I had a bike shop lop off the old steering stop and weld in a bigger one to reduce the steering range enough so that the bars would not hit the tank, but the guy welded in a stop so big that I literally have the turning radius of a small moon. Maybe a few degrees in either direction so thats def not going to fly. I need to get a dremel as its the only tool small enough to fit in that space and lop off about a 1/4 inch of the stop on each side, that should give me sufficient steering.
- Fab up new headlight brackets. I will be using Twistedwheelz method of taking a piece of aluminum and cutting it to fit the fork and headlight. This i will do when I get the steering stop adjusted so I dont have to disassemble the fuse box and brake lines 2-3 times.
- Adjust the carbs and idle. I got the bike running, amazingly, after sitting for eight months on a dolly, and with a battery thats been drained completely numerous times, I simply charged the batt for a day, added a bunch of starter fluid and she fired right up!!! The only issue i noticed after about 30 minutes of running is a VERY slight hesitation to rev up when sitting at idle with the choke off, although the idle is a tad to low and since the carbs have been sitting for a 8 months, im going to wait for any gunked up gas in the jets to blow off to see if it really needs anything. Will def be seafoaming before i make any major adjustments.
Thats about it, few more weeks, cant wait!!


Before painting the headers


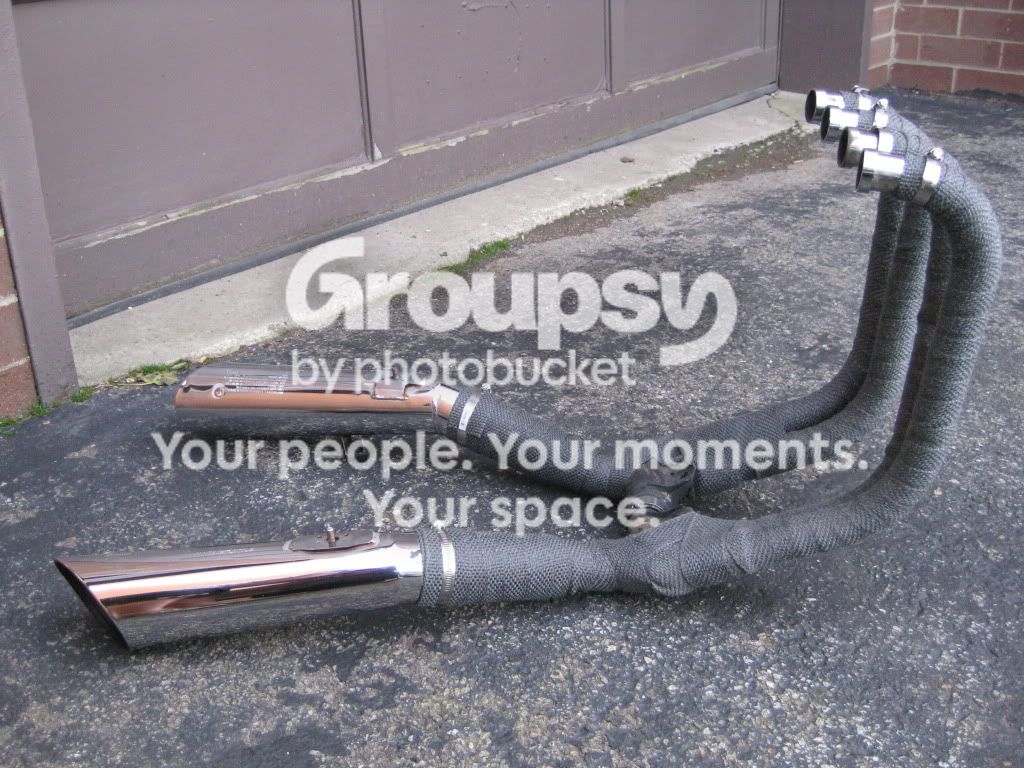
After painting the wrap


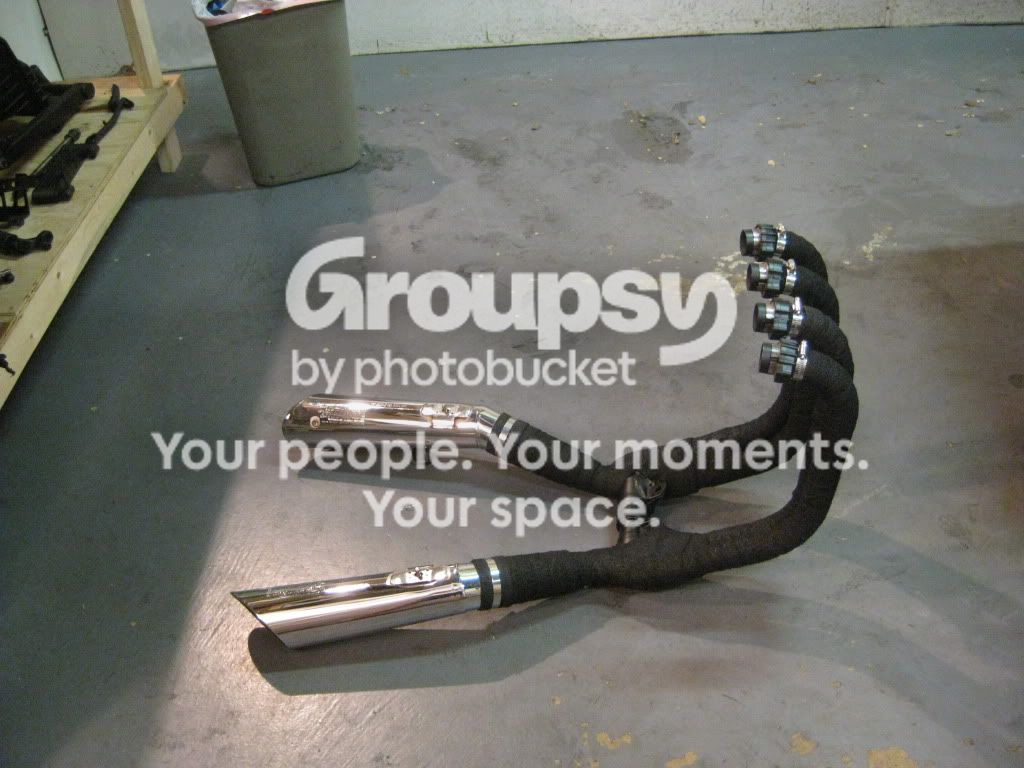
My 5 dollar paint booth
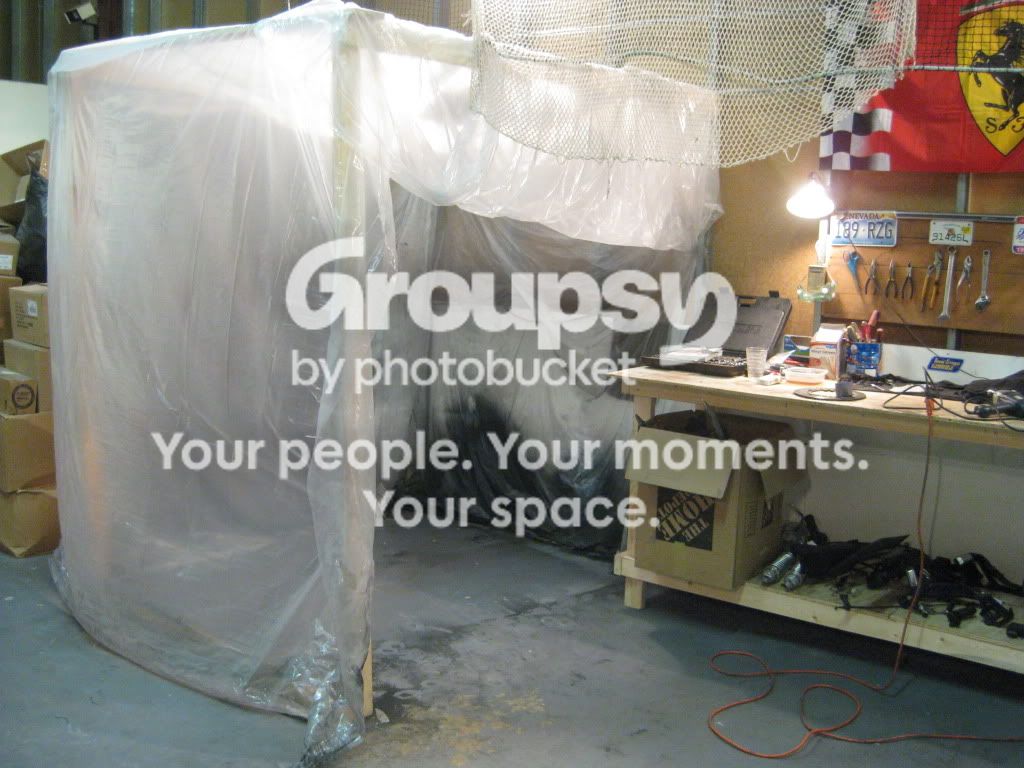

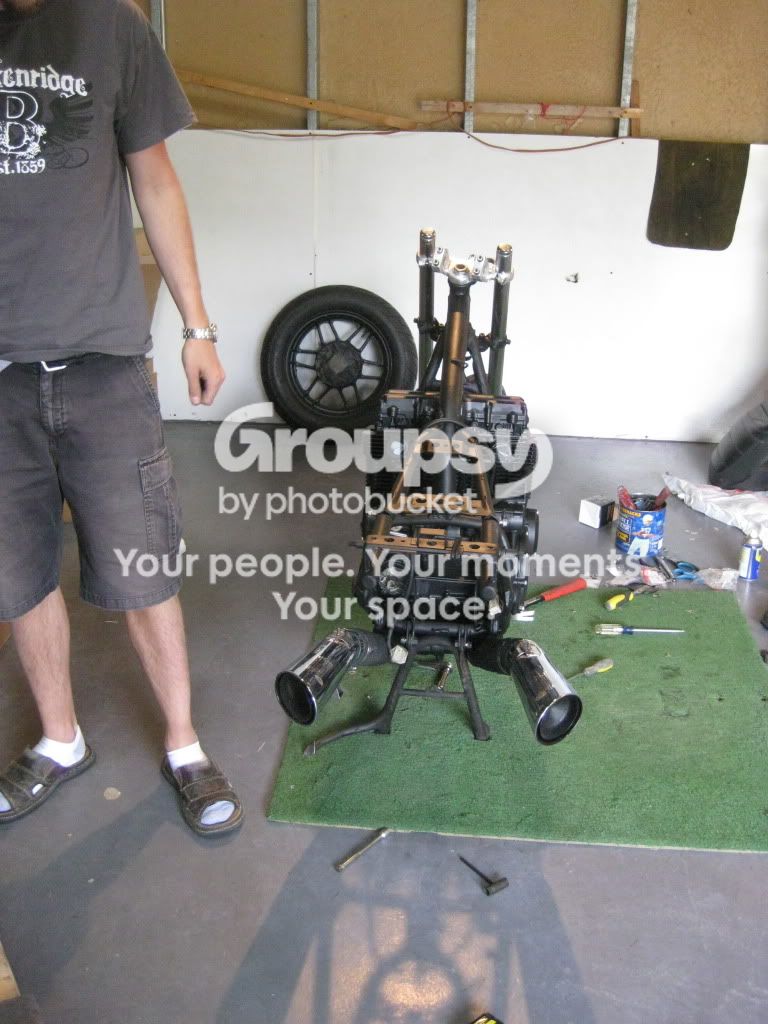
3AM, night before the build and after the garage is cleaned up.


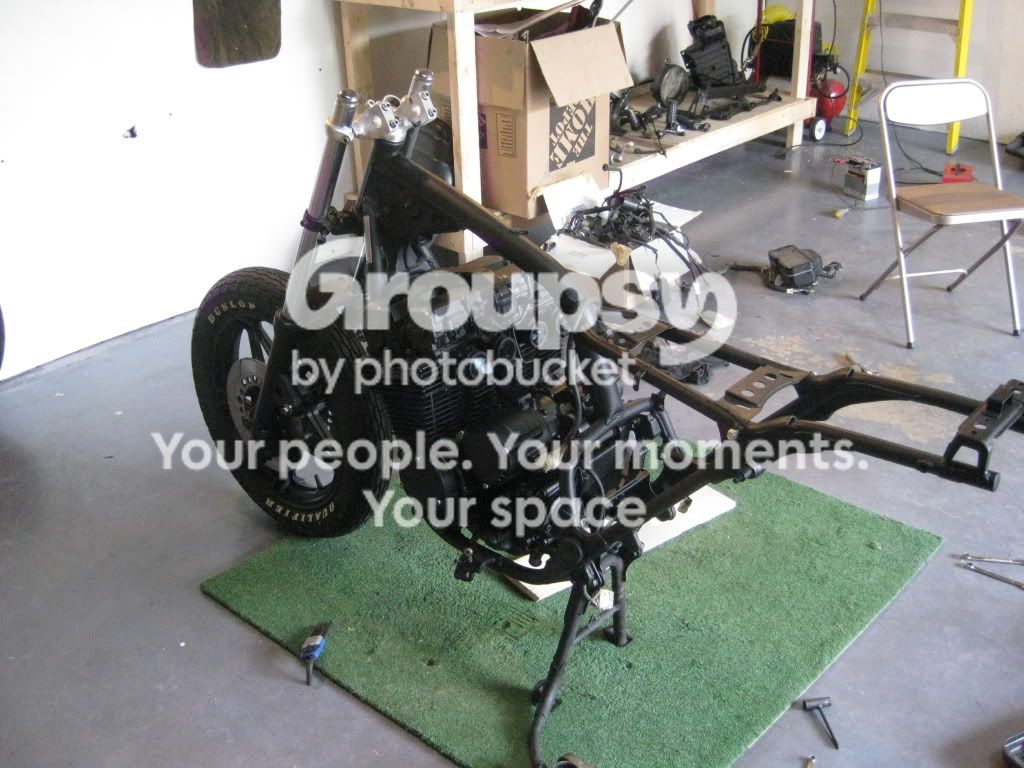
With the exhaust installed.

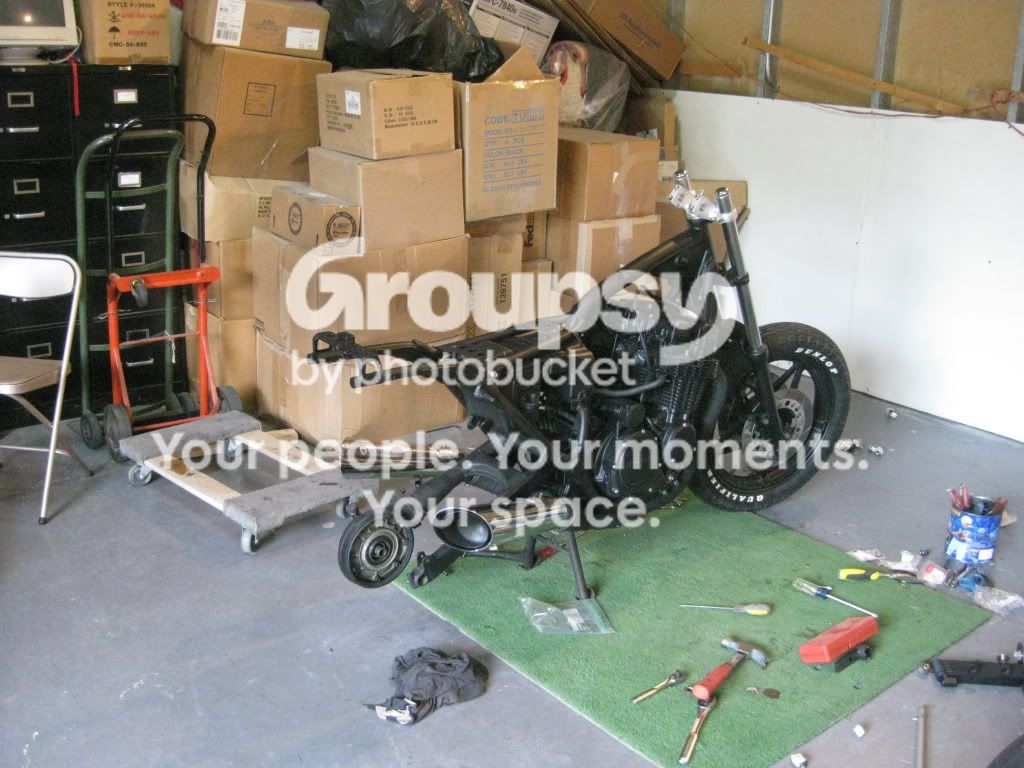
Just thought Id show off my tightly sculpted ass!!


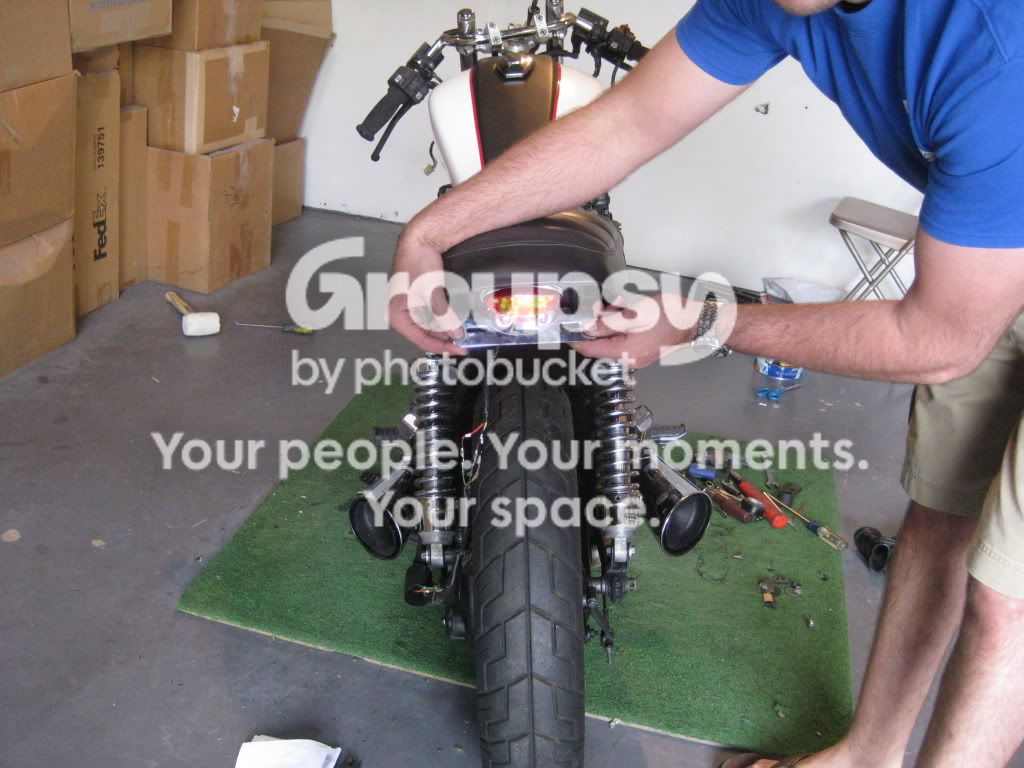
My LED tailight, and yes and its lit up.
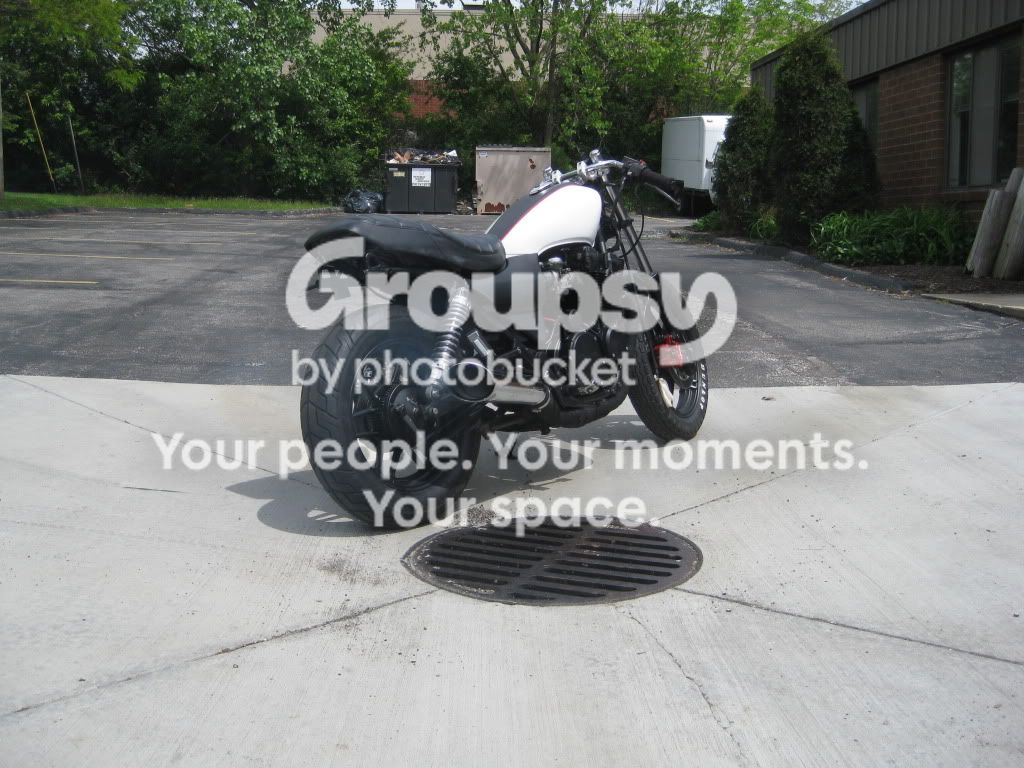
And there she is!!

The bike is running hence the smoke...



Thanks Twisted for the help!!


Puttin her to bed


Well Ladies and Gentleman, I finally got her all back together. I still have a few things left to do and since it's going to be about a month or so before Dime City gets a new shipment of Acewell gauges, I have that much time to finish everything else. This is my first bike and build so its definately not perfect, but I have to say, it turned out way better than I had planned. I have to thank everyone for their help and advice, and even their criticisms at times, in getting through this project pretty much unscathed. At this point, the bike is about 90% done, but mechanically the bike is complete, everything else is electrical related. I hope you guys like, enjoy!!
List of things left to do:
- Fix the tailight. As of now I cant get the brake light to work, but the taillight works fine. Its either a broken switch or I need to clean up the connections so Im trying to figure out which one it is.
- Get the turn signals working. I wasnt able to get the rears to work at all with the new markers I got off ebay so I will try hooking up the stock ones and see if they work, if not, I will test the leads and see if any current is coming through. If i remember correctly they were working before I started so I'm not sure what the issue is there.
- Attach the universal speedo sensor. Im waiting to connect my brake calipers because I need to attached the sensor to the caliper bracket so I figure its not worth connecting and bleeding the brakes now if I have to take them off again to attach the sensor.
- Bleed the clutch
- Attach the speedometer. Waiting for Dime City to restock.
- Adjust the steering. I had a bike shop lop off the old steering stop and weld in a bigger one to reduce the steering range enough so that the bars would not hit the tank, but the guy welded in a stop so big that I literally have the turning radius of a small moon. Maybe a few degrees in either direction so thats def not going to fly. I need to get a dremel as its the only tool small enough to fit in that space and lop off about a 1/4 inch of the stop on each side, that should give me sufficient steering.
- Fab up new headlight brackets. I will be using Twistedwheelz method of taking a piece of aluminum and cutting it to fit the fork and headlight. This i will do when I get the steering stop adjusted so I dont have to disassemble the fuse box and brake lines 2-3 times.
- Adjust the carbs and idle. I got the bike running, amazingly, after sitting for eight months on a dolly, and with a battery thats been drained completely numerous times, I simply charged the batt for a day, added a bunch of starter fluid and she fired right up!!! The only issue i noticed after about 30 minutes of running is a VERY slight hesitation to rev up when sitting at idle with the choke off, although the idle is a tad to low and since the carbs have been sitting for a 8 months, im going to wait for any gunked up gas in the jets to blow off to see if it really needs anything. Will def be seafoaming before i make any major adjustments.
Thats about it, few more weeks, cant wait!!
Before painting the headers
After painting the wrap
My 5 dollar paint booth
3AM, night before the build and after the garage is cleaned up.
With the exhaust installed.
Just thought Id show off my tightly sculpted ass!!
My LED tailight, and yes and its lit up.
And there she is!!
The bike is running hence the smoke...
Thanks Twisted for the help!!
Puttin her to bed

CresentSon
Over 1,000 Posts
I want one! Any plans from here?
Kinda reminds me of this:

Kinda reminds me of this:
gsdapollo
Been Around the Block
CresentSon said:I want one! Any plans from here?
Kinda reminds me of this:
Thanks guys!! Ha that looks like a Vmax on crack... as of right now i dont have any plans other than just finishing the bike and riding. I will do another one, maybe next winter. I just want to build up my tool arsenal first because I want to take everything ive learned on this build and apply it the next one and I also want to get my hand into fabrication for the next build as well. So first, expand my tools, then decide what the next project will be.
tWistedWheelz
BUILT NOT BOUGHT!
Looks great man, and you have been busy! Great work. I suggest the side covers be painted white to match the sides of the tank! You could also tie in the red pin stripes and flat black theme back to them, but make a better line for the transition so the panel flow from the tank to the cover does not look odd.
Fort Worth Realtor
New Member
Apollo - the bike is looking awesome !!! Very nice work. I love the way the tank came out. And good choice on colors. Make sure to post a pic with the headlight installed.
I am still working on mine. I hope it turns out close to as nice as yours is looking.
Good work.
I am still working on mine. I hope it turns out close to as nice as yours is looking.
Good work.
gsdapollo
Been Around the Block
tWistedWheelz said:Looks great man, and you have been busy! Great work. I suggest the side covers be painted white to match the sides of the tank! You could also tie in the red pin stripes and flat black theme back to them, but make a better line for the transition so the panel flow from the tank to the cover does not look odd.
Thanks man, I did consider going white on the side covers but I decided to just go with the textured black and put some decals on them later on, I just felt that painting them white made it look to similar to the way the bike looked originally since they were the color of the tank. Right now Im having trouble getting the turn signals and brake light to work and have been chewing away at that for the past month and its driving me nuts, about the only thing I havent replaced is the fuse box which will probably end up being the problem, but they are 50 bucks so Im just sitting on that one for a few weeks until I can get some money. But thanks for all your help, the brakes turned out AWESOME with the black wheel. I havent fabbed up the headlight ears yet either, I've convinced myself that I WILL fix that lighting issue before I do anything else, shit I havent even bled my brakes or clutch yet lol... Anyways, should have an update in a few weeks. Oh, and how's the married life?
FWR, lets see some pics man!!!
bikeboy
Over 1,000 Posts
gsdapollo said:Thanks man, I did consider going white on the side covers but I decided to just go with the textured black and put some decals on them later on, I just felt that painting them white made it look to similar to the way the bike looked originally since they were the color of the tank.
I agree. Looks really 'tough' in the black. Bike has turned out great. Don't see too many around with that swoopy look. Well done
But thanks for all your help, the brakes turned out AWESOME with the black wheel.
They do look good together. Love the matt black wheels too.
cheers
ian
Fort Worth Realtor
New Member
Apollo - would you mind sharing some tips on how you did that exhaust ? I love the way it turned out. What kind of wrap/paint, etc ? Did the wrap kit come with those clamps ?
gsdapollo
Been Around the Block
Fort Worth Realtor said:Apollo - would you mind sharing some tips on how you did that exhaust ? I love the way it turned out. What kind of wrap/paint, etc ? Did the wrap kit come with those clamps ?
Sure man, I bought two 50ft rolls of black header wrap and a bunch of different sized garden hose clamps. I ended up using about 3/4's of the two rolls of wrap. I had my cousin hold the roll as I wrapped and tightened it around the each header starting with the outside headers first, then once I got down to where each bank of headers meet from 2 into 1, I would wrap a few times then stick a pin in (i used the pin that comes with the header wrap that keeps it in a neat roll when not being used), then I wrapped the inside header and then wrapped the entire section where they meet (the wrapping for this takes some finesse as you have to criss-cross your wraps where the pipes meet as the cross pipe makes a normal wrap impossible). Then once I got to the one big pipe, I started a new wrap (no need for a clamp there, just wrap tightly over where the previous wrap ended a few times and it wont go anywhere, then worked my way up till just before the bend, then clamped it. I ended up buying a shit ton of clamps, but in the end I needed 4 for the headers, 2 for the exhaust, 4 for the carb intake, and 4 for the boot between the carb and motor. All different sizes. The hardest ones were the headers, you have to make sure you leave enough room between the blunt tip of the header that goes into the motor and where you start your wrap so as to fit the header clamp shims and the header clamp, I almost couldnt get my clamps on because I didnt even think about that when I wrapped my exhaust, thankfully I was able to get them on without having to redo the whole thing. Now painting took some thought because I liked the way the clamps were shiny and contrasted with the black headers, so once I wrapped everything and clamped it down, I then slowly loosened each clamp, and replaced with a small piece of ziptie, did this one by one. I then used two cans of black engine enamel and painted them black, of course masking off the chrome on the pipes before hand. Then once the paint dried, I removed each zip tie and replaced with the shiny clamp and voila, shiny clamps over black headers, looked nice.
If you dont mind, I have a small favor to ask from you since Im not getting any help over at the NH forums. I cant get my damn brake light or turn signals to work. Do you think you can disconnect your front brake switch (two wires going into a little black switch directly beneath your front brake control) and see if the TAILIGHT light on the dash comes on, also once its disconnected, see if the brakelight still lights up when you hit the rear brakes. That is of course if your bike isnt already in pieces. If you could do that I would really appreciate it because that'll help me determine what the hell is causing that brake light not to work. Goodluck and if you need any help hit me up, peace!!
gsdapollo
Been Around the Block
bradwsm said:nice build! As with the turn + brake lights check your grounds, dont no if that bike is 12 or 6 volt but thats were I would start
been there, done that lol... Ive checked continuity on every wire, and its good. Ive got power to the front running lights and the tailight, but the brake light and turn signals dont work. Also the corresponding front running light turns off when the flasher is activated which tells me it should be the flasher relay. So i bought a new harness completed with brakelight and flasher relay, same problem, brake light doesnt work and flashers dont work. So i disassembled the flasher switch and cleaned it, still same problem. Tried new fuses, same problem. So either im doing something wrong or the only other thing it could be is the fuse box...
plus the ground for the flasers is a common ground for the front and rear flashers and the front running lights, and since the front running lights work fine off that ground, can i safely assume that ground is fine?
its a 6 volt btw...