
You are using an out of date browser. It may not display this or other websites correctly.
You should upgrade or use an alternative browser.
You should upgrade or use an alternative browser.
Sleek & Sexy CL360
- Thread starter SausageMahoney
- Start date


Jordan, I like how you named those files 'growingupsofast'
Yeah, I didn't do the welding, that was a friend. But the grinding was a lot of fun. I just took it nice and slow. Glad you guys dig it. I might try some JB weld to fill in the pinholes left on the rear weld, but otherwise I'm ready to start sanding & painting again tonight.
If that tank would sell on eBay with the factory paint like that, I might try to hock it and get a smaller tank that fits. What do you guys think?

valvesprung
Over 1,000 Posts
I hoped you might catch that ;D
Chad and I just sat back and said that while you were going to town on it Looks great buddy, and you did good work. I'm damned proud of how much you've jumper in head first with out reservation and kicked some serious ass so far.
Chad and I just sat back and said that while you were going to town on it
Looks great buddy, and you did good work. I'm damned proud of how much you've jumper in head first with out reservation and kicked some serious ass so far.
My ol man use to work in the auto foundry before robotic welding. Some welds they left un molested (no grinding) but the weld had to be real nice. Other welds they would use spot putty to smooth them out. It works real nice. Very easy to sand and feather out. I've used both JB weld and spot putty. The JB welds can fill larger voids but it doesnt feather as well as spot putty. Spot putty is good for filling small areas and voids.SausageMahoney said:Jordan, I like how you named those files 'growingupsofast'
Yeah, I didn't do the welding, that was a friend. But the grinding was a lot of fun. I just took it nice and slow. Glad you guys dig it. I might try some JB weld to fill in the pinholes left on the rear weld, but otherwise I'm ready to start sanding & painting again tonight.
If that tank would sell on eBay with the factory paint like that, I might try to hock it and get a smaller tank that fits. What do you guys think?
A nice tank like that is very hard to come by. I think it would be easy to sell on e bay and make some good money towards one you can hammer out if that's what you want to do. Some guys might consider it sacriligious to hammer on such a nice tank. Just saying...
JRK5892 said:to be honest before i powdered my frame i ground every weld... well worth the effort! looks so much smoother!
Though obviously personal preference, I have to disagree with this. I think the exposed welds look better than smoothed-out, molded look. On the RD400 I'm building, I purposely TIG welded everything and didn't touch the beads with a sander or grinder.
That said, i did sand every one of the beads on my CL350 and it was a PITA and dissatisfying in the end.
Just my opinion.
--Chris

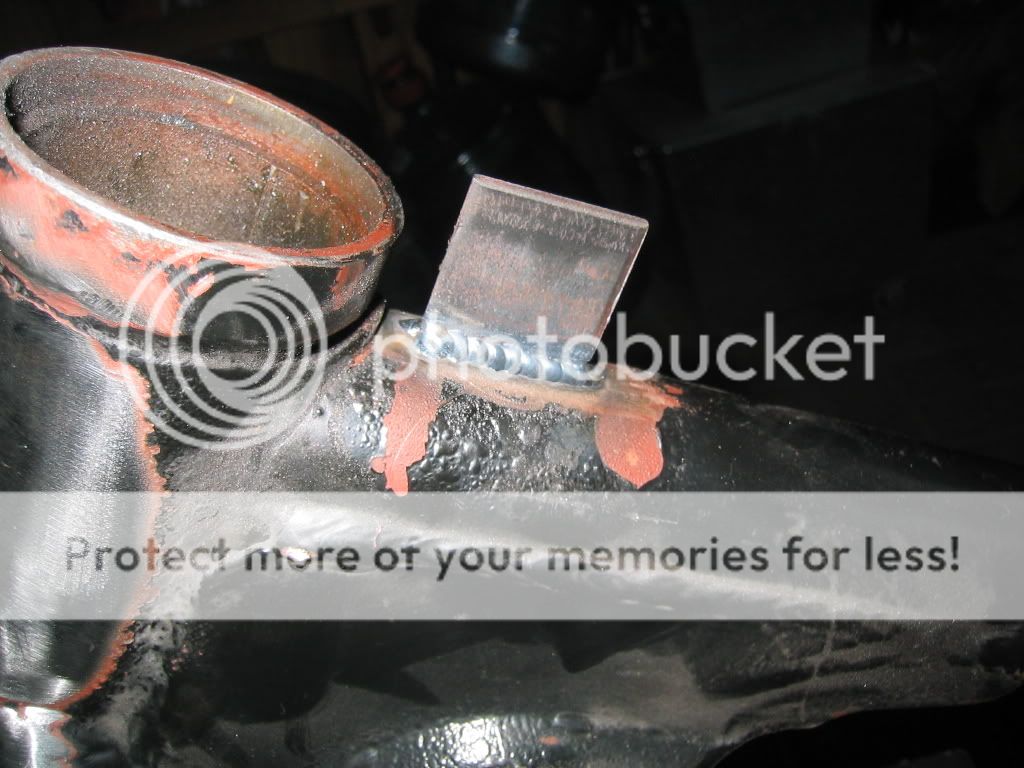
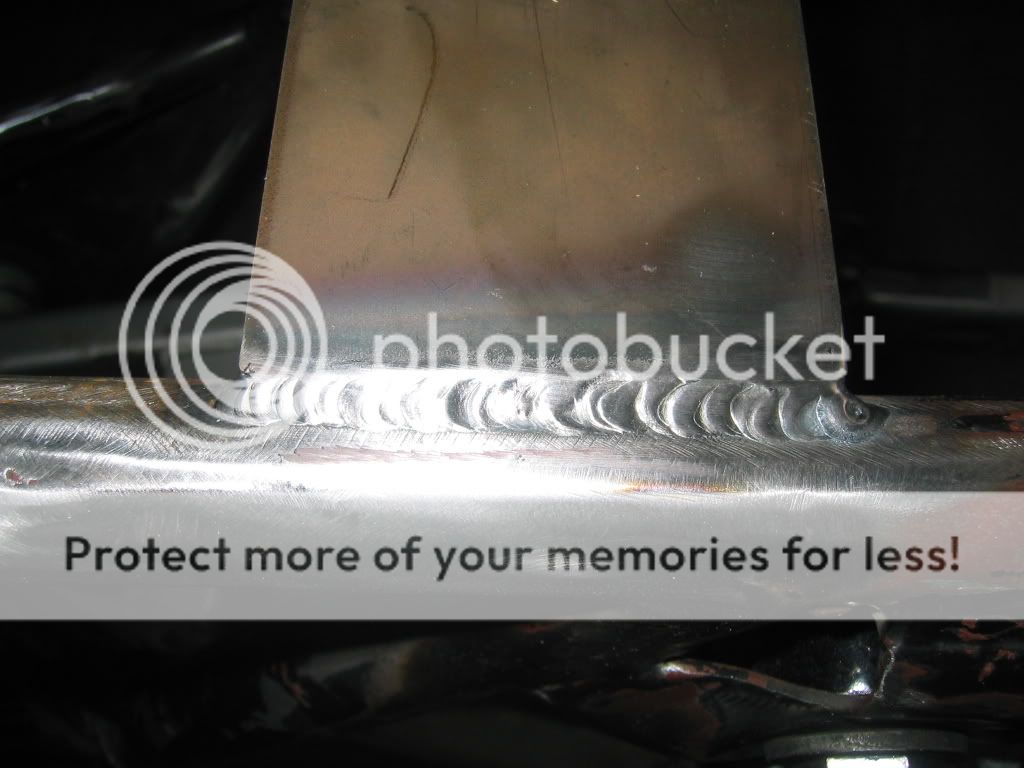
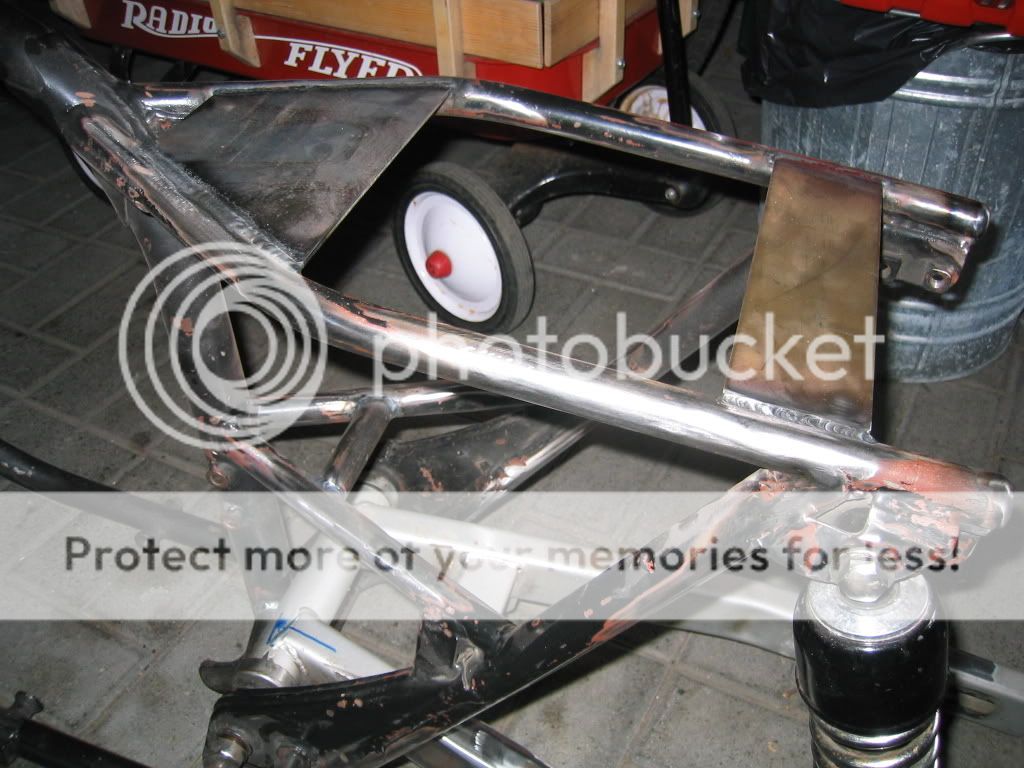
Chad did a really good job with the welds, but they weren't professional grade beads, and he wanted to smooth them out. I'm leaving all the factory welds because I don't have much of a preference either way, and I'm too impatient at this point to go and grind everything out.
But today I picked up my brat-style seat from the upholstery shop. They did a terrific job, if anyone's in the Portland area, Urban Upholstery in Hillsboro did this seat for $45-- they were super nice, let me bring my dog into the shop when I stopped in, and the guy loves working on motorcycle projects.
This ended up looking a thousand times better than my shoddy DIY vinyl. I'm super stoked about this seat:


Lines up almost perfectly:

Mockup with the tank:

So it's still a little taller than I would've hoped, but any more shaving into the foam and I would've been hitting metal on the seat pan. Oh well, looks tits anyways.
But today I picked up my brat-style seat from the upholstery shop. They did a terrific job, if anyone's in the Portland area, Urban Upholstery in Hillsboro did this seat for $45-- they were super nice, let me bring my dog into the shop when I stopped in, and the guy loves working on motorcycle projects.
This ended up looking a thousand times better than my shoddy DIY vinyl. I'm super stoked about this seat:
Lines up almost perfectly:
Mockup with the tank:
So it's still a little taller than I would've hoped, but any more shaving into the foam and I would've been hitting metal on the seat pan. Oh well, looks tits anyways.
valvesprung
Over 1,000 Posts
Hells yeah buddy that looks absolutely amazing... The seat and tank look perfect together, I think the seat would've looked large agaisnt the 360 tank, but is perfect for the 450. I love the all black look, but man that tank looks retro-tastic...jus sayin ;D Maybe go gold barrels and black spokes on the wheels to flow through the rest of the bike 
valvesprung
Over 1,000 Posts
And DAMN for eyeballin, that rear hoop couldn't look more perfect!
valvesprung
Over 1,000 Posts
I KNOW I'VE ALREADY REPLIED TWICE, BUT i CAN'T STOP LOOKING AT IT...IY LOOKS SO DAMNED RIGHT....JUST LIKE IT SHOULD!!!!!
SausageMahoney said:Chad did a really good job with the welds, but they weren't professional grade beads, and he wanted to smooth them out. I'm leaving all the factory welds because I don't have much of a preference either way, and I'm too impatient at this point to go and grind everything out.
But today I picked up my brat-style seat from the upholstery shop. They did a terrific job, if anyone's in the Portland area, Urban Upholstery in Hillsboro did this seat for $45-- they were super nice, let me bring my dog into the shop when I stopped in, and the guy loves working on motorcycle projects.
This ended up looking a thousand times better than my shoddy DIY vinyl. I'm super stoked about this seat:
Lines up almost perfectly:
Mockup with the tank:
So it's still a little taller than I would've hoped, but any more shaving into the foam and I would've been hitting metal on the seat pan. Oh well, looks tits anyways.
Had to go back and drag these photos to this page. Hope I don't piss anyone off but they deserve to be looked at a little longer. Troy
Valvesprung and I got the motor back on last night. Starting to come back together again!! ;D
Before:

Today's mockup:


Tomorrow I get my wheels back and start painting those. Might even have the tires on next week. I can't wait to get those wires & cables cleaned up.
Before:
Today's mockup:
Tomorrow I get my wheels back and start painting those. Might even have the tires on next week. I can't wait to get those wires & cables cleaned up.
Oh yeah, I need some help with a few things!
ITEM #1: What are my options for hiding the battery? I know ChrisF was selling some flat packs that mount under the seat pan that would work with this seat. Where can I score some of those? Will they power the new halogen bulb headlamp and an electric start?
ITEM #2: Valvesprung is doing a new exhaust setup, and he needs longer wrap. Can I put his old wrap on my pipes?
ITEM #3: Stupid question. What size are my forks? I need to order clipons soon and I have no clue.
ITEM #4: Joe said he could custom machine some emblems for me. Some ideas I mocked up in photoshop:


Or I can have a strip machined, then have some vinyl cut to look something like this:

OR I can fill the emblem mounts, paint, and have some vinyl cut like this:

Inspired by this:

I can't decide!
ITEM #1: What are my options for hiding the battery? I know ChrisF was selling some flat packs that mount under the seat pan that would work with this seat. Where can I score some of those? Will they power the new halogen bulb headlamp and an electric start?
ITEM #2: Valvesprung is doing a new exhaust setup, and he needs longer wrap. Can I put his old wrap on my pipes?
ITEM #3: Stupid question. What size are my forks? I need to order clipons soon and I have no clue.
ITEM #4: Joe said he could custom machine some emblems for me. Some ideas I mocked up in photoshop:
Or I can have a strip machined, then have some vinyl cut to look something like this:
OR I can fill the emblem mounts, paint, and have some vinyl cut like this:
Inspired by this:
I can't decide!
valvesprung
Over 1,000 Posts
Well he is going to paint it. I don't think knee dents will be added, but black it will be. The tank really does look better in pictures then in real life. The clear is very faded, it has scuffs/scratches all over. It's not to say it couldn't be salvaged, but it is fairly rough, it just happens to have a solid base.
I've been hitting some road blocks over the last few weeks. These wheels have been the biggest problem area:

The epoxy paint hasn't been laying down as well as I was hoping... I've been getting some 'cracking' because it's been pretty cold in the garage and for other unknown reasons. So I've had to spray, let it cure for a few days, sand down trouble spots, heat up the garage with a space heater and the lights, spray, let it cure, sand, etc. etc. etc. It's been a pain. It will probably be another week or two before these are done, cured, and ready for tires. I'm also ordering a steering bearing upgrade kit, tank flush kit, new chain, new fork seals, and a couple other small pieces... so I'm waiting on those and it might be another couple of weeks before I can make any more serious progress.
The epoxy paint hasn't been laying down as well as I was hoping... I've been getting some 'cracking' because it's been pretty cold in the garage and for other unknown reasons. So I've had to spray, let it cure for a few days, sand down trouble spots, heat up the garage with a space heater and the lights, spray, let it cure, sand, etc. etc. etc. It's been a pain. It will probably be another week or two before these are done, cured, and ready for tires. I'm also ordering a steering bearing upgrade kit, tank flush kit, new chain, new fork seals, and a couple other small pieces... so I'm waiting on those and it might be another couple of weeks before I can make any more serious progress.