Follow along with the video below to see how to install our site as a web app on your home screen.
Note: This feature currently requires accessing the site using the built-in Safari browser.
We noticed you are blocking ads. DO THE TON only works with community supporters. Most are active members of the site with small businesses. Please consider disabling your ad blocking tool and checking out the businesses that help keep our site up and free.
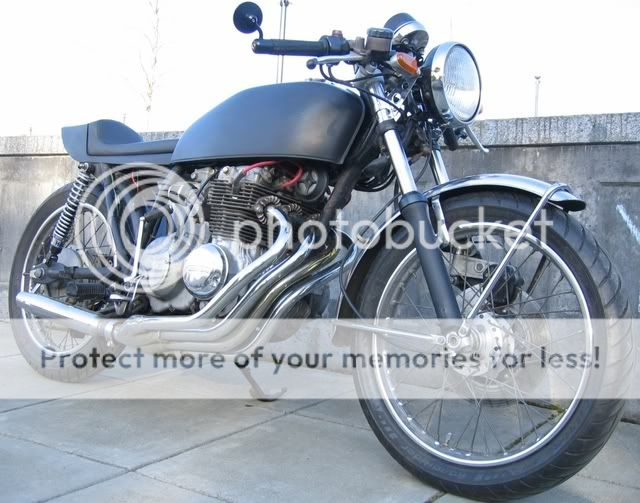
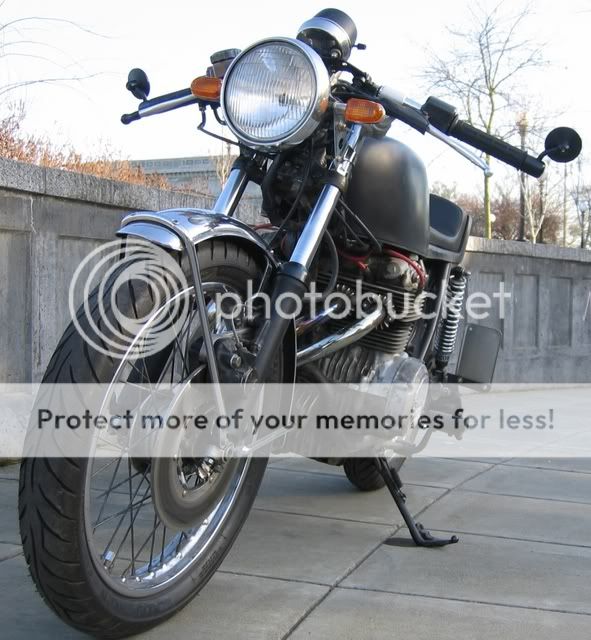
I thought I'd start adding pictures and info about what I'm doing. I bought a CB400F that had already been modified to resemble vintage cafe racer style. The seat was already done and the battery compartment had already been opened up.
I'm planing:
1.Powder coating hubs and lacing them with aluminum rims
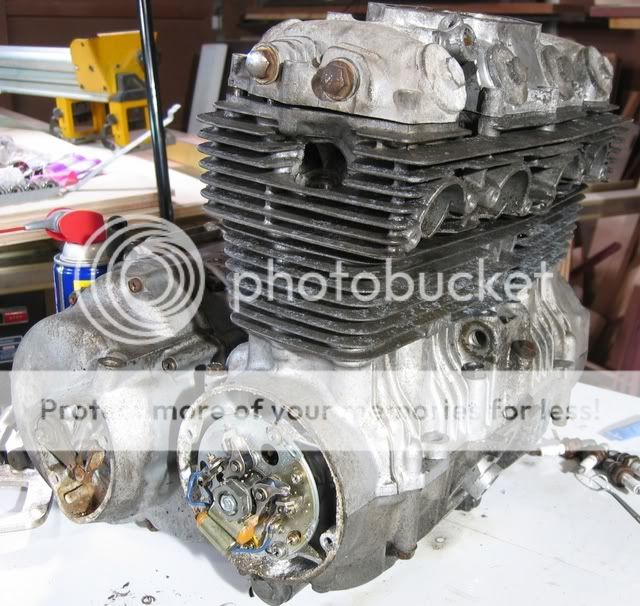
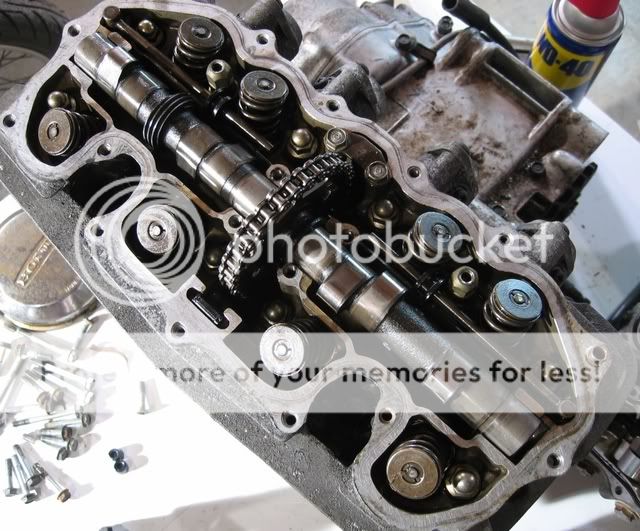
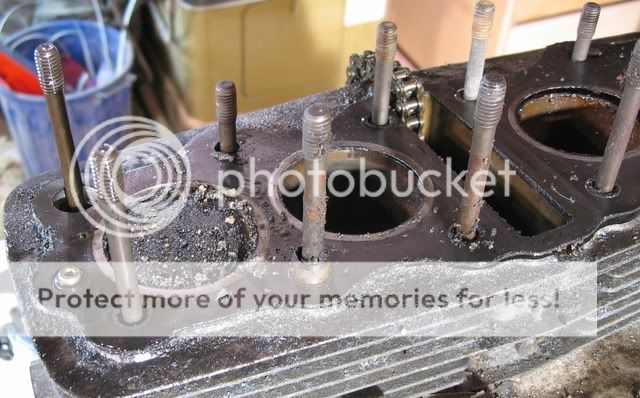
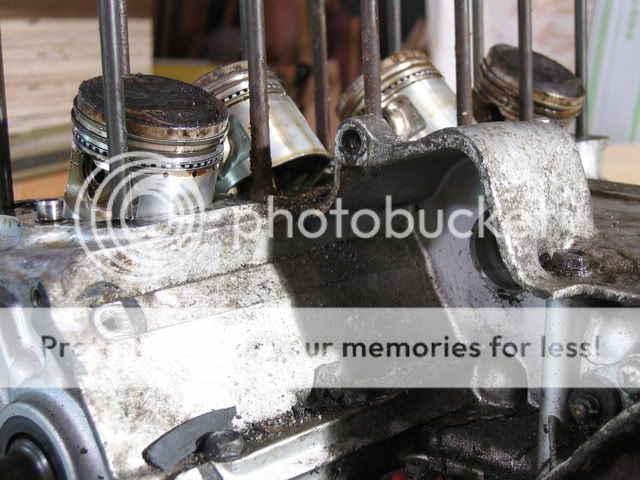
2.I have a second motor I currently disassembling that will be getting the big bore kit and yoshi exhaust
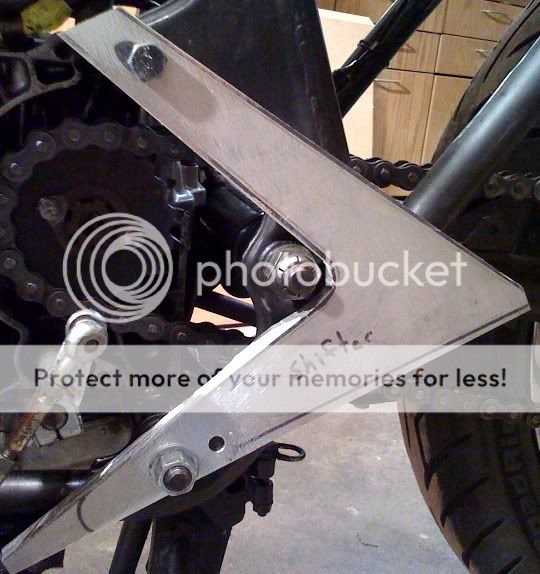
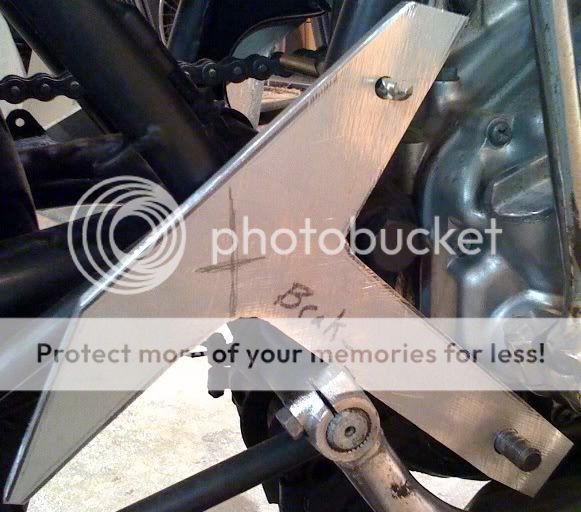
3.I am making my own rearsets
4.I'm looking for different levers/master cyclinder/buttons and what have ya to clean up the front end.
I'm also going to replace every bolt or part that I can to make the bike as vintage looking as possible but with new technology. Some vintage aspects will be passed on for the sake of better performance/ handling.
I'm totally new to working on motorcycles but not riding. I've ridden since I was about 12 but I've never really had a bike that I wanted to customize.
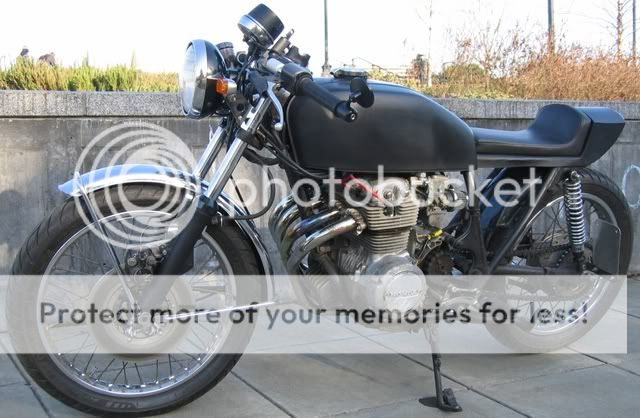
When I got the bike it had clubmans on it but I I changed them out to clip-ons, these ones, http://guzzino.com/tahicl.html, well not exactly those ones. The ones I got are the short rise of those.
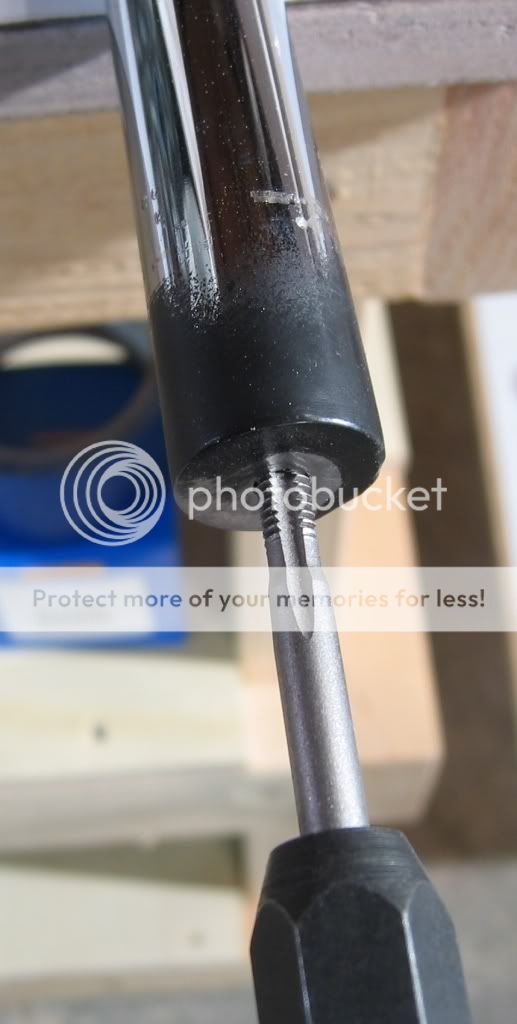
I then got these bar end mirrors http://www.oberon-performance.co.uk/acatalog/Bar_End_Mirrors.html
I didn't like the way they bolted on so I had a friend weld some metal into the end of the bars and I tapped them to fit a bolt.
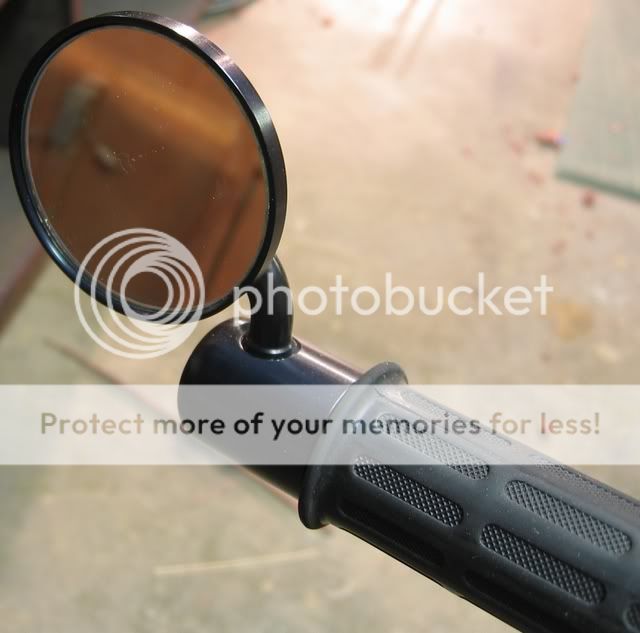
I had to cut a part off the housing but now they bolt right into the end of the bar instead of using the pinch bolt they came with. Much better attachment IMO.
Here's the finished look.
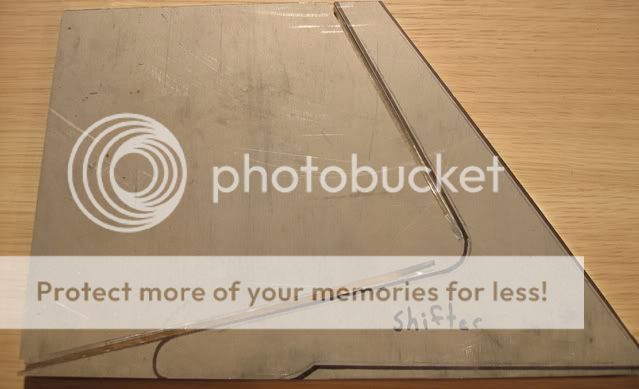
I'm making my own rearsets because I want to be able to use the kick start and leave the starter off. I also want to do something different with the pegs themselves. Here's the layout of the brackets that the pegs will bolt to.
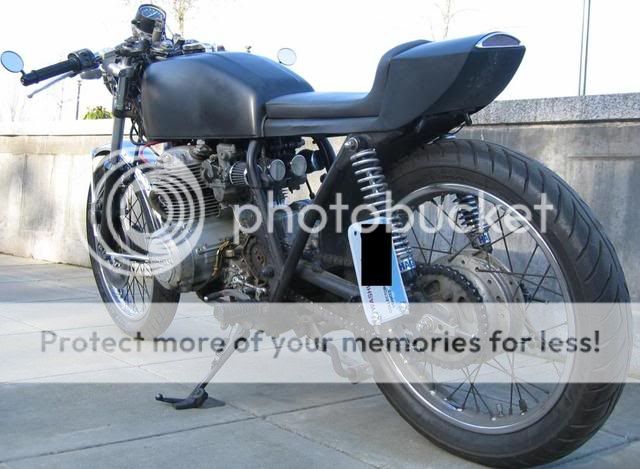
Thanks, it was made by the guys at Twinline here in Seattle. I'm thinking about remaking it out of aluminum and making it so it's completely closed off on the bottom. I'd keep the same design, size and shape but behind the seat pad there would be a removable panel, I could store tools in there. I've notice that the tire has touched it one or twice two so it needs to have just about a 1/2" more clearance as well.
Here's as far as I got last night with the rearset brackets.
I hit a bump the other night, bottomed out the rear shocks and it tore out my rear plastic fender that had a bunch of electrical attached to it up under the seat bump. I scrapped the plastic fender completely and started a aluminum. I hope to have some pics of it up by Wednesday. I also tightened up the shocks in hopes it'll take less to bottom out.
Keep us posted with those rearset pics and build. I was thinking of welding a bracket straight to the frame and bolting on a set of fireblade rearsets. Not sure if it will work just yet, but will keep you informed of my progress!!!
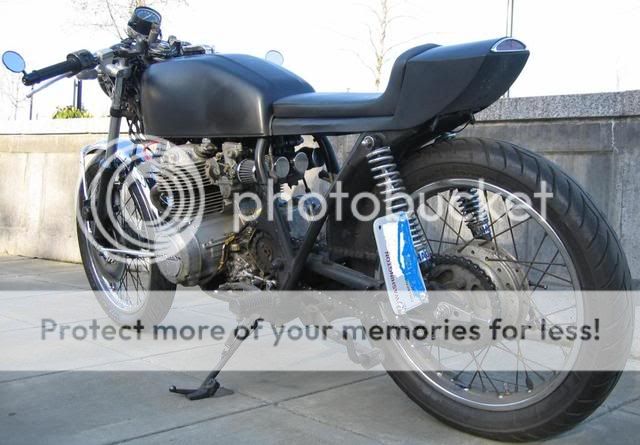
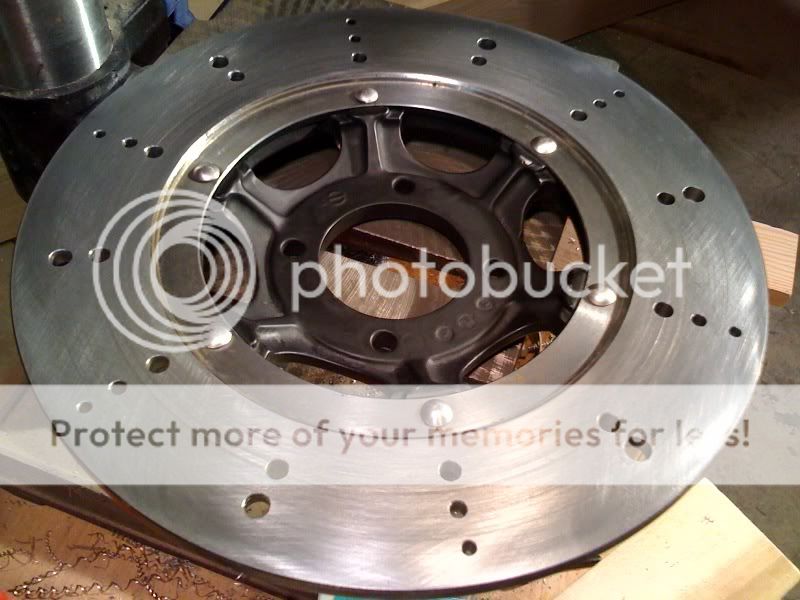
Well I hope to work on the rear sets next week after I get the front brake all dialed in. I have new levers and the blinker switch is in the brake lever so I am running a continuous SS brake line with all new fittings, pads and piston. I also did this last night.
Every night this week I hope to limp forward with something new ;D
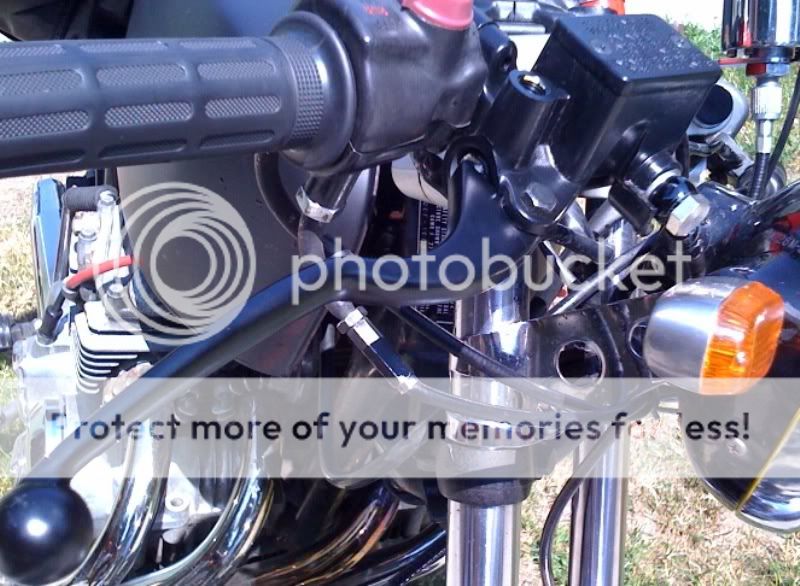
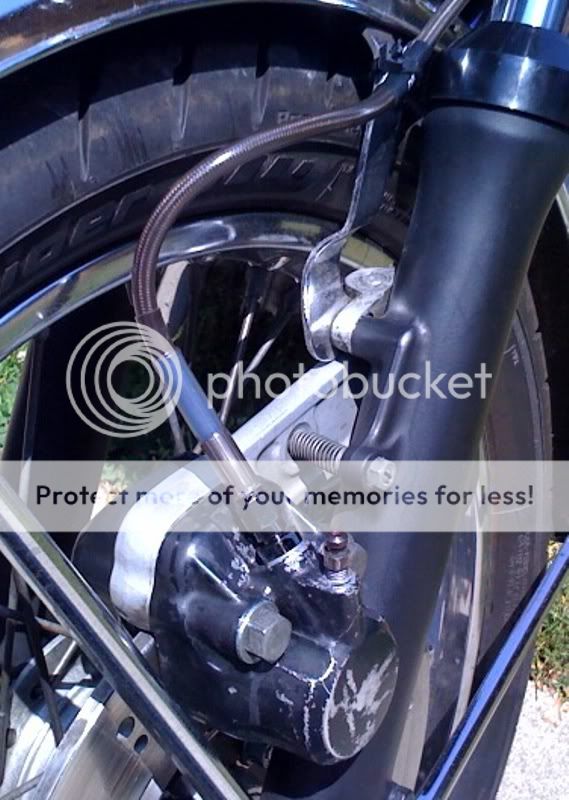
I got my new front brake lever and ss braided brake line on. I need to come up with a different way of attaching at the caliper though. The line is pretty close to the front tire. I'm not going to worry about it until I get my new front fender made because that will change the route of the line anyway.
Now I have an unobstructed Stainless Steel braided line that goes straight from the lever to the caliper. The stock reservoir also interfered with the clamps for my clip ons but the new one fits a lot better. This gives me the ability to adjust the bars more to my liking. The brake light switch is in the lever.
The brakes function so much better. I feel like I could do an endo like I used to do on my BMX bike when I was a kid.
This site uses cookies to help personalise content, tailor your experience and to keep you logged in if you register.
By continuing to use this site, you are consenting to our use of cookies.