We noticed you are blocking ads. DO THE TON only works with community supporters. Most are active members of the site with small businesses. Please consider disabling your ad blocking tool and checking out the businesses that help keep our site up and free.
You are using an out of date browser. It may not display this or other websites correctly.
You should upgrade or use an alternative browser.
You should upgrade or use an alternative browser.
1975 CB400F Project "Replacement Girlfriend"
- Thread starter SONICJK
- Start date
crqcycles
Not a lot of cafe's down here in Mexico...
SONICJK said:I'm thinking of doing my tank in the same aluminum paint that's on the engine......maybe with a nice black stripe somewhere
Thoughts?
I would go with the original red, blue but mostly YELLOW!
")
SONICJK
Reminds me of...me No, I'm sure of it. I hate him
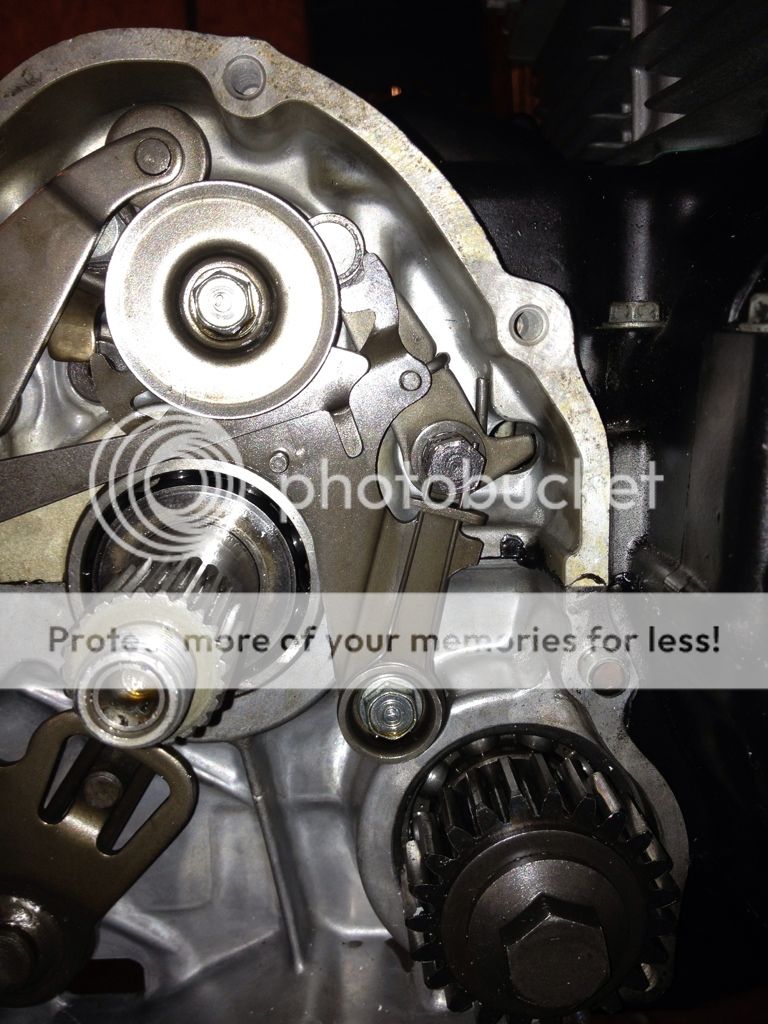
Finally made a little more progress, dowel pins come in tomorrow so tomorrow night the engine gets finished!
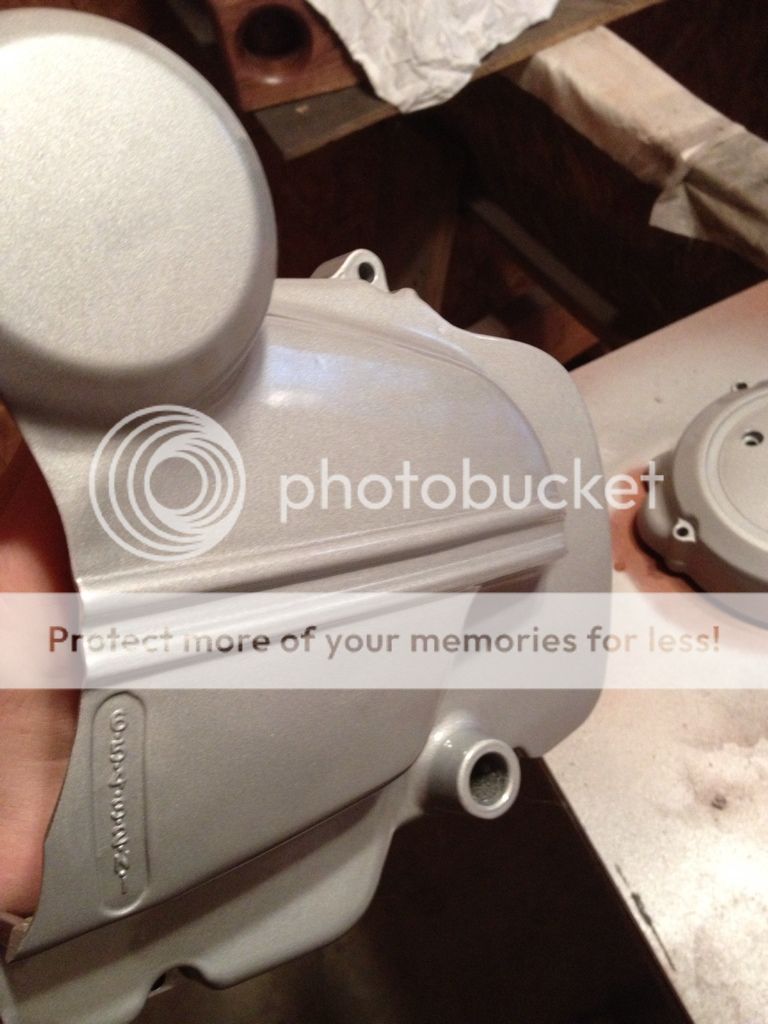
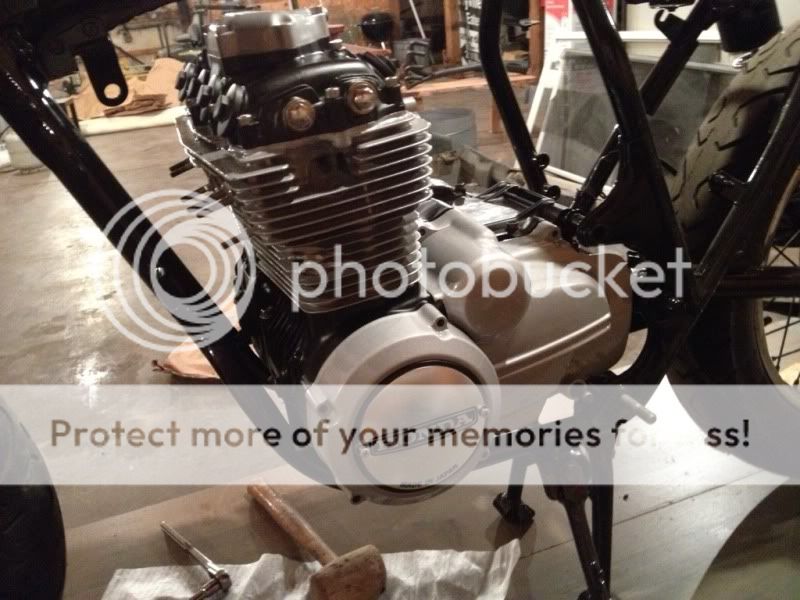
Got the last pieces of the engine puzzle painted tonight
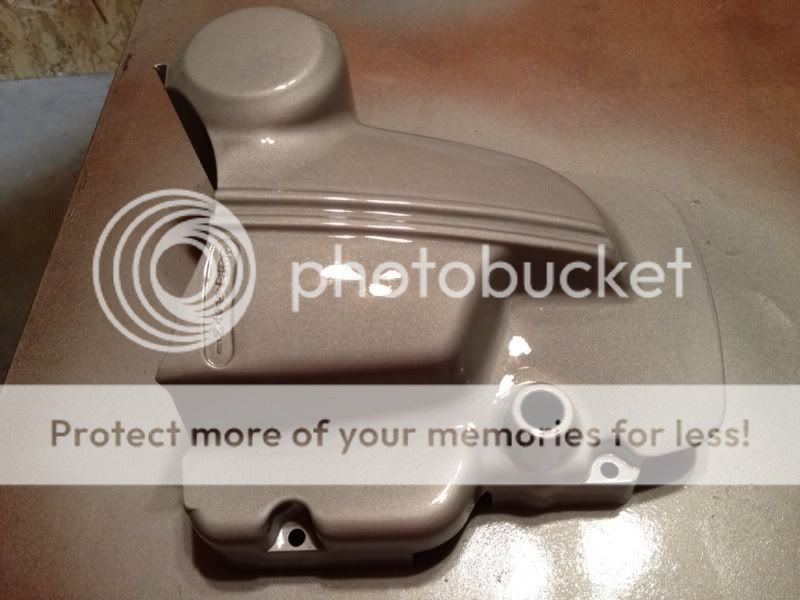
I LOVE this paint, it goes on a little rough but is self leveling and smoothed out like glass, it's so nice I won't ever use any other engine paint again. No baking either, shoot it and leave it overnight and it's good.
And the container I got will do probably 20 bike engines haha
Got the last pieces of the engine puzzle painted tonight
I LOVE this paint, it goes on a little rough but is self leveling and smoothed out like glass, it's so nice I won't ever use any other engine paint again. No baking either, shoot it and leave it overnight and it's good.
And the container I got will do probably 20 bike engines haha
SONICJK
Reminds me of...me No, I'm sure of it. I hate him
It's the Eastwood two part urethane engine paint.
It was about 50 bucks for a pint and a can of hardener which was a hard pill to swallow when I bought it but with how little I've used it turns out to be significantly cheaper that rattle cans. It would have taken at least 4 cans and that's 28 bucks right there, and I have at least 10-15 more engines left in my pint haha.
It was about 50 bucks for a pint and a can of hardener which was a hard pill to swallow when I bought it but with how little I've used it turns out to be significantly cheaper that rattle cans. It would have taken at least 4 cans and that's 28 bucks right there, and I have at least 10-15 more engines left in my pint haha.
SONICJK
Reminds me of...me No, I'm sure of it. I hate him
mikewerx said:Are you baking it after spray?
Nope.
I haven't gotten gas on any I my painted parts yet, but I let some paint dry in a paint cup and then filled the cup with gas. 30 minutes later the gas came out clean and the paint looked fine.
SONICJK
Reminds me of...me No, I'm sure of it. I hate him
After months if toil this engine is finally assembled for the first time in my hands!
Buying an engine disassembled sucks, especially when you have never so much as changed the oil on a 4 cylinder before. So hopefully I didn't ignore any parts haha.
She's a beauty

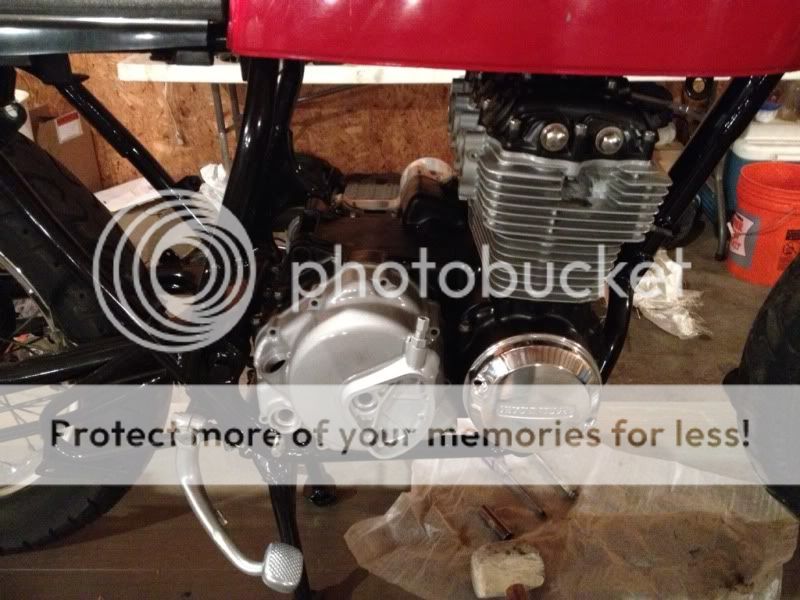
Had to go ahead and put it in the frame! I have to say, it is MUCH easier than a cb350 the engine slotted right into place
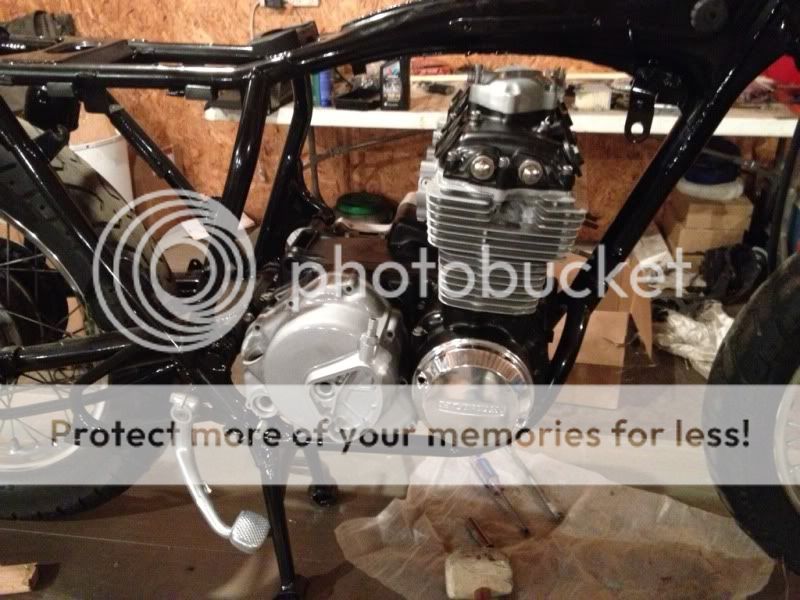
Of course I had to go ahead and partly assemble everything just to see how it looks
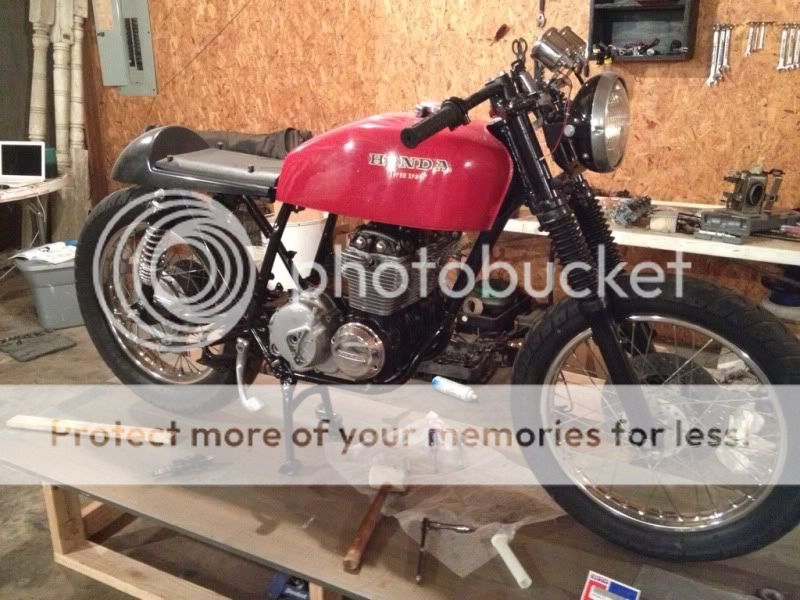
The seat: something about it just bugs me so ill be making my own, so anyone wanna take this one off my hands for a nominal fee?
Buying an engine disassembled sucks, especially when you have never so much as changed the oil on a 4 cylinder before. So hopefully I didn't ignore any parts haha.
She's a beauty
Had to go ahead and put it in the frame! I have to say, it is MUCH easier than a cb350 the engine slotted right into place
Of course I had to go ahead and partly assemble everything just to see how it looks
The seat: something about it just bugs me so ill be making my own, so anyone wanna take this one off my hands for a nominal fee?