We noticed you are blocking ads. DO THE TON only works with community supporters. Most are active members of the site with small businesses. Please consider disabling your ad blocking tool and checking out the businesses that help keep our site up and free.
You are using an out of date browser. It may not display this or other websites correctly.
You should upgrade or use an alternative browser.
You should upgrade or use an alternative browser.
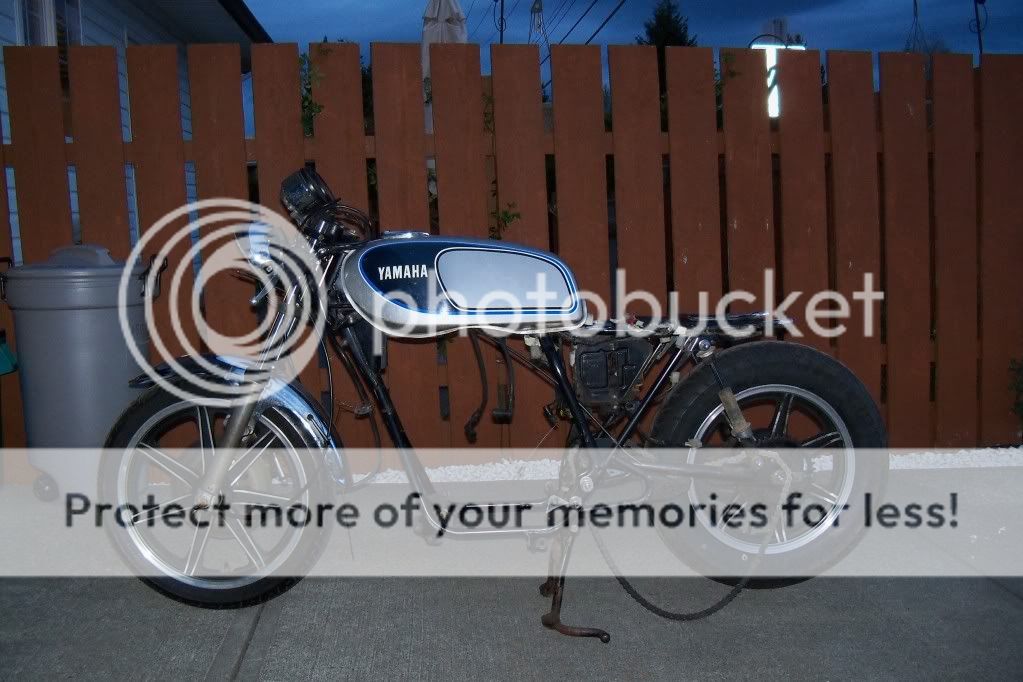
81 XS400SH
- Thread starter Weezy
- Start date
Weezy
The Impatient Perfectionist!
Thanks for the support everyone. It helps keep me focused on making progress.
Ringo....I've been keeping an eye on your bike also as it has the same tank I am using.It's nice to have a bit of a visual of what it might look like. Sorry to hear about your bike being dropped. :-\
Ringo....I've been keeping an eye on your bike also as it has the same tank I am using.It's nice to have a bit of a visual of what it might look like. Sorry to hear about your bike being dropped. :-\
Weezy
The Impatient Perfectionist!
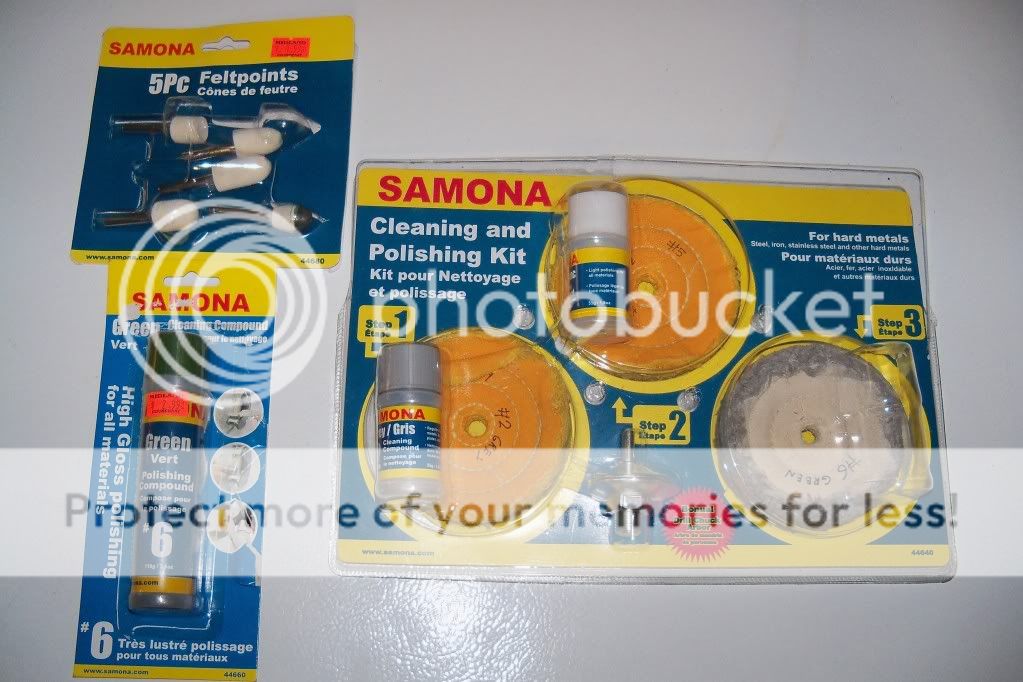
So I decided to to some polishing on my aluminum parts. I won't go into the specifics as it is explained in detail elsewhere on this fourm. My only tip is to follow the advice listed there. I started with 3 different grits of sandpaper (280, 600, 1000) and after lots of work I whent out and bought some 180g. That really sped thing up. Actually by the time I was finished with the 1000g I could have stopped there. It gave a nice pewter type of look that I like. It lets you know that it is polished aluminum and not chromed steel. BUT I had already bought a polishing kit sooo.... :") I will post a picture of the kit soon. Also by the end I wasn't as pickey with my sanding. The first cover i did was perfect, not a nick or scratch by the time I was done. But I realized that I was not building a show bike, it did't have to be perfect (just close).
I will post a picture of the kit soon. Also by the end I wasn't as pickey with my sanding. The first cover i did was perfect, not a nick or scratch by the time I was done. But I realized that I was not building a show bike, it did't have to be perfect (just close).
The kit consists of 3 polishing wheels about 4" in diamiter and polishing compound. After I was done sanding I bolted the cover to a pice of plywood and started polishing using my hand drill. I was very impressed with the results. The first cover I did came out looking like chrome. But I had a problem with the small pices. They were to small to bolt down. What I needed was a bench polisher. I have been keeping my eye out for a cheap bench grinder that I could convert to a polisher but could not find anything less than $40.00.
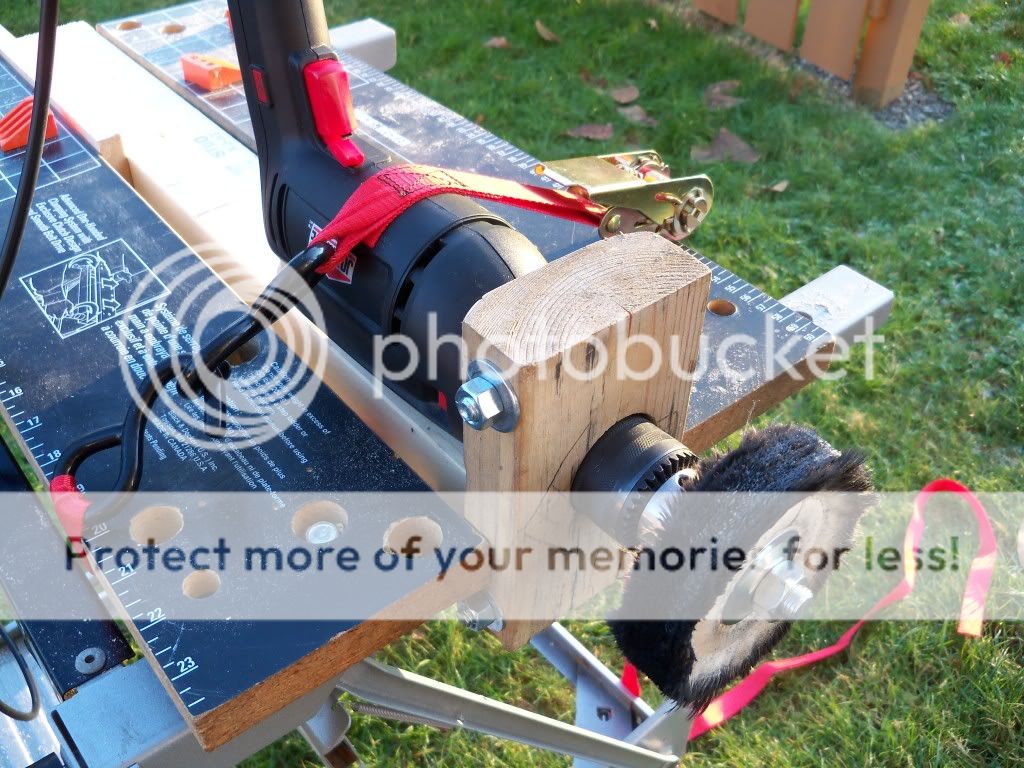
So I took a 1/2" hammer drill that had a shank close to the nose that a handle clamped to. I took a scrap pice of 2X4 and drilled a hole just a bit smaller than the shank. I then cut the board in half through the hole. I bolted the board together around the shank then clamped the assemby in a folding work table.
I call this my redneck bench polisher.
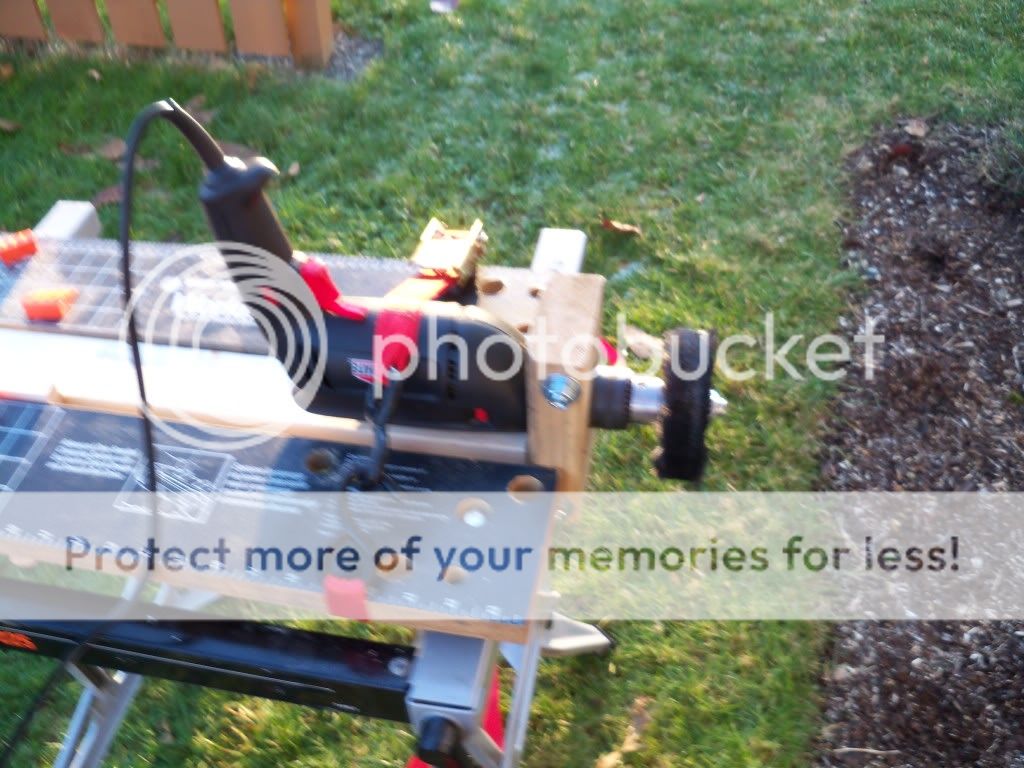
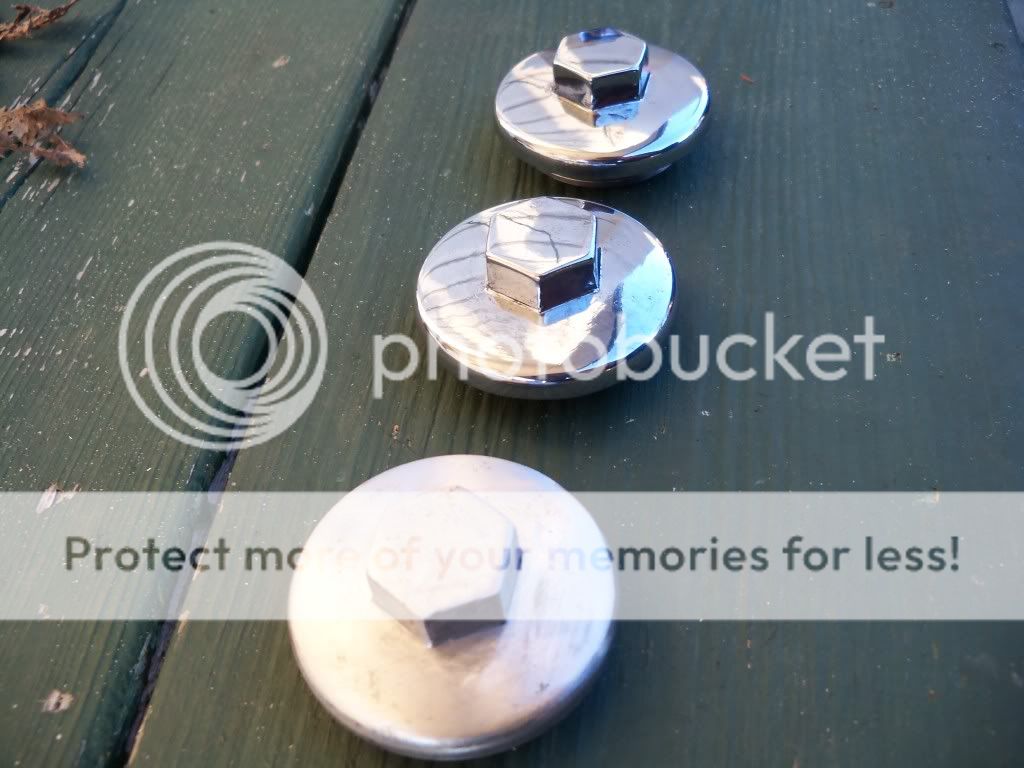
It worked perfect. Here is a before and after picture of my tappet covers.
I will post a picture of the kit soon. Also by the end I wasn't as pickey with my sanding. The first cover i did was perfect, not a nick or scratch by the time I was done. But I realized that I was not building a show bike, it did't have to be perfect (just close). The kit consists of 3 polishing wheels about 4" in diamiter and polishing compound. After I was done sanding I bolted the cover to a pice of plywood and started polishing using my hand drill. I was very impressed with the results. The first cover I did came out looking like chrome. But I had a problem with the small pices. They were to small to bolt down. What I needed was a bench polisher. I have been keeping my eye out for a cheap bench grinder that I could convert to a polisher but could not find anything less than $40.00.
So I took a 1/2" hammer drill that had a shank close to the nose that a handle clamped to. I took a scrap pice of 2X4 and drilled a hole just a bit smaller than the shank. I then cut the board in half through the hole. I bolted the board together around the shank then clamped the assemby in a folding work table.
I call this my redneck bench polisher.
It worked perfect. Here is a before and after picture of my tappet covers.
Weezy
The Impatient Perfectionist!
Ringo said:Nice setup! I love seeing ingenuity like that; it's what makes DTT awesome.
I don't know how many times i've read something on this fourm and slapped my hand on my forhead and said " That's so simple why did't I think of that." I guess this is my way of paying back the favour.
Weezy
The Impatient Perfectionist!
diesel450 said:I clamped the drill in a vice to do that before I got a bench grinder and wheels. worked out fine. It's nice to have the 8" wheels though, makes the larger pieces go a lot quicker. Whatever it takes though, right?!
Yeah I really wanted a bench pollisher, I love tools, But other than this project I probably will never use it again. I just couldn't justify the money, especially since the redneck polisher worked so well.
I should also say that the polishing was not done during the most optimal of conditions. The part should be around room temperature so the polishing compound dosen't stick to the metal. The temperature was maybe 7 Deg. above freezing when I did it. Still I was happy with the way it turned out.
Oh and I stripped off the clear coat with "Tal-Strip Aircraft paint remover" first. This stuff is amazing for taking off paint. (just dont get it on your skin [don't ask]) Wear eye protection and HEAVY rubber gloves.
Weezy
The Impatient Perfectionist!
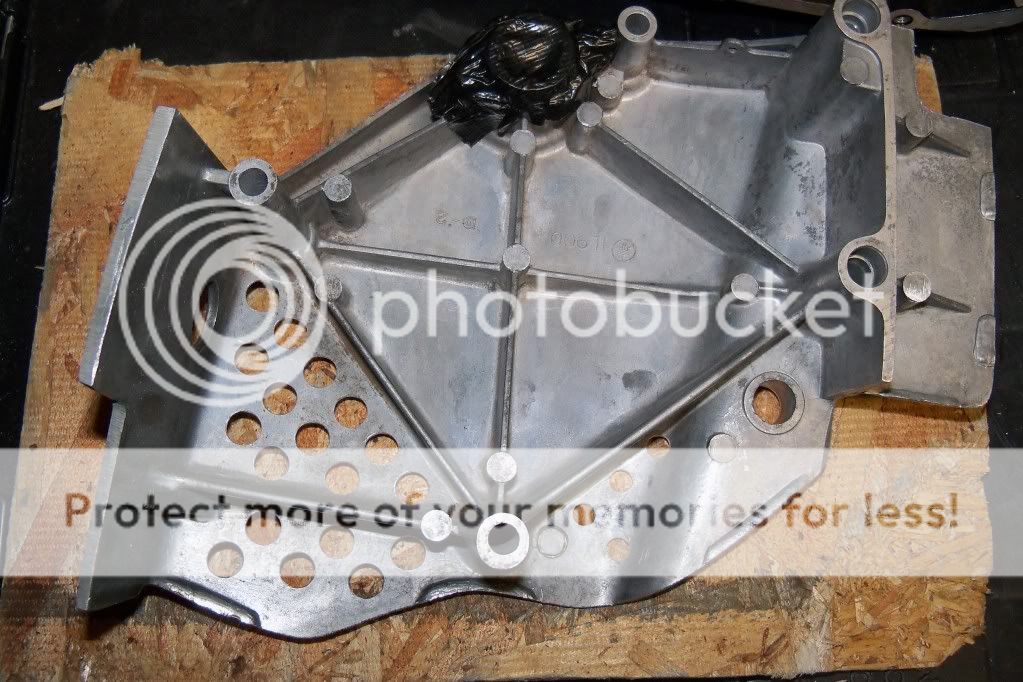
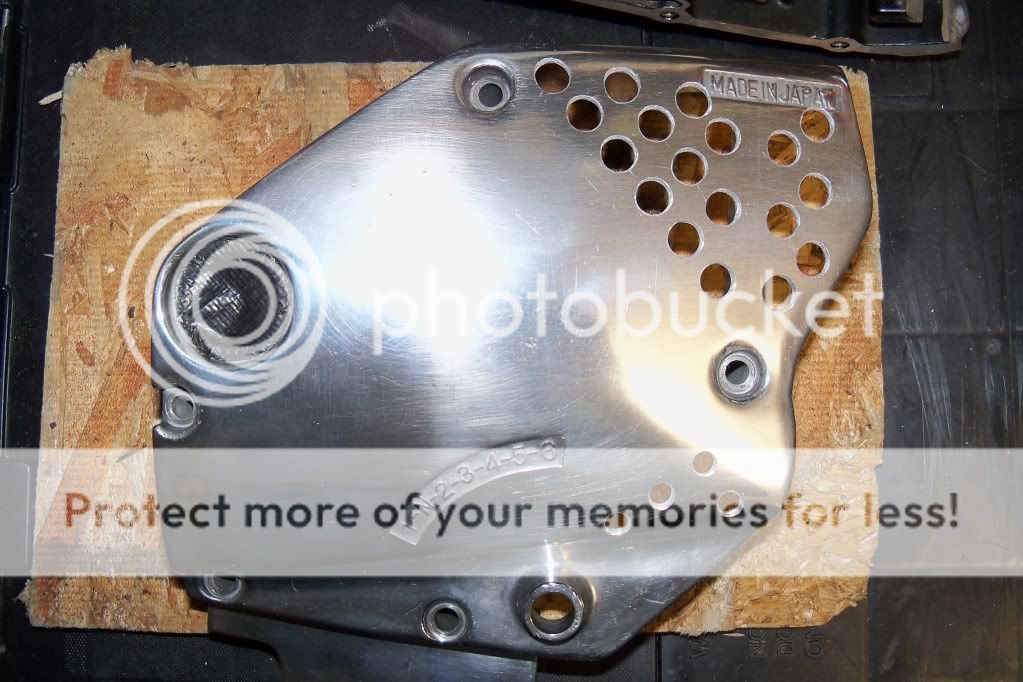
After polishing and admiring my shiny cases I did what every sane person would do "Hey I,m going to drill holes in them".
I've seen this done on other bikes and like the look of it. There seems to be two ways that people do this 1) Randomly dill holes where ever there is a space (AARG WHY?)
2) Space the holes out evenly across the case
I'm more of the second type but I was worried about drilling through the webbing on the back.
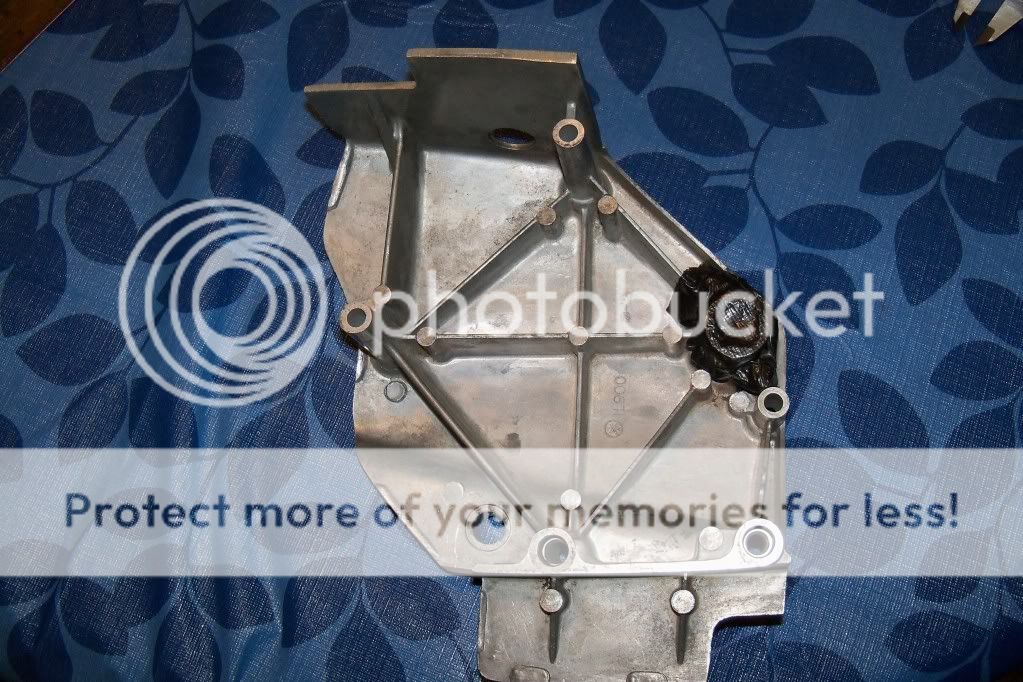
I wouldn't worry if it was just a cover but this also has the clutch actuating mechanism. I didn't want to weaken it so I stuck to just the end of the cover and avoided all the webbing.
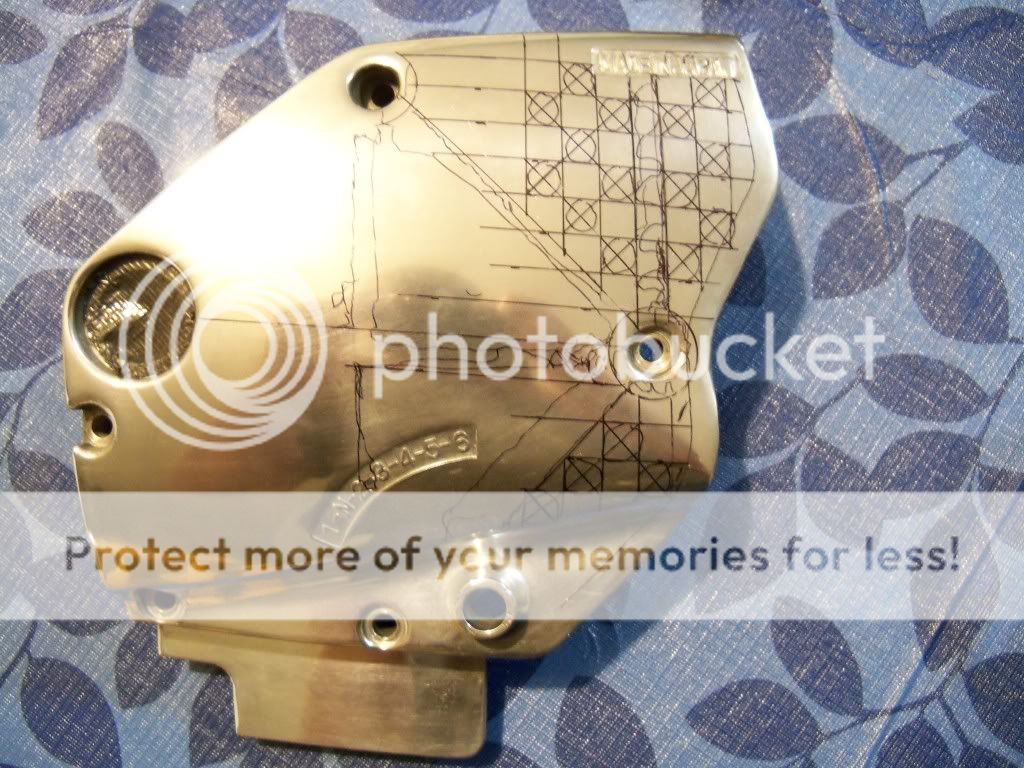
In order to mark where the webbing was on the front I made this tool from a coat hanger, some duct tape and a sharpie.
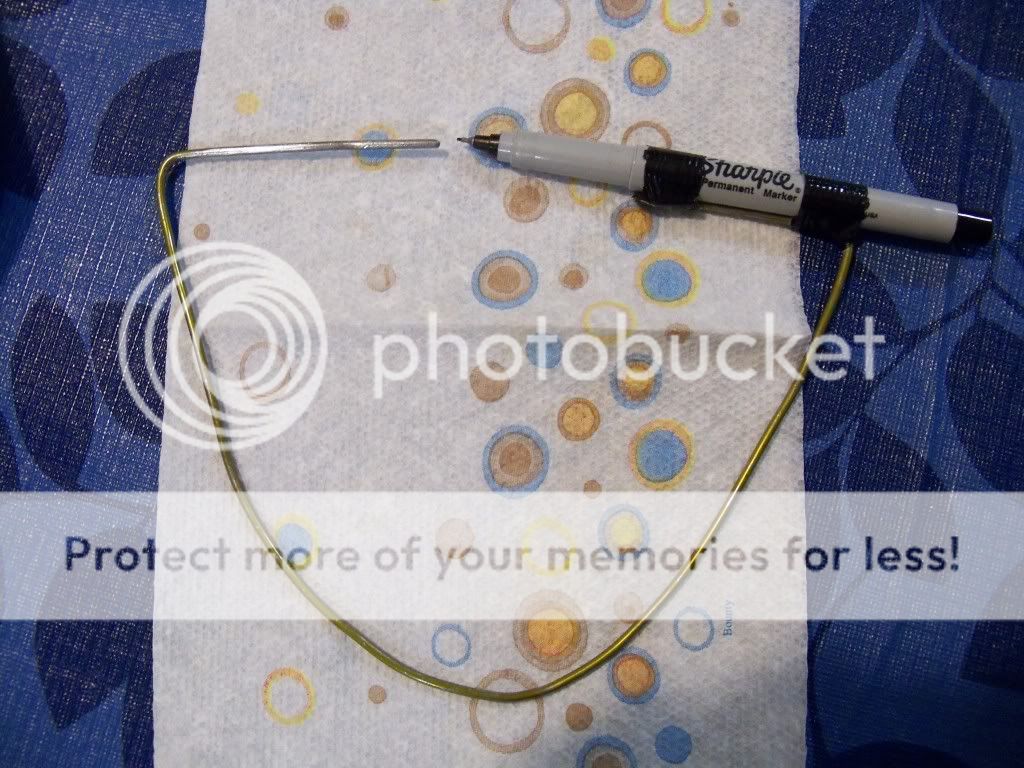
By running the wire end along the side of the webbing a corresponding mark was made on the front. After that i just used a ruler to clean up the lines.
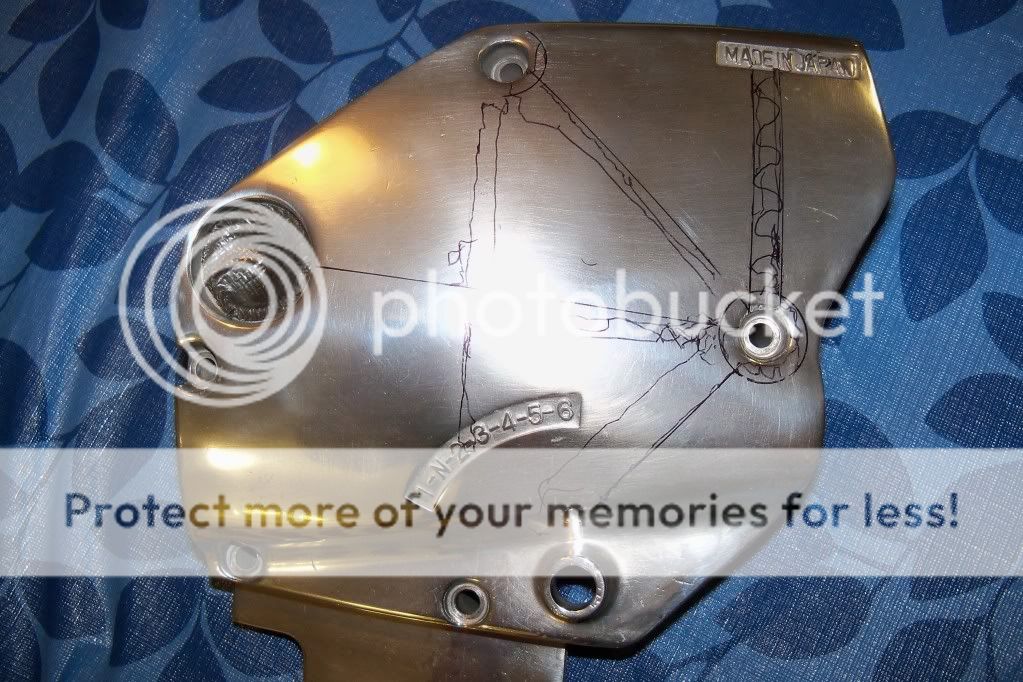
I decided to drill 3/8" holes as that was the largest bit I had at the time. I then drew several lines 3/8" apart in a checker board pattern. I drew a X in ever second square to mark where I would drill the hole.
I took the cover to my father in laws as he has a drill press. We put a large bolt in a vice facing up. The cover was held over the bolt under the spot where the center punch was used for each hole.
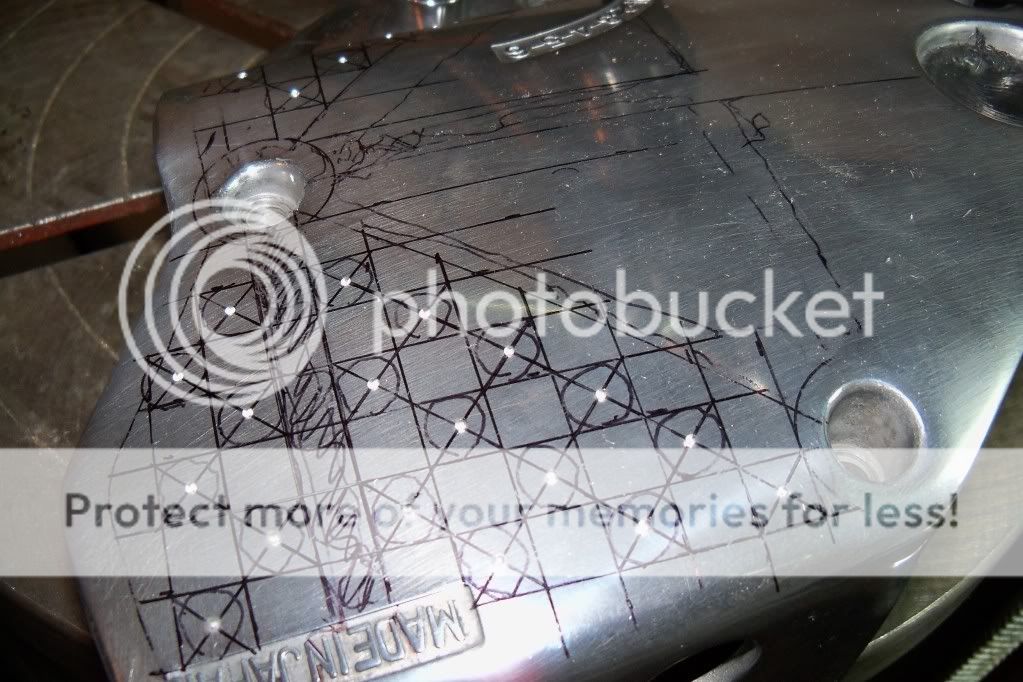
A 3/32" pilot hole was then drilled
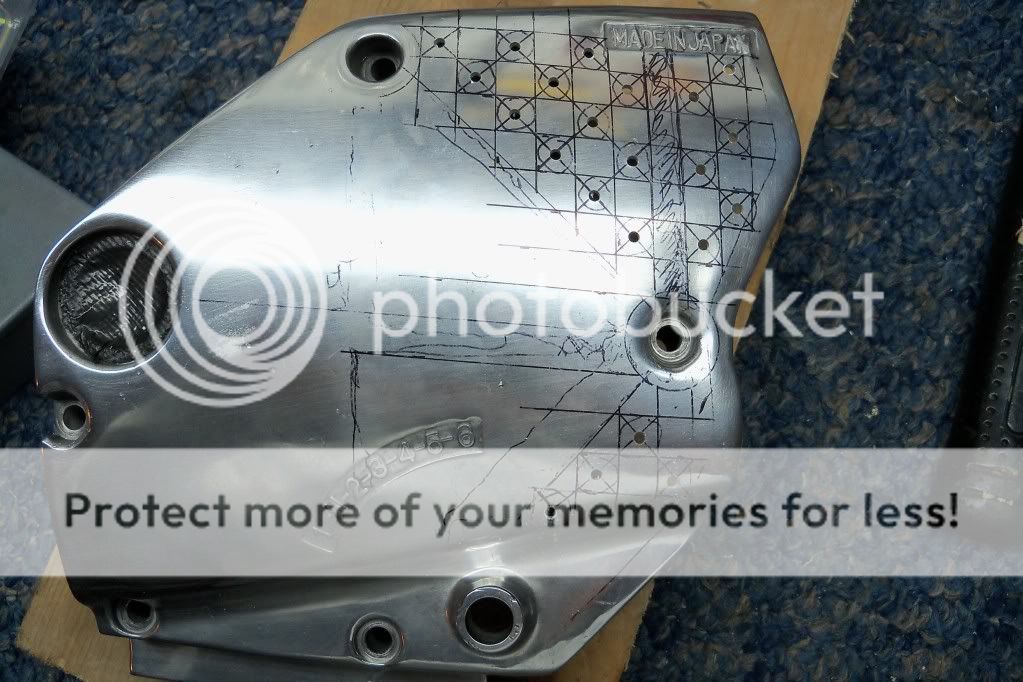
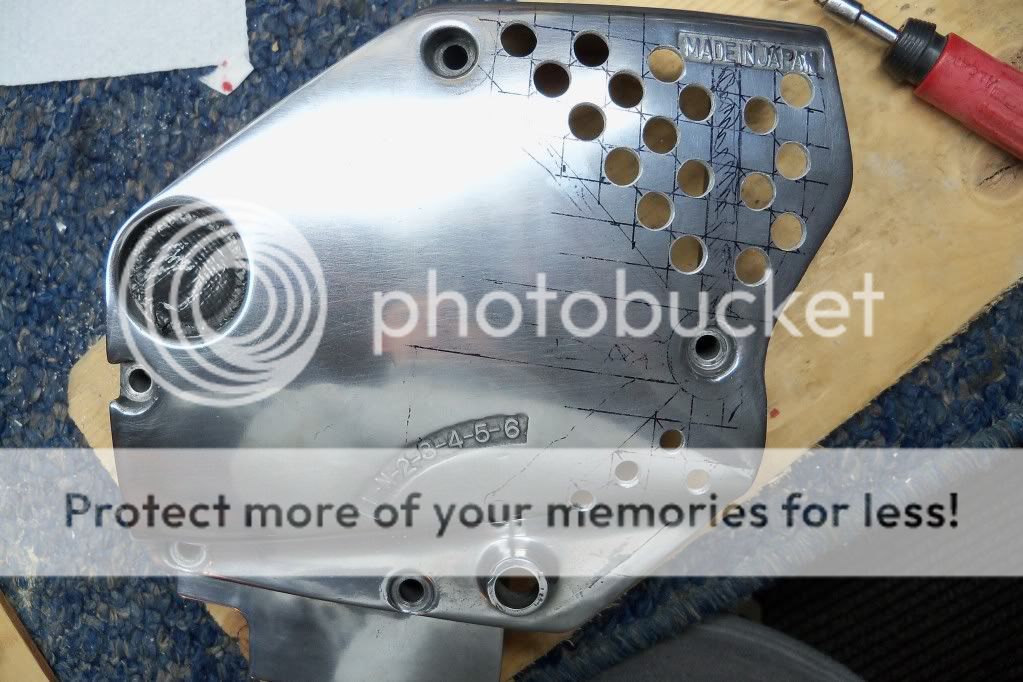
Followed by a 1/4" hole. At this point I realized that the bottom holes near the shifter were getting close to the webbing so the decision was made to leave them at 1/4".
The rest were drilled out to the final 3/8".
I've seen this done on other bikes and like the look of it. There seems to be two ways that people do this 1) Randomly dill holes where ever there is a space (AARG WHY?)
2) Space the holes out evenly across the case
I'm more of the second type but I was worried about drilling through the webbing on the back.
I wouldn't worry if it was just a cover but this also has the clutch actuating mechanism. I didn't want to weaken it so I stuck to just the end of the cover and avoided all the webbing.
In order to mark where the webbing was on the front I made this tool from a coat hanger, some duct tape and a sharpie.
By running the wire end along the side of the webbing a corresponding mark was made on the front. After that i just used a ruler to clean up the lines.
I decided to drill 3/8" holes as that was the largest bit I had at the time. I then drew several lines 3/8" apart in a checker board pattern. I drew a X in ever second square to mark where I would drill the hole.
I took the cover to my father in laws as he has a drill press. We put a large bolt in a vice facing up. The cover was held over the bolt under the spot where the center punch was used for each hole.
A 3/32" pilot hole was then drilled
Followed by a 1/4" hole. At this point I realized that the bottom holes near the shifter were getting close to the webbing so the decision was made to leave them at 1/4".
The rest were drilled out to the final 3/8".
Weezy
The Impatient Perfectionist!
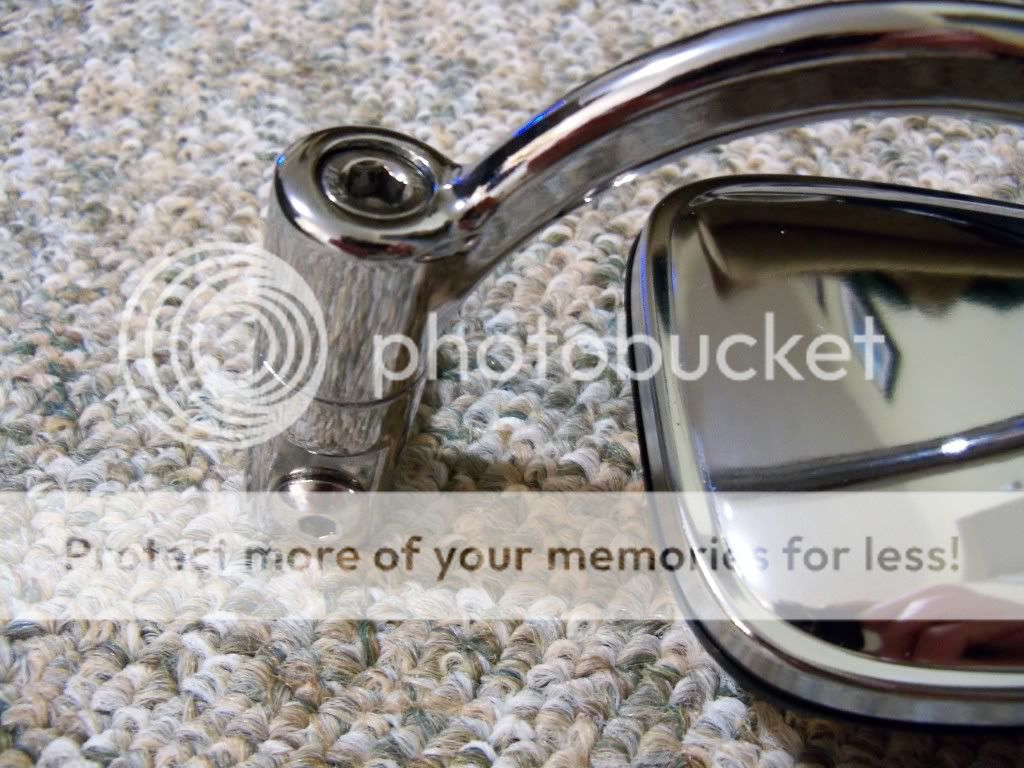
So I got a pair of bar end mirrors for Christmas.
My wife and I have an Understanding. For Christmas she asks me what I want. I tell her parts for my bike. I order the parts and when they come in she wraps them up. She thinks it's boring because I know what I am getting but I always have a great Christmas. ;D
Anyway I ordered a pair of mirrors on E-bay form "commando specialties". I am cheap and they had the best deal on two mirrors. I was actually quite happy with the mirrors. I guess for the price I was expecting maybe something a little more rough around the edges.
One thing I did notice even before I ordered them was the bolt used to hold them to the handle bars.
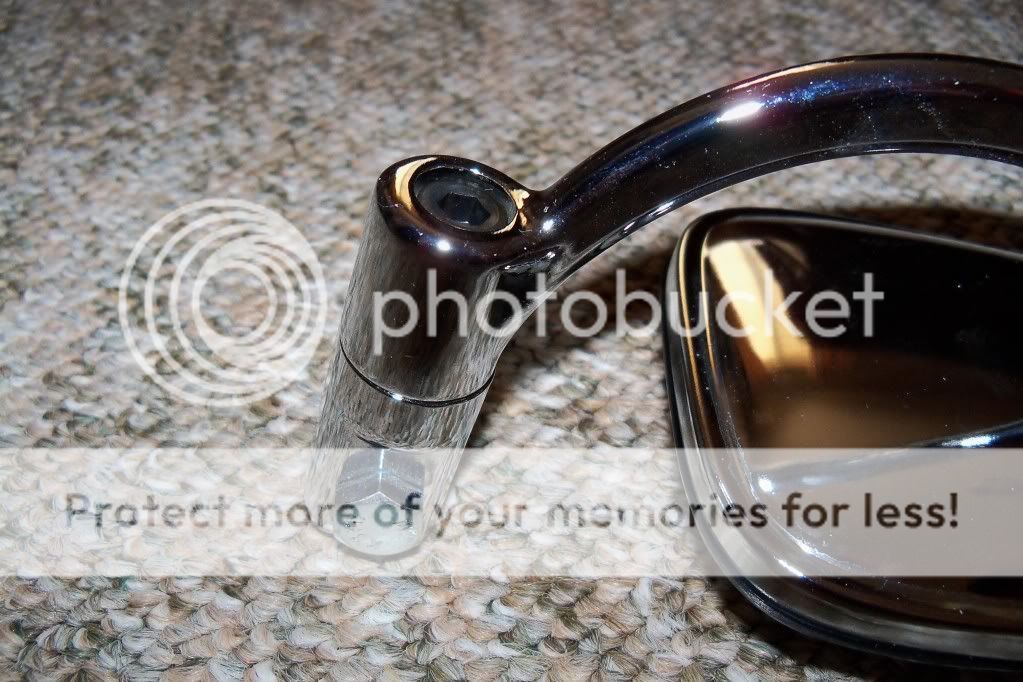
Even at a bargain price you'd think they could find a better looking bolt. But what did surprise me was the hex socket bolt used to hold the two halves together. I wasn't even plated!! I'd give it a week before it started to rust.
So I went to my local fastener store and bought some suitable stainless steel bolts.
Here are the old and new bolts.
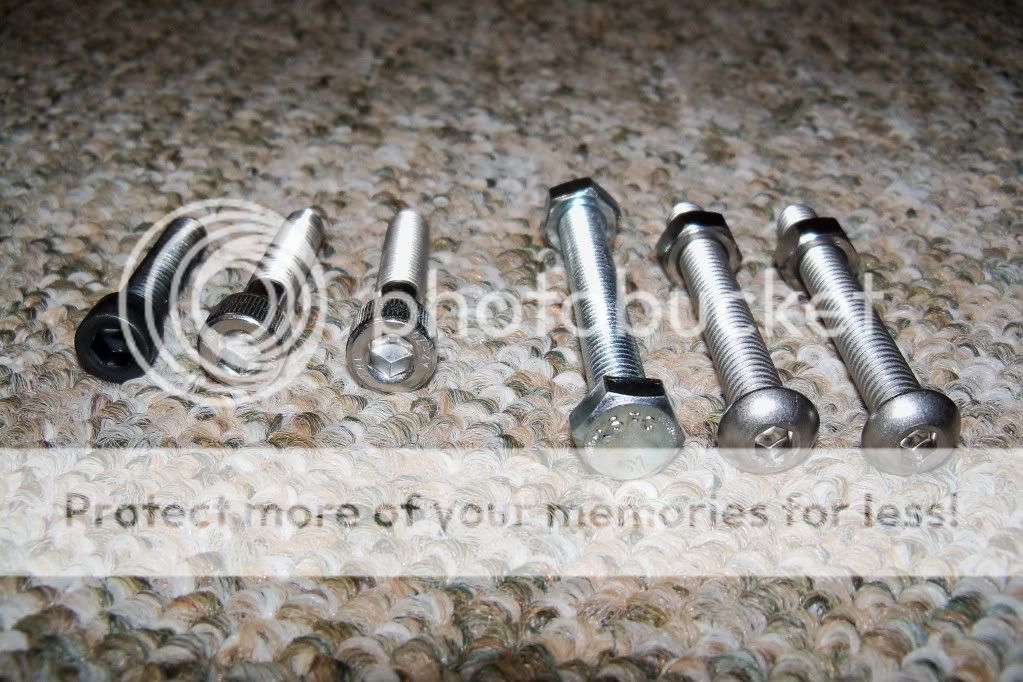
I then took the new bolts to my polisher. About 20 seconds each and they look like chrome.
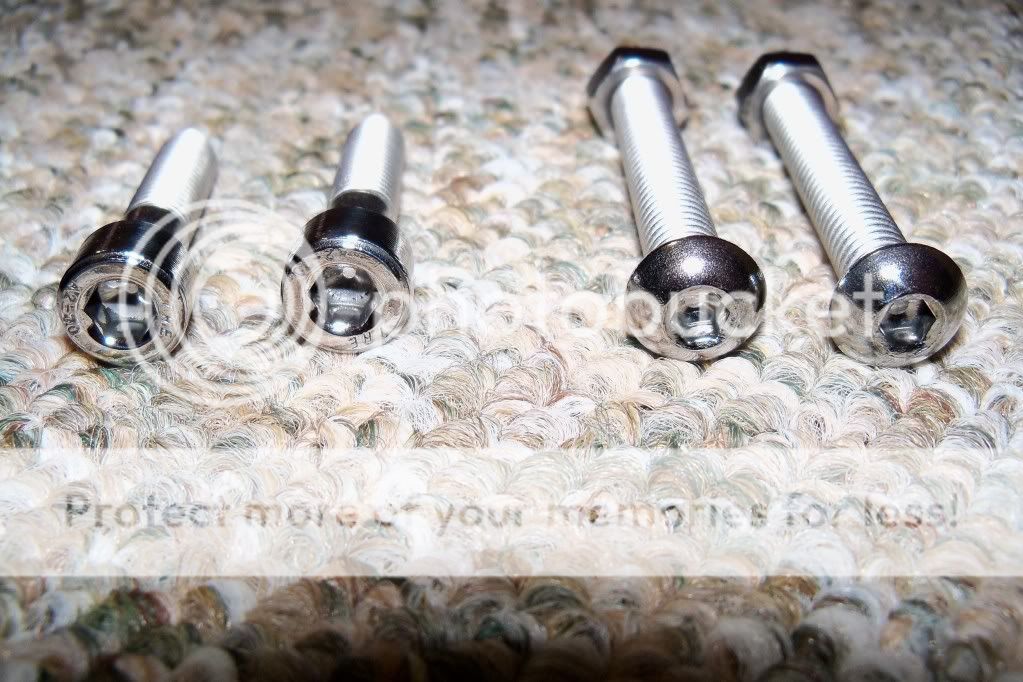
This looks much better than the way they came. No one else will probably notice but I will know the difference.
My wife and I have an Understanding. For Christmas she asks me what I want. I tell her parts for my bike. I order the parts and when they come in she wraps them up. She thinks it's boring because I know what I am getting but I always have a great Christmas. ;D
Anyway I ordered a pair of mirrors on E-bay form "commando specialties". I am cheap and they had the best deal on two mirrors. I was actually quite happy with the mirrors. I guess for the price I was expecting maybe something a little more rough around the edges.
One thing I did notice even before I ordered them was the bolt used to hold them to the handle bars.
Even at a bargain price you'd think they could find a better looking bolt. But what did surprise me was the hex socket bolt used to hold the two halves together. I wasn't even plated!! I'd give it a week before it started to rust.
So I went to my local fastener store and bought some suitable stainless steel bolts.
Here are the old and new bolts.
I then took the new bolts to my polisher. About 20 seconds each and they look like chrome.
This looks much better than the way they came. No one else will probably notice but I will know the difference.

Weezy
The Impatient Perfectionist!
Ok time to play catch up again.
Several months ago I got tired of my slow progress and decided to just put my motor together. My motor is painted black but I wanted it more aluminum looking, but I was willing to live with it in the interest of getting it going. So I touched up some of the black and then ................did nothing for a couple of months. This actually was a good thing because it gave me a chance to change my mind. I have it all torn apart so I might as well do it right. So I stripped off all the black paint I had put on and got all my parts ready to paint. The only problem was that it was winter and I have a unheated garage that is to small to paint in. I decided to make a small paint booth out of cardbord and a space heater.( I know...it sounds like a recipie for a fire). Well before I had a chance to gather all the materials a bunch of old signs made out of corigated plastic showed up at my works dumpster. I took them home, duct taped the corners together cut out a door and made a duct out of metal flashing to keep the heater away from the plastic.
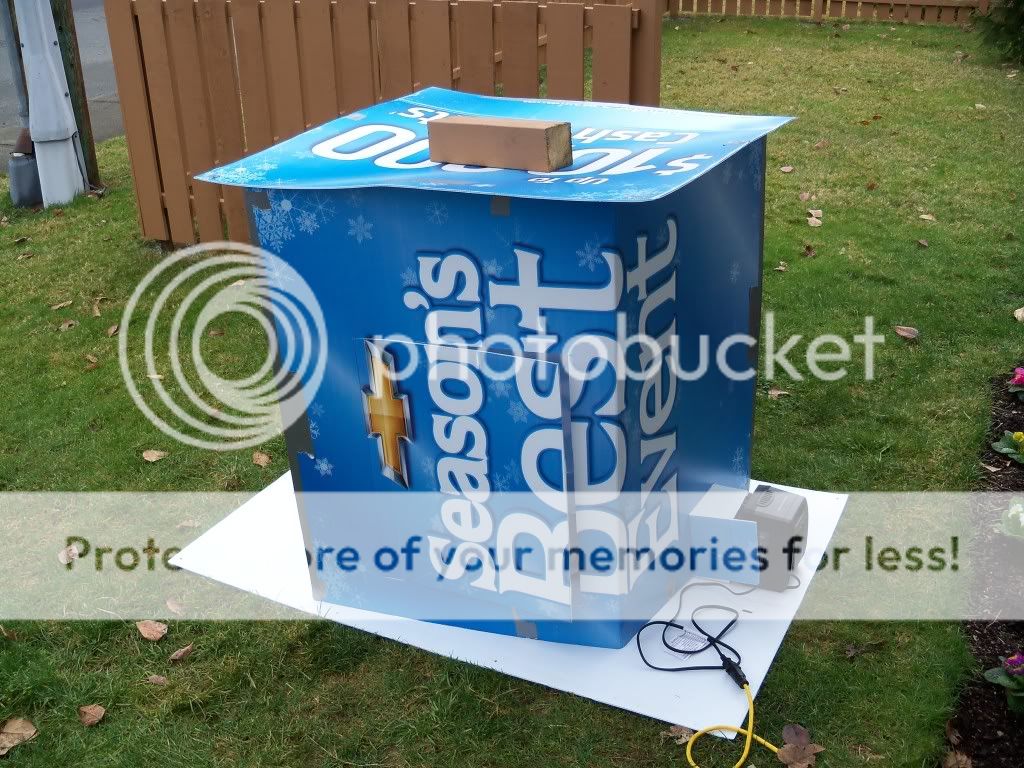
I then threw in an old lazy susan and I was ready to go.

This thing worked great and it was nice and toasty inside
Several months ago I got tired of my slow progress and decided to just put my motor together. My motor is painted black but I wanted it more aluminum looking, but I was willing to live with it in the interest of getting it going. So I touched up some of the black and then ................did nothing for a couple of months. This actually was a good thing because it gave me a chance to change my mind. I have it all torn apart so I might as well do it right. So I stripped off all the black paint I had put on and got all my parts ready to paint. The only problem was that it was winter and I have a unheated garage that is to small to paint in. I decided to make a small paint booth out of cardbord and a space heater.( I know...it sounds like a recipie for a fire). Well before I had a chance to gather all the materials a bunch of old signs made out of corigated plastic showed up at my works dumpster. I took them home, duct taped the corners together cut out a door and made a duct out of metal flashing to keep the heater away from the plastic.
I then threw in an old lazy susan and I was ready to go.
This thing worked great and it was nice and toasty inside
Weezy
The Impatient Perfectionist!
While I was waiting for my engine parts to dry I decided to get some work done on the chasis. I took apart my rear shocks and cleaned up the chrome on the springs. I used this tool to get it apart.
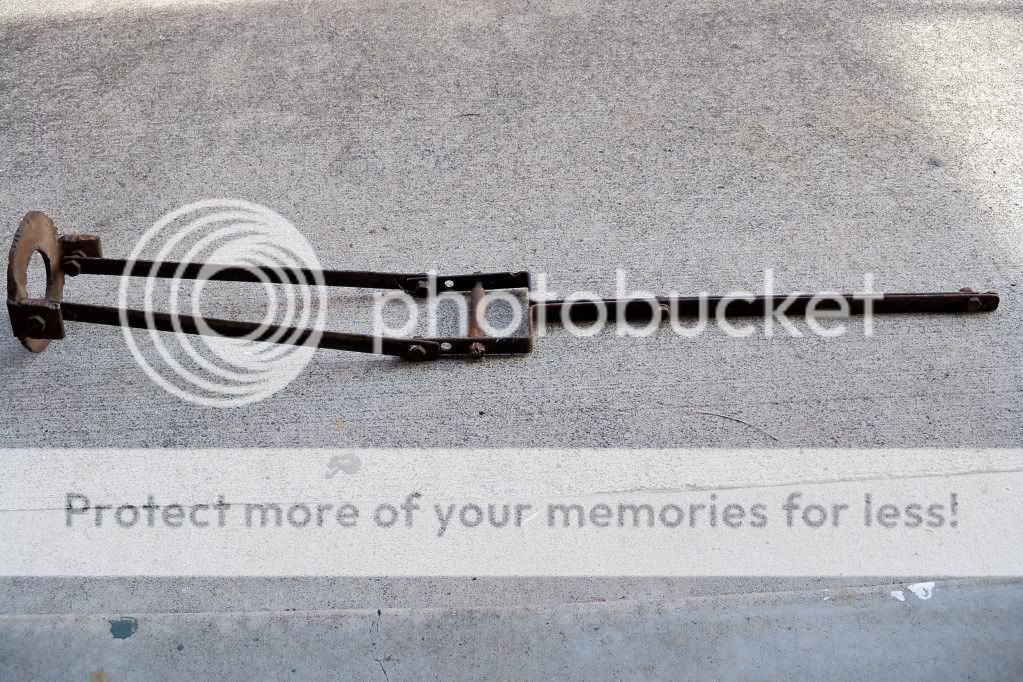
This thing is probably older than i am. My father made it years ago. It seems like it has always been hanging in our shed when i was a kid. Through the years it just followed me home and i finally got a chance to use it. It is basicly made out of flat bar bolted together. The only odd part to make is the base with the round hole in it.
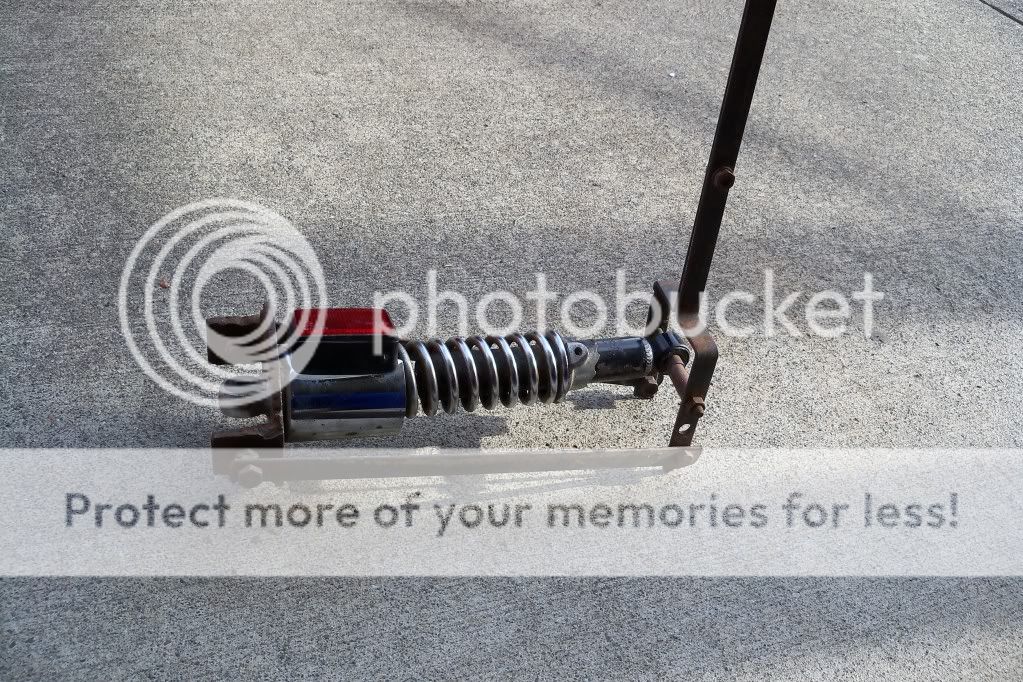
And it all apart.
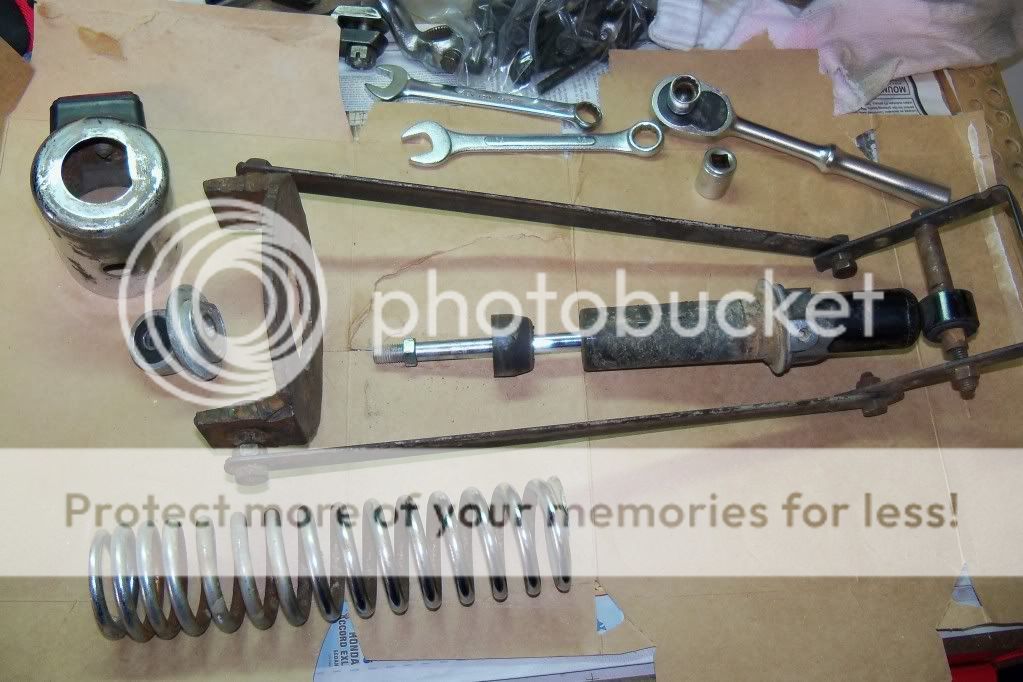
This thing is probably older than i am. My father made it years ago. It seems like it has always been hanging in our shed when i was a kid. Through the years it just followed me home and i finally got a chance to use it. It is basicly made out of flat bar bolted together. The only odd part to make is the base with the round hole in it.
And it all apart.
Weezy
The Impatient Perfectionist!
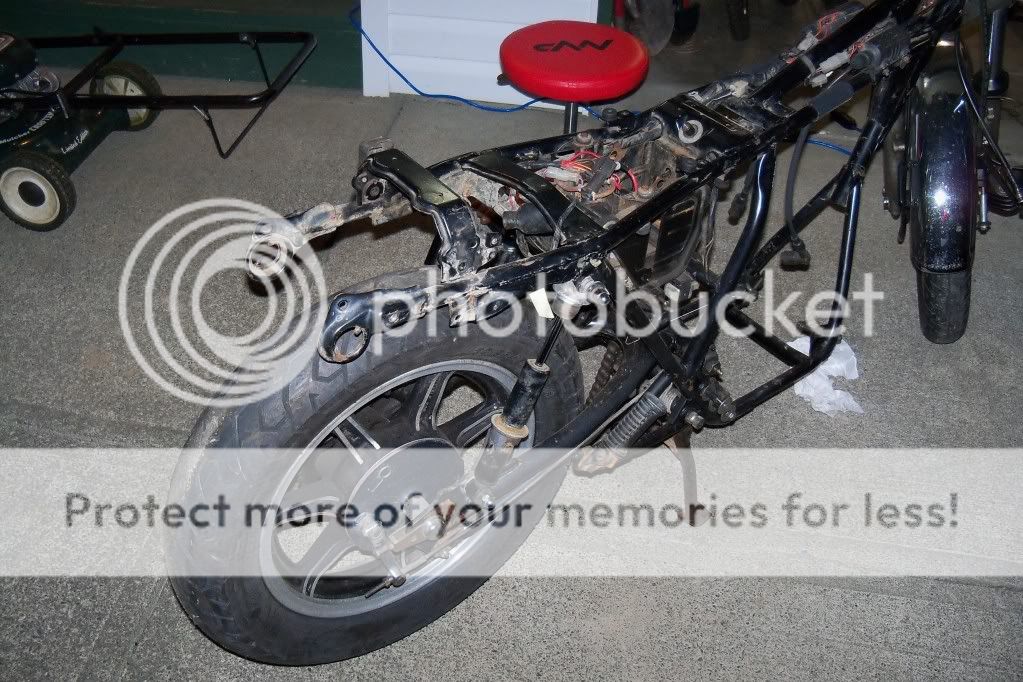
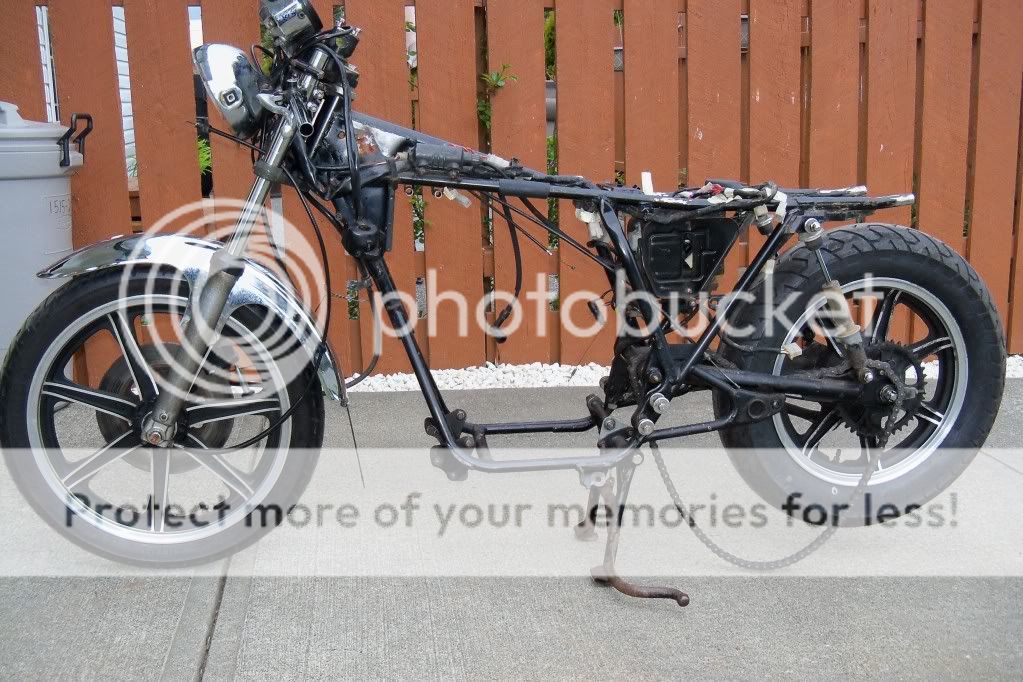
I also started hacking into the frame. ;D I was supprised at how soft the metal was. I could practically bend the tabs off with a pair of pliers. I also learned why the Japanese invented industrial robots. They Can't Weld!! Seriously these were some of the worst welds I have ever seen. I figure if you are building several hunderd frames a day you would eventually get good at it. But these looked like it was done in a highshool metal working class.
Before
After cutting off the rear frame brackets and putting on the clipons.
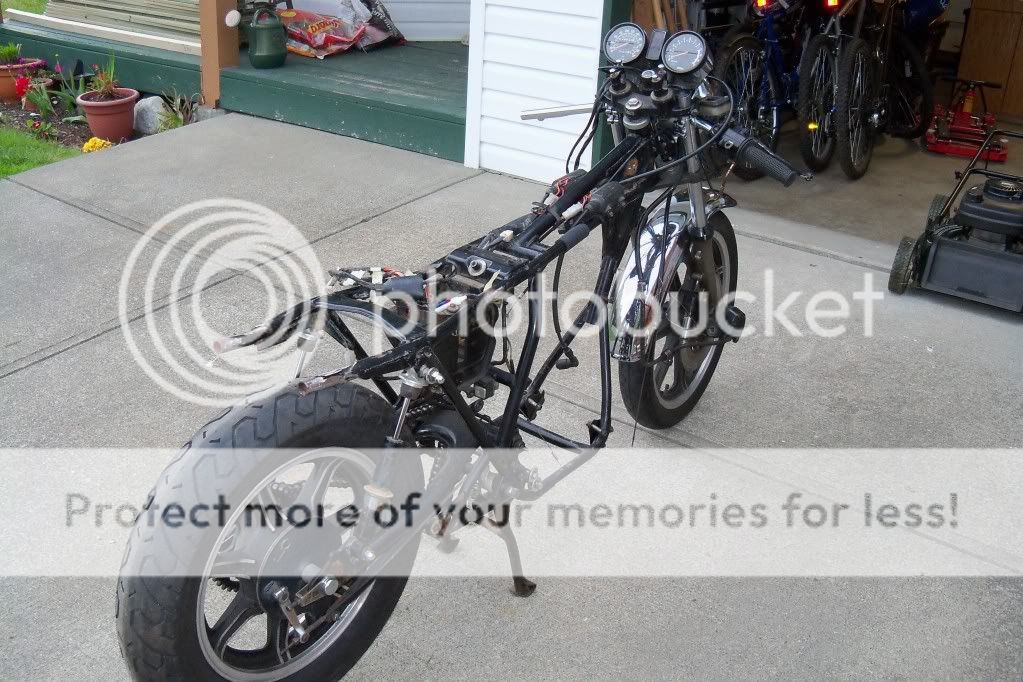
Before
After cutting off the rear frame brackets and putting on the clipons.