81 XS400SH

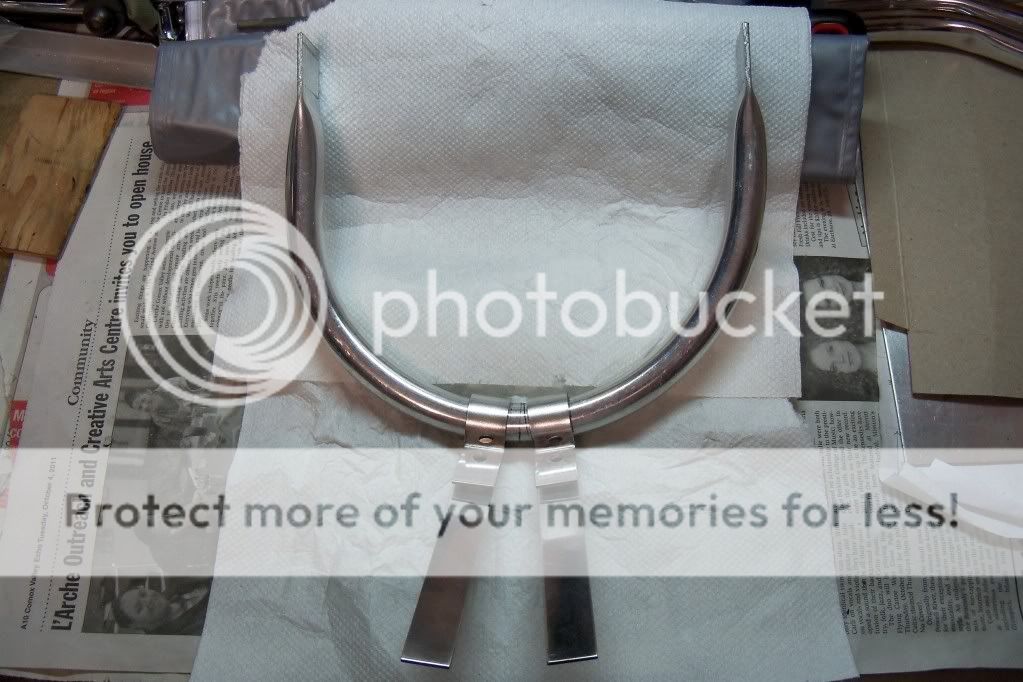
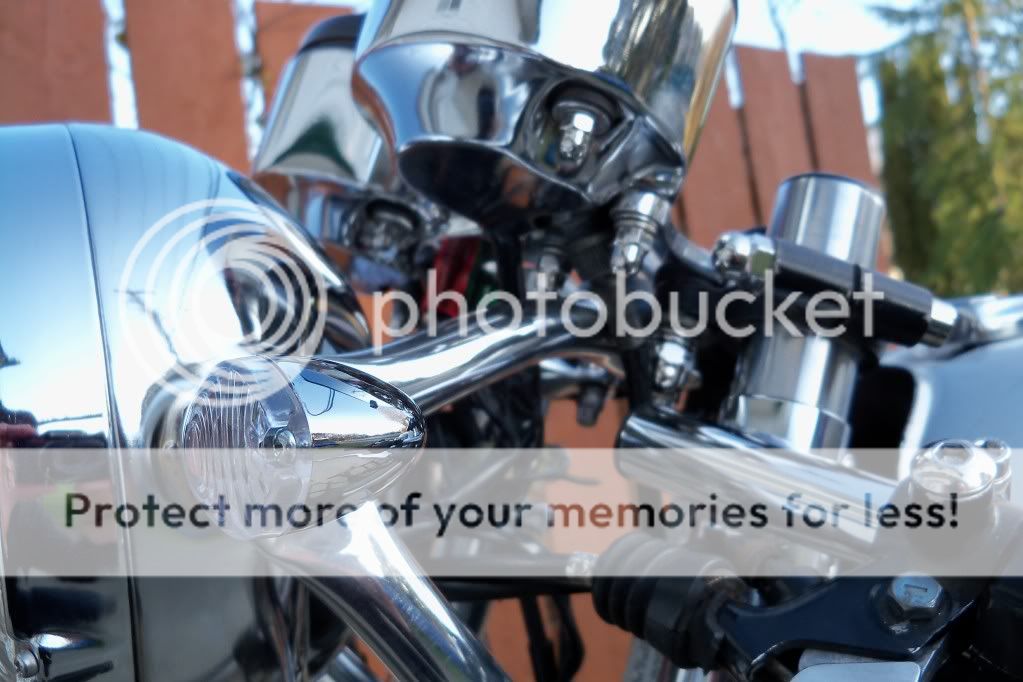
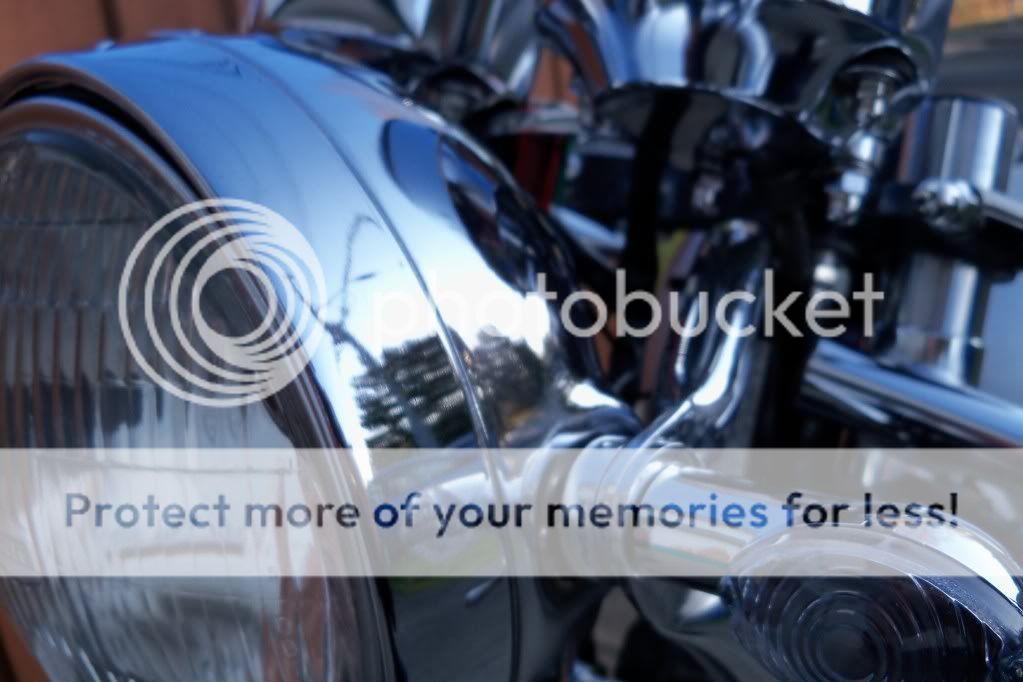
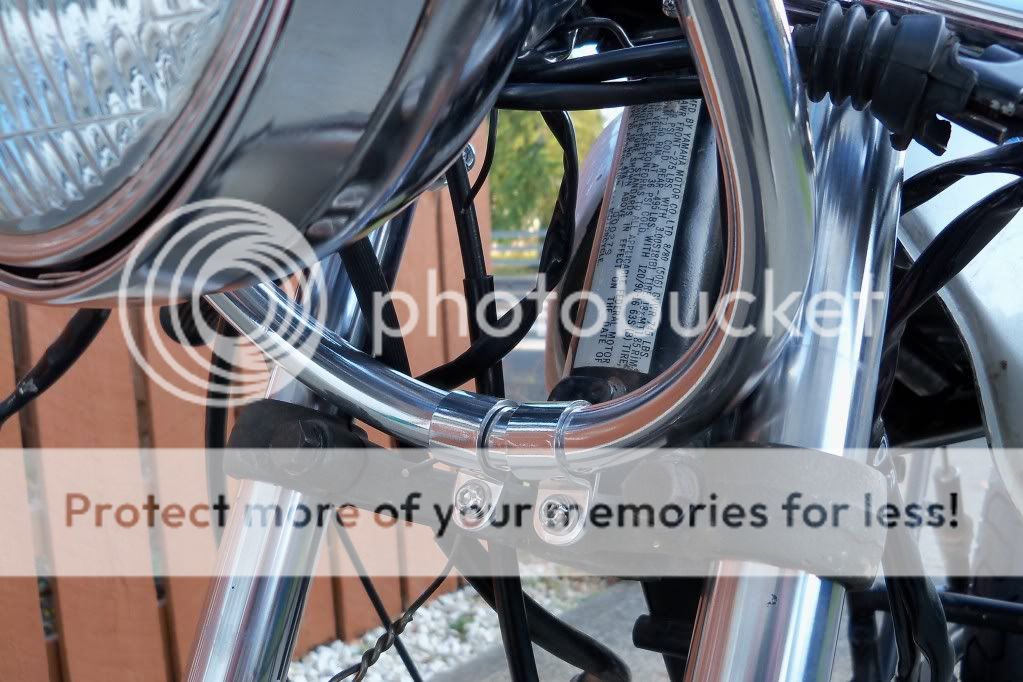
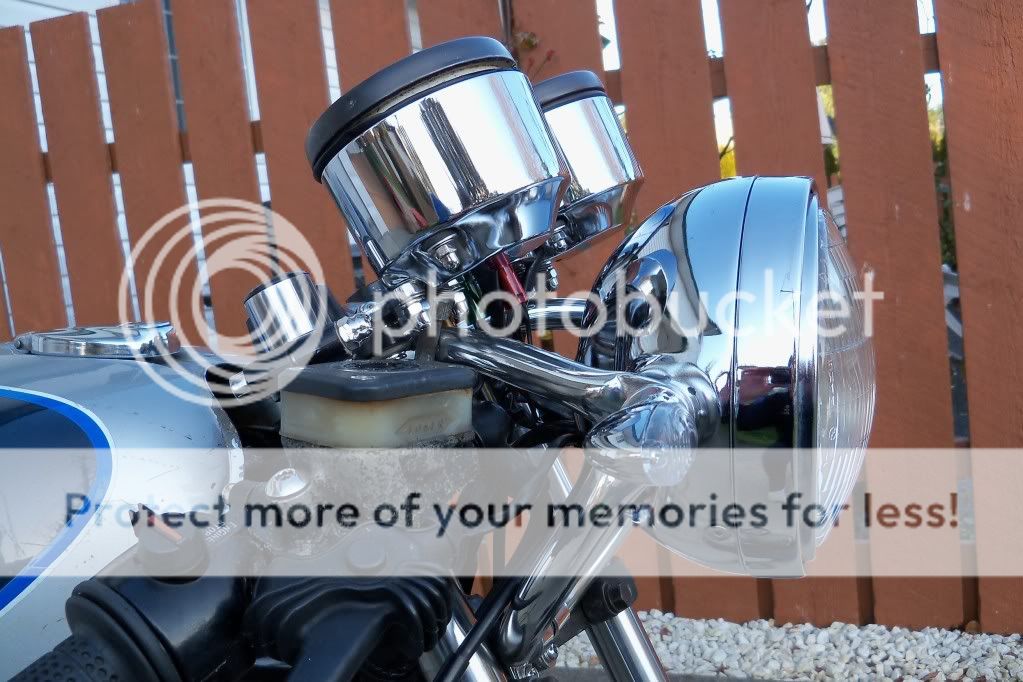
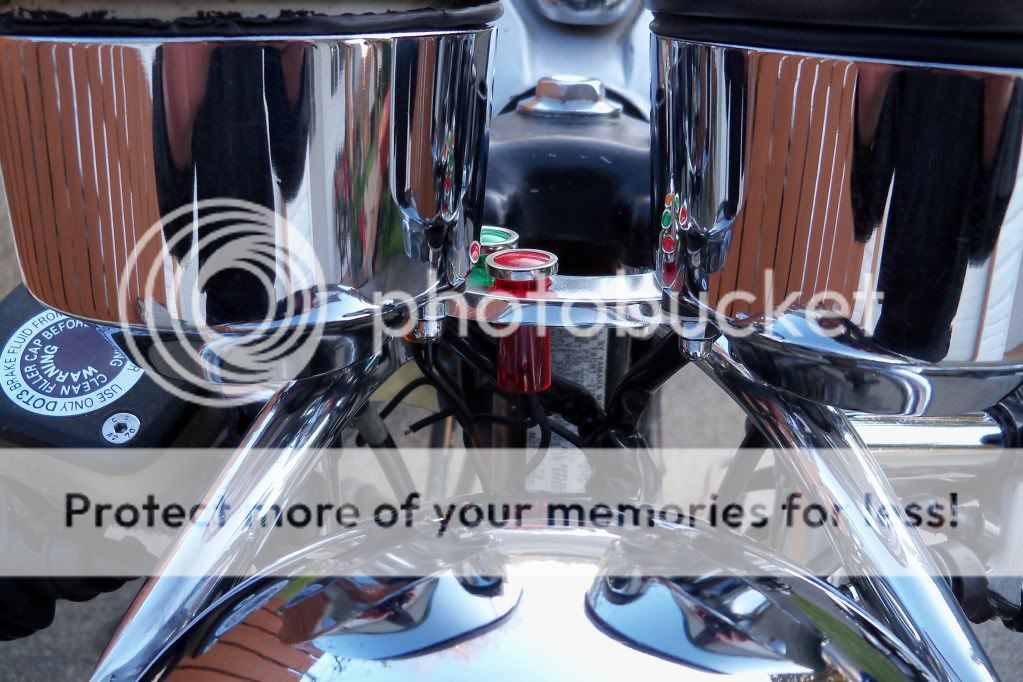
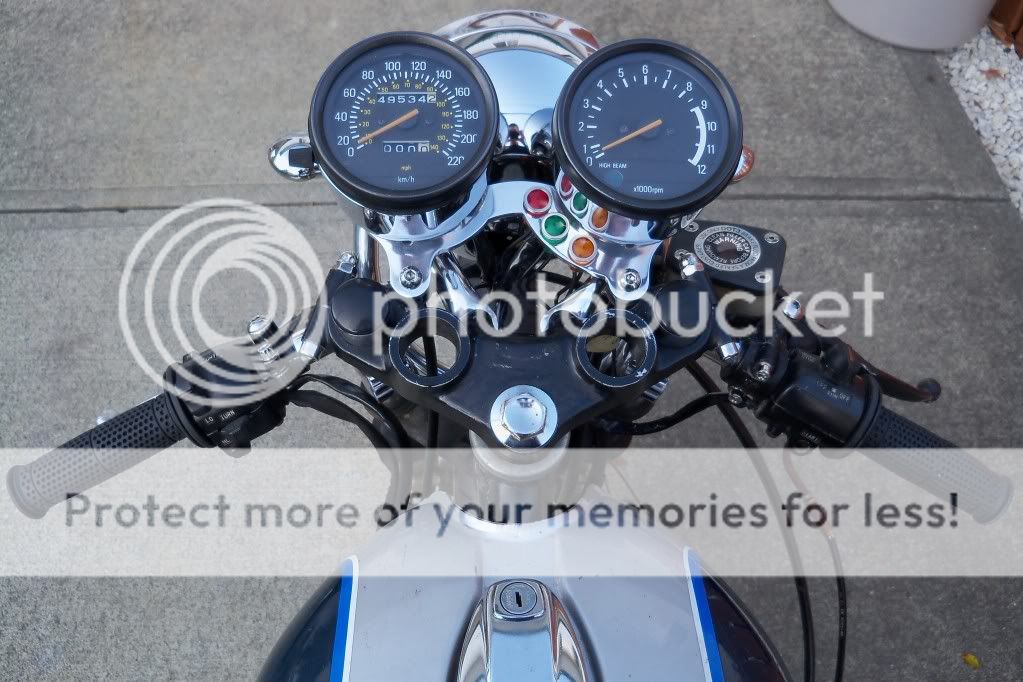
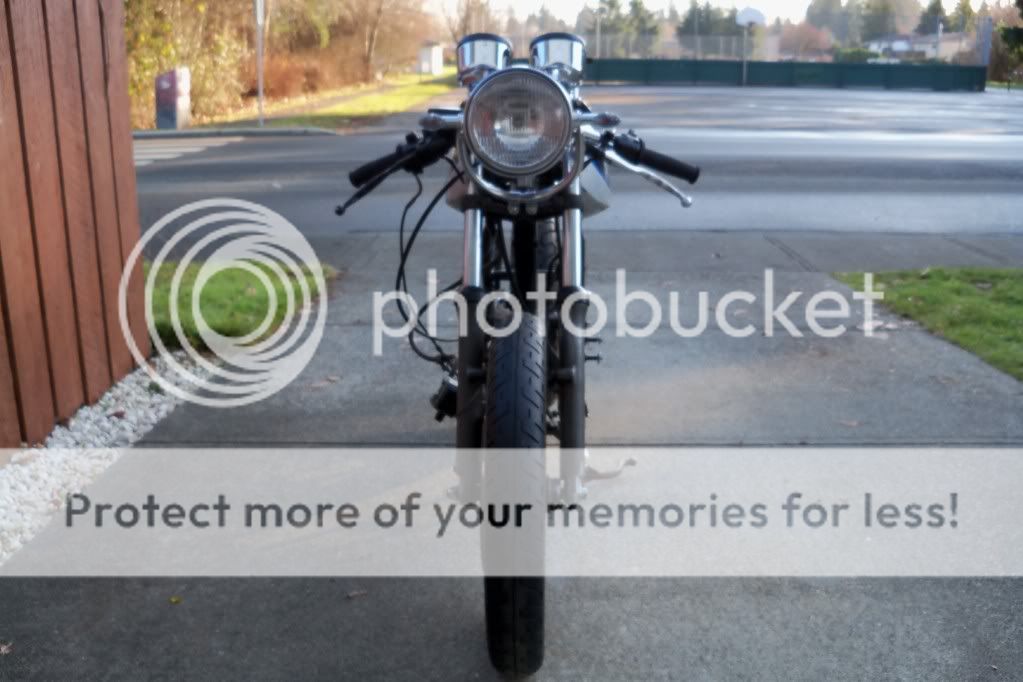
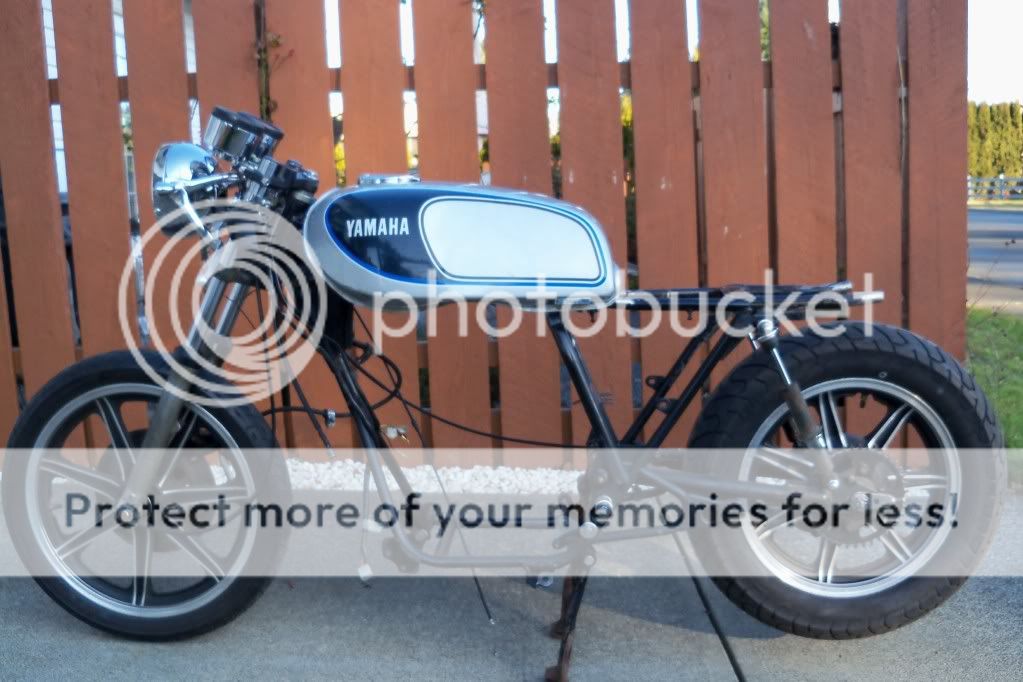
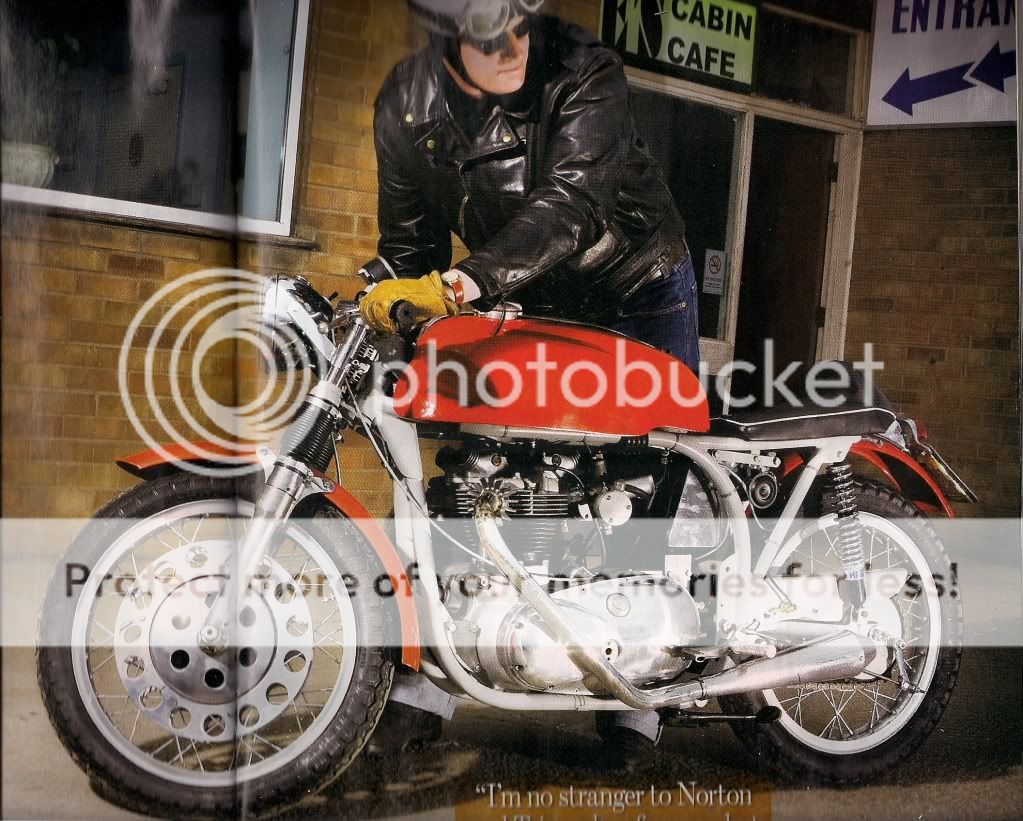
Well it looks like it's time for my bi yearly update. ( that sounds so bad). :-\ Things have gone S L O W L Y latelty. I was waiting for the weather to warm up last spring so I could get some real work done on the bike but just as the weather got better the house and all it's projects reared it's ugly head. Take down and build a new fence , deck, and fancy gate (and stain them all ). Put in some new shrubs and sand ,fill and paint 3 bathrooms , and next thing you know it's winter again. On the positive side I did manage to make progress on the bike. Most of it was on small parts of a larger projet so I won't show those till they are done. But I did finish one project which I will get to shortley.

First here are some inspirational pictures to give you an idea of what I hope my bike will look like when done.

Norton-1957-Manx-350-11.jpg


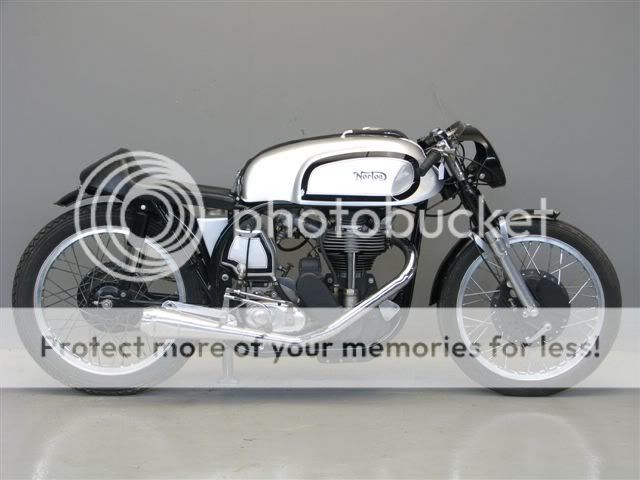
Norton Manx...... is there a more desirable bike?

ajs_7r1.jpg


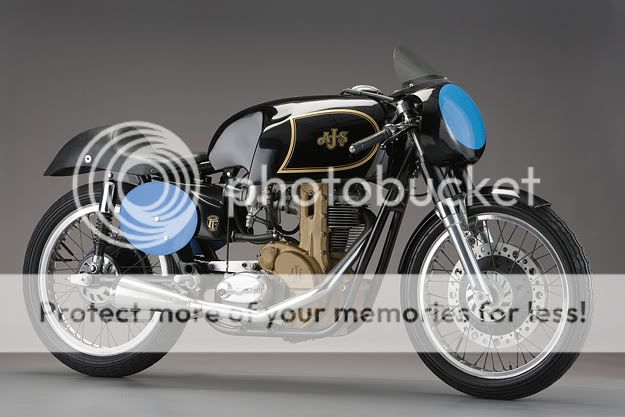
AJS 7R Gotta love that seat.
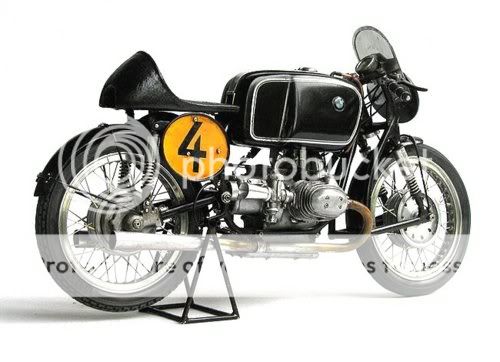
tumblr_lfr5y2MwOD1qescy5o1_5001.jpg


BMW Rensport

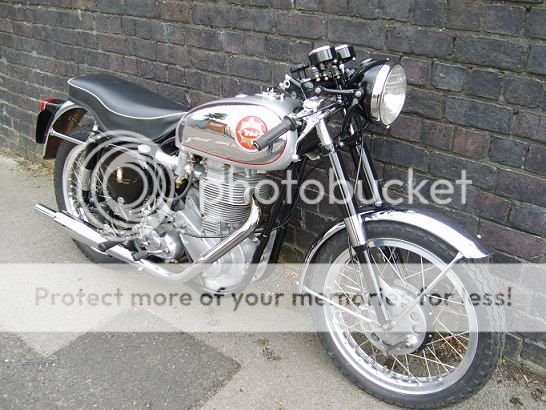
You can get an idea of what I like in a cafe racer from those pictures. You can also throw in a dash of BSA Gold Star if you like.
 
Part way into building my bike I was starting to wonder if it would look to small when finished. I wasn't shure if I was too tall for the bike. Then one day I was looking through some of my old magazines and I came across this Triton.

Triton001.jpg


It looks so low and purposful. Just the bare minimum in a compact package. Maybe it's the grey frame and large red tank but I love how small it looks. It looks like it would be a blast to ride around, hunched over the tank with your head tucked down. Anyway , it has changed the way I look at my bike now. Small and lean is where i'm headed with this build.
 
My progress has been fairly slow so far and is a bit fustrating but I don't make it easy for myself. A perfect example is my headlamp brackets. When I first started I was going to use these.

45366133751.jpg


There universal (which is good with 33mm forks), cheap and I think they look good. Problem solved....move on to the next task. Then I came accross these brackets on another build.

5863901.jpg


They come from Motolana and are solid stainless steel round stock, welded and polished. I fell in love with these brackets but they are around $100.00 which is to much for me.
Still I couldn't stop thinking about them. Then one day I was looking at pictures of vintage bikes in one of my books and I noticed that the bikes with girder front forks used simular brackets as well as the BSA Gold Star but they were made from round tubing with the ends squished flat.
This reminded me of the stainless steel camper mirrors used on GM and Ford trucks in the 70's and 80's. So I went to my local auto wreckers to look for some mirrors and no luck. I couldn't even find any stainless tubing at the local welders. Then one day I came accross some aluminum tubing at Home Depot and thought I would give it a try.
 
How To Make BSA Gold Star Style Headlamp Brackets
#################################

First a few cautions:
1- I did this by the seat of my pants and it just happend to work out. It will be easier if you plan it out so I will show you where I would do things different next time.

2- Wear a mask when sanding or polishing aluminum. It has known long term health effects such as Alzhimers.

3-Dont' polish the aluminum unless you like spending time polishing your bike a couple times a year. The aluminum will tarnish and scratch. Painting over the anodizing is a good option. Or better yet find thin walled stailness tubing.

4- Aluminum dents and scratches easly so don't drop it and always use a set of soft jaws (or blocks of wood) in the vice.

This started with this tubing I found at Home Depot.It was around $10.00 so not a bad price for a set of headlamp brackets.

June2011028.jpg


And this picture of BSA Gold Star headlamp brackets.

image9.jpg


First thing is to sand off the silver anodizing on the outside. I used a palm sander and I think 320g sand paper. You want to take off the coating but you don't want to scratch too deeply into the aluminum so don't use too course of a grit. Even with the palm sander it took me over an hour to sand it all off. It's best to do it now rather than wait till it is bent, as it will be next to impossible to get into the nooks and bends. Be paitient the coating is super hard.
After it was sanded off I gave it a once over with some 500g paper then took it to my polisher.

June2011040.jpg


It came out pretty good. It will get scratched while you make the brackets but you just have to give it a final polish when you are done. You can see my first test "squish" of the pipe. I just clamped it in my small 4" vice without any soft jaws to see how it would come out.

June2011029.jpg


It might come out better with a larger vice but as I had acess to a hydraulic press at work, I used that for the rest of the project.
 
Next is bending the tube into a "U".
Tape one end closed with duct tape and fill the inside of the tube with dry sand. Stop every once and awhile and tap it down with a small stick till it is full. I filled it up then shook it down and it dropped about 1/8" below the top. Filled it back to the top then shake it down. Repeat several times till it wont settle any more. Now tape the end shut. The sand will keep the tubing from kinking like exhaust pipe when you bend it.

Next is making the jig to bend the tube around. There is some good info on tube bending on the net and is worth a read. The short version is that you need a round surface that is actually smaller than the shape you want, as the tube "bounces" back from the shape it was bent into. There is a formula somewhere for this but I don't know what it is.
Knowing this , I decided to ignore it (for some reason) :eek: 
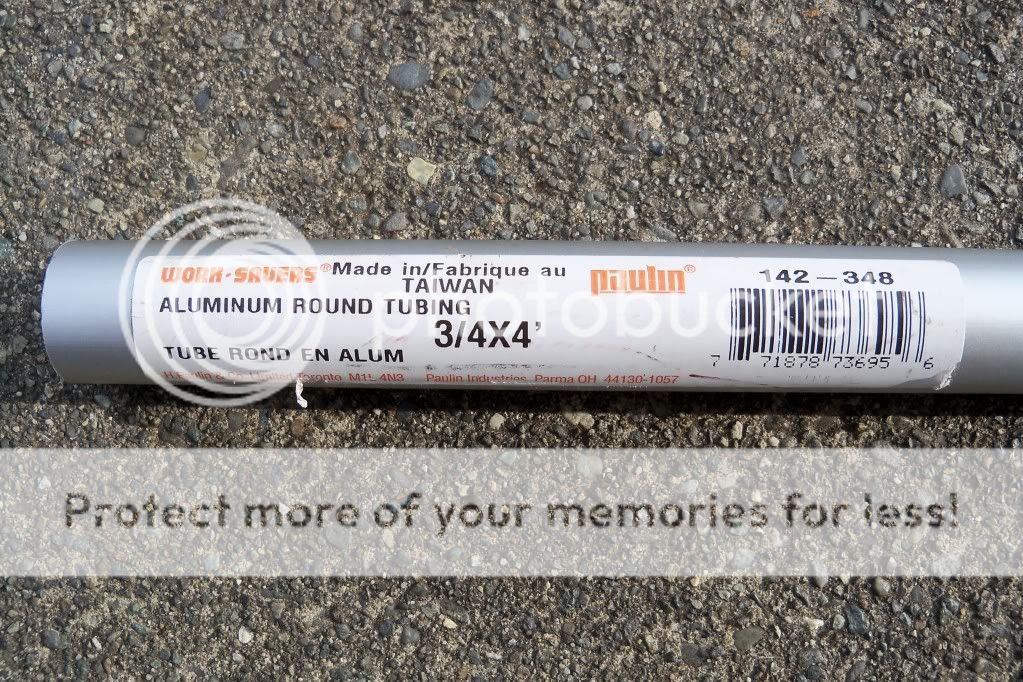
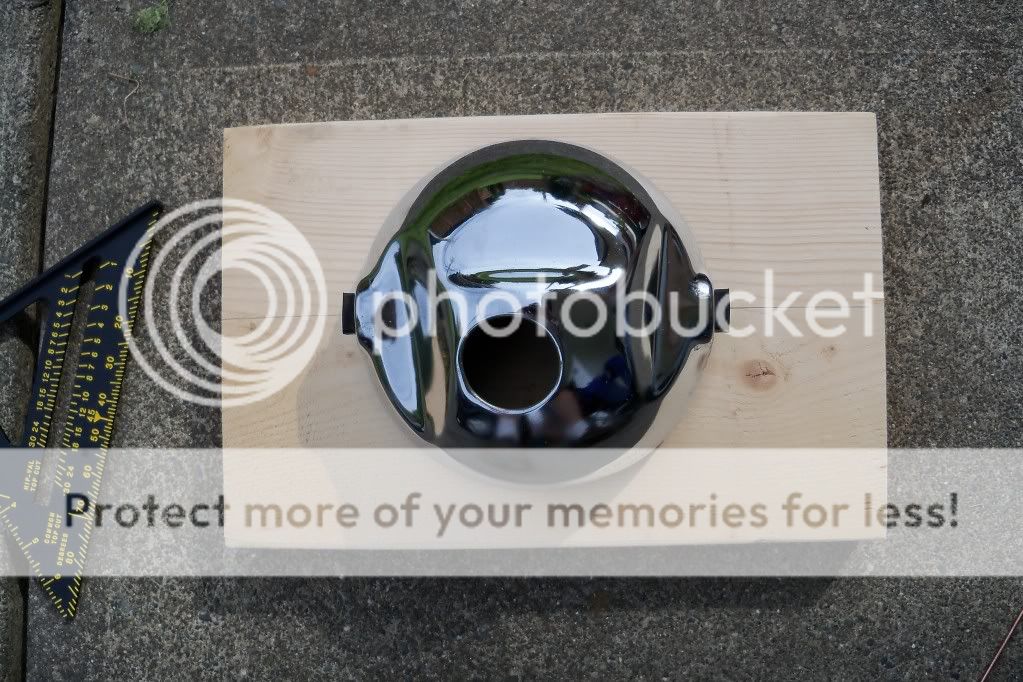
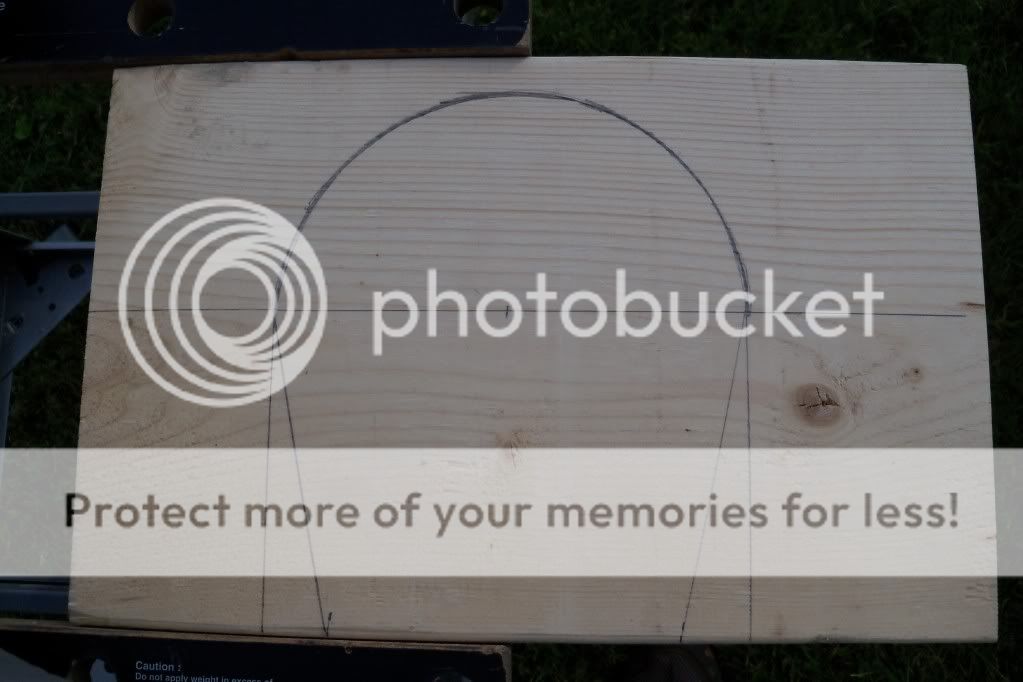
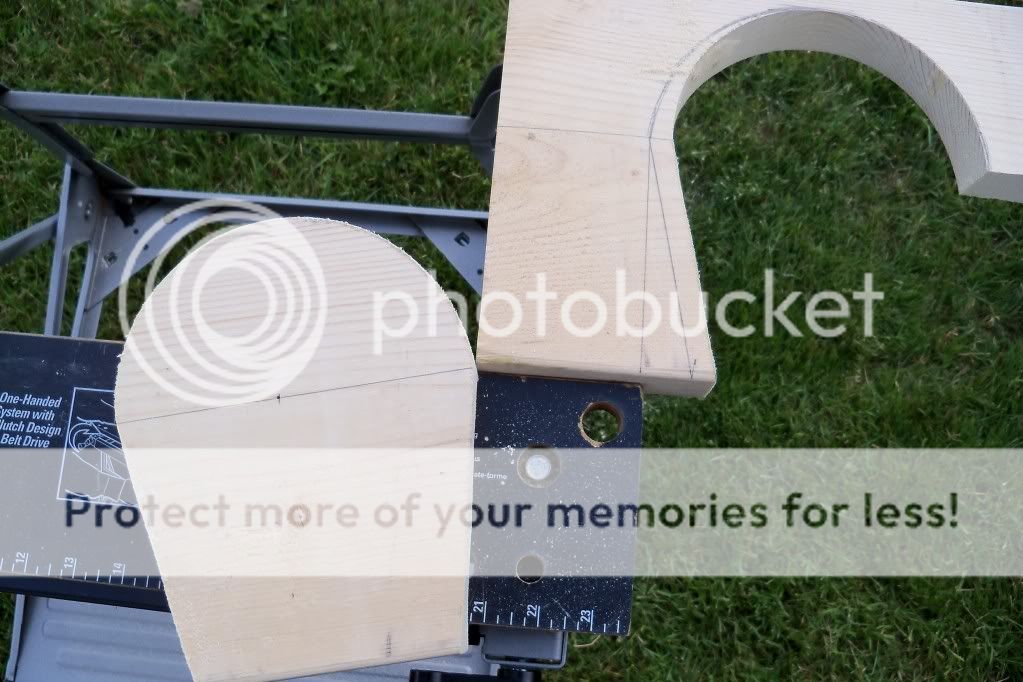
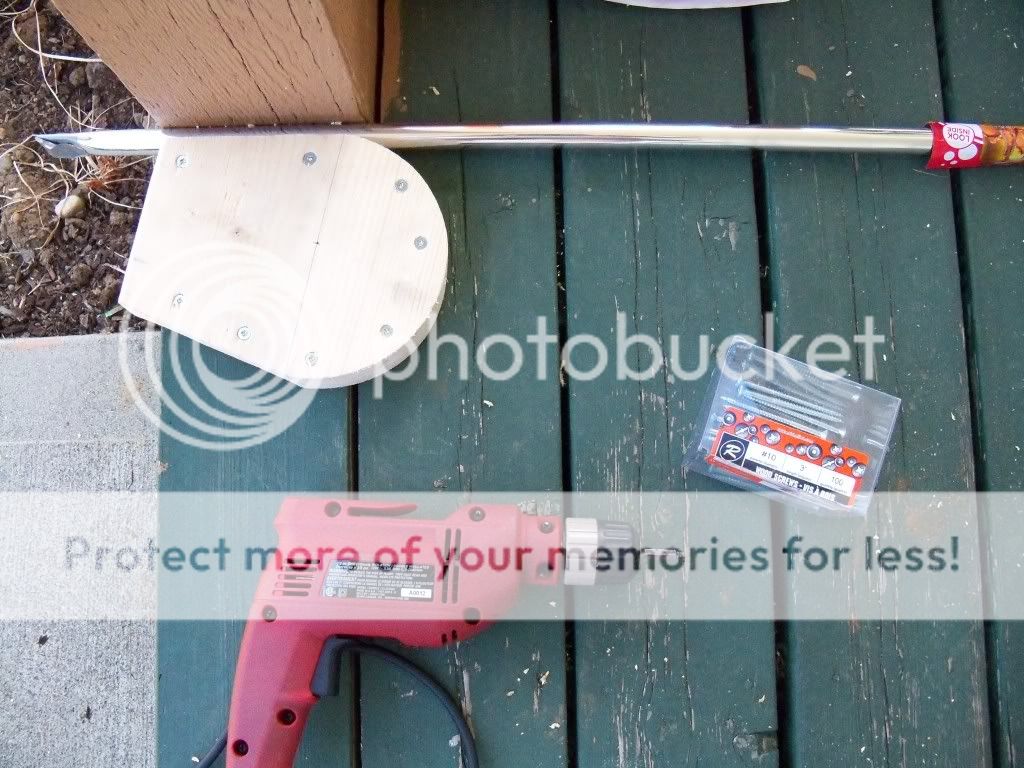
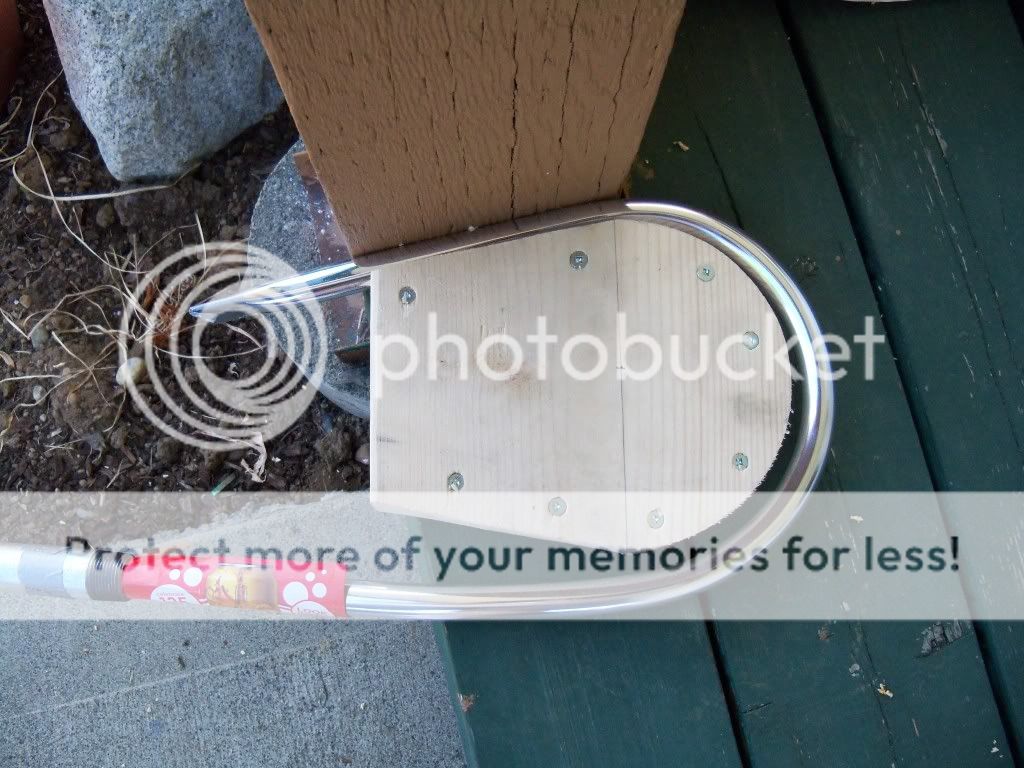
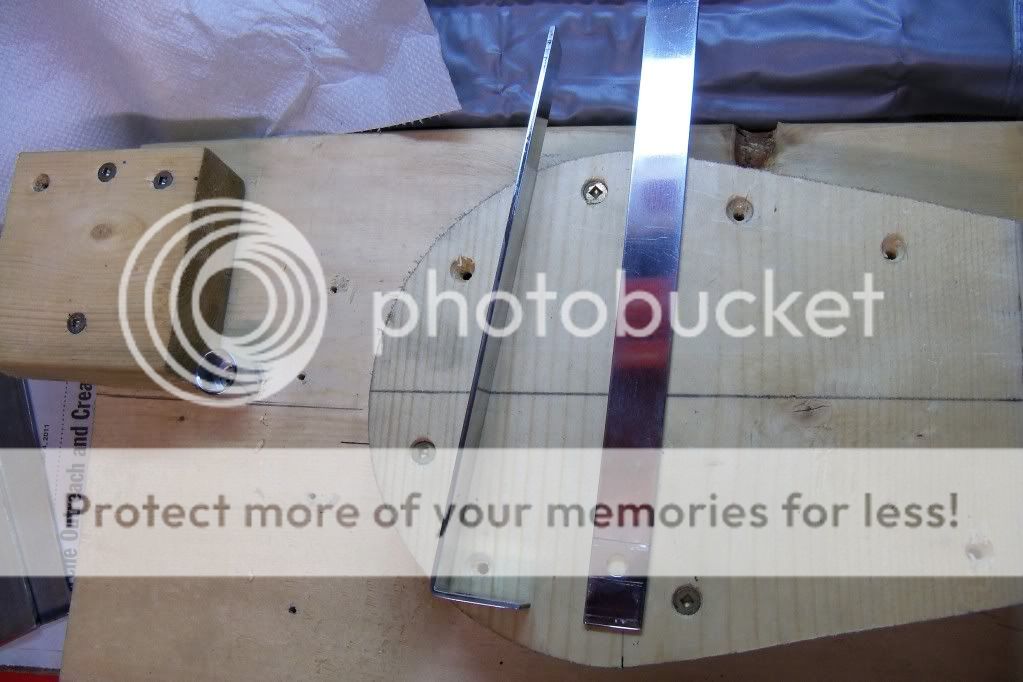
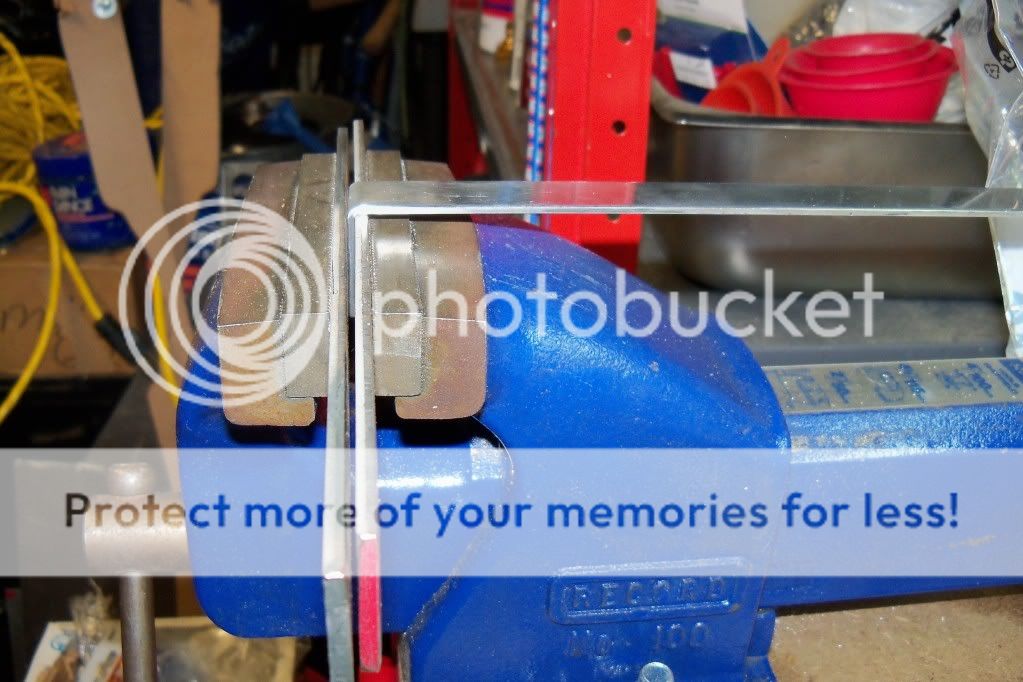
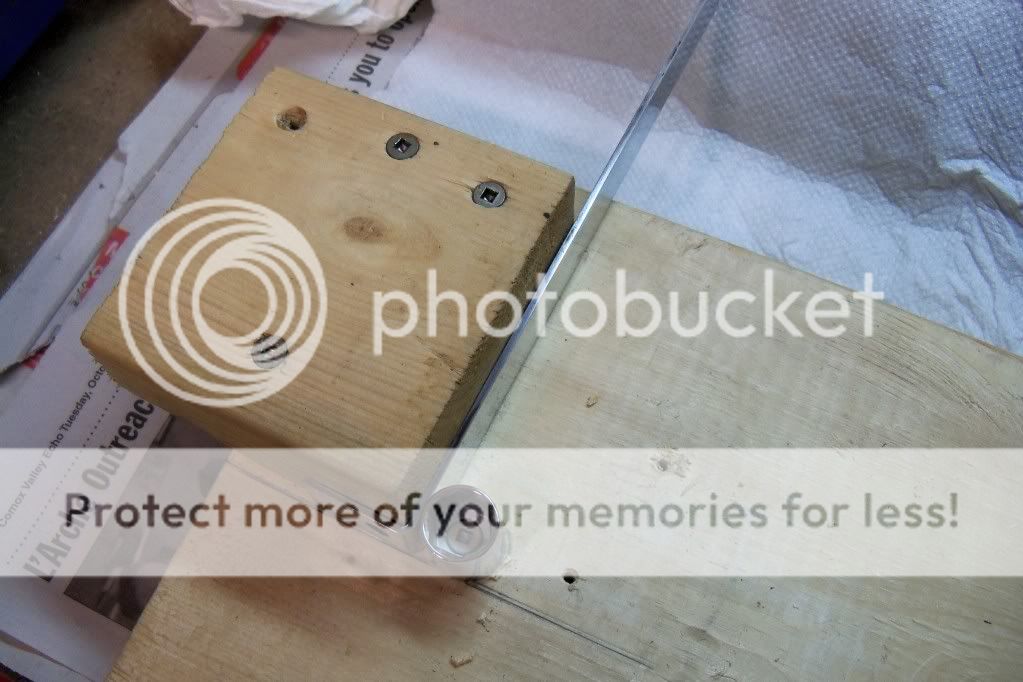
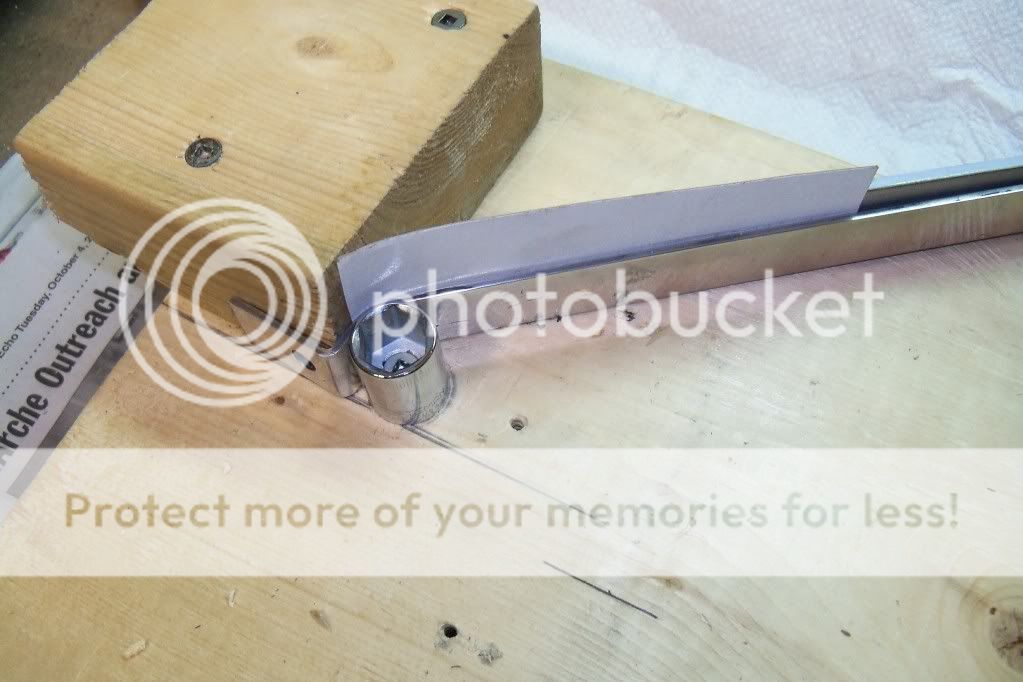
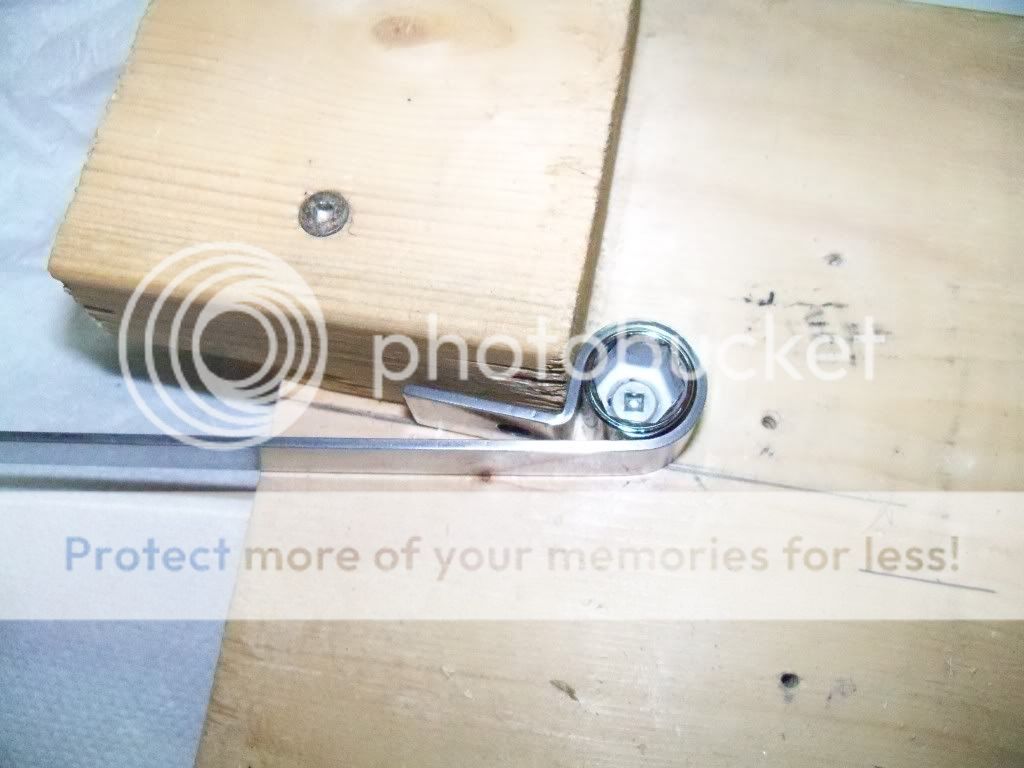
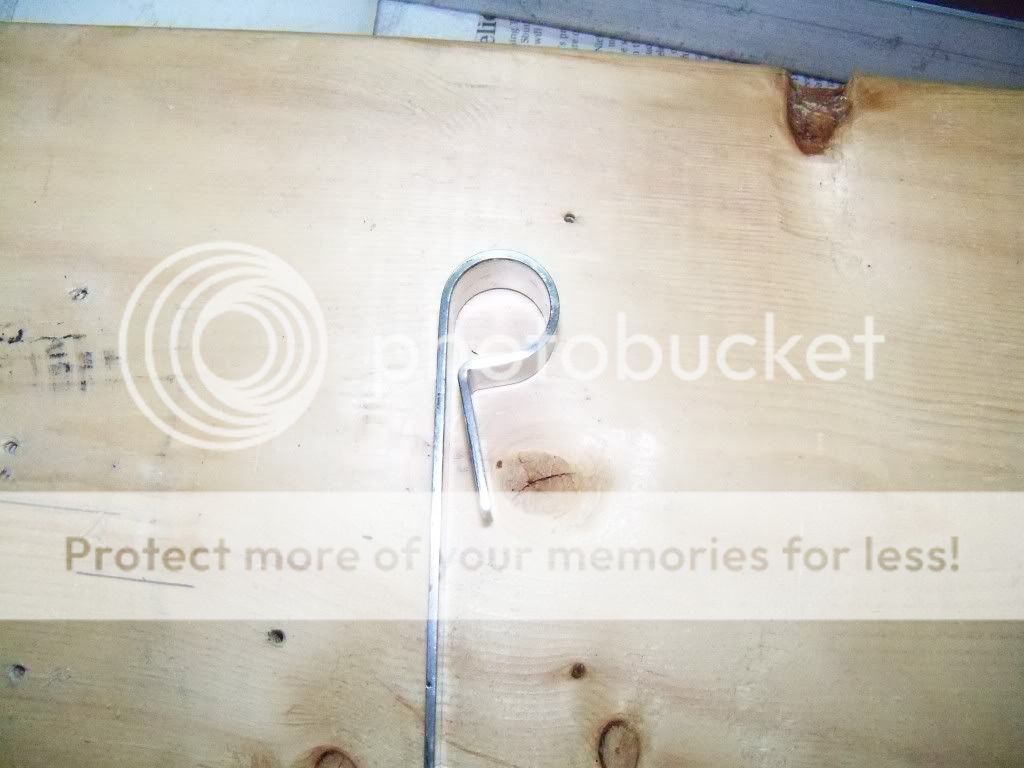
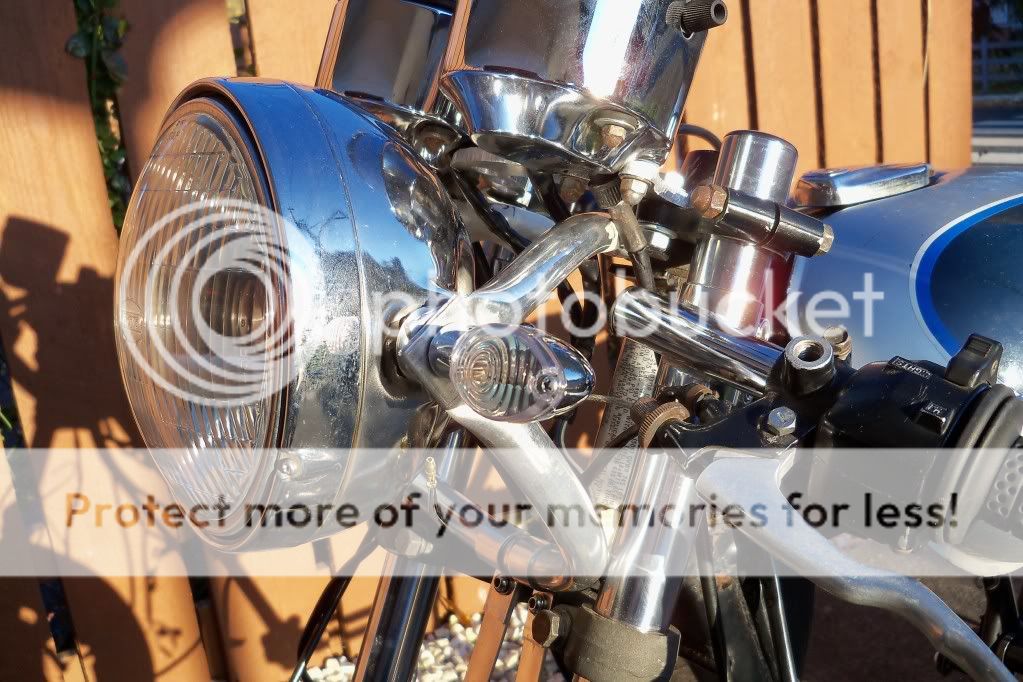
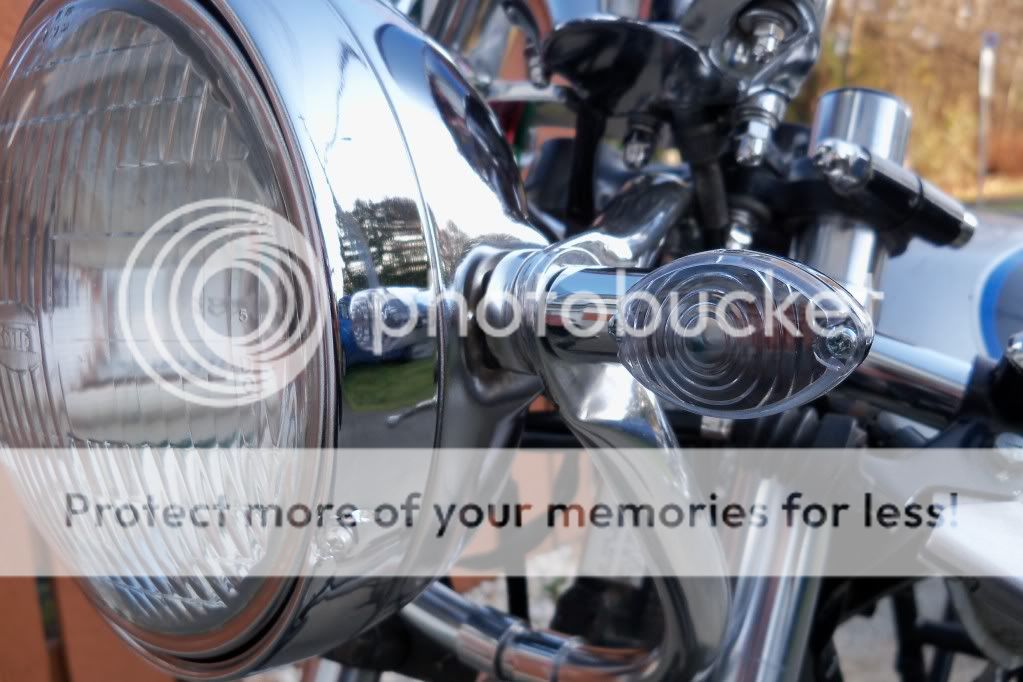
and cut the jig to the size I wanted it to be. I used my headlamp bucket as a guide and drew it out on a piece of 2X6.

June2011034.jpg


June2011038.jpg


I used a jigsaw with a guide attached to a finnishing nail at the center of the curve. I'm not sure how but it ended up 1/2" smaller that what I had drawn.


June2011039.jpg


This turned out to be a good thing as the final "U" bracket was the correct size. You should also keep in mind that the distance between the ends of the bracket will increase when you squish them. You need to adjust the curve of the jig or use spacers like I did.

I then clamped the tube between the jig and a post on my deck (I was replacing my deck) and bent the tube.

June2011041.jpg


June2011043.jpg


It bent easly with nothing more than a good firm grip. You can see I used a larger pipe over top as leverage but it was unnessesary. There is a small kink in the tube because I didn't pack the sand tight enough but even I have a hard time finding it. You will notice that the side I started on has a tighter curve than the other side. This is the reason the jig is supposed to be smaller than the actual curve you want. If I were to do it again I would clamp it in the middle of the curve and bend each side down separetly.
 
I was not sure where the ends would be cut off so I left a lot of tubing on either end of the curve. Unfortunatly this left me with bearly enough tubing for my top brackets. I would suggest measuring better than I did.
When I decided how long they should be I cut the excess off with a plumbers tubing cutter.

Nov2011016.jpg


I wrapped the ends with masking tape and marked where I wanted the holes drilled. I placed the ends between two steel plates with a half circle cut out of them and used a hydraulic press to squish the ends together. I drilled the holes in the bracket to match the threads of my turn signal lights as well as making the holes in the plastic headlamp bushings larger.

Nov2011013.jpg


I had to make longer bolts for my turn signal lamps. They use a funny pitch 10mm thread with the wires running inside. So I had to drill the center out of a bolt to mount the brackets to the headlamp shell. I also should have left the squished ends of the bracket longer. That would have left me with more room to decide where to drill the holes. After the upper brackets are matched to the lower (ie: turn signals bolted through both brackets) they can both be cut to length and shaped to match.
You can see the spacers I made, between the bracket and headlamp shell , by using a holesaw to drill out slugs from a sheet of 1/4" aluminum. They were then filed, sanded and polished.
 
Next are the two "P" brackets that will mount to the two threaded holes in the center of my lower tripple tree. I polished two thin strips of aluminum and drilled the correct size hole to mount them. I then marked where to put a 90 Deg. bend, keeping in mind that there had to be enough room for the bolt head but not so much room that the bracket would bend easly.

Nov2011004.jpg


Bend 90 Deg.

Nov2011005.jpg


I made a jig for the brackets. This also needs to be smaller than the tubing it is going over so it will grip well. I used one of my sockets screwed to a 2x10.

Nov2011006.jpg


I used some flat bar as leverage with cardboard between so it would not scratch.
Nov2011007.jpg


Nov2011008.jpg


Do NOT drill the back hole until the clamp is around the "U" bracket. Then mark the back of the P bracket and remove from the "U" bracket, then drill. If you drill the hole now it will not line up when it is on the bracket.

Nov2011009.jpg


Test fit.
Nov2011011.jpg
 
Next I designed my guage brackets. You need to know where the guages, speedo and tach cables are before you can plan the top headlamp brackets. Also take in to account any bolt or nut heads. This was especially important for me as I used acorn nuts.
The guage bracket was layed out on paper then transfered to a sheet of 1/4" aluminum. The holes were drilled and I cut the rough shape with a band saw. Finally it was hand filed into shape and polished.


XS400Dec2011036.jpg


The top headlamp brakets or spars were a bit more difficult to make. I took what was left of my tubing and cut it in half so I had two equal spars. Then after filling with sand and taping the ends I put a random bend in each spar. What I should have done was put a bend in the center of the tubing before cutting it in half as it was difficult to bend the two small spars seaparatly. Empty the sand from the spars as I hope you did on the main "U" bracket.
Put masking tape on the ends of the spars to protect them from damage while squishing them (same goes for the main bracket) as well as giving you a place to mark where to squish and drill holes. I did not squish a long enough area on my upper brackets and had a problem whith them contacting the headlamp shell. I also learned that it was impossible to resquish them longer. The spar just pushed out of the plates I was using. If you have enough tubing you can make large squished ends to allow you to adjust the fit of the spar. The ends can be trimmed off later.
My plan was to mount the spars to the same bolt as my guage bracket but that put the spar in the same place as my speedo cable so I had to use the threaded holes that the ignition lock was attached to (I guess i'm relocating my ignition switch).
You can bend the end of the squished area to adjust the spars to fit properly. As it was I had to make spacers to drop the spars down to clear some of the bolts on my guages.
 
The spars were drilled and test fitted to the headlamp. This is when I realized that the right spar coverd part of the hole drilled for my idiot lights. As I had no more tubing and was to cheap to but more I wrapped the spar in masking tape and marked where the lamp would contact it.
I strapped the spar to a piece of wood so it would not bend and placed some roundstock aginst the area the lamp would touch. I used the hydraulic press to push a grove into the side of the spar. I had to do this again to less of an extent to clear the tach cable. As well two more spacers had to be made to go between the upper spars and the upper triple clamp.
Then another test fit.


Nov2011025.jpg


You can see in this picture where the two brackets don't quite overlap where they mount at the headlamp shell. I should have left them about 1/2" longer.
Nov2011032.jpg


Here you can see the right hand spar just covering part of the lower hole for the indicator light.
Nov2011031.jpg
 
Wow. I was really wondering where all that resourceful fabricating was heading and I am really impressed. That is a very cool mount
 
I forgot to mention that when the tubing is squished flat the sides start to tear. It is not that noticable when polished but it is the one thing I couldn't fix.
Finally I cut and rounded the ends of all the brackets. Replaced all the nuts and bolts with polished stainless steel and final polished the brackets and spacers.

XS400Dec2011035.jpg


And final assembly with polished stainless fasteners.

XS400Dec2011045.jpg


XS400Dec2011048.jpg


XS400Dec2011044.jpg


XS400Dec2011046.jpg


XS400Dec2011052.jpg


XS400Dec2011049.jpg


XS400Dec2011043.jpg


XS400Dec2011039.jpg


XS400Dec2011042.jpg
 
These brackets are very strong and lightweight. The bolts weigh more than the brackets do.
The only thing I am not sure about is how they will stand up to vibration. When I am up an running I will have to keep an eye out for stress cracks.

Another thought I had was that on the right bike these brackets would look good made out of copper tubing. :)

Now if you don't want to go through the hassle of bending a "U" bracket you could try building them like this using large "P" brackets to mount them to the forks.


imagesCAHTNEF5.jpg
 
Thanks Ryan.
I am verry happy with the way they turned out. Sometimes things don't turn out the way you think they will .. so I'm happy. Didn't cost me that much but it sure took me a long time to finnish.
 
That is nice work on the headlight brackets ;)

You want to be careful using the indicator stubs to hold the whole thing together though - most of them are pretty weak. By the way, are they metal bodied indicators or chromed plastic?
 
Thanks.
The idiot lights came from Napa. They are not LED though, which I would have preferred.

As for the turn signals, yeah they are plastic and I was not sure how they will hold up over time. On the upside the brackets are pretty snug against the headlamp bucket so the signals just keep the bolt from falling out.
 
Yeah - the plastic indicators have the stubs pushed / moulded into the body and they are pretty weak. More likely a case of "when" than "if" they're going to fall off.


Hate to see your nice headlight roll down the freeway :eek:
 
Hillsy
Yeah I think you have a good point there. I'll probably make another threaded aluminum spacer or maybe a threaded polished stainless washer to go up against the signal.
It would suck to watch your headlamp fall off. :-[
 
I should have posted this earlier, but here is my inspiration for the headlamp brackets. BSA Gold Star!

BSAGoldStar2.jpg
 
Back
Top Bottom