Follow along with the video below to see how to install our site as a web app on your home screen.
Note: This feature currently requires accessing the site using the built-in Safari browser.
We noticed you are blocking ads. DO THE TON only works with community supporters. Most are active members of the site with small businesses. Please consider disabling your ad blocking tool and checking out the businesses that help keep our site up and free.
Not too much to show but some progress has been made. I painted the engine cases a while ago and have finally got the bottom end together with new plain bearings. I started to put the clutch basket together but found too much play between the basket and the snap ring so I had to order a shim.
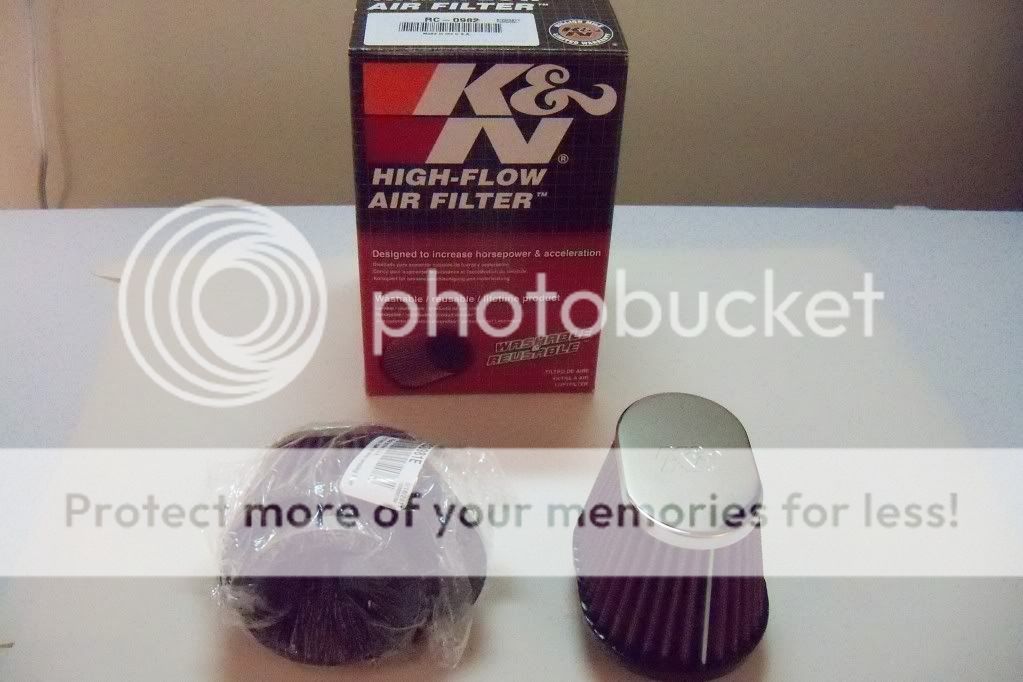
In the mean time I found a good deal on K&N filters. I know I could have bought cheaper generic filters but I ran into a guy that had a cafe'd Z1 and he said he wished he had spent the extra money for the K&N's. I've done that in the past with a set of mufflers and wished I had spent the extra for a stainless steel set. They were on sale on Amazon for around $75.00 a pair (can't quite remember the price). Even with the customs handling fee they charge on top it was still cheaper than anything I could find local.
A couple of weeks ago I spent some quality time at a Princess Auto store and left $100.00 poorer. I managed to pick up some led indicator lights for the guage bracket. I also picked up a led lamp to fit the tailamp housing I am going to use. I am working out how to make it dual intensity and will do a write up if it works out the way I want. I also picked up some helm joints to make my rearsets with but I'm not ready to start building them yet.
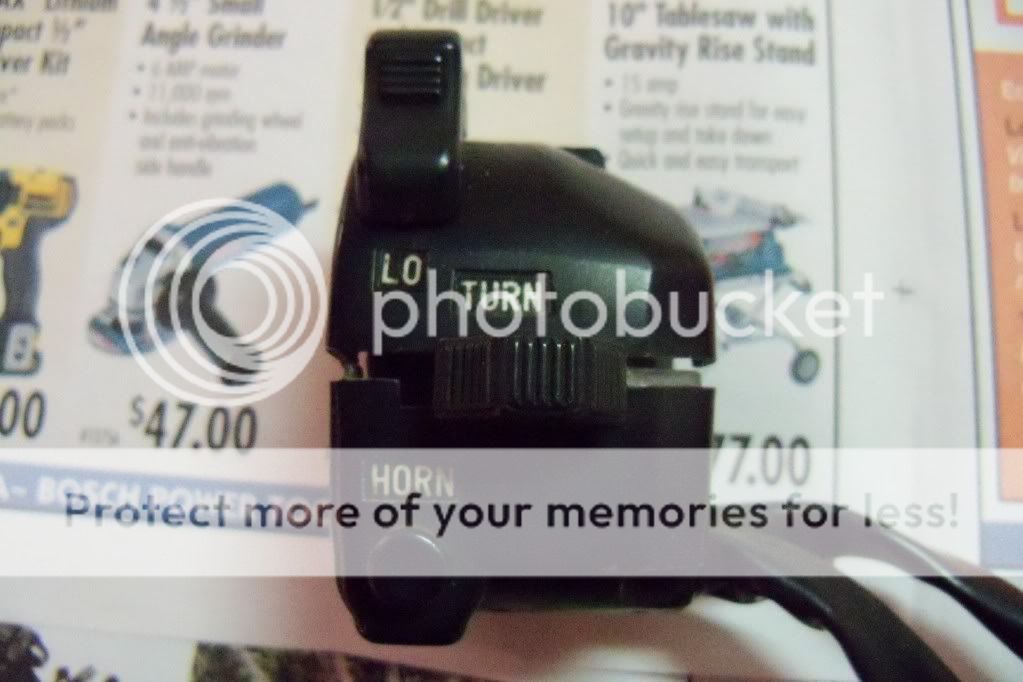
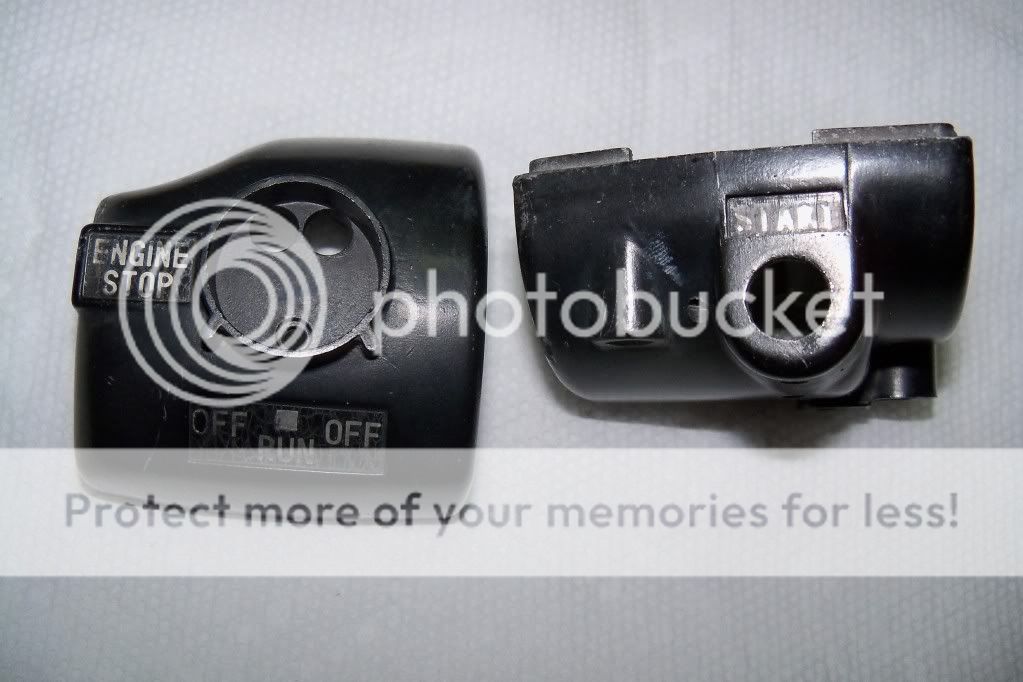
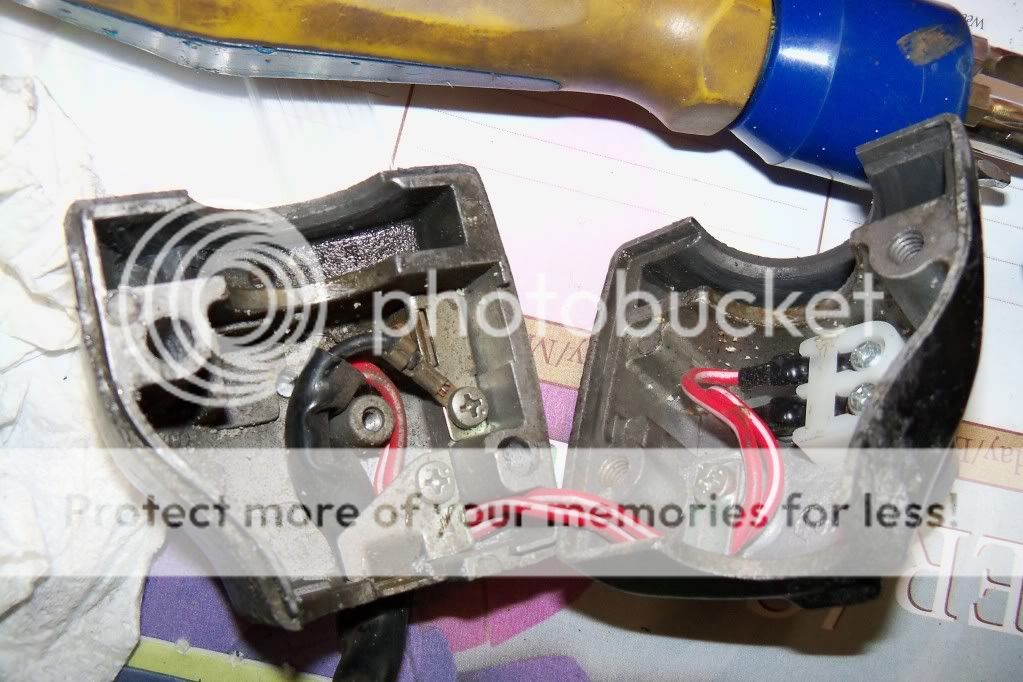
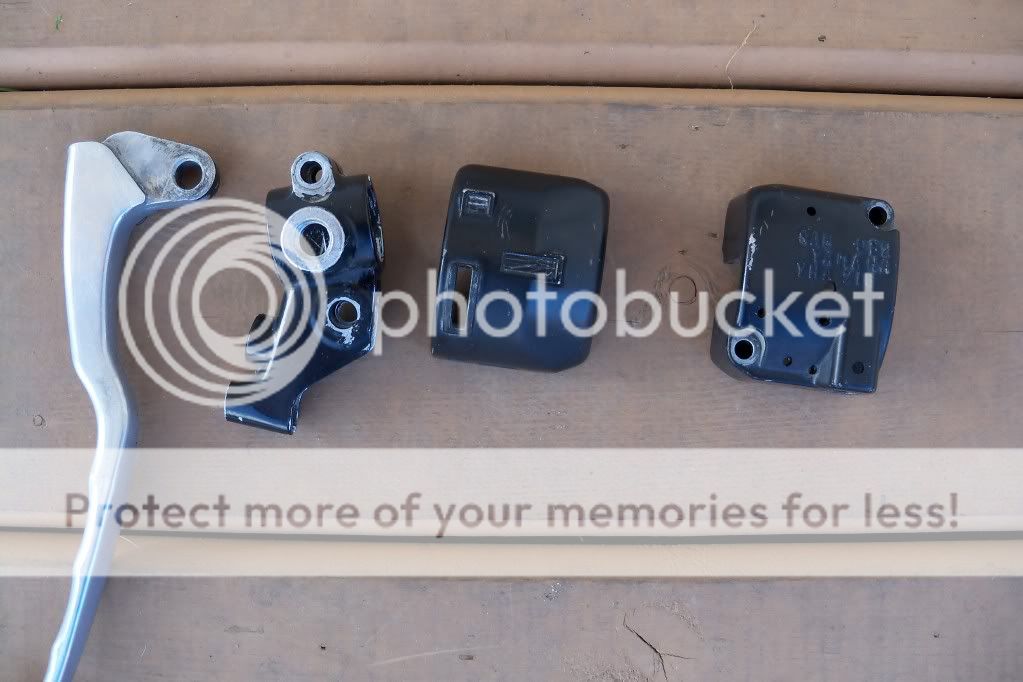
In the mean time I started taking apart my switch gear. They really are a nice set up and are easly cleaned and rebuilt.
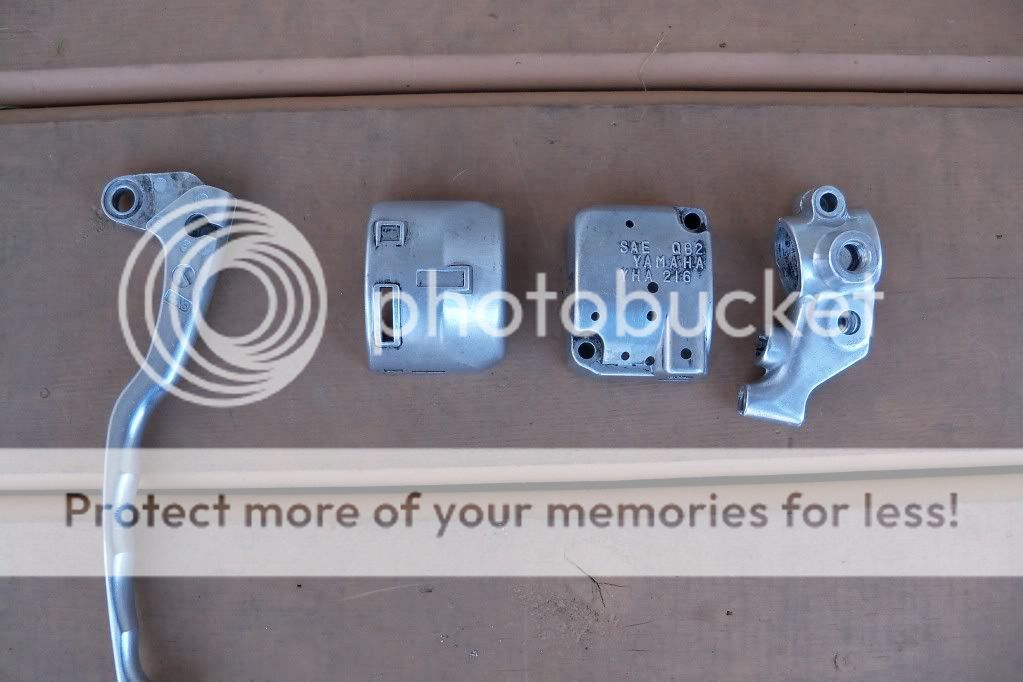
With the electrics removed I used some paint striper to take the black off. I gave them a good wet sanding and then took them to the polisher.
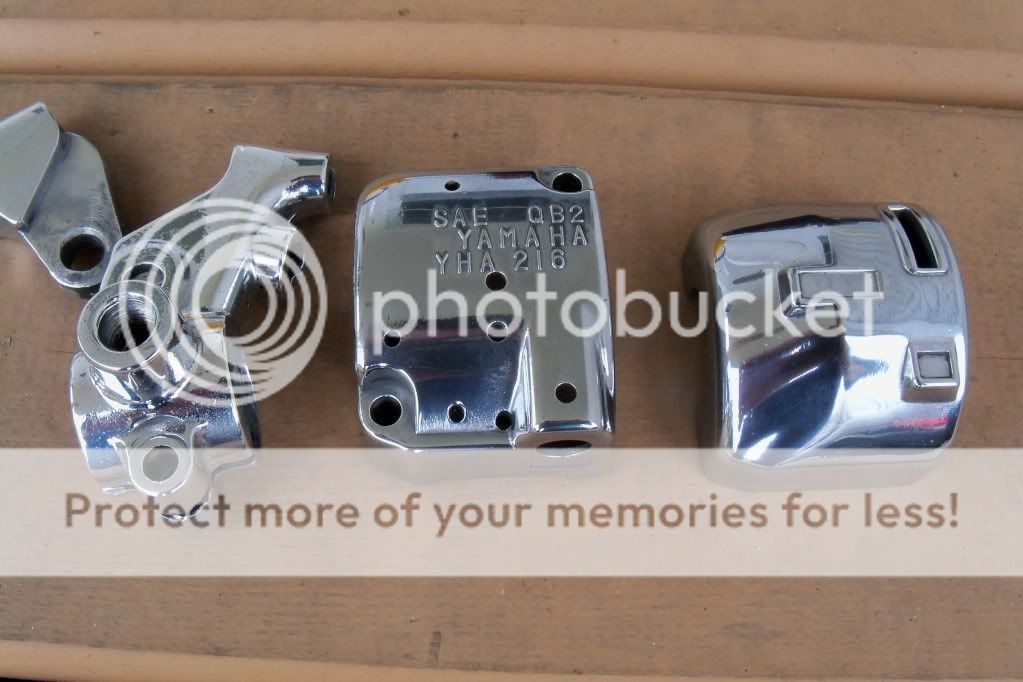
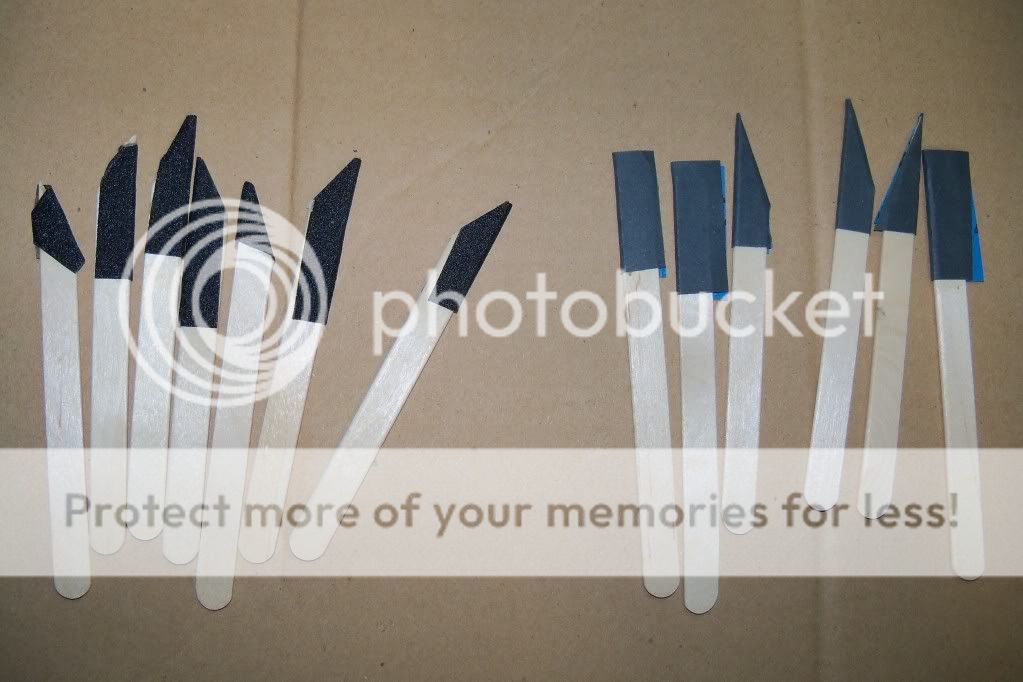
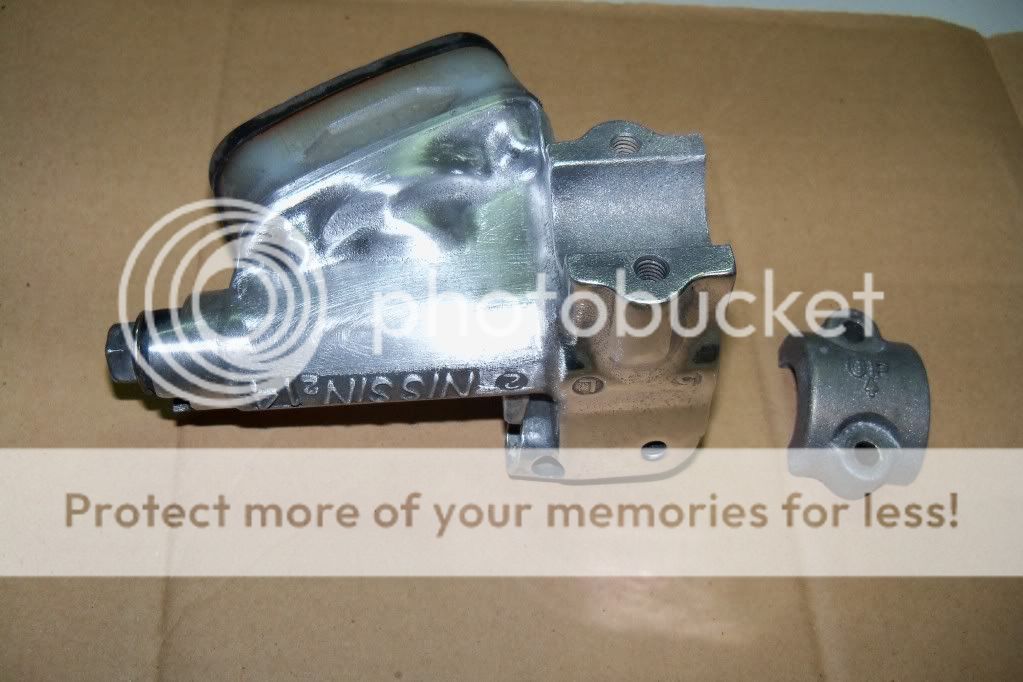
They turned out pretty good and wasn't too hard to do as they were basically round. The master cylinder is giving me a bit more trouble though as it has more iregular angles. I tried sanding by hand but I was missing too many spots. So I took some popcicle sticks with the ends cut off at an angle and glued different grits of sand paper to them.
This lets me get into the tight spots. Here is a picture with just the 320 grit used.
I'll post a picture when I'm done with the master cylinder.
Here's something for the XS400 guys. I'm not sure if this is common knowledge and I'm just slow but you can get parts from the XS650 parts suppliers. I was looking for the rubber boots that fit over the clutch and front brake lever. I found nothing listed on Parts N More so I looked up the OEM Yamaha part number and entered in into Google. To my suprise it came up on XS650 Directs site as a reference number. So I found that the XS400 and XS650 shared the same boots.
I then made a list of parts I was looking for that might be the same. I went to Yamaha's parts site
http://www.yamaha-motor.com/sport/myyamaha/prompt/L3Nwb3J0L3BhcnRzL2hvbWUuYXNweA==/Parts%20Catalog/starthere.aspx
and looked up the parts numbers for the XS400 and wrote them down. I then looked up the same parts for the same year XS650 and wrote those beside them. I was supprised how many parts were the same. Parts that didn't come up on the XS400 sites. Just remember, the 650 sites will not let you return them if they are wrong so do your homework.
This site uses cookies to help personalise content, tailor your experience and to keep you logged in if you register.
By continuing to use this site, you are consenting to our use of cookies.