DTT Barber Build 2012

Rich Ard said:
Tell me more about this 70 degree weather you speak of

It's why we put up with brutally hot summers. To get the occasional 70 degree day in February. Looking good Mike!
 
LOL, Sunday it was 70, Today it is 28.

Got the foam on. I still need to do the final shaping. Definitely going to flatten out the front where it angles up so it fits nicely into the void at the back of the tank. I probably should have gotten a slightly thinner top layer. If it turns out to be easy to shape, I may reduce the height a bit.

The bottom two layers are from a camping pad I got for $10. Soft foam was $2.

photo%25202.JPG


photo%25203.JPG
 
Thanks. After riding around on an inch of neoprene, my ass is ready for some cushion.

It should end up very similar to Sonic's seat, but using worn dark brown leather and no piping.

Sonic's
482FB8C3-3956-4A5D-92AB-C84644278B03-27341-00000581E1131A80_zpsa79dbefd.jpg
 
Foam is on and shaped. Started practicing my French seams on my tool roll last night.

e7ebujy4.jpg


END OF LINE
 
All the sewing. Got the main part of the tool roll done. I took some left over pieces of my old jacket and arranged them into somewhat of a rectangle. I then cut them so they would all fit together with a 1/2 inch seam allowance. I did a few french seams and a few flat felled seams. I like the look of the french seams better. That is how seats in my car are done.

photo%25201.JPG


photo%25203.JPG


photo%25202.JPG


Now I'm trying to layout how all the tools will fit in here and then I'll layout the pockets. I'm sure it won't be the best tool roll, but the real purpose is sewing practice.
 
Nice work, I need to tackle a new seat cover for the GL this year or next the first one I made is pretty sad looking. After the tool roll you should have it all down for doing the seat cover.
 
Pleating practice. The one on the right was the last one. I'm using 2 layers of headliner fabric. Almost ready to finish this seat.

guga3u2u.jpg


qepe7ude.jpg


END OF LINE
 
Seat is done!

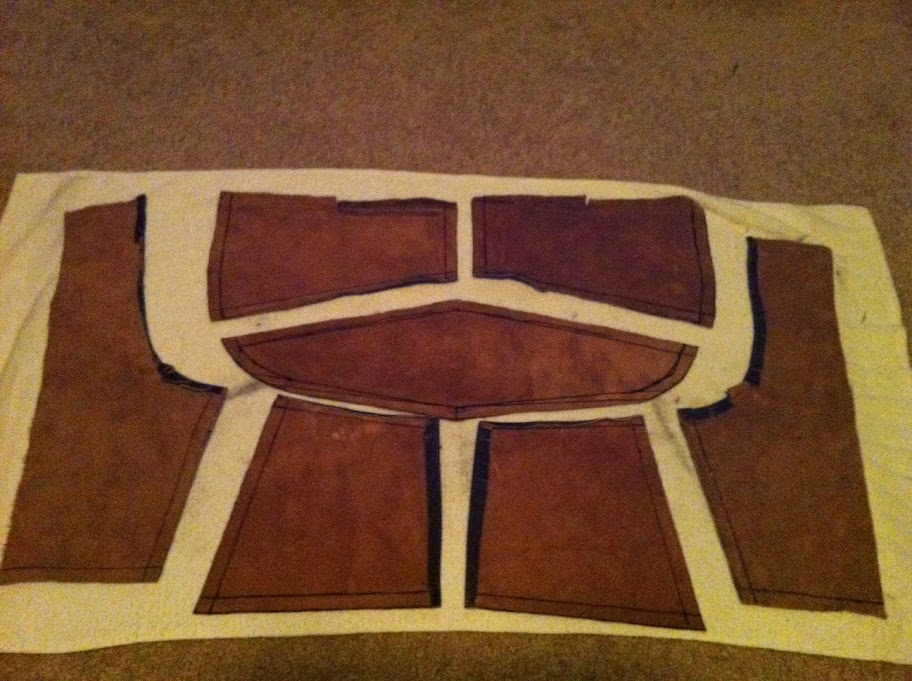
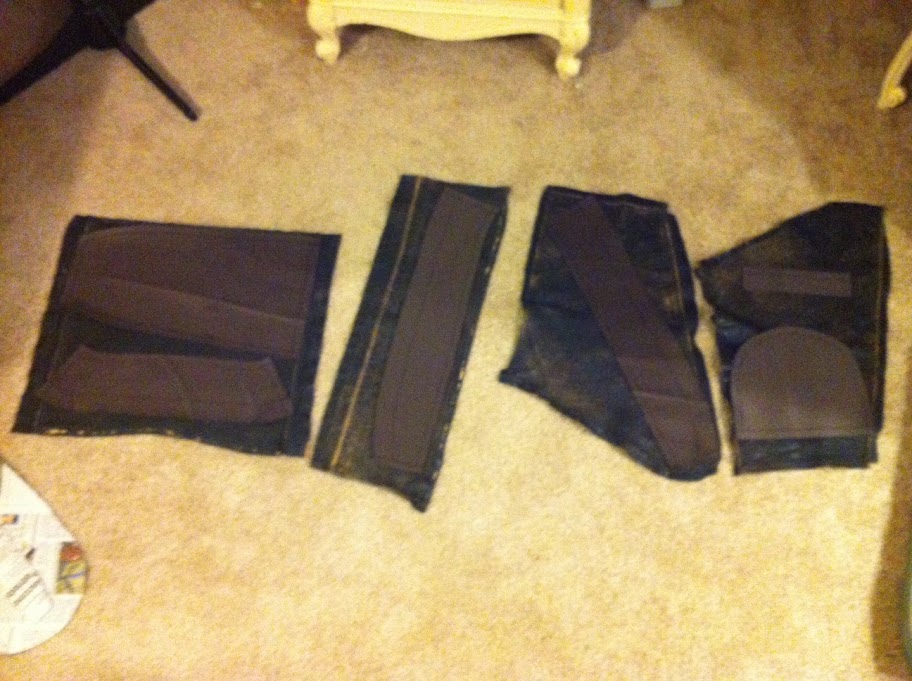
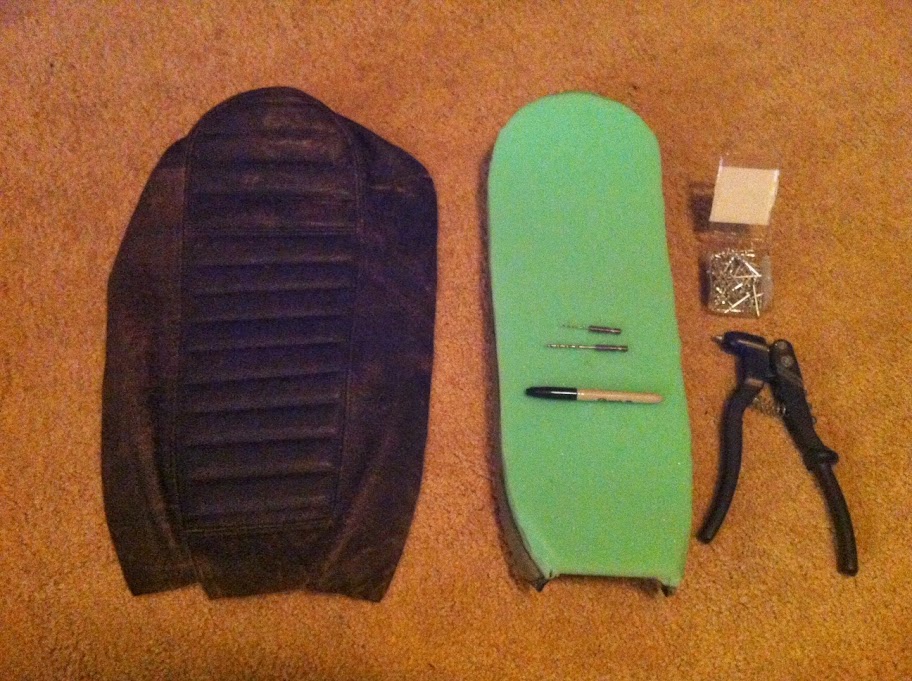
I made a pattern on the foam using newspaper. I then transferred the pattern to some leather-like fabric I had left over from my Halloween costume, adding all of the seam allowances. I laid these pieces out on the pieces of leather that I had.

photo%25201.JPG


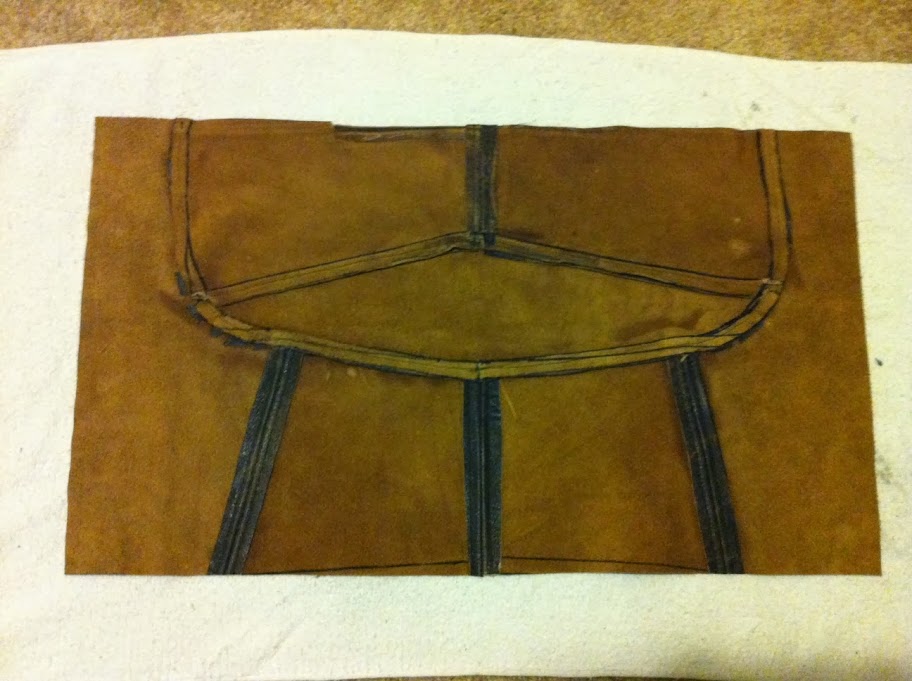
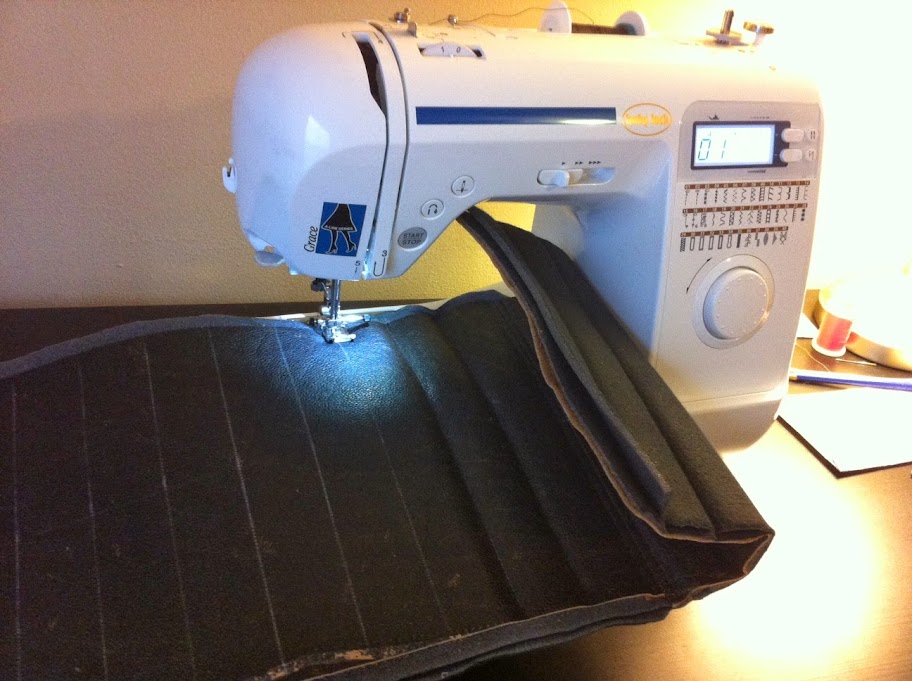
I actually sewed up a test cover using the fabric first to see how it was going to go. I was pretty happy with it so I started cutting the actual leather. Due to the sizes of the pieces of leather I got from my jacket, I had to make the top of the seat out of two pieces. I sewed that seam and them made the lines for the pleats. Cutout the headliner foam and sewed some lines.

photo%25202.JPG


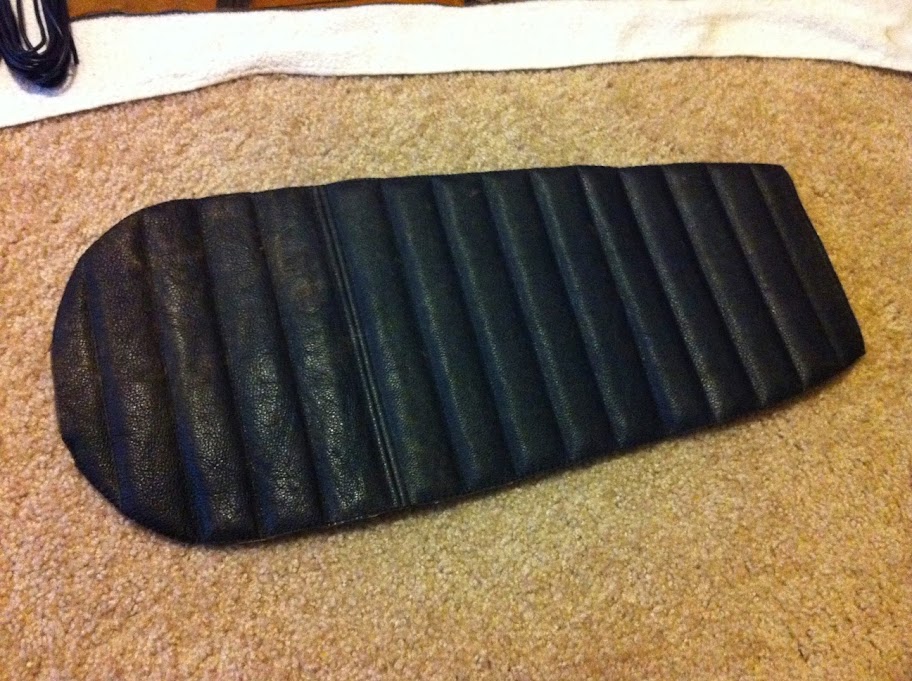
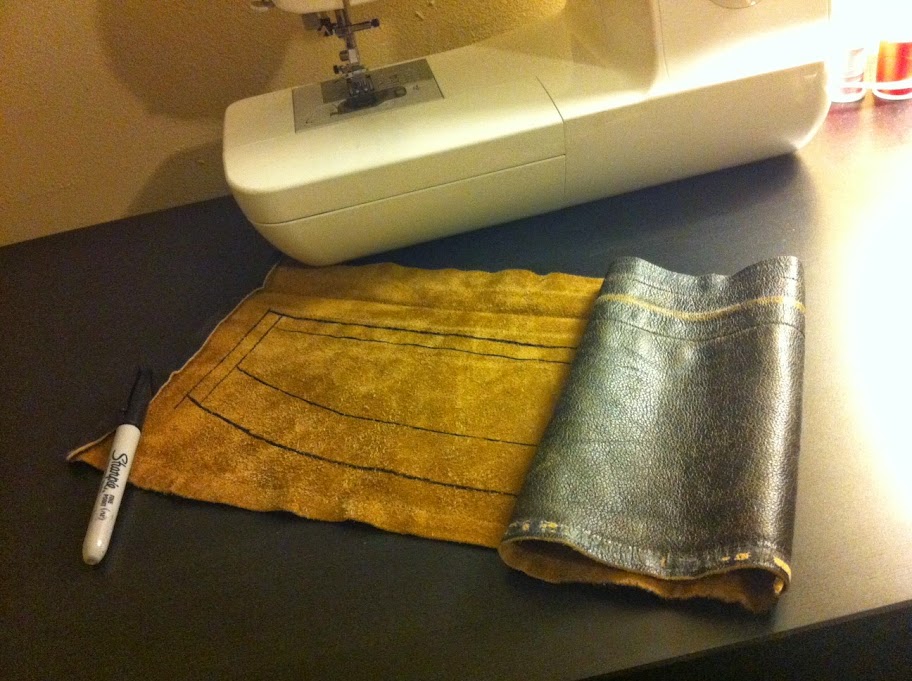
Then I used my pattern to mark the edges of the top piece. I sewed all around the edge then cut it out.

photo%25203.JPG


Then I traced the pattern for the sides and cut those pieces out.

photo%25204.JPG


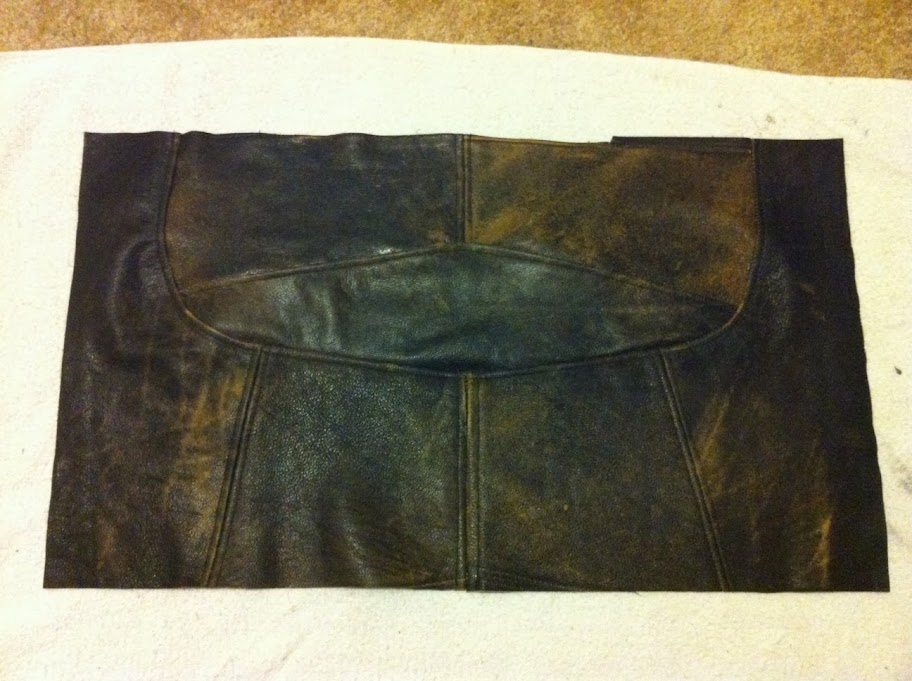
Finally I sewed all the pieces together and then sewed the flaps of the seams to make the french seams. The top piece ended up being too short partly because the pleating made it effectively smaller, and I had cut it a little short due to some imperfections in the leather. So I had to add another small piece on the front.

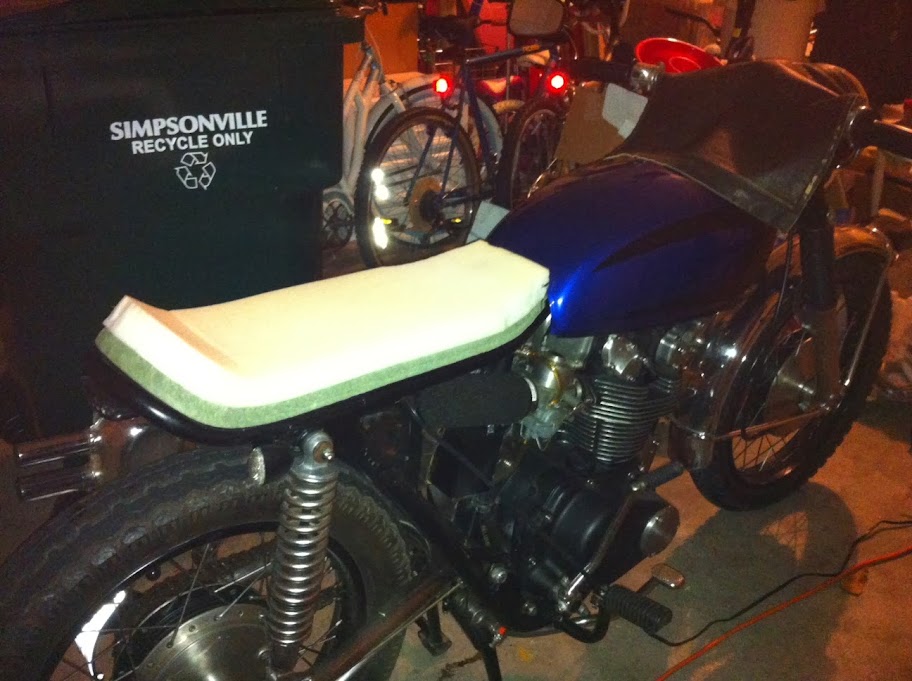
Miraculously, it fit on the seat extremely well. However, when I put it on the bike, it looked too thick to me. It was a total of 3 inches thick, which due to the size of the seat, seemed out of proportion. So I took the top layer of foam off (was 1.5") and put two layers of 1/2" foam on it. That seemed to be all it needed.

Next up was to install the cover on the pan.

photo%25201.JPG


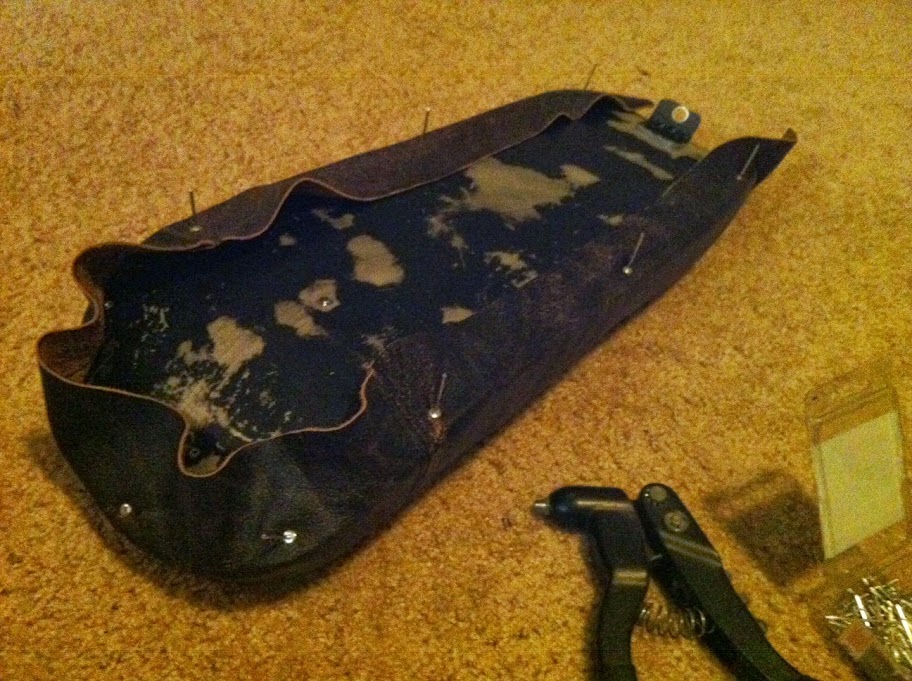
I got the cover positioned correctly and then started installing the rivets. I used a drill bit to hand "drill" the holes in the leather as I pulled it tight. I actually started where the seat bends up at the back and then put the rivets in the ends, pulling everything tight.

photo%25202.JPG


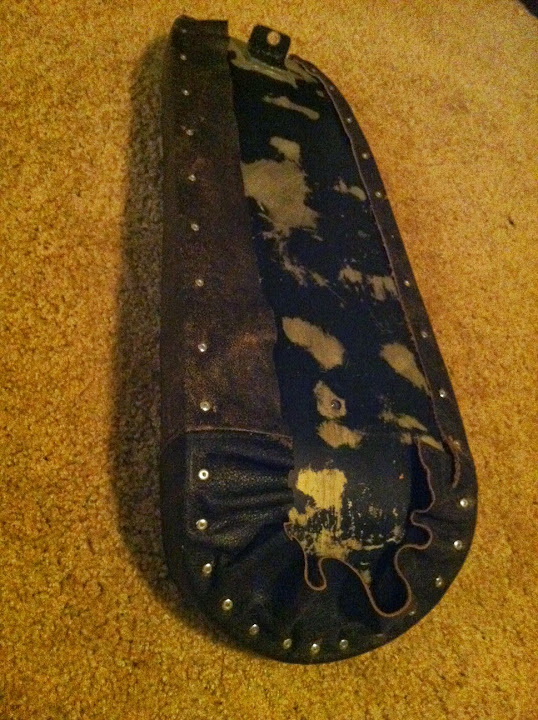
I worked my way around the seat, pulling everything tight.

photo%25203.JPG


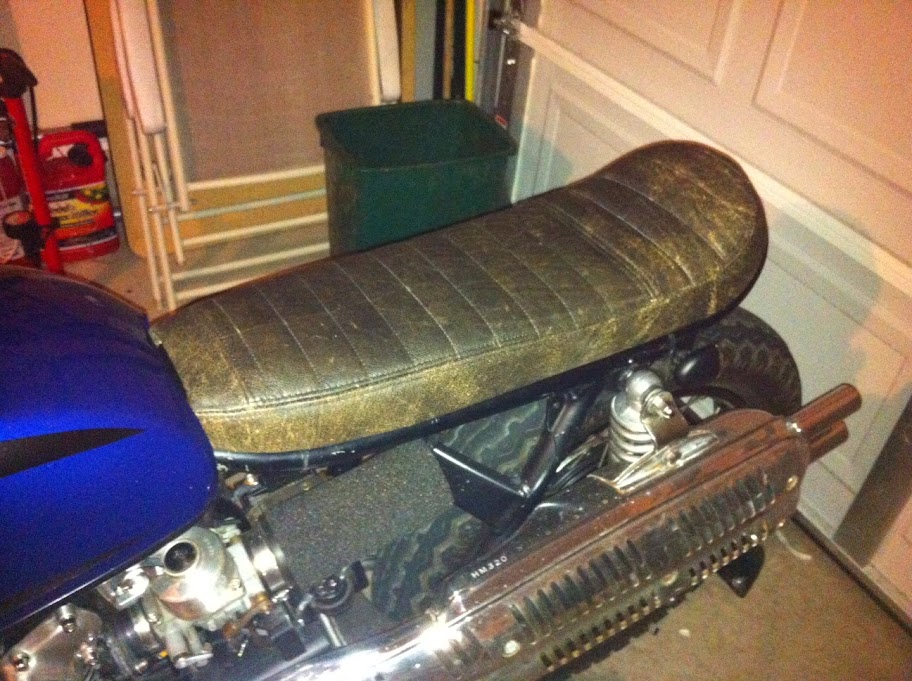
I trimmed the excess leather off of the bottom and installed it on the bike.
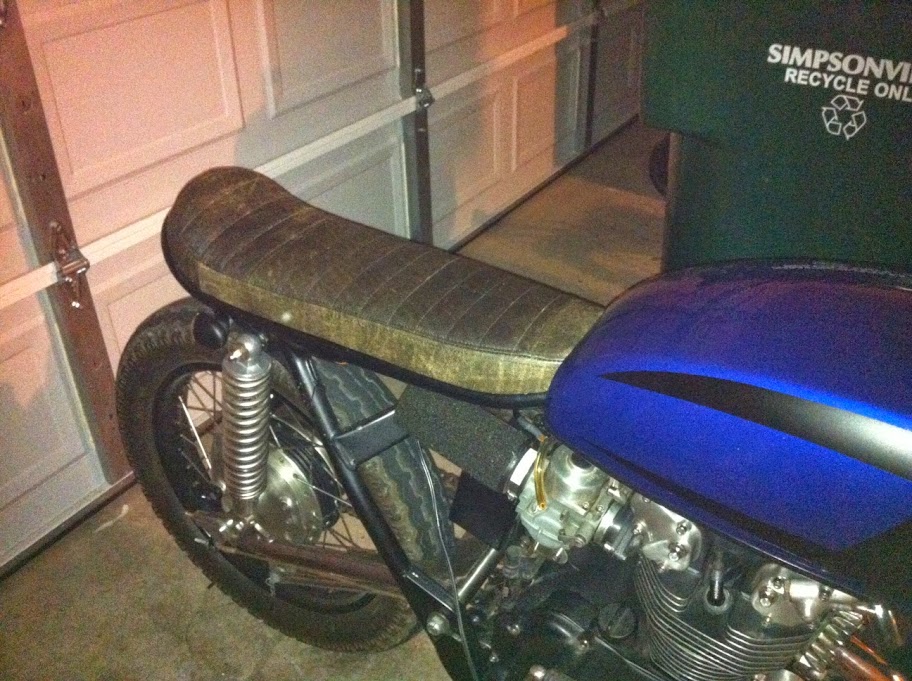
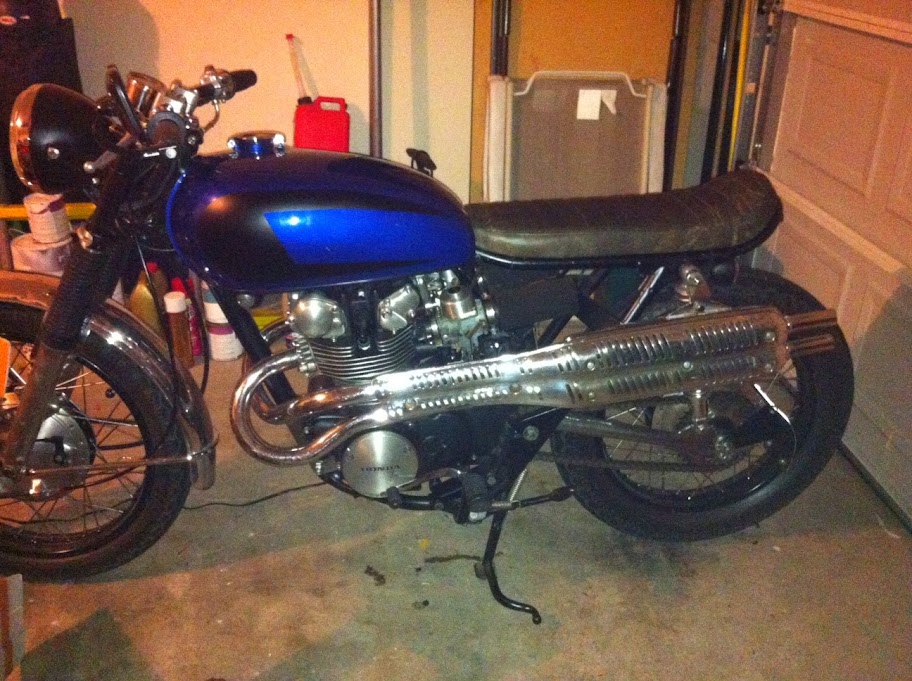
Success!

photo%25204.JPG


photo%25201.JPG


photo%25202.JPG


The leather is actually fairly dark, but the camera flash makes it look lighter in these pics.

I still need to glue down the leather on the bottom and then repaint the bottom black, but it is basically done.

Finally, ready to ride.
 
Wooohoo, nice work. Rub it with mink oil and it will last a while. That is what the guy I bought the horse hide from told me. they use it on Horse saddles and tack.
 
Mink Oil or Neatsfoot Oil, both easy to find at saddle/western shops.
About a month after oiling, some scotchguard will help protect it a little.


Looking sharp!
 
Both of those will degrade the leather. I would use Sno Seal.

Looks great Flug!
 
Back
Top Bottom