Project Shinjimei- 73 TX500

Re: Project 3 the Hard Way- 73 TX500

2012-01-31220950.jpg
just another look at the head I'm planning on using. With the better light, you can see one of the stuck valves, plus the broken spark plugs still in the holes. I dropped it off at the machine shop this morning, along with a spare clutch cable to have shortened. I'll get a cal in about a week if they were able to fix the head or not. If not, I'll be looking for a later, one- piece head.
 
Re: Project 3 the Hard Way- 73 TX500

Good to see you back in action, I need to update my xs500 thread too.
 
Re: Project 3 the Hard Way- 73 TX500

My oil filter adaptor showed up today! Can you spot the difference?
2012-02-02172119.jpg

I have to admit, I was a little scared when I opened the package, because without a side-by-side comparison it's hard to see. It's maybe an 1/8th inch bigger in diameter, and the threads are only 2mm smaller. But it is what I was after!
Also, I found a beat-up 2 into 1 header on Ebay for $100 with free shipping. I would much rather buy something thrashed because I plan on cutting it up, anyway. After I saw the Wrenchmonkees XS500 I knew that THAT was what I wanted my exhaust to look like. So that's what I'm doing.
 
Re: Project 3 the Hard Way- 73 TX500

This is what I have in mind for the exhaust. Mine will just be black. My 2-into-1 rusty header should be on it's way to me. After I chop off the original megaphone and strip the rust off, I'll see if I can mount an old Supertrapp.
XS500_18.jpg

Yes I know, I wanted high pipes, but plans change.
 
Re: Project 3 the Hard Way- 73 TX500

I heard back from the machine shop today. The good news, is the broken spark plugs have been extracted. Bad news? ALL the valves are stuck, and my trip to the solvent tank ruined the valve seals. I suppose that isn't too big an issue, since the motor in the bike is still a good, complete runner (barring the crack in the head and the broken exhaust stud). I just hoped I wouldn't have to do that. But beggars can't be choosers. The head isn't cracked, and all I have to do is move the good valves and seals from my bike to the new head, and bolt the sucker on. Once I figure out how to remove the old head without ruining the cam chain.....
 
Re: Project 3 the Hard Way- 73 TX500

You grind the master link which is either a different color or the rivets will look slightly different.Grind the mushroom of the rivet off and press it out.You will then need a new rivet.If you look around you can find them cheap.Do not buy one of those $45 links! Also loosen the chain tensionioner nut,push the tensioner down to release the chain tension, and snug the nut up with the chain in the loose position.Do that right before you pull the link out.Also you can find aftermarket viton seals very reasonable,and they are WAY cheaper then OEM.
 
Re: Project 3 the Hard Way- 73 TX500

Thanks for the insight! My manual says the same thing about the tensioner, but there aren't any pictures to show where it is.... Or even a description. It should be obvious, I know, but as you could probably surmise from my handle, I don't work on four-strokes that often. Do I need to remove a cover to find the tensioner bolt or something? Also, the manual mentions "Yamaha special tool" such and such to remove and replace the link. Can I just use any old chain riveter?
edit: nevermind on the tensioner- I read a little further ahead in the manual and found it. And that's also where the manual specified how to replace the link. Duh! I toopid!
 
Re: Project 3 the Hard Way- 73 TX500

Alright, the weather hasn't been super cooperative in regards to working on the bike, but I have slowly been procuring some necessary items. I'm waiting on a head gasket right now, and after I receive it, I'll at least be able to remove the old head and install the new one, even if I won't be able to reconnect the cam chain. Valve seals are installed, I just need to hit the sucker with a wire brush to remove the deposits from the combustion chambers. (the valves are unstuck and moving free, now.) I'm toying with the idea of painting the head black before I install it, but I'm not convinced it'll go with the look I want. I was just going to paint the cam cover initially.
The only cam chain link I found was 55 bucks plus shipping, and I'm hesitant to pay that, no matter how rare it might be. It's just a master link! A tiny little piece of hardened steel, not gold! If anyone has info on where I can get one cheaper, I'd appreciate it.
Oh, and my fiancee and I found out she's pregnant! Completely off topic, I know, but it's super good news. We really didn't plan on it, and the timing is a little off, but who's ever ready, right? Cash will be even tighter, but it's all worth it. Maybe I can pass this sucker down to my kid, if I ever finish!
 
Re: Project 3 the Hard Way- 73 TX500

Genius ideas in my sleep! Random, unnecessary, little details having nothing at all to do with the big problems I'm having with the motor, but so cool I had to share!
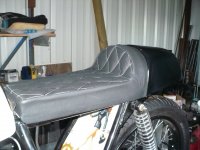
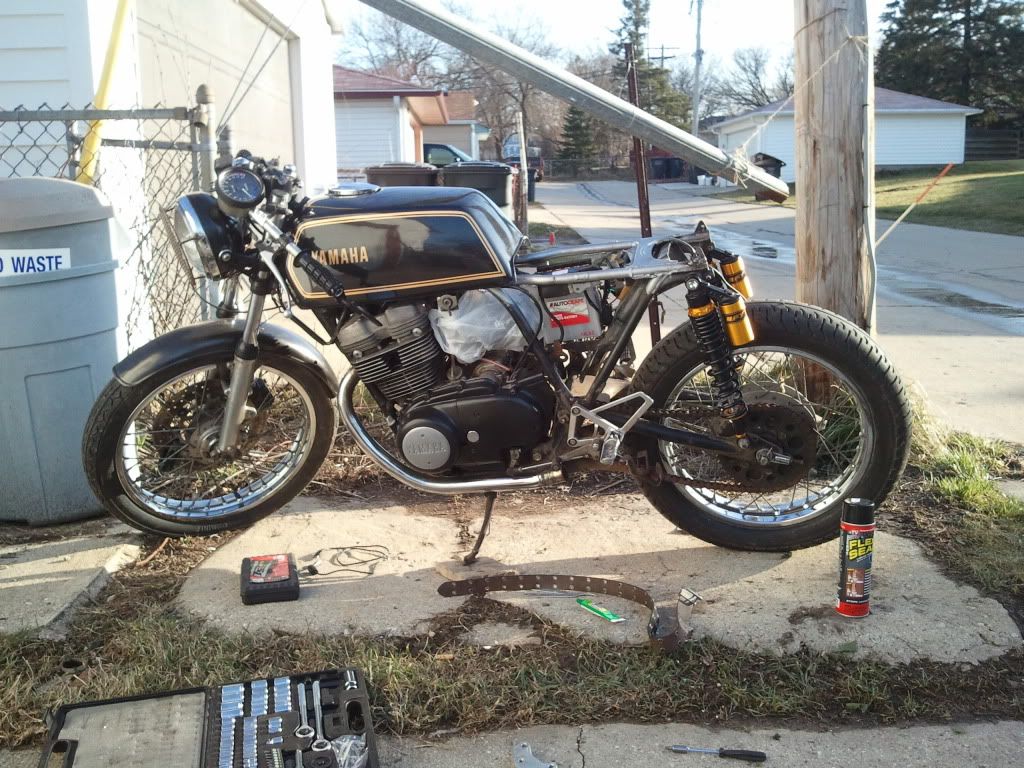
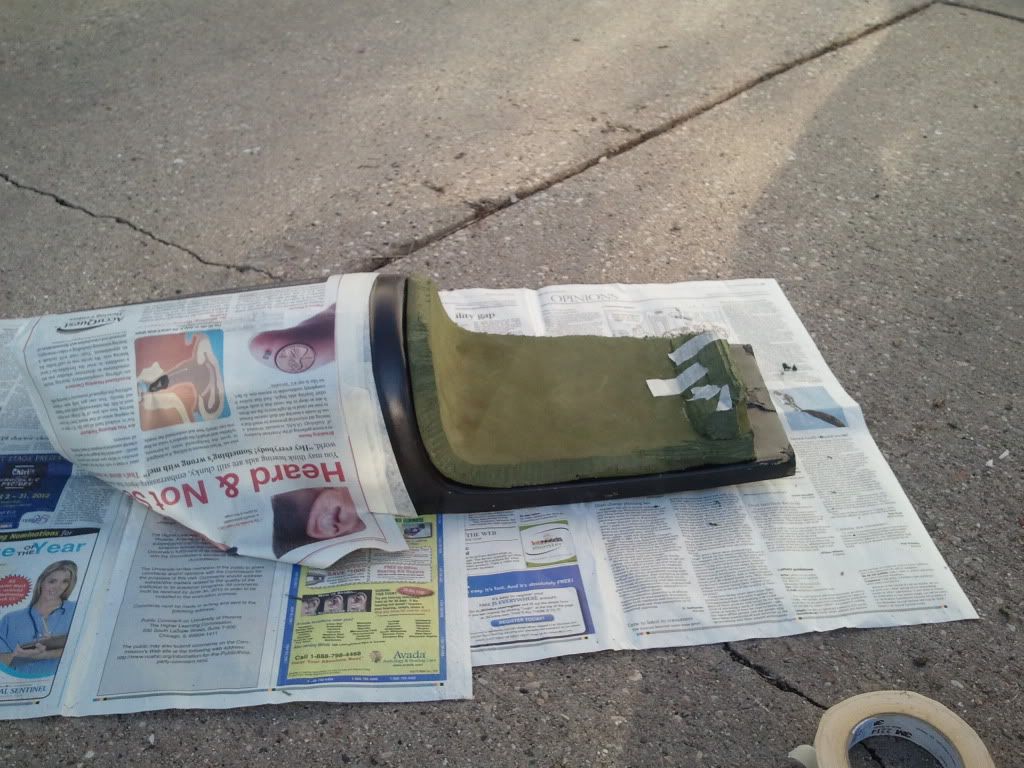
I've been wracking my brain about how I was going to cover my seat, since I don't have a sewing machine, and I'm not really good with one anyway. In my dreams, the answer came to me! I bought a bottle of Flex Seal (the stuff on TV) to fix my rabbit's litter box (galvanized steel that rusted through) and it occurred to me after using it, I can just shape the foam, and spray it with Flex Seal! The stuff goes on like spray paint, it's flexible, and clings like nothing I've ever seen. I couldn't even grind it off from the area where it oversprayed. It's waterproof too! Perfect to cover a motorcycle seat with. It even has a nice, textured look. All I need to do is mask off the areas I don't want covered, and spray away! So simple it's genius.
Also, I came up with a good idea on how to plumb in an oil cooler. The back of the head on these bikes has an external oil feed line that attaches on both ends like a banjo bolt. I figure, why not actually use a pair of banjo bolts, with barbed fittings, and run the cooler lines right up the back, over the head, and to the middle of the frame, in front of the motor? That will keep them nice and tucked, out of harm's way, and still allow me to cool the oil going to the head. It may even be an advantage over cooling the main oil feed, since the cooling will be more localized to the head. It will also give me about a half quart of extra capacity.
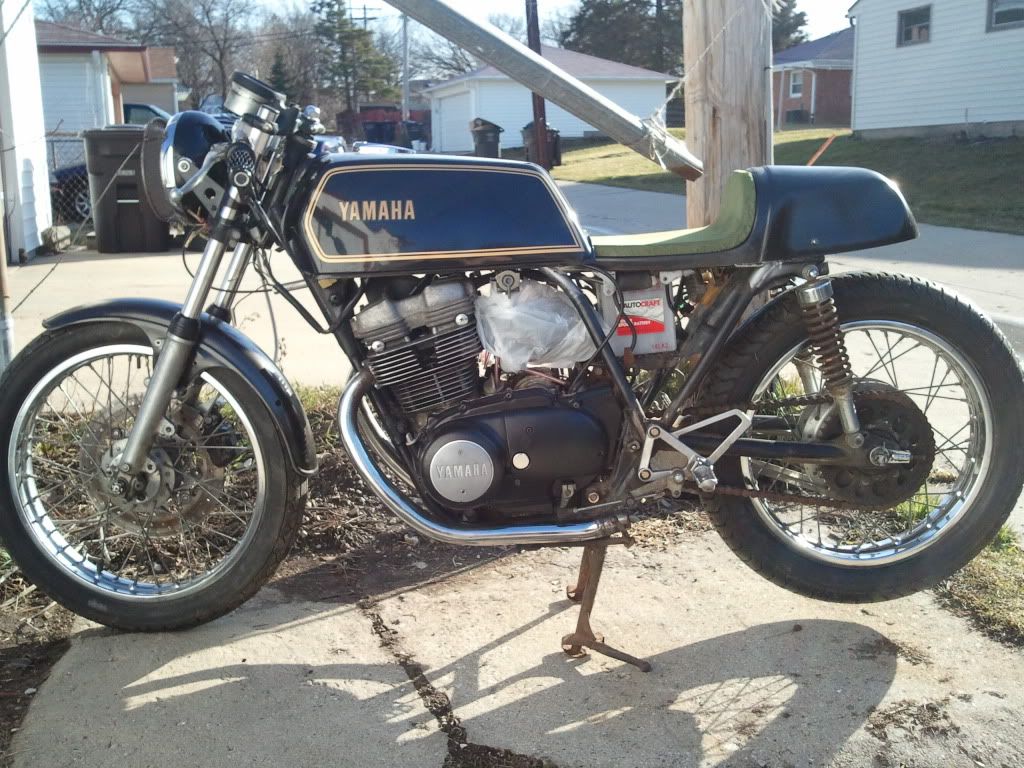
Oooooh yeah, I can't forget- I am going to try and combine my two ideas for the seat hump. I love the look of the Ducati style seat, but I still want a reserve tank there. So I'm going to hide the Bennelli tank under the Ducati seat. Benefit being, I don't have to do any body work on the Bennelli tank. Plus I still get my extra range. I'll just nestle it down low enough that it fits under the fiberglass cowl. Clearance won't be an issue, since I'm raising the rear end 4 inches.
Alright, I'm done ranting now. Carry on!
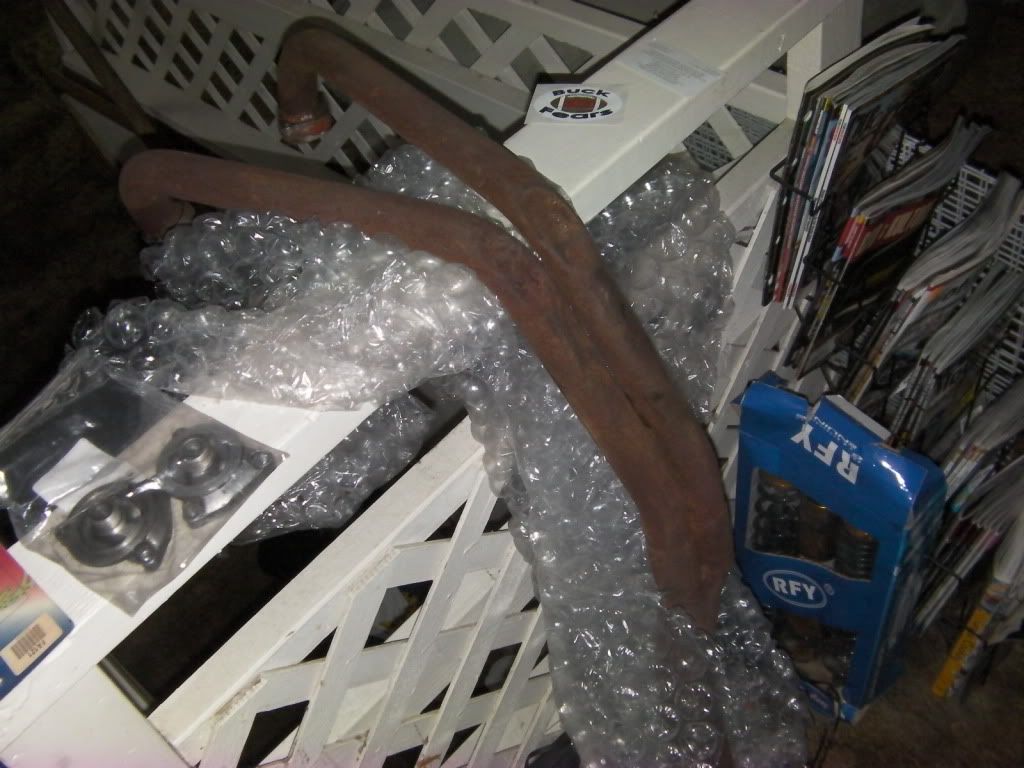
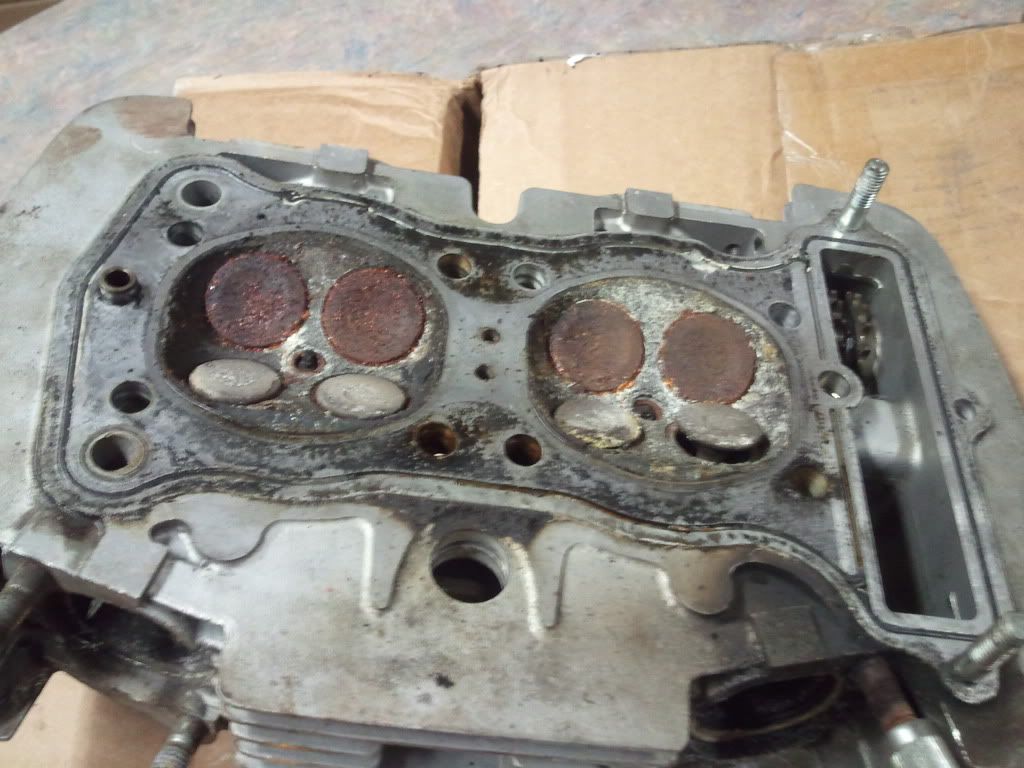
 
Re: Project 3 the Hard Way- 73 TX500

HA! Its A Handy Man, In a CAN! Good Idea!
 
Re: Project 3 the Hard Way- 73 TX500

Two-Smoker, my name is Travis and I own Iron Spade Cycles. I build a lot of Yamaha RD350's and other two stroke road bikes into cafe's. I too am building a TX500 right now for a client. I don't suppose you'd want to do a little horse trading of some engine parts for maybe a leather seat cover for your Ducati seat? Something like the one I did for Marty Mc Fly's CB350F I built last year? Hit me up, maybe we can work out a deal. Here is a picture just to jog your memory...

I can be reached directly at ironspadecycles@hotmail.com Thanks buddy. Talk soon Travis
 

Attachments

  • seat tank 005.jpg
    seat tank 005.jpg
    573.2 KB · Views: 346
  • she runs 020.jpg
    she runs 020.jpg
    523.3 KB · Views: 335
Re: Project 3 the Hard Way- 73 TX500

Travis; I don't know what engine parts you need, but I have to say, I am in short supply. I've got a right side cover with some damage, and 4 exhaust pipes, and my head with the broken exhaust stud. Everything I've got that I don't need personally is in pretty rough shape. I mostly got rid of most of my extra stuff last year, to the local cycle salvage yard. They do have some complete late model XS500 engines there, though. It's Milwaukee Cycle, previously Milwaukee Cycle Salvage, under different owners. I'm sure they would be more help than me.
 
Re: Project 3 the Hard Way- 73 TX500

I really just need a valve cover, as one of the little ears snapped off from the over tightening from the previous owner. I will most likely just weld on a piece of aluminum and drill a new hole but if I could find one that someone would let go of for cheap that would still be easier. No worries, if you decide you want a regular seat cover let me know. I'm not a professional upholsterer but every seat cover I do is in leather with a foam backer stitched in. A few more jobs and I'll justify buying a $1200 walking foot upholstering sewing machine. Truth is I probably have 3-4 more seats to do this year so the machine really will be necessary just don't have the cash at the moment.

No worries. Tanks for the reply. Later Travis
 
Re: Project 3 the Hard Way- 73 TX500

Hey, no problem, and the seat on that 350 is pretty good work.
 
Re: Project 3 the Hard Way- 73 TX500

SANY0008.jpg


I just wanted to post a pic of my first cafe racer. It's the blue Suzuki in the front right of this picture. I built the little GT380 starting in 1995. This pic was in '98, about 2 years before I actually considered it "finished". I rode it until 2001 when I had my right index finger mangled in a machine at work, and couldn't ride for years. It was "stolen" by a co-worker who intended to buy it, but never paid. I admit, it's a crappy pic, but it is the only one I have. The final iteration had no fairing, but mostly looked the same, including the super-long shocks. I made my own rearsets with "GP" shift, laced a 17" rim to the stock hub up front, ran a Yamaha Radian swingarm, and had a CBR1000 master cylinder for the original front caliper, with braided steel line. The forks were reversed, with the caliper behind the forks on the left instead of on the front on the right and I ran clubmans. Front rotor was drilled, and I had a Boyer ignition, and Wirges chambers. I also made my own guage setup, with a little 2" electronic tach for an automotive v6 application(which only worked because, the Boyer ignition fires all 3 coils at once) and some micro LED's. I kept the original gear position indicator, because I thought it was cool. Oh, and the Lucas tail light. Sounds pretty standard now, but I did this in the 90's. Ah! Memories.... I still have the title! The only thing I wanted, but never got to do, on this bike is the Ducati style seat I'm using now. So that's my little homage to my lost little smoker.
 
Re: Project 3 the Hard Way- 73 TX500

I got lucky and found one on Ebay. It's an old Yamaha factory part, made originally as part of a kit to use a newer Yamaha filter, after the original filters were discontinued. It's been long discontinued, as well, so the only way to get one is to find a used one, or maybe if an old dealer had some still sitting on the shelf. The guy selling it had just pulled it off a junk motor, and don't know it didn't come that way. It happens to fit a filter for Hyundai V6's, Fram number PH6607, but it was designed to use the filter for a newer model 4-cylinder Yamaha. The problem with that, is the filter it uses required you to remove the generator cover to fit or remove it- whence the Hyundai filter.
 
Last edited:
Re: Project 3 the Hard Way- 73 TX500

SANY0002.jpg


Showing fitment of the new head gasket. I'm kind of irked that it was shipped in an envelope instead of a box, cuz it got bent in shipping. Hopefully I can still use it.... As you may notice, I have not cleaned the combustion chambers yet. I'm waiting to do that at the same time as:
SANY0001.jpg


Here is a quick shot of my new rusty 2-into-one as well. I'm going to strip the rust off with my die grinder and wire brush, and chop off the original megaphone. After I paint it high-heat black, I'm going to either fit the old Supertrapp off the Hurricane 600 I've been pirating parts from (preferable), or get a reverse megaphone (if the Hurricane has been scrapped already). Since I've removed the passenger peg loops from my frame, I'm also planning to hang it from one of the tabs for the centerstand (which is getting removed anyway). One less tab I have to cut off.
 
Re: Project 3 the Hard Way- 73 TX500

Tired of dodgy updates with no real progress? So am I! So here is a little something new. Parts actually getting put on the bike!

2012-03-13172546.jpg


New shocks installed. For comparison :
2012-03-13164246.jpg


This is only moments earlier, with original shocks fitted. Note the air gap under the back wheel. Now, the centerstand no longer reaches the ground. This, of course, brings up new problems. The side stand is now too short as well, and the chain rubs on the top of the swingarm. Oh, and the gas tank is tilted forward do far the petcocks are no longer at the lowest point. Easy enough to fix, but the shocks were only supposed to be an inch longer than stock. So.... Unexpected. Oh well. They look cool.
You may also have noticed the seat removed in the "after" shot, as well as the can of Flex Seal on the ground in front of the bike. Reason?
2012-03-13172557.jpg

Booyah! Getting ready to spray on the new cover. Once the glue dries on the built-up piece at the front, we'll see if I'm a genius, or just crazy. I'm going for the former. ;)

And last, but not least, version 3.0 of my caliper adaptor to fit a Honda Hurricane 600 caliper to TX500 forks using an FZR600 rotor. The result?
2012-03-13173026.jpg

We have a winner. The prize is a new set of EBC pads. Woo hoo!
 
Back
Top Bottom