Project Shinjimei- 73 TX500

Oh, yeah, I'm really looking forward to laying down some color. I've got the materials to spray the frame, but I want to finish up the motor work before I pull it out to do the job right.
I'll probably leave the tins black this year, since I'm blowing all my money in Disney with the family right now. Lol.
 
Sweet man should wire and bolt right up ! I did have to take a small file on the outside edge the main plate to help seat it snug, not much just a hair. On mine after hooking everything up went to fire it up and would just backfire . Just needed to go a 180 on the cam to get it right and set the Adv in the middle and fired right up . Good luck and cant wait to see a update !
 
Completely unrelated, but I also read on the TX/Xs500 forums that the 6-speed trans from the RD350 and 400 well fit in this motor with very little work... Looks like a new item on my wish list!
 
If you could please post the info you come up with would really like to see how that would work .
 
Link to the page I found is http://www.xs500.proboards.com/index.cgi?board=general&action=display&thread=66&page=1 . The fella says the trans from the RD and the TX/XS500 are nearly identical. The 350 has the same ratios 1st though 5th with an overdrive 6th gear on top(what I want), the 400 has the same first gear ratio and sixth is the same as the 5th on the 500, meaning it's a closer-ratio box (what a racer would want) The cases need to be clearanced internally slightly (about 1mm, a five minute job according to said gentleman) to clear a gear, and there is debate over wether the tach drive will work... But an electronic tach (like an Acewell gauge) negates the need.
 
2012-05-25164234.jpg

Haven't got too far with the ignition yet.... But I did get the oil filter adaptor and Autolite 6607 filter fitted, as well as the shortened clutch cable. While I have the cover off, time to drill some holes!
 
2012-05-28165146.jpg

Just a little something I decided to do on a whim. Turns out the screen I picked wasn't quite big enough to cover the entire whole, but I'm not too concerned. Once I paint the cover again, it shouldn't be too noticeable. And if it is, Shinjimei! lol.
Started on the ignition install as well. Got the rotor and pickups in, just need to get on all the wiring. Hopefully, that won't be too difficult, but after all the stuff I've removed, I'm sure it'll be a bear...
 
Alright, so I've been reading a lot of other build threads, and I've come to the conclusion that I've made a few errors. My shocks are too long, my front end is too low. Direct and to the point. The front end is an easy fix, I need to poul the forks out to install the seals, so I'll just not push them down so far. The shocks.... Might get weird. I really REALLY like these shocks. Do I don't want to swap them for anything shorter, unless they're the same shocks (but shorter). Maybe I'll just relocate the shock mounts to lower the ass end a bit....
 
What size shocks are they ? Stock ones are around 12 + inches and i believe you dont want to add more then a inch to that . Also im running my front forks at a inch down from the top any more and the bike might get lil crazy at speed . See if that works for you befor picking up new shocks or making new shock mounts !
 
Hmm. My stock shocks measured 14". These are 16". (I've verified by holding the old shocks next to the new ones that there is a 2 inch difference) I really wanted to get the rear end as high as I could, I just had no idea when I got the shocks how long I could go. The chain went slack, and it rubs both the top of the swingarm, and the top of the motor mount bolt that's under the filter/sprocket cover. If I drop it an inch, it'll take care of both issues.
When I built my GT380 I ran shocks 3" longer than stock with no issues. I guess I got lucky with that bike, but I did run a Radian swingarm on it, which was an inch and a half longer than the stock one...
As far as the front goes, I have the forks pulled up as far as possible without bottoming on the lower tree at full compression. They will not be staying there, I just wanted to see what it would look like. I have to do the fork seals, anyway. (if I had some extra cash, I'd buy a modern front end- maybe an R1 inverted-and another Radian swingarm. Maybe some time down the road.)
 
I realize I've been a little lackadaisical... But I will have new updates soon. Thanks.
 
IMAG0017-1.jpg

Yes, I am still working on it! This is my new cylinder head, ready for install.... I swear, I WILL have more updates soon.
 
Finally, something with some substance!
IMAG0019.jpg


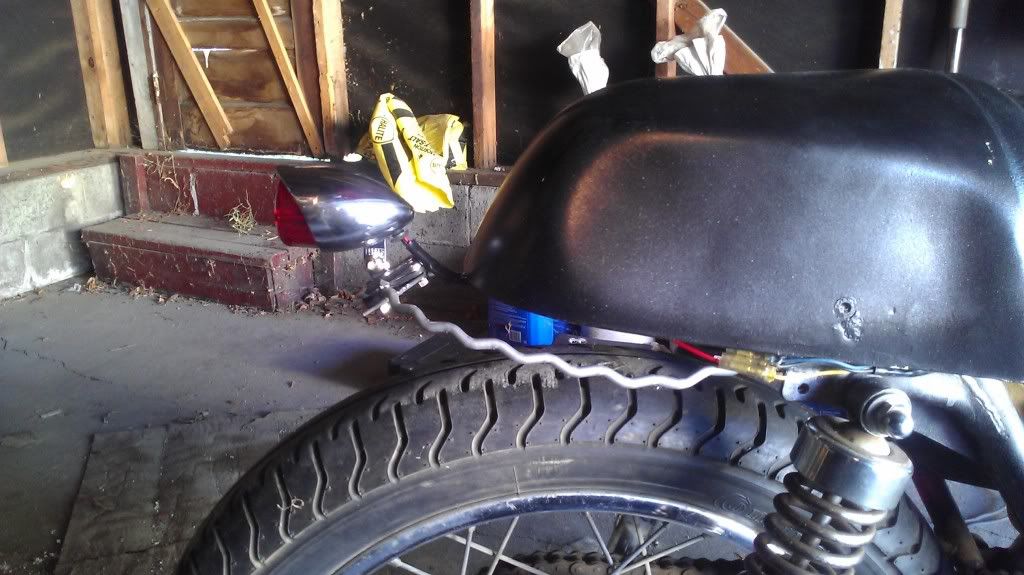
Here you see my temporary solution to mounting the taillight. With the bike sitting at its current height, I couldnt put it where I want it, but once I get the back end lifted to where I want, without interference, I'll make something permanent.
IMAG0021.jpg

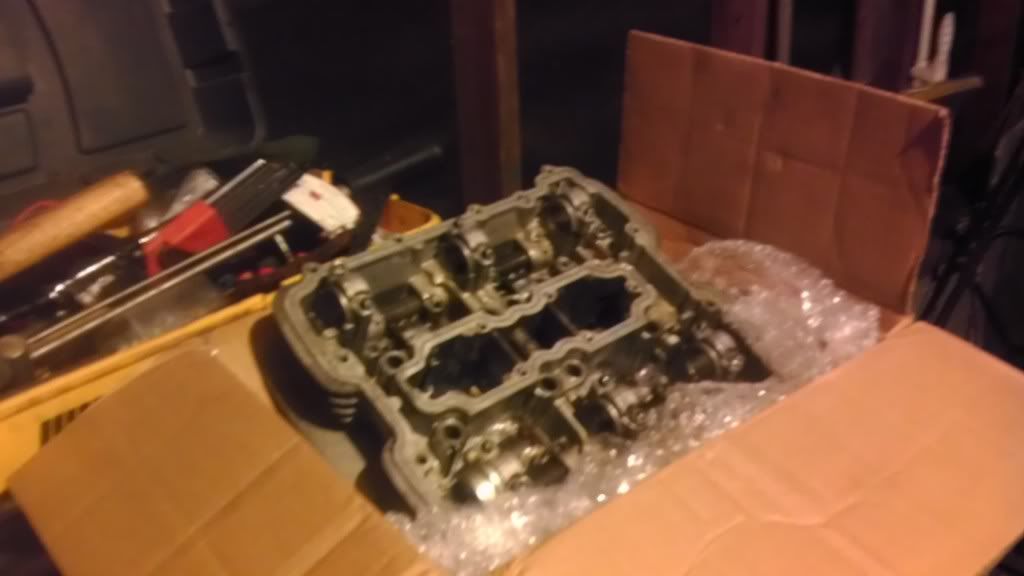
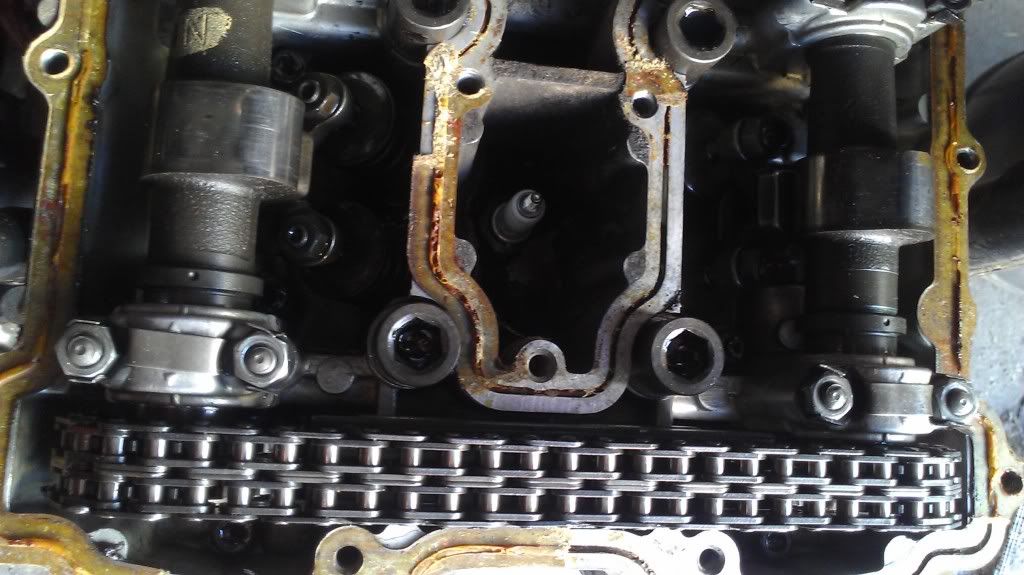
Here you see my cams and chain exposed, with the TDC timing marks aligned. I easily found the joint link with them incu this position, but something didn't seem right.... Upon further investigation I found that the timing marks for the ignition didn't match up with the timing marks for the cams.
IMAG0018.jpg

This is how the timing should look, as the marks indicated the right cylinder was at TDC. Instead, with the cams aligned, I found...
IMAG0025.jpg

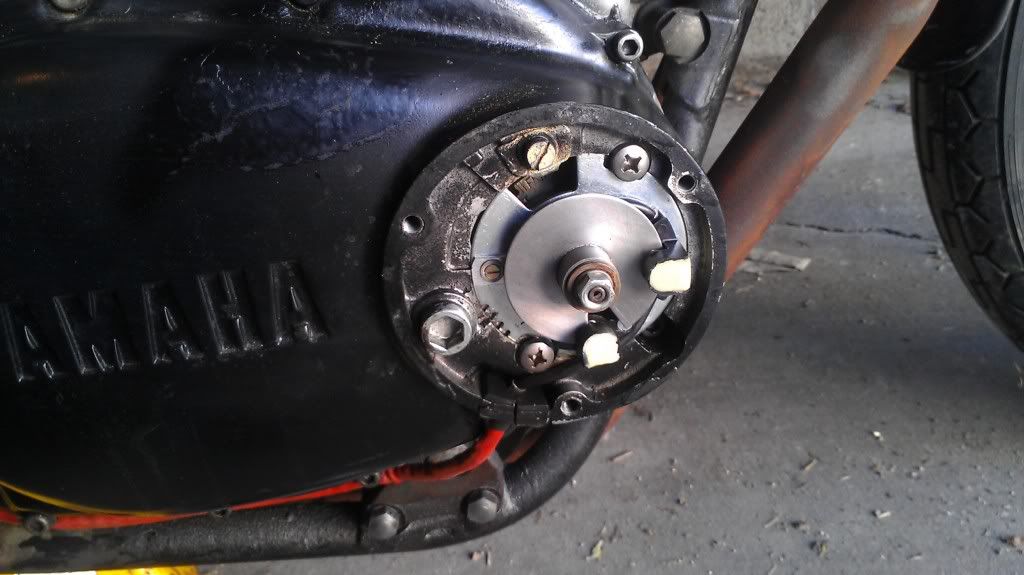
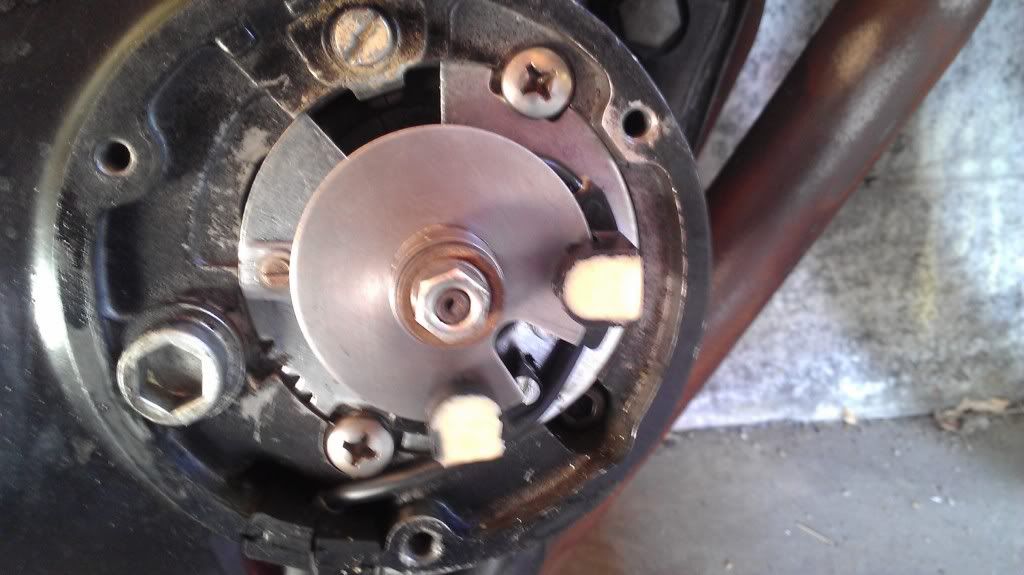
The ignition timing actually looked like this.
I am 100% certain that someone was in this motor before me, so I can see two things that may have happened, both easily repaired while the head is off.
1) the cams are misaligned with actual TDC and the ignition marks are the ones I should use to time the motor.
2) the ignition drive is misaligned with actual TDC, and I should use the marks on the cams to re-set the igntion timing marks. Tentatively, I'm going to use the cam timing marks, as the ignition didn't seem to jive with compression events while spinning the motor by hand...
We'll see soon enough!
 
Oh , just a quick FYI- I am not dragging this build out because I'm lazy. I am, mind you, but that isn't the reason this is taking its damn sweet time... I've had some serious personal issues this year, and I just want everyone to be aware building a bike hasn't exactly been priority one. I've set a lot of goals for myself on this project that have fallen by the wayside due to outside influence. That is no longer going to be an excuse...
 
Hope all is well for you now man and as far as how long it takes to build a bike it comes done to your time not anyone elses !!!
My father build a old TR3 and when he pulled it in the shop i looked at it and said really dad what are you going to do with that ? Well he said make it mine and went about it the old way talking to people and reading as there wasnt internet around and after 7 years build one of the best TR3s in the area ! He didnt care what others thought a time frame should be he took his time and showed them !!!! So i would say your bike your life your time and F off everyone eles !!!!! keep it man !!!!!!
 
Thanks for the works of encouragement, dreadrock! Actually, my life is a total mess, but I'll survive. That's what i do! I thought of an easy way to determine what's up with my motor, in the meantime. I'm going to take out the plugs and stick a pen down the hole to touch the top of the piston, then spin the motor over. When the pen stops going up, I'm at tdc. That way I can see which marks are misaligned. My money's on the ignition....
 
Take a coat hang and cut a small part of and bend at one end . Take some blue tape or something to make on and marker. Use that to check it so you dont drop the pen in the motor :( Also will let you know that both sides are the same ! Kind of i dont have the right tool for the job so going to make do ;)
 
Well, I wasn't too worried about losing the pen in the motor, since the head is coming off any way, but that is something I hadn't thought of. Thanks again dreadrock!
 
swesome tx mate shame we dont get them for a decent price in aus saw one for sale for 6500 the other day and that was a total tear down job.
 
Back
Top Bottom