Follow along with the video below to see how to install our site as a web app on your home screen.
Note: This feature currently requires accessing the site using the built-in Safari browser.
We noticed you are blocking ads. DO THE TON only works with community supporters. Most are active members of the site with small businesses. Please consider disabling your ad blocking tool and checking out the businesses that help keep our site up and free.
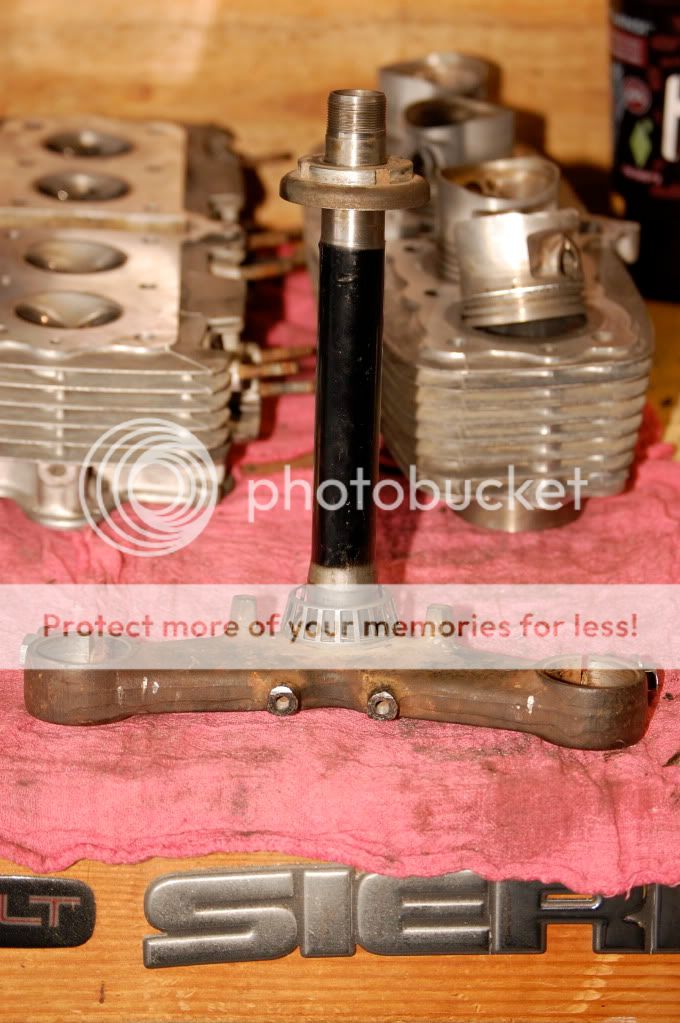
Has anyone pulled their alternator rotor? I bought a gear puller but I dont think thats going to do the trick and the illustration in Clymer manual shows a "t-bar" like tool.
Haven't pulled mine yet, but this seems to maybe answer that question, don't know till I try it out myself tomorrow. I do have a CB360t though, and the motor this guy has is definitely not the same as what I or you are working with.... check it:
That's almost identical to what I bought... How much pressure do you need in order to get that thing off because I felt like I was going to do some serious damage if I kept going?
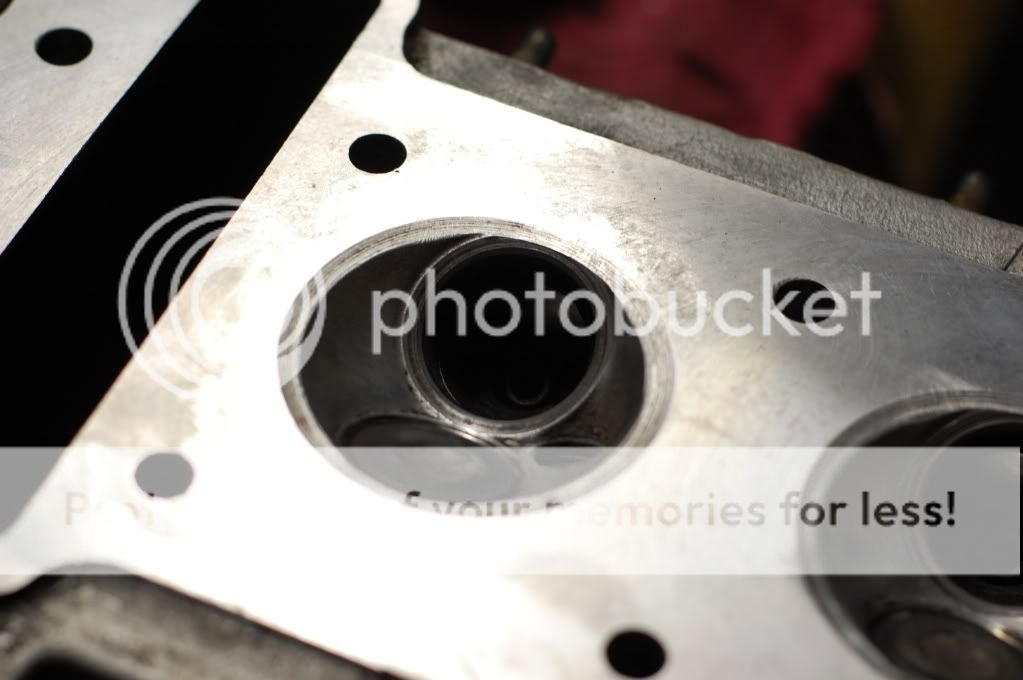
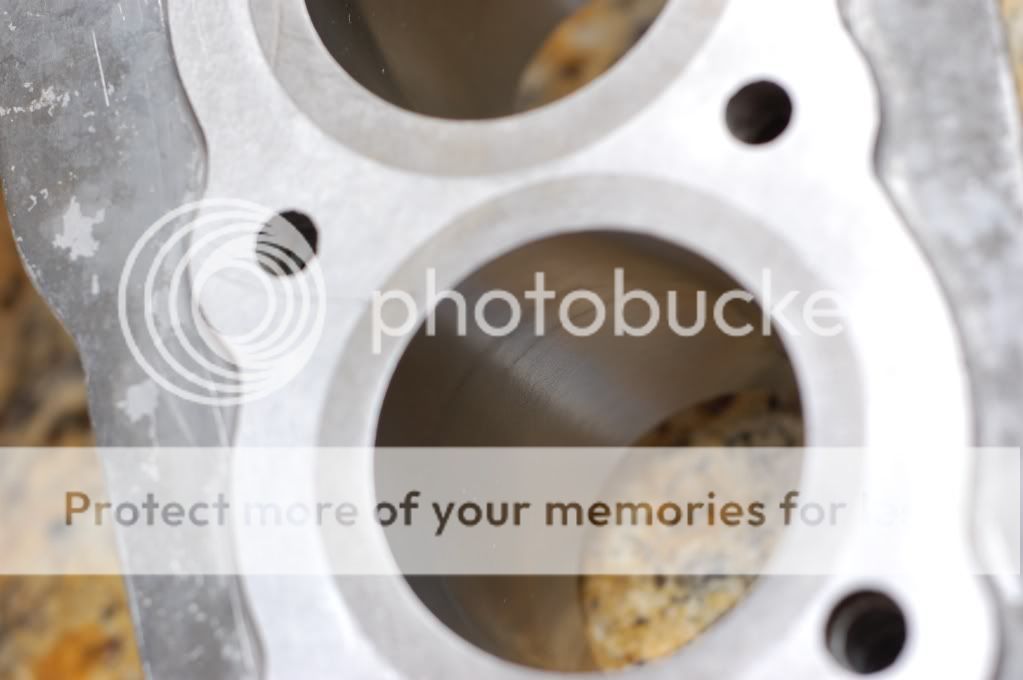
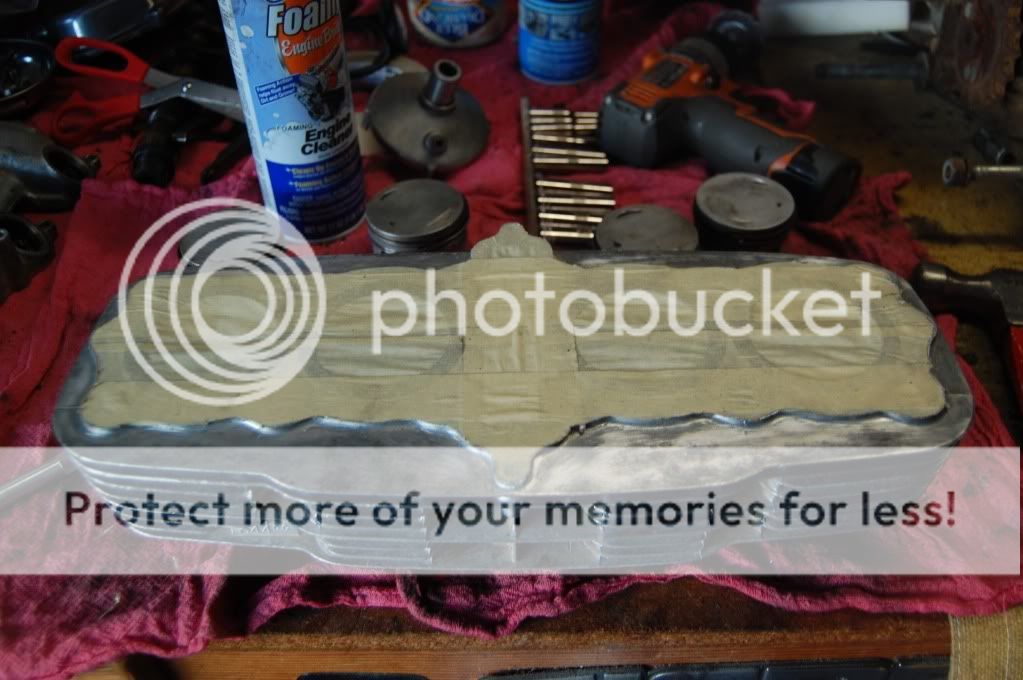
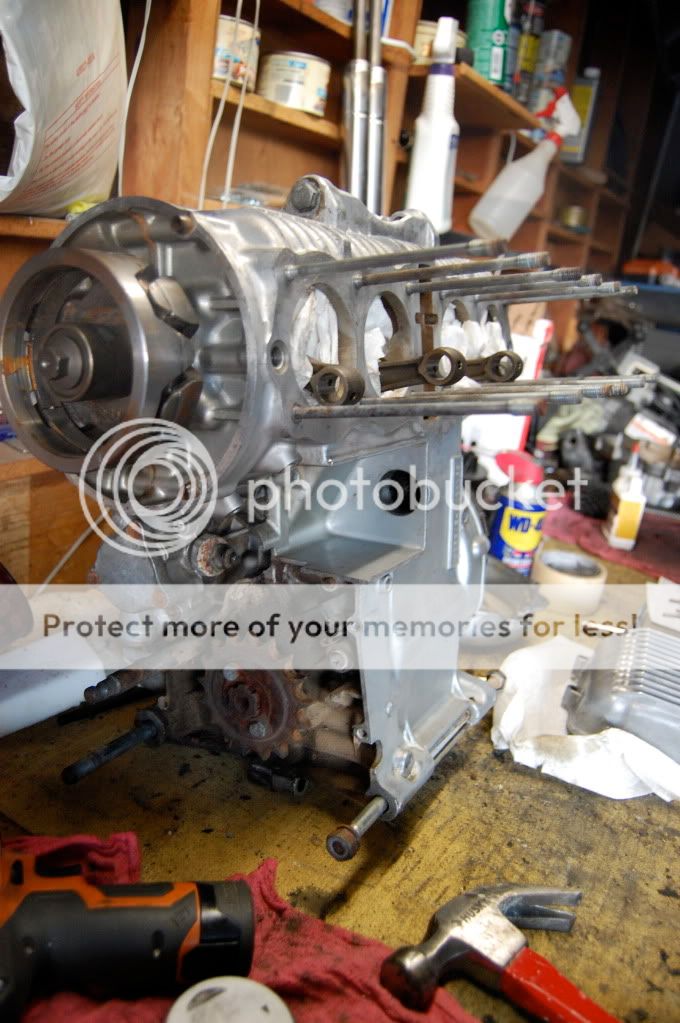
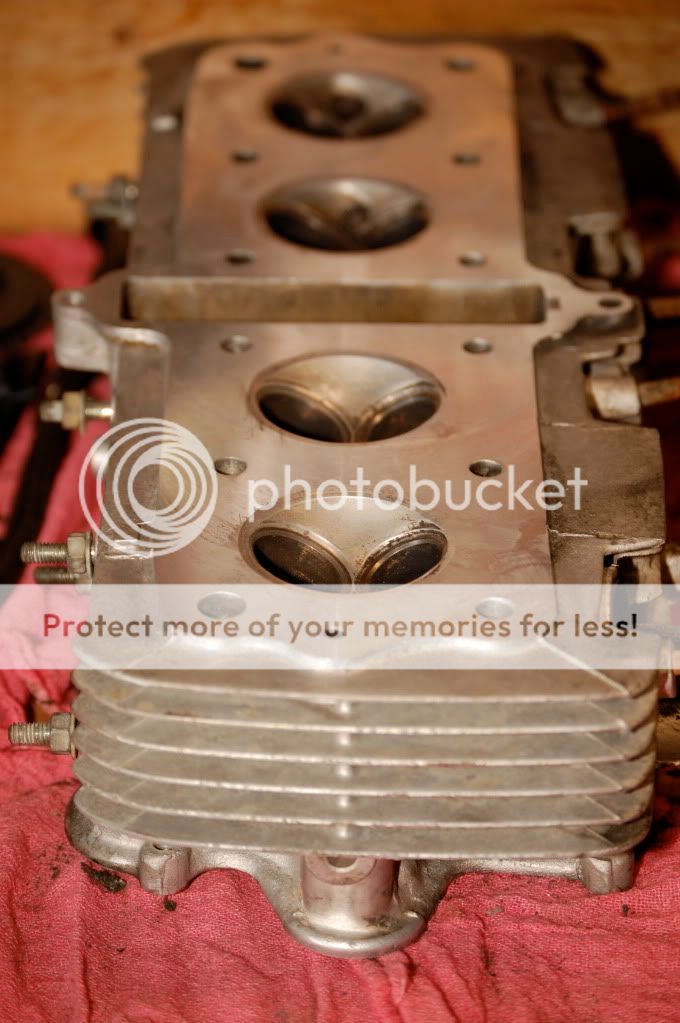
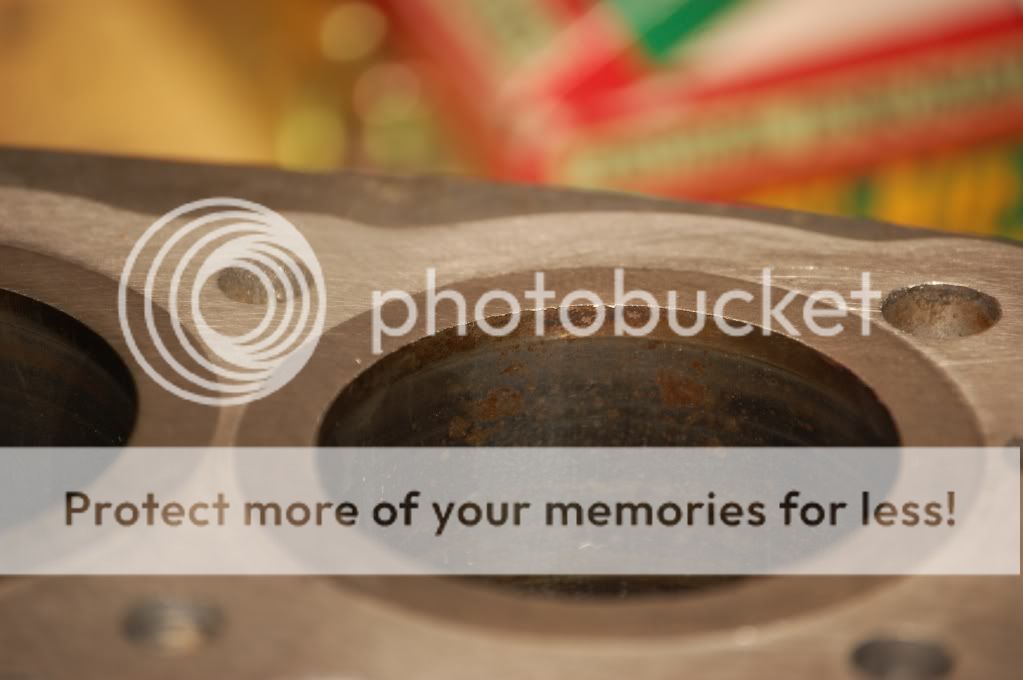
I was able to do some work this weekend however I feel a lot of it might be in vain. My goal was to get the gaskets off the heads. Those bastards are not wanting to leave! Im pretty sure from that alone this is the first time this engine has been cracked open. Im having the most difficulty on the bottom part of the cylinder head. I have tried gasket remover, scraper, I ever started using a wire wheel which, although it got the job done on the cylinder block, is taking more off than I am comfortable with on the head. So... it looks like I am off to the machine shop to drop this off. Anyone know what I can expect to pay for something like that?
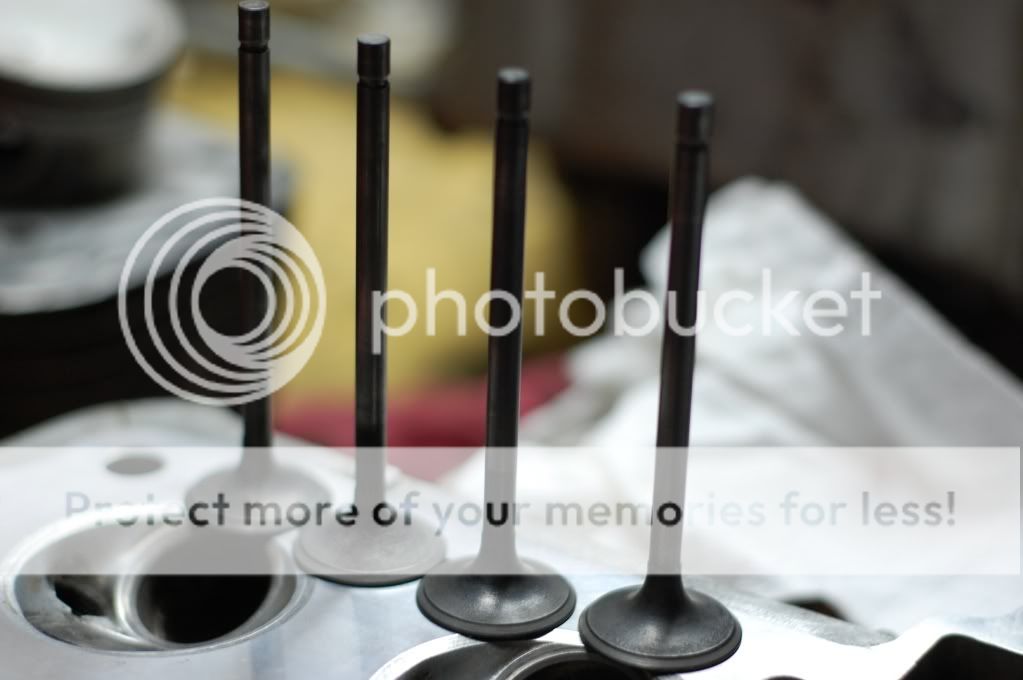
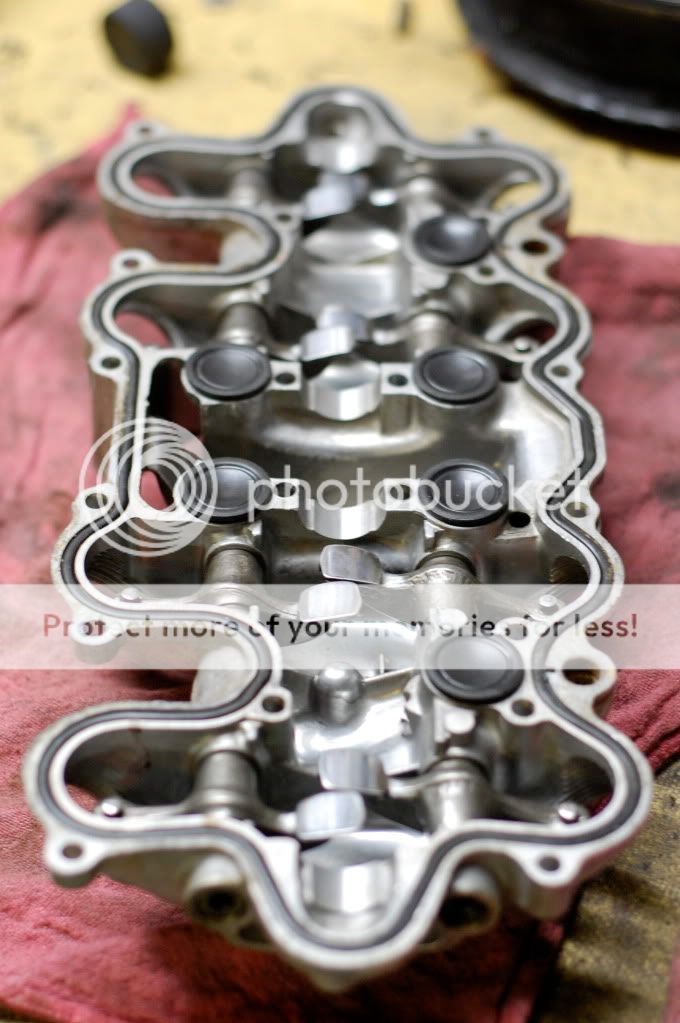
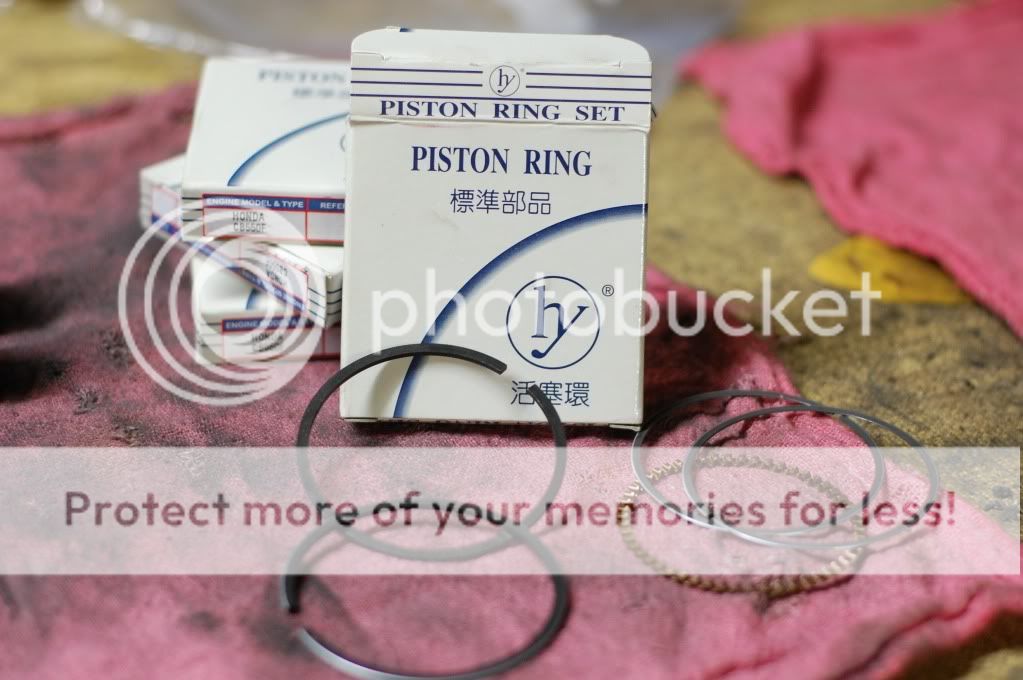
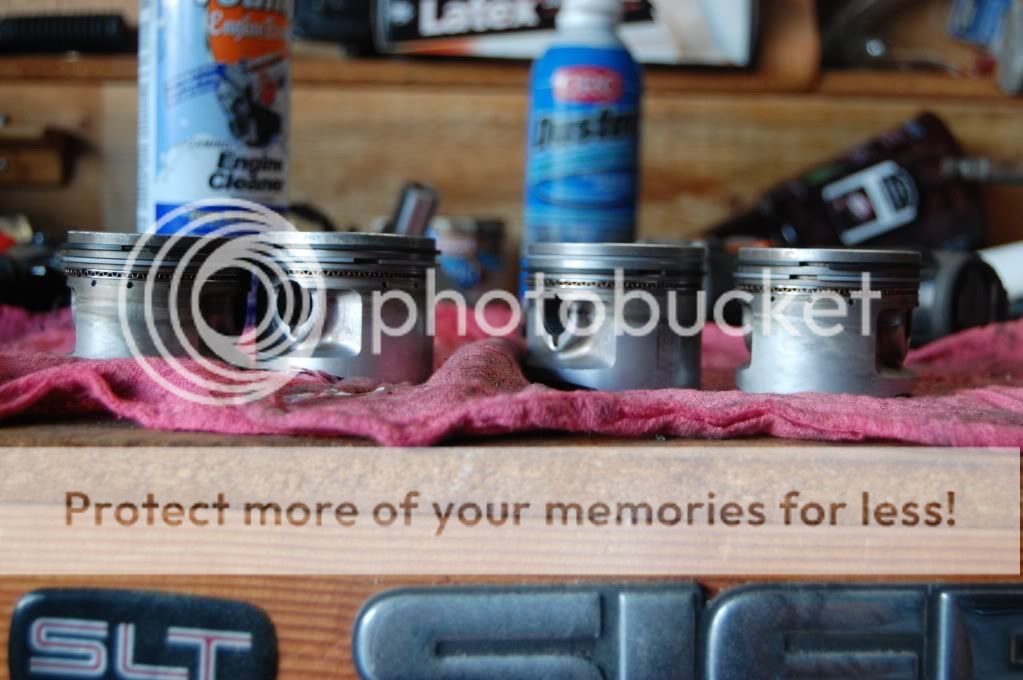
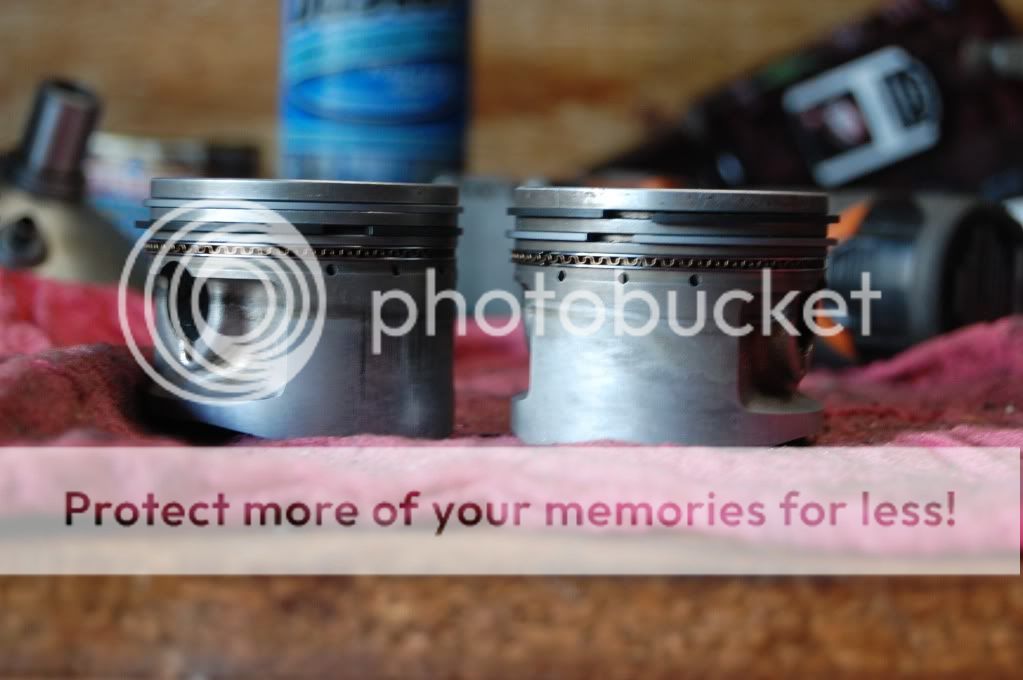
Also, I soaked the valves and pistons in Simple Green and cleaned them up some. The exhaust valves were caked with carbon so I gently put them on the grinder and got most of it off with out hurting the valves. I bought some valve lapping compound so I intend to do that but the intakes look to have a nice seat on them already. I unfortunately snapped two rings while taking them off so all efforts to not have to buy rings (although stupid efforts they may be) are off.
I took some measurements. Here they are:
Cylinder Wear = 2.280 in (limit = 2.307 in) - That's good, right?
Piston Diameter = 2.300 in (limit = 2.30 in)
[I switched my measurements to mm here]
Outer Spring = 39.8mm (limit = 40.04 mm) - How terrible is that?
Inner Spring = uh.... I forgot
Things to do to the engine:
- Flex Hone the jugs
- Machine the head surfaces
- Fit New Rings
- Lap valves
- Prime
- Paint
- Reassemble
I am going to try to make time to pick up the triples this week so I can get the front end buttoned up and build the bars and light hoop.
I havent been able to complete something on this bike for a long time and being as such Im losing some motivation. I have to remember that I wanted to get this deep in to a build and not get frustrated when things dont work out in the time I had anticipated. It's a learning process, right? Well fuck me if this learning this is supposed to take your whole life... what's the fun in that?!
I know your measurements are off somewhere, it isn't possible to put a 2.300" piston into a 2.280" hole.
Valve springs are shot by your measurements, should be bigger than 40.4 or it will be weak and possibly bounce/drop valve.
How did you measure them?
Pretty sure you should take all the parts to machine shop for proper measurements
I have a digital caliper that I was using. I need to get a bore gauge to check the whole cylinder from top to bottom. I just checked the top of the cylinder and the piston was 2.30 at the bottom. The top of the piston with out rings just drops right in so it's def feasible.
I will take a trip to the machinist and see what he has to pay.
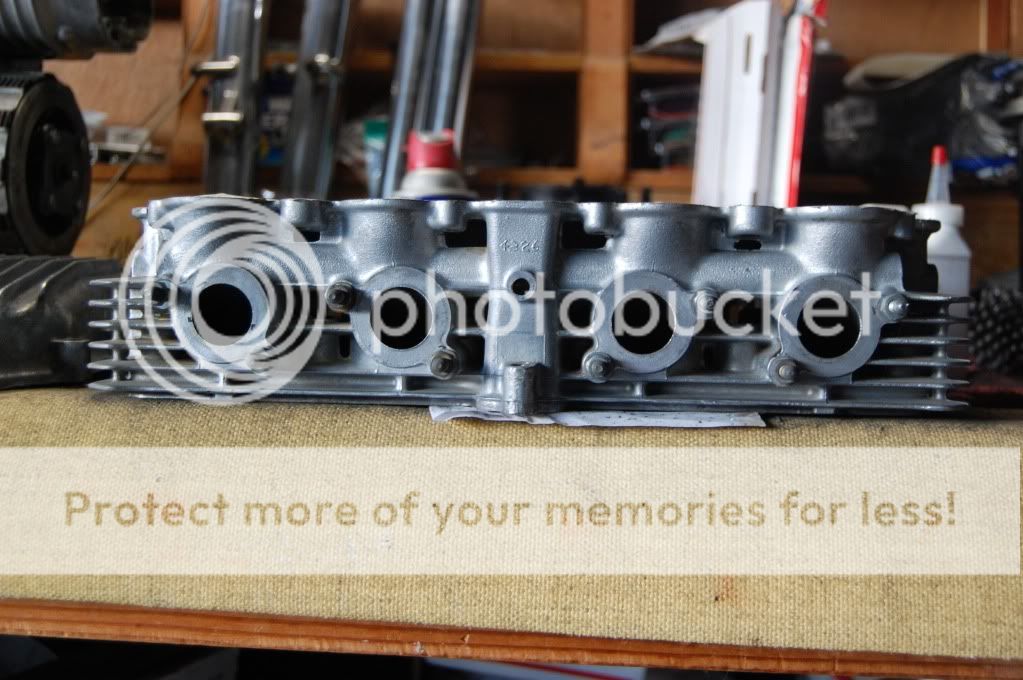
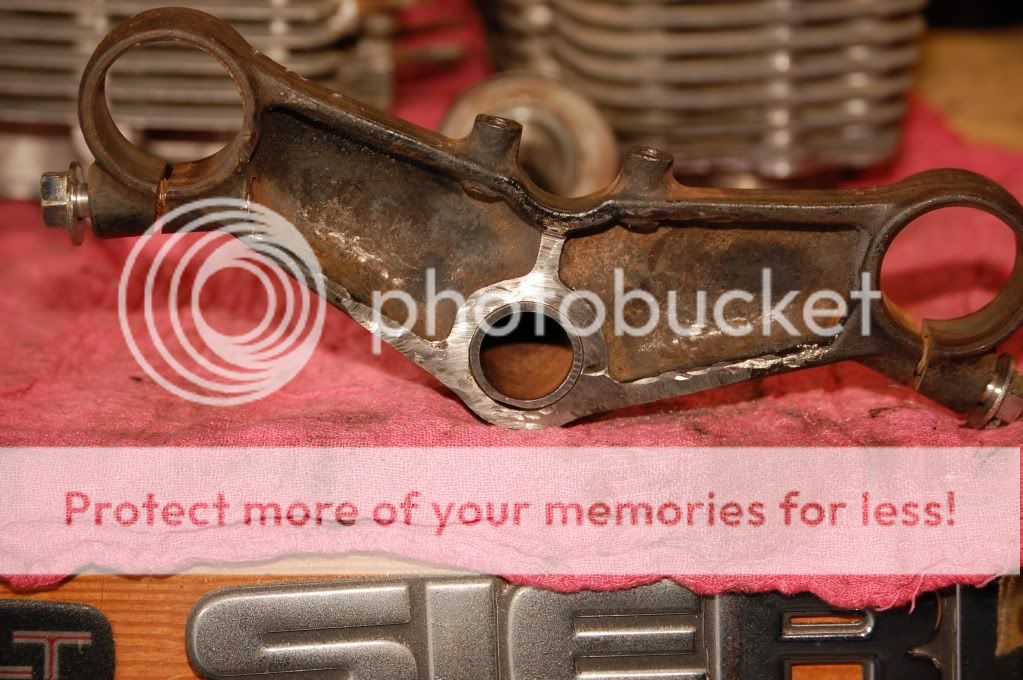
I was able to get my shit to a machine shop today. I was feeling terrible at work and went home and on my way I stopped to pick up my triple. Turns out he gave me a good price to cut to head and the block ($90) and I just happened to have them in the car so... 3 hrs later I got them cut and he even pressed my stem back in. Ill post pics later when it cools down being that its record breaking temps here in SoCal (113 is what my car thermo read).
Only thing I notices is the the jugs have a slight egde to them now. Im not sure if I'll be able to get ride of that when I flex hone it.
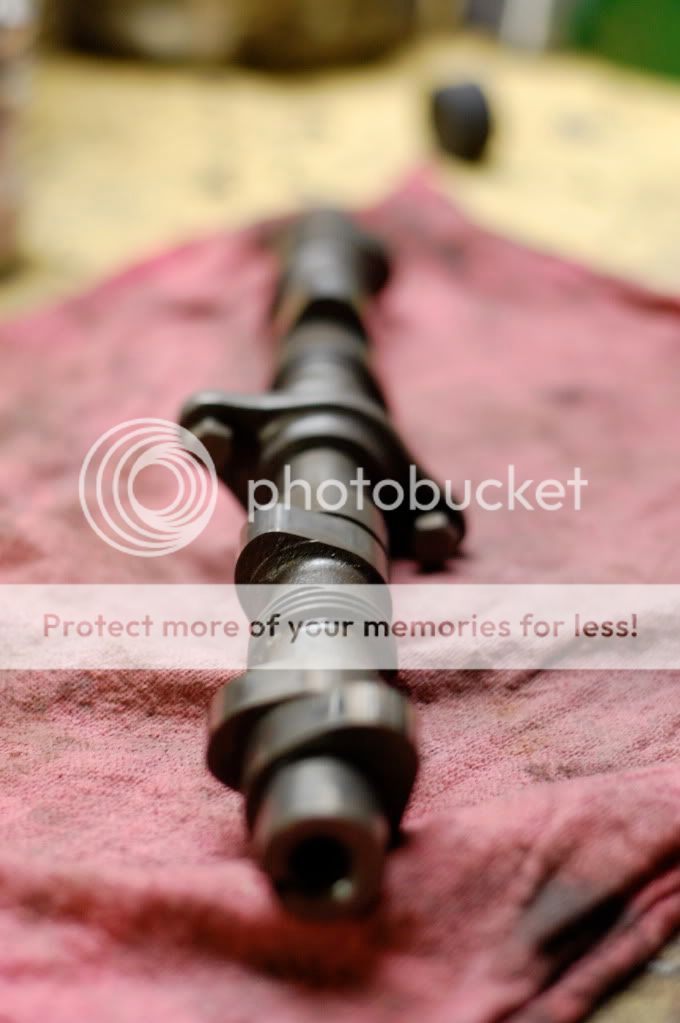
Oh yea... one last thing; I took more measurements. If I could keep my piston rings, they would be with in clearance both in the end cap and the side clearance, but like I said, I broke two of them so... I have to buy more. Also, I measured my Cam lobes and the exhaust lobe is good (1.36in when Wear Limit is 1.3569) but the intake is short (1.38in when wear is 1.411in). Is this something that can be fudged? Im guessing no but this engine is costing WAAAAAY more than originally I thought.
Don't feel bad bud - they always cost more than you expect them to.. :
A little tip with welding the stem - re-assemble the front end (forks, top clamp, axle...off the frame of course) and tighten them up before you weld. This way you have everything in tight and there's no chance of any distortion skewing the stem.
Im having a shit day dealing with identity theft but I figured I would try to remind myself that I have some good things going on by sharing with you find people what I purchased in the last few days.
The other photos are not coming through (of coruse with a day like Im having) but I scored a Camshaft and Valve Head for the rocker arms that only had 6400 miles on them. And I also scored some piston rings, all four, for only $76 including shipping!
nice work dude! all those purrrdy bits look to be comming along nice. keep on keepin on. btw im also in socal outta anaheim, working on a cb350 and need some tips on polishing.
Yo man... Polishing bit is pretty simple just takes some time and dirty hands. Im doing the same most do on here...
Start with a can of WD40 and lube up the surface, then take a coarse paperlike 220-320 and go with the grain of the metal, then 500, then 1000 then a bit of steel wool before I hit it with the buffing wheel. I got mine at Harbor Freight for $60... to me that was worth it for all the little bits I would be polishing for this build. One side I use a cutting compound and the other I finish with a polishing compound. All with the grain (where possible). Then i finish buffing out the compound with a micro-fiber towel and, VIOLA!
Thanks for the words of encouragement. "Keep on...keep on truckin', ya know?" - Frank Ricard.
No one liked my Jimmy Johnson joke :-\... ok back to the drawing board.
Well... Good news fellas. I got a SHIT load of parts this weekend. Im so excited... It's like Santa coming and giving me the Red Rider! (oh ya... I got engaged too... but whatever )
Here we go:
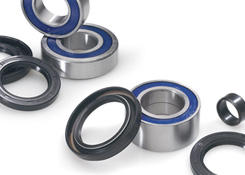
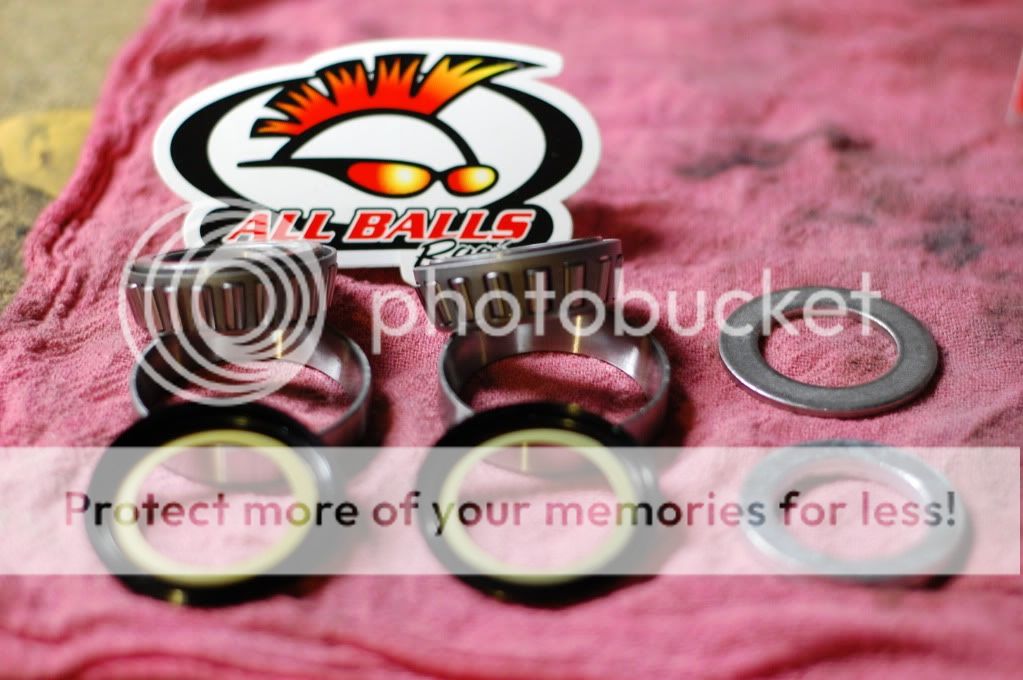
Sterring Bearings:
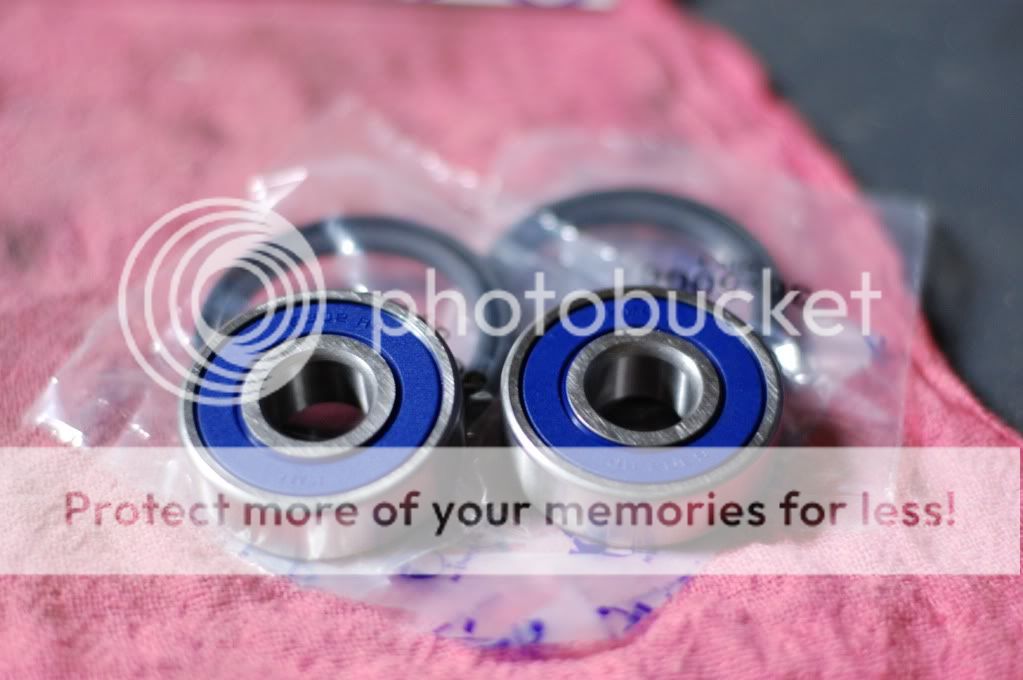
Rear wheel bearings (the fronts were in really good shape):
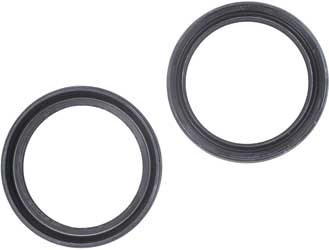
Fork Seals:
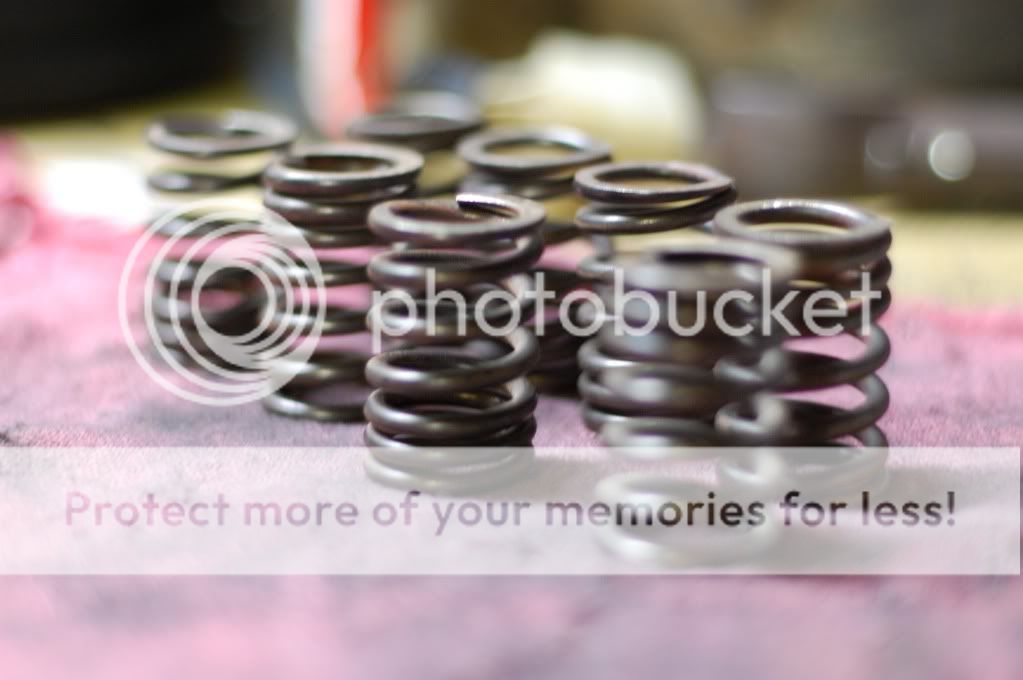
New(er) Valve Springs that measure with in the wear limits:
New camshaft but the intake is still measure .05mm short.... could the Clymer be wrong?
New rockers:
NEW RINGS!!!!!:
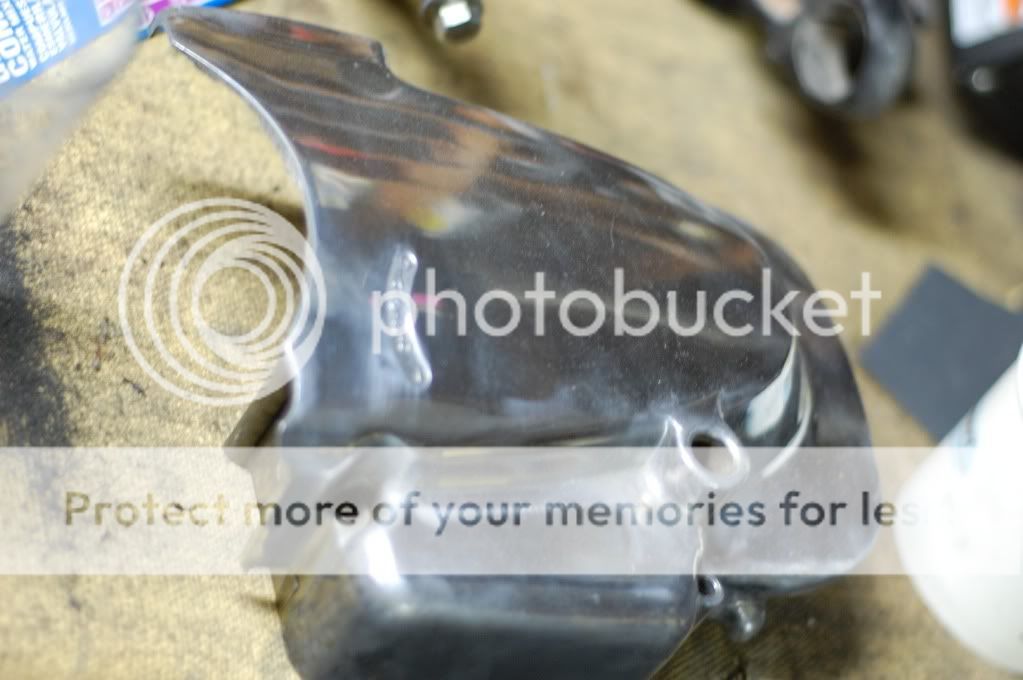
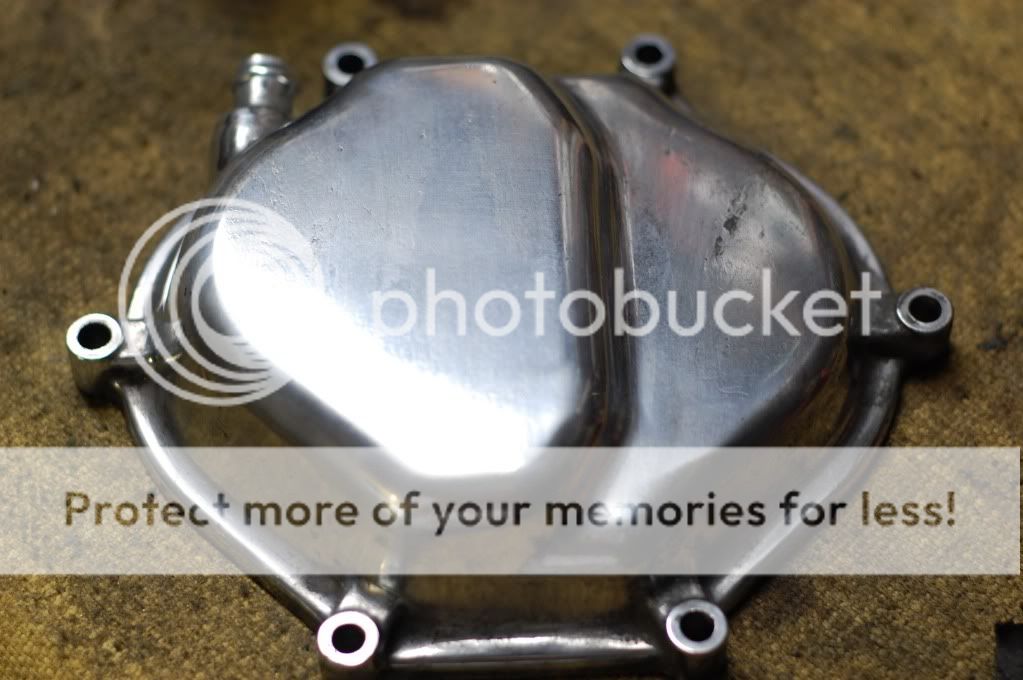
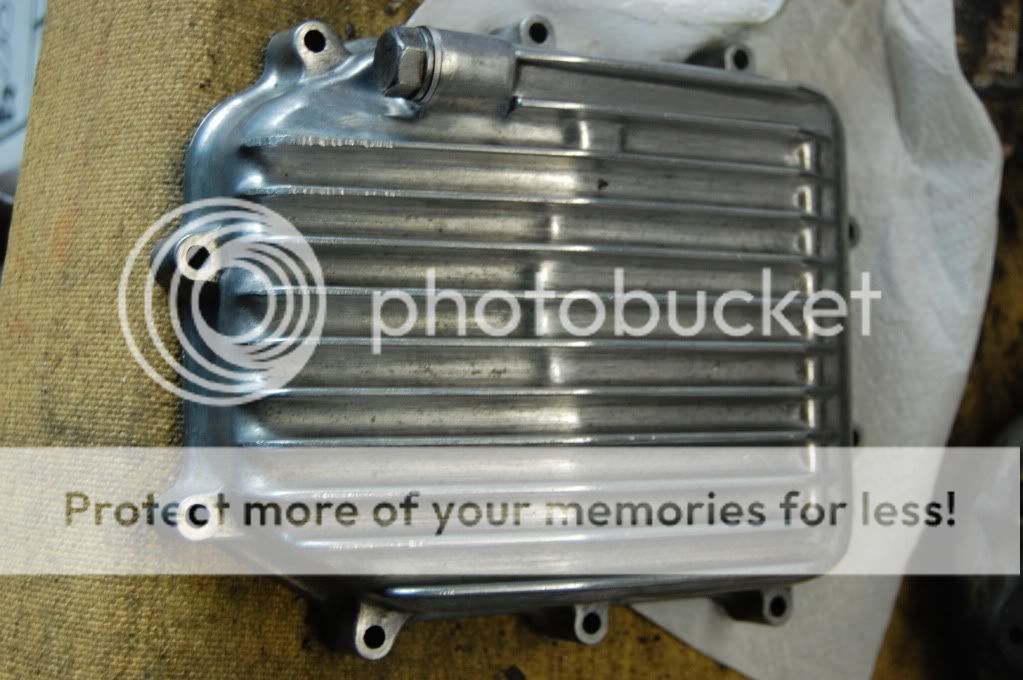
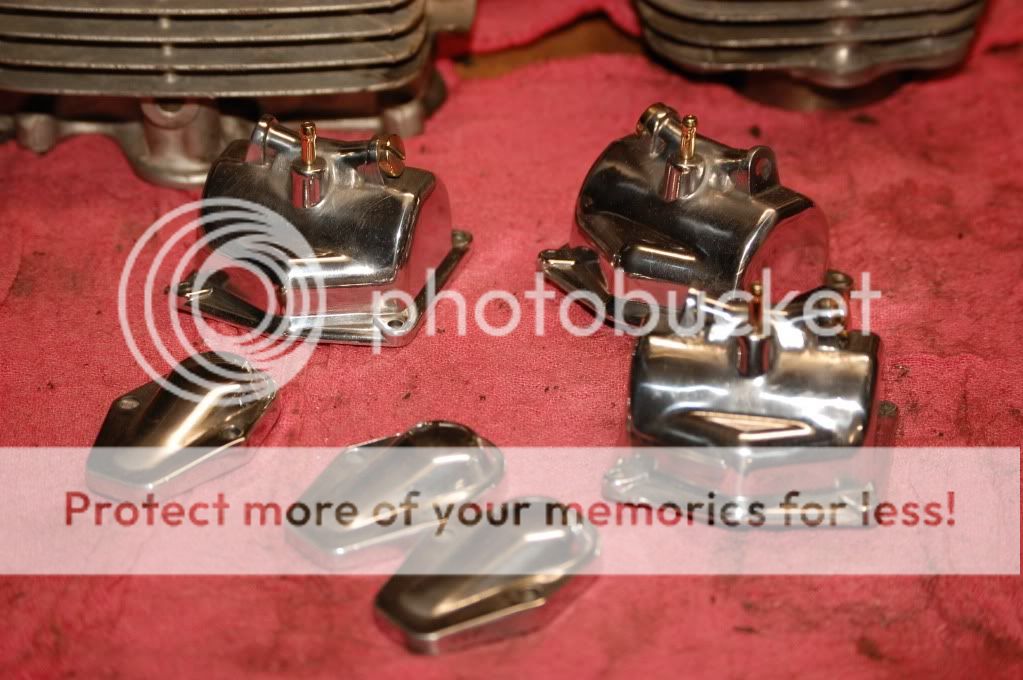
Also, I worked on polishing the valve head cover but it didnt come out that great. Ill probably have to just paint it.
I am planning on test fitting everything this weekend and maybe mocking up the engine for paint. I tried to do a brief test fitting of the tapered bearings on the stem and the bottom one is really snug. I will prob have to rig something up to get it on there. Also, the bearing races in the neck... those are supposed to come out with these new bearings, correct?
I may have the top fork bridge you need. Don't forget the squash washers. Thats why those are always busted. People switch out the bars and forget the squash washers. Overtighten and snap.Let me know. I'll take a look and see if I have an extra.
Thanks, Boxrules! It's a great day when it finally happens, the tools arriving I mean.
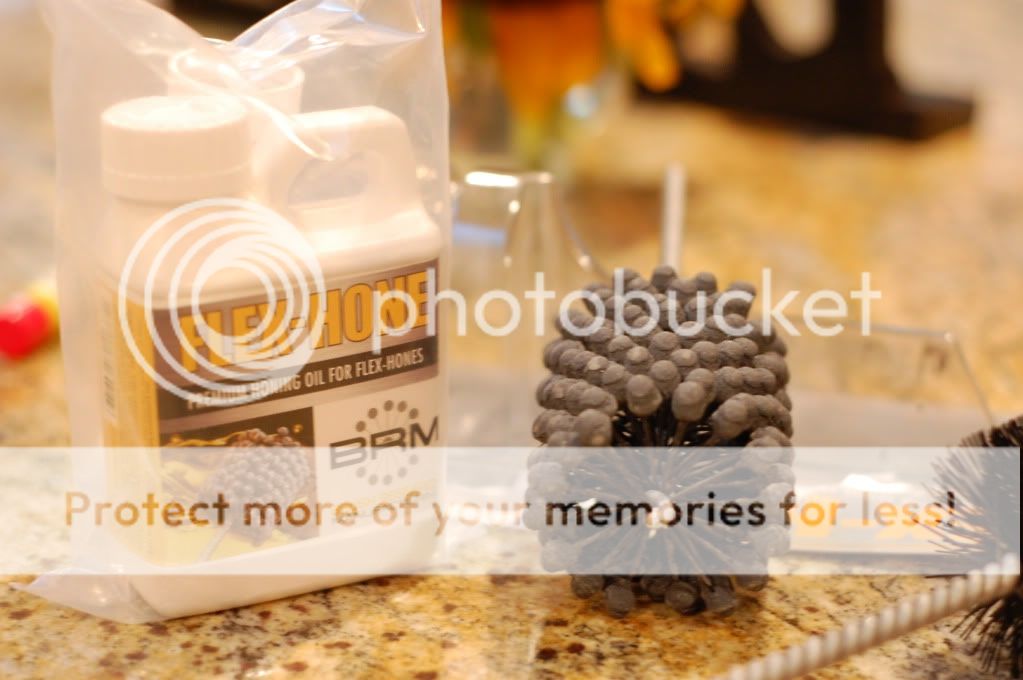
Ok so start a Sat off right!
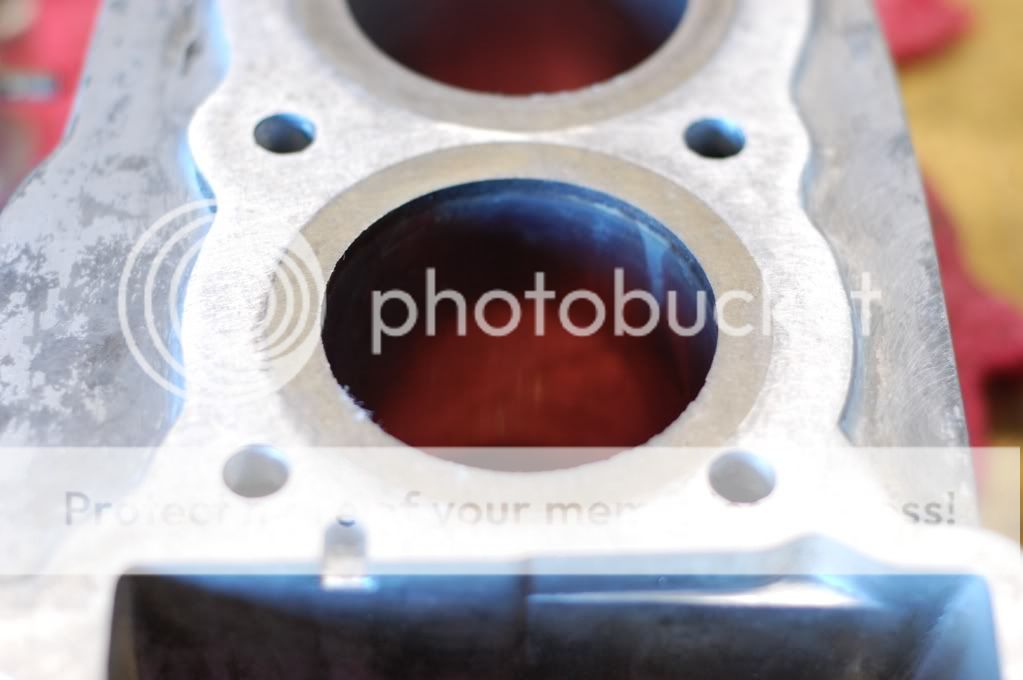
Dirty Nasty Bore Wall!
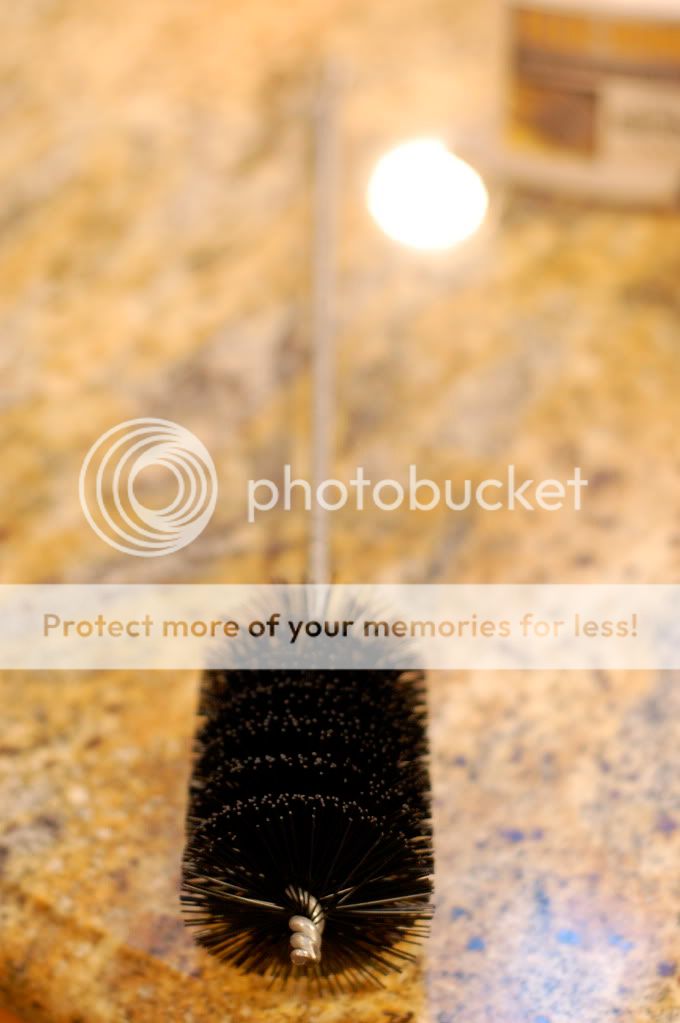
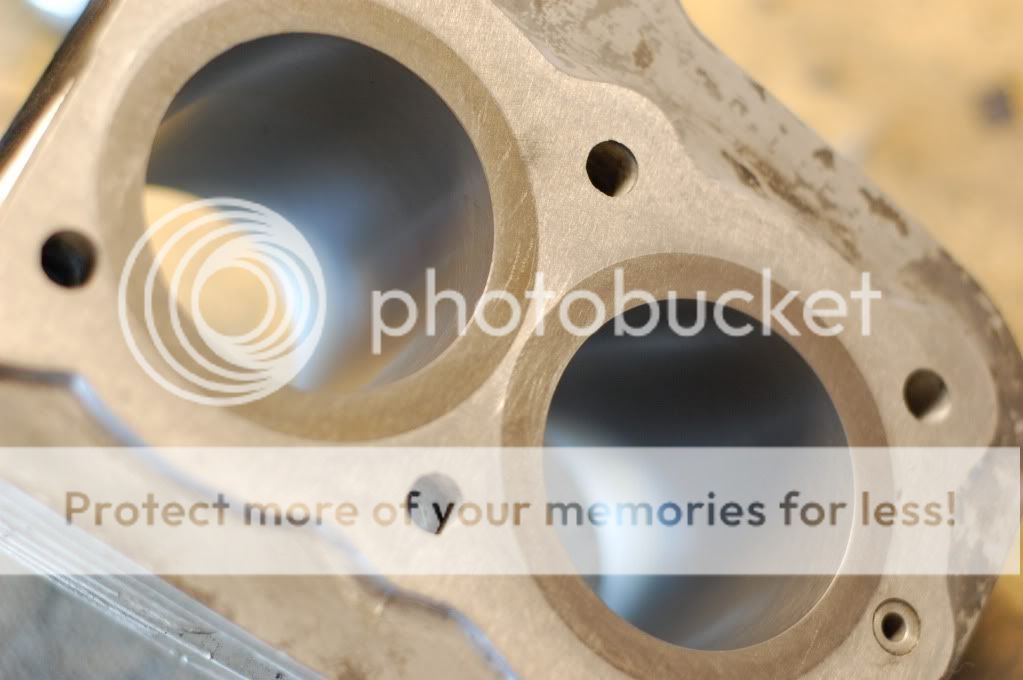
Flex Hone Tool at work:
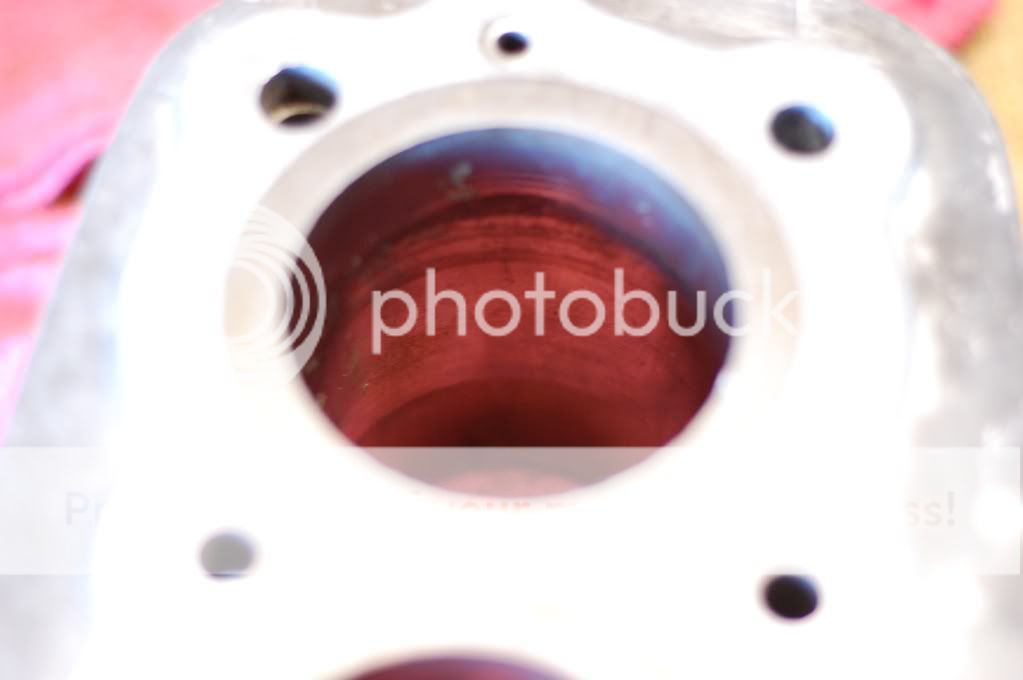
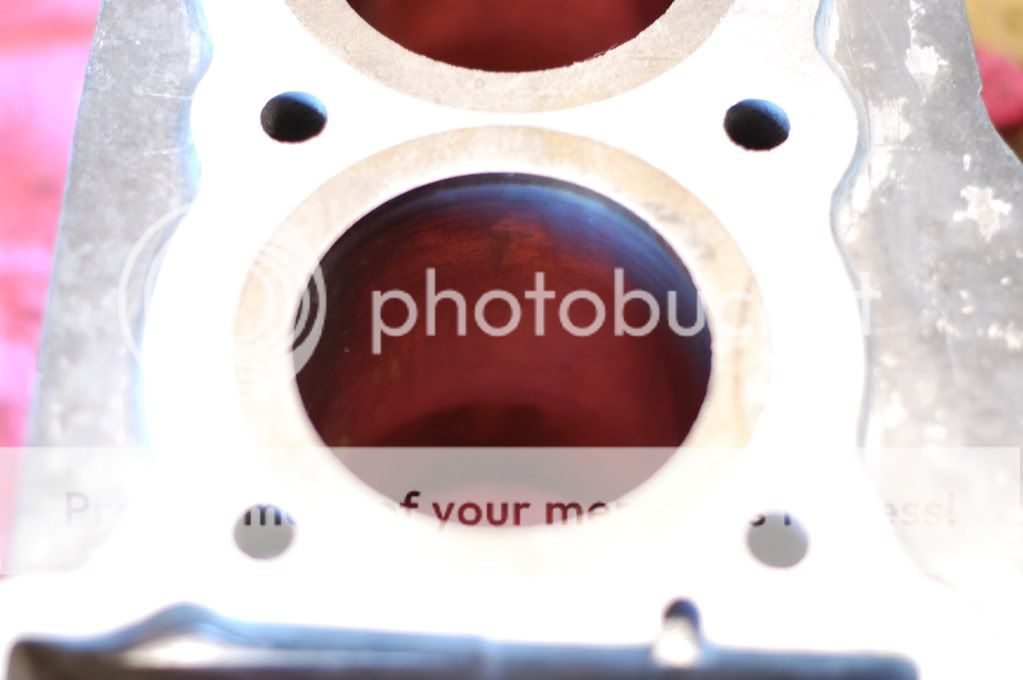
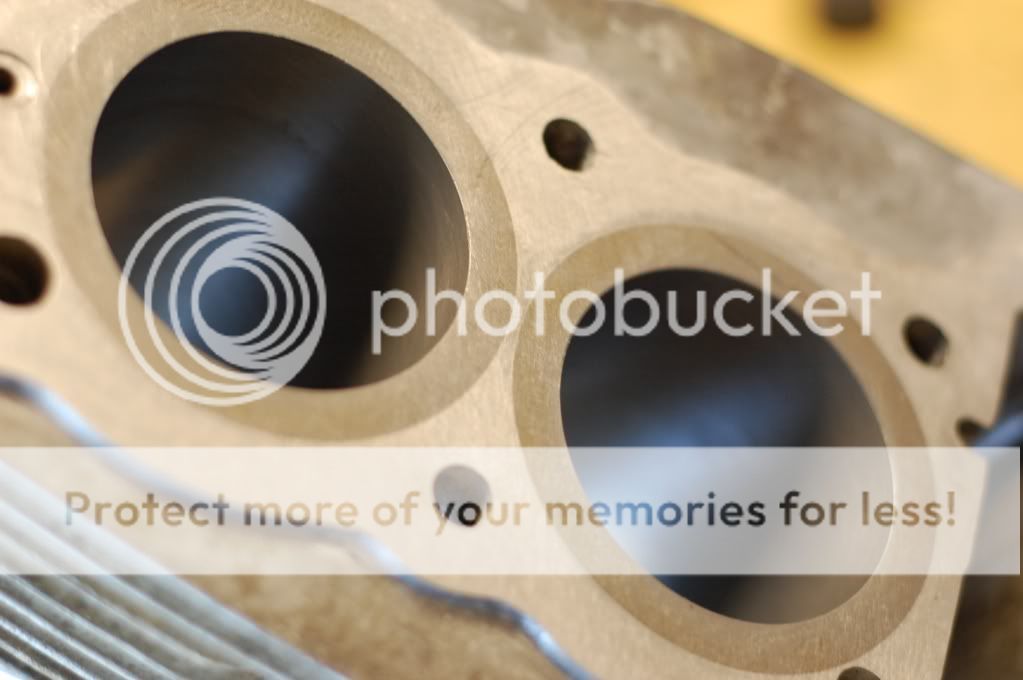
Three of four walls look awesome:
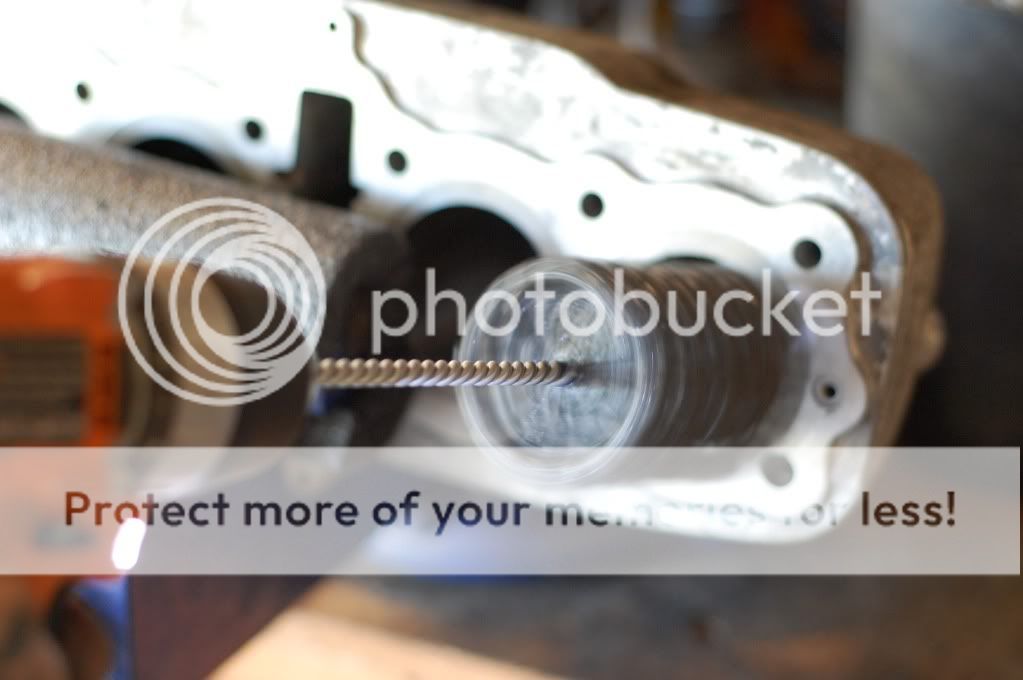
Here is my issue, wall number four has a ring that wont come out and there is a very small place where I can feel a dip, ever ever so slight in the bore:
The rest is just discoloration:
So what now?!?!? I already have standard rings I dont want to go back to the machine shop to get this thing bored out to the first size over. Will this eventually cause me too much greif? Input Please!
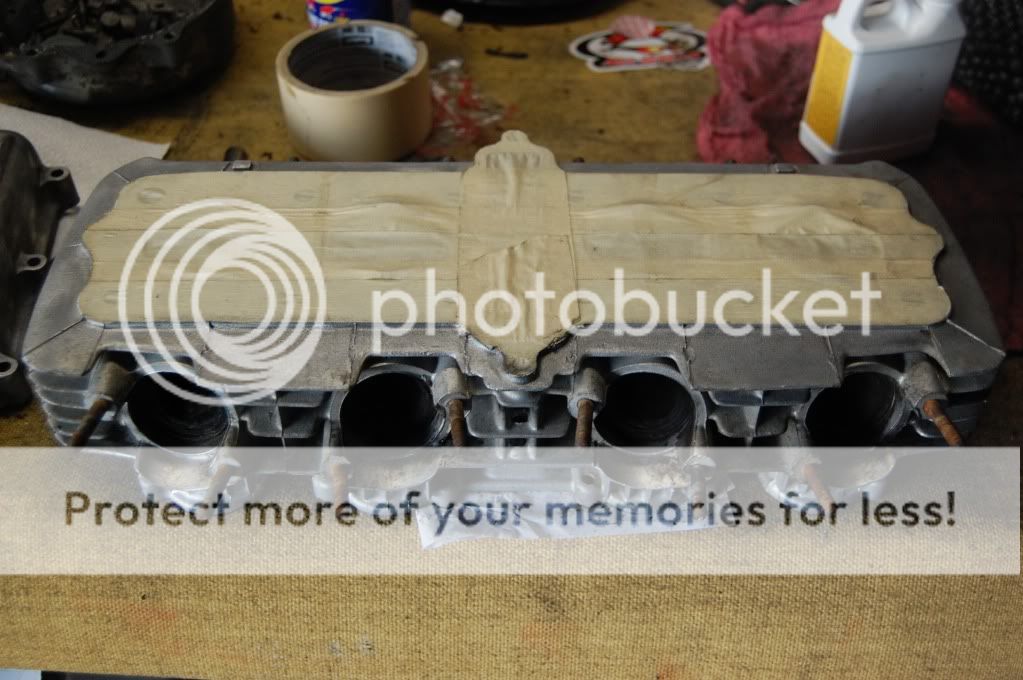
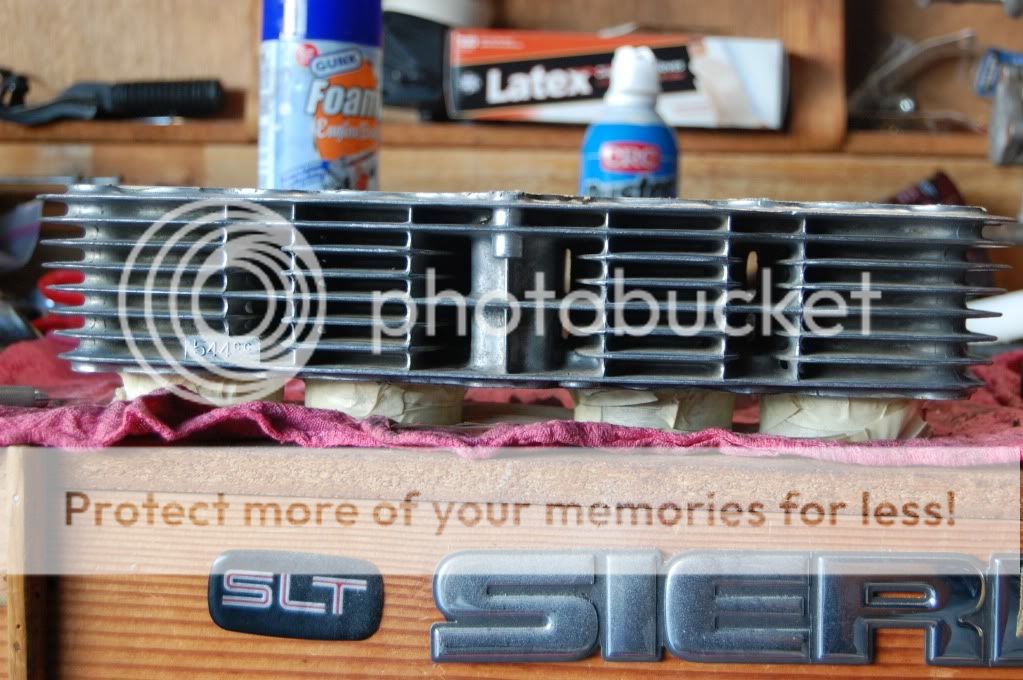
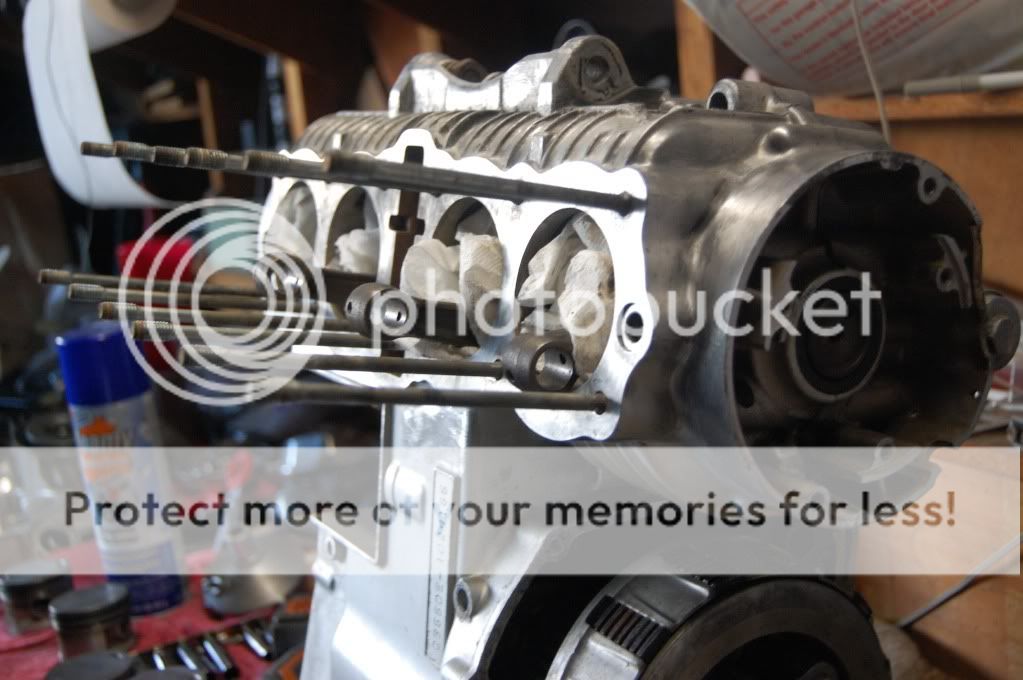
Continued working on getting the motor ready for more paint and fitted the rings for the rest of the day.
Does anyone know why my rings have two different colors and which one is supposed to go on top? I found the little logo on the ring and made sure that was facing up however I cant tell the difference between the two colors by looking and there was no literature that came with the rings set.
This site uses cookies to help personalise content, tailor your experience and to keep you logged in if you register.
By continuing to use this site, you are consenting to our use of cookies.

")