Nice project ! I have been down this road before and can offer a few bits of advice:
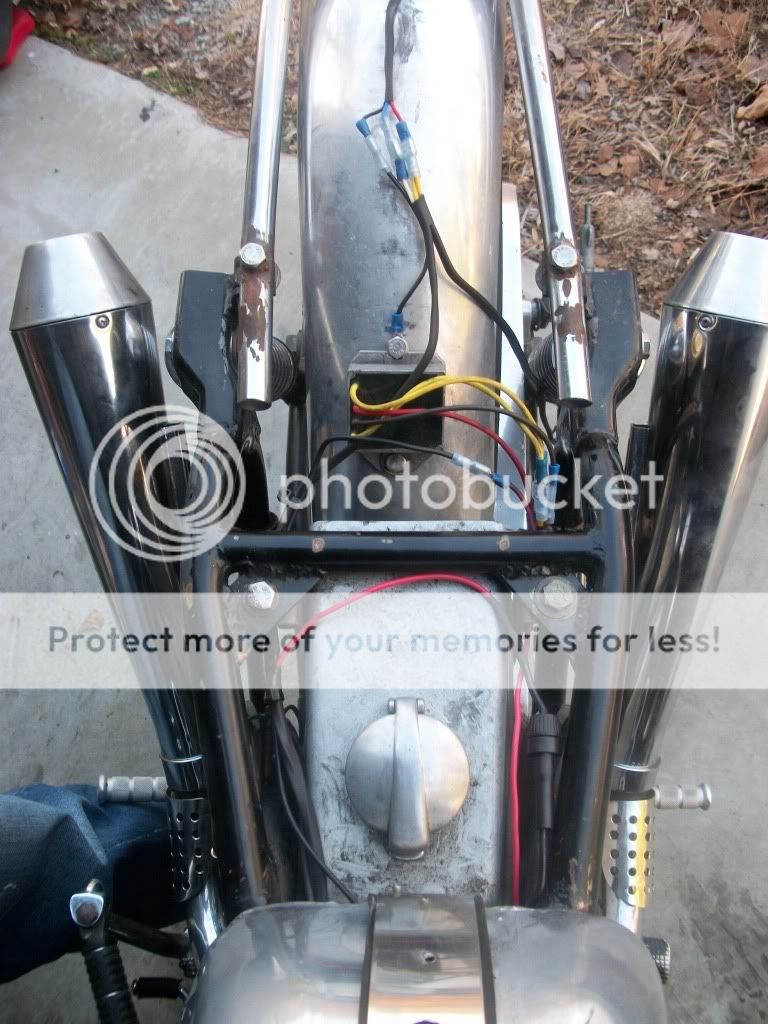
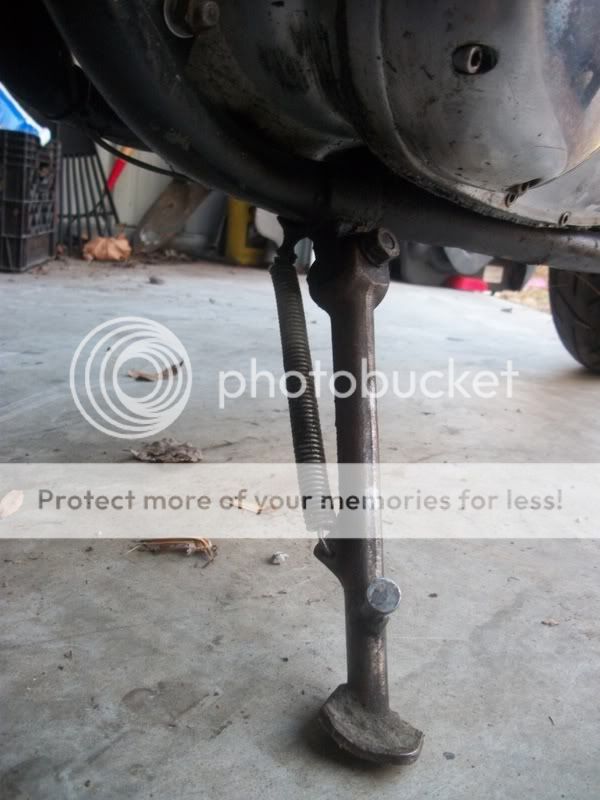
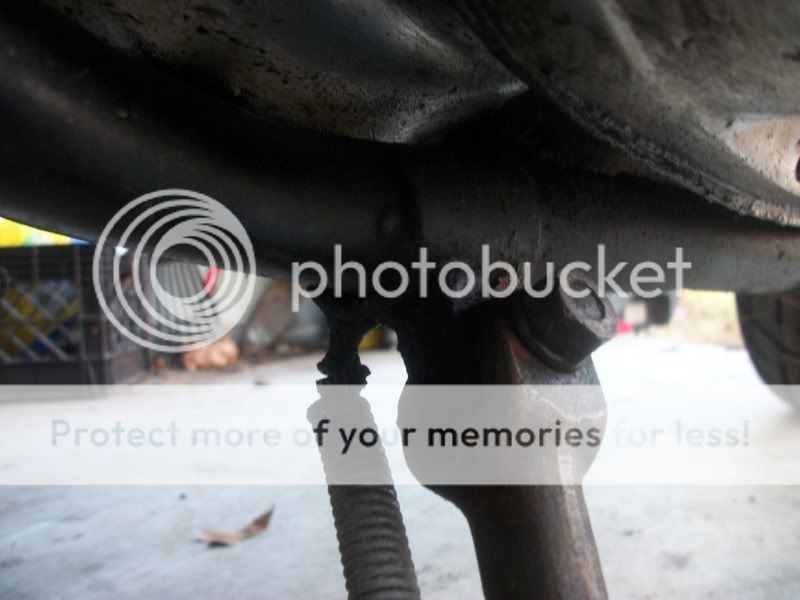
Do a dry build before paint or powder coat. Tritons require quite a bit of fiddling, tab removal, grinding, welding, spacers etc and the time to sort this out is before painting the frame. Use a universal folding kick stand, dry fit with motor and exhaust in place then weld or bolt it to the frame (prior to paint).
Spend a lot of time aligning, trueing and using the correct offsets of your rims and hubs. Aligning both rims to each other and the driveline so the bike rolls and runs true. Rebuild you front end with clinical precision and cleanliness. Use UK made fork tubes and bushings.
Use a decent head stay for the motor.
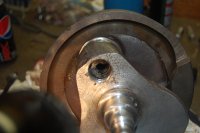
As long as you are rebuilding the motor, take the time (and money) to do it right, Replace the sludge trap and I strongly advise you to dynamically balance your crankshaft to your con rods and pistons. New bearings with the correct tolerances, consider a larger exhaust camshaft, unleaded valve seat conversion, valve springs etc.
Your build will go better if you a have another bike to ride. This will allow you to be patient, not race or cut corners. I picked up a cheap Honda CB550F, got her running and cleaned and cafe'd her out while building my Triton. I spent more thinking and researching my Triton than I did actual building and wrenching.
I spent countless hours researching, studying photos, chatting on britbike.com forum while building my Triton.
Here are a few links for advice, inspiration and parts:
http://www.dresda.co.uk/ The master. Look under the "development" tab for pictures of a Triton build. Great source for parts.
http://tritonproject.blogspot.com/ This is why I do not have children and have a beautiful Triton.
http://www.tri-corengland.com/ THE BEST PLACE to buy Triumph parts. Most, if not all, US Triumph parts dealers get their parts from here and mark up the prices.
http://www.unityequipe.com/html/home.html A quick and efficient way to rid yourself of all your money.
http://www.clubmanracing.com/ Frank has lots of Triton parts and stories too.
http://www.motos-anglaises.com/ In French, but look at the photos of 'les Tritons"
http://www.shelbynyc.com/nycnorton/racer2010.htm Featherbed based race bike.
http://www.supernaturale.com/articles.html?id=79 Another NYC Triton
http://www.roytonprecisiontooling.co.uk/products.htm Parts.
http://www.ace-cafe-london.com/Bikes.aspx Dig through the Ace Cafe's photos of Tritons.
http://www.realclassic.co.uk/triton04120100.html Triton story.
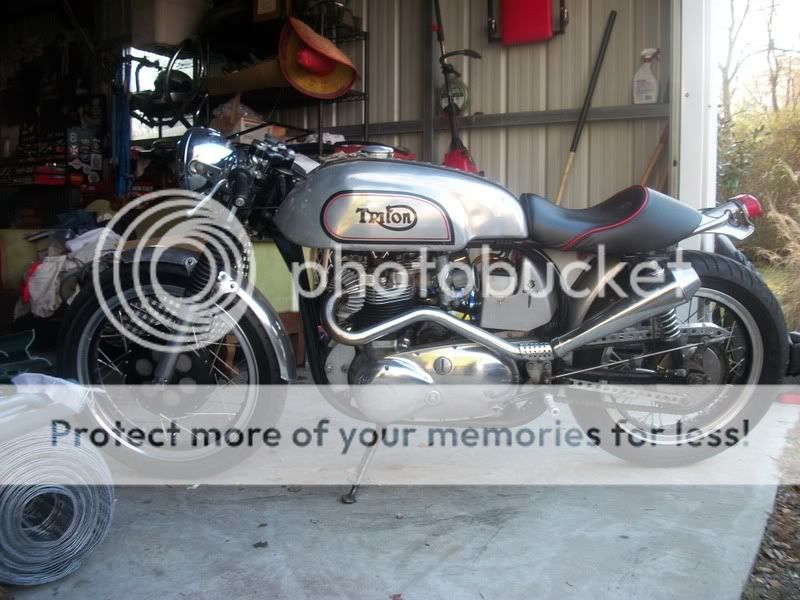
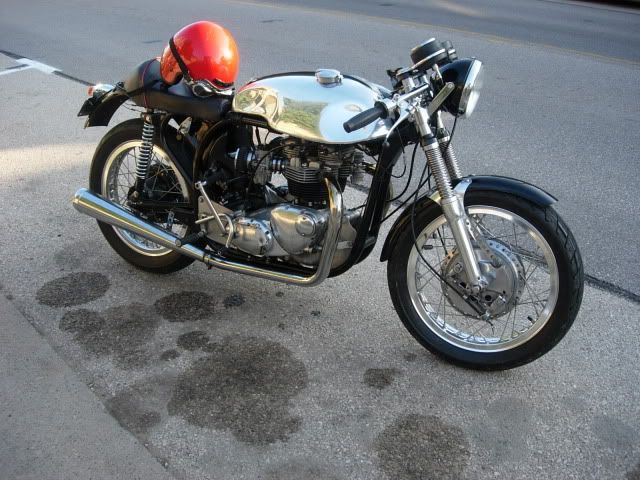
And above all, join www.britbike.com. The modified specials sections has many Triton builds, problems, advice etc. I am "Swan" on BB forum as well. Here is my Triton (all tucked away nice and warm until the spring).
Good luck, keep posting and I look forward to watching your progress!
Do a dry build before paint or powder coat. Tritons require quite a bit of fiddling, tab removal, grinding, welding, spacers etc and the time to sort this out is before painting the frame. Use a universal folding kick stand, dry fit with motor and exhaust in place then weld or bolt it to the frame (prior to paint).
Spend a lot of time aligning, trueing and using the correct offsets of your rims and hubs. Aligning both rims to each other and the driveline so the bike rolls and runs true. Rebuild you front end with clinical precision and cleanliness. Use UK made fork tubes and bushings.
Use a decent head stay for the motor.
As long as you are rebuilding the motor, take the time (and money) to do it right, Replace the sludge trap and I strongly advise you to dynamically balance your crankshaft to your con rods and pistons. New bearings with the correct tolerances, consider a larger exhaust camshaft, unleaded valve seat conversion, valve springs etc.
Your build will go better if you a have another bike to ride. This will allow you to be patient, not race or cut corners. I picked up a cheap Honda CB550F, got her running and cleaned and cafe'd her out while building my Triton. I spent more thinking and researching my Triton than I did actual building and wrenching.
I spent countless hours researching, studying photos, chatting on britbike.com forum while building my Triton.
Here are a few links for advice, inspiration and parts:
http://www.dresda.co.uk/ The master. Look under the "development" tab for pictures of a Triton build. Great source for parts.
http://tritonproject.blogspot.com/ This is why I do not have children and have a beautiful Triton.
http://www.tri-corengland.com/ THE BEST PLACE to buy Triumph parts. Most, if not all, US Triumph parts dealers get their parts from here and mark up the prices.
http://www.unityequipe.com/html/home.html A quick and efficient way to rid yourself of all your money.
http://www.clubmanracing.com/ Frank has lots of Triton parts and stories too.
http://www.motos-anglaises.com/ In French, but look at the photos of 'les Tritons"
http://www.shelbynyc.com/nycnorton/racer2010.htm Featherbed based race bike.
http://www.supernaturale.com/articles.html?id=79 Another NYC Triton
http://www.roytonprecisiontooling.co.uk/products.htm Parts.
http://www.ace-cafe-london.com/Bikes.aspx Dig through the Ace Cafe's photos of Tritons.
http://www.realclassic.co.uk/triton04120100.html Triton story.
And above all, join www.britbike.com. The modified specials sections has many Triton builds, problems, advice etc. I am "Swan" on BB forum as well. Here is my Triton (all tucked away nice and warm until the spring).
Good luck, keep posting and I look forward to watching your progress!