CresentSon
Over 1,000 Posts
I think this is gonna be like Herm's rearsets. It isn't DTT if it isn't rocking DIY Herm rearsets, and tWistedWheelz headlight brackets!
Herm21 said:It's amazing what can be thought up with an apple jacks box down in the dirty south! That's some good shit right dar wheelz!! I'll definetely be giving this a try!! Kudos brother.
DAMN STRAIGHT!!!!tWistedWheelz said:Don't forget the whiskey! It took a bit to get to that point of the design!
I am a bit like a salt shaker filled with ideas, most of them crap, but I keep shaking until something good comes out!
BUILT NOT BOUGHT!
Swagger said:Ok here's one. I was pretty skeptical when tire beads were mentioned by another member as I'd had no experience with them. I went round and round in my own head until a local shop started offering 'active balancers' in place of standard lead weights.
I had a chance for a quick ride on Dad's Sprint ST (2007) with the commercial bead balancers and I gotta say I'm fairly impressed. Seems to be just as smooth as a tire balanced the in the standard manner.
I expected some noise but really with the helmet on and the (OEM) exhaust song I could perceive nothing. Nor do they affect the 'feel' in any way that I could tell.
So here's a cheap way especially for the DIY guys out there who mount their own rubber.
Go grab yourself a jug of 6mm Airsoft BBs, the higher weight the better. They are CHEAP, more or less perfectly round and the plasitc they are composed of won't chew anything up when they are pinging around inside the tire.
I talked to the guy that did the tires for Dad (known him for years) and he told me to get the airsoft BBs....he's almost certain that what they use in the shop are just repackaged airsoft rounds. Cooool! As a guideline he suggested 58grams in a 190/17 rear, and 40grams for a typical 130/17 front. That's probably a safe place to start, jsut adjust to suit.
Now this generally applied to tubeless tires but I remember doing all sorts of goofy things to the tube in my dirtbikes to make'm hold up...right up to anti-freeze to help seal up punctures. I suppose one could cut a small entry point into the wall of the tube, add the bbs then patch. Having patched several hundred (at least it felt that way) in the mud on the side of a trail, it doesn't seem like that much of a stretch to me. You may have other feelings about the evils of tube tires....your call.
Have fun and enjoy a nice smooth ride!
tWistedWheelz said:That stuff make a fun little bomb too! Take a plastic drink bottle of any size with screw on cap. Take a small piece of aluminum foil and rip it to small shreds and place them in the bottle. Pour in a little of "the works" about two tble spoons. Quickly after adding, screw the cap on tight and move away from it. Some bottles are better than others! Gatoraid is good!
diesel450 said:I knew you were a redneck, we've got em up here, I know how to spot em'. But this takes the cake. ;D
tWistedWheelz said:I'm not redneck, just country, there is a big difference! Rednecks are ignorent asses, I am just an ass! When you grow up in a small town, you find ways to entertain yourself! Check out the anarchist cookbook, tons of fun stuff in there!
Amazing what you can do with a mouse trap... ain't it?tWistedWheelz said:Check out the anarchist cookbook, tons of fun stuff in there!
")
VonYinzer said:Just dont order it online... You'll end up on a watchlist. (the Cookbook tha is...) Gotta watch out for Big Brother and whatnot...
Swagger said:Diesle450: I dunno if they'll fit down a valve stem, that's a great question. Could make them a no-go for tube tires...
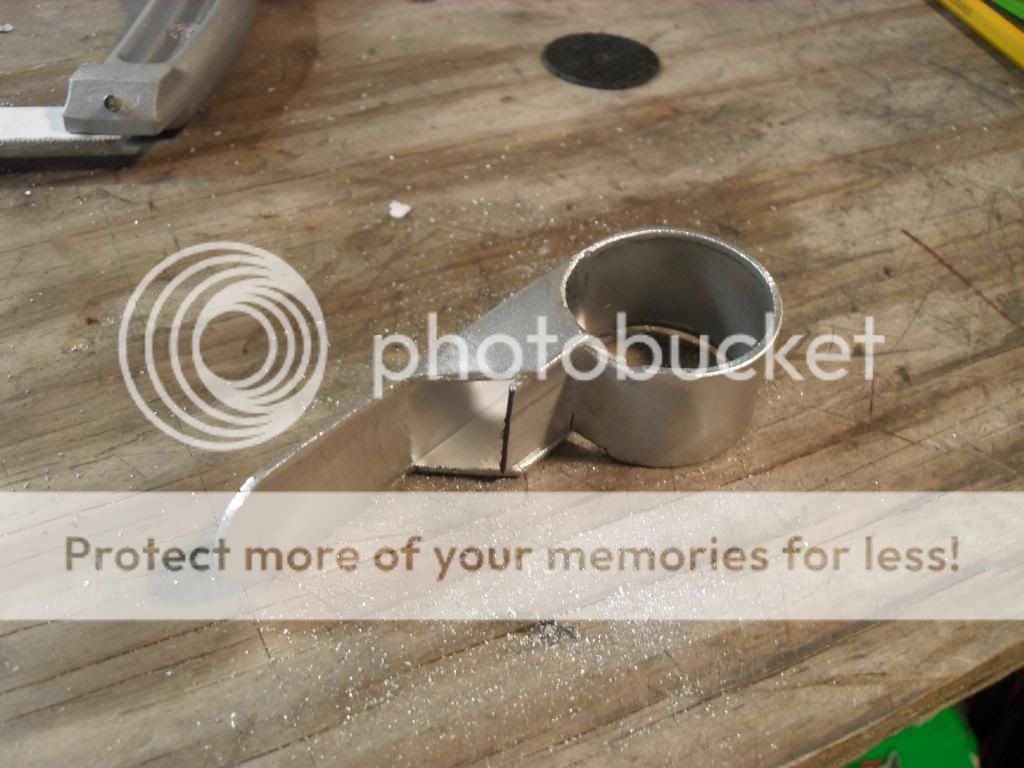
tWistedWheelz said:Less than $10 headlight ears!
Well it may cost you a little more, but you will have left over material!
Supplies:
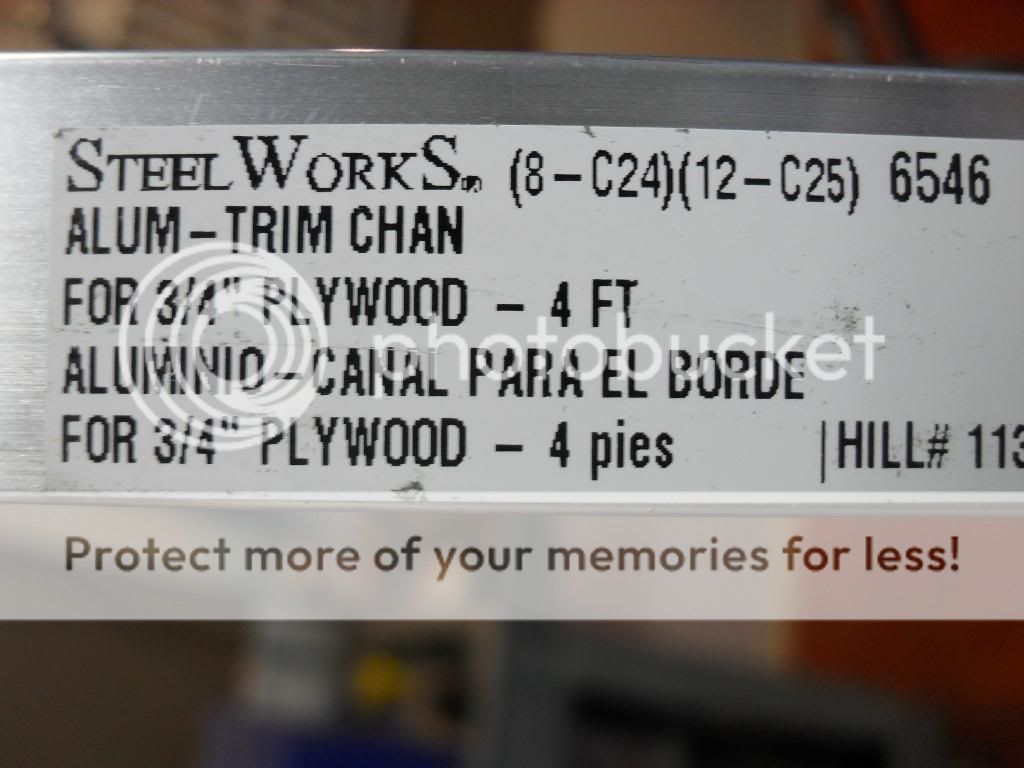
1 Aluminum C Channel (see photos)
2 nuts
2 bolts/screws
1 cereal box
Tools:
Hacksaw
benchgrinder/file set
drill/drill bits
razor knife
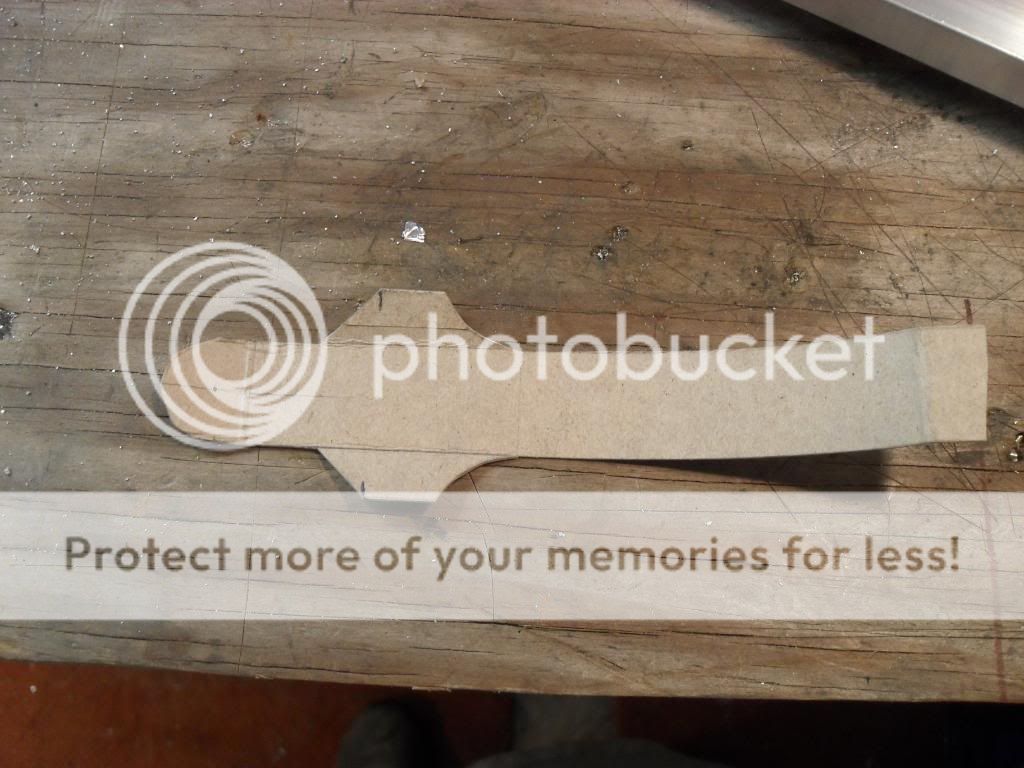
1) using the cereal box cut you basic template shape
2) test fit it to the forks and headlight
3) transpose template to C channel
4) Cut away undesired material with hacksaw
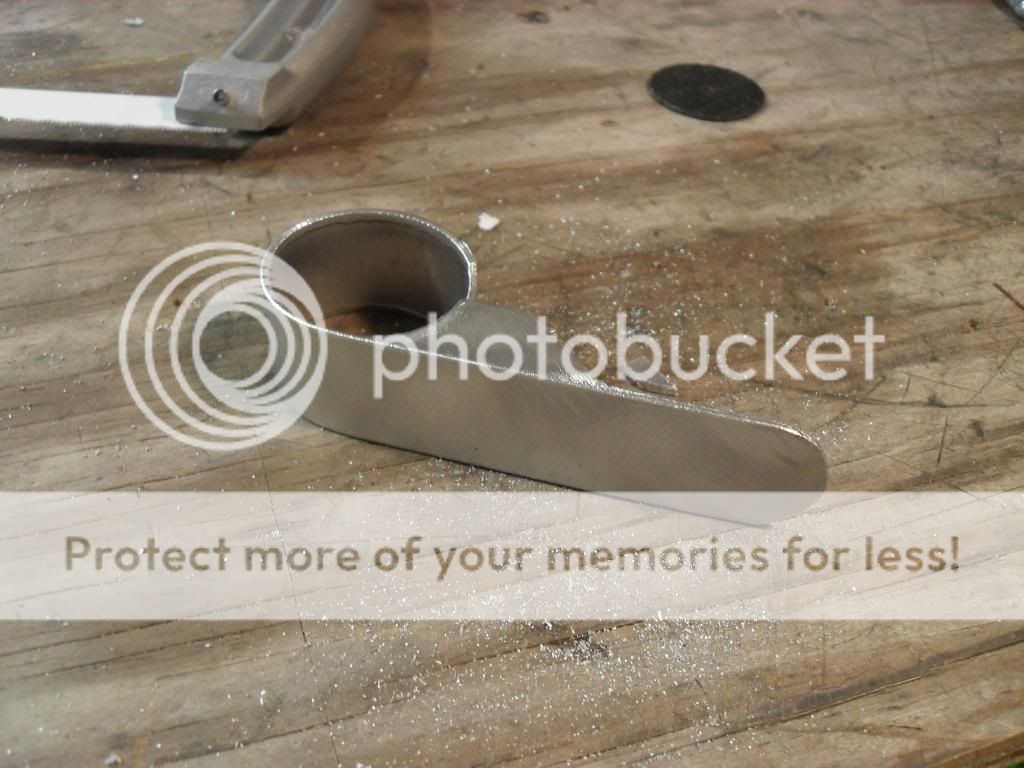
5) clean up the cuts with the grinder or files
6) bend your mounting tab out 90 degrees away from the C channel
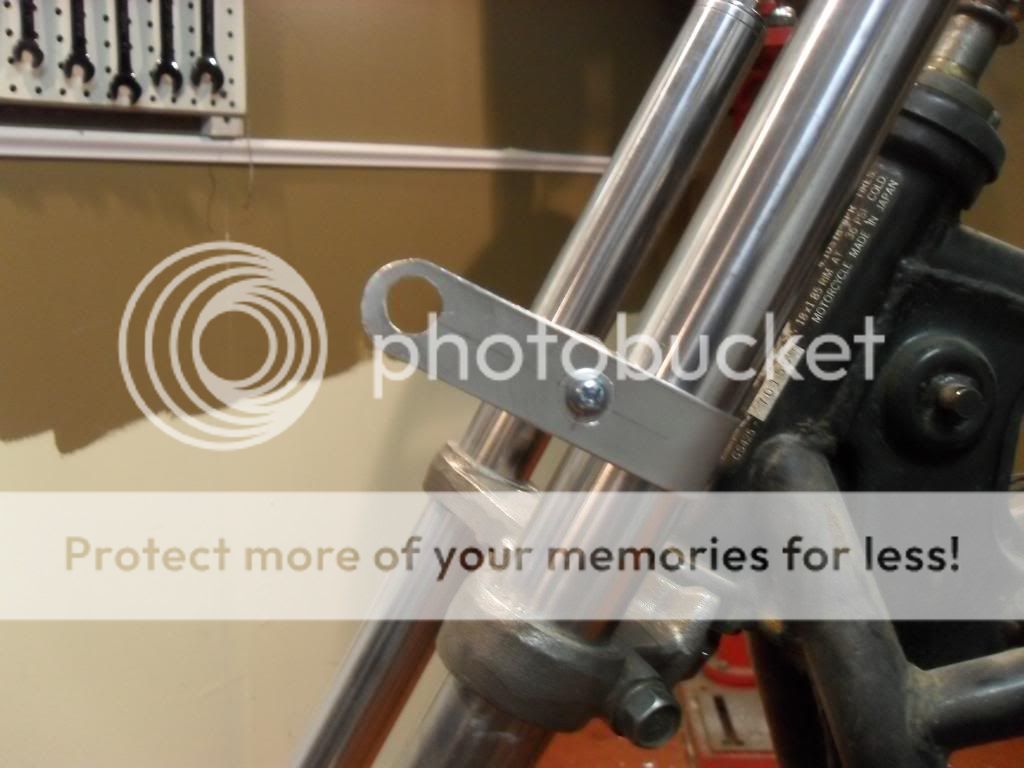
7) clamp the bracket to the fork tube with a clamp and force the long end around the tube by hand until mounting tab comes all the way around
8) drill holes for securing screw and headlight mount
9) mount and RIDE!
C channel purchased from Lowes for like $8 total!
Template
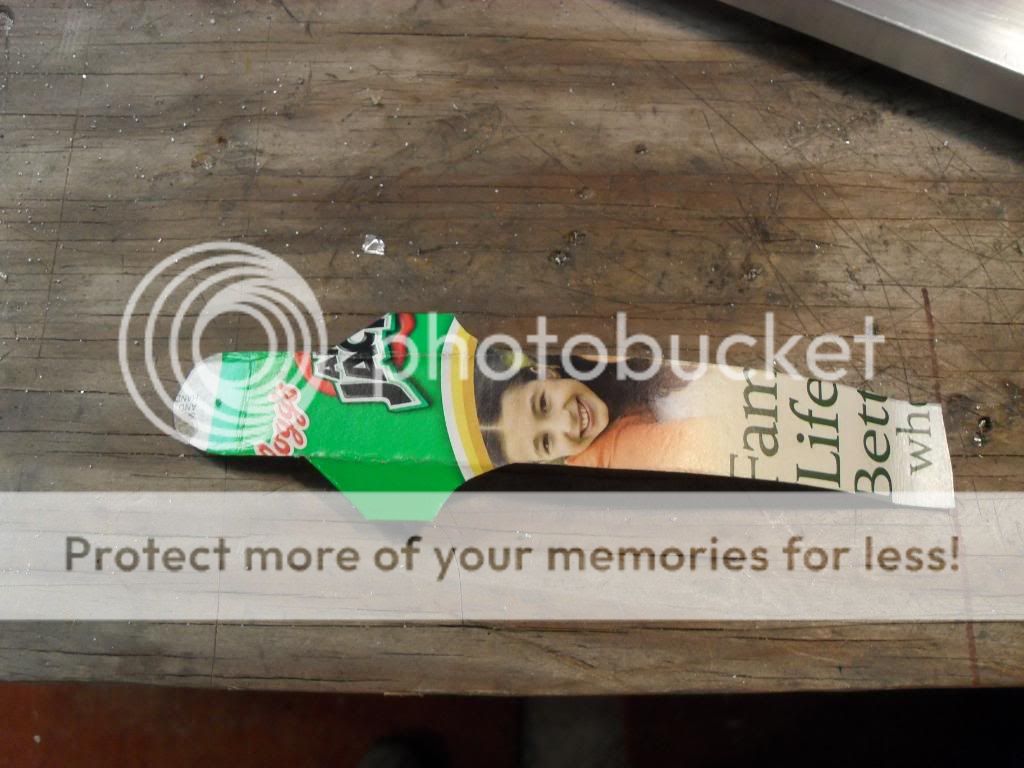
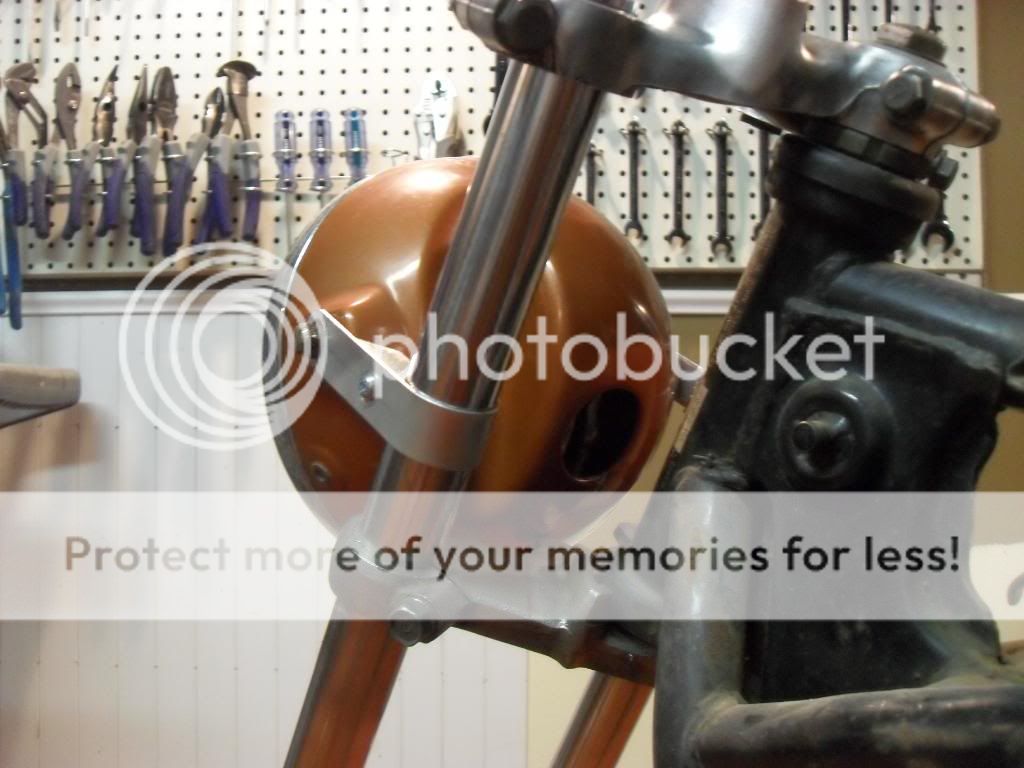
After cut and bent
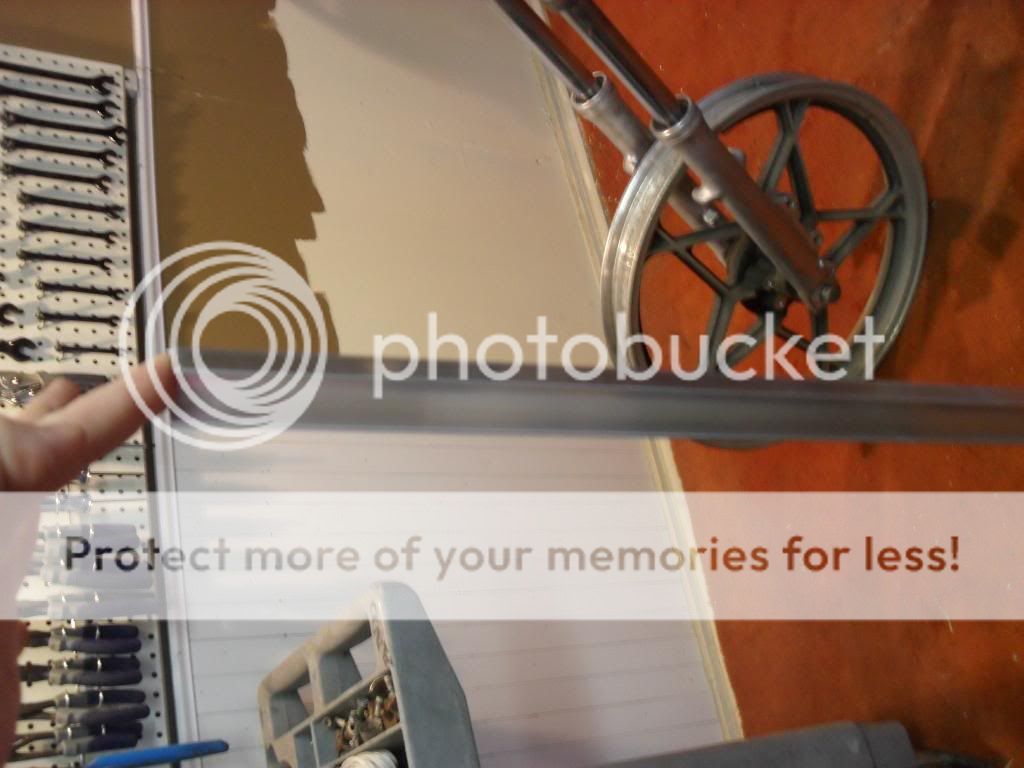
Drilled and on
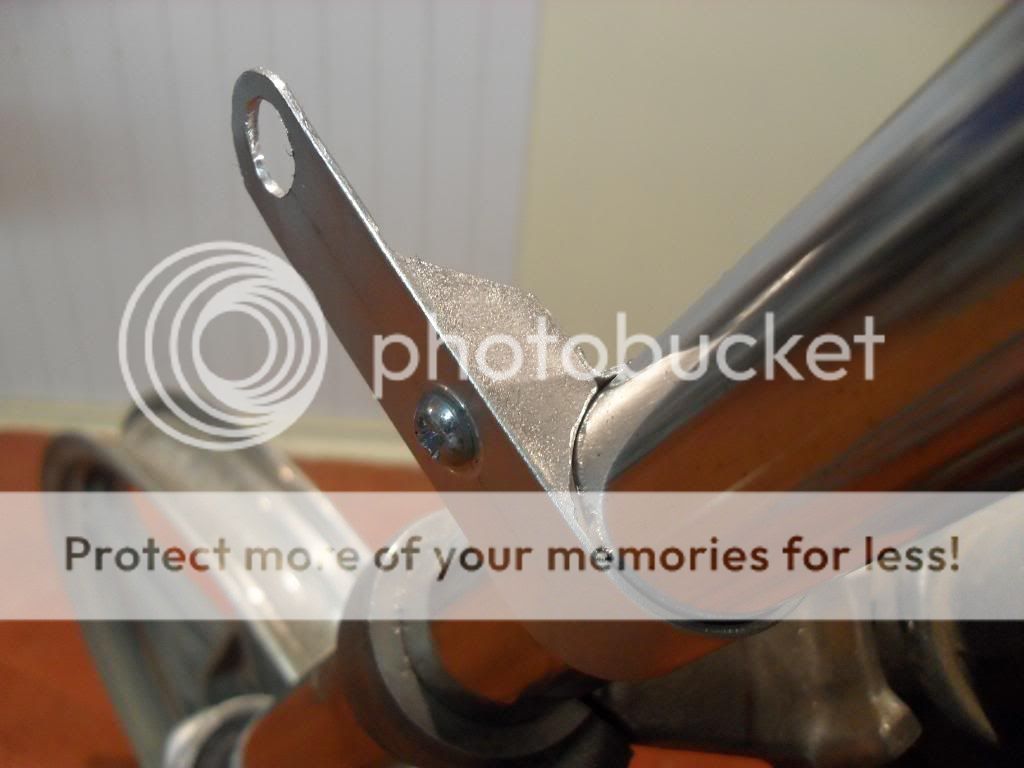

DONE! they will require a little more cleaning up and some finish work, but you get it!
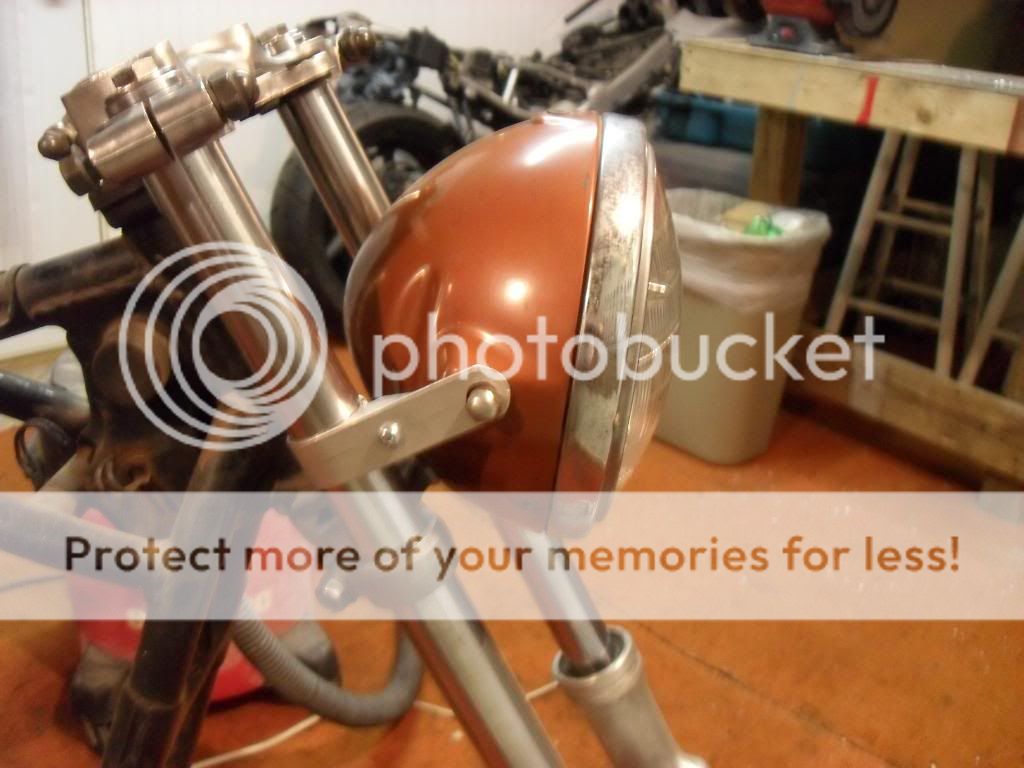
I will be replacing the screw with a button socket head bolt on my build, it looks better than the screw.
Cheap and fairly easy!
I hope it helps some of you out there!
BUILT NOT BOUGHT!


