Follow along with the video below to see how to install our site as a web app on your home screen.
Note: This feature currently requires accessing the site using the built-in Safari browser.
We noticed you are blocking ads. DO THE TON only works with community supporters. Most are active members of the site with small businesses. Please consider disabling your ad blocking tool and checking out the businesses that help keep our site up and free.
Luugo! Thanks for the kind words. Almost hated to post those bead pics cause they wernt stack of dimes style.
I highly recommend strong arming your buddies into months of garage time, we sweat but we have a good time. It's about 40% actual wrenching and progress and about 40% trail and error, mostly error then 20% dick and fart jokes
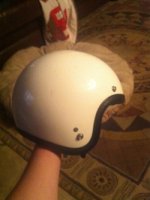
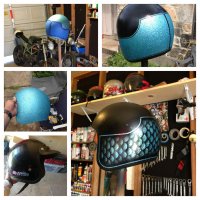
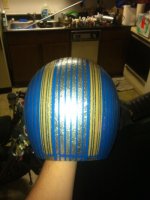
As for painting the helmets I just do it for fun haven't painted one in prob a year.
They're nothing special. My mom is queen of the garage sales and she is constantly bringing me helmets. Mostly junk but every once in a while she gets a gem
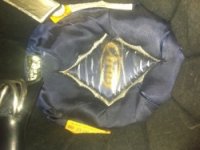
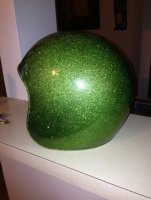
Brought home a mint vintage arai with the silk and leather liner and also a really cool rather fulmer af20? I believe...in sparkley green
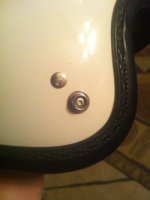
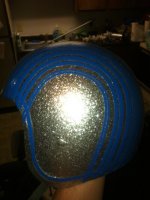
But when she brings a good one with a nice shape and a good liner I paint them. Usually to match whatever project we've got going on at the time
That's awesome man. Thank you. We try to do our best, we do it all for ourselves so we want to look as cool as possible 60% success rate ha
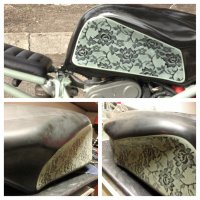
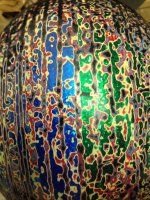
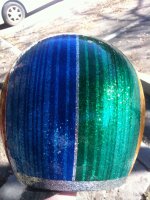
Here's my attempt at a heavy line multiple layer one, when it was all done it looked a little.....civil union-e so I just sprayed on tons of layers of different color paint then sanded through them to try and get a distressed over glitter kinda deal. I was pleased with it. More so than most anyway
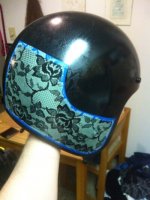
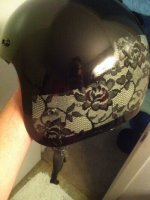
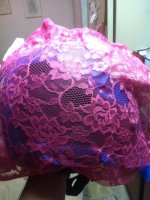
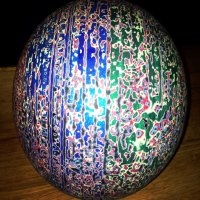
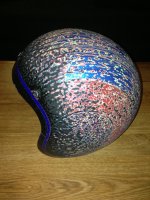
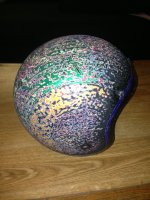
And the other one is one I did to try and match my 748 tank. Painting through lace is the coolest. Makes you look like you can pint with no real skill there at all.
Then the arai on the 748
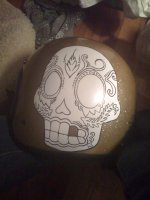
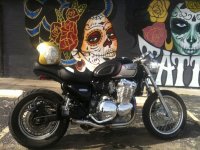
And the sugar skull on my triumph ( my first bike and one of our first bike builds .... It was stolen in San Antonio)
this is awesome man. a buddy of mine tried something like this with taking a trash bag and laying it over wet paint. but im really digging the flower design
DartyD, thanks man I stole the idea for the lace painting from a pdf of an old easy rider mag. I guess it was the thing to do back in the day on your chop.
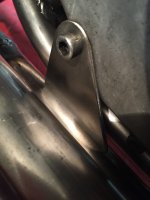
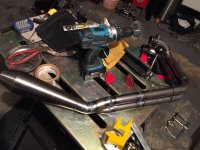
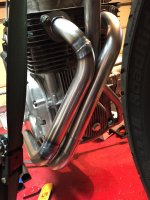
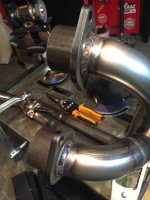
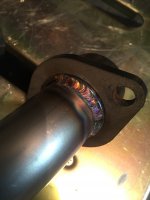
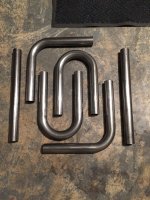
Where was I on these ol shitboxxes, Reno built the first scratch up exhaust any of us have ever attempted.
He used the DCC pre bend and flange kit as well as the DCC 12" shorty muffler. Yall don't know Bryson but believe me he pained over every cut and every fit.
We think it turned out awesome and frames up the bottom of the bike really well
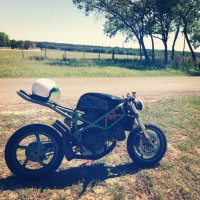
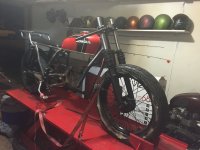
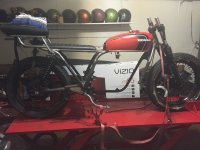
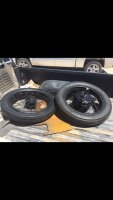
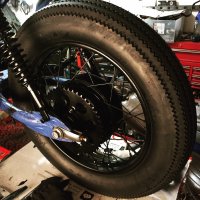
Bought a set of Firestone deluxe champions. Always wanted a set and told myself if I ever to a real in depth build that I was going to use these. They compliment the cb750 real well
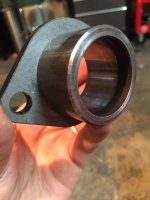
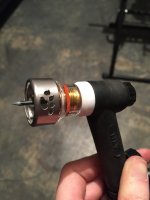
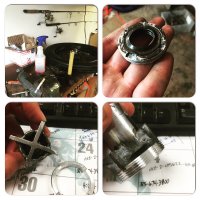
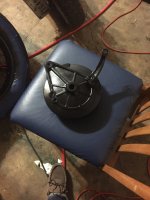
Decided I'd do the wheel bearing real quick while I had the wheels off the cb 750. Pretty much went wrong at every turn. Ruined the retainer because I was too lazy to make a specialty tool and too cheap to buy one.
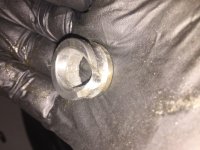
Ended up having to buy a new retaining ring and make a specialty tool, lesson learned
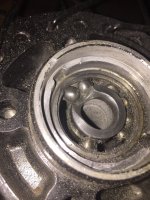
Then the bearing wouldn't come out for nothing I ended up using a rasp and moving enough metal where I could get the ball bearings out one at a time. Worked eventually. I'm sure that's not the preferred method. None of this was
Also the rear drum kinda looks like the millennium falcon
But in the end the tires look so good on. It's my favorite budget busting item. Or was at this point at least
I am sure that I am not the first to tell you that those tires unfortunately are probably the worst thing that can be fitted to a bike. The design dates back to the twenties or thirties - pre WW2 at least and have no place on any reasonably modern bike.
I am sure that I am not the first to tell you that those tires unfortunately are probably the worst thing that can be fitted to a bike. The design dates back to the twenties or thirties - pre WW2 at least and have no place on any reasonably modern bike.
Ha, I was waiting for this comment. Everything I have heard points to these tires being great for show bikes if you never plan to ride it... but far from great for actual motorcycle use.
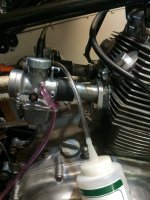
You can, but in this case that motor seems to work best with long intakes. We have really short inlet connections on both of ours and they need long velocity stacks to work well. If you have a spare pair, try cutting them 1/2" at a time and try it on the road or dyno. Rinse and repeat until you get where you want.
FYI, years ago everyone told me my CB72 inlets were too short, so I had up a whole range of inlet tubes machined to slip between the head and carbs and the net result was that it made no measurable difference to me on the track. Maybe it will make a difference at lower RPMs.
What size are those carbs at the slide? By that I am asking what is the slide diameter and what is the carb bore at the slide. Keihin tend to use the (larger) slide size as the stated size where Mikuni tend to use the bore, so a 28mm Mikuni tends to be much larger than a 22mm Keihin.
This site uses cookies to help personalise content, tailor your experience and to keep you logged in if you register.
By continuing to use this site, you are consenting to our use of cookies.