boomshakalaka
Over 1,000 Posts
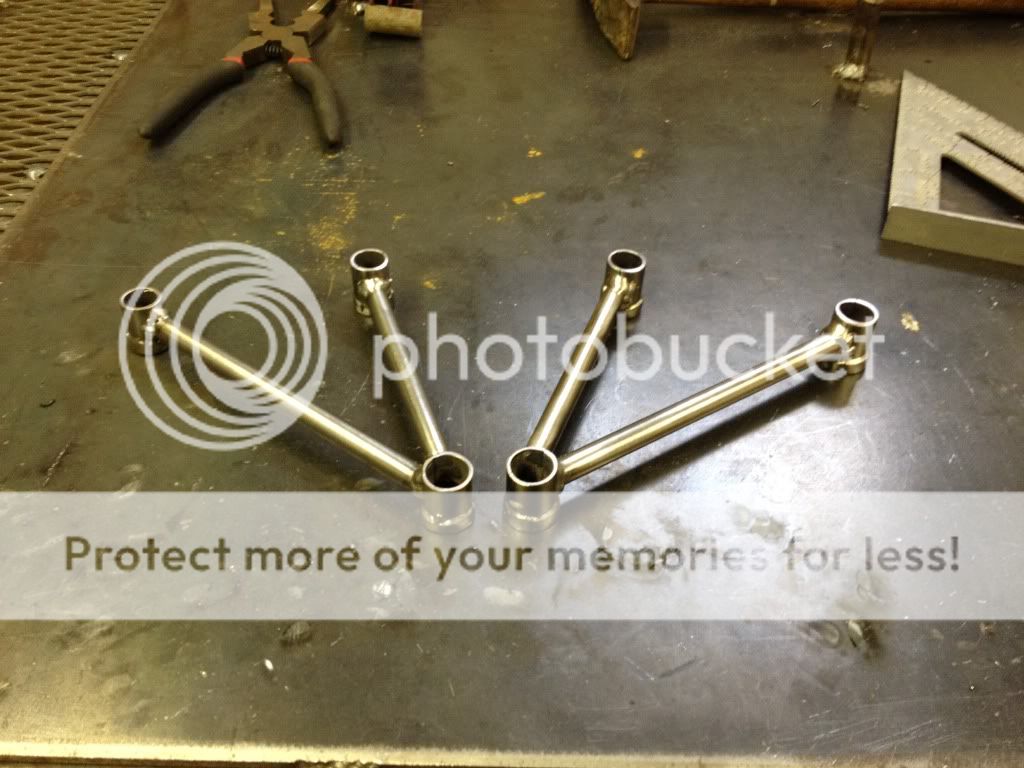
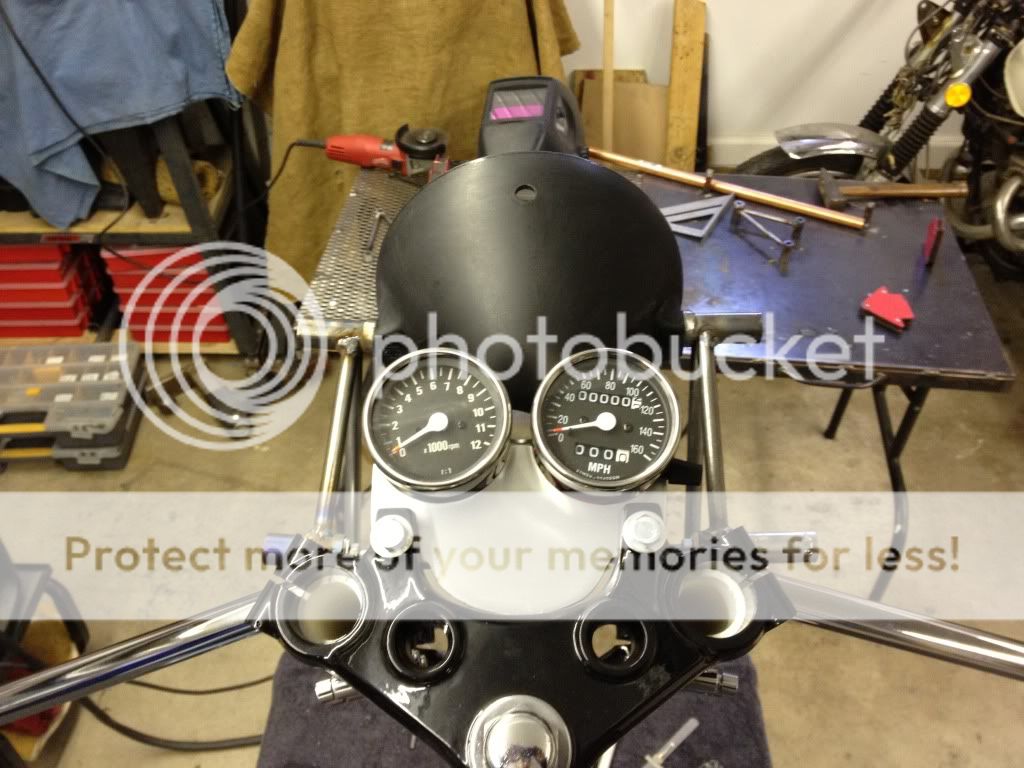
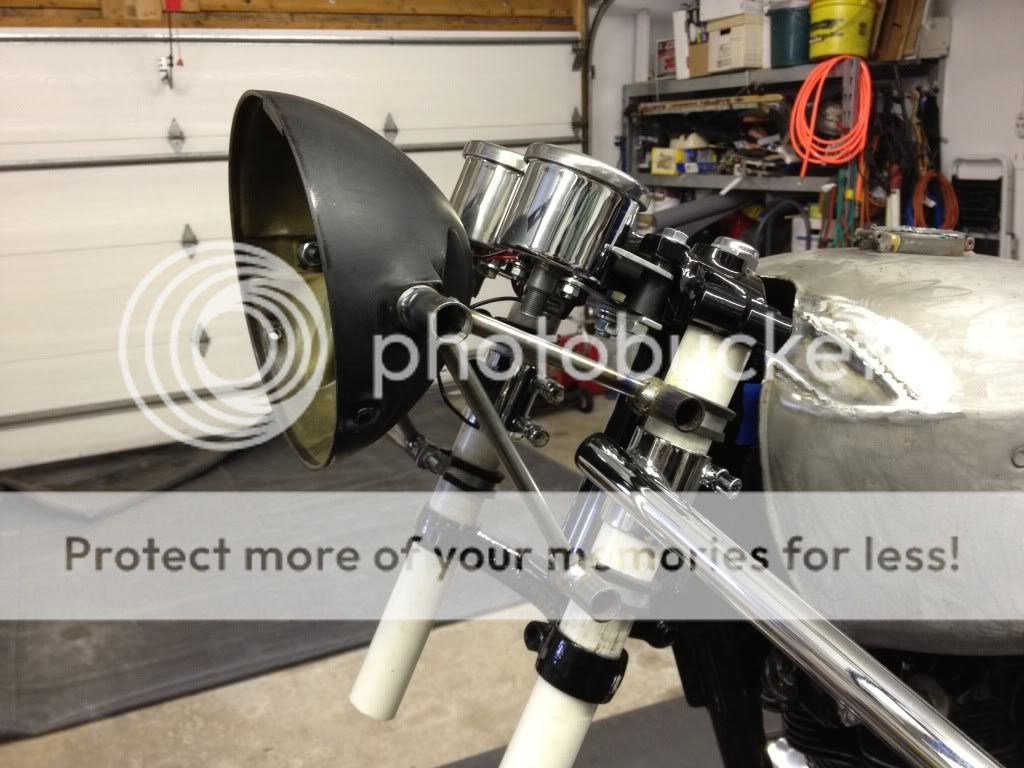
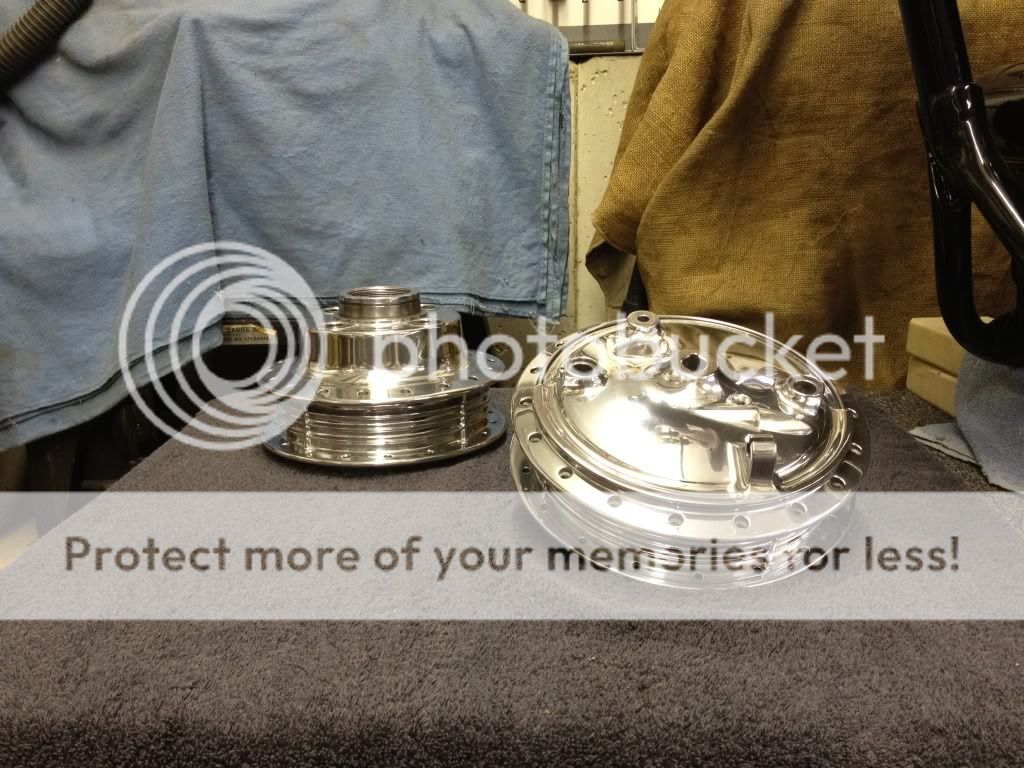
Re: 72 CL350 Build - updated pics and progress 2/12/12
be very very careful welding on metal that may have some remaining residue from strippers/solvents/cleaners/etc. I forget where I heard it, and it may have been an old wives tale, but I heard a horrible story about a hobbyist who was doing a bit of welding on something that had the slightest residue left on it from some sort of cleaner or stripper. The arc created a chemical reaction that released a gas which was fatal in an absurdly tiny dosage.
Also be careful welding a gas tank, because, well, it once held gas! If it smells like gas, there is gas.
I'm sure you already know all of this, but maybe someone who doesn't will happen upon this and think twice before haphazardly welding their way into an early grave. Nice work so far, keep it up.
")