'75 suzuki gt250...Buzzing around the block

Re: '75 suzuki gt250...back from the dead

Although it seems I've dropped off the thread 4 months ago, I didn't stop working on the bike. for a quick tl;dr, I finished the aluminum seat, ditched the fuel injection, drove it for a while, inner crank seals went, bike sat. I then started to re-evaluate the bike and I've started going back over what I've done, but haven't had time for. I picked up a honda magna for a daily driver so I've got a 2 wheel fix.

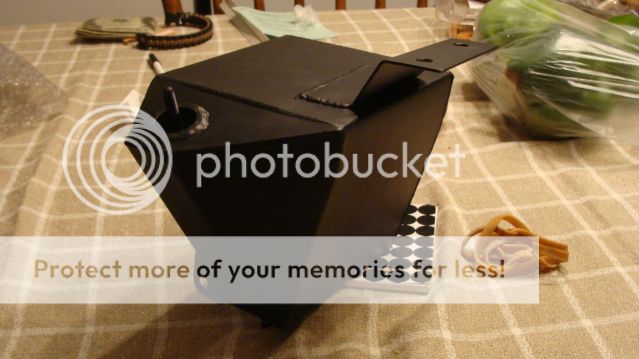
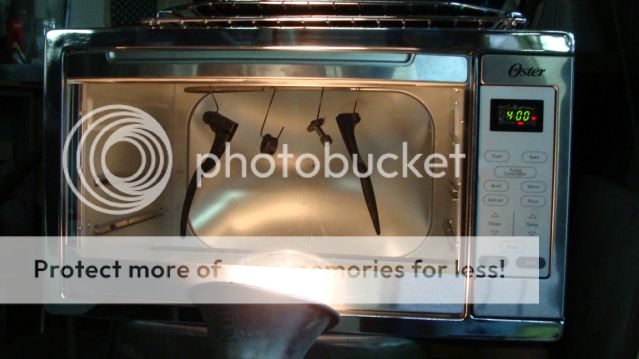
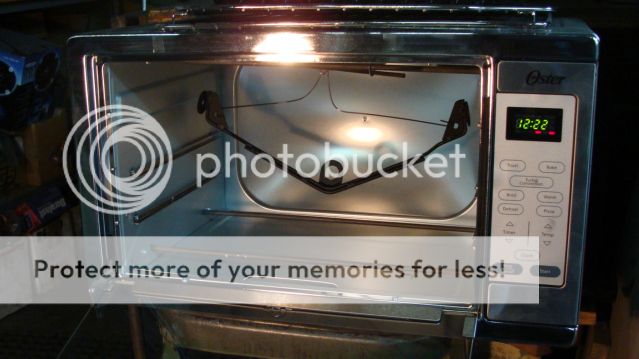
For a quick explanation for ditching the efi: I ran out of options for the battery charging situation, and with summer coming up, I looked at my options and boxed up the hardware. I don't plan on getting rid of the stuff unless someone wanted most of the machining work done already, vcoke?

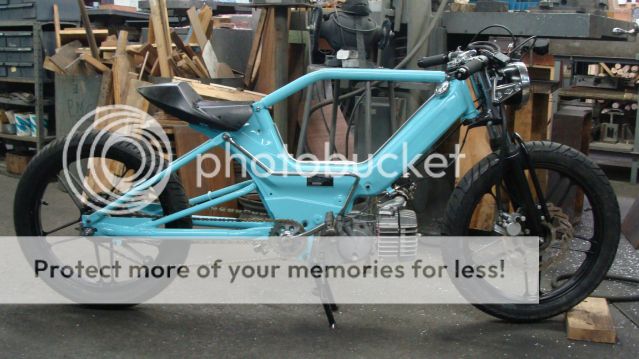
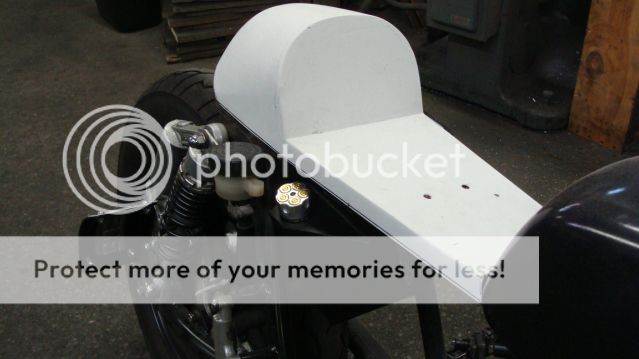
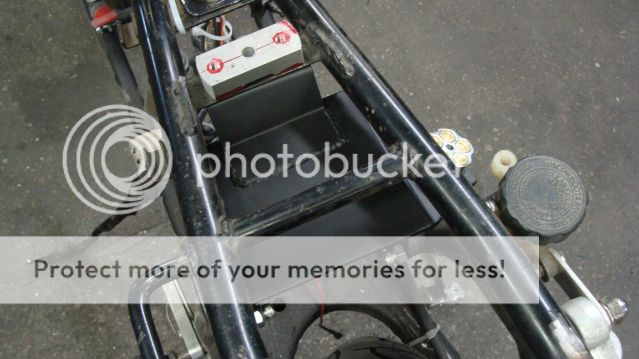
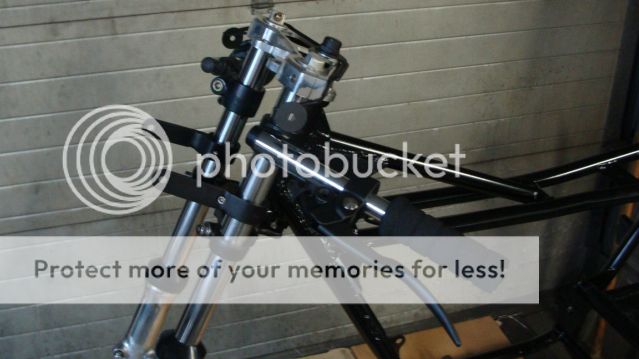
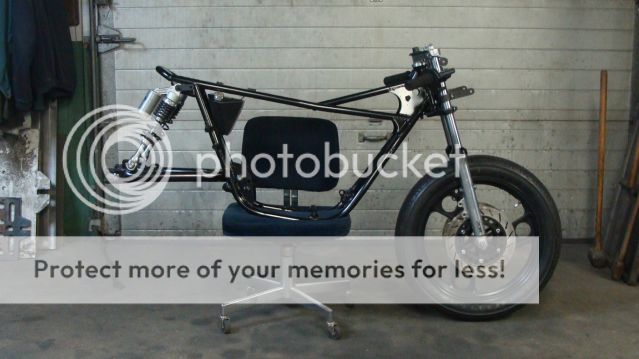
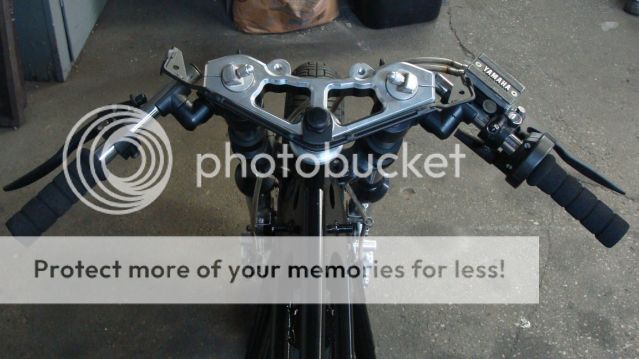
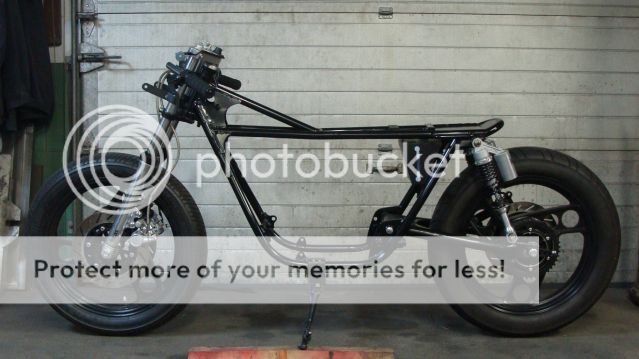
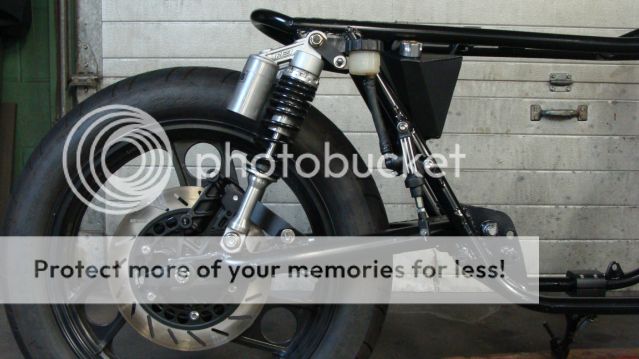
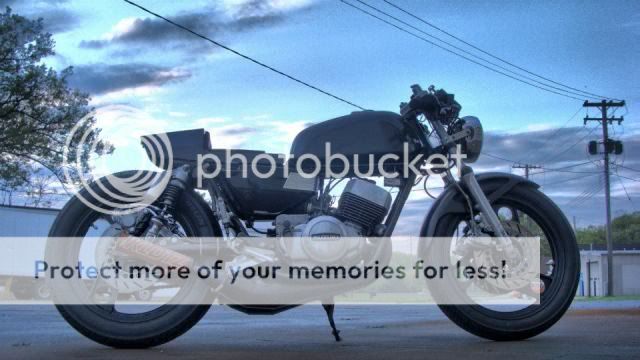
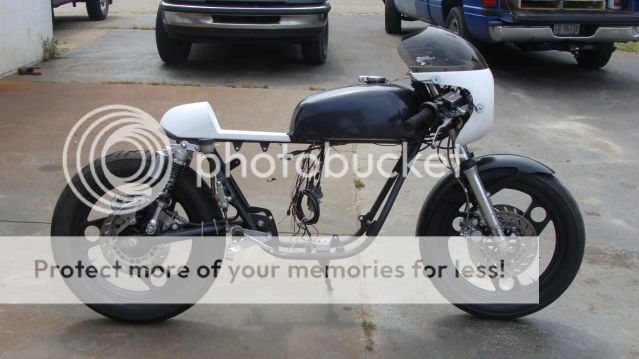
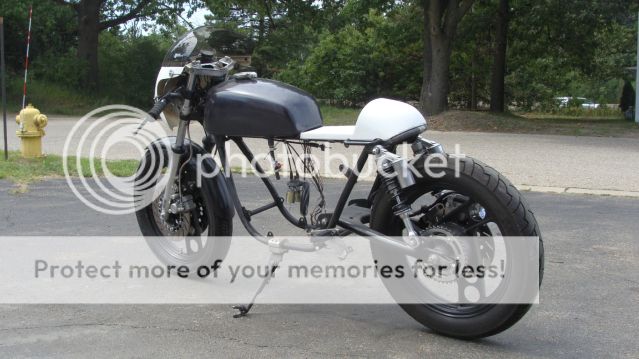
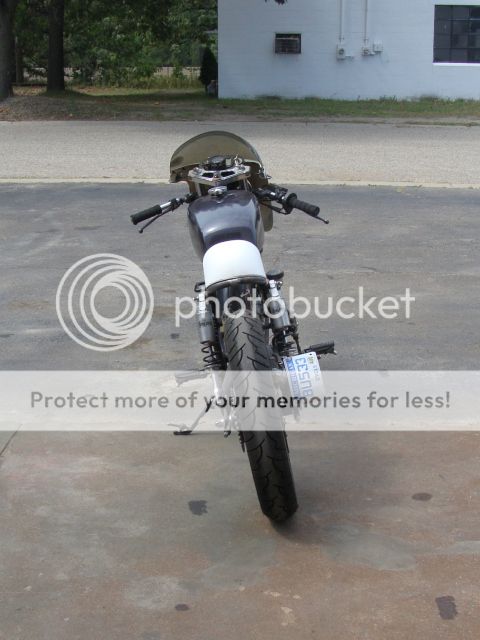
Heres what the bike looked like with the finished aluminum seat:

529906_10151655506860570_665024747_n.jpg

405112_10151655507040570_1459315085_n.jpg


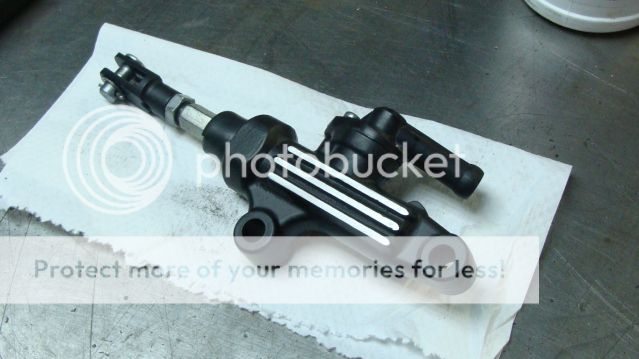
Once the crank seals went, I had to have the crank rebuilt. I already purchased the seals and bearings for the job, I just have been too lazy to get it sent out. On top of that, it keeps me from trying to rush the build considering it cannot be driven.

Heres a simplified list of what I wanted to accomplish for build 2.0:
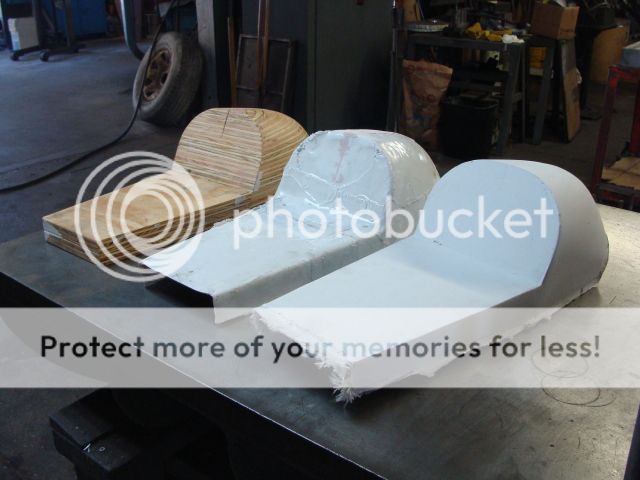
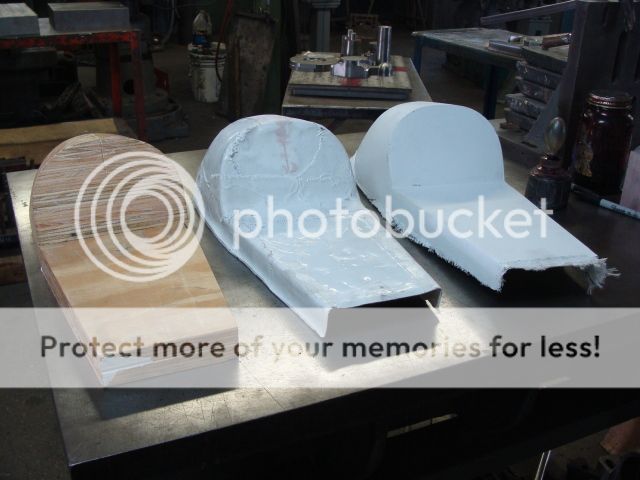
- new seat that would better fit the look of the bike(thanks vcoke, the seat makes the bike)
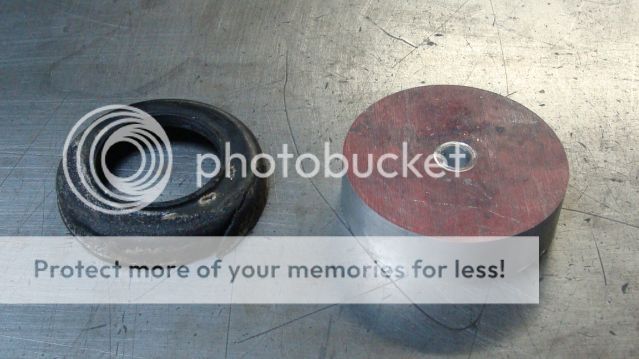
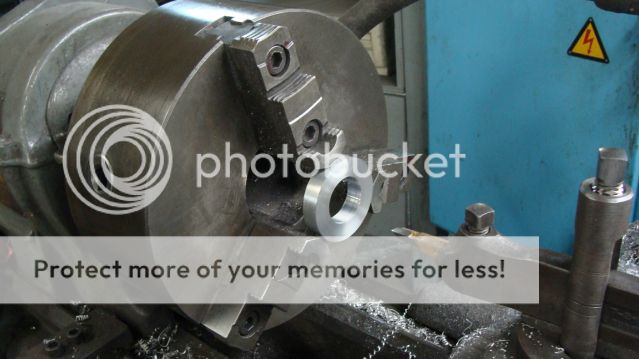
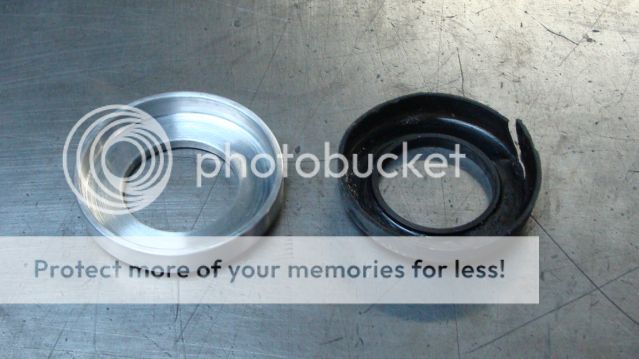
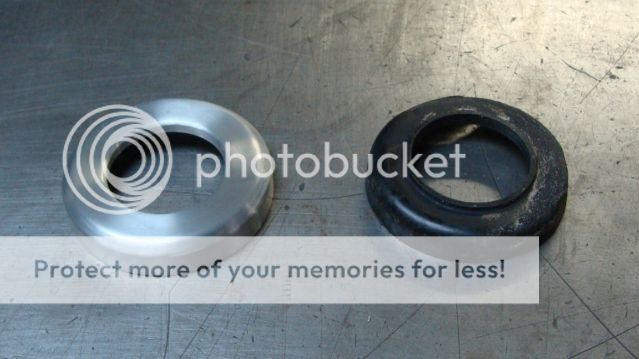
- raise the rear of the bike to get a better stance which will require some modification of the left exhaust
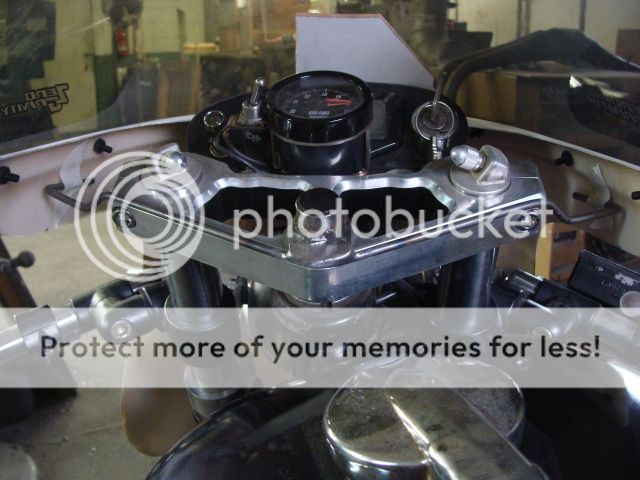
- attach 1/4 fairing with proper mounting
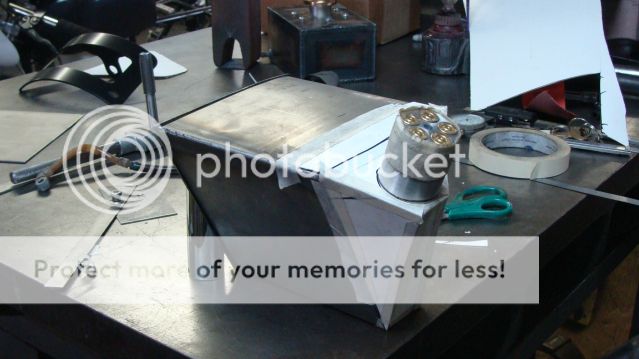
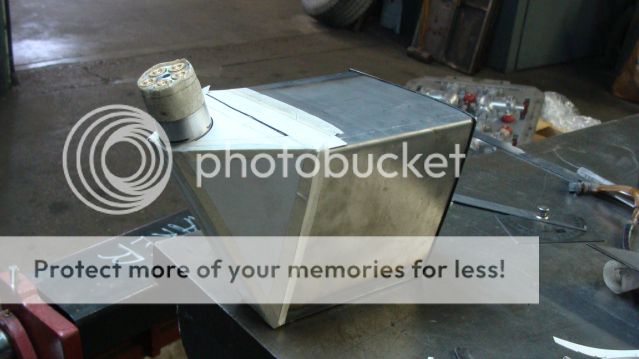
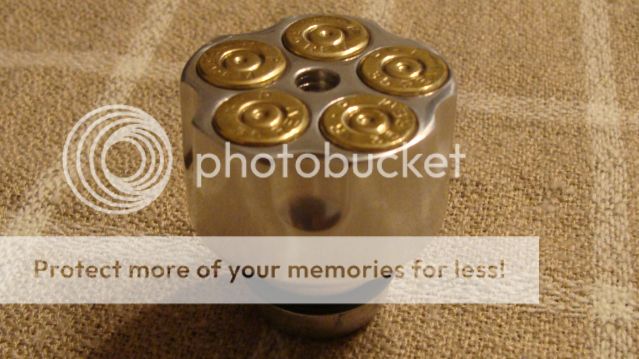
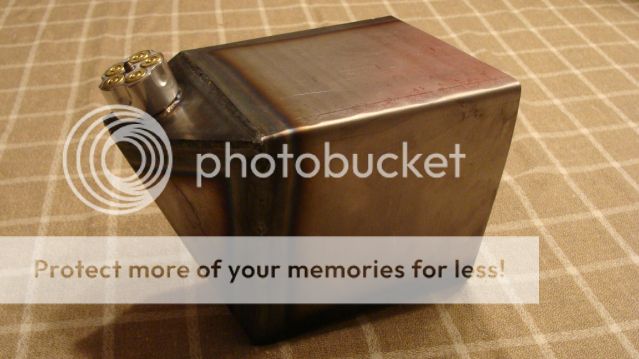
- remove the side covers and fabricate a new oil tank.

so far I've made progress on all of the points which I'll post accordingly.
 
Re: '75 suzuki gt250...Back from the dead

I had the quarter fairing taking up space for a while now, and I dug it out of storage to see if I would like it on the bike now that its "transformed" so much from before. heres a quick mockup:

DSC01069.jpg

DSC01075.jpg


as you can see in the pics I machined new shock lowers to raise the rear up to the proper height. I also pushed the front forks back to flush with the triple tree.

I made up some simple brackets from the headlight ears and a slightly more complicated one for the top.

DSC01142.jpg
\

From the above pic it wasn't completely finished yet but you get the idea. I used clips to hold the fairing on in a quick disconnect style so i can easily remove it without tools. It is very sturdy and should handle highway speeds just fine.

I then moved onto the seat. I spent quite a bit of time trying to figure out what I wanted. What I didn't like about the aluminum seat is how it left the frame rails open at the end, exposed and made it look half finished. I ended up fabricating a steel tube loop in the back to connect the two rails. I then did some work with posterboard and photoshop to see what look and size seat I wanted to end up with. Preferably the last seat I would like to have on the bike. I settled on the shape, and cnc cut it. I then fiberglassed the male mold to get the female cavity and fiberglassed the seat. Heres all three:

DSC01144.jpg

DSC01143.jpg


I have options for a tail light, but I'm still thinking on that.

Here is where the bike sits right now:

DSC01147.jpg

DSC01149.jpg

DSC01145.jpg
 
Re: '75 suzuki gt250...Back from the dead

Of course, that now leaves the oil tank. I did make a new oil tank out of a coleman propane tank. It did work, but I guess I didn't think about rubber mounting and it later failed at the bracket welds. I originally wanted the oil tank hidden under the seat but smoothly incorporating an oil cap on the top of the seat or some contraption to hide it made me push it to be in the corner of the frame like a generic bobber would have. I started out with this:

DSC01153.jpg


The tank will fit snugly in the back of the frame. You can see the way I'll tell how much oil is in the tank. Instead of having an angled pipe going off the side of the tank for the fill, I designed the tank to stick out slightly on the right side to shoot the fill cap away from the frame, right next to my rear brake fluid reservoir. Using posterboard made easy work of the angles needed for the shape:

DSC01156.jpg

DSC01155.jpg


If you paid close attention to the above pics, you might have also seen my oil cap I designed earlier. Heres the story on that:

Started out with big chunk of aluminum and some spent remington 35 casings:

DSC01150.jpg


Then some more work with the turntable on the mill:

DSC01151.jpg


and the chopping of the casing to the correct length:

DSC01152.jpg


and press fit into the cap:

DSC01154.jpg


with a little more lathe work, o ring, and a good polish, I ended up with this:

DSC01159.jpg


So heres the oil tank is at right now. Theres a threaded rod that goes through the oil cap to lock it in place. I have the sight glass panel to weld in then I'll move onto the mounting.

DSC01158.jpg


I'll try to keep this updated as I'm now far less busy with work and other stuff. If anything, I'll keep snapping pictures so I can upload them down the road. thanks for reading
 
Re: '75 suzuki gt250...Back from the dead

The fairing addition really takes it there. Are you going to revisit the fuel injection? Great to hear some updates :)
 
Re: '75 suzuki gt250...Back from the dead

I finished up the oil tank. Turned out very nice with no leaks and I was able to use the original rear fender mounts and the seat mounts.

DSC01161.jpg
 
Re: '75 suzuki gt250...Back from the dead

Amazing work. I love that oil cap and I'm happy to see some updates. If you don't mind me asking, did you go to school to learn how to build like this or have you just learned on your own?
 
Re: '75 suzuki gt250...Back from the dead

It was a slow transistion from small rc cars when I was little to the hobby grade nitro rc in my teens. Then moved onto vintage mopeds and now motorcycles. Along the way I picked up the necessary skills to do my own work. What really didn't make sense though is that I worked at mcdonalds after highschool for my first real job. However it gave me the cash to work on my projects. Now I work at a race/vintage car restoration shop where I can use and expand my skills. I still mess around with the vintage mopeds with a few buddies. We built this puch maxi over the winter.

20-1.jpg


This is the front of the shop a few months ago, you can see the 65 corvette getting a new frame, a little Beach race car and the owners original 427 cobra up front. Thanks, Joe

DSC00266.jpg
 
Re: '75 suzuki gt250...Back from the dead

Put in a few more hours on the bike tonight. If you couldn't tell from the finished oil tank, its powdercoated. I picked up a harbor freight gun and some bottles of matt black powder. I looked at options for a home oven or a large toaster oven. I can get both for about the same price, but the home oven would take much longer to heat up, use more energy, and needs 220 volts. I picked up this "toaster oven" but I'd rather call it a table top oven for $100 brand new from walmart. The interior room is 15" wide, 9" tall, and about 14" deep. I can fit just about everything I want, other than swingarms and frames. On top of that, it only takes 4 minutes to get to 400 degrees and operates on 120 volts. I first modifed my levers, removing the ball from the end and sanding it to a nub.

DSC01172.jpg


In the oven, along with the triple tree top nut and the clutch cable adjuster

DSC01177.jpg


I also powdercoated the brackets for the front fairing:

DSC01174.jpg


Heres the batch:

DSC01181.jpg


And heres a few more pics showing the oil tank mounting on the bike. I still have to chop the bracket in front of the oil tank and thread in the sight tube on the side.

DSC01178.jpg

DSC01179.jpg

DSC01180.jpg
 
Re: '75 suzuki gt250...Back from the dead

So f--king cool man, love your work
 

Attachments

  • DSC01159.jpg
    DSC01159.jpg
    202.9 KB · Views: 1,378
  • 20-1.jpg
    20-1.jpg
    231.1 KB · Views: 2,571
Re: '75 suzuki gt250...Back from the dead

More work done, much more added to the "to do" list. I've stripped the bike down to the frame so I can properly finish taking off the tabs and give it a fresh coat of paint. I got more stuff powdercoated and got made up an aluminum bearing cover to replace my old one.

Heres the modified lever and clamp, both powdercoated with polished bolts:

DSC01186.jpg


The headlight brackets powdercoated as well. I also powdercoated the headlight bucket too. It had small specs of rust through the chrome and the inside was pretty bad. I'll get a pic of that once I get the front end back on the bike.

DSC01187.jpg


I pulled the brake disks and coated the inner part. Now they match the rims and make the polished mounting bolts pop.

DSC01195.jpg


The next few pics show the build of the new bearing cover:

DSC01188.jpg

DSC01189.jpg

DSC01190.jpg

DSC01191.jpg

DSC01192.jpg


I also coated the lower tripple and removed the fork lock. Just a few more things knocked off the list.

DSC01193.jpg

DSC01194.jpg
 
Re: '75 suzuki gt250...Back from the dead

Another big update. I've been putting in the hours after work and have a list of things accomplished. I got the rest of the tabs on the frame removed and gave it a shot of semigloss black.

DSC01198.jpg


It only took an hour or so to get it to this point. It all bolted on and was already clean and ready to go.

DSC01199.jpg


Heres a closer shot of the front forks. Very clean.

DSC01200.jpg

DSC01201.jpg


I made up a new spacer to replace the speedo drive on the rim. So now the front wheel is on.

DSC01202.jpg


For the calipers, I blasted off the paint and gave them a good brushed/polished look. If I spill any brake fluid or get a leak, there wont be any paint for it to eat.

DSC01204.jpg

DSC01206.jpg


Here's a good view of the clipons. I should've taken a new pic of this angle. The clipon bars can be slid in or out depending on how long you want your bars. I moved them in each a half inch and that shortened the spread from 27.5" to 26.5". Its not a big difference but it will lessen the "wings" on the front end.

DSC01207.jpg


I powdercoated the rear master cylinder. Before:

DSC01208.jpg


After:

DSC01209.jpg


When I took off the rear rim I took notice of the spacers I made. One of them was damaged because of the soft aluminum. I copied it in steel to replace it.

DSC01212.jpg


And here is where it sits right now. I've started on the bondo work on the seat and should be able to get that and the fairing painted sometime this week. The seat and fairing will be semigloss black, and the tank will be candy gold.

DSC01213.jpg

DSC01214.jpg

DSC01215.jpg
 
Re: '75 suzuki gt250...Back from the dead

Joe, I must have missed it, but why did you ditch the EFI set up after all that work? Was it proving impossible to set up properly or was it unreliable? Two stroke EFI is very hard to set up, or so I hear.
 
Re: '75 suzuki gt250...Back from the dead

The main issues for going away from efi was a reliable tach input and enough power to charge the system. I tried a few different options for the tach, and each worked, just not consistently. It would be much easier if the bike was already equipped with electronic ignition. Along with that, I would need to double the alternator output to keep up with the system. I haven't' sold anything for the conversion. What I would like to do is save it for another project that is more "user friendly" that would be a more permanent option. This is somewhere along the lines of a stroked banshee engine in an rd frame. There are available stators that put out 200 watts and already have cdi.

I've sent out the crankshaft today and should be receiving some headlight rubber cushions and an analog/digital tach. I've already got 100' of braided sleeve for the wiring. Thanks, Joe
 
Re: '75 suzuki gt250...Back from the dead

When I saw the chassis on the swivel chair I was expecting the next picture to show the resulting carnage following the 'swivel chair doom plunge'! Had a sigh of relief when I saw you'd got it off before the pesky critter had spat your pristine work across the concrete floor.
Swivel chairs ........ can't trust 'em, can't swivel without 'em ;)
 
Back
Top Bottom