Follow along with the video below to see how to install our site as a web app on your home screen.
Note: This feature currently requires accessing the site using the built-in Safari browser.
We noticed you are blocking ads. DO THE TON only works with community supporters. Most are active members of the site with small businesses. Please consider disabling your ad blocking tool and checking out the businesses that help keep our site up and free.
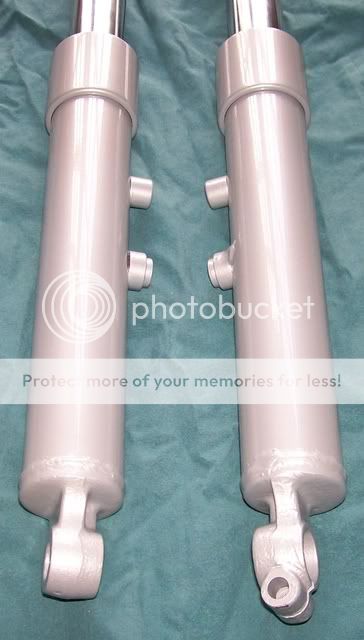
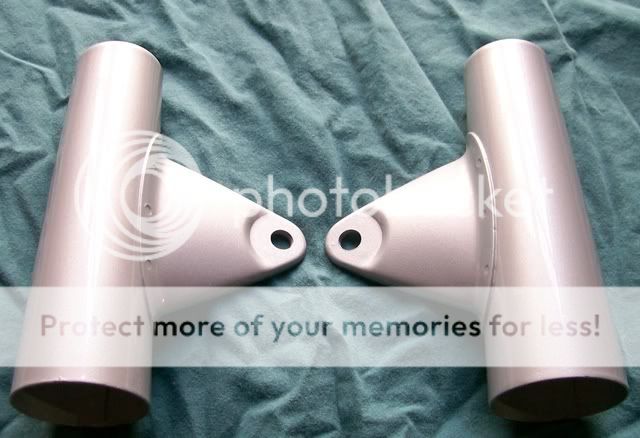
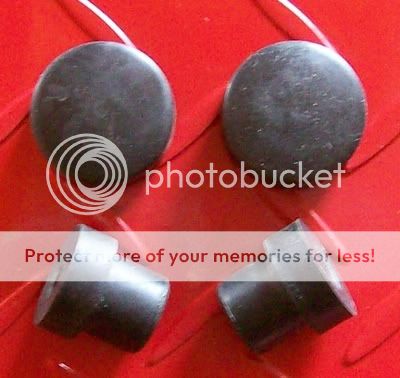
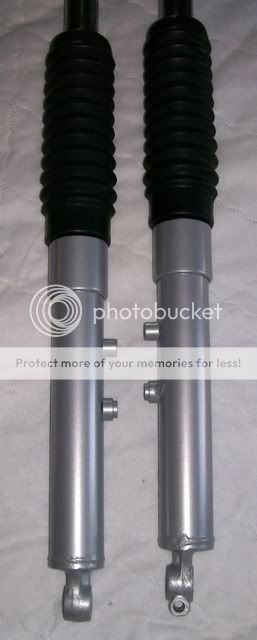
I have been working on restoring several different parts for the Bridgestone, today I finished the final smoothing of the front forks, installed the new fork seals, cleaned the fork springs and boots, restored the metal boot cups, and sprayed the silver basecoat on the fork lowers.
I am waiting to finish all of the silver parts before I clearcoat them however this photo shows how the forks look this evening.
Now how is it that a bike which is nearly 41 years old has parts that look 10 times better than the parts on my 2003 motorcycle. You truly make this old bike look better than new again!
Now how is it that a bike which is nearly 41 years old has parts that look 10 times better than the parts on my 2003 motorcycle. You truly make this old bike look better than new again!
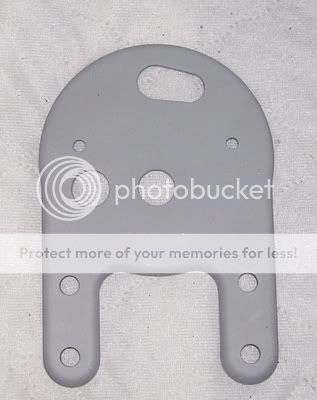
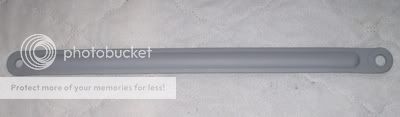
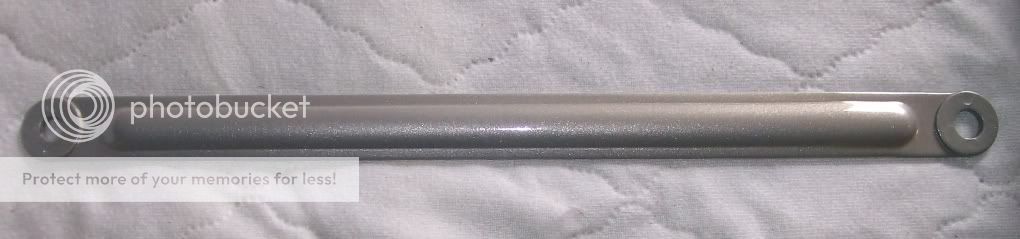
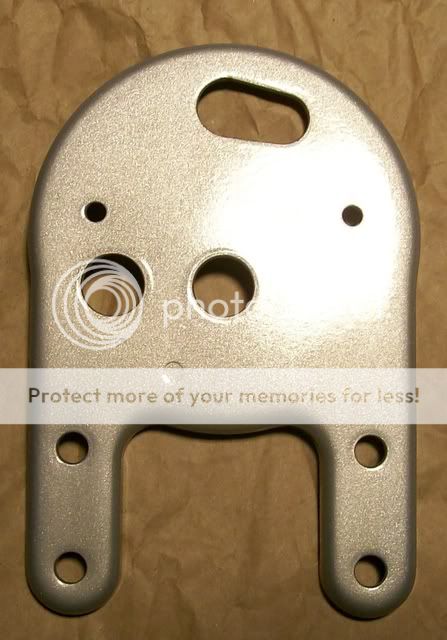
I have been working on restoring a lot of the small parts for the Bridgestone and have several pieces in primer, these photos show the speedometer bracket and the rear brake stay.
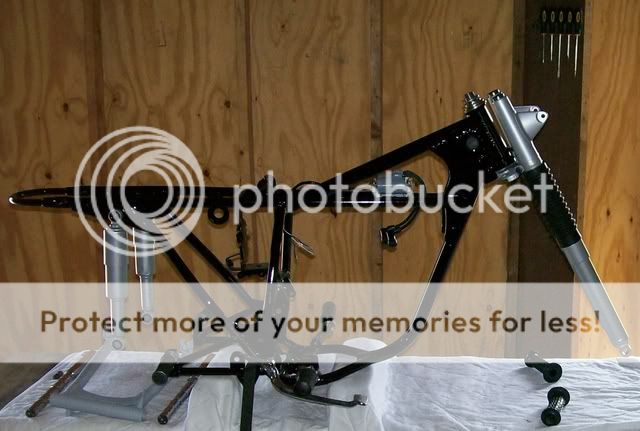
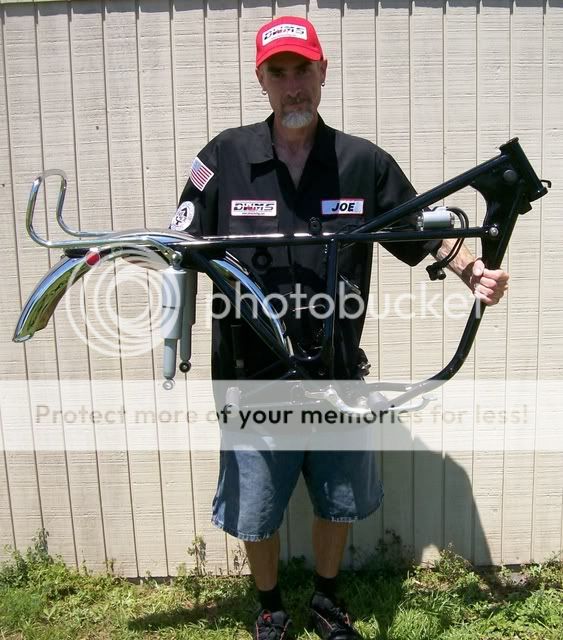
Today I also got the frame sitting on the bike table, a couple of the small pieces for the lower triple tree are out for chroming so I can not permanently fasten the front end yet however I set it on the frame to see how she looks and to keep it protected.
8) Looking good! Can't wait to drop the parts off to the Chrome shop which should be this week coming up. Also just received word that the jugs/pistons/rings are in the shop getting Nikasel coated. Should have those back in your hands in 2 weeks time!
8) Looking good! Can't wait to drop the parts off to the Chrome shop which should be this week coming up. Also just received word that the jugs/pistons/rings are in the shop getting Nikasel coated. Should have those back in your hands in 2 weeks time!
That is great news on the cylinders Brother and I can not wait to see her with all of the new chrome mounted!
I clearcoated a lot of the silver parts for the Bridgestone today and they came out even prettier than I had hoped, the parts are curing now so I will take photos and add them here tommorow!
out of curiosity what has been your results with sharkhide? Bad memory but assume this is the same stuff that was mentioned after bead blasting alum? No yellowing or issues on a hot motor/cylinder jugs?
out of curiosity what has been your results with sharkhide? Bad memory but assume this is the same stuff that was mentioned after bead blasting alum? No yellowing or issues on a hot motor/cylinder jugs?
Brother you are correct, sharkhide is what we used on the blasted covers for the La Pastinaca engine build. Brother Habanero52 is still building his chassis so it has not been tested on that engine yet however we did test it on some polished engine covers for a team members bandit 600 and it is doing well so far. The shark hide leaves a nice semi gloss looking finish on blasted aluminum however when it is applied to a polished aluminum surface it leaves a light rainbow finish. I applied it to the footpeg mounts for the Bridgestone which are clean steel and it left a nice satin clear coat looking finish.
I clear coated some more parts today and they are curing now, I have not taken photos of all the parts I clear coated yesterday however I thought I would share photos of a few of them so you can see how they look now!
thanks for the heads up. I cant remember if I got this below link off here or just general searching but after media blasting my indian cases just the oil on my hands presented a problem. Glad I found sharkhide through your post but also wondered, and posed the question to the guy on the website, if the vapor blasting would even help or get rid of the bead blasting porous issue. Wasnt sure if you might have had any experience with the vapor blasting.
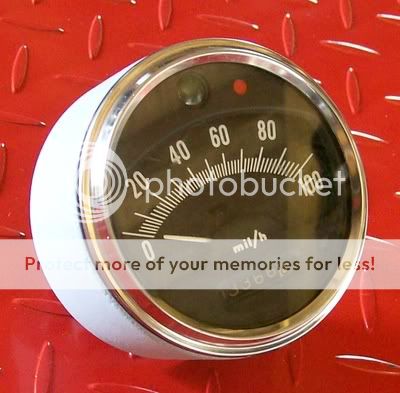
I have been working on restoring the last few small pieces that we will be painting black or silver and only have a couple pieces left to spray with primer and I will be ready to paint them all, I will add photos of them after I am finished painting. One of the pieces is the speedometer which had red paint overspray on the lens and trim ring which I was able to remove by polishing, the outer case also had a lot of small pitting which I repaired. Here is a photo of the speedometer in primer.
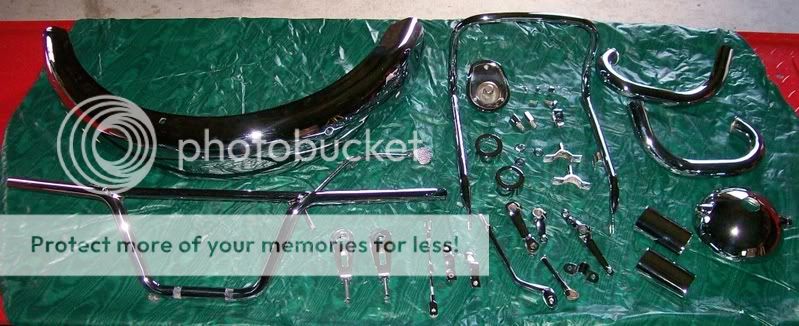
Brother Casi85 shipped all of the pieces he had rechromed back to me today, I looked like a child on Christmas morning unwrapping all of these pretty parts! Hahahaha!
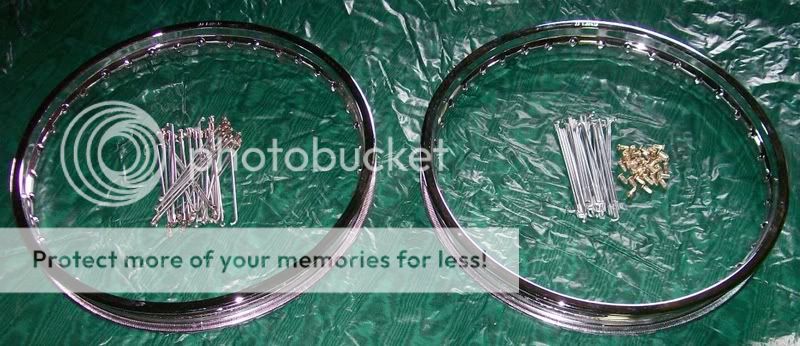
I also started sanding the aluminum pieces for polishing including the top triple tree and the brake hubs for the rims, I will add before and after photos of the aluminum pieces as I complete them as well. There were also a lot of nice new parts in the packages I received today including new rims and spokes so as soon as I finish sanding and polishing the hubs I will assemble and true the rims.
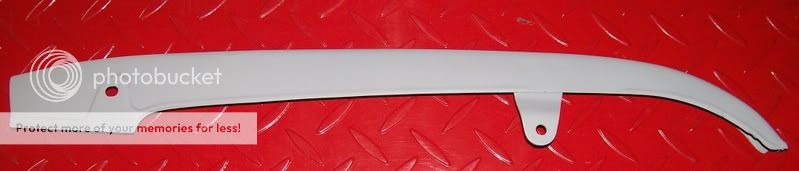
Today I worked some more on restoring the last few small pieces that we are painting either silver or black for the Bridgestone. The chain guard that was on the motorcycle had heavy rust damage so Brother casi85 included a replacement chain guard in the parts that I received from him yesterday, today I started restoring it with the other parts as it will be silver and I was able to get it sprayed with primer.
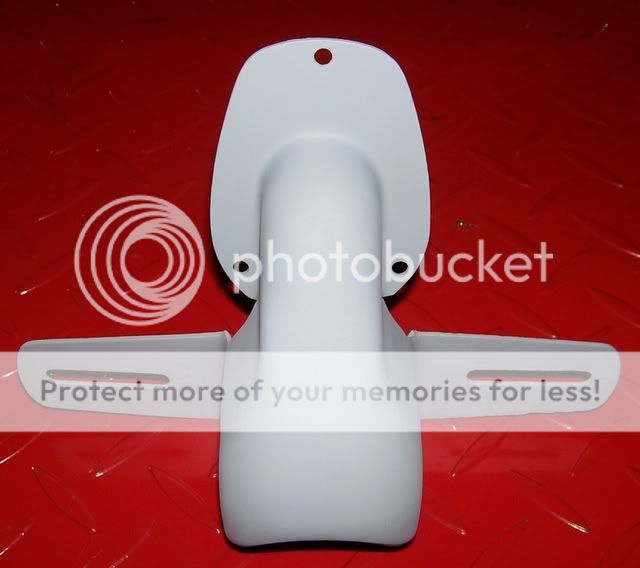
This photo shows the tail light and tag bracket that I also worked on restoring today and was able to spray with primer.
I had originally planned on trying to finish some of the paint work on the small parts today and I was able to spray the silver basecoat on the chain guard and the back side of the tail light bracket however it rained this afternoon and there was a lot of moisture in the air so I sanded some of the aluminum parts instead.
I am working on a lot of different parts however I would like to complete the front end components first, this photo shows the restored speedometer bracket with the silver base coat and clear coat.
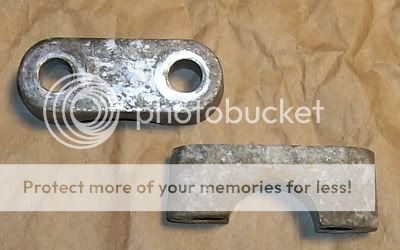
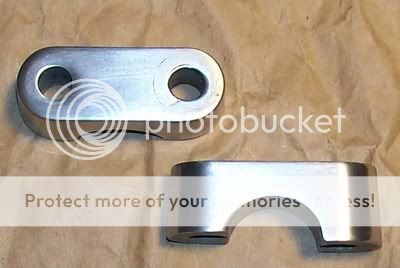
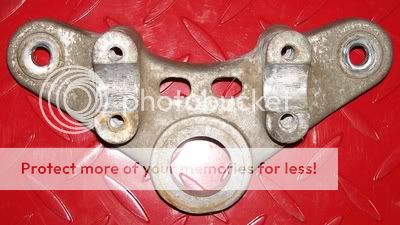
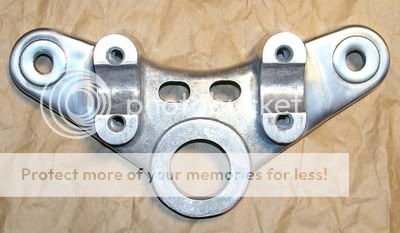
Brother casi85 would like all of the aluminum pieces to be as close to factory as possible so he has asked me not to remove the casting marks, etc. and give the parts a light polish. I worked on the front brake plate this afternoon as well as a few other pieces for the front end. These photos show the handle bar clamps and the top triple tree, I still have more work to do before they are complete however this is how they look this evening.
Brother casi85 has purchased a lot of beautiful new parts for this build including all new rubber, this photo shows the new rubber for the fual tank mounts that I installed on the frame today.
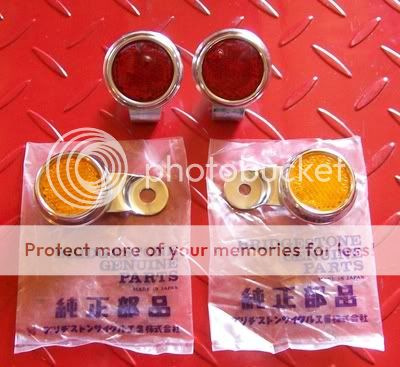
He also sent new old stock reflectors for the front and rear of the motorcycle, I installed the rear ones on the frame today.
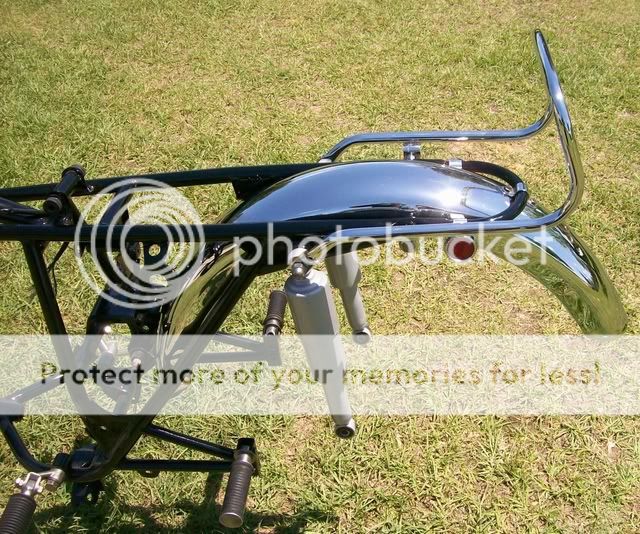
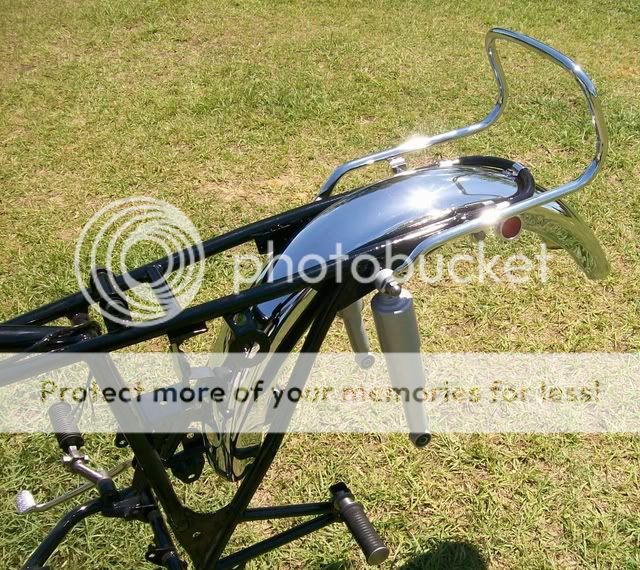
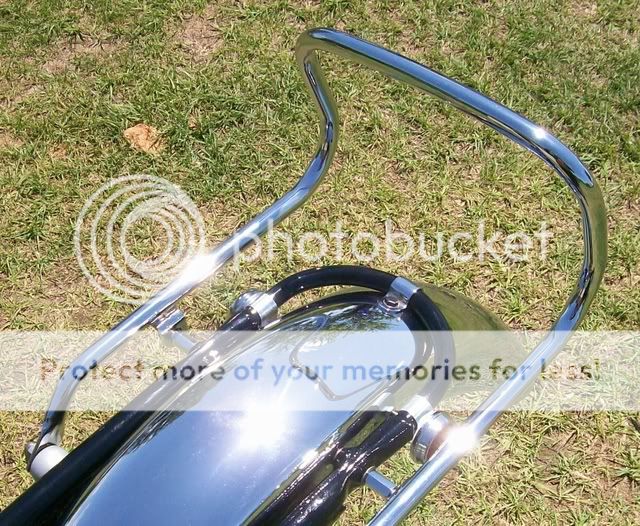
I normally like to build a motorcycle starting at the front and working my way back however when I started work this morning I could not resist bolting some of this new chrome to the frame so I installed the rear fender and grab bar with their brackets and mounts which were also just replated with new chrome. I carried the frame outside to take a few good photos, you can also see the rear reflectors mounted to the frame in these photos.
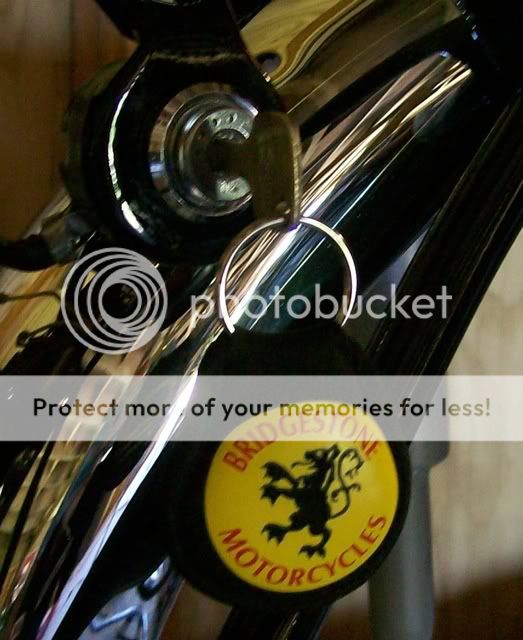
I also mounted the ignition switch just because I wanted to have this cool keychain on the frame!
I am going to get back to work on the front end and will try to post more photos this evening!
This site uses cookies to help personalise content, tailor your experience and to keep you logged in if you register.
By continuing to use this site, you are consenting to our use of cookies.

 ;D
;D