Follow along with the video below to see how to install our site as a web app on your home screen.
Note: This feature currently requires accessing the site using the built-in Safari browser.
We noticed you are blocking ads. DO THE TON only works with community supporters. Most are active members of the site with small businesses. Please consider disabling your ad blocking tool and checking out the businesses that help keep our site up and free.
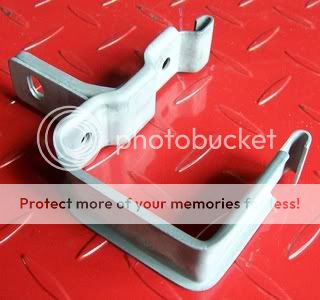
I spent a few hours today working on some of the small parts like clamps and brackets, etc. I did not take photos of all the small parts however here are a couple that show the exhaust clamps and the bracket for the battery and oil tank.
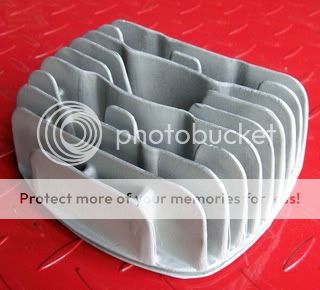
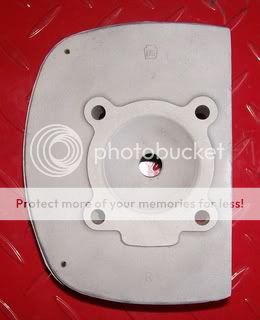
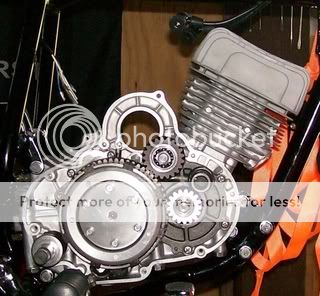
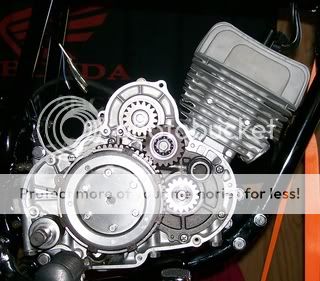
The original right cylinder head had some heavy pitting in the combustion chamber and around the gasket surface area so Brother casi sent a really nice replacement head, this afternoon I also blasted it so that the finish would match the left cylinder head and the cylinders.
I set the cylinder heads on the engine and this is how she is resting this evening!
Brother I just went and looked at your thread and your frame looks beautiful! I saw your tank the other day on facebook but I had no idea you already got the frame in! I will definately be following your build and if there is anything I can do to help just give me a call man!
The engine is free and has great compression for sitting so long. Generally, everything is super solid on it...well, except for all the rubber pieces. And yeah, the badges look great...even the seat is in great shape. I'll have to admit I was really lucky to find this one.
I might start on this project this summer...but not likely until the fall or even winter. Too much else on the go. I bought a 70' Suzuki Stinger at the same time (from the same guy). Also a great little bike.
casi85 said:
@jenkinsm - WHAT A GREAT FIND! I bet they are sisters! hahahaha! She looks to be in great shape compared to how I found mine. Was the motor free or seized up? Yours has the traditional badges which are really cool looking. For some reason they had a dealer installed option called the "checkered" which had some checkered flag logos on the tank and a few other places which my bike had installed.
I cant wait to see her running again! If you need along the way let me know!
Brother jenkinsm it would be so sweet if you could get her running, the old Stingers are awesome as well and I absolutely love the shape of their fuel tanks!
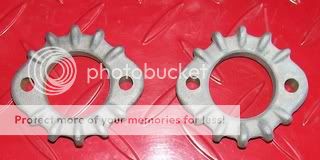
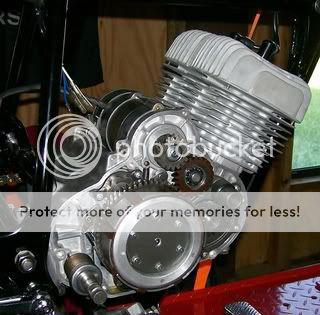
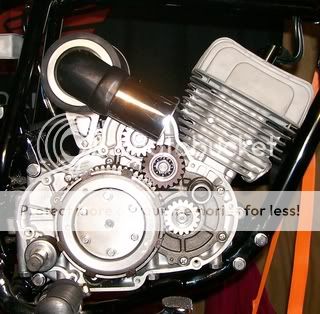
I spent a lot of time working on the Bridgestone today and was able to restore the cylinder head nuts and finish the complete assembly of the top end. After completing the top end I was a little ahead of schedule so I finished the installation of the oil line that runs underneath of the generator to feed the right cylinder so that I could start working on mounting the generator, once we completed the oil line I finished restoring the generator strap as well as the rest of the generators hardware and installed the generator, strap, all of the mounting hardware, and the generators drive gear to the engine.
I did not take a lot of photos of the small parts as I really wanted to complete the top end and the generator today so I worked pretty hard without stopping however this is how she is resting this evening!
Yes she is getting so close, I have been working long days all week trying to get as much done as I can so we can hear her running soon! I do not set the benchmark man, you are all very talented creative builders that do absolutely beautiful work and I am very blessed to know and be able to work along side of you all here! Thank you so much for your support Brother!
casi85 said:
8) 8) 8) 8) 8) 8) 8) 8) 8) Looking Good! At this rate it will be getting ready in no time! Hope the chrome pcs I sent down came out OK and are usable.
Brother I can not wait to hear her take her first new breath of life! I have been working on her hard so we can see her all togethor very soon! The chrome for the front fender that you sent arrived safely and is absolutely beautiful!
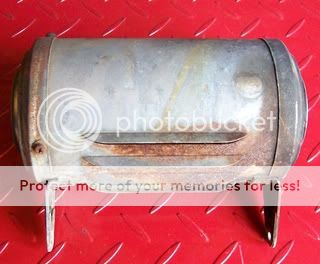
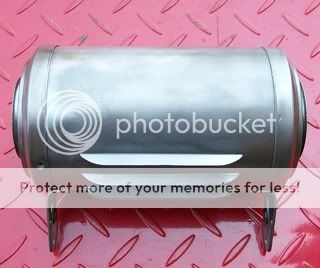
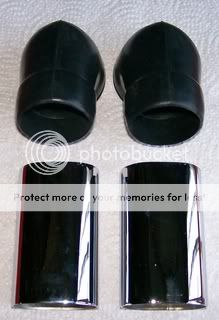
Today I spent some more time working on some of the small parts for the Bridgestone, I installed the battery bracket to the frame first and then restored the left side covers post and the oil tanks lower bracket and installed them to the frame. I decided to work on the airbox next so I spent a couple hours restoring it, sealed it with shark hide, mounted it to the engine, and installed the new rubber elbows that Brother casi sent as well as the tubes that he had rechromed. I also cleaned, sealed, and mounted the kickstand as well as a few other small pieces of hardware.
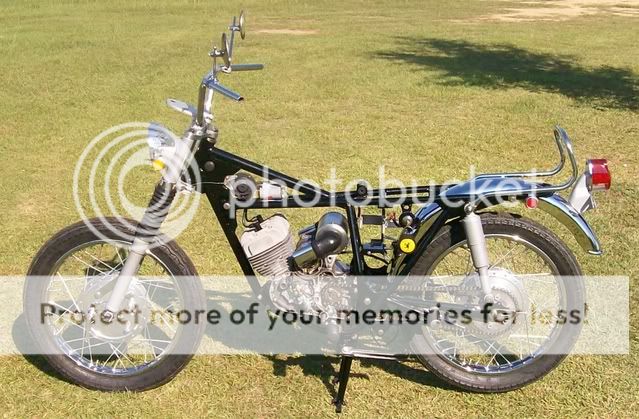
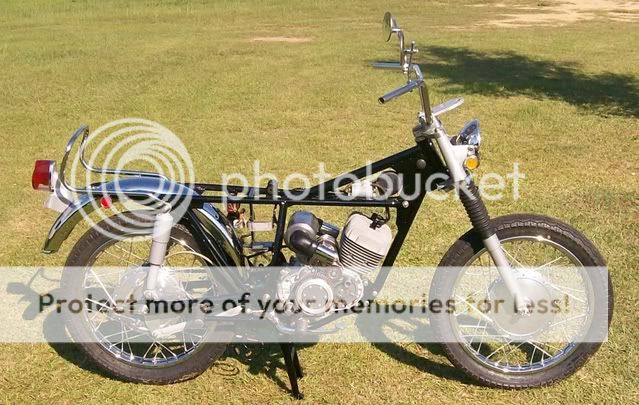
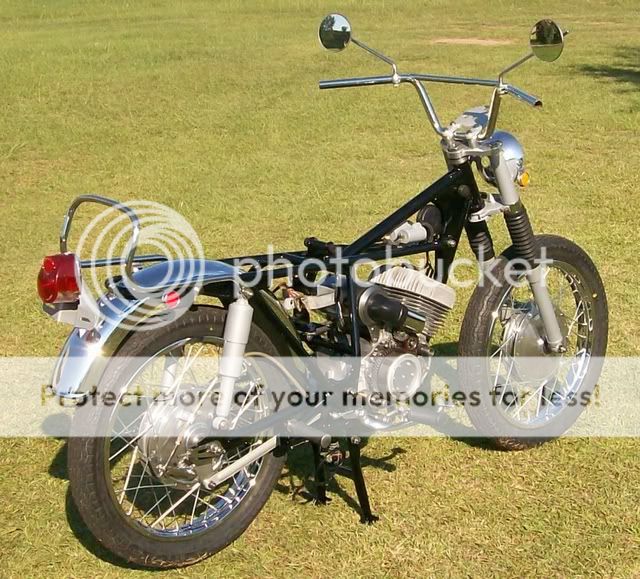
I also realized it has been a while since I have shown how the whole bike is looking so I rolled her outside and took a few photos!
Joe, She is looking amazing... I still am amazed at your ability to turn old parts that I would normally deem unusable into showroom quality parts. Keep up the great work.
PS you may need some sleep this weekend after the long hours working on her this week!
Thank you so much for the compliments Brothers, you all know that your kind words are my inspiration! I apologize for the delayed response, we closed last week for the 4th of July holiday and a family reunion however I have been working on restoring the handlebar controls so I will start adding new photos again today or tomorrow! My Brother Jason offered to paint the tins so he has them and is preparing to paint them, I can not wait to see them when they are completed as his paint work is absolutely beautiful! While Jason finishes the tins I am working on finishing the handlebar controls, carburetors, engine side covers, exhaust, and wiring so she should be ready to take her first new breath of life within the next few weeks!
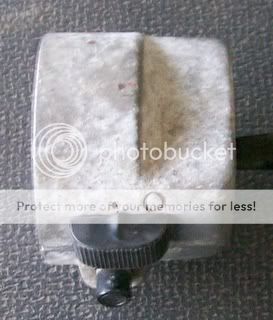
The handle bar controls for the Bridgestone had a lot of corrosion so I have been working on restoring them over the last few days, Brother casi has a great vision of retaining the classic factory look of this motorcycle so I did not remove the factory casting marks or imperfections.
This photo of the left handle bar control shows the condition that all of the parts were in before I started working on them.
I wet sanded all of the controls by hand to remove the corrosion and I still have some fine sanding I would like to do before I lightly hand polish them to match the other aluminum pieces that we have already restored on the motorcycle however this is how they look so far. The left perch in this photo is a new old stock part that Brother casi sent.
This site uses cookies to help personalise content, tailor your experience and to keep you logged in if you register.
By continuing to use this site, you are consenting to our use of cookies.