Follow along with the video below to see how to install our site as a web app on your home screen.
Note: This feature currently requires accessing the site using the built-in Safari browser.
We noticed you are blocking ads. DO THE TON only works with community supporters. Most are active members of the site with small businesses. Please consider disabling your ad blocking tool and checking out the businesses that help keep our site up and free.
Re: Building my own two-stroke "Mongrel" - Inspired by CharlieT & TedT
Yeah I mean the rear end is not exactly what I want but I gotta compromise on it to a degree. If it sucks I'll bandsaw it off and rebuild it differently down the road. The only shorter shock I've found so far is cbr954 but it has an attached resivour that will be problematic also
Regarding the swing arm angle: To lower this to acceptable levels, You would be compelled (as Teazer mentioned) to lower the front end to get acceptable rake. It appears that ground clearance would not be an issue. I don't see alternative solutions of any viability at the rear, as the pivot and counter sprocket location would be much more work to modify. Sliding the fork tubes or accepting reduced travel with shorter springs, etc., seem the only solution. IF the bike is to be off-roaded, I think you will need to re think the use of the SV front end.
Love the build, watching attentively!
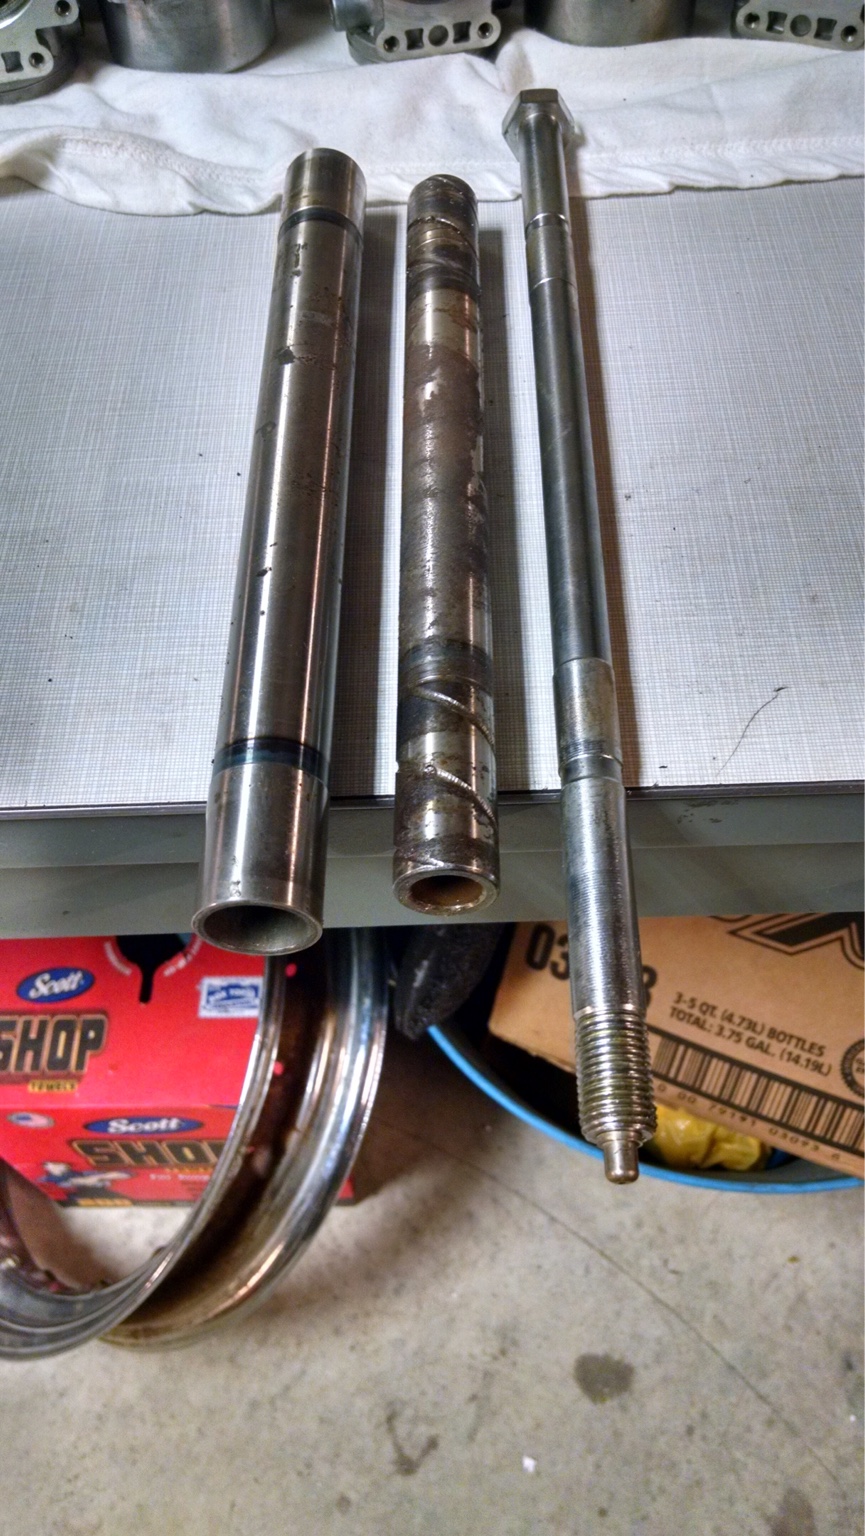
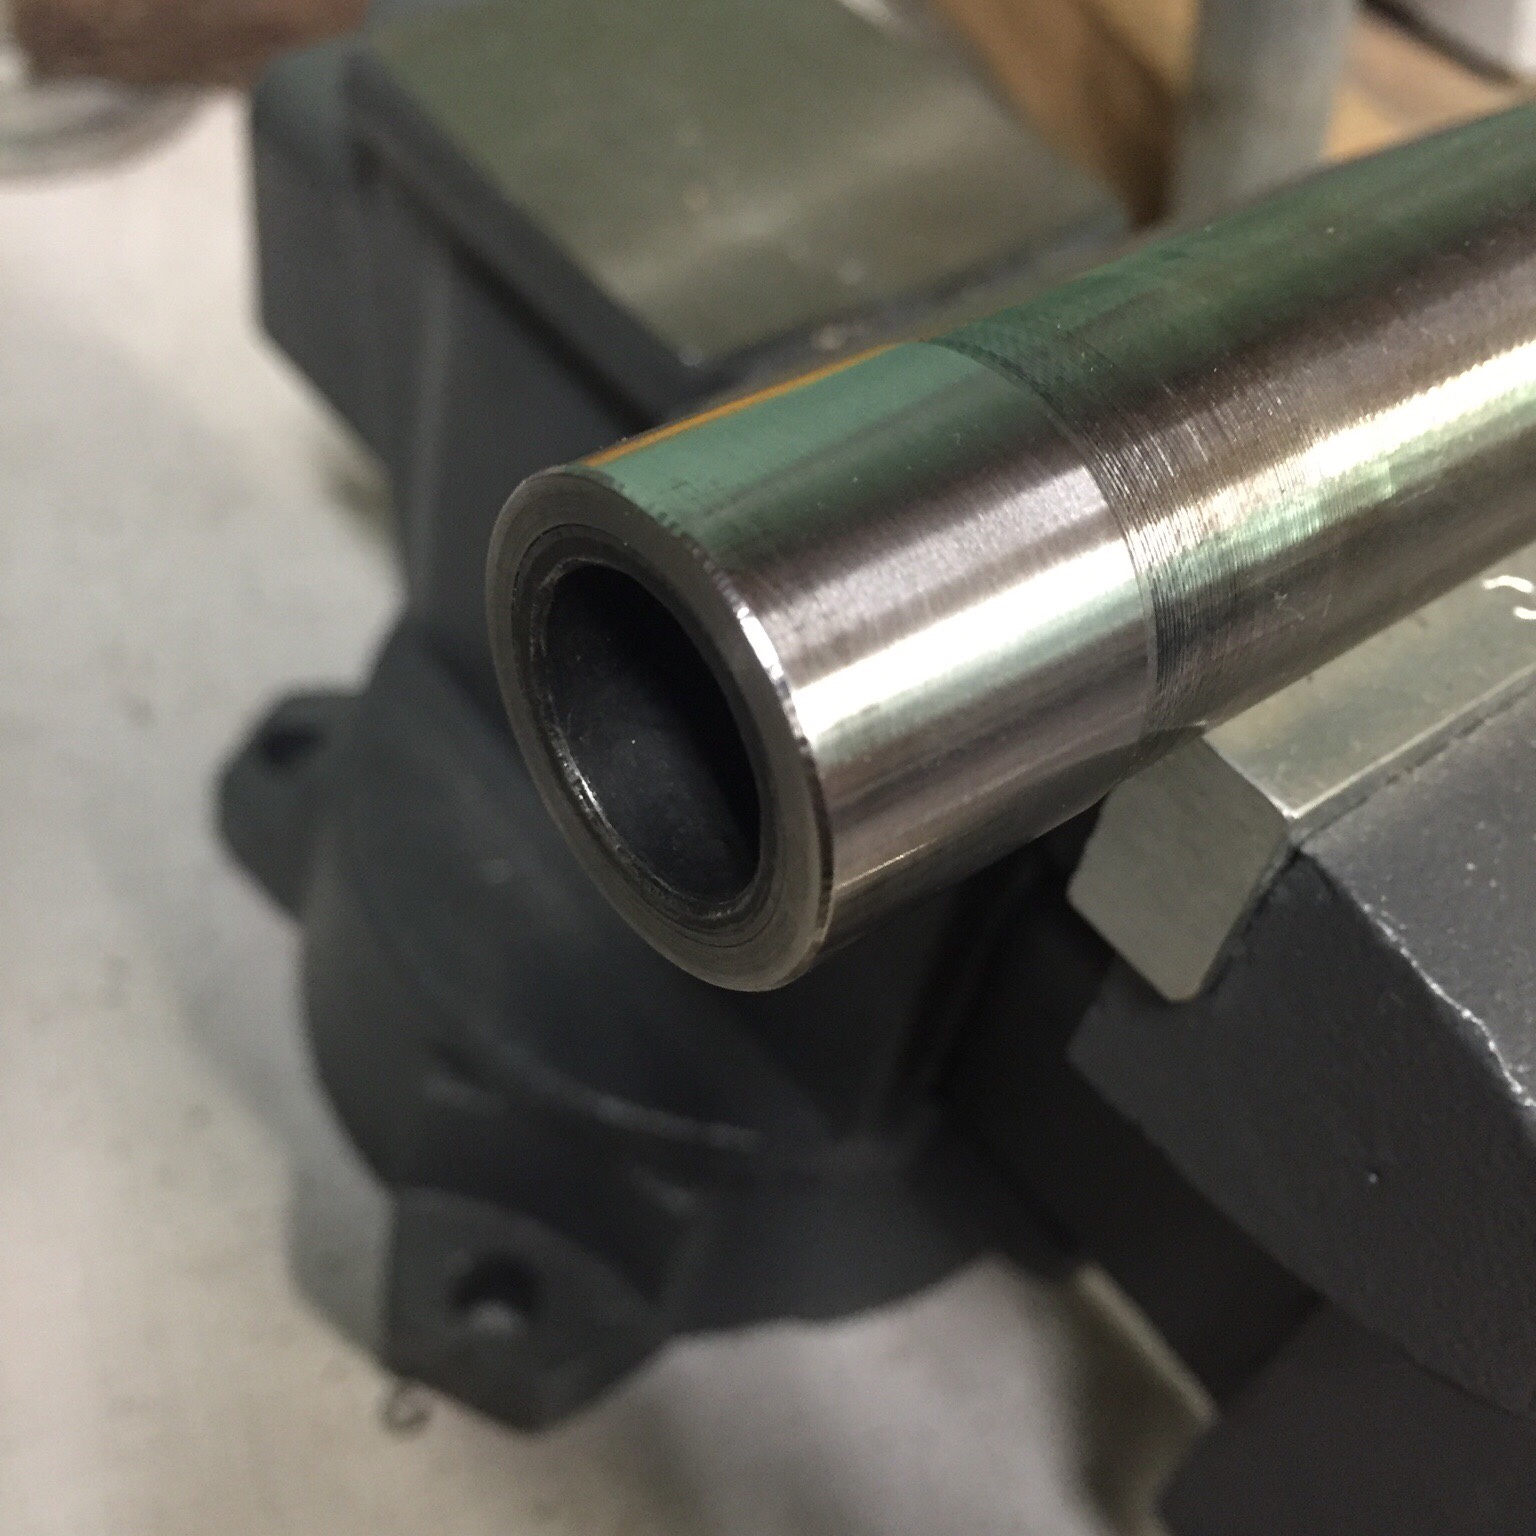
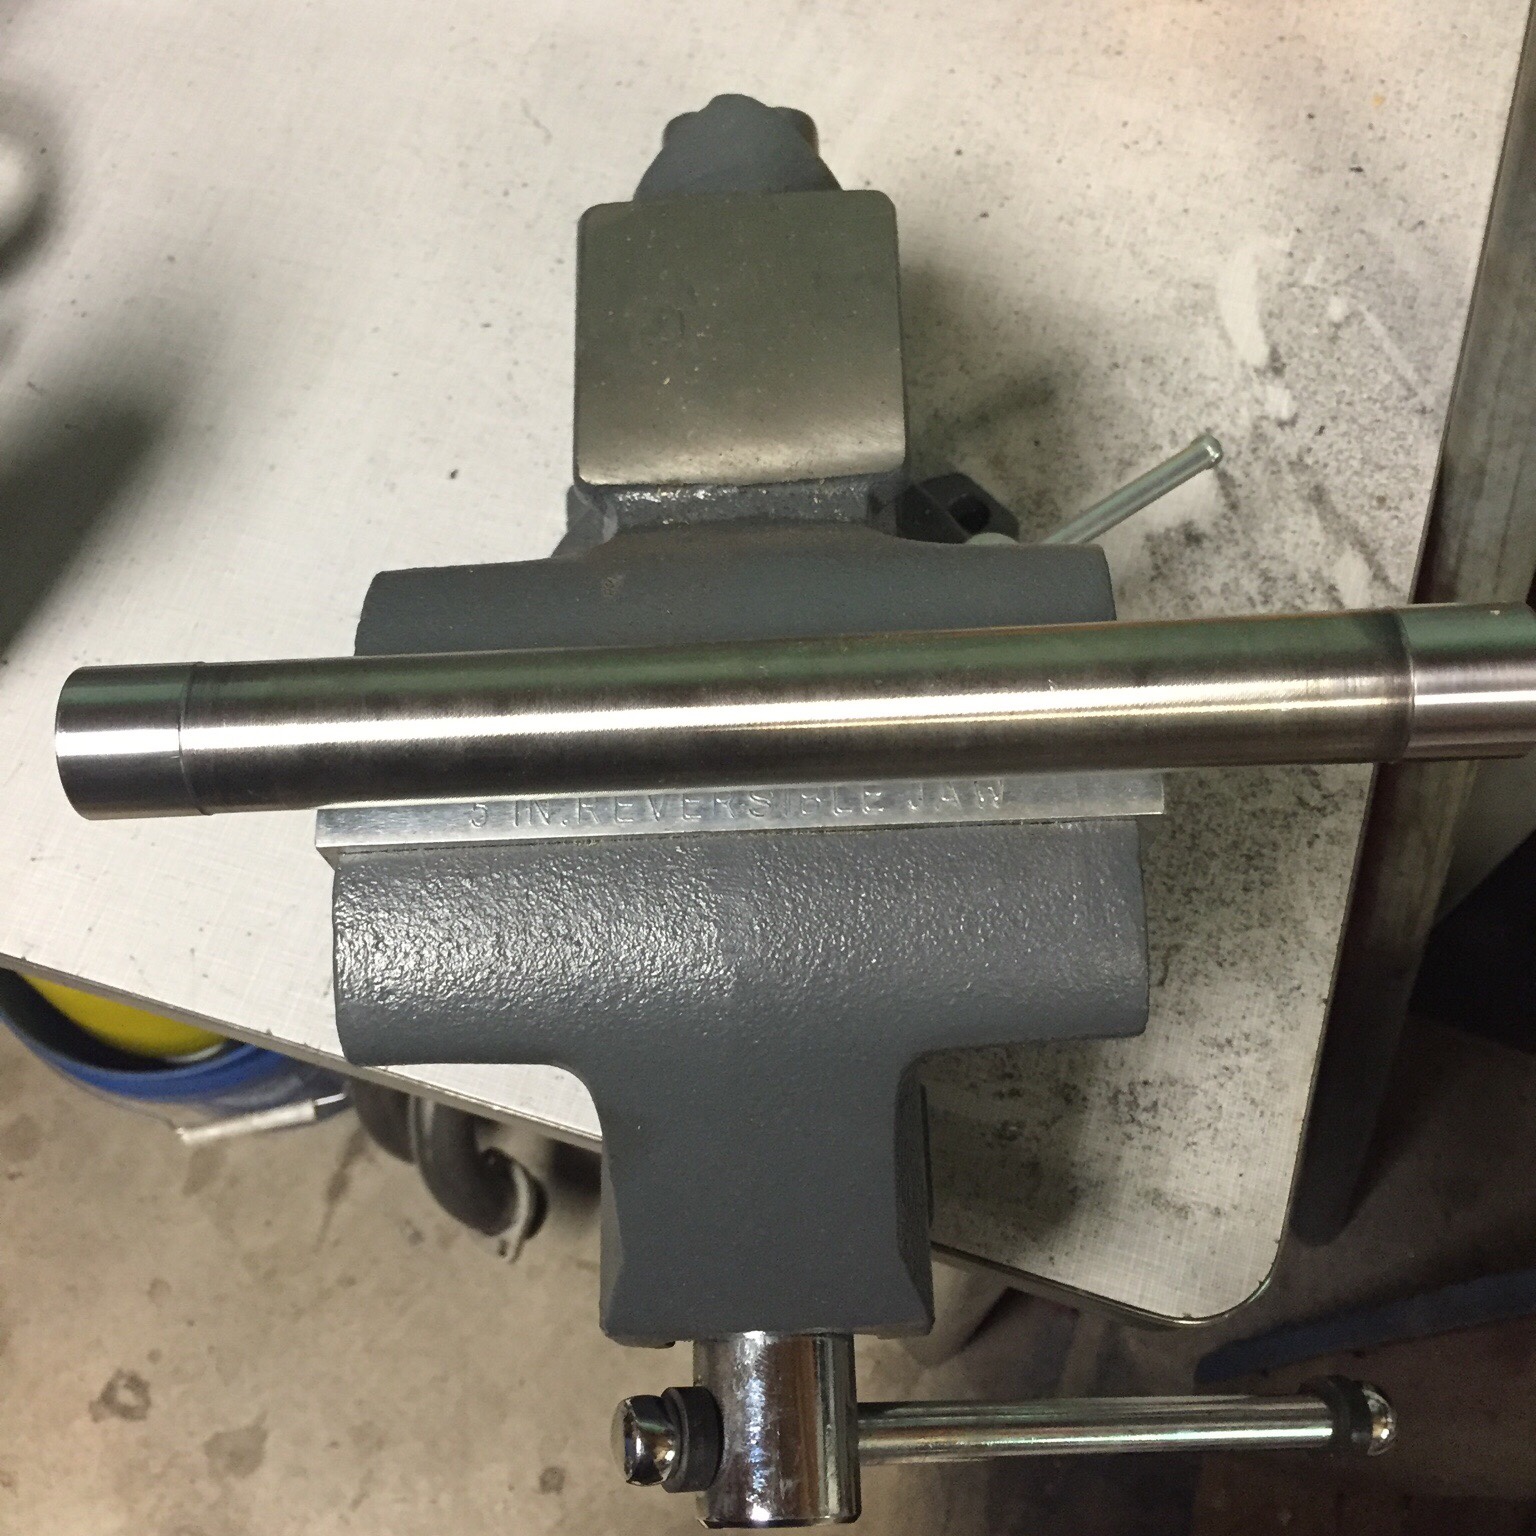
I don't know if I can explain it clear, but I did a similar swingarm mod on two of my bikes. I used the stock axle, the inner race/tube from both the donor and stock swingarms. What I was able to do is skim just a few thousands off the stock race/tube and press it inside the donor race and I did plug weld the first one. This allowed me to use the stock pivot axle on both.
If I can get the photos off my machine I'll post em so you can see what I'm talking about then take em down to keep your build thread clean.
Very cool project mang!
Found some XB pics from when he did the one for the KZ1R pivot.
Just had another thought with this shock conundrum - anyone ever been brave enough to hack up a shock body with an attached reservoir and drill/tap a port for a remote reservoir to attached to it, instead?
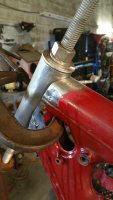
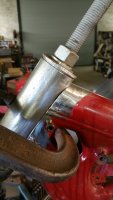
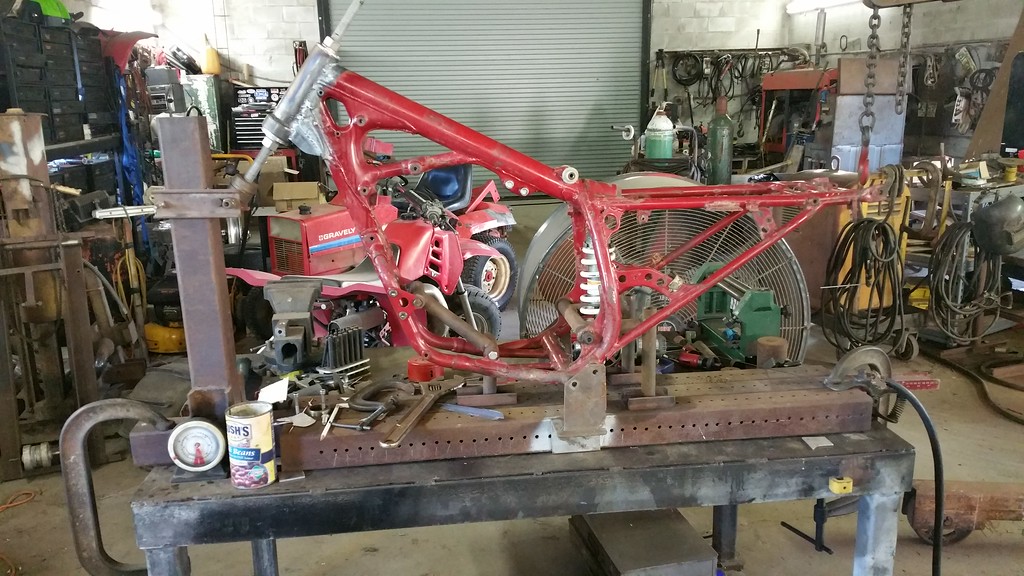
Need to leave it in the jig, have to go out of town for work for a few days, want to add some triangle gussets to catch the bottom of the steering neck back to the frame and over its old steering stops. Contemplate putting a saddle gusset to wrap around the neck also perhaps...have not decided. Frame was kinda rusty and thinner than I would have liked there.
What kind of rear-sets do you guys usually look at and consider for a project like this? Mounting style not particularly important since I know I'll have to be fabricating new frame mounts anyhow, I'd like for them to be bolt on and have a bit more of a further back type position like a crotch rocket rather than a straight down feet position. I've looked at a lot on ebay and the chi-com ones are tempting I must admit for the price, but a bit too blingy for my tastes personally.
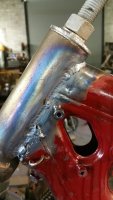
So I wanted to add some triangulated corner gussets on the bottom of the steering neck back to the frame. Mostly because in order to help compensate for the different in front and rear tire height, i needed to slide down the steering neck, so I couldn't really "center" it perse on the back bone.
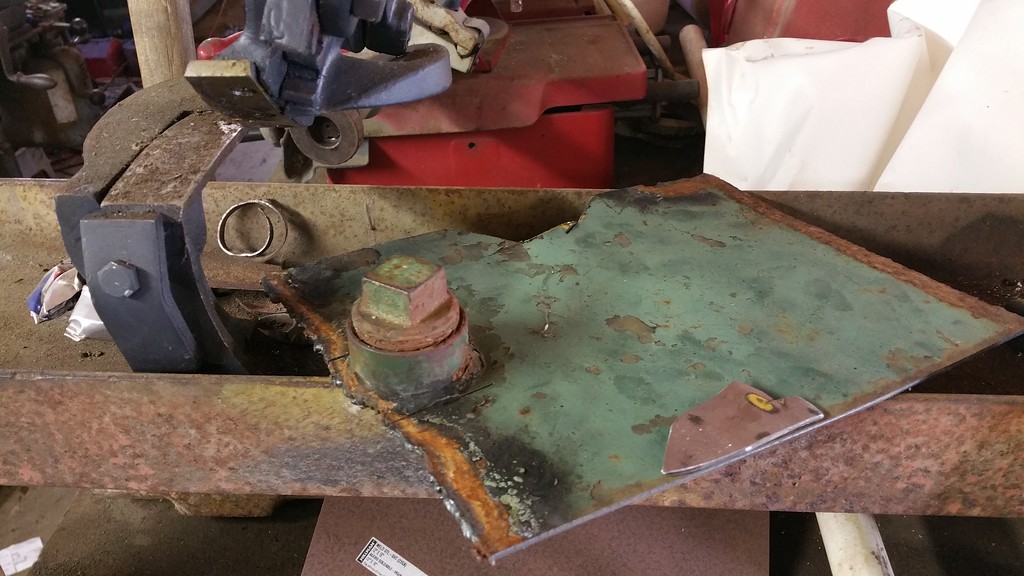
I am firm believer in recycling. There is a piece of a chain case off of a Bucyrus-Erie 22B Dragline that we use to own laying around the shop. Dad had the foresight to keep that cover when we sold the drag line because it had a lot of good steel plate in it.. ;D You'll see the first one I cut laying on top of the plate I was marking out as a template next to my throatless shear. Material was 3/16ths and a bit much for those, but they got the job done. So now this project has portions of Honda, Suzuki, Bombardier, and now good ole American poured steel from a Bucyrus-Erie circa 1950'ish.
Next, This is the final picture of it in the frame fixture after cutting and welding on those gussets on each side (You can compare to previous pics to see how much reinforcement went in on the bottom). Also gives you a good over view of what my fixture looks like. One thing that was a little bit trippy, you'll notice that the frame is positioned completely different in the fixture. That is because when I built the thing I didn't ever really think I'd be using it for this. I figured I'd be replacing bottom frame rails, checking back bone for straightness, etc. So I had to take degree measurements on the frame before I put it in there, figure out the difference once it was mounted to make sure my rake wound up staying where I wanted it to be. The fixture has literally kicked around on the shop floor for about the past 5 years and it took some figuring to get it dialed back in.
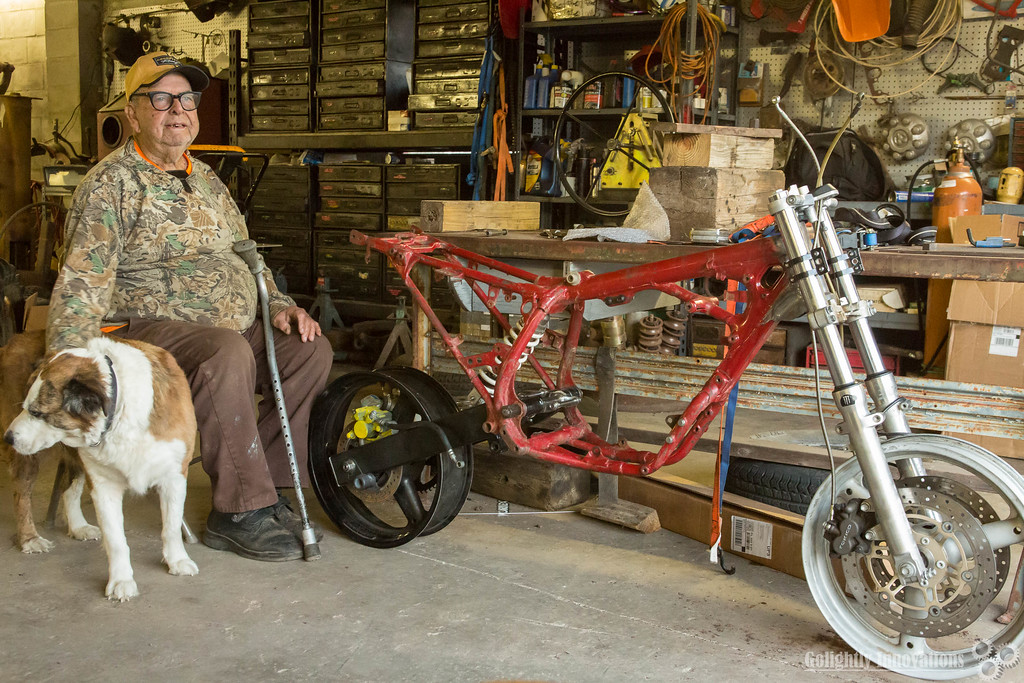
So, got the thing out of the fixture, got the front and rear end put back on it and had it holding its own weight finally for the first time!
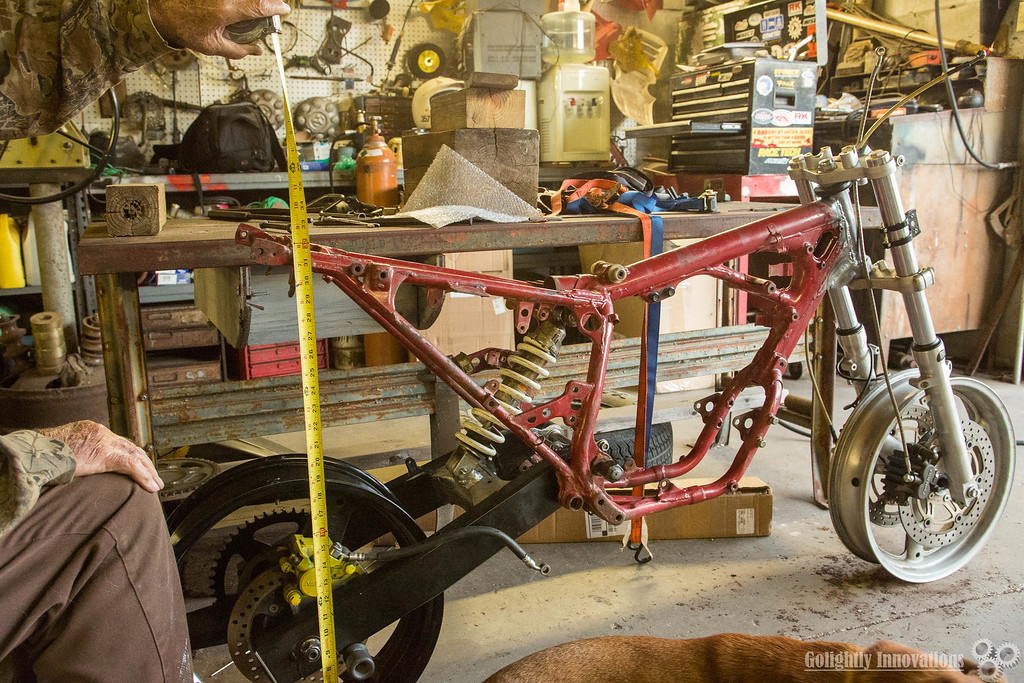
Its kind of stunning how much smaller it seems now that it is on the ground. Obviously tires will make a difference, and I am certain I will still tweak the rear shock length some. I wound up going on the steeper end of the 23-27* recommended range, primarily because I figured sooner rather than later I will lower that rear end down, and that way I will wind up in the mid range and not with a chopper! I have my forks slid up a bit in the trees also you'll notice for the photo-op
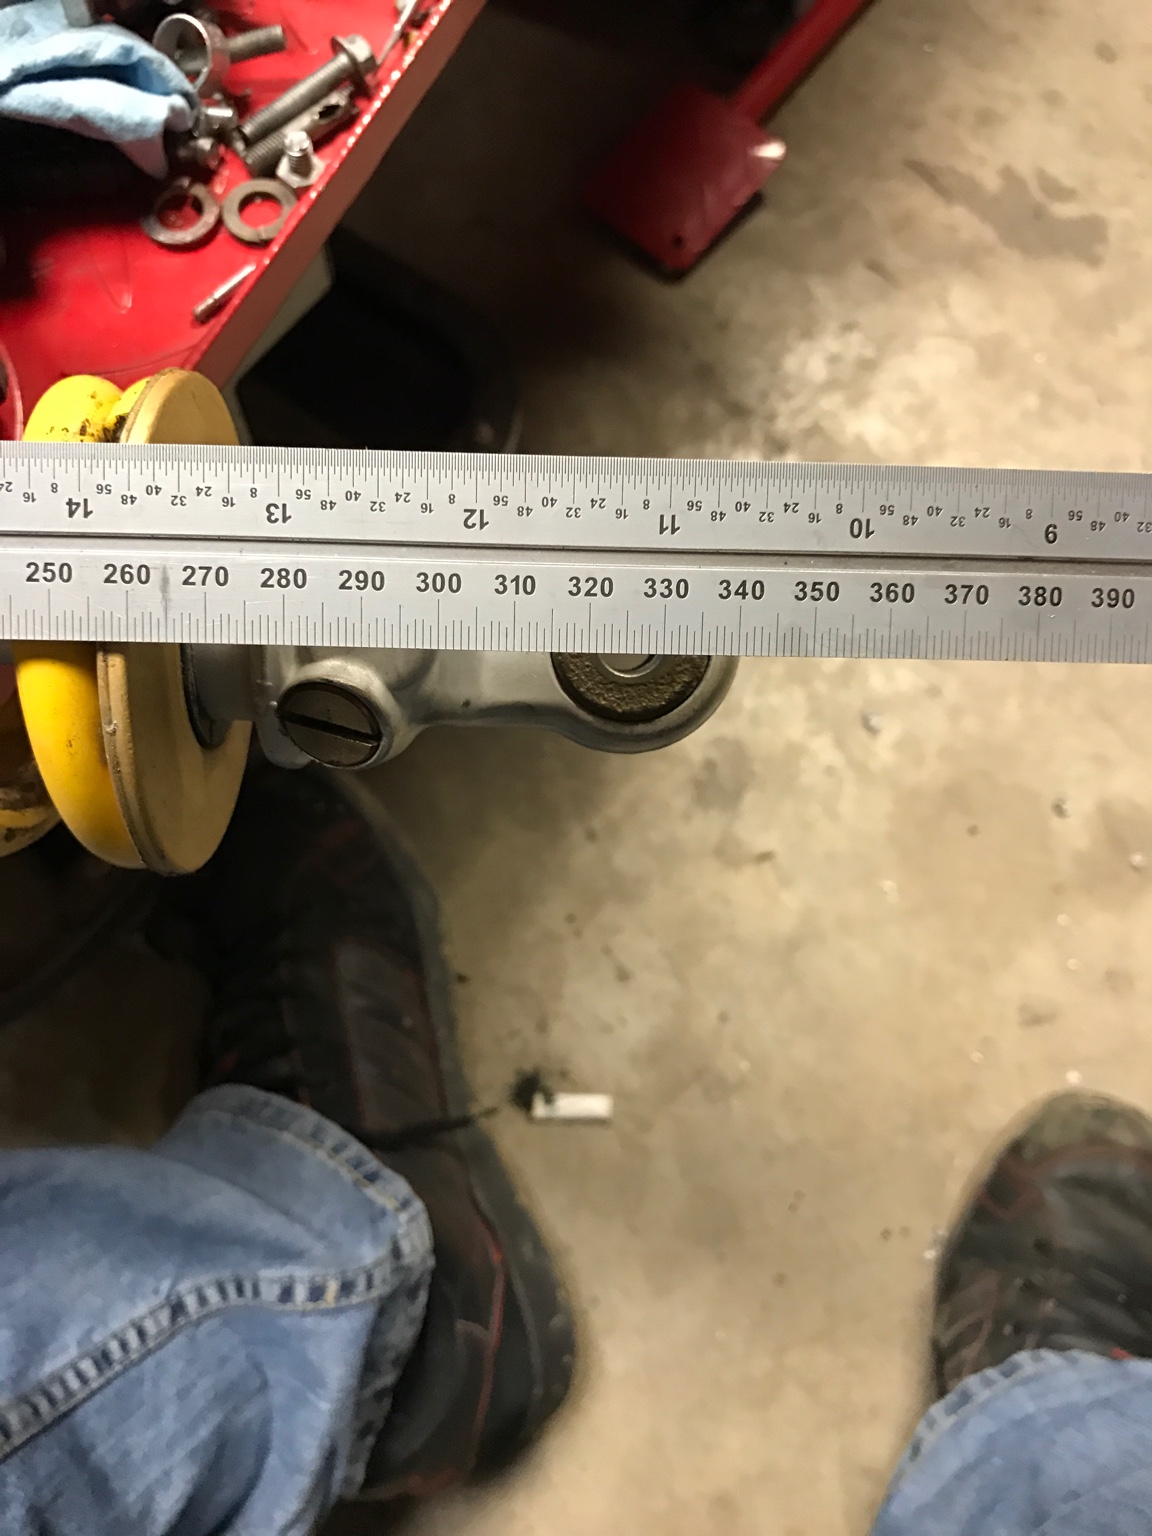
32 Inches to the top back corner of the sub frame. Which once it has tires and I cut that off and level it back off, should be in my 32-33in high seat height I was thinking I'd wind up with, without any sag. Suspension is stiff as ffffffff right now but its also about 300 +/- lbs less than it was intended to be originally I suppose. Again, sure that will get played around with. I know people complain the SV suspension is a bit squishy and I am familiar with running the Racetech Gold Valves in three-wheelers, so that will probably be an eventual upgrade in there as well. Table in back ground is 32in high also for scale.
This site uses cookies to help personalise content, tailor your experience and to keep you logged in if you register.
By continuing to use this site, you are consenting to our use of cookies.


")