Follow along with the video below to see how to install our site as a web app on your home screen.
Note: This feature currently requires accessing the site using the built-in Safari browser.
We noticed you are blocking ads. DO THE TON only works with community supporters. Most are active members of the site with small businesses. Please consider disabling your ad blocking tool and checking out the businesses that help keep our site up and free.
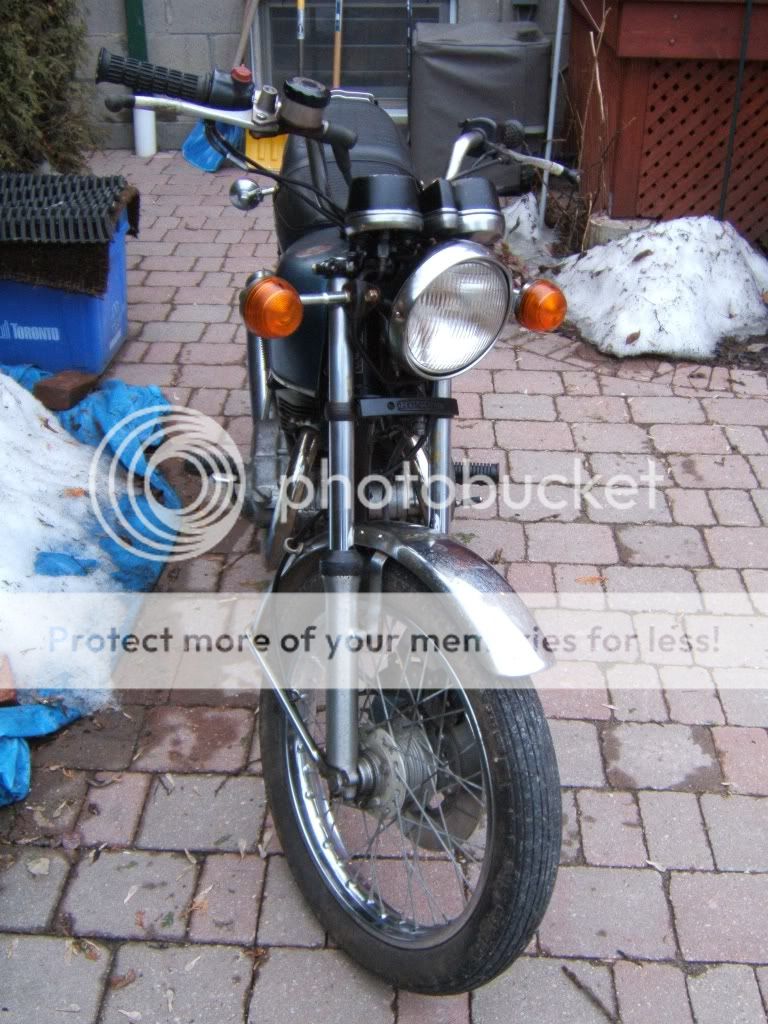
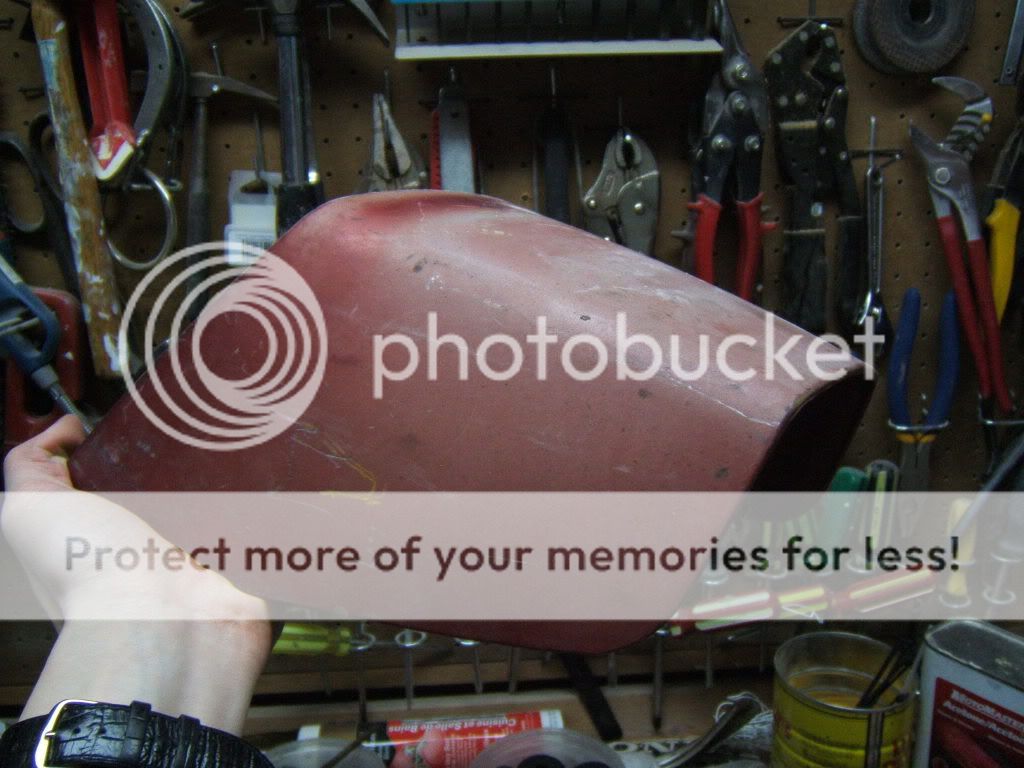
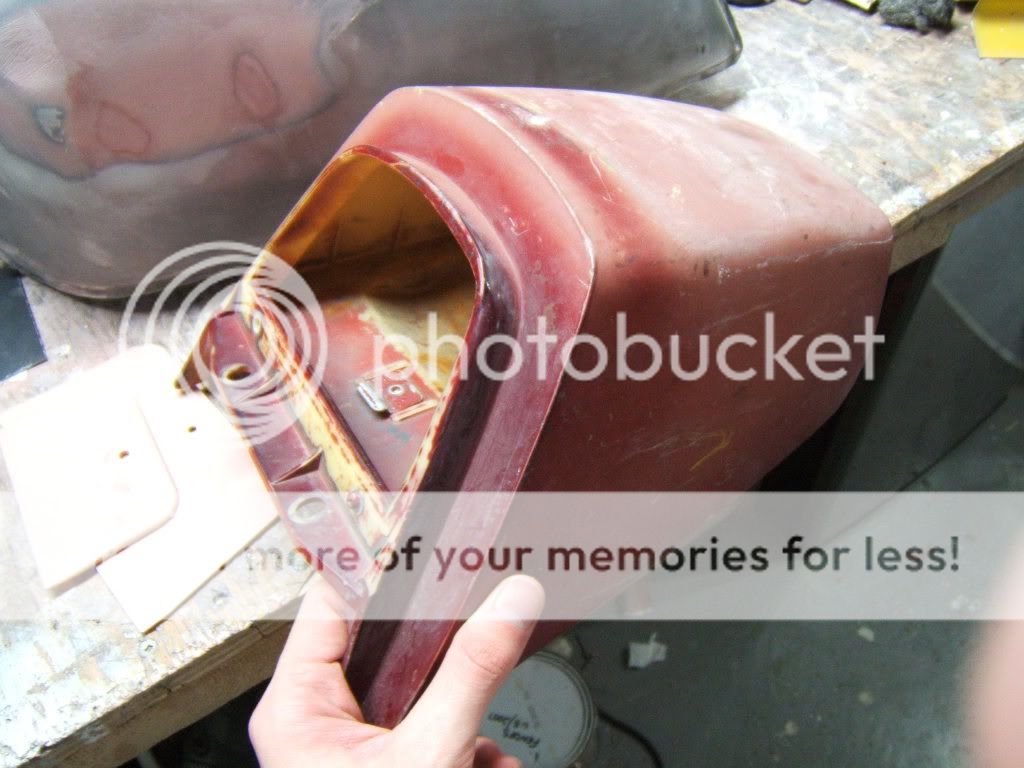
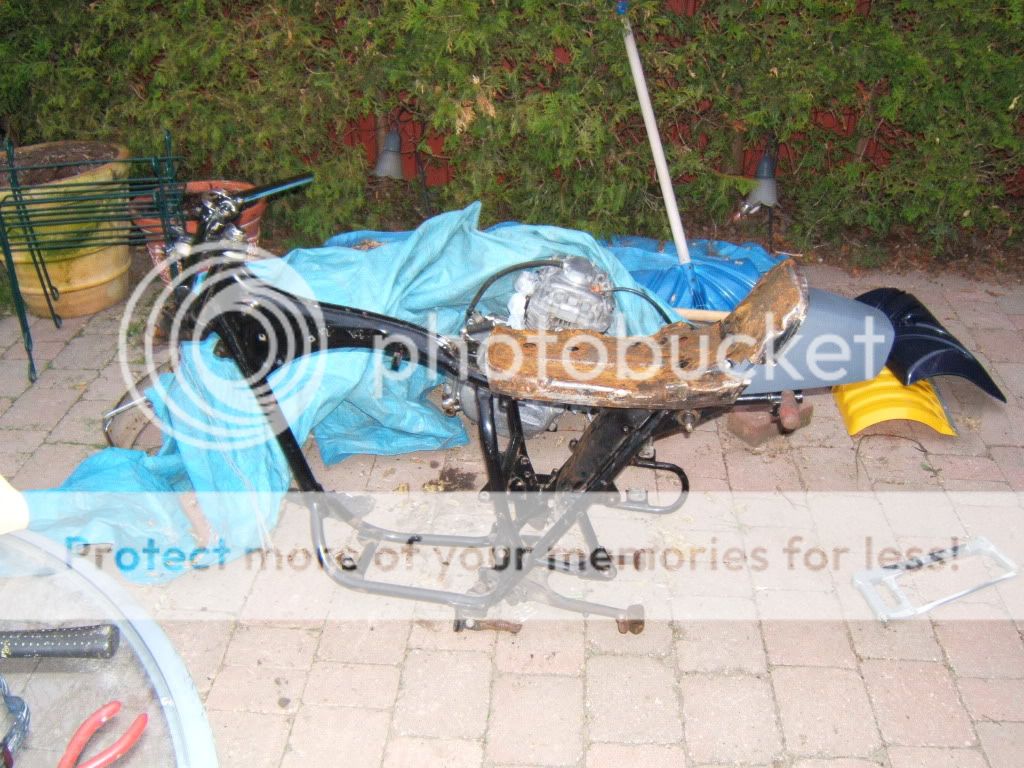
Alright, so since last post I've managed to clean the frame and most of the engine, Strip bondo and prep the tank for paint, recieved my seat cowl in the mail and have prepped it for paint (the pics of the cowl posted were taken on arrival). I've also managed to prep the engine mount brackets, gauges, and a number of other parts for paint. Finally, I am waiting on the arrival of my CL exhaust I purchased, along with a pair of EMGO shocks and drag bars courtesy CYCLE-RE-CYCLE, along with a few other bits and pieces from here and there. Next, I plan on buying a pair of straight tip exhausts designed for an old vw bug, (got the idea from TROYBILT's "small" cl360 build) Stay tuned for more. http://cb360cafe.blogspot.com
K so I managed to get some painting done today, Found out I will need to bondo up the tail a bit more which kept me from painting it up. I also managed to get around to using my Soda Blaster. More, including before and after pics of a soda blasted petcock at http://cb360cafe.blogspot.com
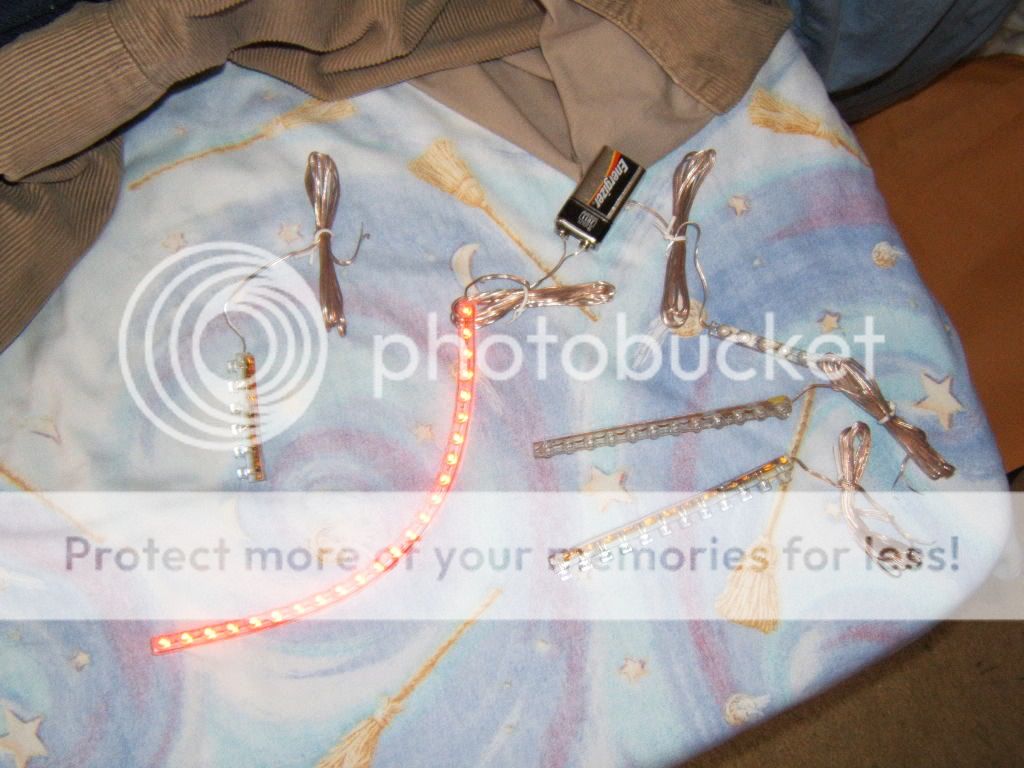
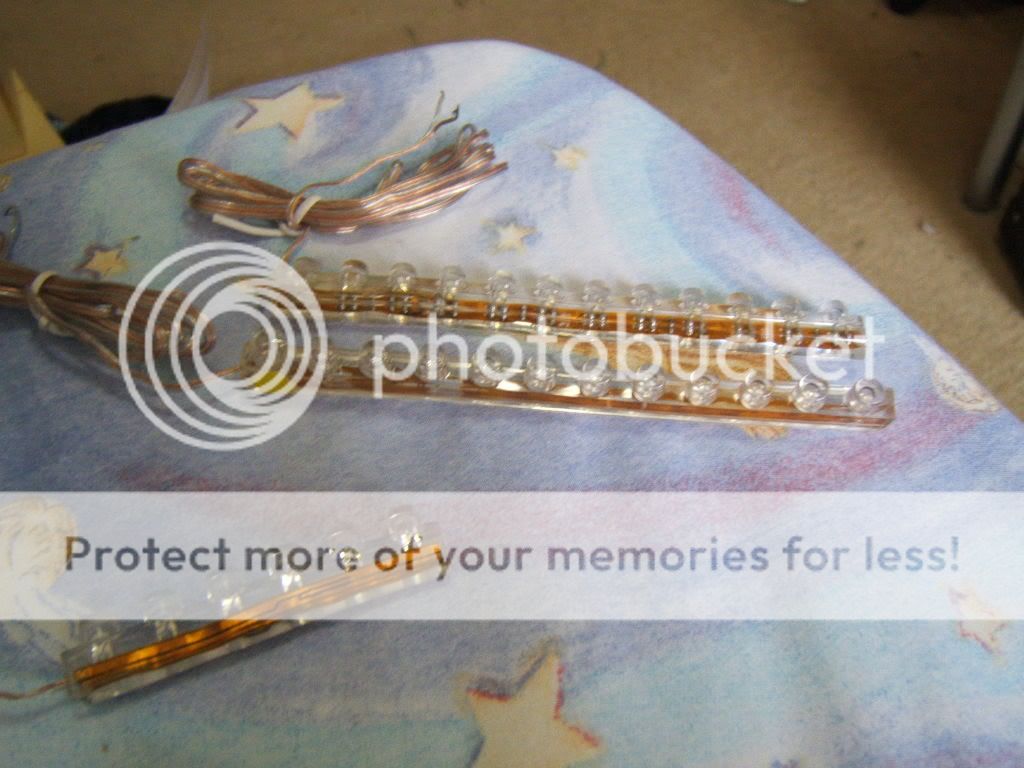
K so I got my lights in the mail today. I decided to try out those cheap ass pvc encased LED strips for my tail light and back turn signals and maybe even the front ones. I'm not too sure how bright they will be but if they aren't.. well whatever, I spent a total of 15 bucks on them so its all good. I'll post a review in the reviews category once I get them on the bike... at the end of the build. Heres some pics. As always, you can check out my blog for more info http://cb360cafe.blogspot.com , I'll be updating it later tonight to include more info about the led setup! oh and YES my sheets have broomsticks on them, Im just that badass!!!
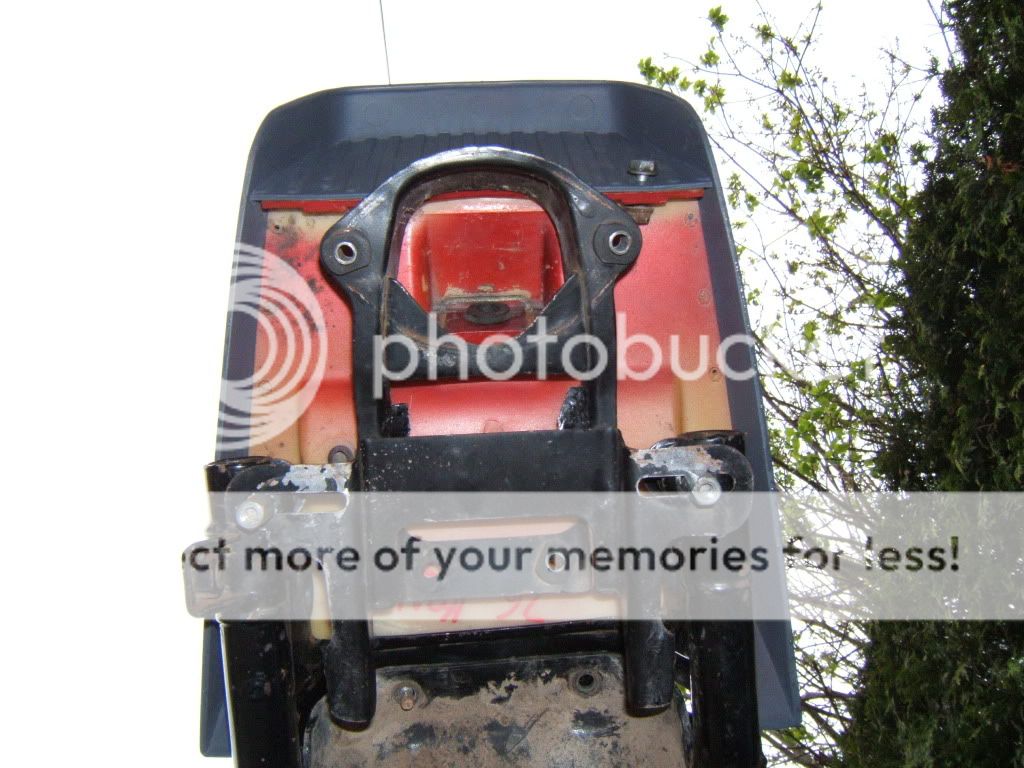
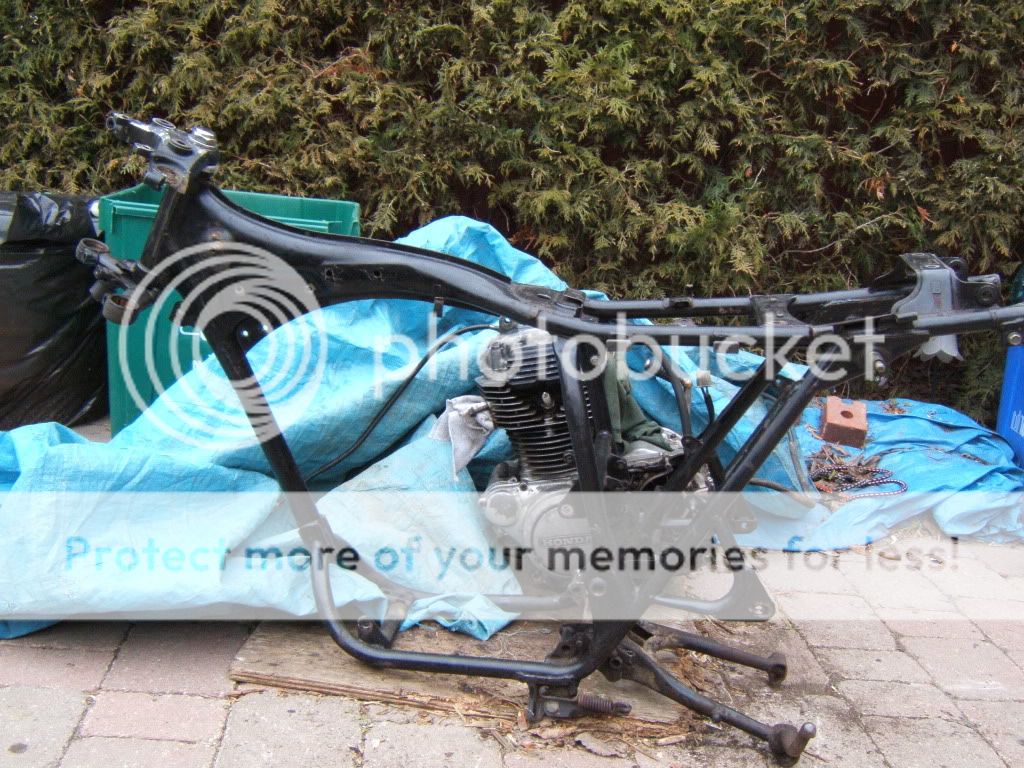
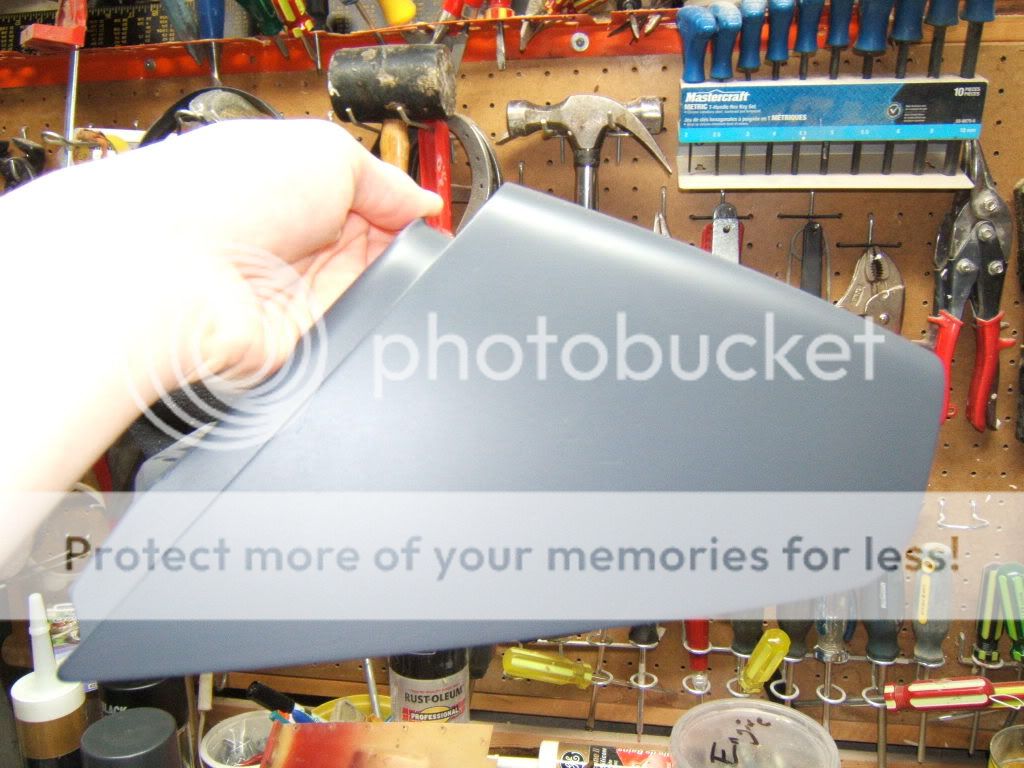
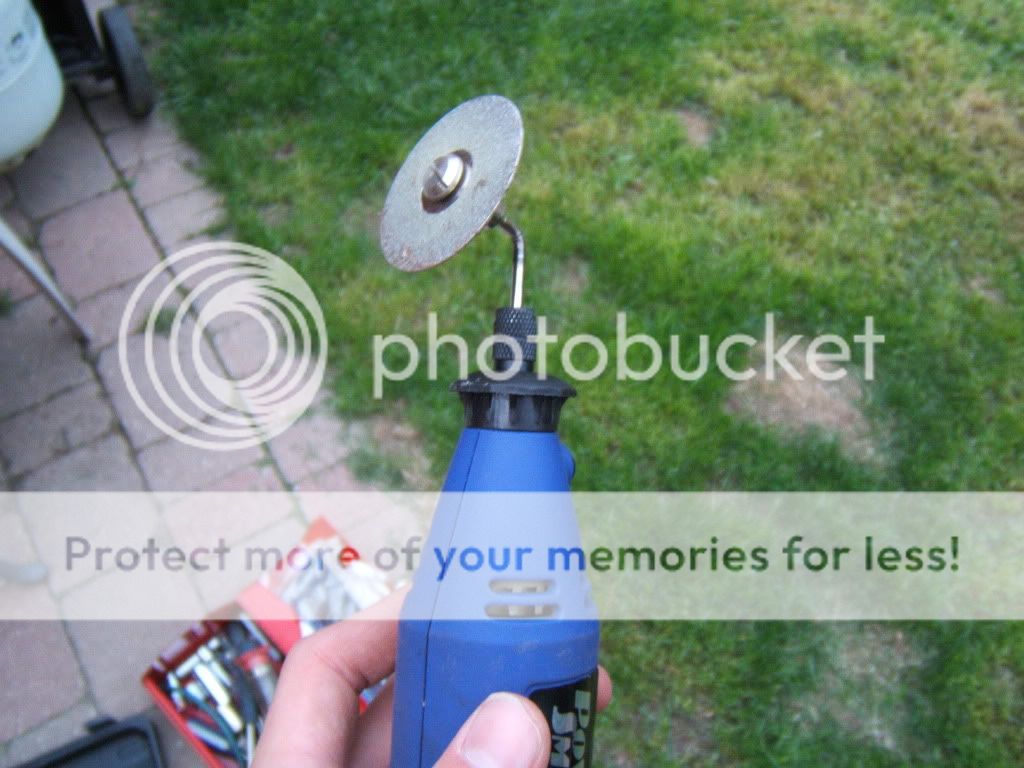
So I've got a bunch of cleaning done over the past few days, and I also managed to get the seat cowl mocked up (somewhat). Here are some pics. Also here is what my dremel did to me when I tried to cut through the seat pan with it. More at http://cb360cafe.blogspot.com !!
You should look for a Harbor Freight if you haven't heard of them. Great prices, great tools. I've had nothing but good experience with the tools. It's just so far away!
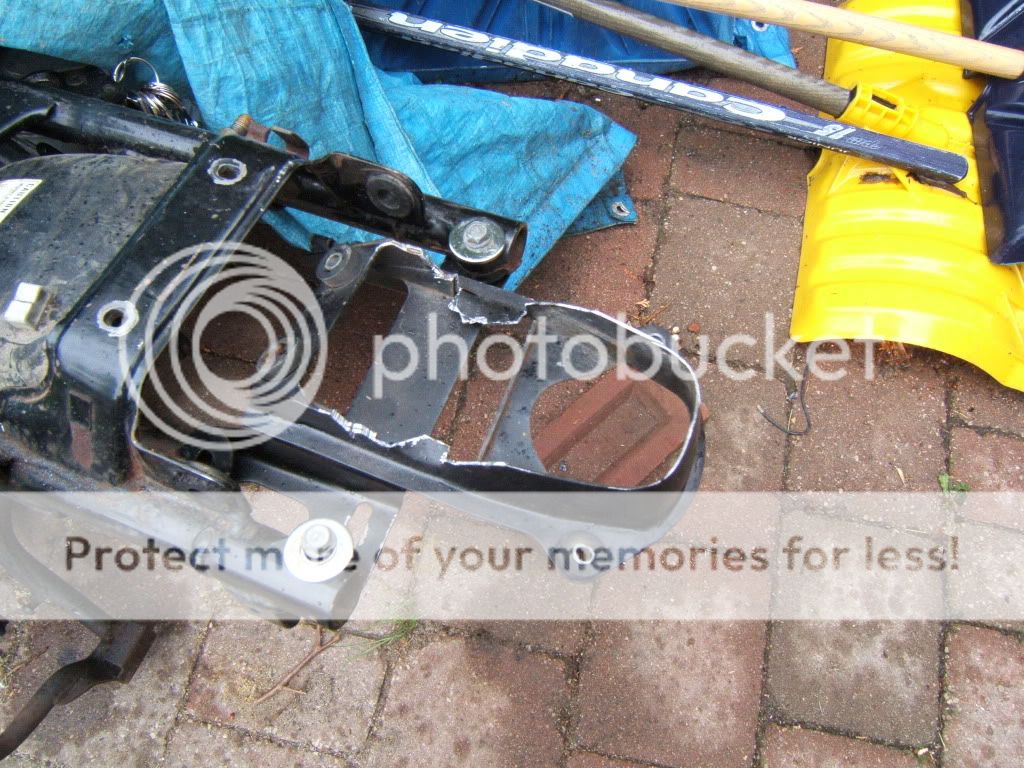
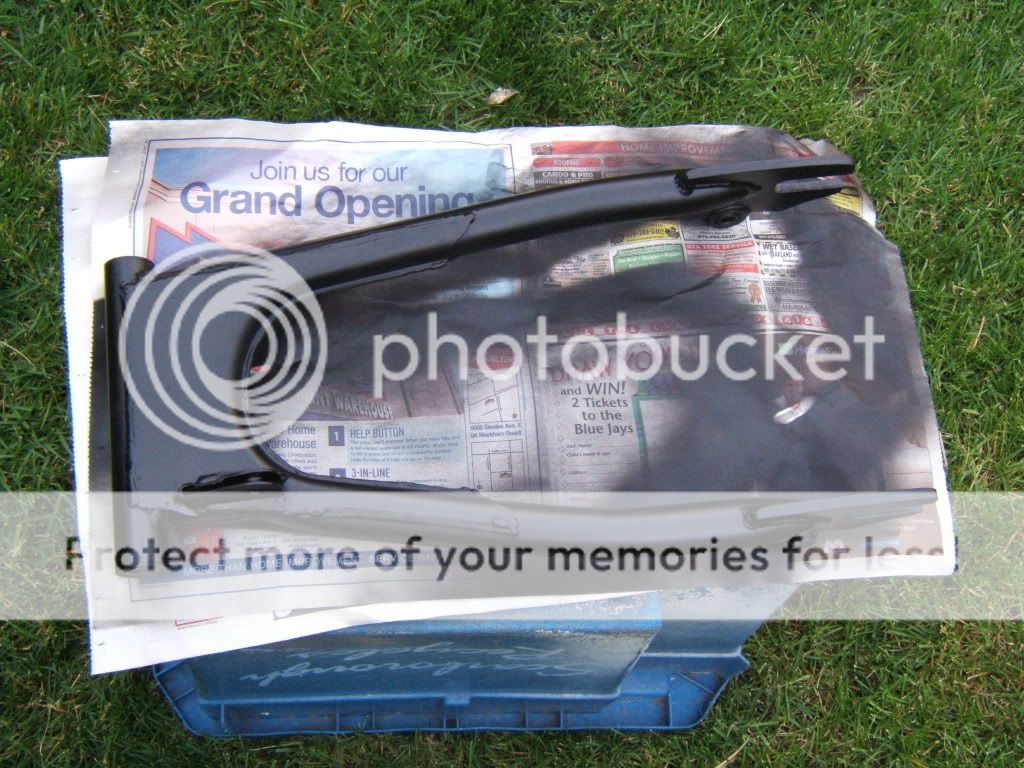
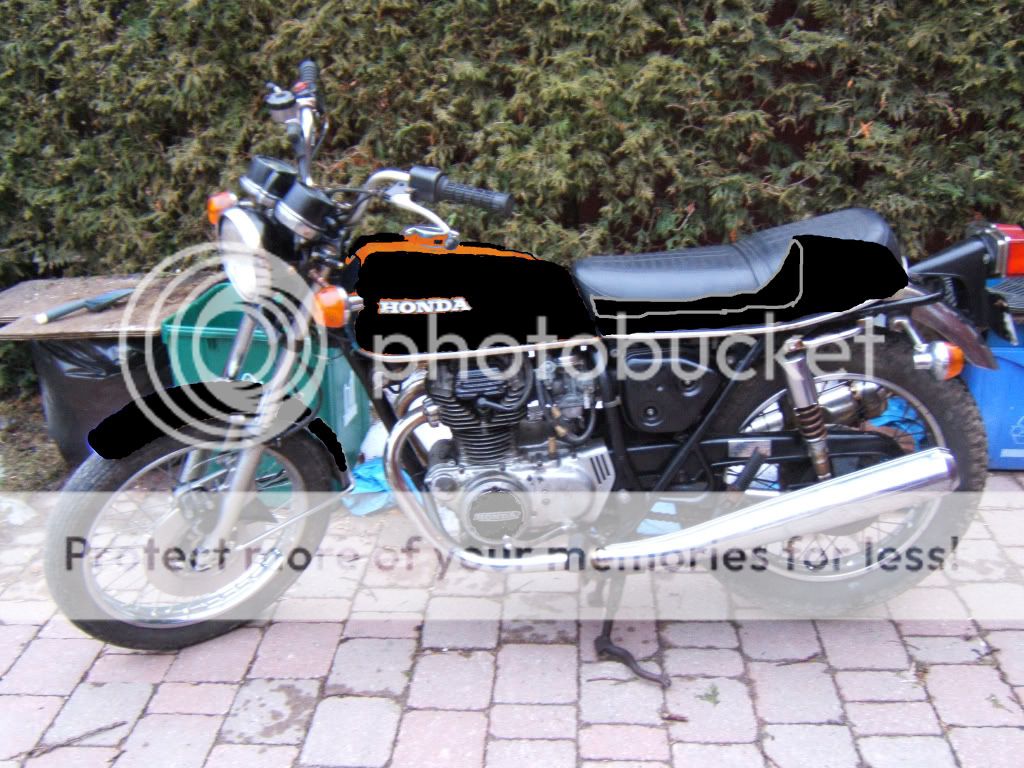
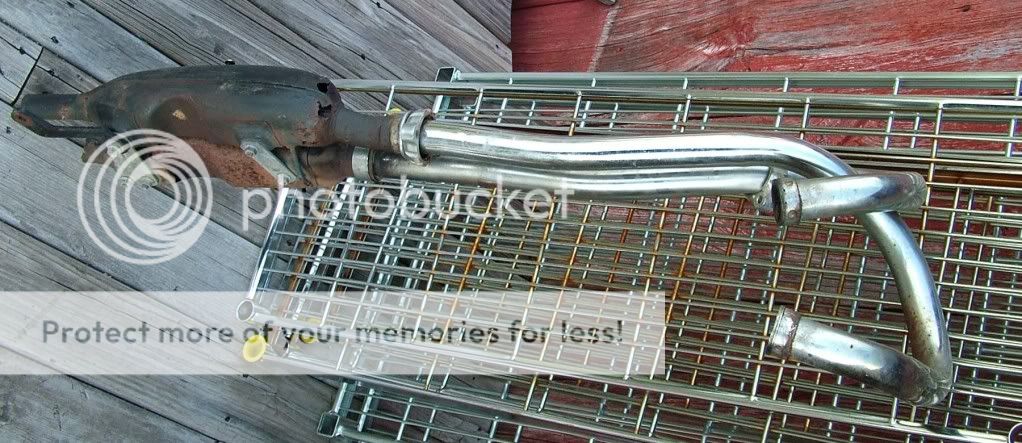
K so I've been pretty damn busy this week with school so I haven't gotten much time to work on the bike. I did, however, find a way to bolt the seat cowl to the frame. I took the original tail light bracket, chopped it up and bolted it onto the the back of the frame as you can see below. I'm still waiting for the CL pipes to get here along with a pair of billet rearset levers I got for 15 bucks and a pair of carb kits off of ebay. Once I get that stuff and a few nice sunny days in I will probably do a proper mock up. As always check http://cb360cafe.blogspot.com for more details!
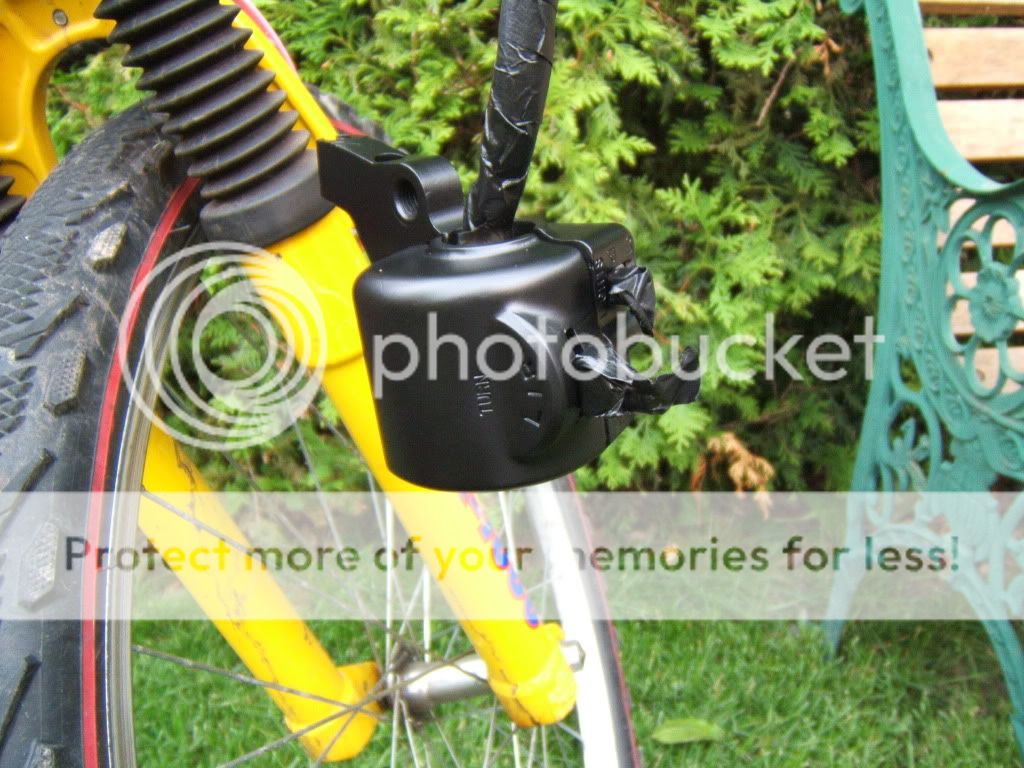
Here is the tail light bracket
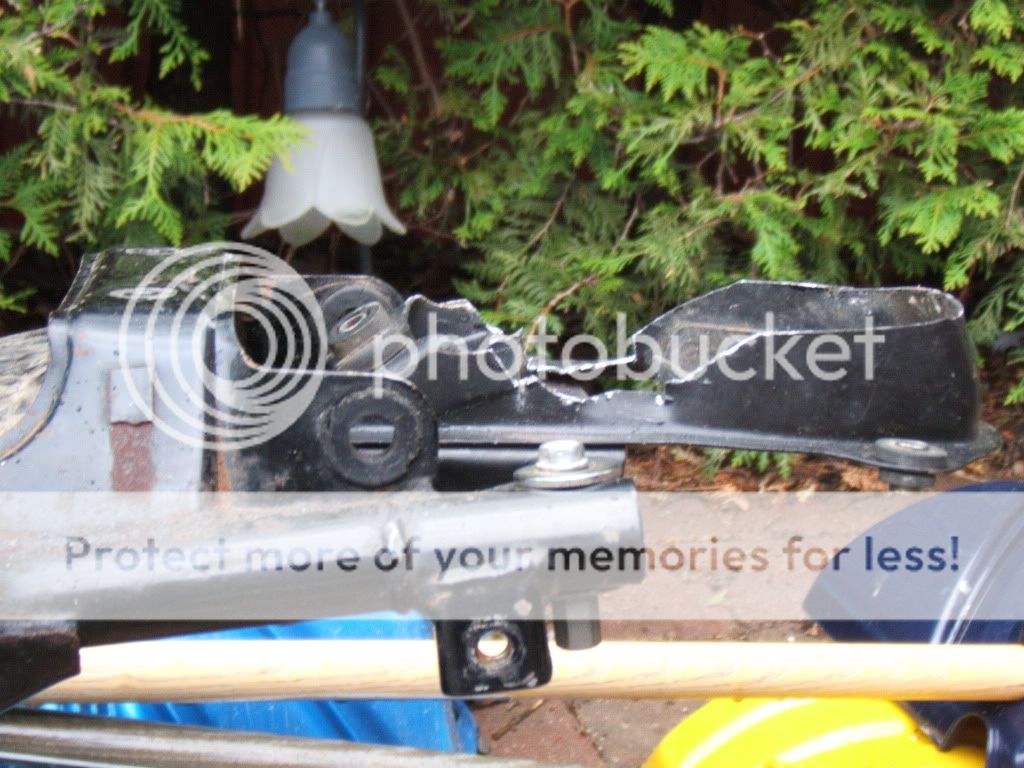
Here is what the bracket looks like now:
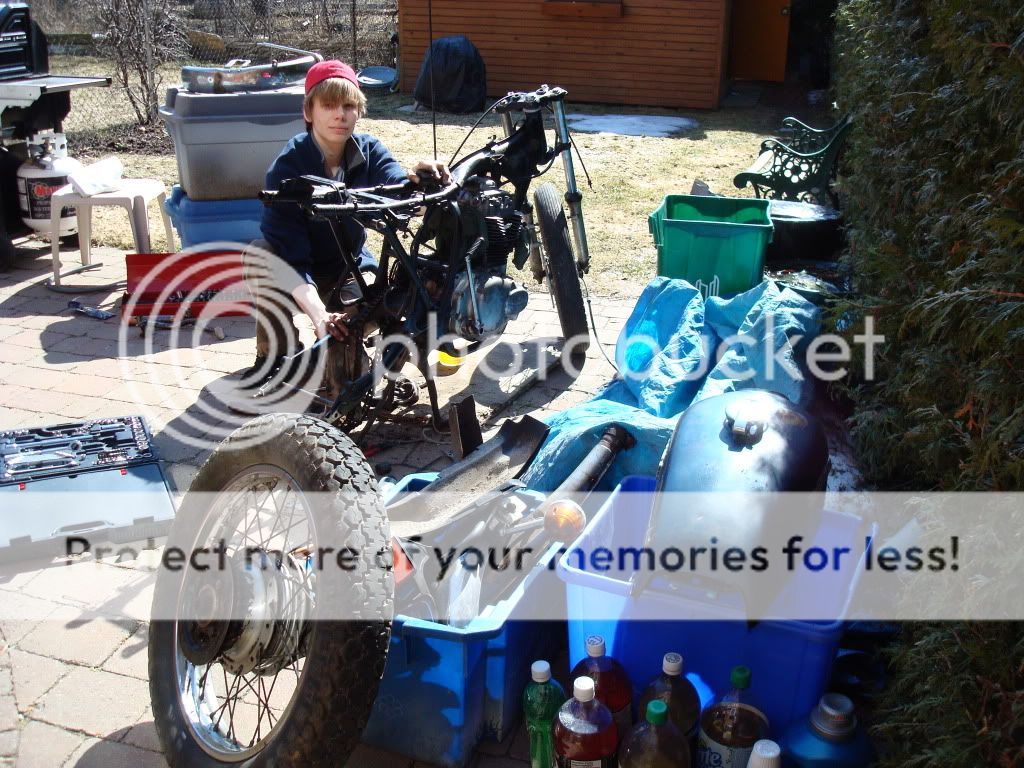
And finally, heres a pic of me in my "Shop". And I know, the hat makes me look like a goof.
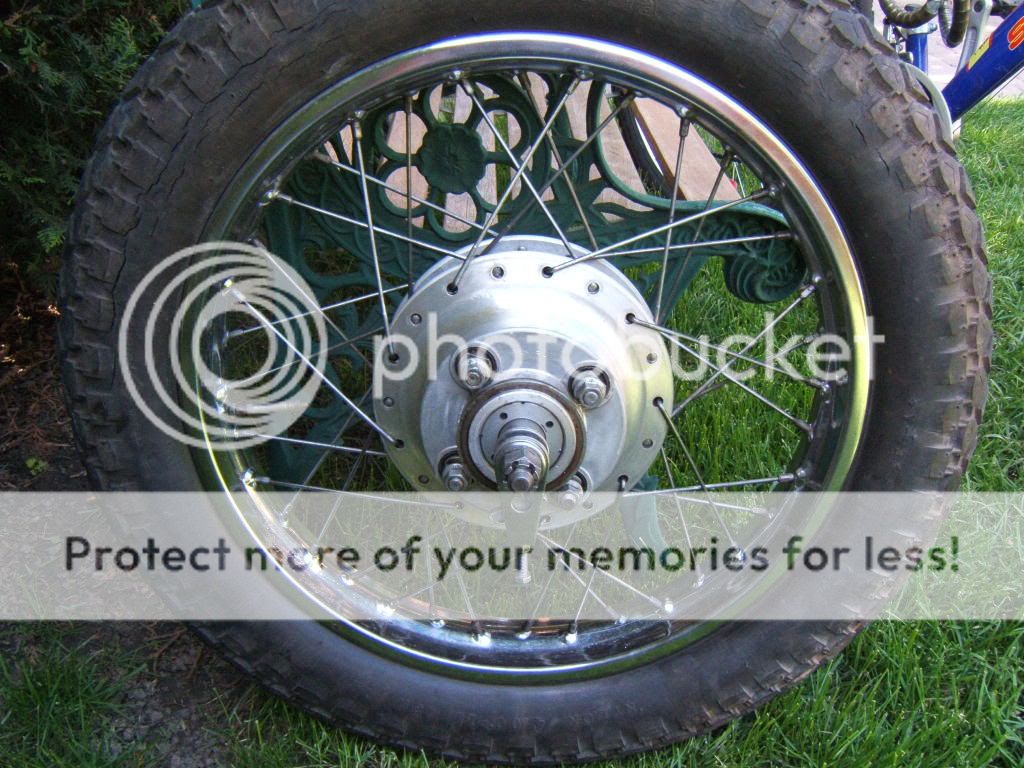
wow its been a while since i last posted here... not much has happened, money is tight so I can only do so much. I got the exhaust pipes yesterday and i also recieved a pair of carb kits. I've been doing my best to clean up the rims because I came to the realization that it will cost me too much to paint them and all that jazz.. They look quite nice now that they are cleaned up.
To make things worse, I was working all day trying to clean up the frame and get rid of some rust using a chemical i got at canadian tire when the phone rings, a voice on the other end asks for my dad (i live with my parents), I ask who it is and they reply that its the hospital TRANSPLANT coordinator. Long story short my dad is now in the hospital getting an organ donated to him, completely throwing things for a loop, and its my prom tonight as well. Oh and my mum who works for the city of toronto is going on strike which just adds to the craziness.
So thats how my relatively good day went horribly wrong (the fact my dad is getting the transplant is amazing and a miracle, but its made me realize how crazy things are going to get in the months ahead)...
so ya, progress has pretty much come to a complete halt.
Man, very cool that your dad is getting the transplant! It has to be a scary time but hopefully things will turn out ok. He will be in our prayers. In the end you will be a stronger person for having faced such challenges. Good luck my friend and keep counting your blessings.
well I got some good news which is also bad news, the transplant was called off at the last minute because the organ was no good (thats the bad news), but the good news is that my dad is happy and healthy at home, ready to go back to work monday.
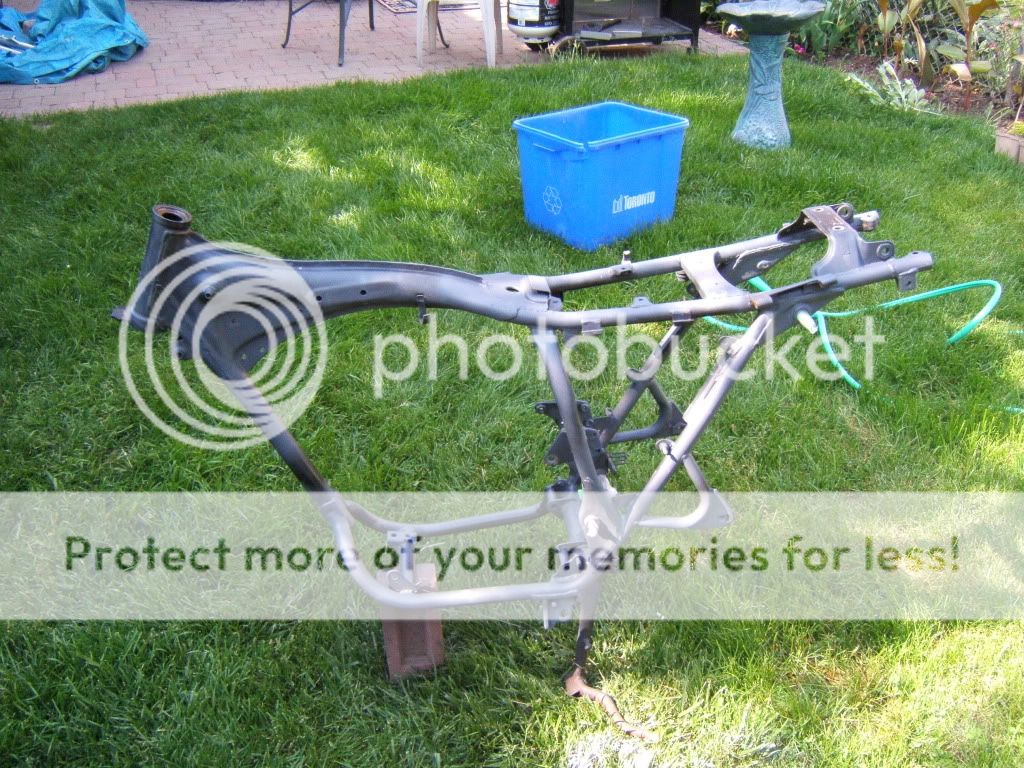
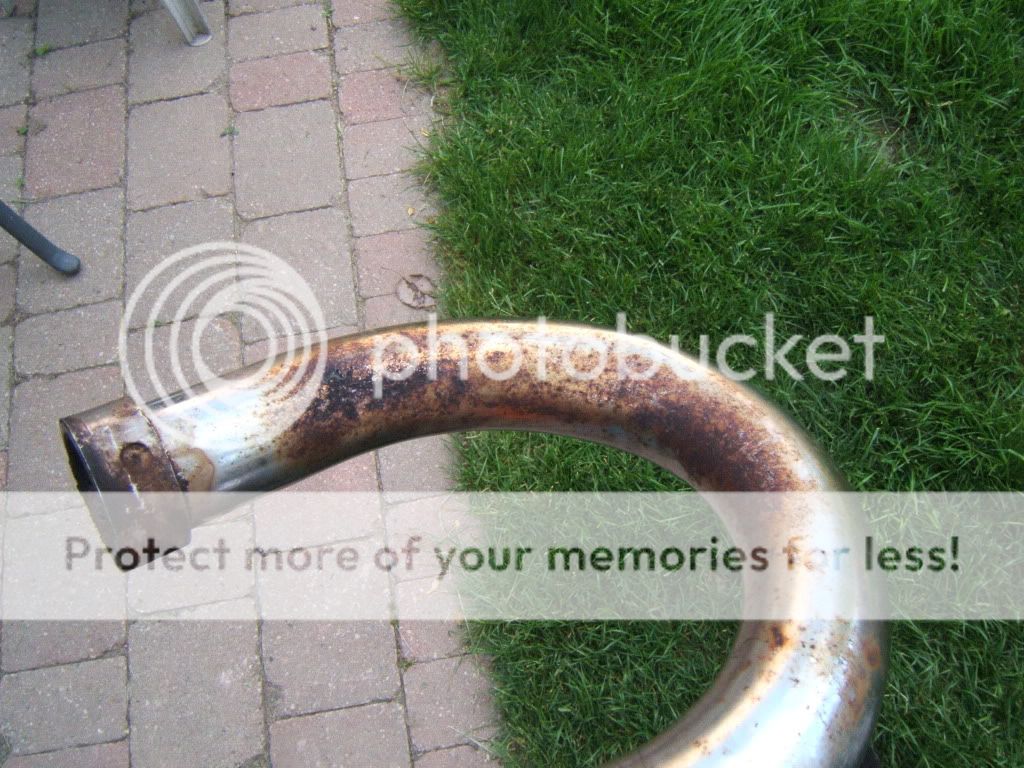
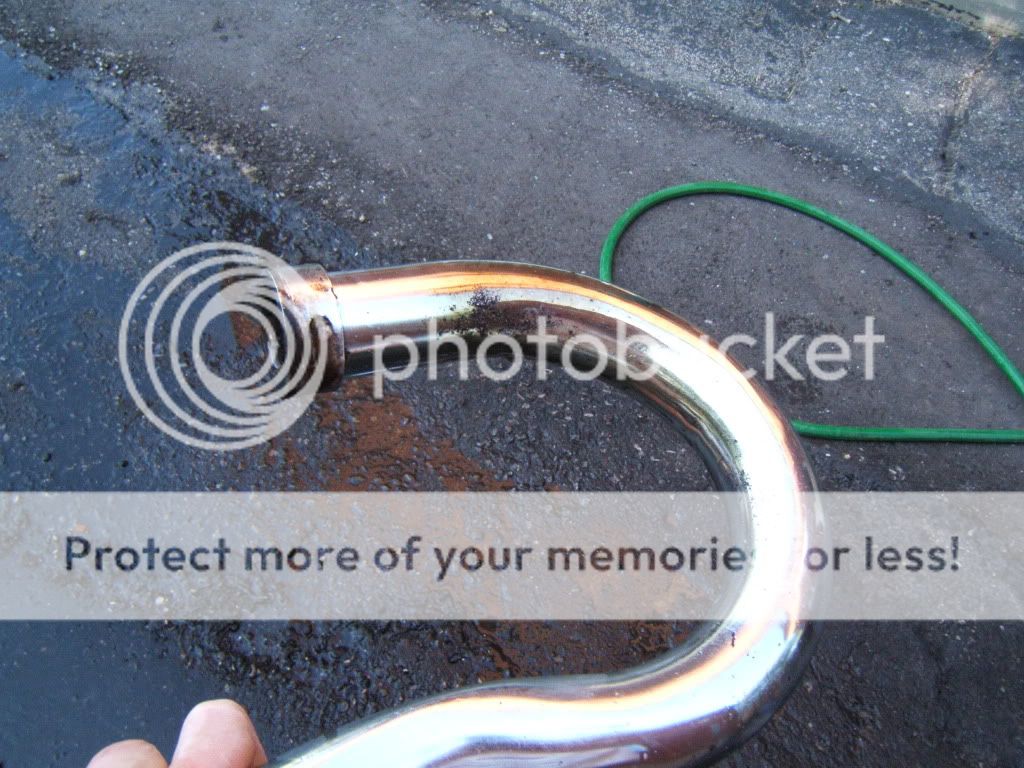
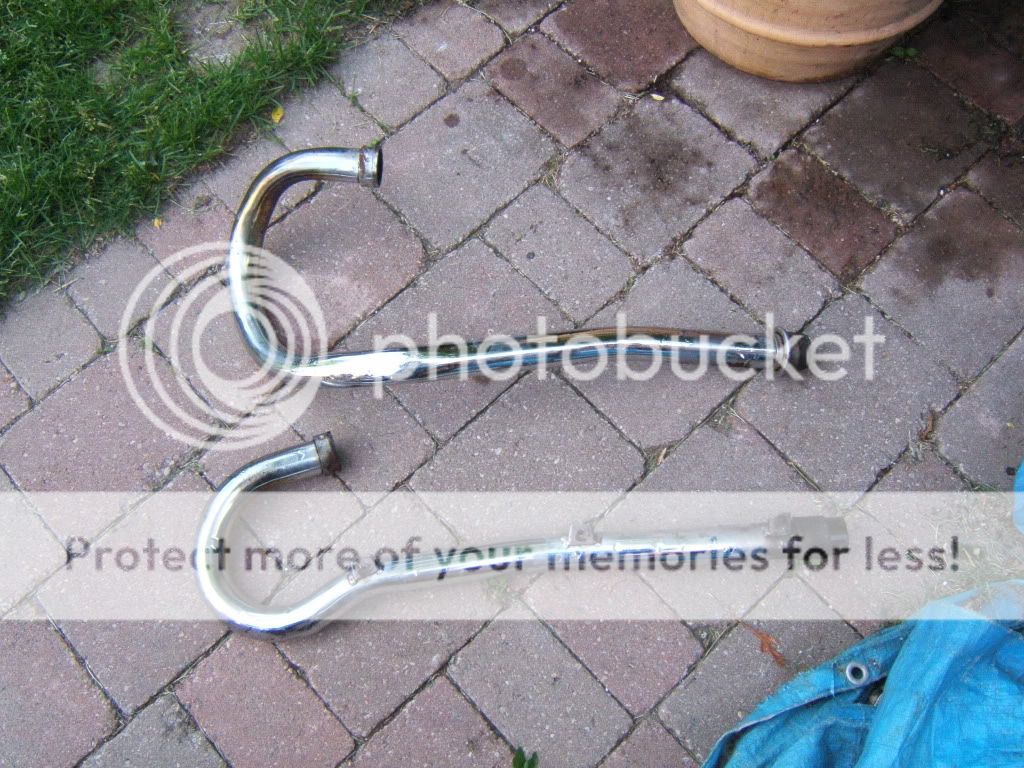
So what with the transplant not going through and all, it gave me a chance to work on the bike while the rest of the family did some yardwork. The wheels have been cleaned, the swingarm, and frame were cleaned, removed of rust using some green magical jelly from canadian tire, and were primed using the last half can I had to prevent further rust from forming. By far the most surprising thing was the green jelly did an STUNNING job at removing the rust from the exhaust pipes as you can see below.
Before magical jelly
After majical jelly
ready to be painted with high temp black then wrapped (eventually)
Boy, theres still a bunch to do... but i guess it keeps me busy
thats man.. take it with a grain of salt.. day by day.. looks really good and coming together nicely. my mom is pretty sick also and got home last week, so i know where you are coming from these days. just so much stuff to do and so little time. working on ous bikes is a way to free our minds and i am sure i speak for a bunch if not all the guys here. look forward to the build up
can you explain what you mean about the VW straight tips? I just won a set of CL pipes off ebay and I dont plan on using the stock muffler, but wasnt sure what direction to go in.
can you explain what you mean about the VW straight tips? I just won a set of CL pipes off ebay and I dont plan on using the stock muffler, but wasnt sure what direction to go in.
Well on old vw exhaust systems (put on vehicles such as the vw bus, ghia and beetle in the 60's) baffled exhaust tips were put on the mufflers to keep the sound down, or at least thats what I think they were for. here's an example of what I was going to try to put on my pipes: http://cgi.ebay.ca/VW-BUG-GHIA-EXHAUST-MUFFLER-TAIL-PIPE-SET-113-251-163C_W0QQitemZ250406380623QQcmdZViewItemQQptZMotors_Car_Truck_Parts_Accessories?hash=item3a4d62244f&_trksid=p3286.m20.l1116 (i havent bought them yet because of the money issue) but i am not sure whether they would slip into, over or have to be welded onto the end of the exhaust. Needless to say, it will be much louder than stock.
I got the idea from troybilt's "small" cl360 project, he used slightly different tips but it has the same effect. http://dotheton.com/index.php?topic=6556.345
Hope this helps I would also say hold off on buying anything until you actually recieve the pipes, that way u can make measurements (something I have yet to do) and get the right parts you need.
So not much has happened lately. I've been pretty tied up between exams and finding a job. Today I took the time to relax and do a bit of work on the bike. The weather was crappy so I decided to rebuild the carbs using a pair of Keyster kits i got online. I ran into one confusing point tho, The kit I recieved had a number #35 and a #100 jet, but the ones in my carbs are 35 and 110. Does this mean that someone has bumped up the jet sizing?
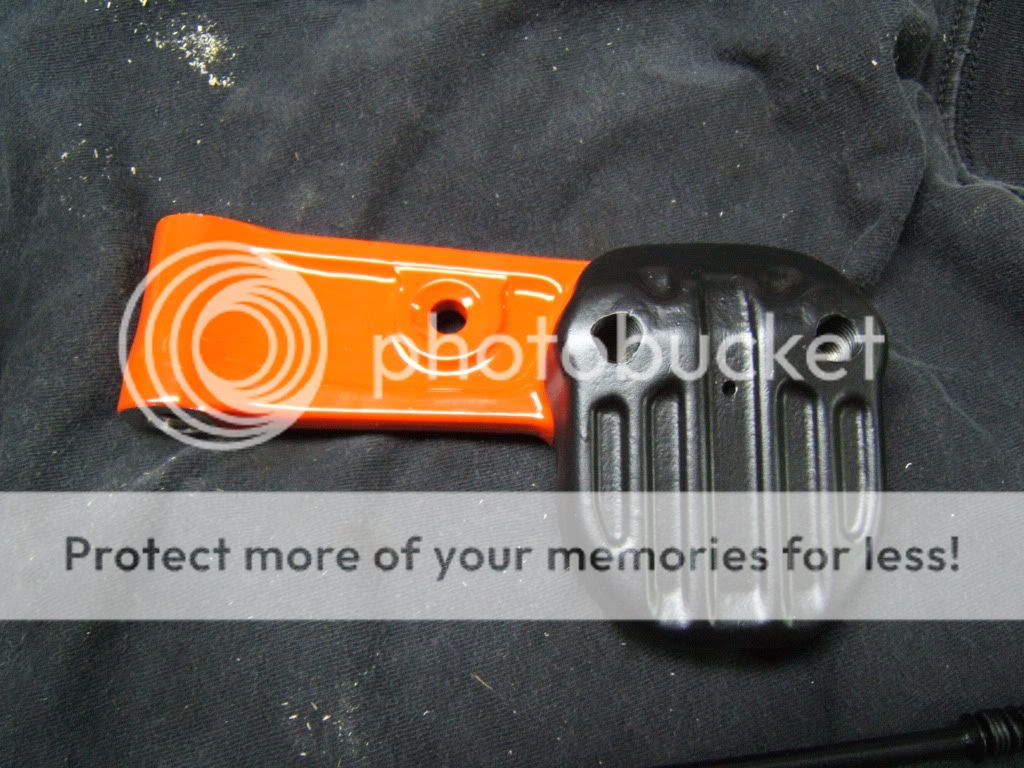
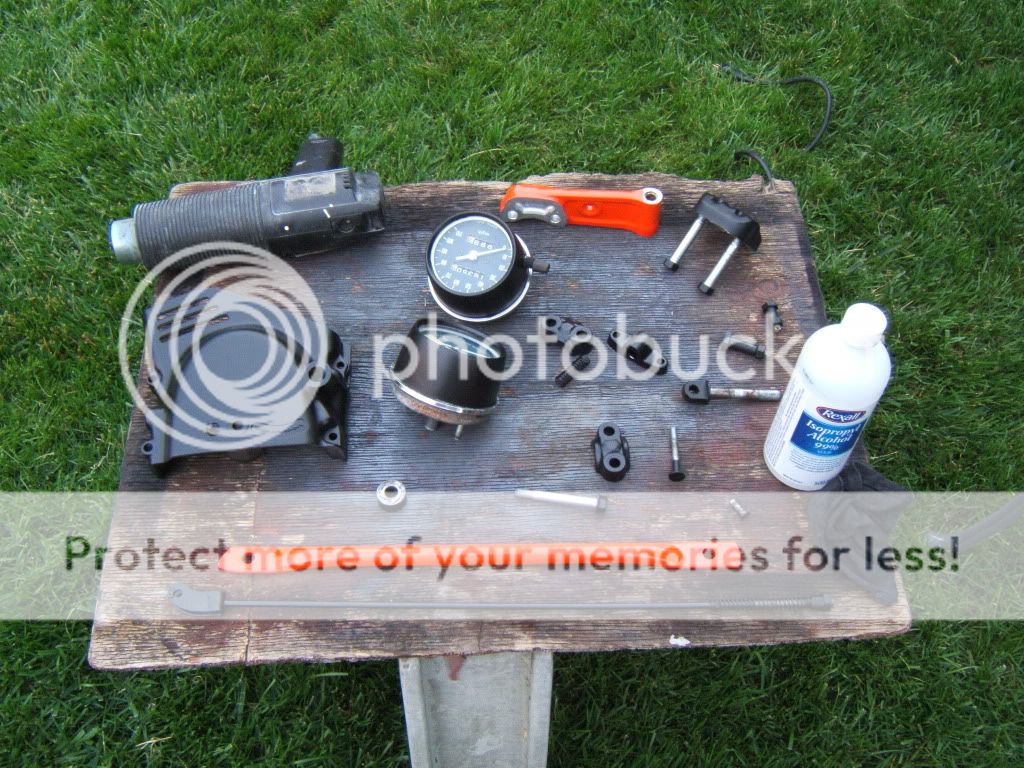
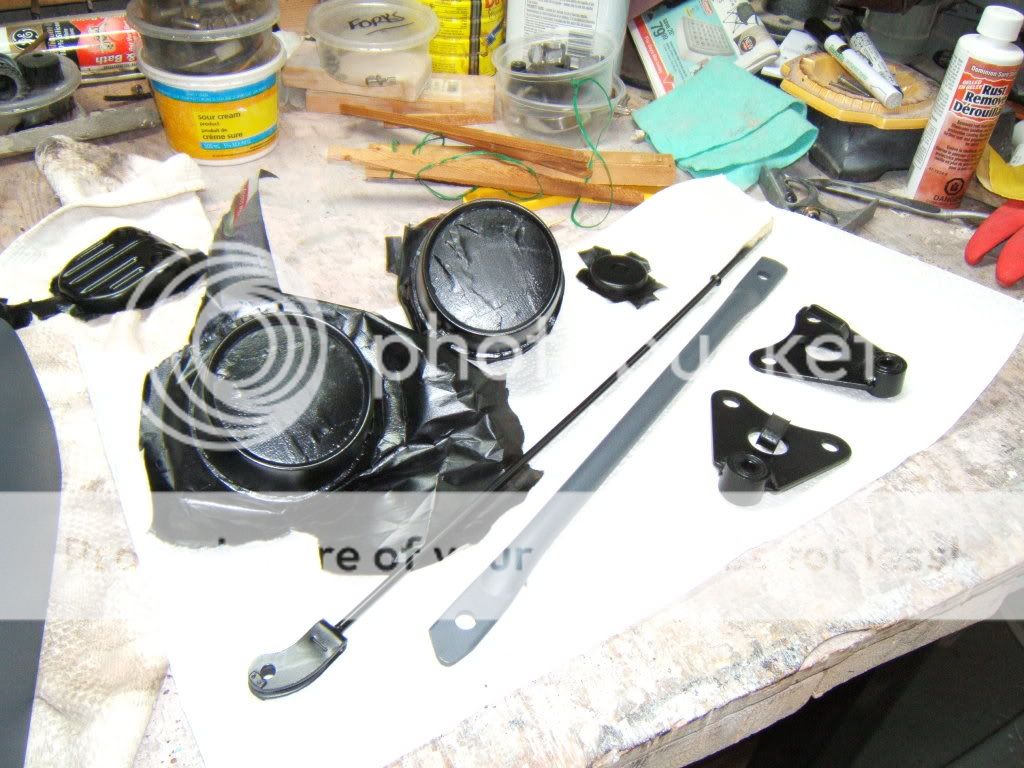
I also prepped a whole wack of parts for primer and paint tomorrow. I just hope the humidity is low enough to paint in... And its supposed to rain all weekend or something too... I'll post pics of the stuff tomorro if they get painted...
Painting one of the "feel good" moments for me with this project. It makes me feel and see I'm actually getting somewhere. It really cheers me up.
And for Rocan, I've been watching ur posts too, it does seem like we're in similar situations. My bike engine and frame was up until recently siting in my backyard rusting..... I hate not having a garage!!!
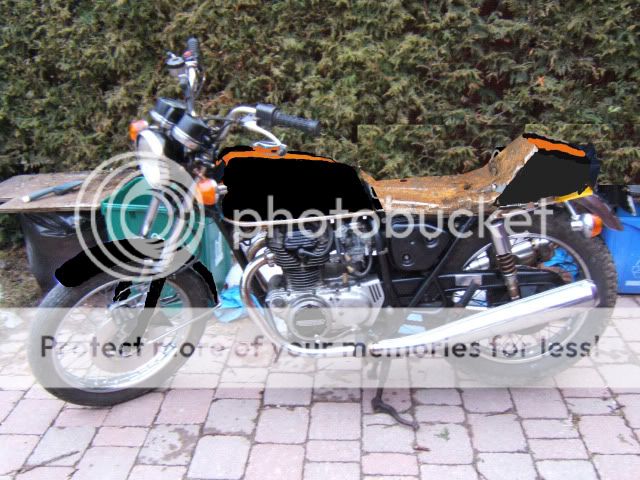
Alright well, as I said yesterday, TODAY was PAINTING DAY!!!! I went to crappy tire, got 2 cans of spray paint (one orange one low gloss black) and went at it for hours! Heres the result
This site uses cookies to help personalise content, tailor your experience and to keep you logged in if you register.
By continuing to use this site, you are consenting to our use of cookies.


")