Follow along with the video below to see how to install our site as a web app on your home screen.
Note: This feature currently requires accessing the site using the built-in Safari browser.
We noticed you are blocking ads. DO THE TON only works with community supporters. Most are active members of the site with small businesses. Please consider disabling your ad blocking tool and checking out the businesses that help keep our site up and free.
Re: CX500 "Bastardwing" - 13th Jan - New video up, another one to follow.
Thanks guys. The metallic looking features are a combination of air and dust that'll all sand out, but ultimately it's coming out a lot better than I anticiapted. I have to admit I thought it would be good, but I didn't think the sheen would be there.
Once I've done this I'll try and condense what I have learnt into a thread for others to get into. I'll include the original Moparts source too and altogether it should help with a good how to guide for rollering here on DTT. I can't stress enough how much of this has been patience and preparation. Like bikeboy said, there's been a lot of sanding, but most of that I did BEFORE I even started painting.
I really thought it was worth a shot though as it's only been in recent generations that we've been spraying, and up until then it was all by hand, just like this. I'm glad I did it this way.
Re: CX500 "Bastardwing" - 23th Jan - Been making a start on some gauge mounts.
I've just assembled a few bits and pieces today which will be the beginning of the gauge mounts. I bought about 2 metres of 75x3mm flat stock to make the bracket mounts (this'll leave plenty for other endeavours also) and got some old alloy plate from a mate of mine to make the top plate which will be a polished alloy. This'll use the stock gauges in a position similar to standard on the bars.
I also got about a foot of 2 1/4 inch exhaust pipe which I've begun to cut down in order to make round clamps which will hold the GL1000 temp and volt gauges. These clamps will the bolt to the fairing frame. To bolt these on I bought a few M6x25 galv bolts and some M6 lock nuts. I had an issue when I got home which was quite simply the galvanisation process leaves the bolts a shade larger than the M6 nuts so I had to spend a half hour or so retapping them to take the nuts. I normally would have bought stainless except these bolts will be welded captive to the bracket and then painted with the rest of the framework and The old junker arc welder I have would probably not do that well welding mild steel to stainless.
I've also got a length of box tube steel which I'll be using to build an upright support that will allow me to hold the front of the frame off the ground so I can remove the wheel, forks, etc without needing an engine in to support everything. I need to do this as the forks bolts in the bottom of the legs need new washers and the steering stops need a little more built up to stop the bottom triple clamp hitting the faring.
It's been fun getting on the grinder again and I'm looking forward to doing some welding as well. I just haven't been in the mood for painting.
Re: CX500 "Bastardwing" - 23th Jan - Been making a start on some gauge mounts.
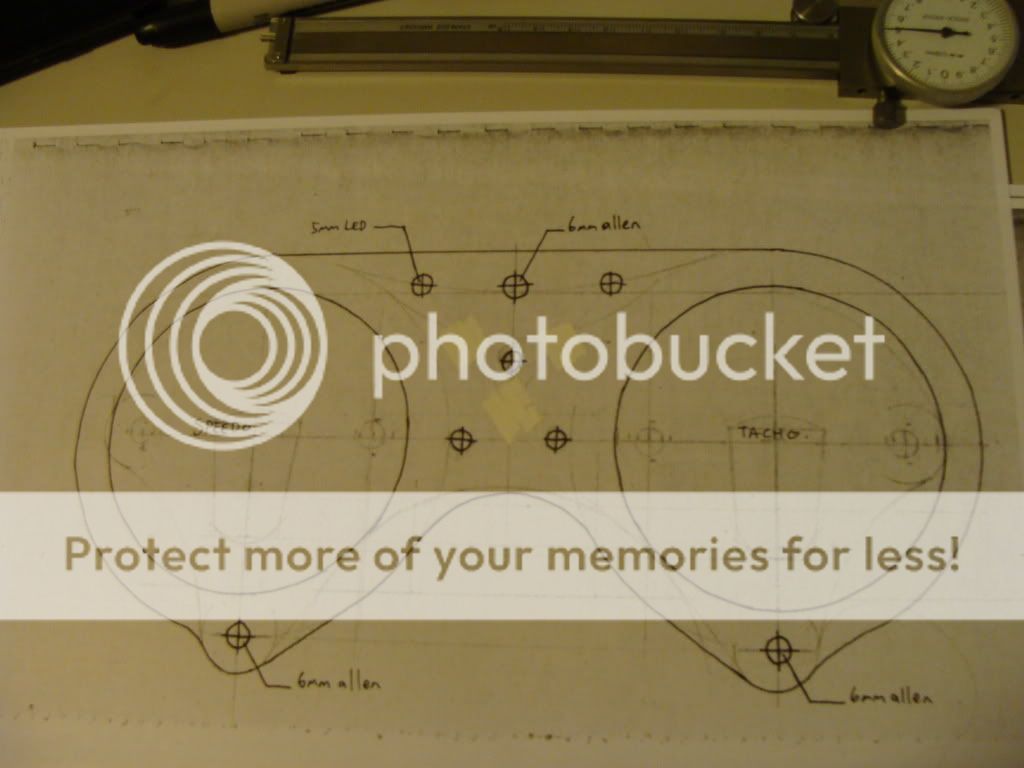
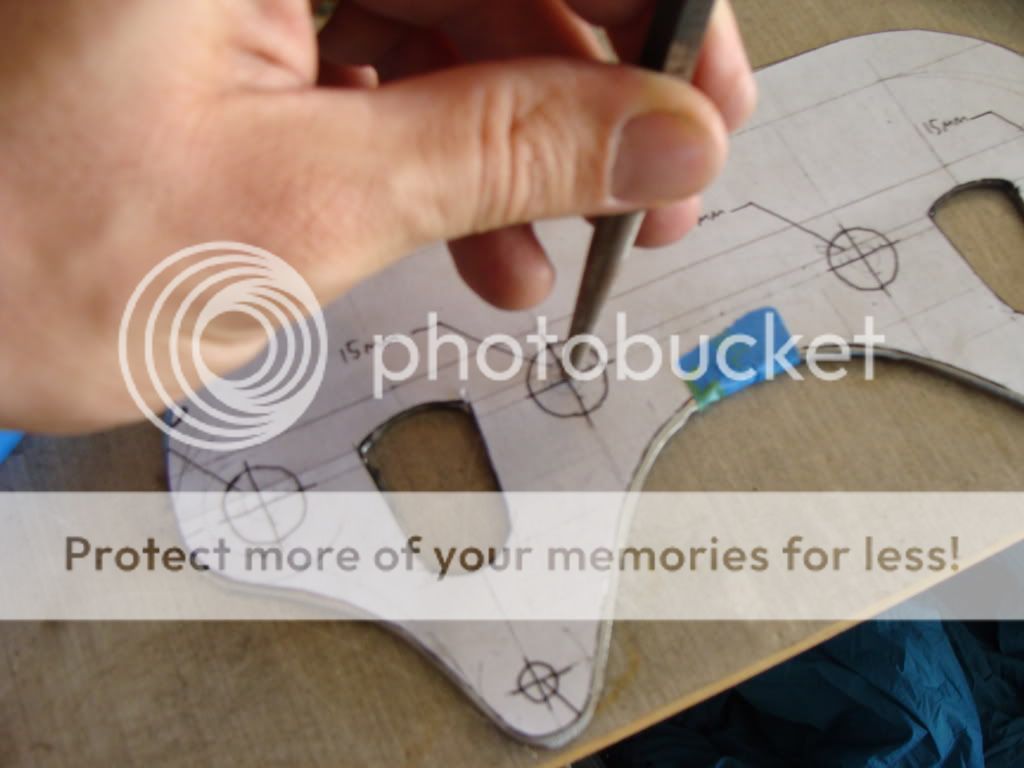
I've started mapping out the top and bottom plates to mount the stock speedo and tacho.
This one is for the bottom plate which for now will be made out of 3mm mild steel. If it seems a little thin then I have already looked into the areas which I can brace it so it'll be stronger but fairly light overall. The initial design highlighted some minor flaws. The holes to mount the gauges did not take into account the bushes that need to go in to mount the gauges on which means the plate needs to be widened. I also need to include a 6M captive nut to allow the bolt from the top plate to screw onto.
This one is the top plate which will be made out of scrap alloy. In the centre are the idiot lights I initially mounted on a plate to be bolted to the fairing. I decided I'd rather have them down by the gauges which might assist in them not reflecting on the screen too. I think this'll be athe final design but I'll transfer it onto cardboard first and see how it fits. The bottom plate needs to be made up first though so that I can get the top one 100% correct. I only have enough scrap for one of thes so I need to get it right the first time.
Re: CX500 "Bastardwing" - 23th Jan - Been making a start on some gauge mounts.
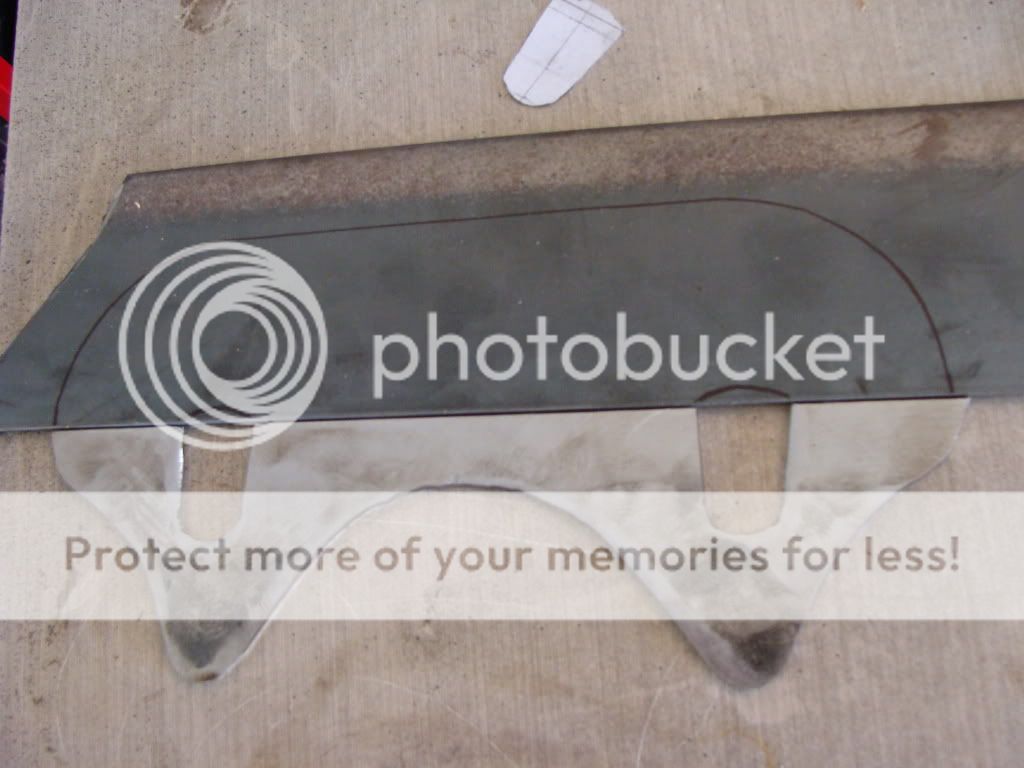
The bottom plate is being done in two sections as the plate I'm using is 75mm wide. The bottom half of the bottom plate (the really curvy bit) was done yesterday. I'm hoping to get the top half of the bottom plate done and the two halves welded together this morning.
I've also had an offer from a friend in the local CX fraternity to come down with my alloy plate and we'll cut those gauge holes out on one of his machines. He's a nice fella and being in his mid 70's has a wealth of experience and some great equipment in his garage such as mills, lathes, etc. Last time I was there he was showing me through a bunch of photos of things he built through the years including a miniature steam train which he handbuilt from scratch, including making all the castings. This dude is completely built not bought!
Well here's the one half of the bottom plate cut out and lined up next to the other half ready to be cut. That first bit was a real pig to do with an angle grinder.
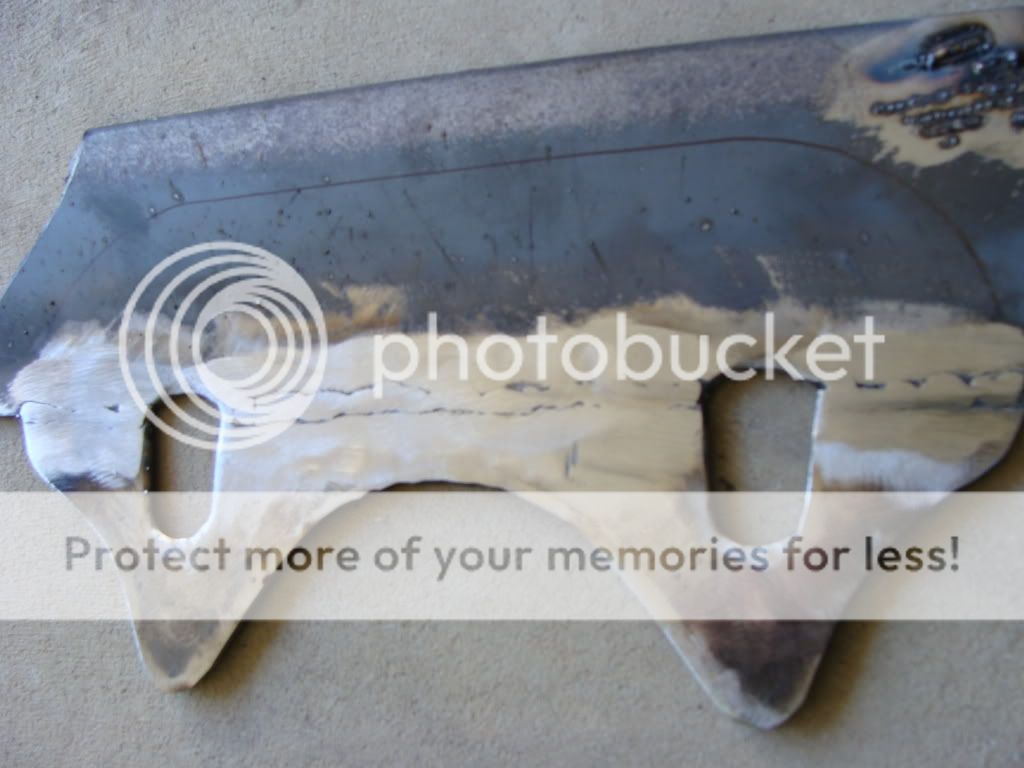
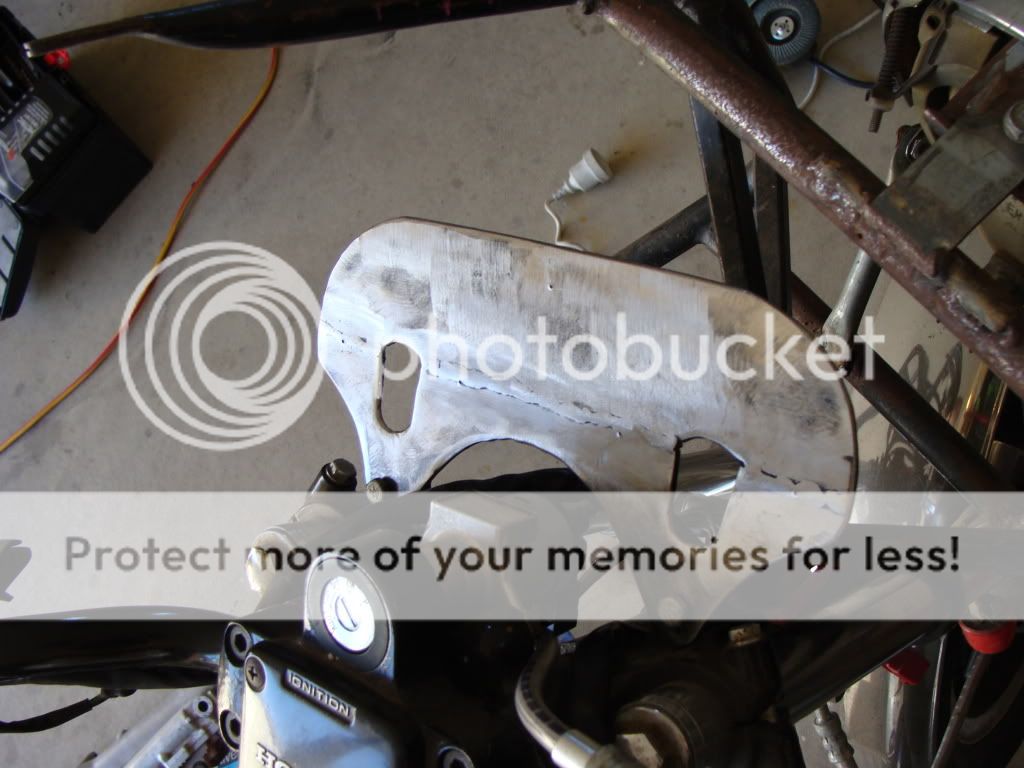
Welded together and roughly shaped.
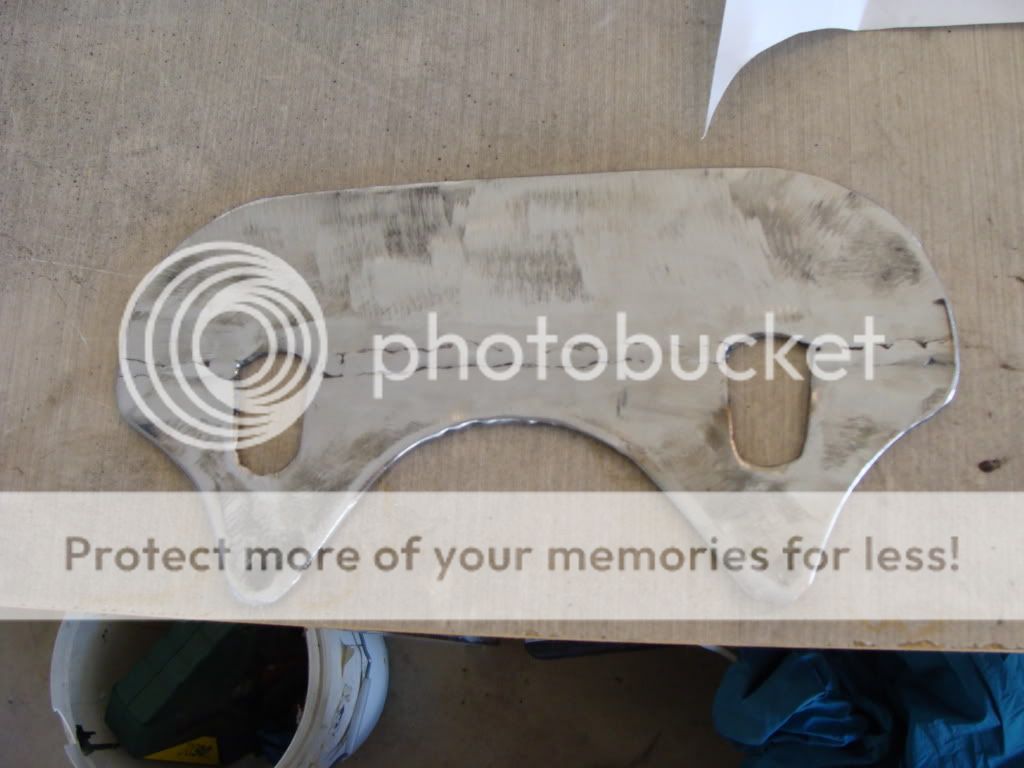
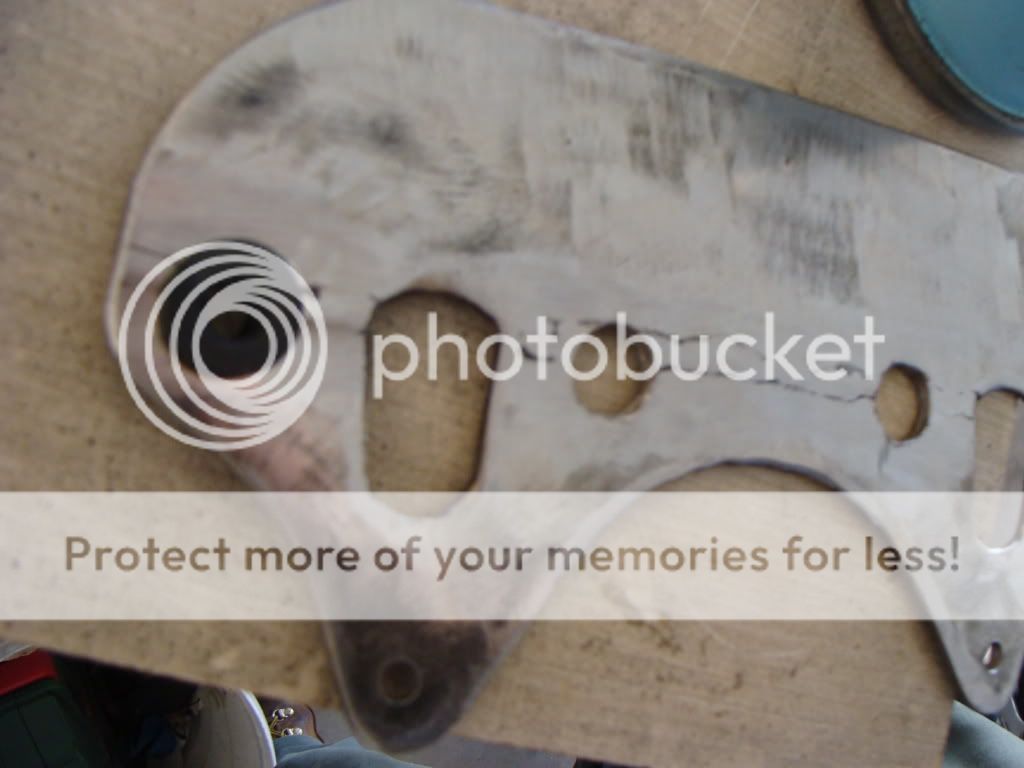
All cleaned up
Punching the plate for mounting holes.
After the first two are drilled a quick test fit to double check for fouling.
15mm holes drilled for rubber grommetswhich will mount the gauges.
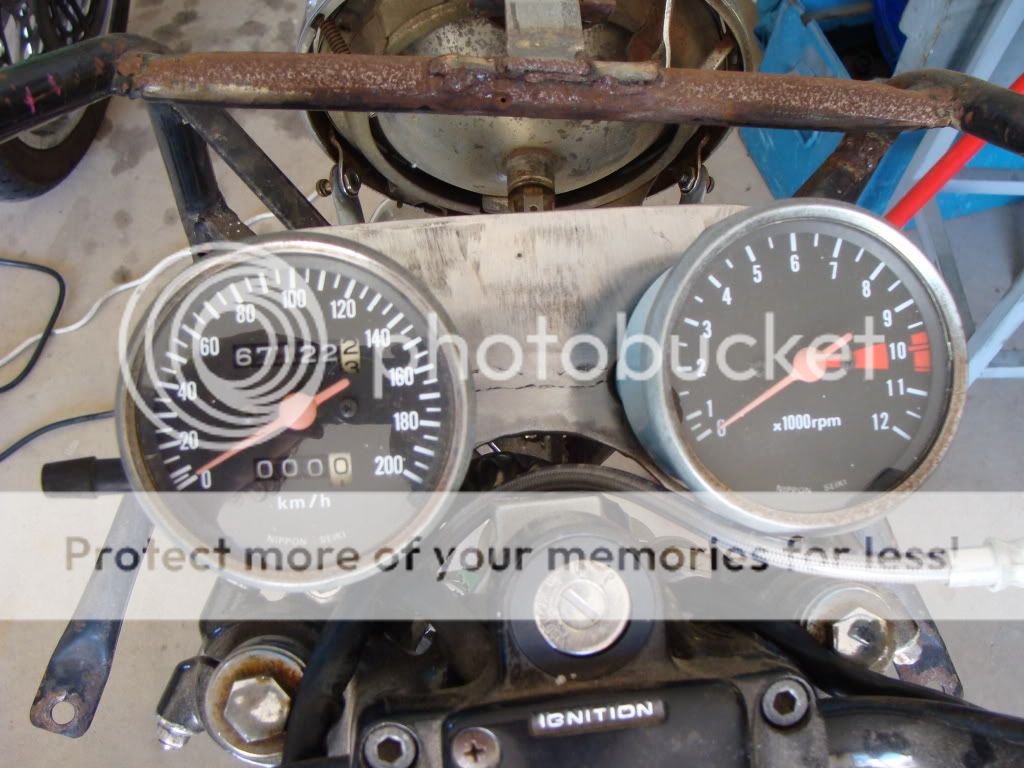
All bolted up. The grommets which hold the gauges on are quite compressed with the washer and M6 nylock nut behind them which means they don't move much at all.
I'm starting to think I may just leave it like this without adding a top plate after all. If I cut the plate back a bit more you'd hardly notice it at all, especially once painted the mandatory black. Thoughts?
I reckon you're right Justin. I'm thinking I'll do it after all as it'll neaten things up a bunch. Plus it'll keep all the idiot lights there in one spot.
What are your plans for material Staffy? You could mock up your top plate out of card stock or even thin wood with a coat of paint just to get an idea. I'm going on assumption here, that being that you have access to a plastics supplier but you could make a nice trim panel out of pebbled black ABS for very little money and that pebbled surface would look pretty spiff I think. good place to stick indicator lights too.
Heck, I'll send you some ABS if it'll help! I have lots here.....
Alright Staffy, Let's see the dimensions of the plate! I too am gonna switch to LED indicators on my 81 cx500d and was planning on the stock plate with a rounded plate to mount the leds too just like you are, but i like the custom plate, looks grat.. Love your build.
EDIT: Also, do you plan on replacing the stock gauge illumination bulbs with LEDs? Or are you going to stick with stock ones? Just curious, I've toyed with the idea of green/blue LEDs to illuminate the gauges.
I've already got an old offcut of alloy here Swagger. It must be around 5-7mm thickness so it'll be plenty strong enough as its main prupose will be to stop sideways movement of the gauges. I've got a few ideas for how to mount it but am as yet undecided. So the plan is to have a polished alloy top plate like every other man and his dog.
However, I had though about a black plate with white striping to match the rest of the bike.... Too much?
roflcopter, thanks for the kind words. I have already ditched the stock idiot lights and changes them for LED's and have been thinking about doing the same thing with the gauges. I was thinking red as that affects night vision a lot less that say blue or green would, but I am catious about making the gauges next to invisible at night. I'll probably give it a run though at some point.
Re: CX500 "Bastardwing" - 11th Feb - Rethinking the temp and volt gauge mounts.
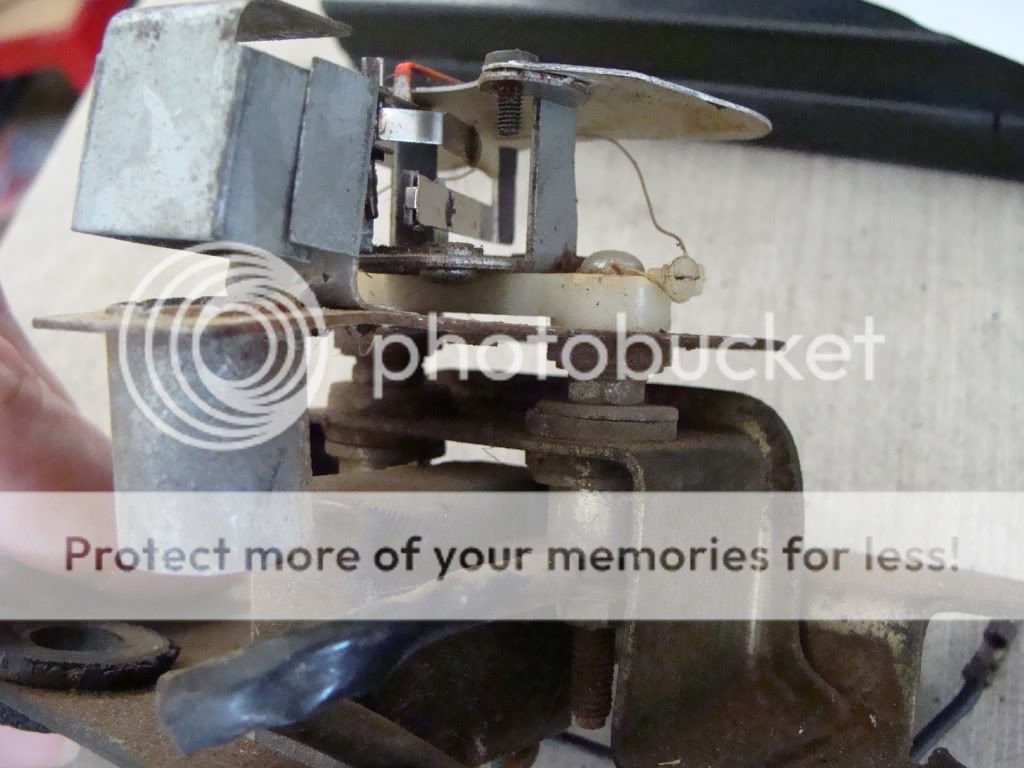
I have rethought the mounts for the smaller volt and temp gauges and decided to use a similar setup to the original mounts. Here you can see the gauge set up for the CX500 cluster:
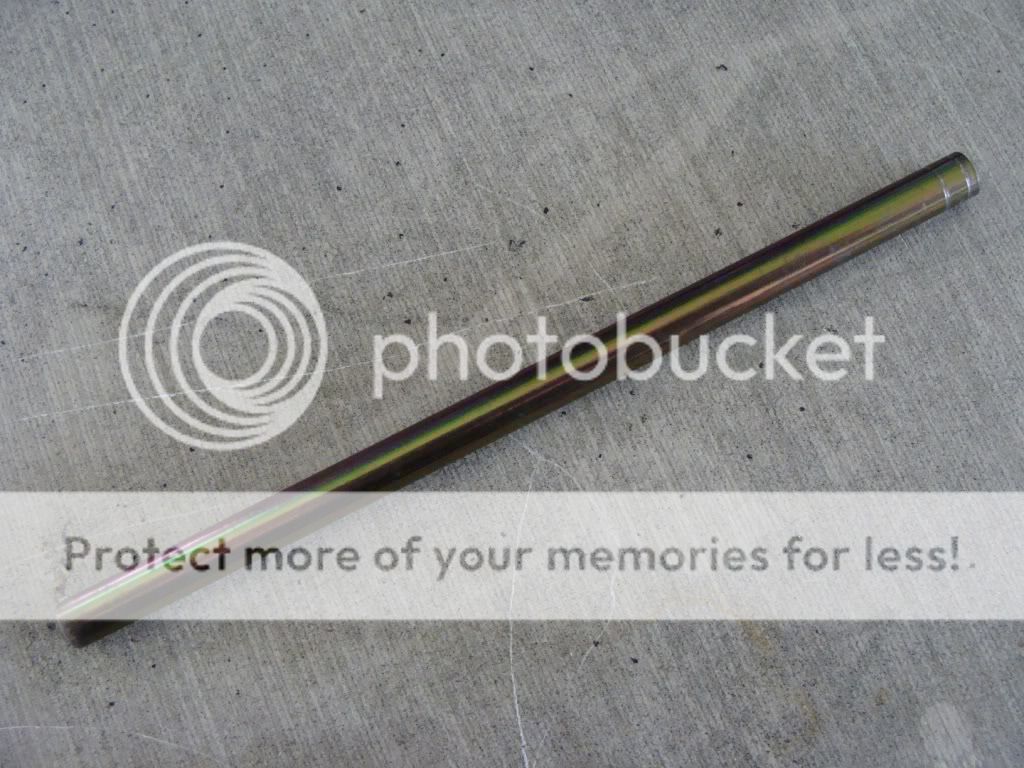
They have a piece of tube with a rubber grommet around but since I don't have these parts at hand (this one is borrowed) I went out and got some. 3/16 brake line will be cut down:
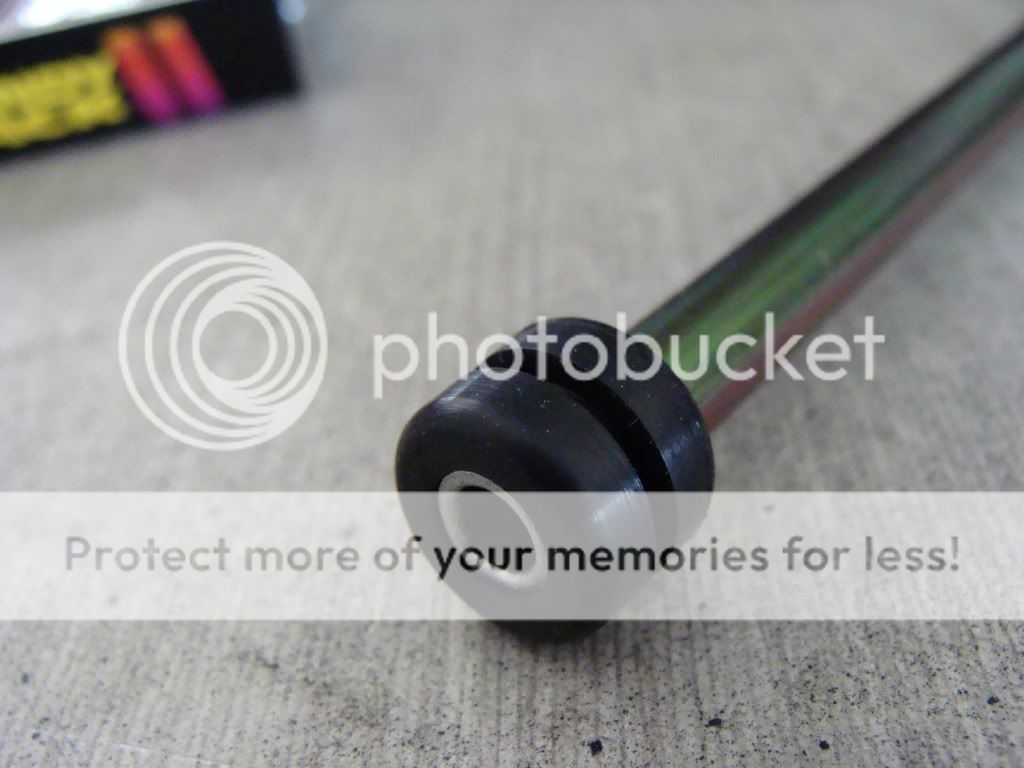
And is a tight fit in these grommets:
Perfect:
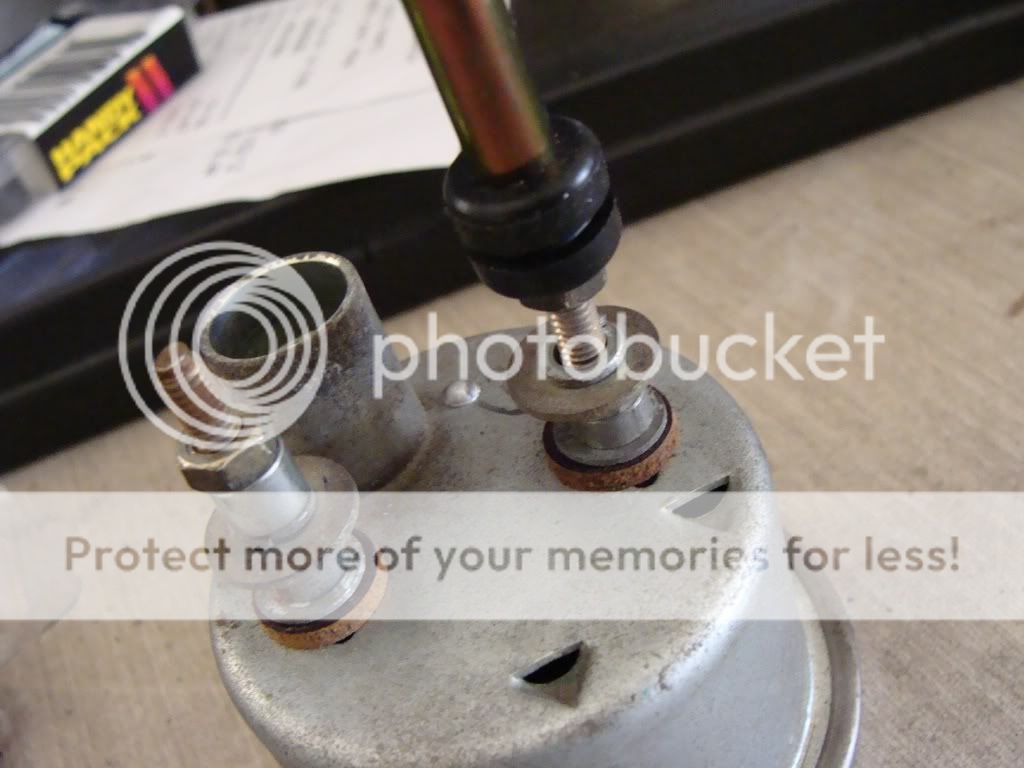
Here's where I could really do with a bench vice and a small coping saw. Instead it'll be cut with a angle grinder (like everything else is).
Re: CX500 "Bastardwing" - 29th March - A little more paint on...
The weather was brilliant today and since I've deferred from uni for the next 6 months or so I had some time up my sleeve.
Instead of rolling on the paint today I decided to go get some rattle bombs of the same stuff and lay some of that down. My main reason is I wasn't getting a good base coat on a couple of parts and wanted to get some paint on then finish off rolling it.
So cans out on the pavers along with the tank, side covers, fairing, etc and let it all get nice and warm. I bombed the lot with one whole can and it's come up a treat as everything was so warm it was pretty much frying on impact. The side covers are effectively done now except for rolling a final thinned coat on and a few touch ups, so they'll be good for getting some practice with buffing out a shine.
I can't wait to start getting some white on this black and making things come alive.
On another note, I've spent way too much time messing around trying to fit the gauges and I could have the bike on the road pretty quickly if I had a gauge to go on it. For that reason I think I'm going to just go ahead and fit a digital gauge.
Re: CX500 "Bastardwing" - 29th March - A little more paint on...
on my cx500, I spent about three weeks trying to mock up something using an aftermarket mini speedo and stock tacho and doing some LED indicators and finally decided it wasnt worth the effort... So I just put everything back to stock up front whilst I get my bike actually running. haha. allows me to concentrate on some other things.
Re: CX500 "Bastardwing" - 29th March - A little more paint on...
Not a lot to report, but I have started getting some polish on the paintwork. The sidecovers have gotten a lot of paint on already so I made a start with them. As I've ended up rattle bombing the last couple of coats (better for time constraints, less runs and better overall coverage compared to the roller technique) there was a little orange peel to knock off so I started with an 800 grit, then on to 1200 and 2000, followed by some cutting paste and finally some polishing wax product.
The shine's pretty good, but there's still a little bit of haze and some fine scratches from the sanding to come out. Overall it's looking good though, but it's a lot of work to do by hand. The picture below shows the results after around 3 hours of work and there's still more to do. When that's translated to the tank, fairing, the other side cover and rear cowl, that's a lot more work to do. That said, the more I do it I guess the better my technique will be and the quicker it'll happen.
This site uses cookies to help personalise content, tailor your experience and to keep you logged in if you register.
By continuing to use this site, you are consenting to our use of cookies.