
We noticed you are blocking ads. DO THE TON only works with community supporters. Most are active members of the site with small businesses. Please consider disabling your ad blocking tool and checking out the businesses that help keep our site up and free.
You are using an out of date browser. It may not display this or other websites correctly.
You should upgrade or use an alternative browser.
You should upgrade or use an alternative browser.
cx'y 500
- Thread starter IED
- Start date
IED said:This is my last project, a CBR 900RR Fireblade streetfighter.
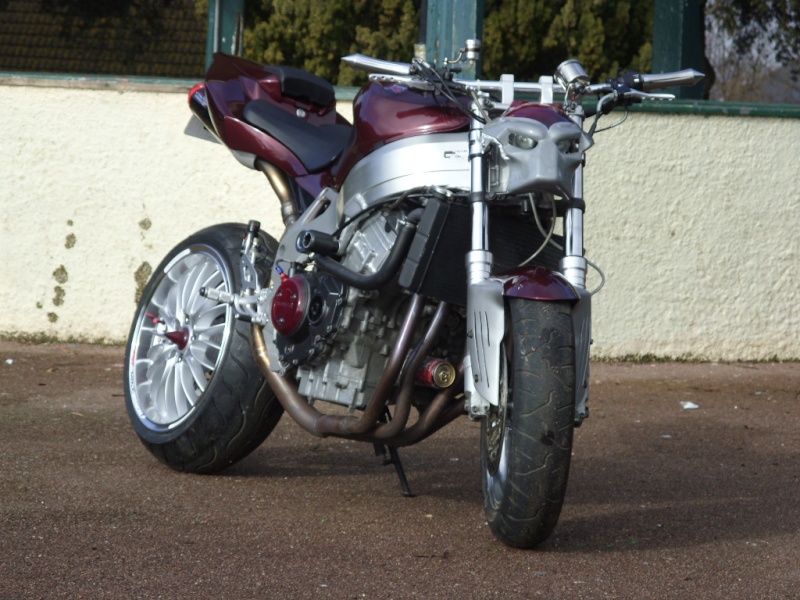
It has the D.N.A. of a café racer.
Mean looking bike! Wow great!
IED
Been Around the Block
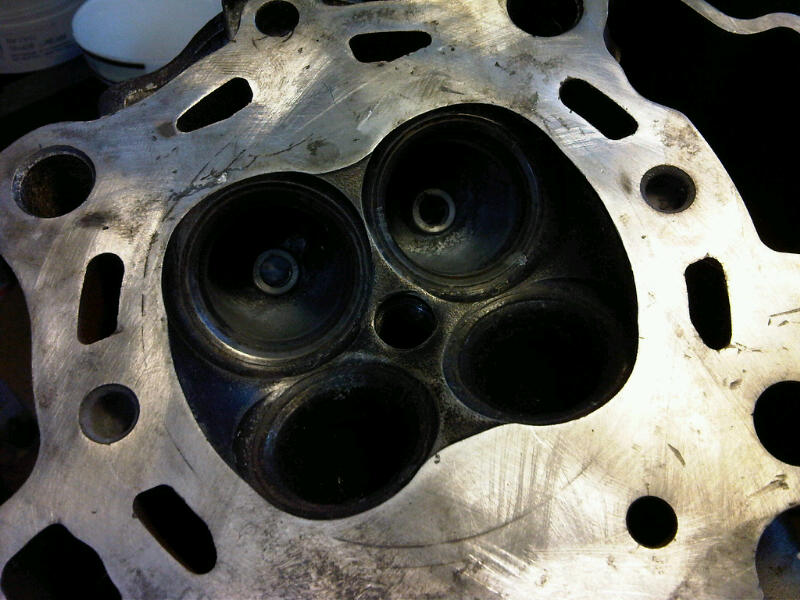
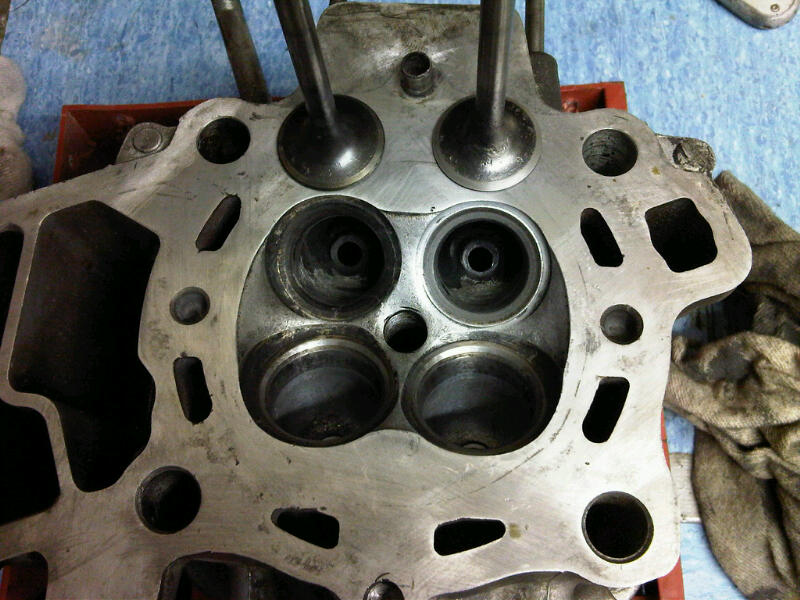
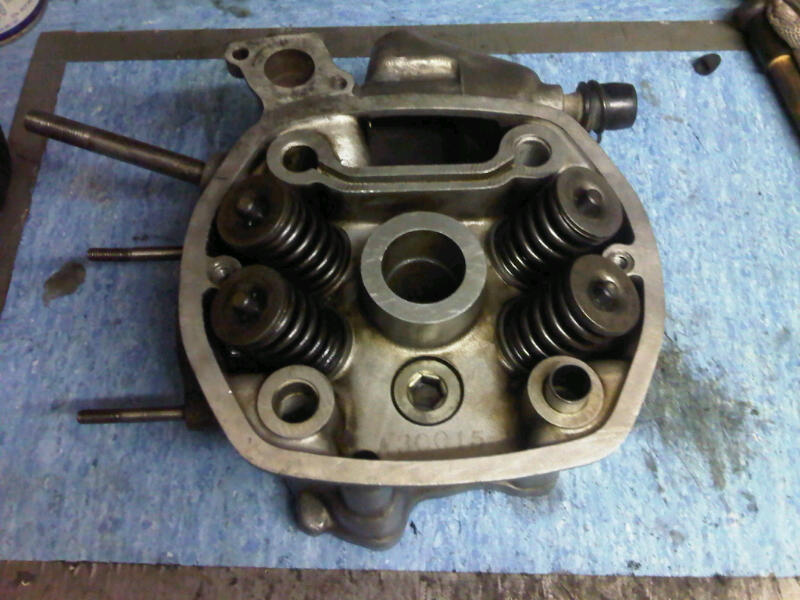
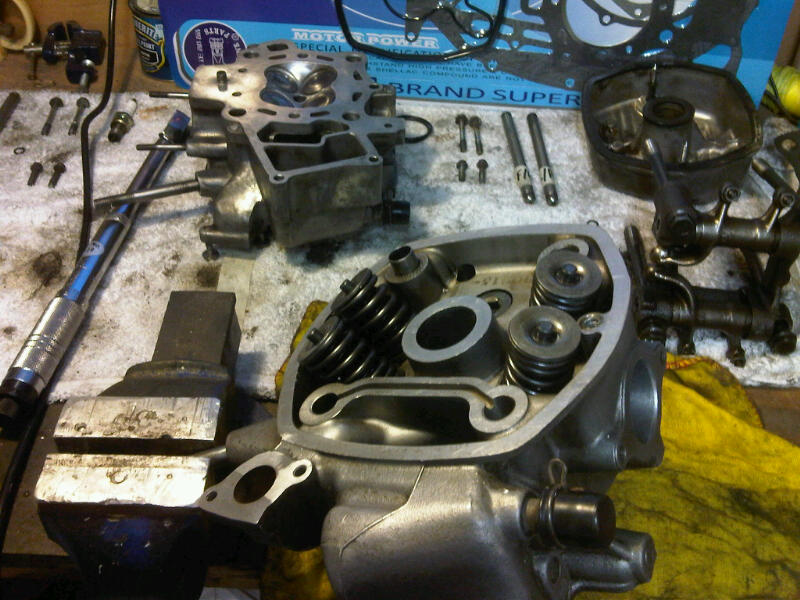
Valves are coming out tonight, the inlet valves dont look to bad but the exhaust valves have a build up of carbon. Not the sexy stuff you bolt to your bike, this is the cruddy stuff inside your zorst
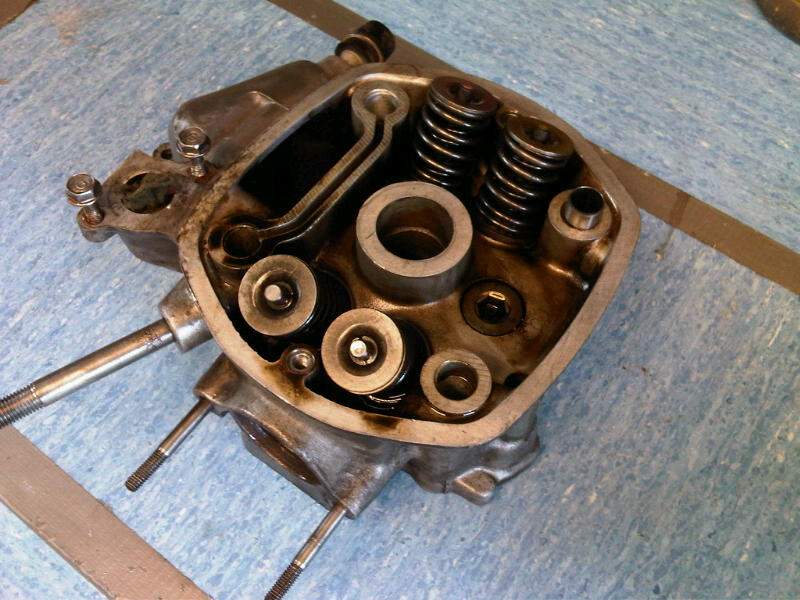
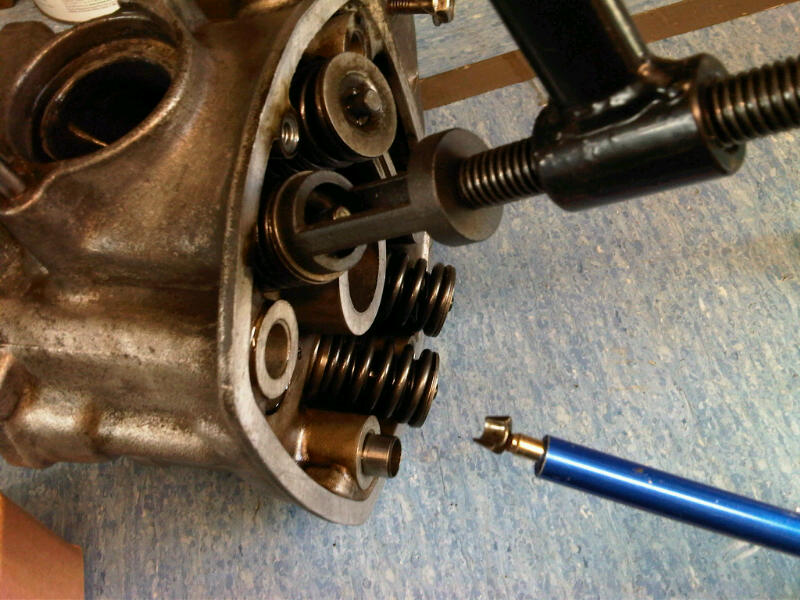
So youre gonna need some valve spring compressors
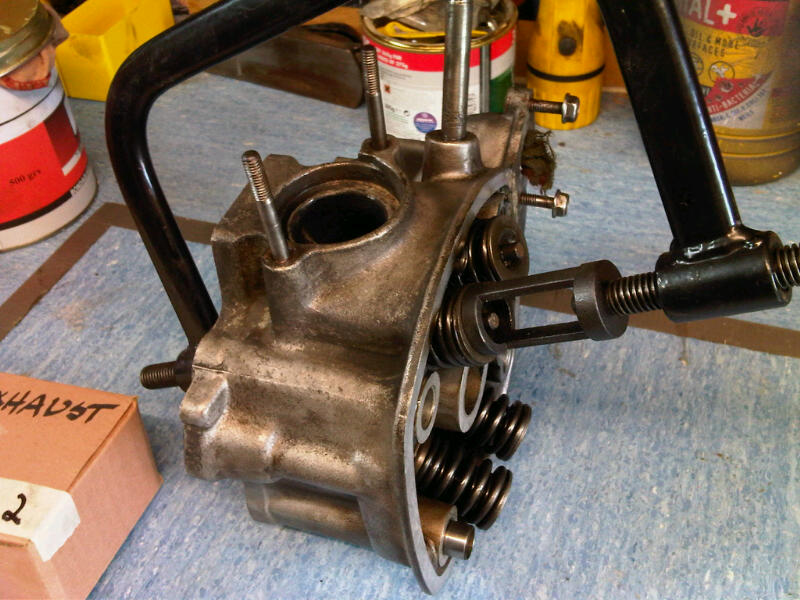
One of those screw drivers with the magnet is a good idea to get the colets out as they are a bit fiddly.
As you take them out keep them in order so they go back in the same guides
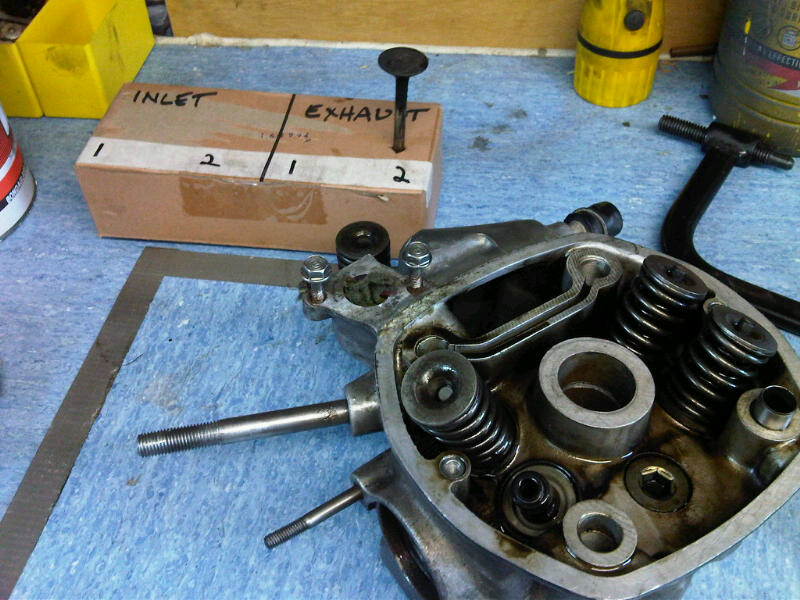
be carefull when you remove the exhaust valves, as sometimes they can get a bit of carbon up the stems and be a bit of a bugger to get out. Dont force them through the guids as you could damage them, just get a small bit of very fine sand paper and remove any deposits and they should drop out.
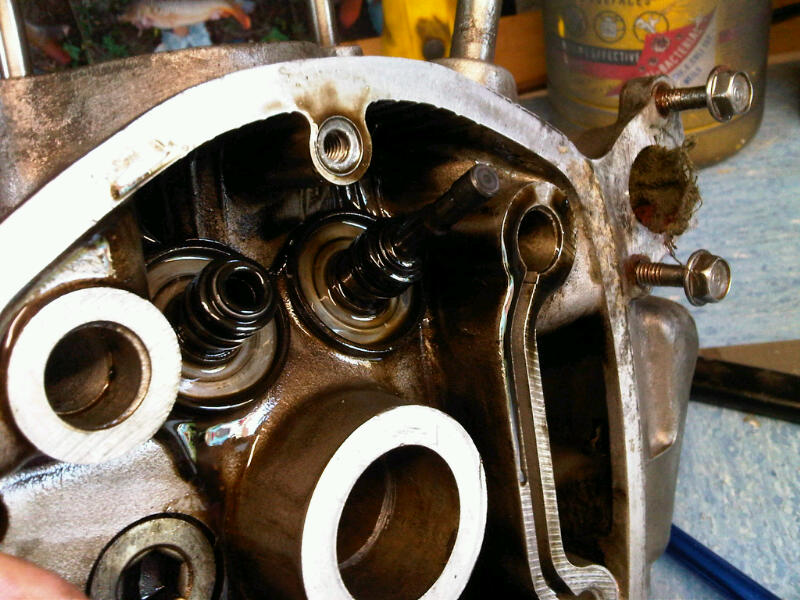
All this black stuff has to com off. You can use a wire wheel but keep away from the valve seat
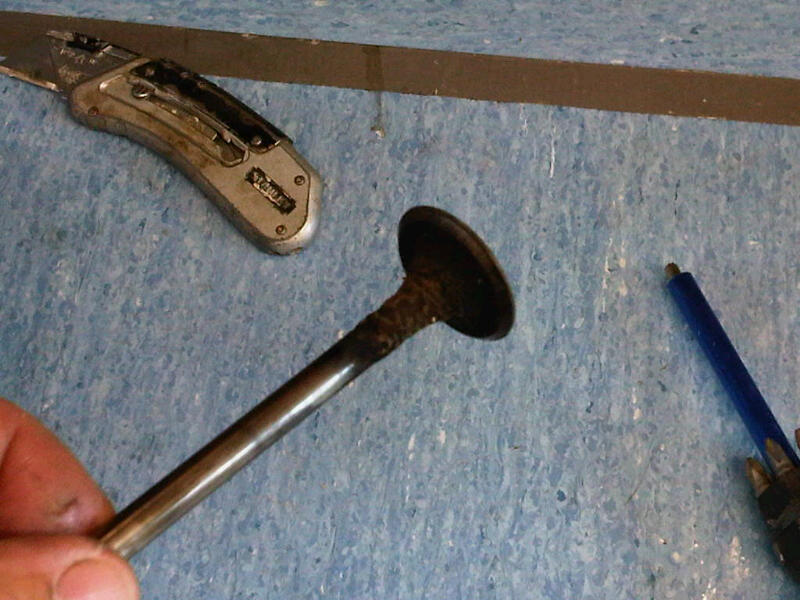
Under the black stuff there is white stuff, that has to come off too
You should end up with nice clean valves that will perform as they should once they are ground in.
So youre gonna need some valve spring compressors
One of those screw drivers with the magnet is a good idea to get the colets out as they are a bit fiddly.
As you take them out keep them in order so they go back in the same guides
be carefull when you remove the exhaust valves, as sometimes they can get a bit of carbon up the stems and be a bit of a bugger to get out. Dont force them through the guids as you could damage them, just get a small bit of very fine sand paper and remove any deposits and they should drop out.
All this black stuff has to com off. You can use a wire wheel but keep away from the valve seat
Under the black stuff there is white stuff, that has to come off too
You should end up with nice clean valves that will perform as they should once they are ground in.
IED
Been Around the Block
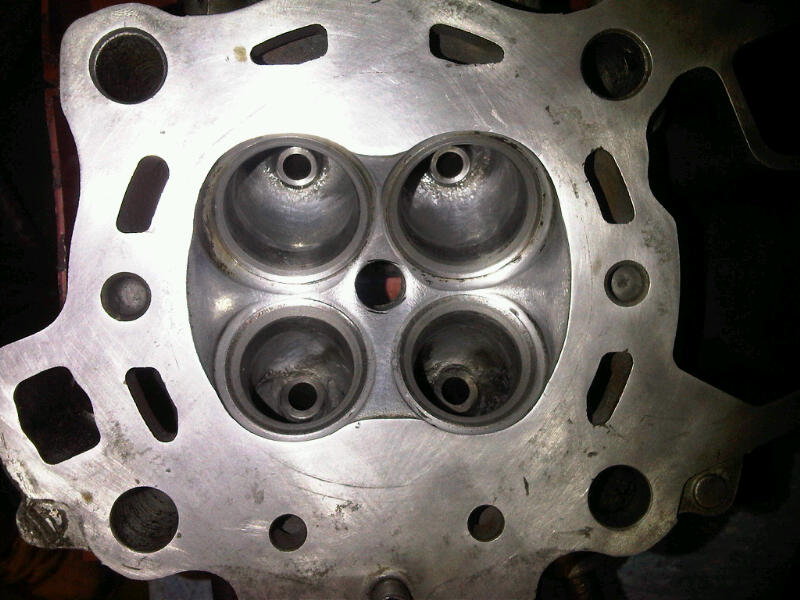
The inlet ports were not to bad, but if you run your fonger inside them you can feel the rough texture from when they were sand cast at the factory. Im not building a race bike so I didnt go over the top, but I gave them a good clean up with the Dremil and the polished them.
Run your finger in there now and they are really smooth
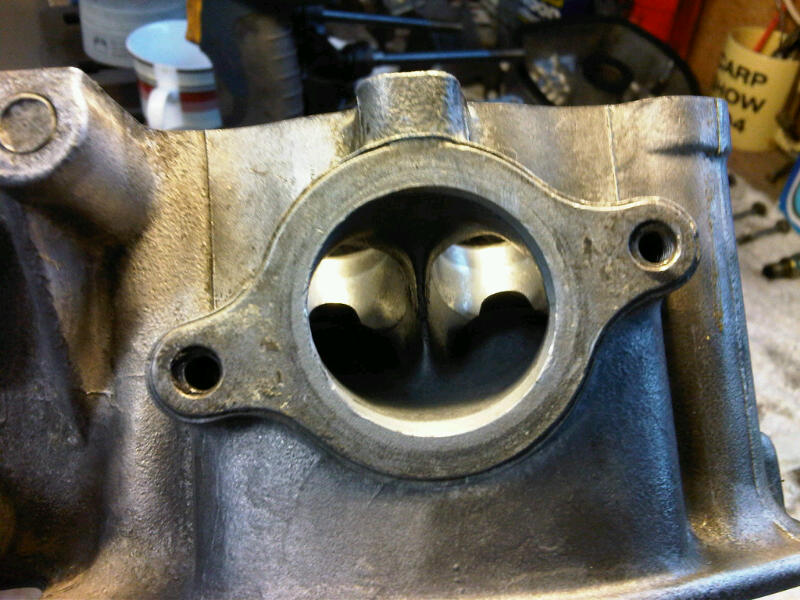
Exhaust ports got a decoke too
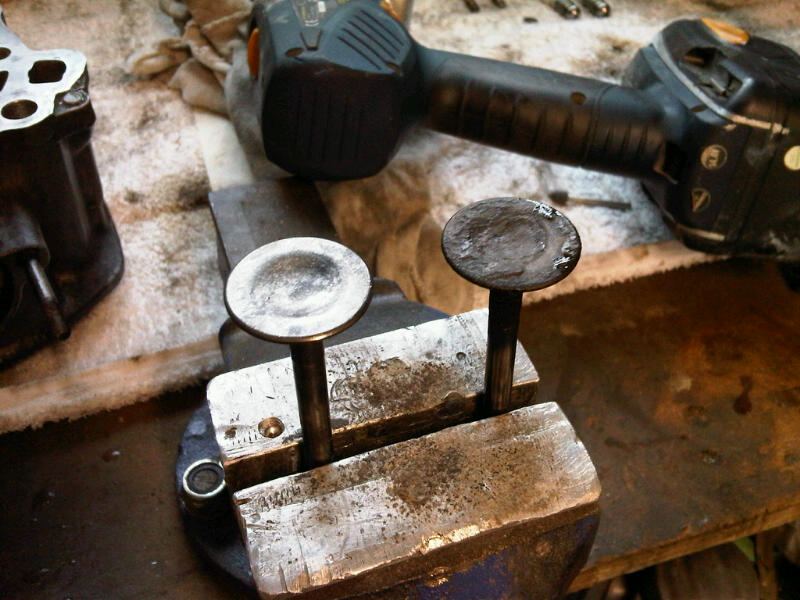
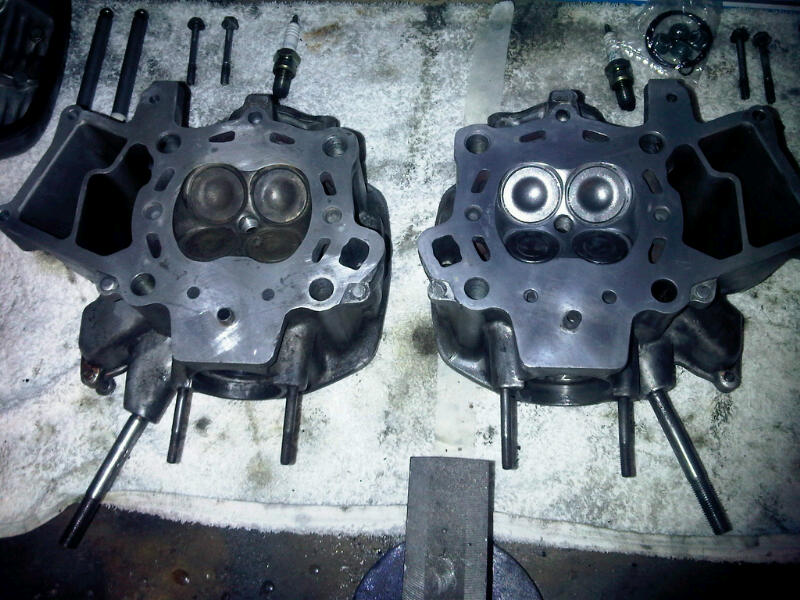
Next I started grinding in the valves, a piss boring job as each one takes about 30 to 40 minutes.
Radio on! brain off!

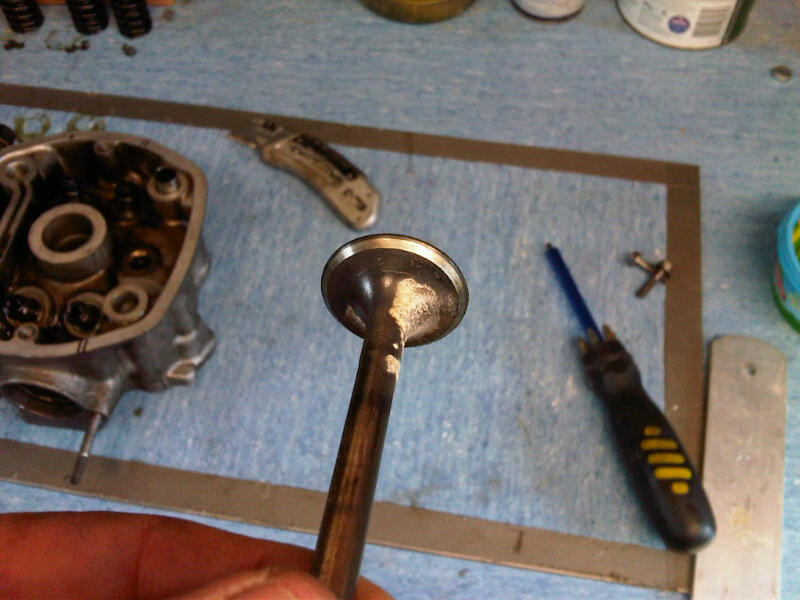
this is how they look when ground in, as you can see the one on the right has a nice flat grey band around the valve and the seat
In all I have 7 more to do, but I wont bore you all with that.
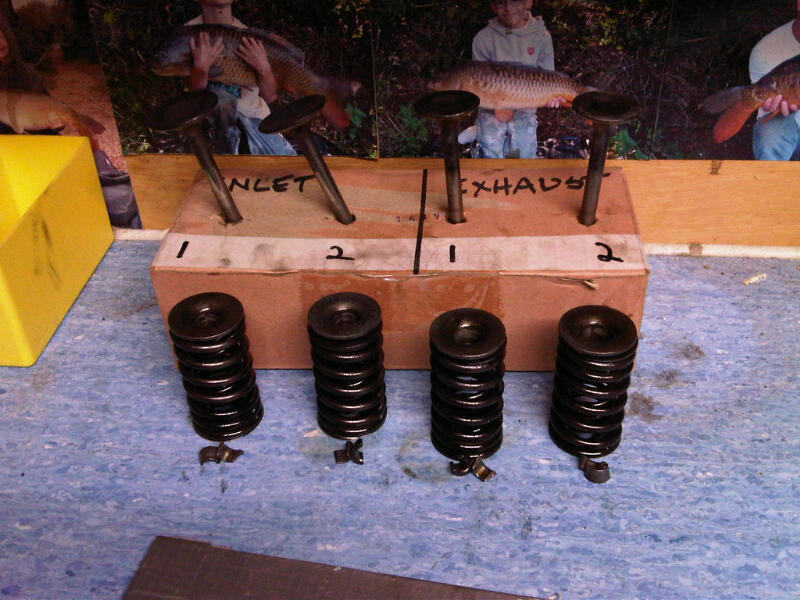
Oh and remember to keep the valves, springs and collets in the same sets as you removed the and mark them up so you know where they go back.
Run your finger in there now and they are really smooth
Exhaust ports got a decoke too
Next I started grinding in the valves, a piss boring job as each one takes about 30 to 40 minutes.
Radio on! brain off!
this is how they look when ground in, as you can see the one on the right has a nice flat grey band around the valve and the seat
In all I have 7 more to do, but I wont bore you all with that.
Oh and remember to keep the valves, springs and collets in the same sets as you removed the and mark them up so you know where they go back.
IED
Been Around the Block
Ok, so tonight I got in from work and finished off grinding in the other three valves
That only took about 2 hours so I decided to revisit the ports and go the extra mile, so I went back in the inlet and exhaust ports and cleaned the up a bit more.
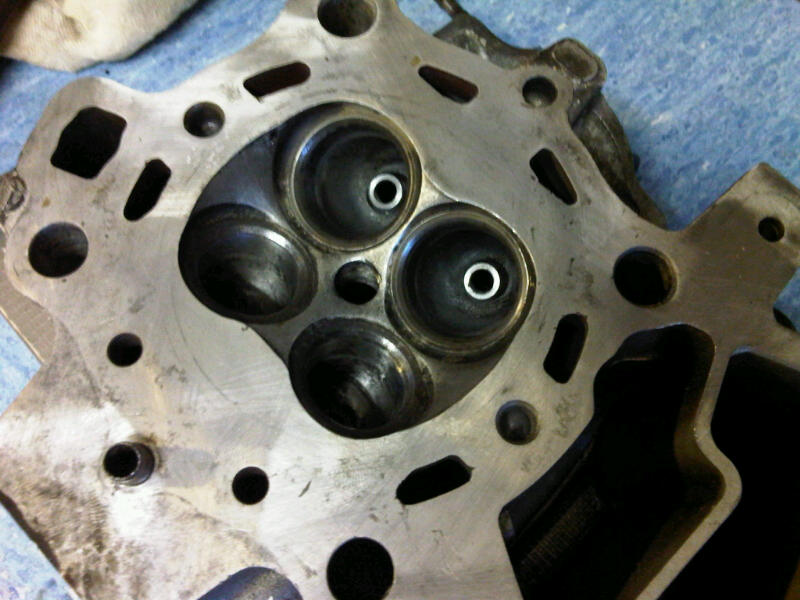
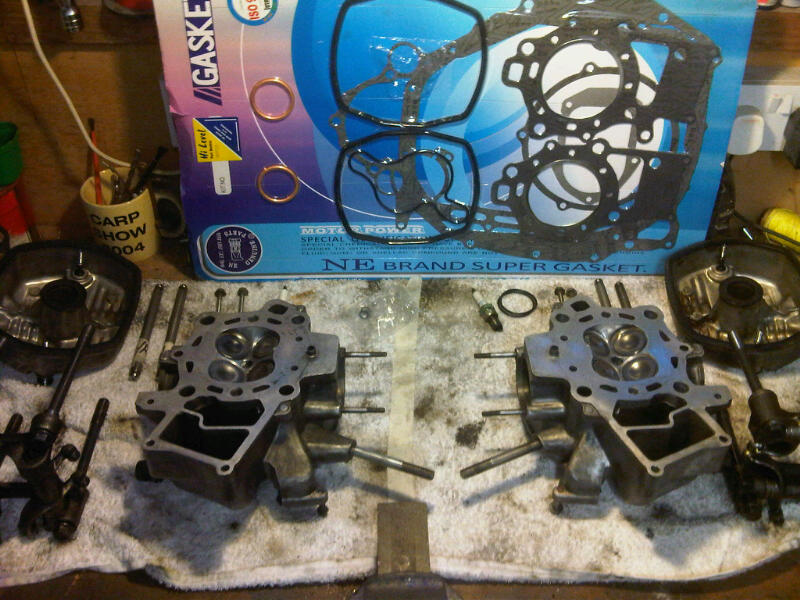
Next I fitted new oil seals for the valve stems, they are a patten part but fit really good
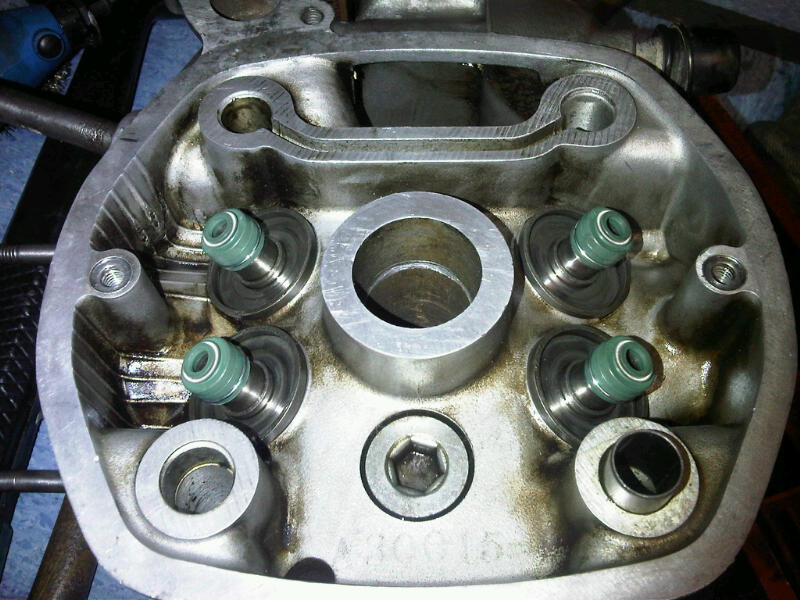
valves back in, and the jobs done. Well half done, theres the other head to do yet
Kind of a before and after shot here
Over all it took me just over 6 hours to refurbish one of the heads so I have about the same to look forward to with the other one. I think I'm gonna have a break from them for a few days and go back to working on my seat unit, then once I've made the seat mould I'll go back and do the other head.
That only took about 2 hours so I decided to revisit the ports and go the extra mile, so I went back in the inlet and exhaust ports and cleaned the up a bit more.
Next I fitted new oil seals for the valve stems, they are a patten part but fit really good
valves back in, and the jobs done. Well half done, theres the other head to do yet
Kind of a before and after shot here
Over all it took me just over 6 hours to refurbish one of the heads so I have about the same to look forward to with the other one. I think I'm gonna have a break from them for a few days and go back to working on my seat unit, then once I've made the seat mould I'll go back and do the other head.
IED
Been Around the Block
While I was doing the 2nd head to break up the bordom I took a look over the other parts of the valve system. I niticed the tappet adjusting screws on all the exhaust rockers were either chipped or pitted. the intake side all looked in a1 condition. I dont know why it only affected one side, but they were all replaced with new.
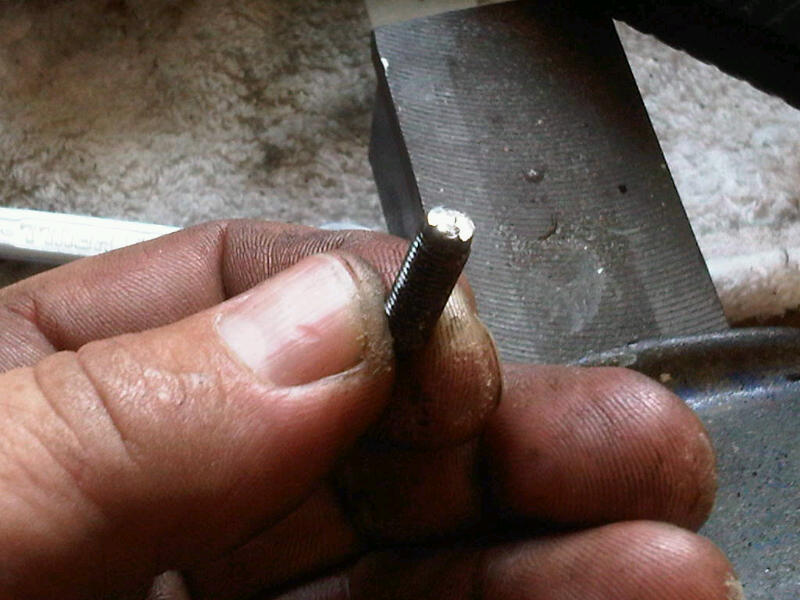
20 quid for 4 tiny little screws, Sheesh!!!
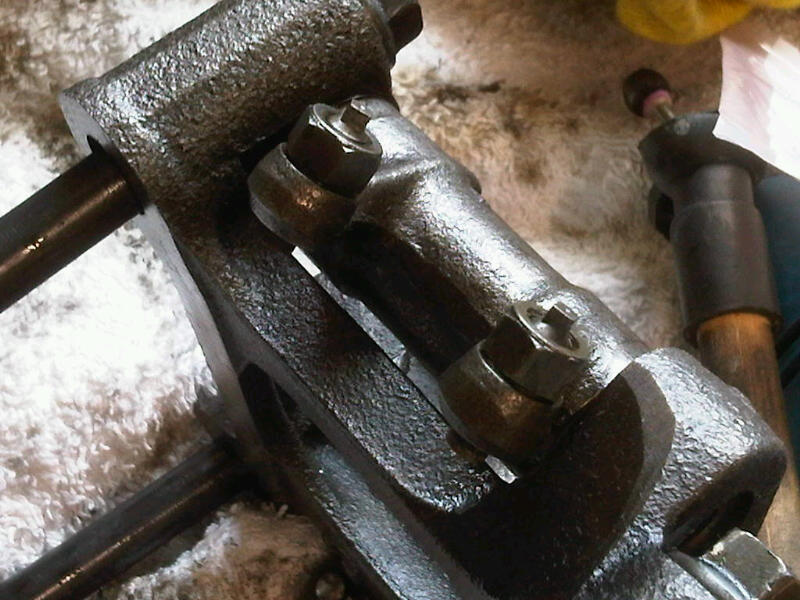
All ground in and back together
I'll put them back on at the weekend after I learn how to use my torque wrench, lol. yup Ive had it for a few years now but never used it. Well, how hard can it be.
Never been more pleased to see something done.
20 quid for 4 tiny little screws, Sheesh!!!
All ground in and back together
I'll put them back on at the weekend after I learn how to use my torque wrench, lol. yup Ive had it for a few years now but never used it. Well, how hard can it be.
Never been more pleased to see something done.
IED
Been Around the Block
Not a huge amount to report tonight.
The waxing is done, and left between coats to dry over night.
This is so it builds up layers of wax that will help the mould seperate from the original plug.
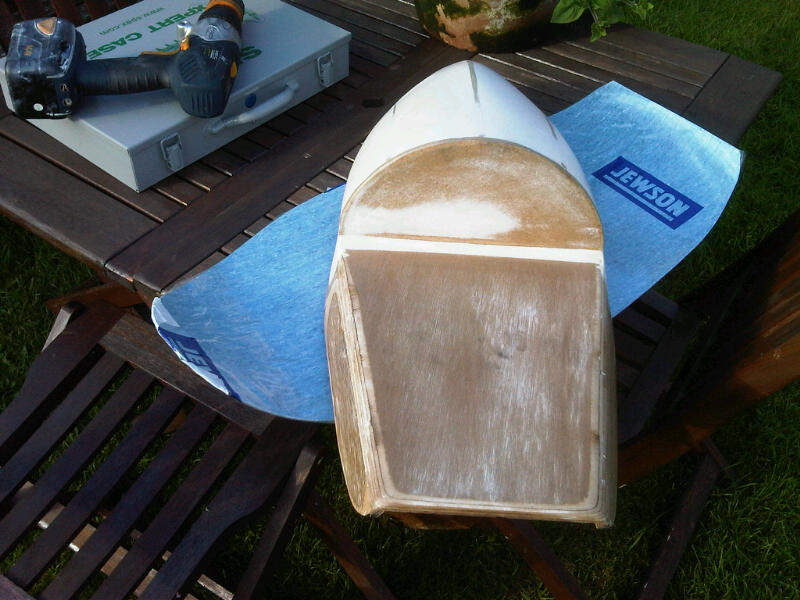
One last step before I can start laying on glass and that is to give it two coats of pva.
All pva is, is carpenters white wood glue. It forms a skin over the part and also aids seperation
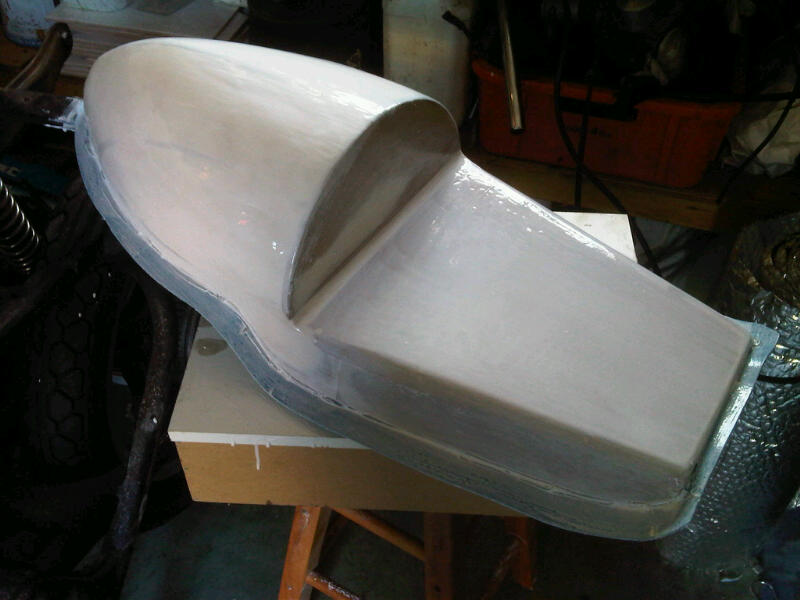
Its a milky white now but when it dries should go clear and shiney.
Next I'm gonna be laying on fiberglass to make my seat mould, then paying my mate Porky a visit to borrow his mig welder and do a few frame mods. ;D
The waxing is done, and left between coats to dry over night.
This is so it builds up layers of wax that will help the mould seperate from the original plug.
One last step before I can start laying on glass and that is to give it two coats of pva.
All pva is, is carpenters white wood glue. It forms a skin over the part and also aids seperation
Its a milky white now but when it dries should go clear and shiney.
Next I'm gonna be laying on fiberglass to make my seat mould, then paying my mate Porky a visit to borrow his mig welder and do a few frame mods. ;D
IED
Been Around the Block
This is my torque wrench, I've had it for a few years but never used it or understood how to read it
But now................
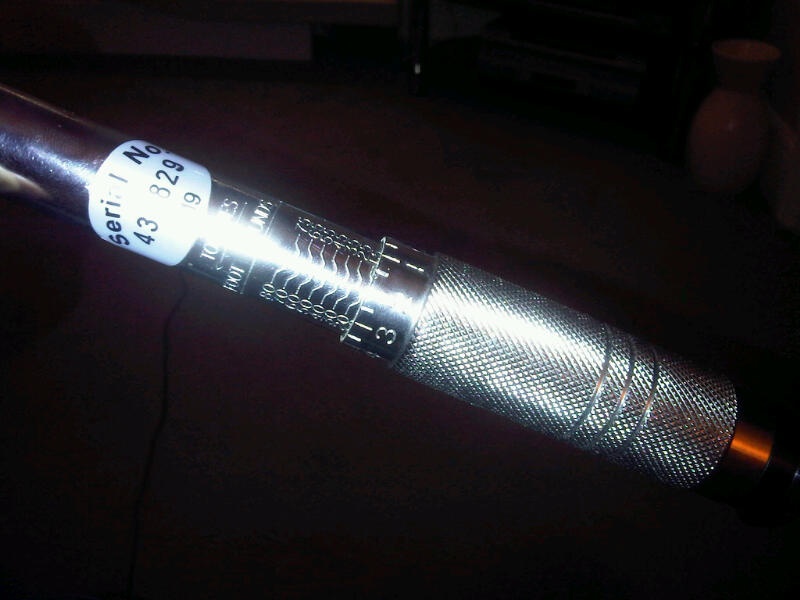
I'm really please because I found out how to read a torque wrench, and it turns out its really easy
[youtube]How to read a torque wrench.mpeg[/youtube]
I love learning new stuff,
Enjoy!!!
But now................
I'm really please because I found out how to read a torque wrench, and it turns out its really easy
[youtube]How to read a torque wrench.mpeg[/youtube]
I love learning new stuff,
Enjoy!!!
IED
Been Around the Block
Sunflash said:Wow I think I need popcorn for this thread with the rate and the entertainment value. I have to say this moved the cx500 from the medium/long want list to the short right quick. Can't wait to see the results.
Lol, get me a bucket of popcorn too matey. Glad you are enjoying the build fella and getting motivated to do a CX500 too. Oh, and I cant wait to see the end results too, ha ha.
IED
Been Around the Block
Frankenfe said:I was just wondering what you plan to do for a Tail/Brake Light?
Havent decided 100% yet mate, but I'm thinking I might use my hole saw to cut out for a round light to be resesed into the back of the pod.
Frankenfe
Coast to Coast
I am building a CM400T Cafe, and they have a similar "Broke Back" and looped Cruiser influenced rear frame and seating orientation. It makes them dificult to get the straight seat to tank line. Many ignore this and "force" the straight body line.
I like how you embraced this "Line" in the sides if your Seat "Pod".
Below is A link to a nicely built CB400tii, with a similar approach to seat and tail light you describe. He as you have, has embraced the lines of the frame and sculpted the seat to fit.
http://www.dotheton.com/forum/index.php?topic=13652.0
I was thinking it may be better to work out the tail light and tail light mount now before the mold/mould stage.


