IED
Been Around the Block
That is so cool mate and I like his tail light too.
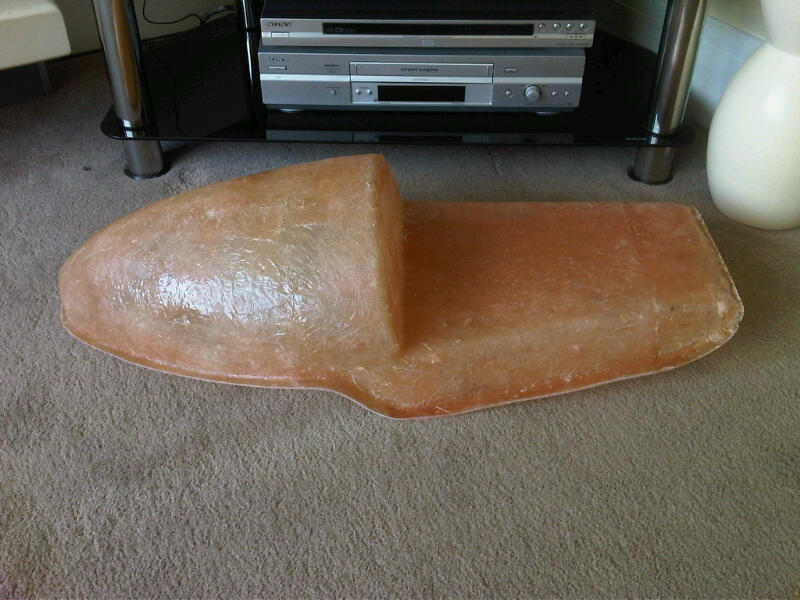
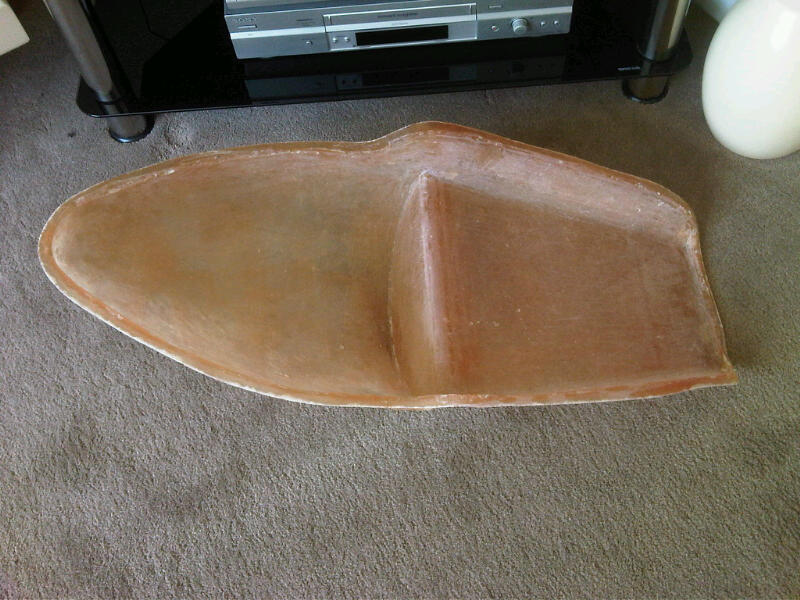
The issue of lines is very important mate and I like things to look right
This is how I got my 96 fireblade tank to flow into my 2005 R1 seat
http://www.streetfighters.com.au/forum/topic.asp?TOPIC_ID=12308&whichpage=14
I'll be sticking my head in your thread shed door to have a little snoop at your ride too mate ;D

")