
We noticed you are blocking ads. DO THE TON only works with community supporters. Most are active members of the site with small businesses. Please consider disabling your ad blocking tool and checking out the businesses that help keep our site up and free.
You are using an out of date browser. It may not display this or other websites correctly.
You should upgrade or use an alternative browser.
You should upgrade or use an alternative browser.
Down under, an idiot and a 400F
- Thread starter neevo
- Start date
BCBarker
Coast to Coast
It's all in the details. If you hold the paint details back from the edge I think it helps "class it up." For me, a touch of color on white/gray let's me know the opted to leave the rest white/gray and it was a design choice. I find most single color and white/gray/black paint jobs boring. Even my 350f I find a bit boring. I want to repainted it with new details. But I have a few other projects to finish first. ")
neevo
Over 1,000 Posts
BCBarker said:It's all in the details. If you hold the paint details back from the edge I think it helps "class it up".
Yeah that's what I did and it looked shit
Might redo the pics with white on the tins so I can doodle on them as opposed to using photoshop.
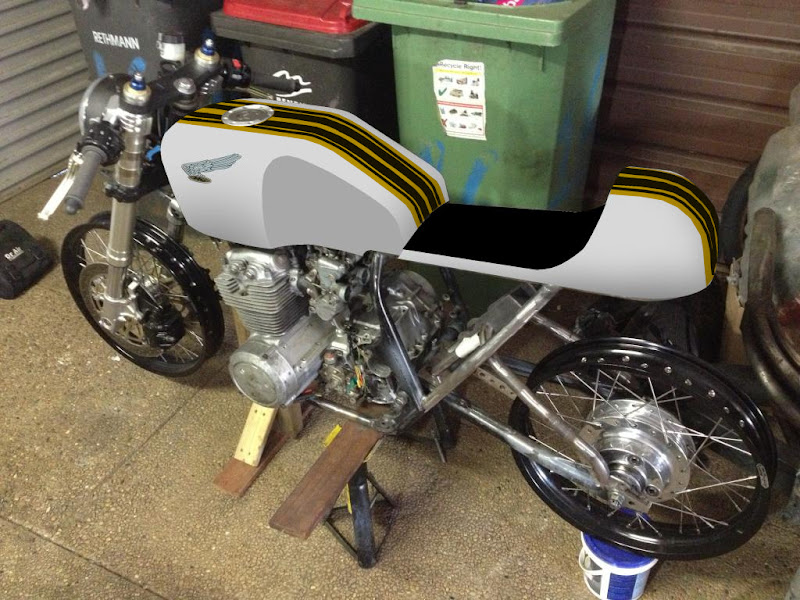
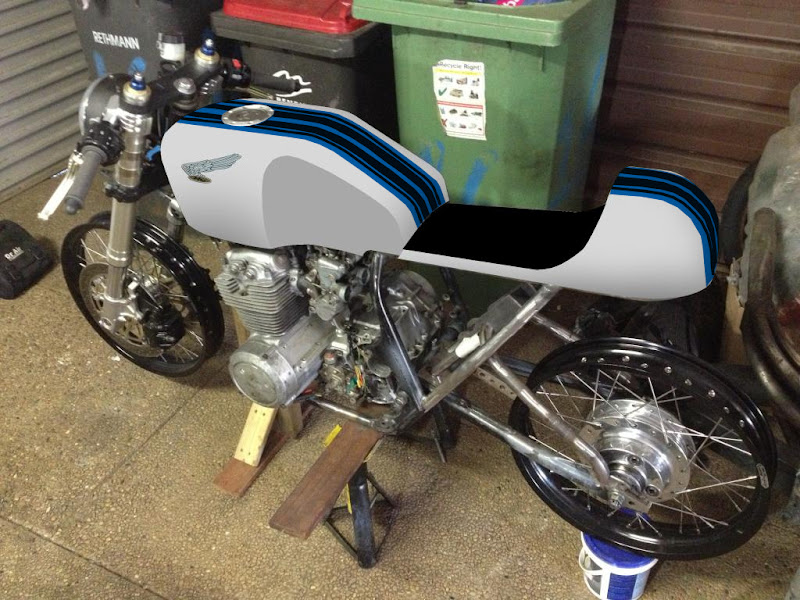
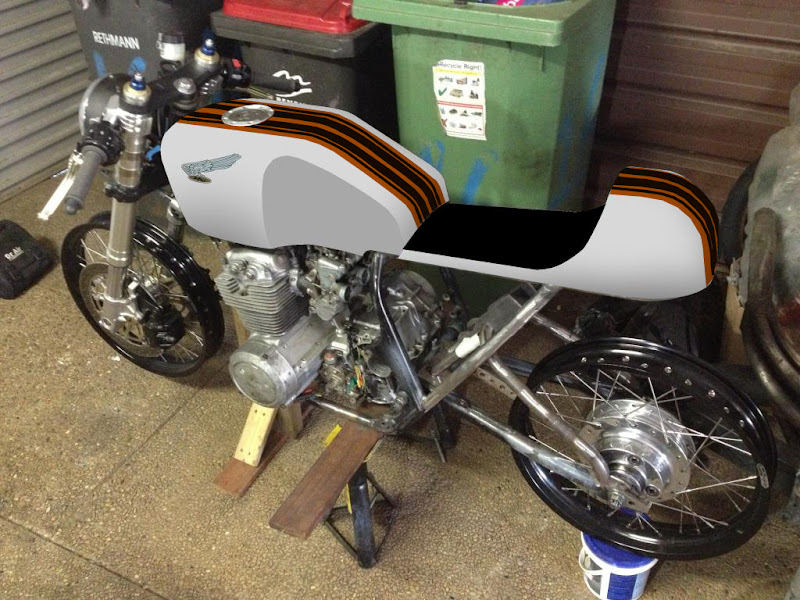
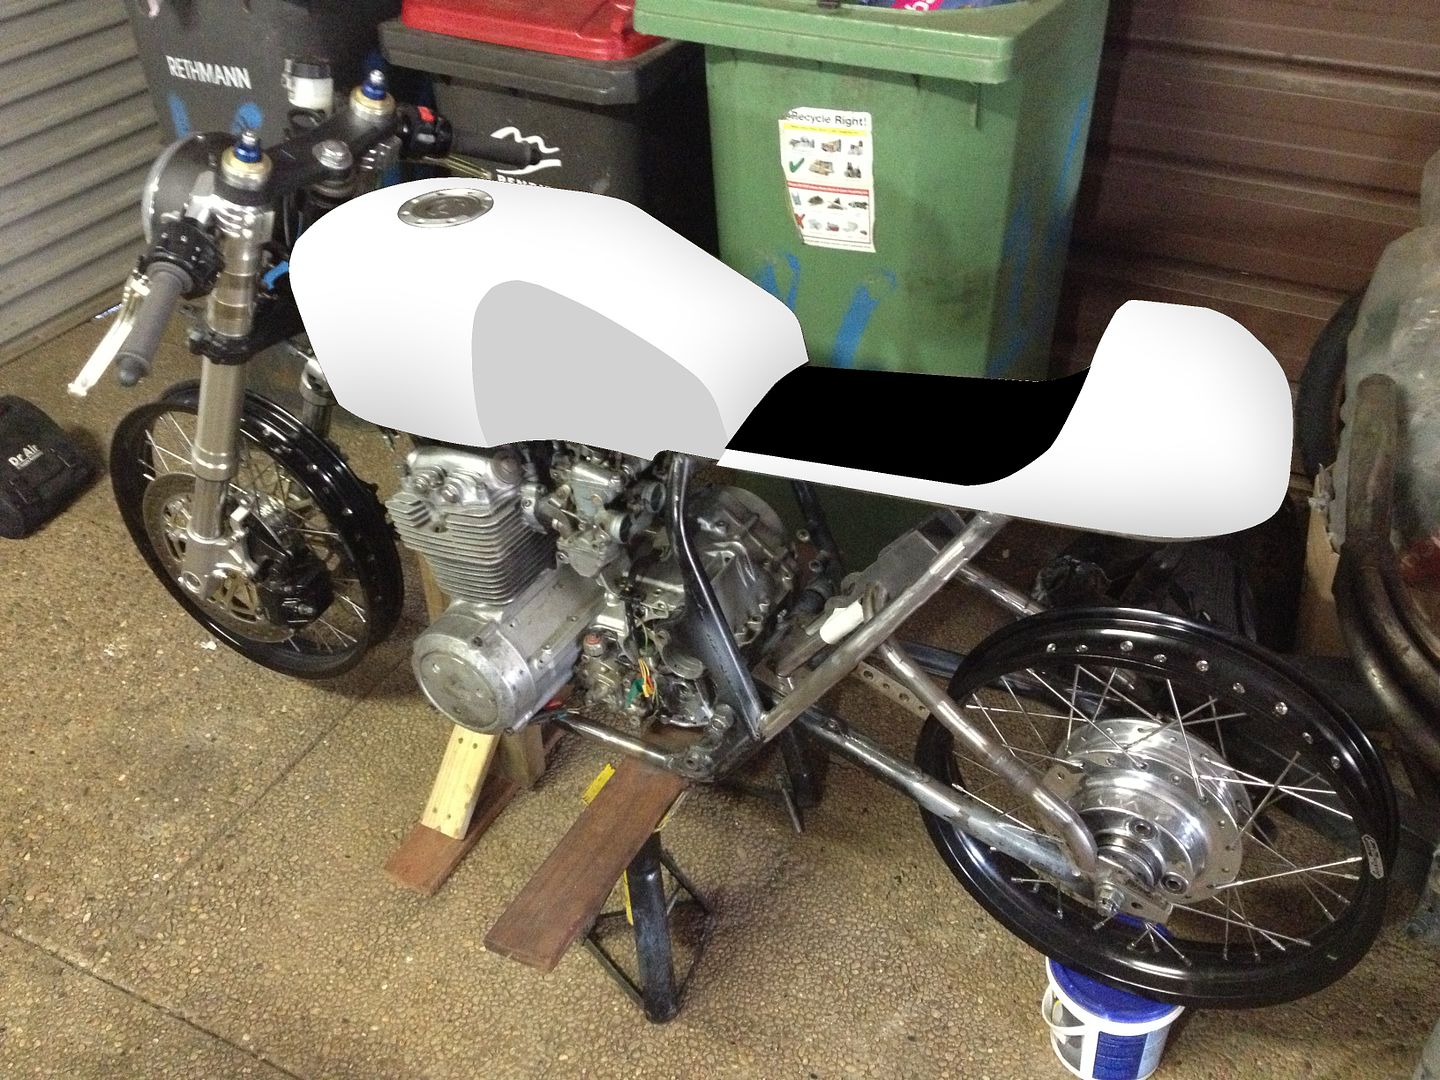
Paint guru's please feel free to play around too
neevo
Over 1,000 Posts
Autotek said:I just picked up this thread. One hell of a difference from the beginning. Looks great man.
Thanks Autotek. Its massive amounts of fun to be honest, I love nothing more than tinkering away on the bike in my shed on the weekends. Mrs might not agree too much though
For those creative mobs out there please feel free to get your crayons out and have a go at some killer designs:
neevo
Over 1,000 Posts
See bottom left, this is the back side of the lower half of the knee cutout.
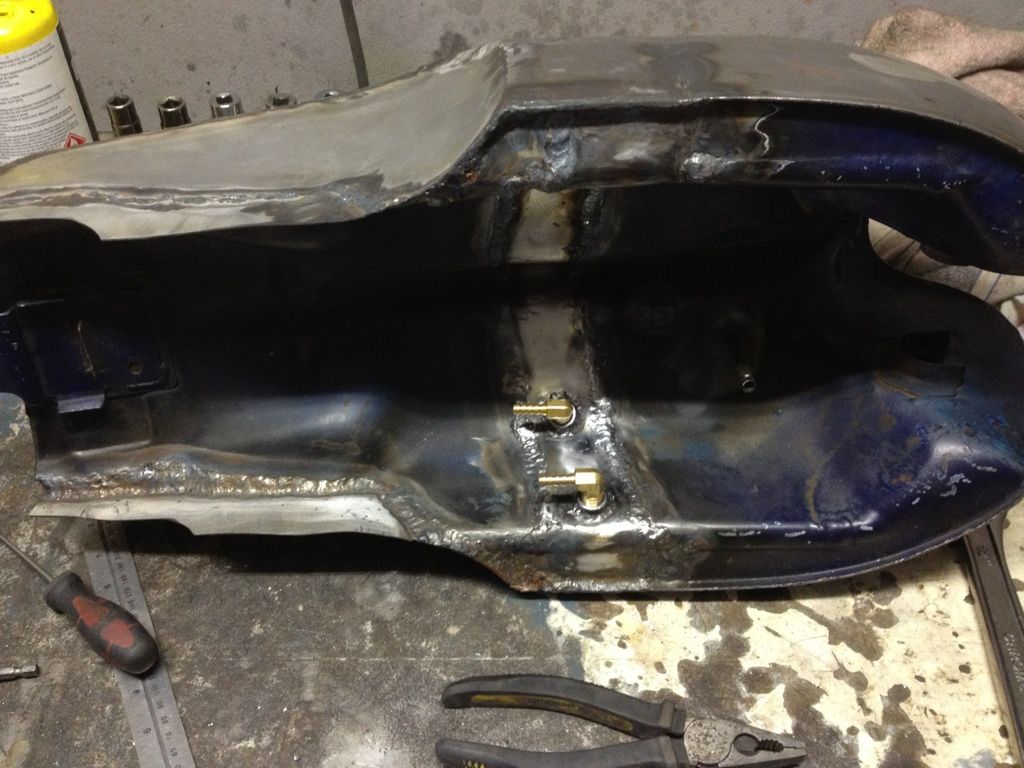
I was thinking of welding another strip of 1.5mm sheet to the back to make it double thickness. Maybe the filler on the outside will help in this regard. Just cautious that if the bottom edge gets knocked it could chip the filler and cause it to fall off. I might be panicking over nothing though as the 1.5mm is pretty robust.
I was thinking of welding another strip of 1.5mm sheet to the back to make it double thickness. Maybe the filler on the outside will help in this regard. Just cautious that if the bottom edge gets knocked it could chip the filler and cause it to fall off. I might be panicking over nothing though as the 1.5mm is pretty robust.
Autotek
You cant put a price on awesome.
No, I think your right. I have to do the same thing to my rear cowl on the bonneville soon. As you know it is so easy to burn through. Are you using a Mig or Tig. I have learned with my Tig I can turn the amps way down and use Mig wire as consumable. Some small maybe 3/16 rod would probably be plenty strong around that lower edge.
neevo
Over 1,000 Posts
Good news everybody... we have a tank that holds fuel
To say I'm pleased is a big understatement. So I will be working the bodyfiller tomorrow and keen to hear people's thoughts on how I can replicate the top crease on the tank in body filler?
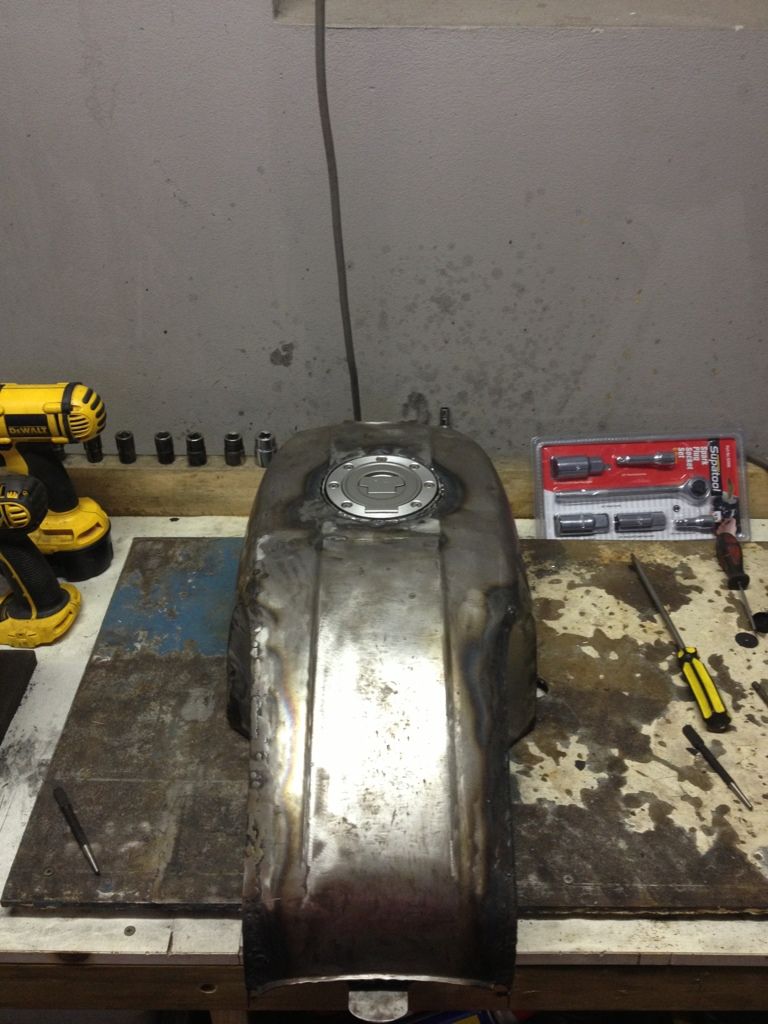
The crease left and right of the filler cap needs to be replicated on the near side as the metal is a bit warped. I was thinking a file wrapped in sandpaper, thoughts?
To say I'm pleased is a big understatement. So I will be working the bodyfiller tomorrow and keen to hear people's thoughts on how I can replicate the top crease on the tank in body filler?
The crease left and right of the filler cap needs to be replicated on the near side as the metal is a bit warped. I was thinking a file wrapped in sandpaper, thoughts?
Autotek
You cant put a price on awesome.
Thats a tough one, without seeing the tank in person I would hesitate to give an informed opinion. Adding is better than removing, you dont want a thin spot. If you know a good body man take it to him and get his opinion. Customers constantly try to get estimates from me over the phone and with body work, its simply impossible. Even with photos it tough. BTW, where are you Neevo?
Autotek
You cant put a price on awesome.
yes good, that should work. try making a sanding block with the shape of the body line, then it will be impossible to sand too far. Oh damn, western Sydney, thats a long way for the east coast here. Some of my friends have worked hail storms there. I have not made the trip but would love to some day.
neevo said:Autotek I was looking to copy the crease in body filler not sand down the steel (not sure if you misunderstood the question).
Btw I'm in western Sydney.
I lived in Baulkham (sp?) Hills a million years ago.
neevo
Over 1,000 Posts
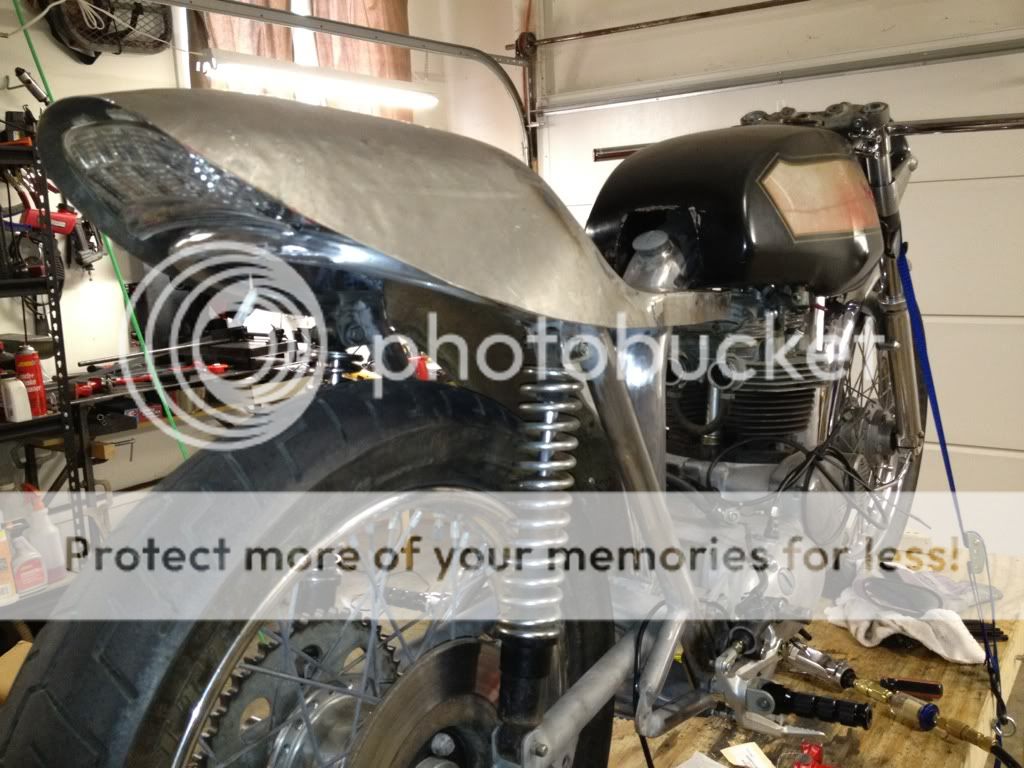
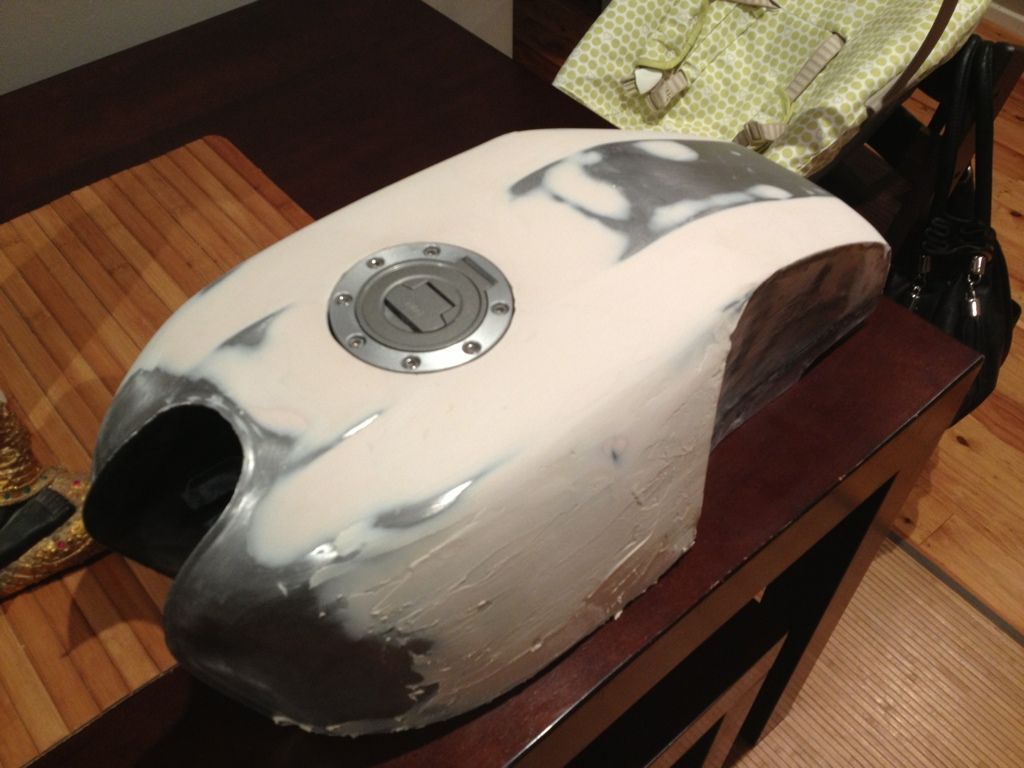
Holy arse monkey body work is exhausting. Probably my shitty technique as I've spent all day mixing filler and sanding it back. However I have the top of the tank pretty close to perfect
In the end it turned out I wasn't going to be able to replicate the crease in the tank near the filler cap, so a decision was made mid way to use filler to remove it. It makes the tank match the seat a little closer and also has a nice squared off look which is a little chunkier/tougher looking.
Here is where I am up to tonight, still need to finish sanding the sides (ran out of 80 grit) and then it will be ready for a coat of epoxy etch primer to stop it rusting:


