We noticed you are blocking ads. DO THE TON only works with community supporters. Most are active members of the site with small businesses. Please consider disabling your ad blocking tool and checking out the businesses that help keep our site up and free.
You are using an out of date browser. It may not display this or other websites correctly.
You should upgrade or use an alternative browser.
You should upgrade or use an alternative browser.
GS-550L to GS-674 Frankenbike project
- Thread starter Toast
- Start date
Toast
Been Around the Block
It's good, I like it. As far as fuse boxes go it's the best bang for your buck.
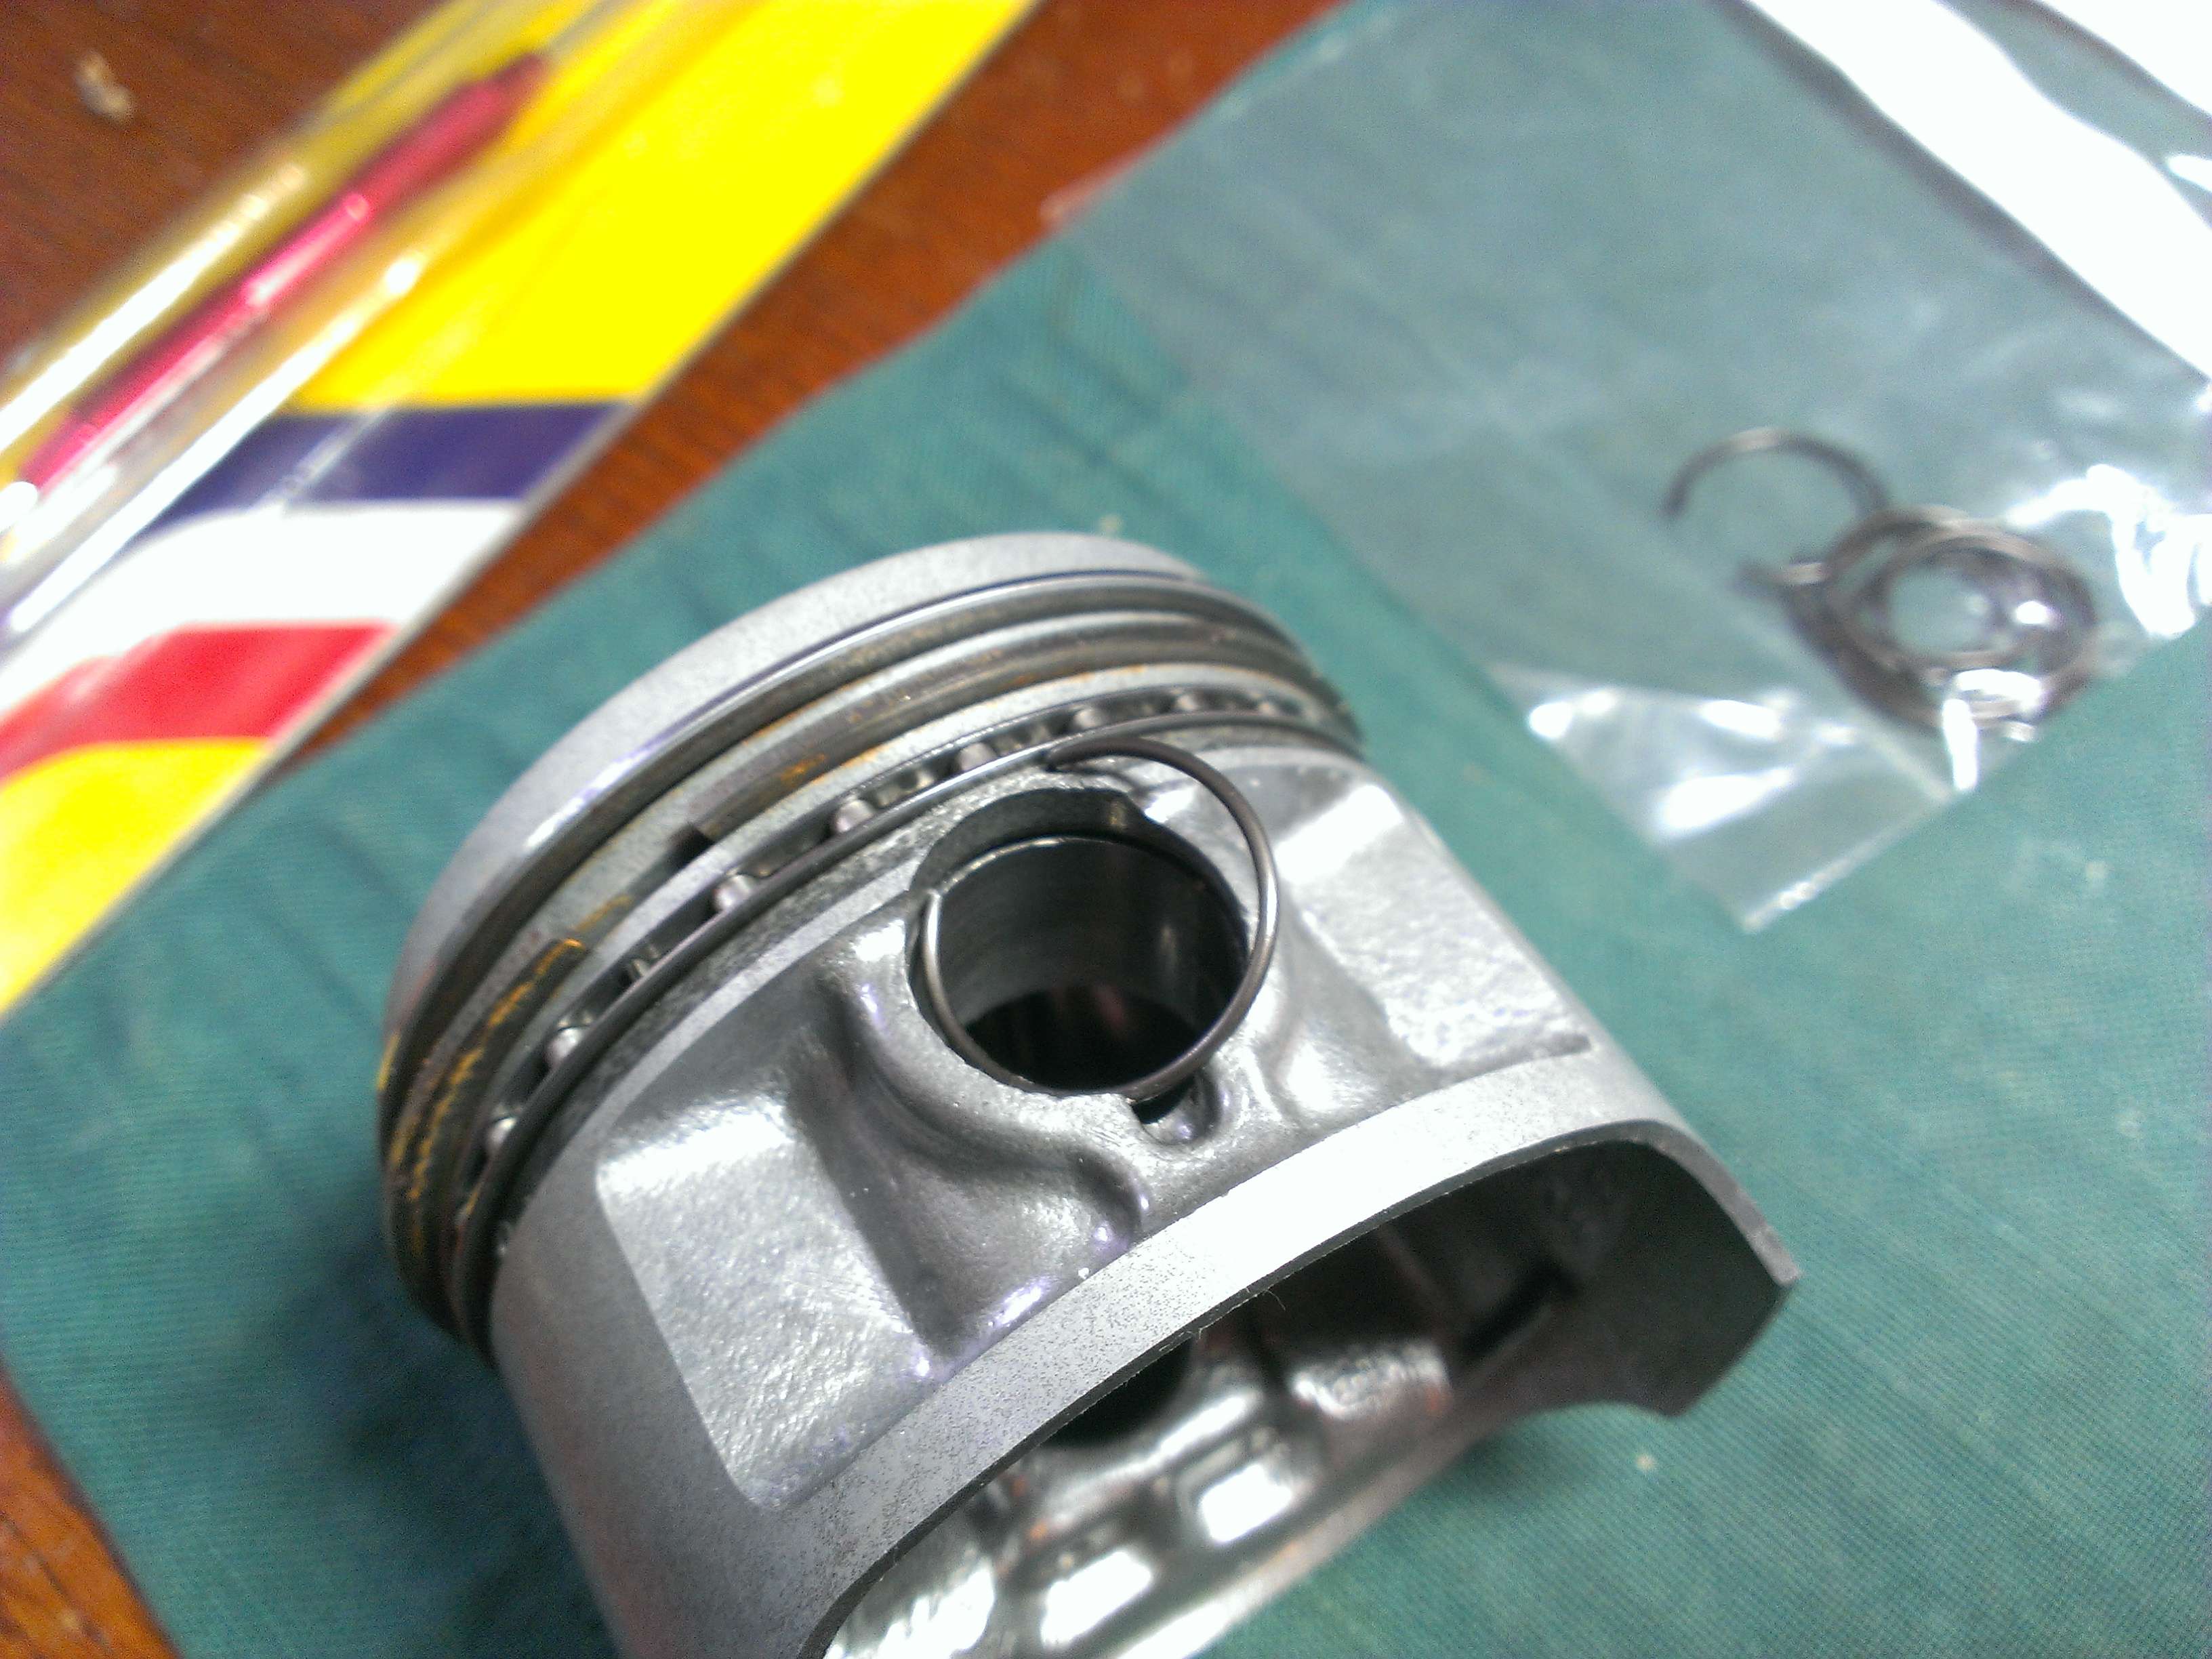
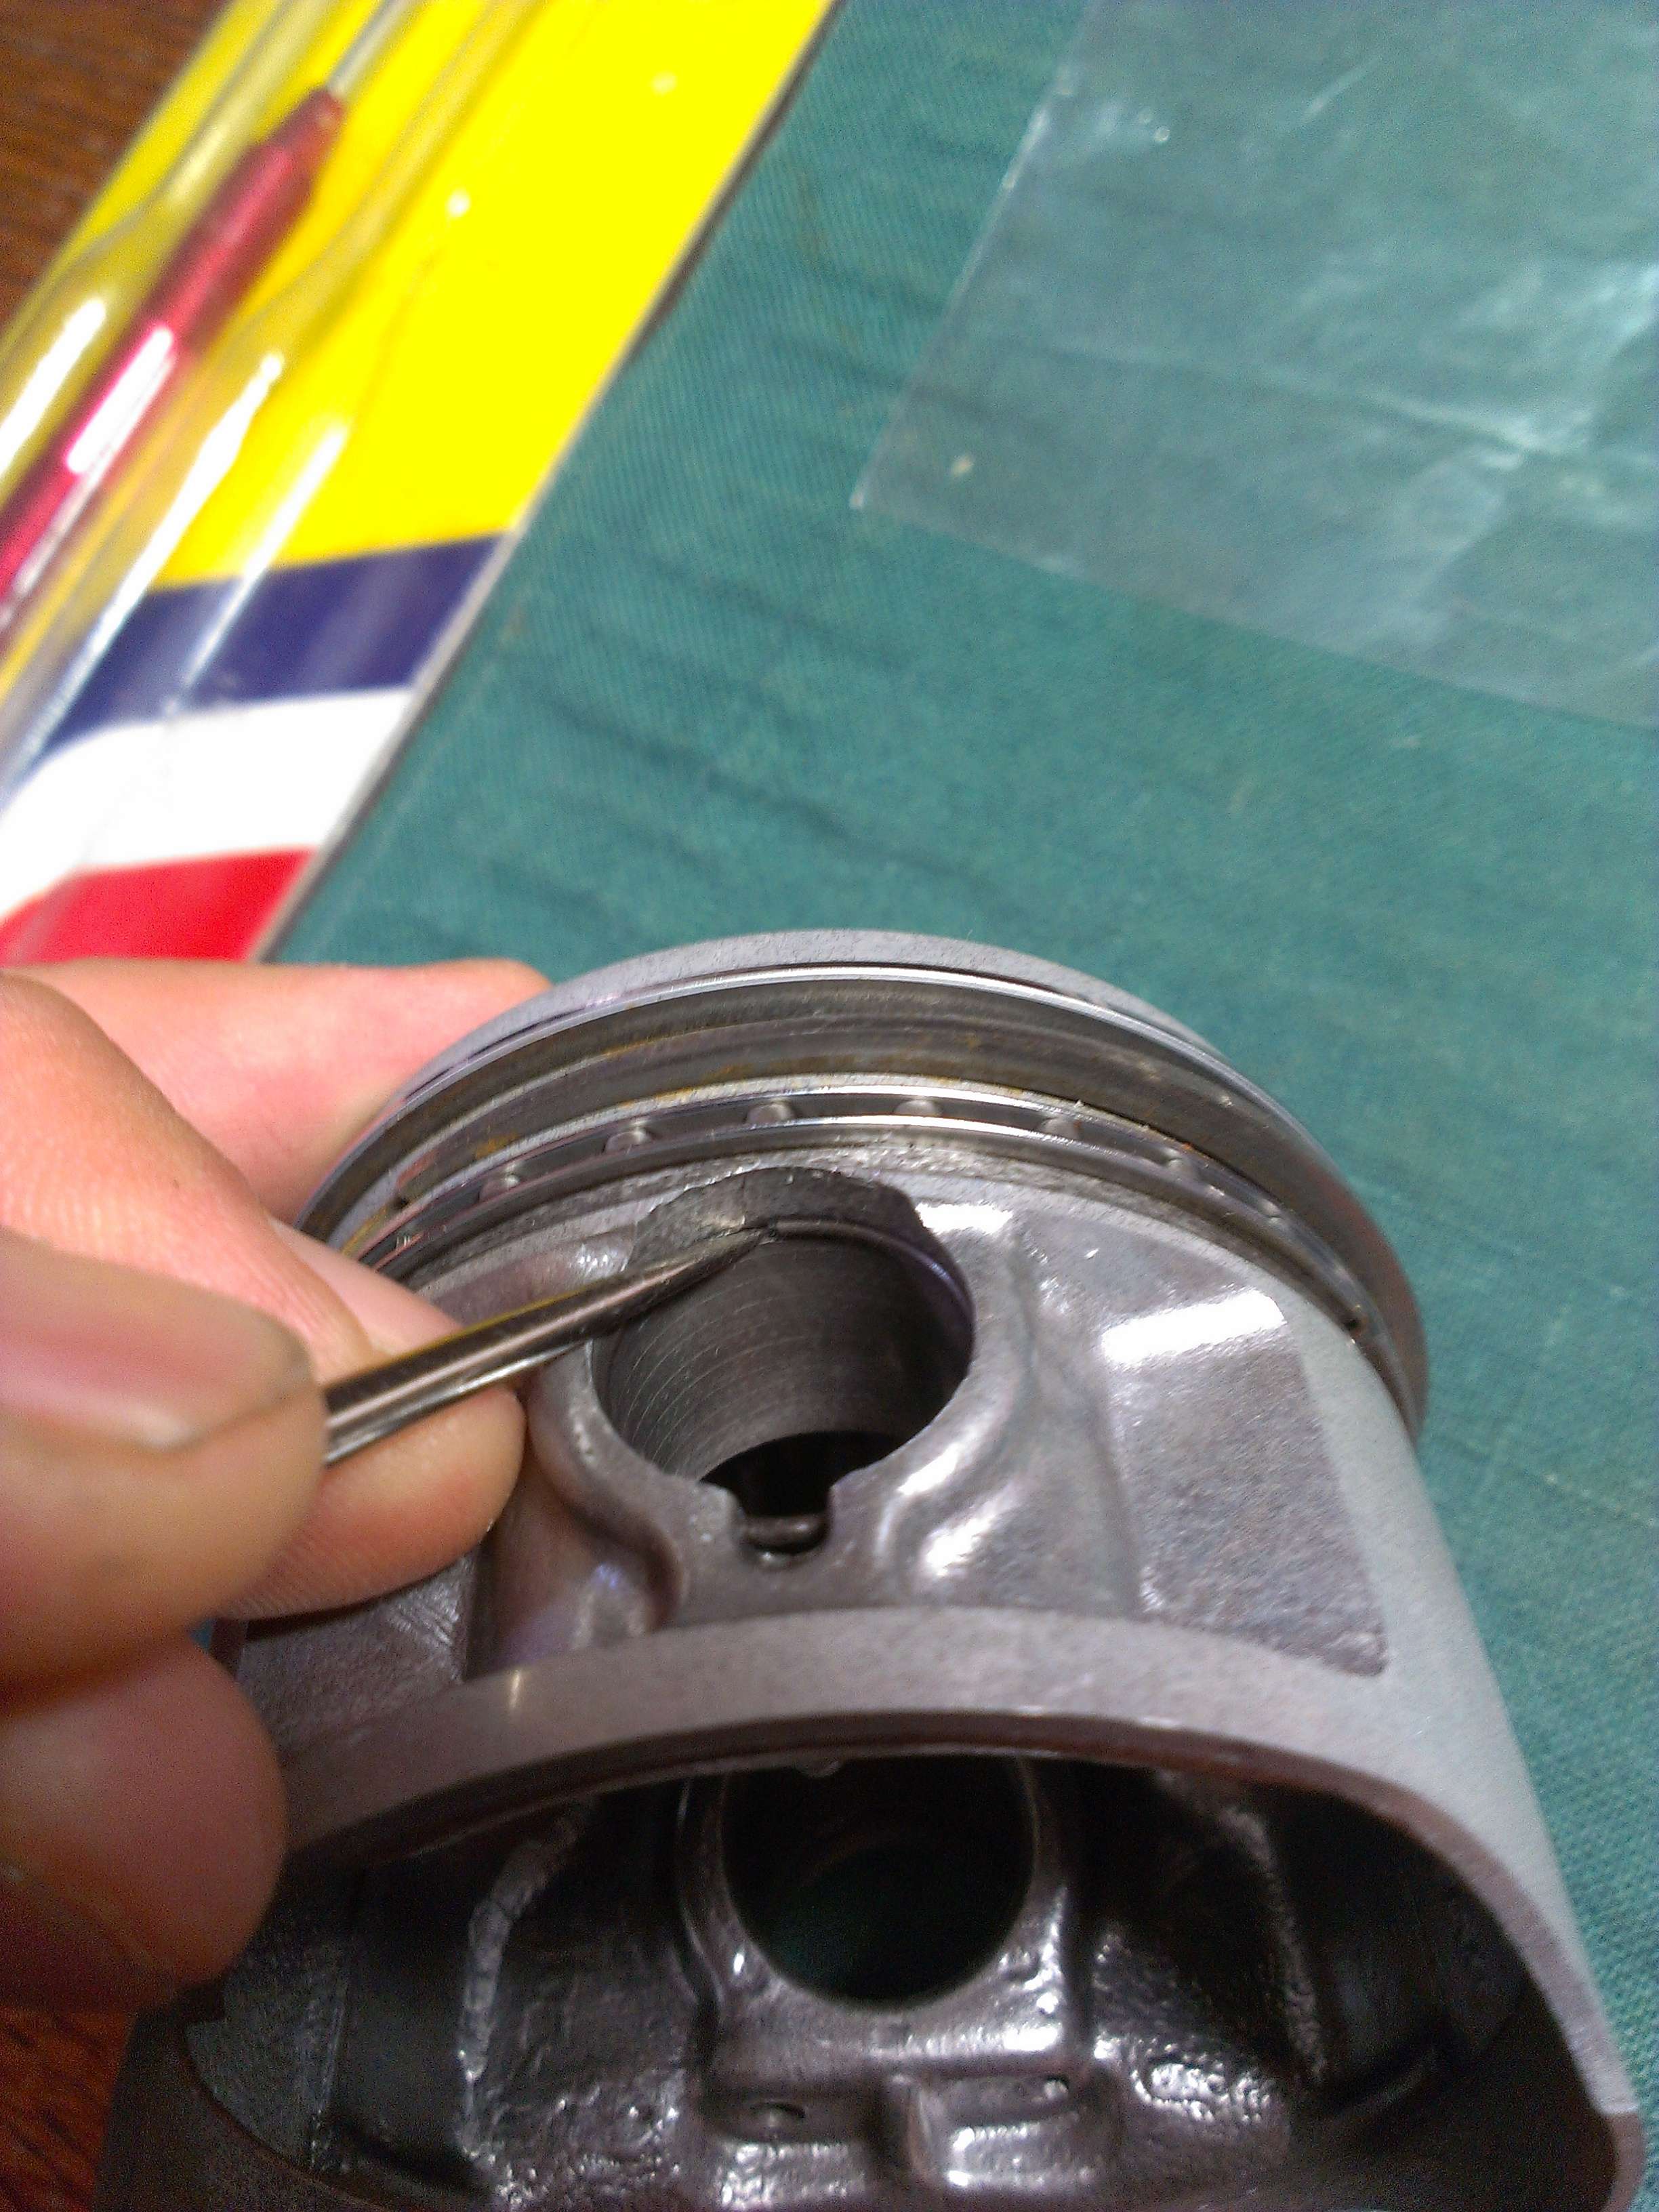
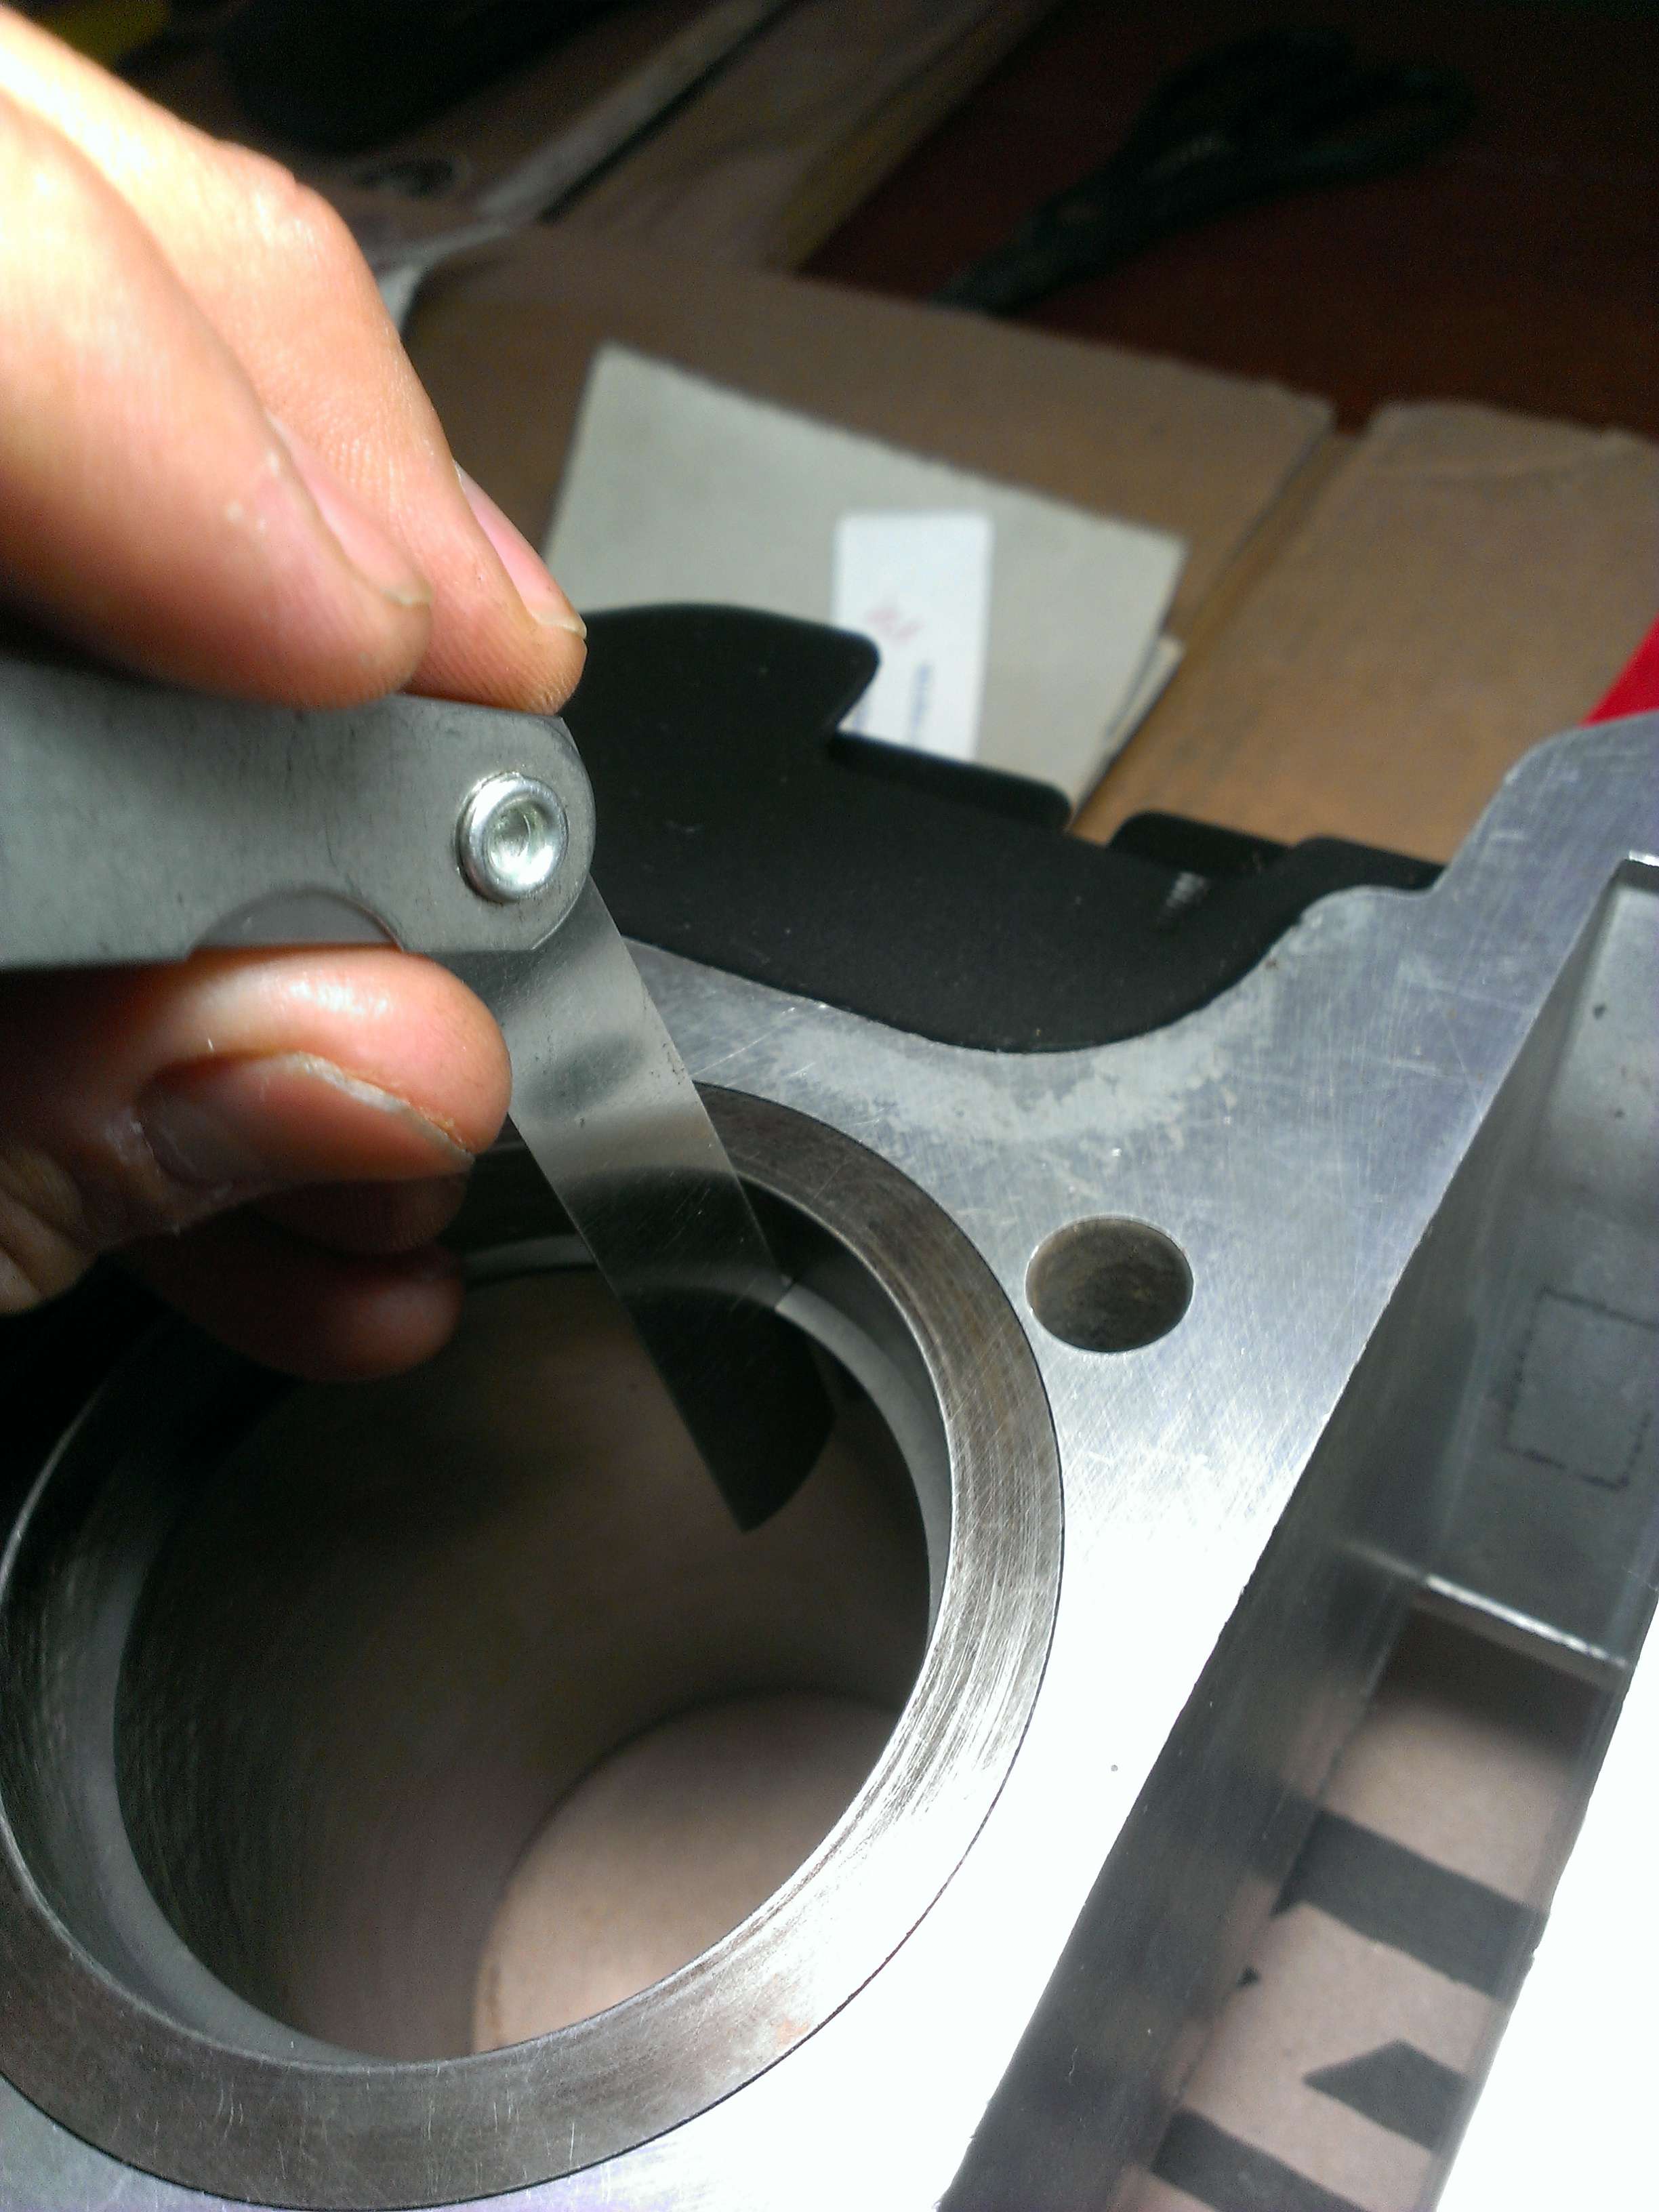
This weekend I want to get the motor buttoned up, so today I tackled getting the pistons ready and installed. I was worried about getting the circlips in because when I took them out, they sprung out all over the garage.
I ended up buying a few extra just in case but I ended up not needing them (thankfully).
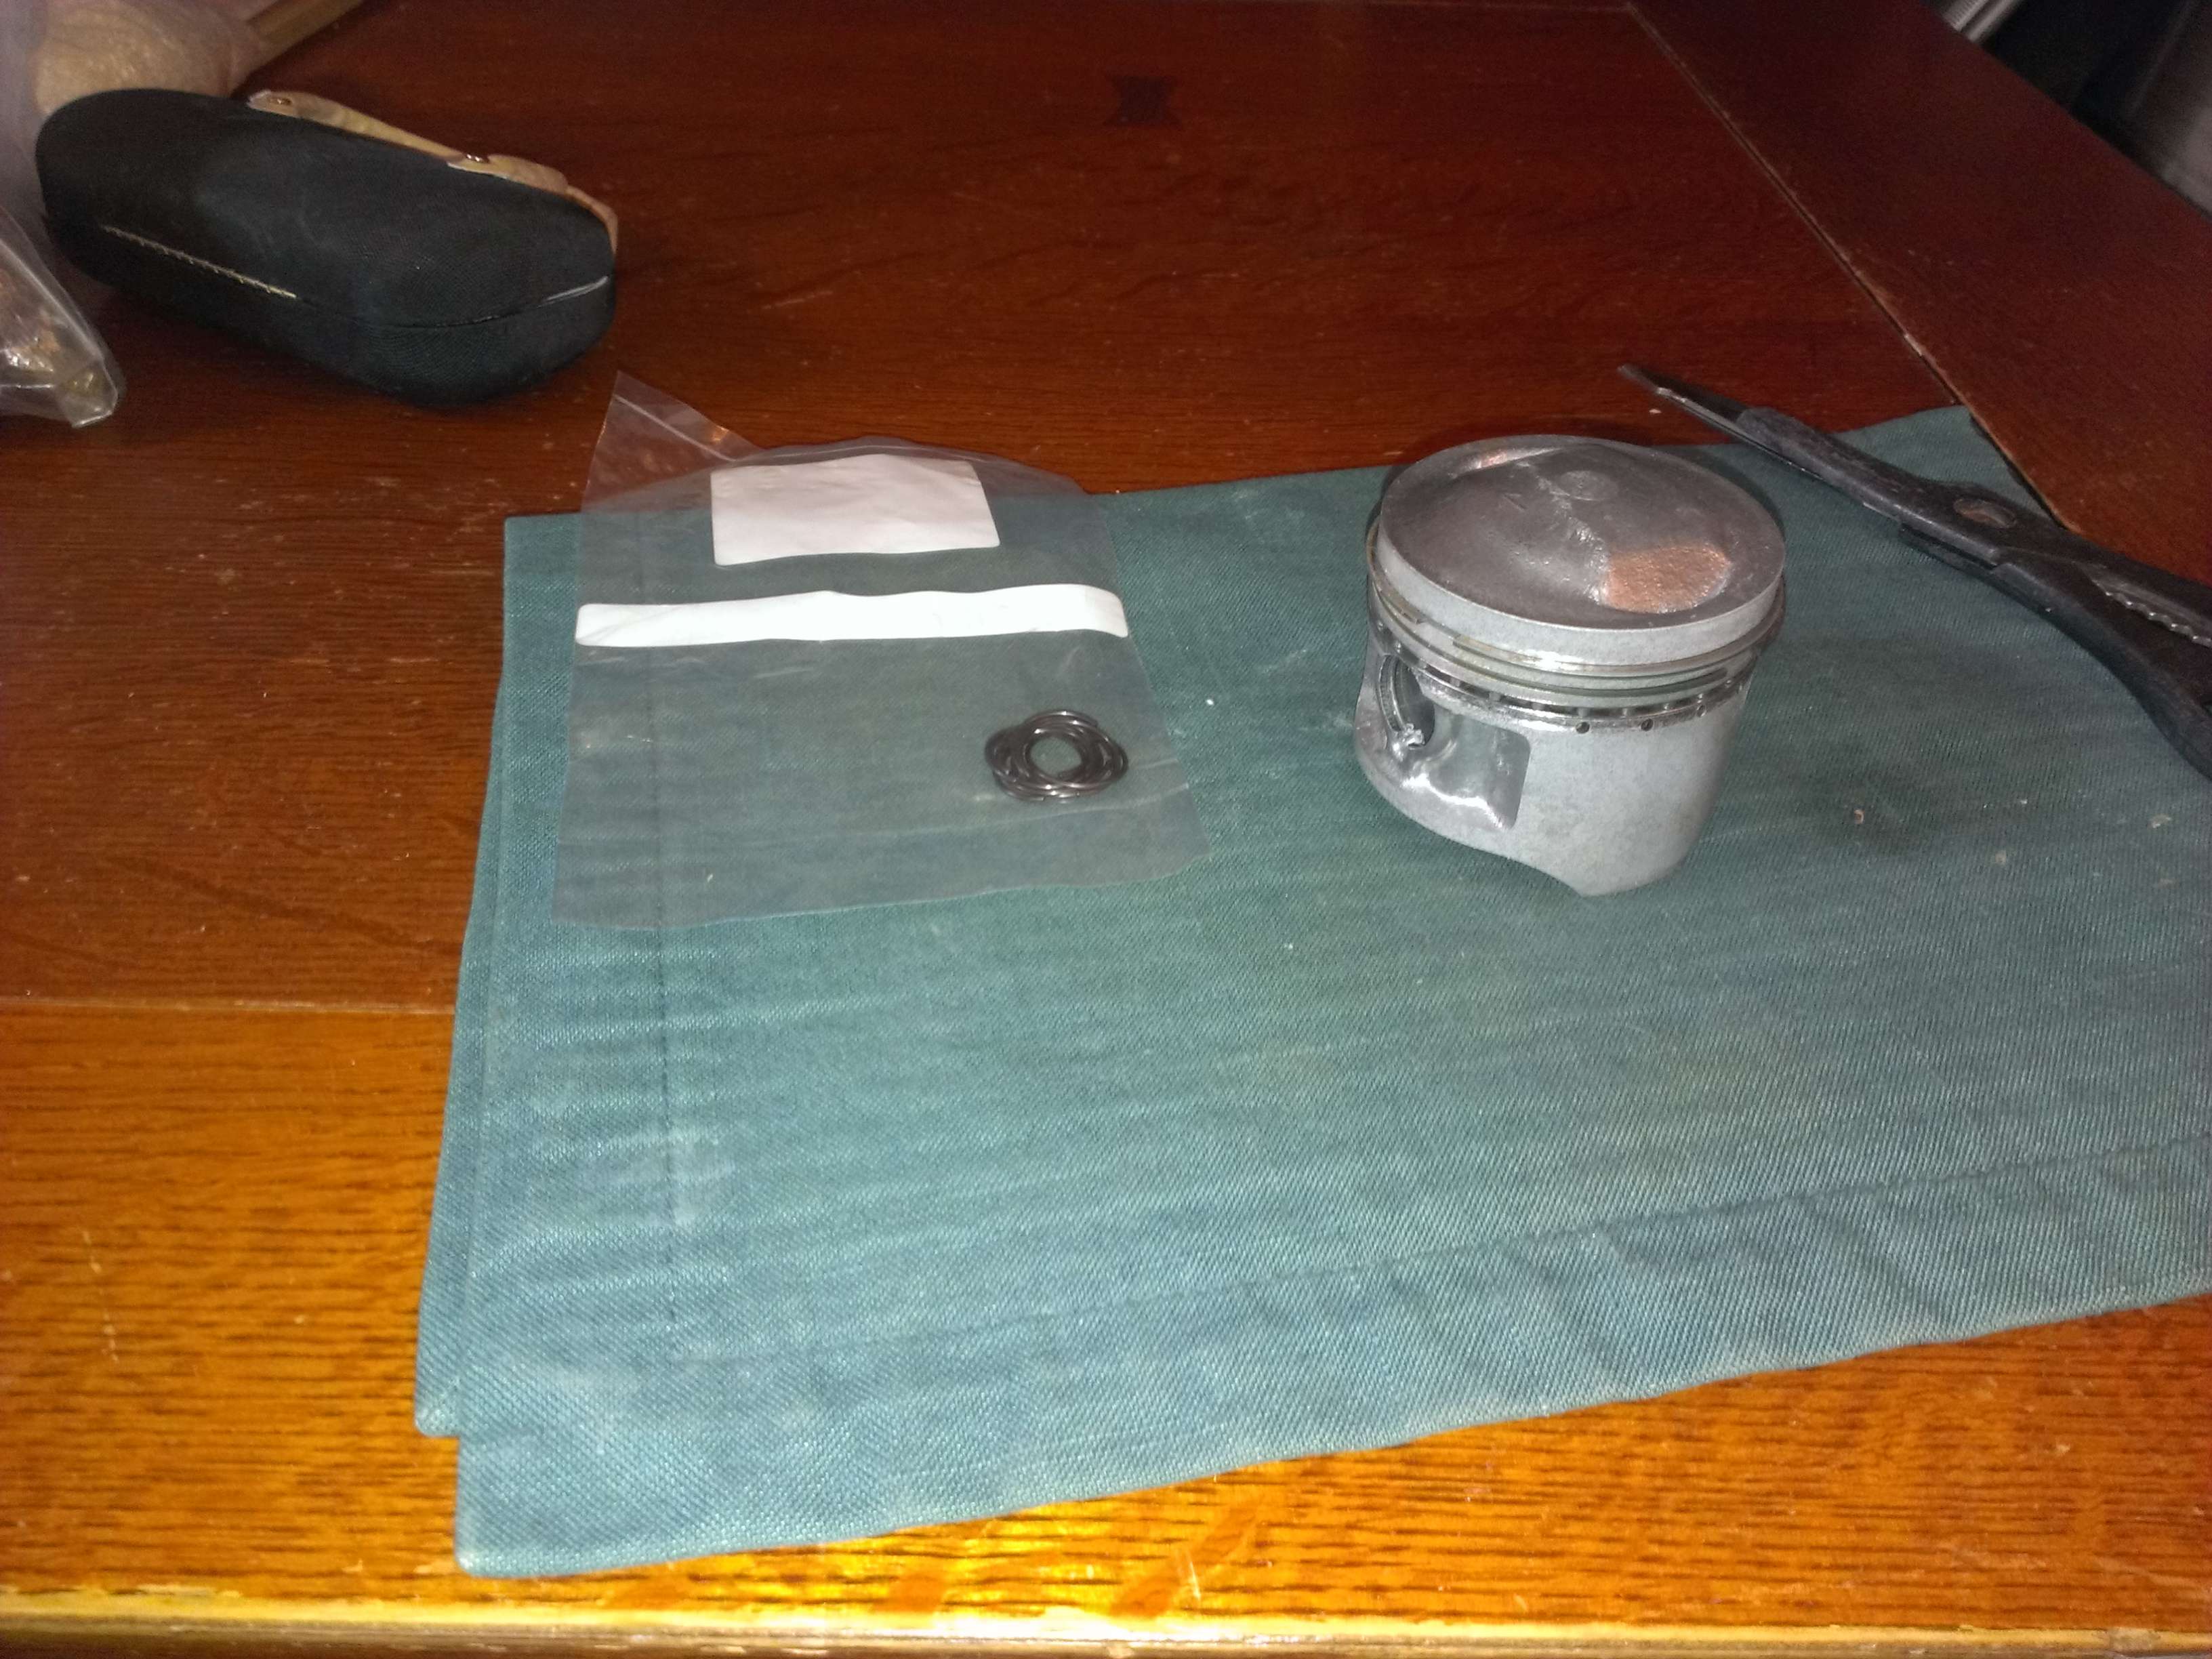
Getting started
Almost there

Seated
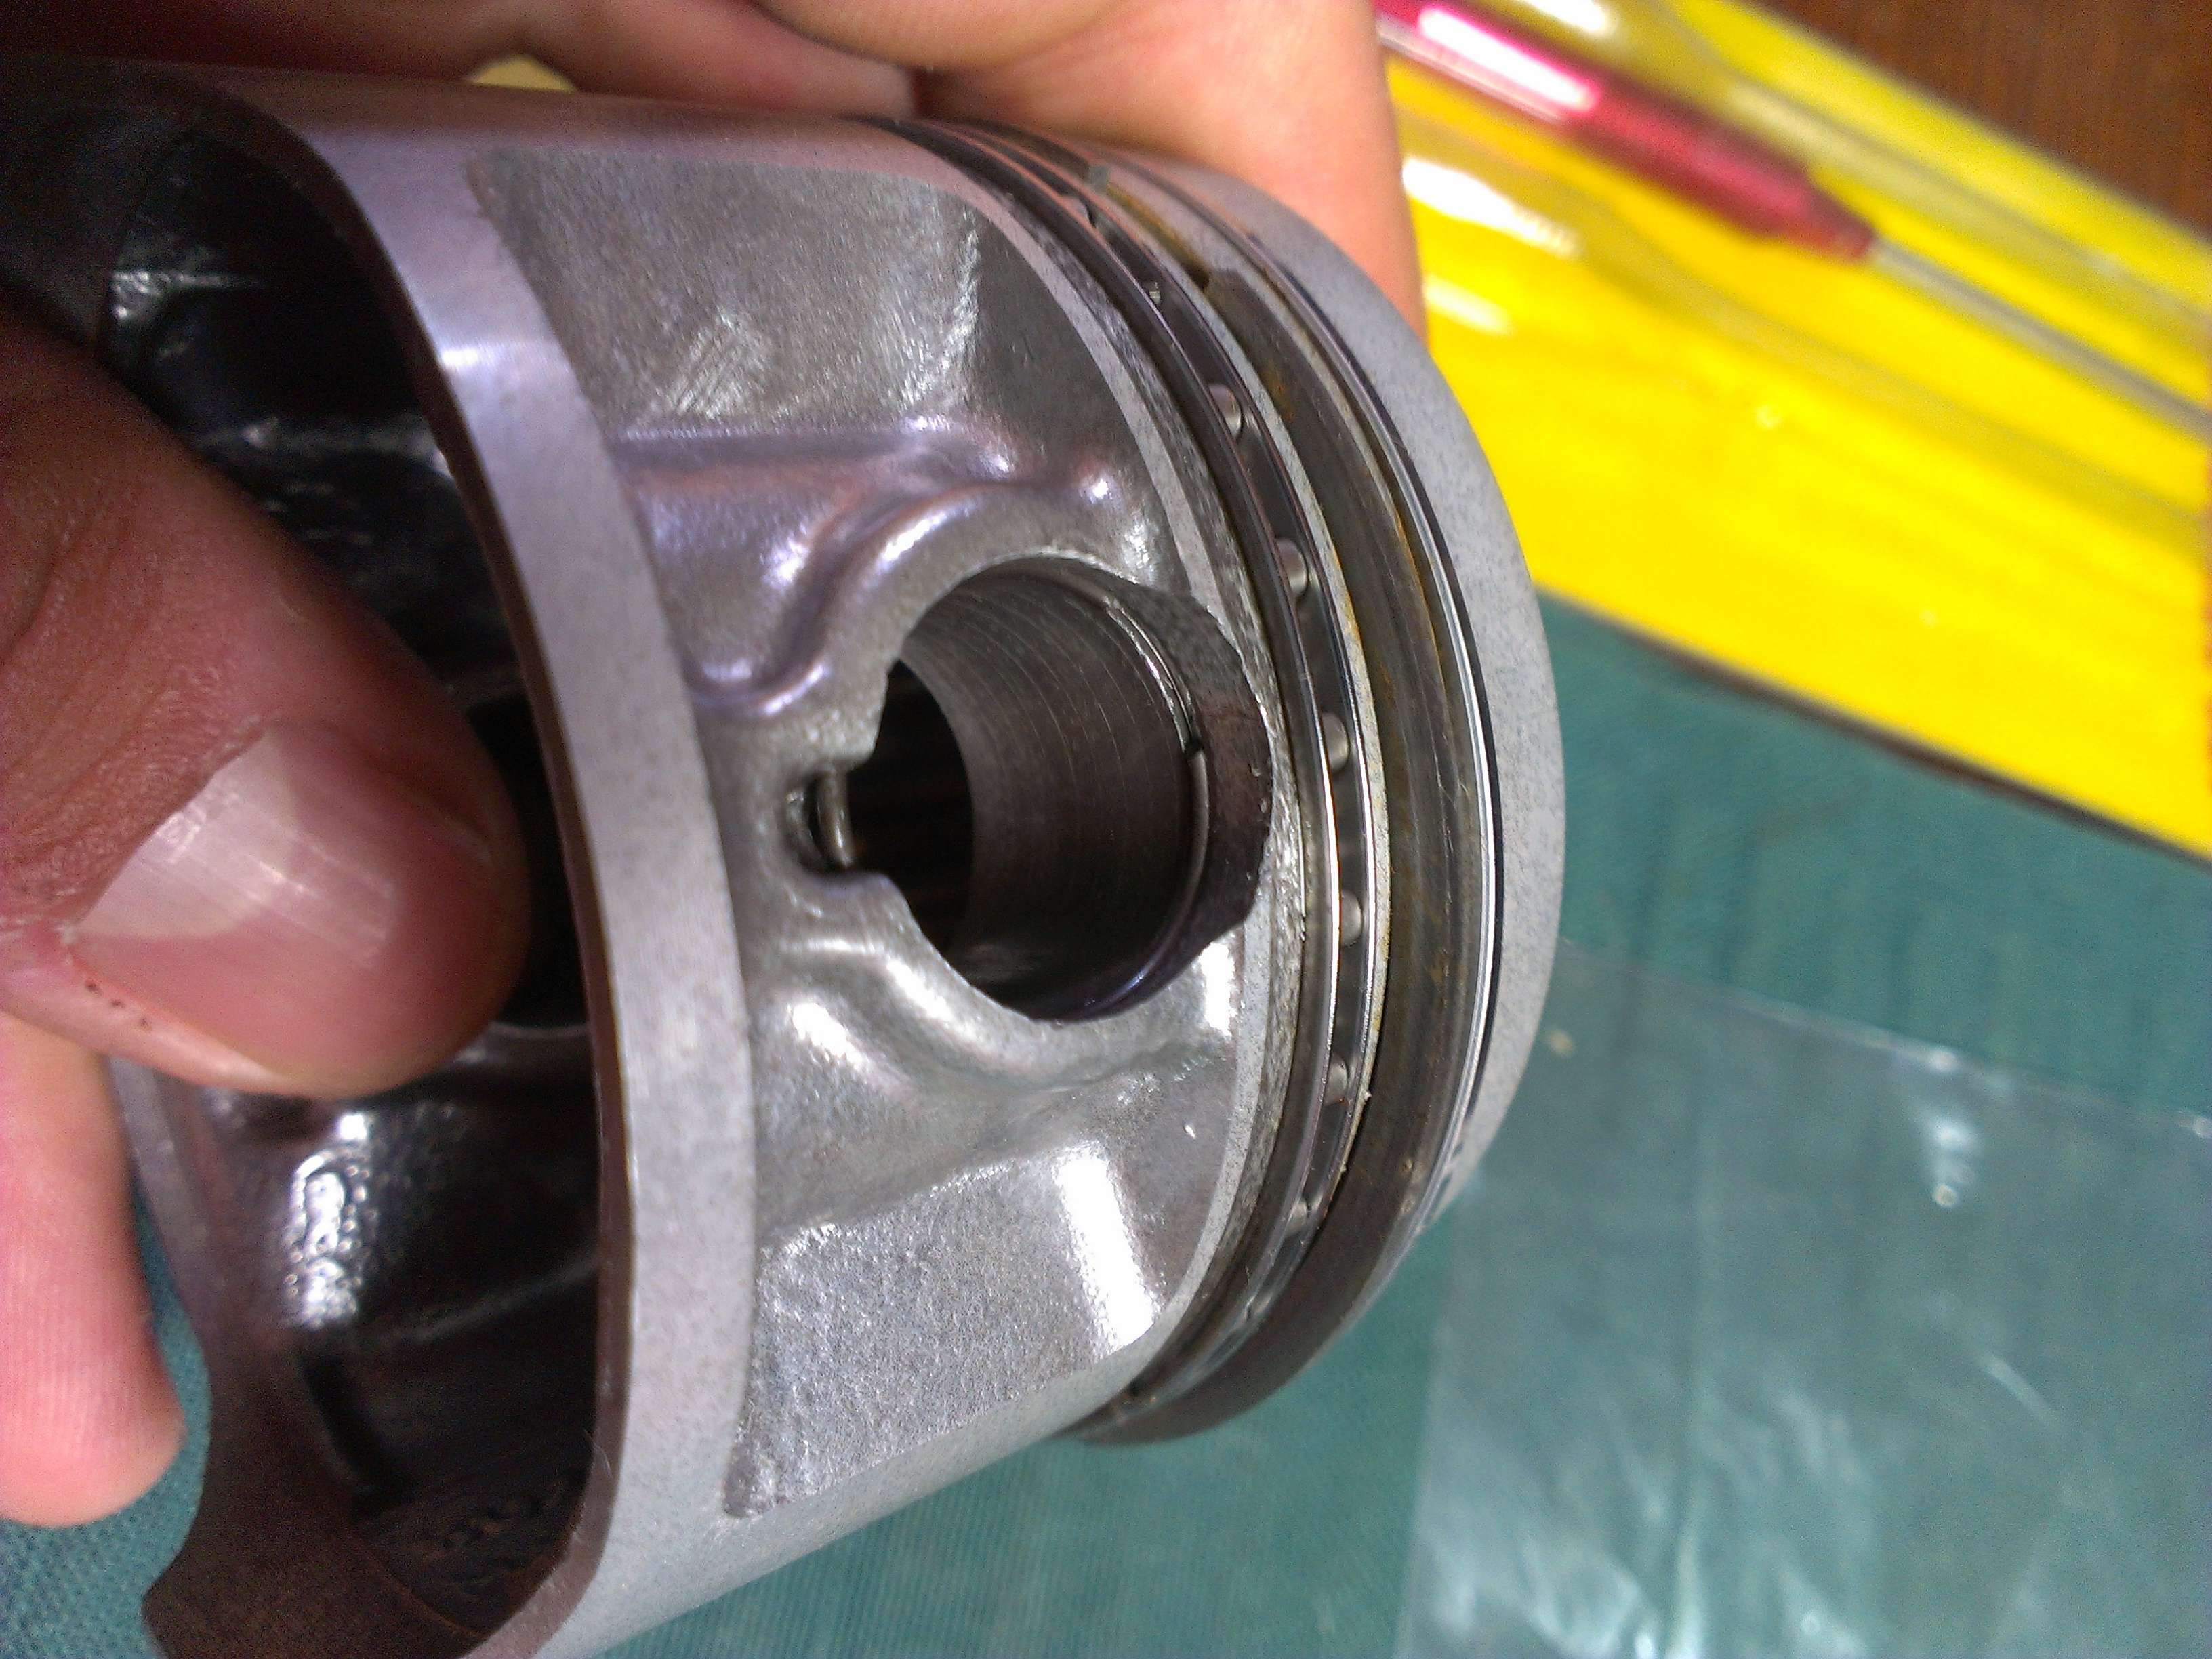
I rotated the clips so that the open ends were either straight up or down. Supposedly it's bad to do it any other way, I dunno how that would make a difference but I didn't want to have a piston come flying off.
This weekend I want to get the motor buttoned up, so today I tackled getting the pistons ready and installed. I was worried about getting the circlips in because when I took them out, they sprung out all over the garage.
I ended up buying a few extra just in case but I ended up not needing them (thankfully).
Getting started
Almost there
Seated
I rotated the clips so that the open ends were either straight up or down. Supposedly it's bad to do it any other way, I dunno how that would make a difference but I didn't want to have a piston come flying off.
Toast
Been Around the Block
New rings
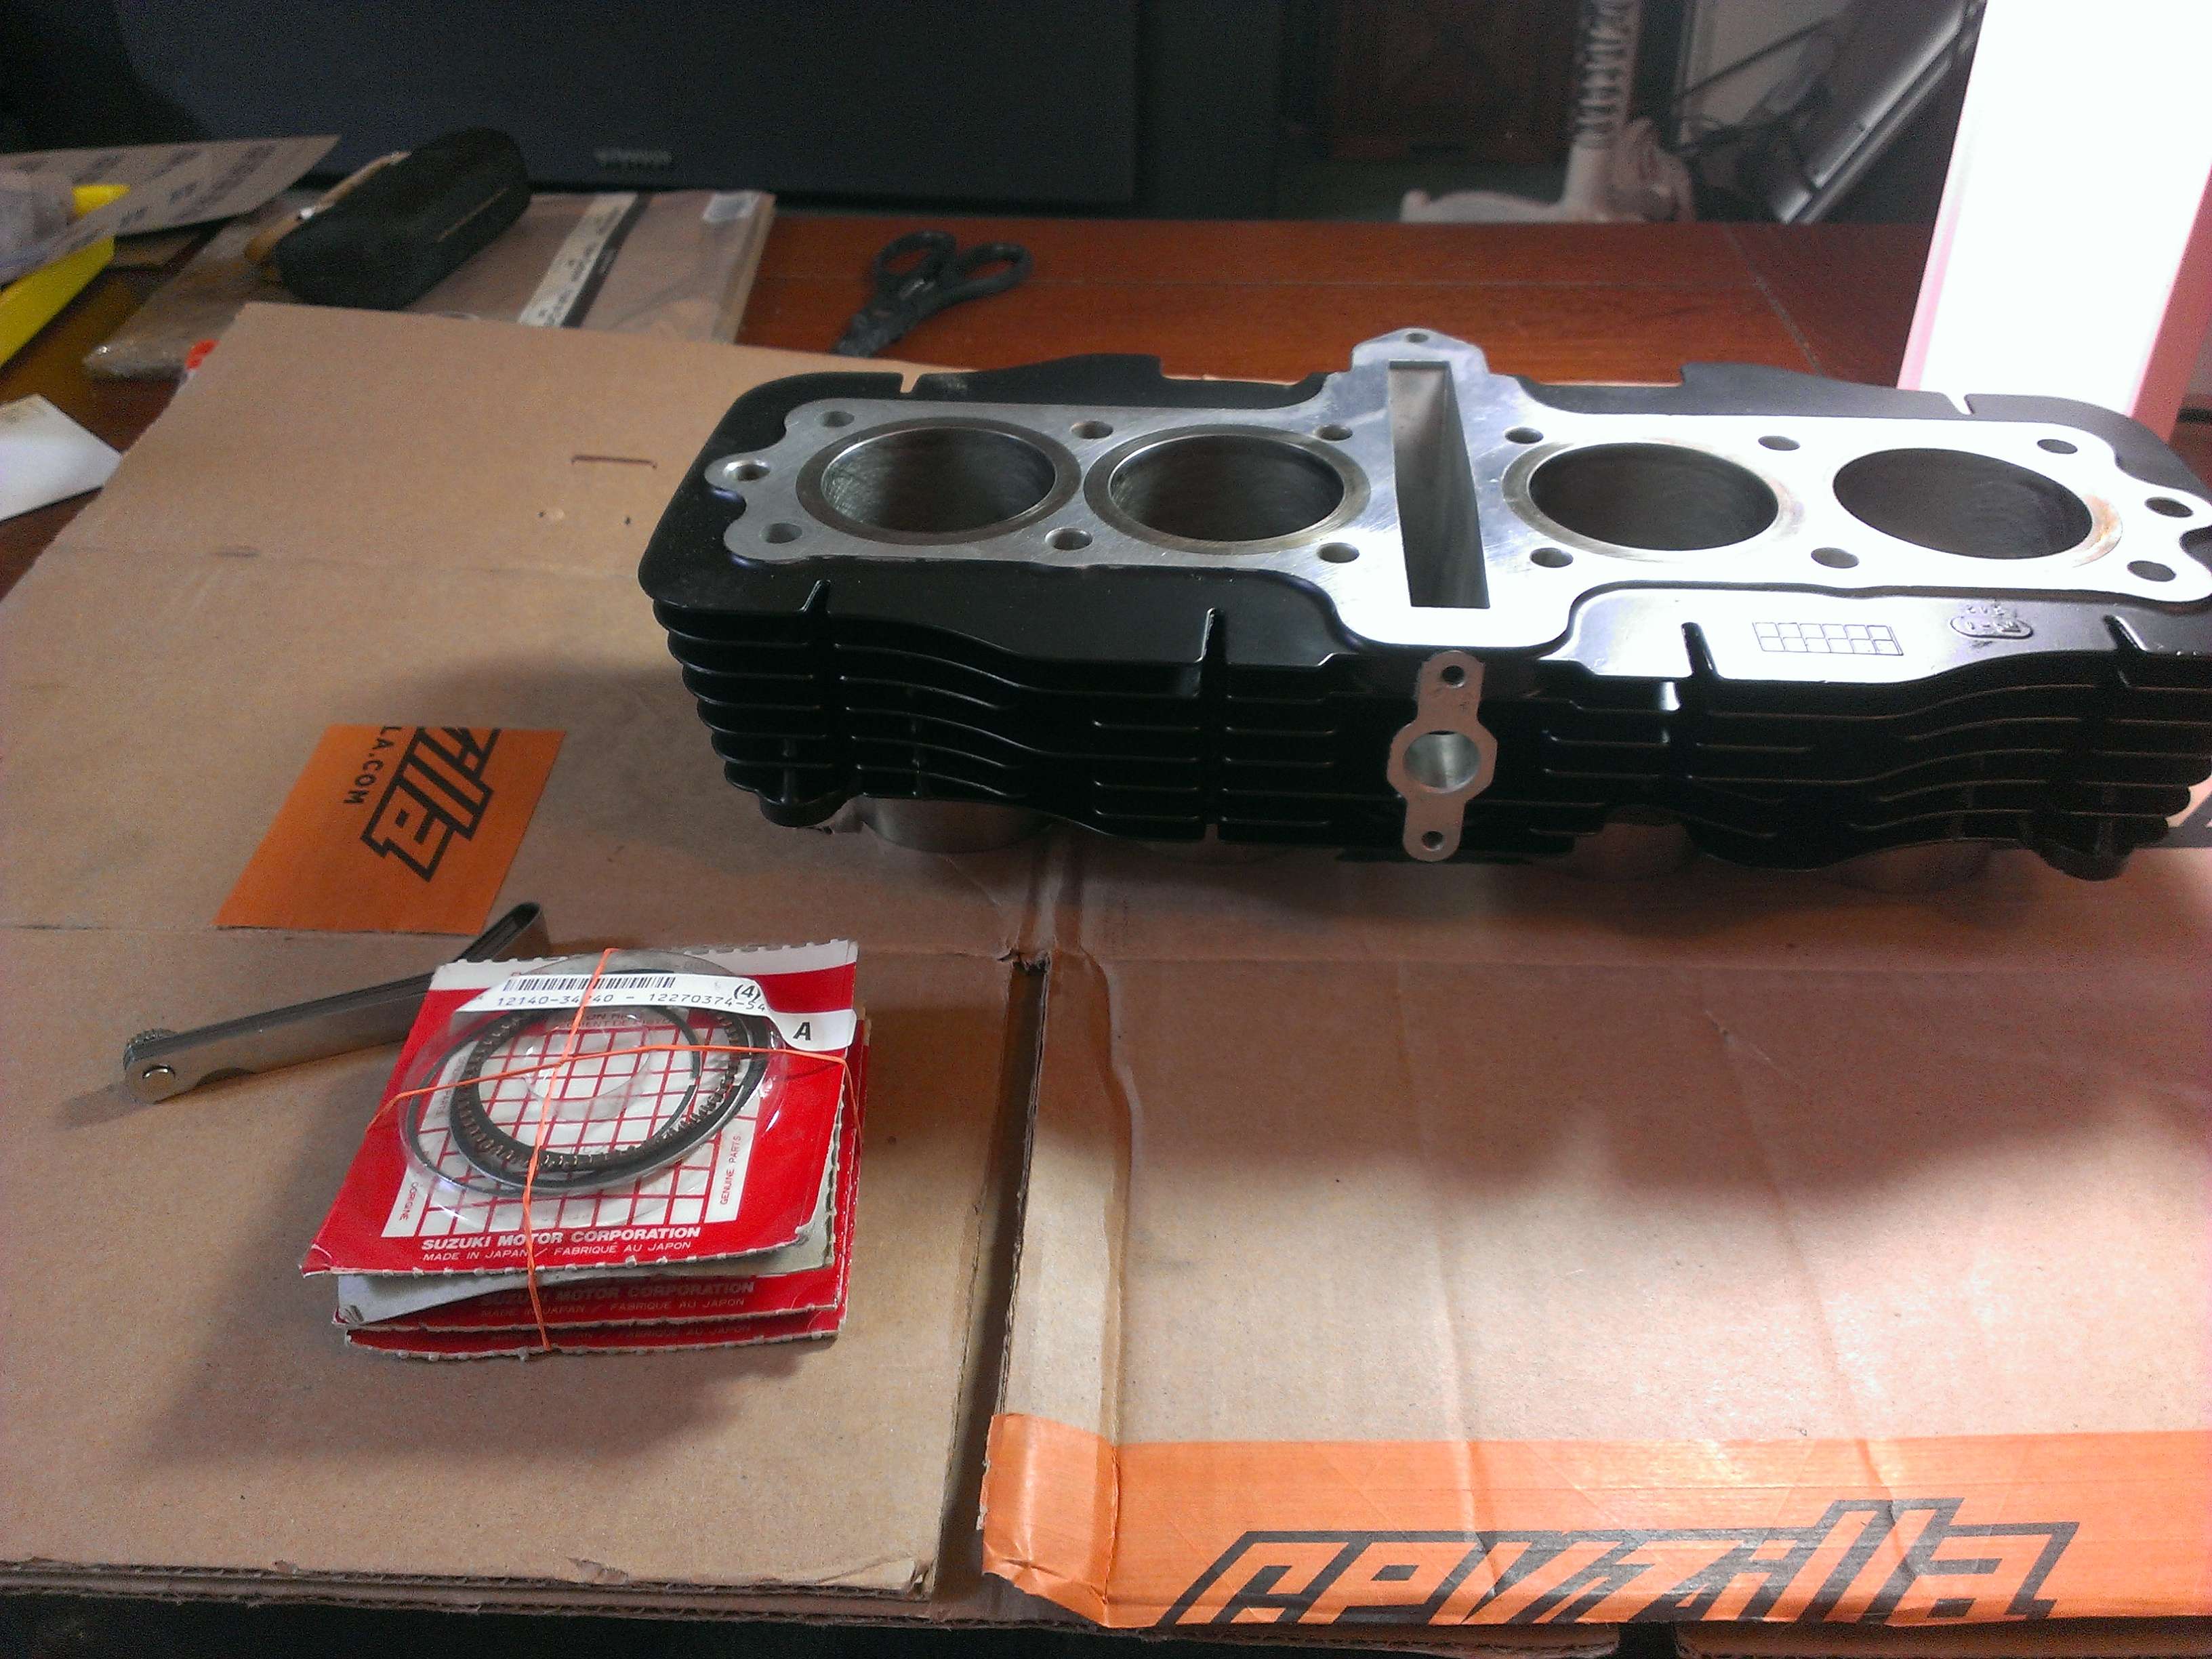
Checking ring gap

There was no minimum spec in the manual but they were well below .7mm. They all came in at around .2mm which is the same as the old rings I pulled off the pistons.
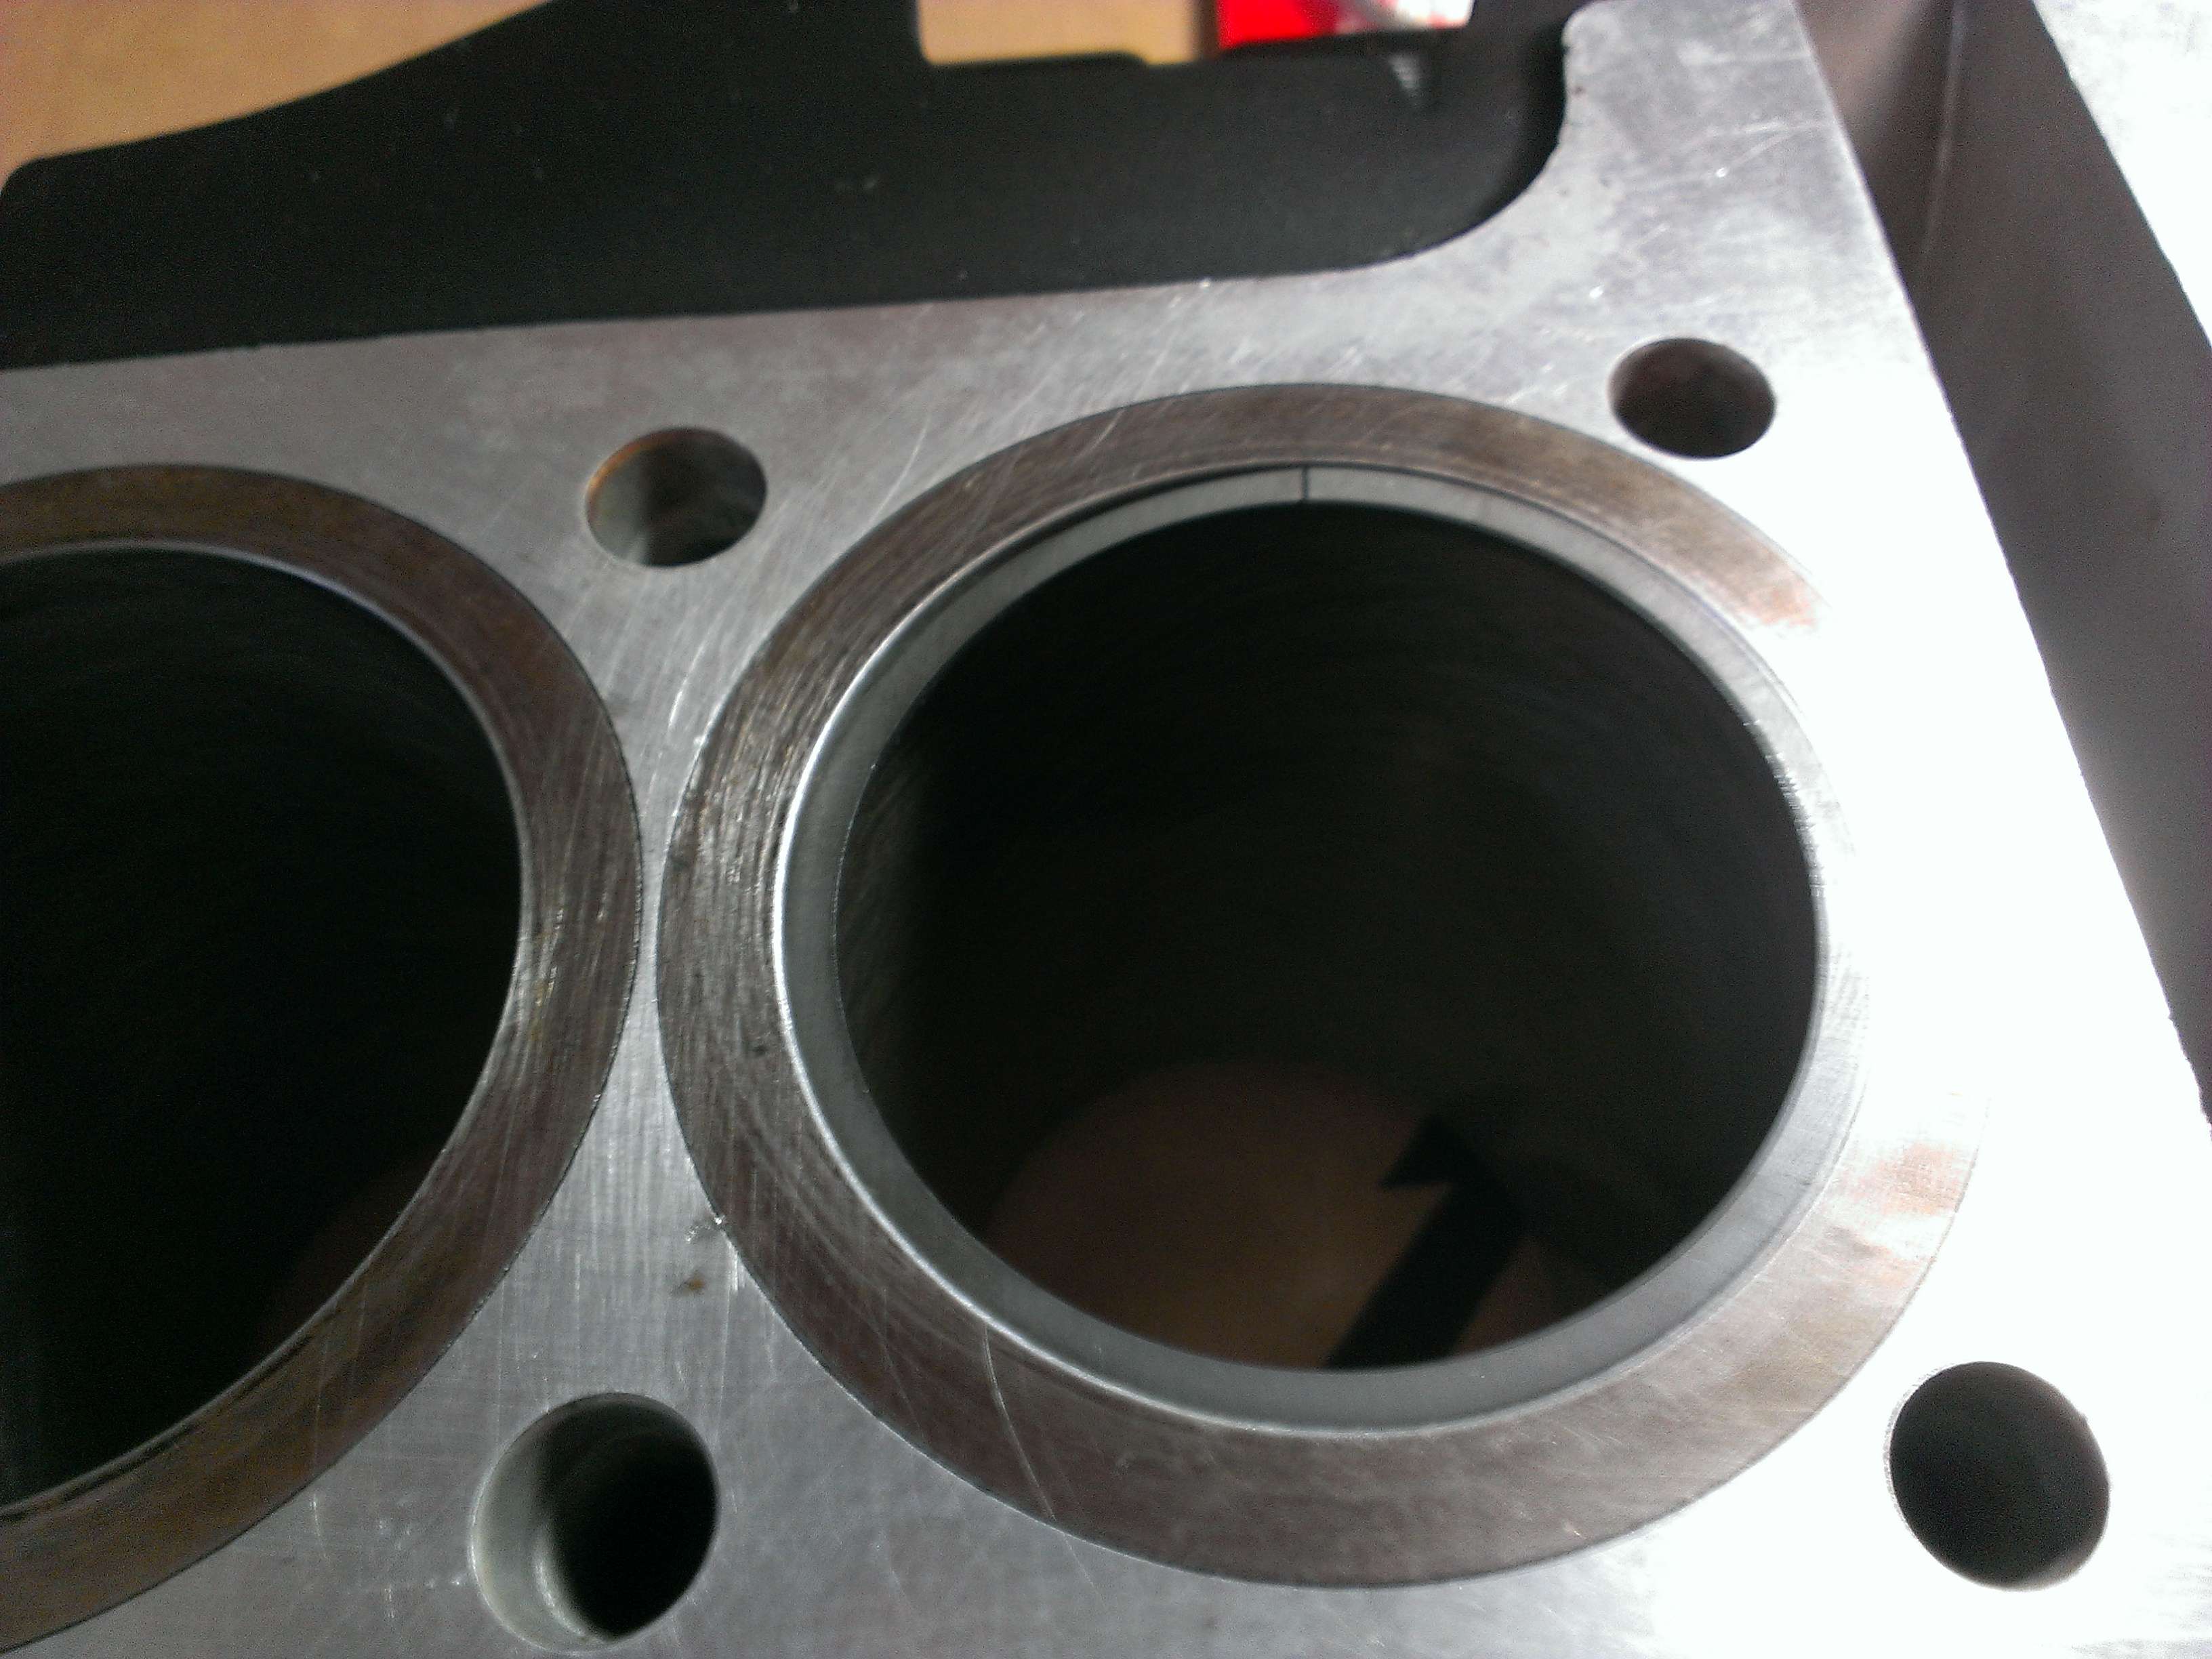
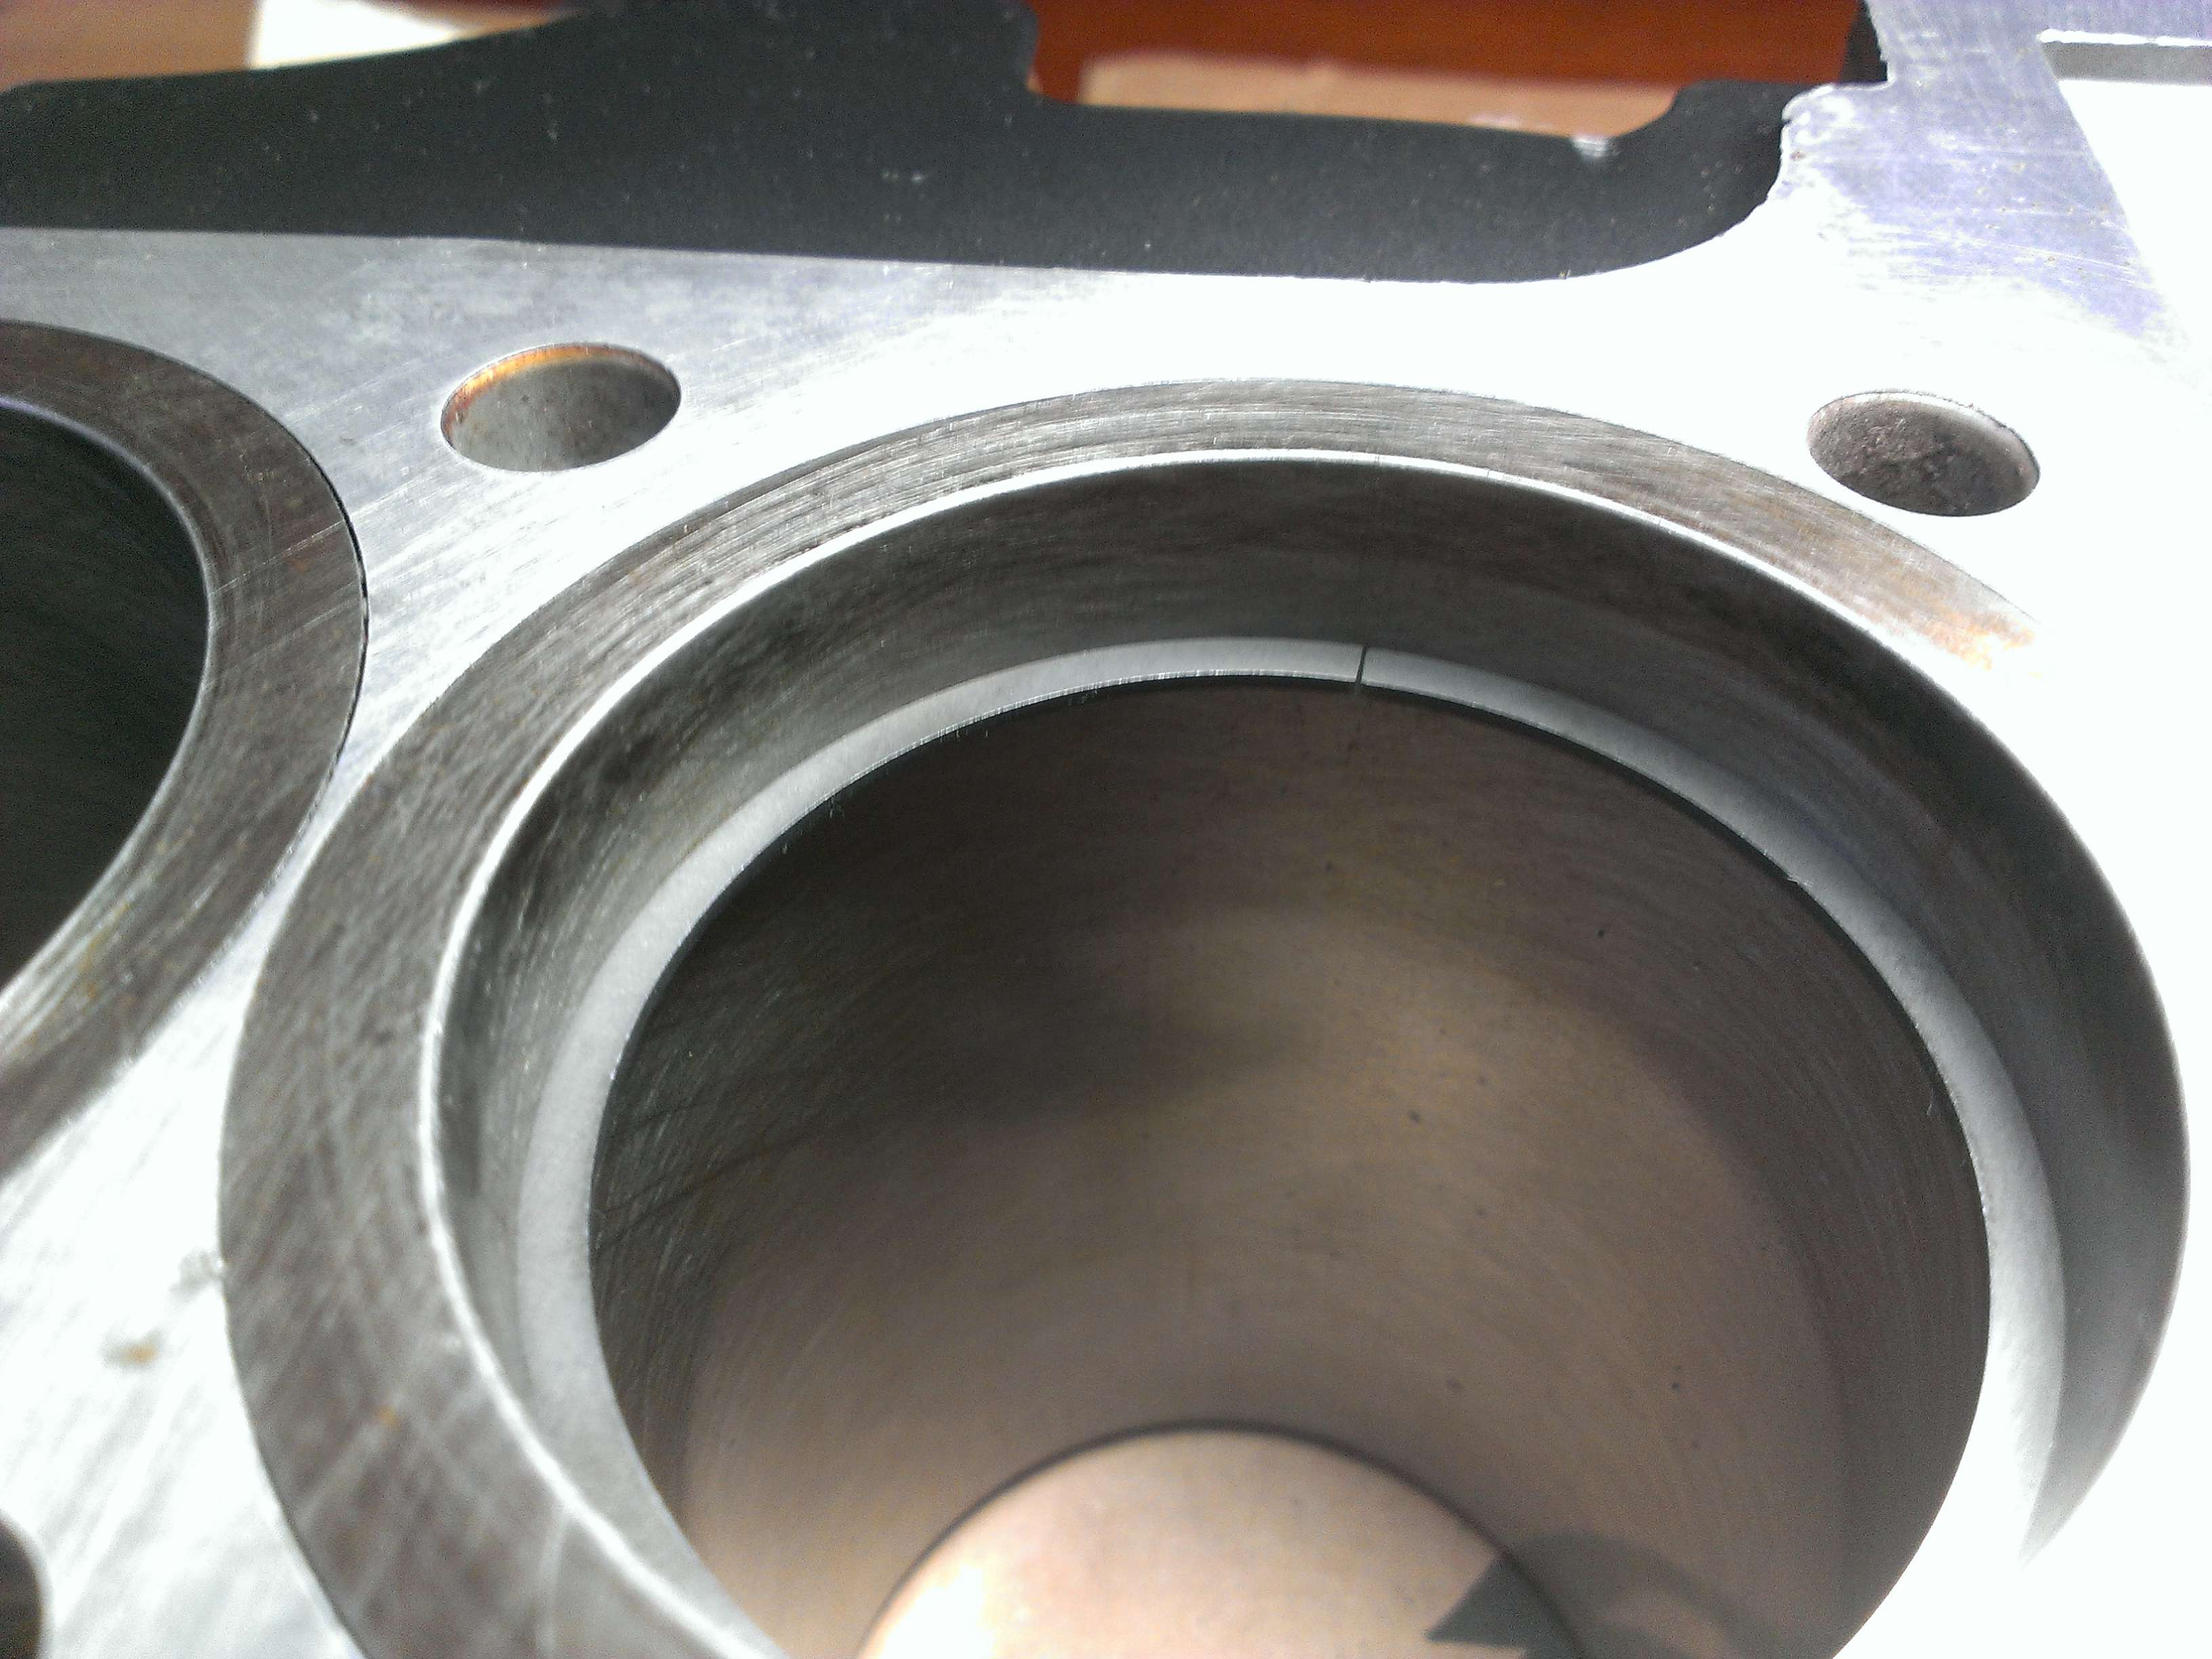
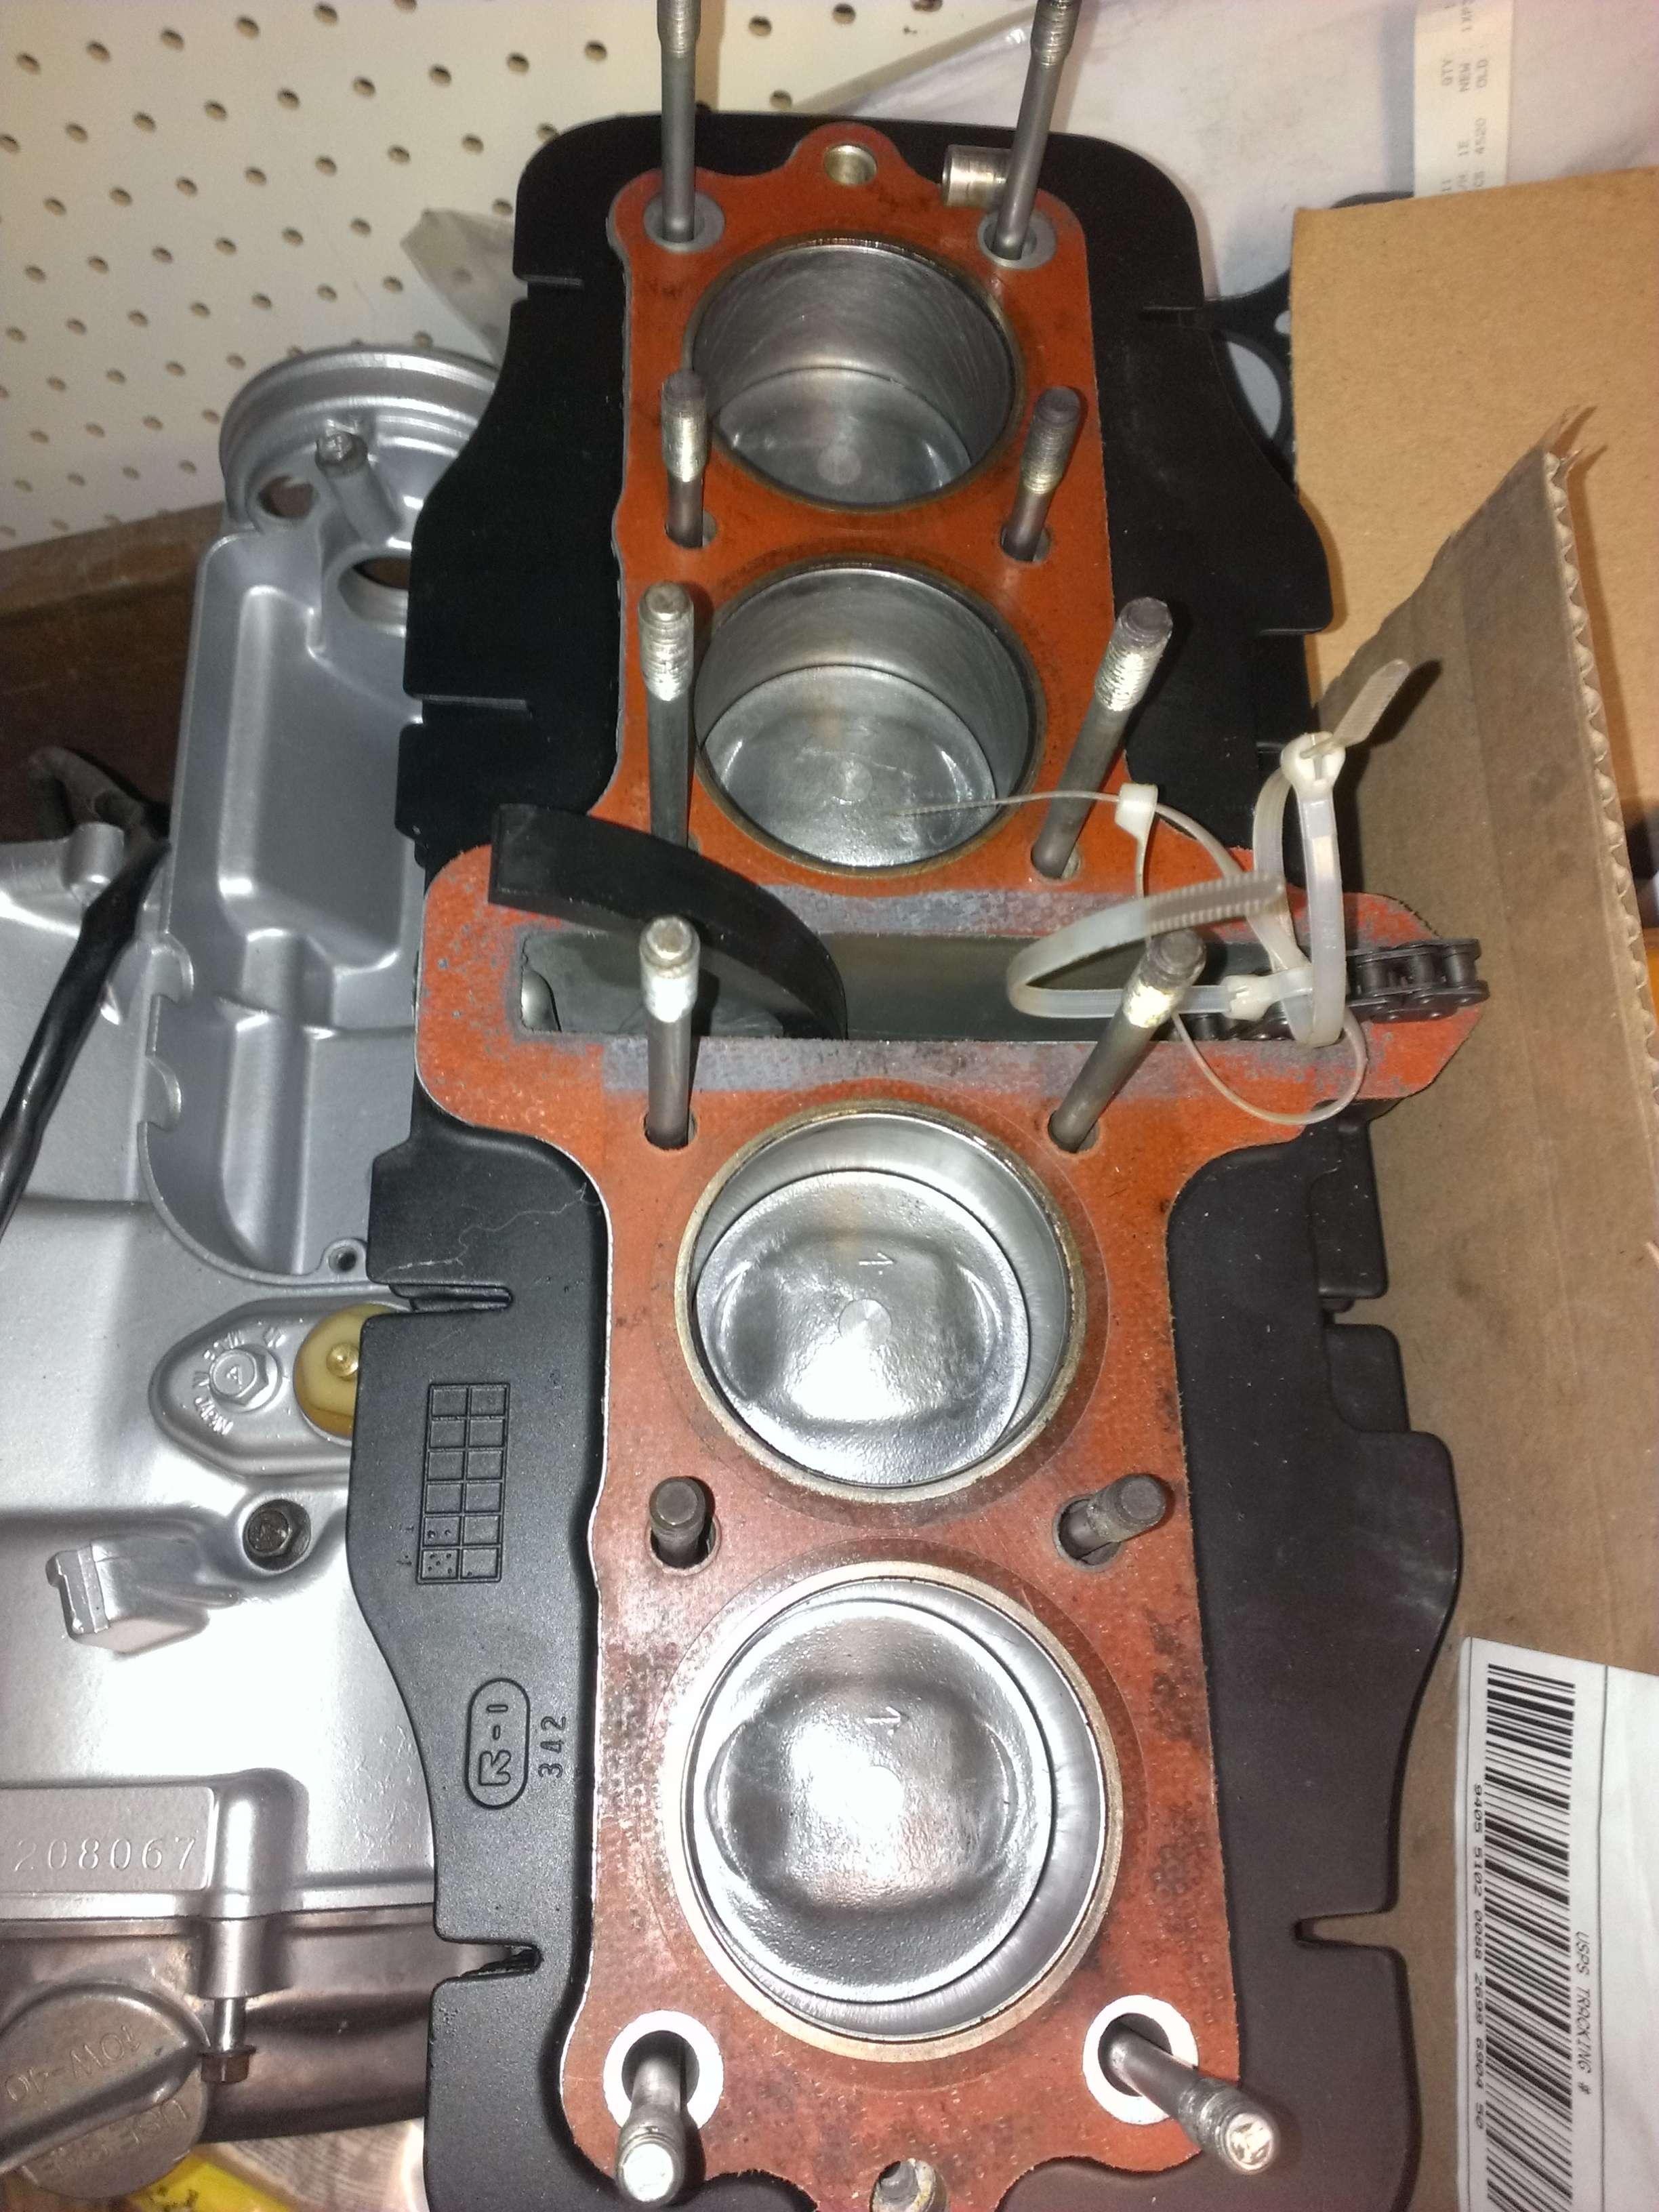
One on
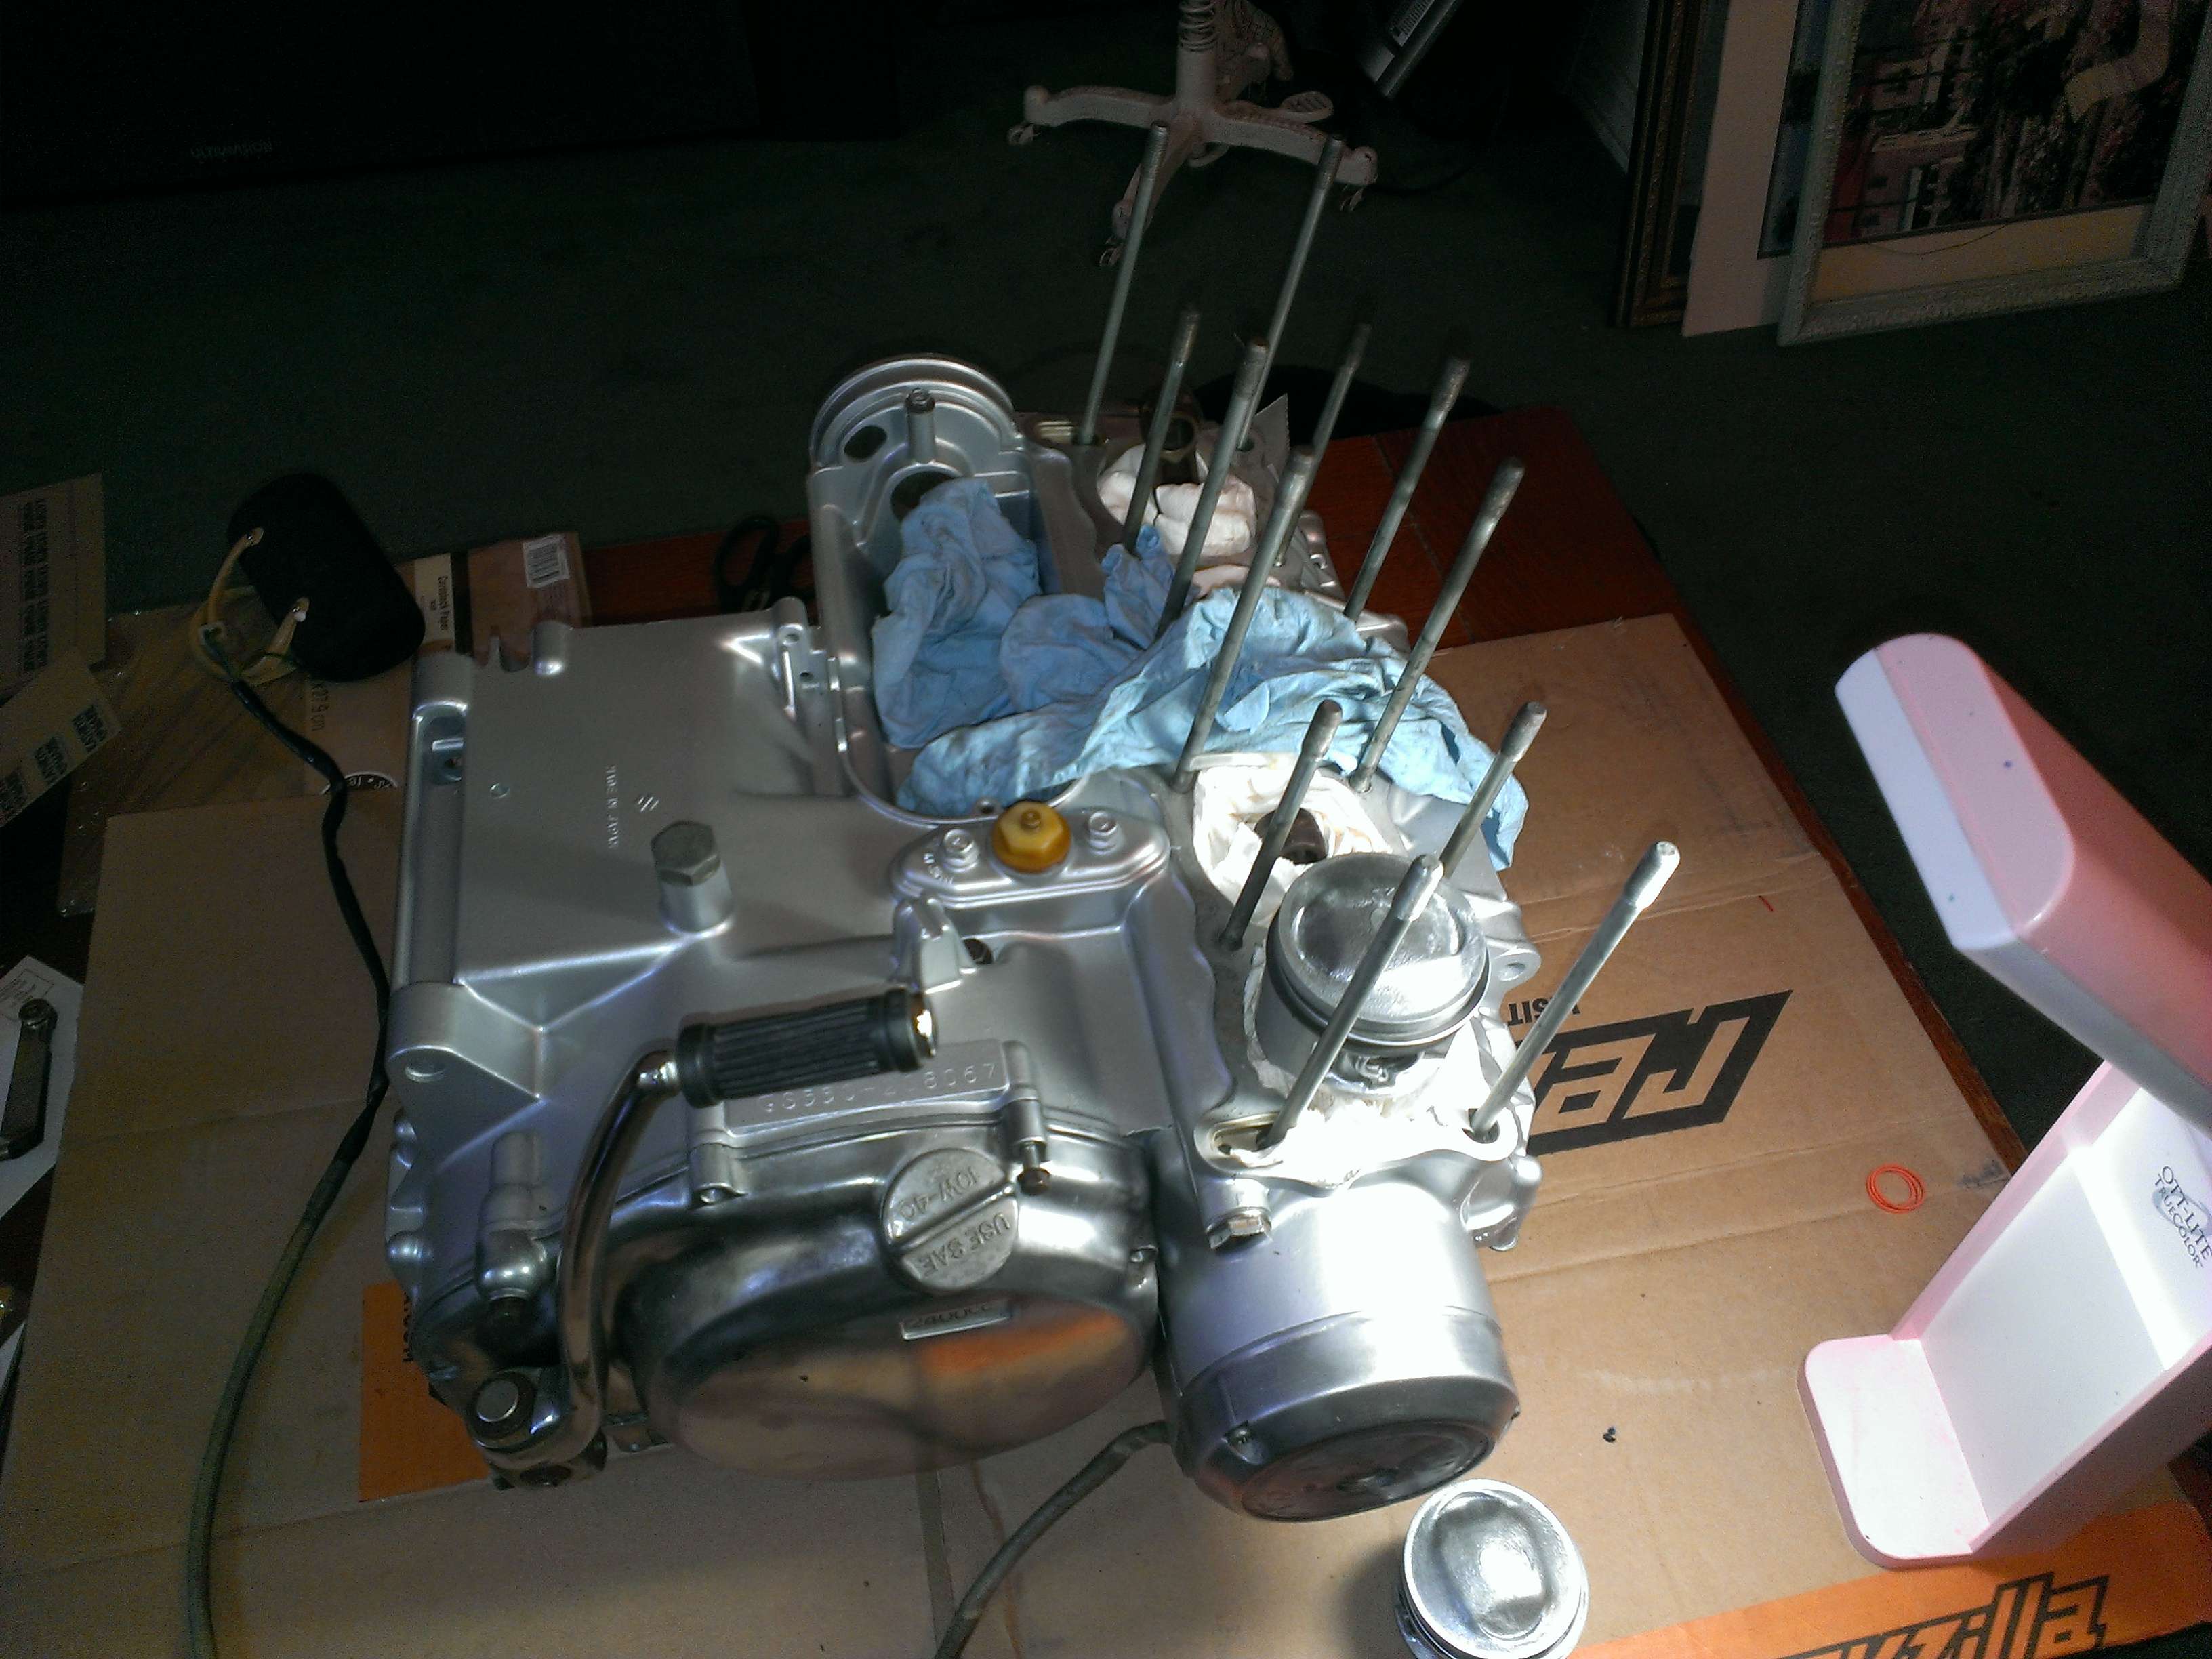
Btw, getting the pistons into the jugs was such a huge PITA. I was trying to raise the pistons into the sleeves but it was just not working. Anyway, here it is complete.
Tomorrow I want to lap the valves and install the new seals, and hopefully get the engine all together and torqued. Maybe even time it if I don't run out of daylight.
Checking ring gap
There was no minimum spec in the manual but they were well below .7mm. They all came in at around .2mm which is the same as the old rings I pulled off the pistons.
One on
Btw, getting the pistons into the jugs was such a huge PITA. I was trying to raise the pistons into the sleeves but it was just not working. Anyway, here it is complete.
Tomorrow I want to lap the valves and install the new seals, and hopefully get the engine all together and torqued. Maybe even time it if I don't run out of daylight.
jwegman
New Member
Looks great. I ended up putting the pistons in mine this weekend also. I like your strategic placement of rags to catch stray clips from going into the case. I dropped one and had a heart attack for a few minutes but luckily found it with a magnet. Looking forward to seeing your post on the valves and heads since I'll be tackling that after I get my head back from blasting.
Toast
Been Around the Block
Big Rich said:Yes sir, looking good Toast.
Thank you kind sir.
jwegman said:Looks great. I ended up putting the pistons in mine this weekend also. I like your strategic placement of rags to catch stray clips from going into the case. I dropped one and had a heart attack for a few minutes but luckily found it with a magnet. Looking forward to seeing your post on the valves and heads since I'll be tackling that after I get my head back from blasting.
Haha yea I tried to close up any openings, trying to fish out a circlip from the engine would have suckedd.
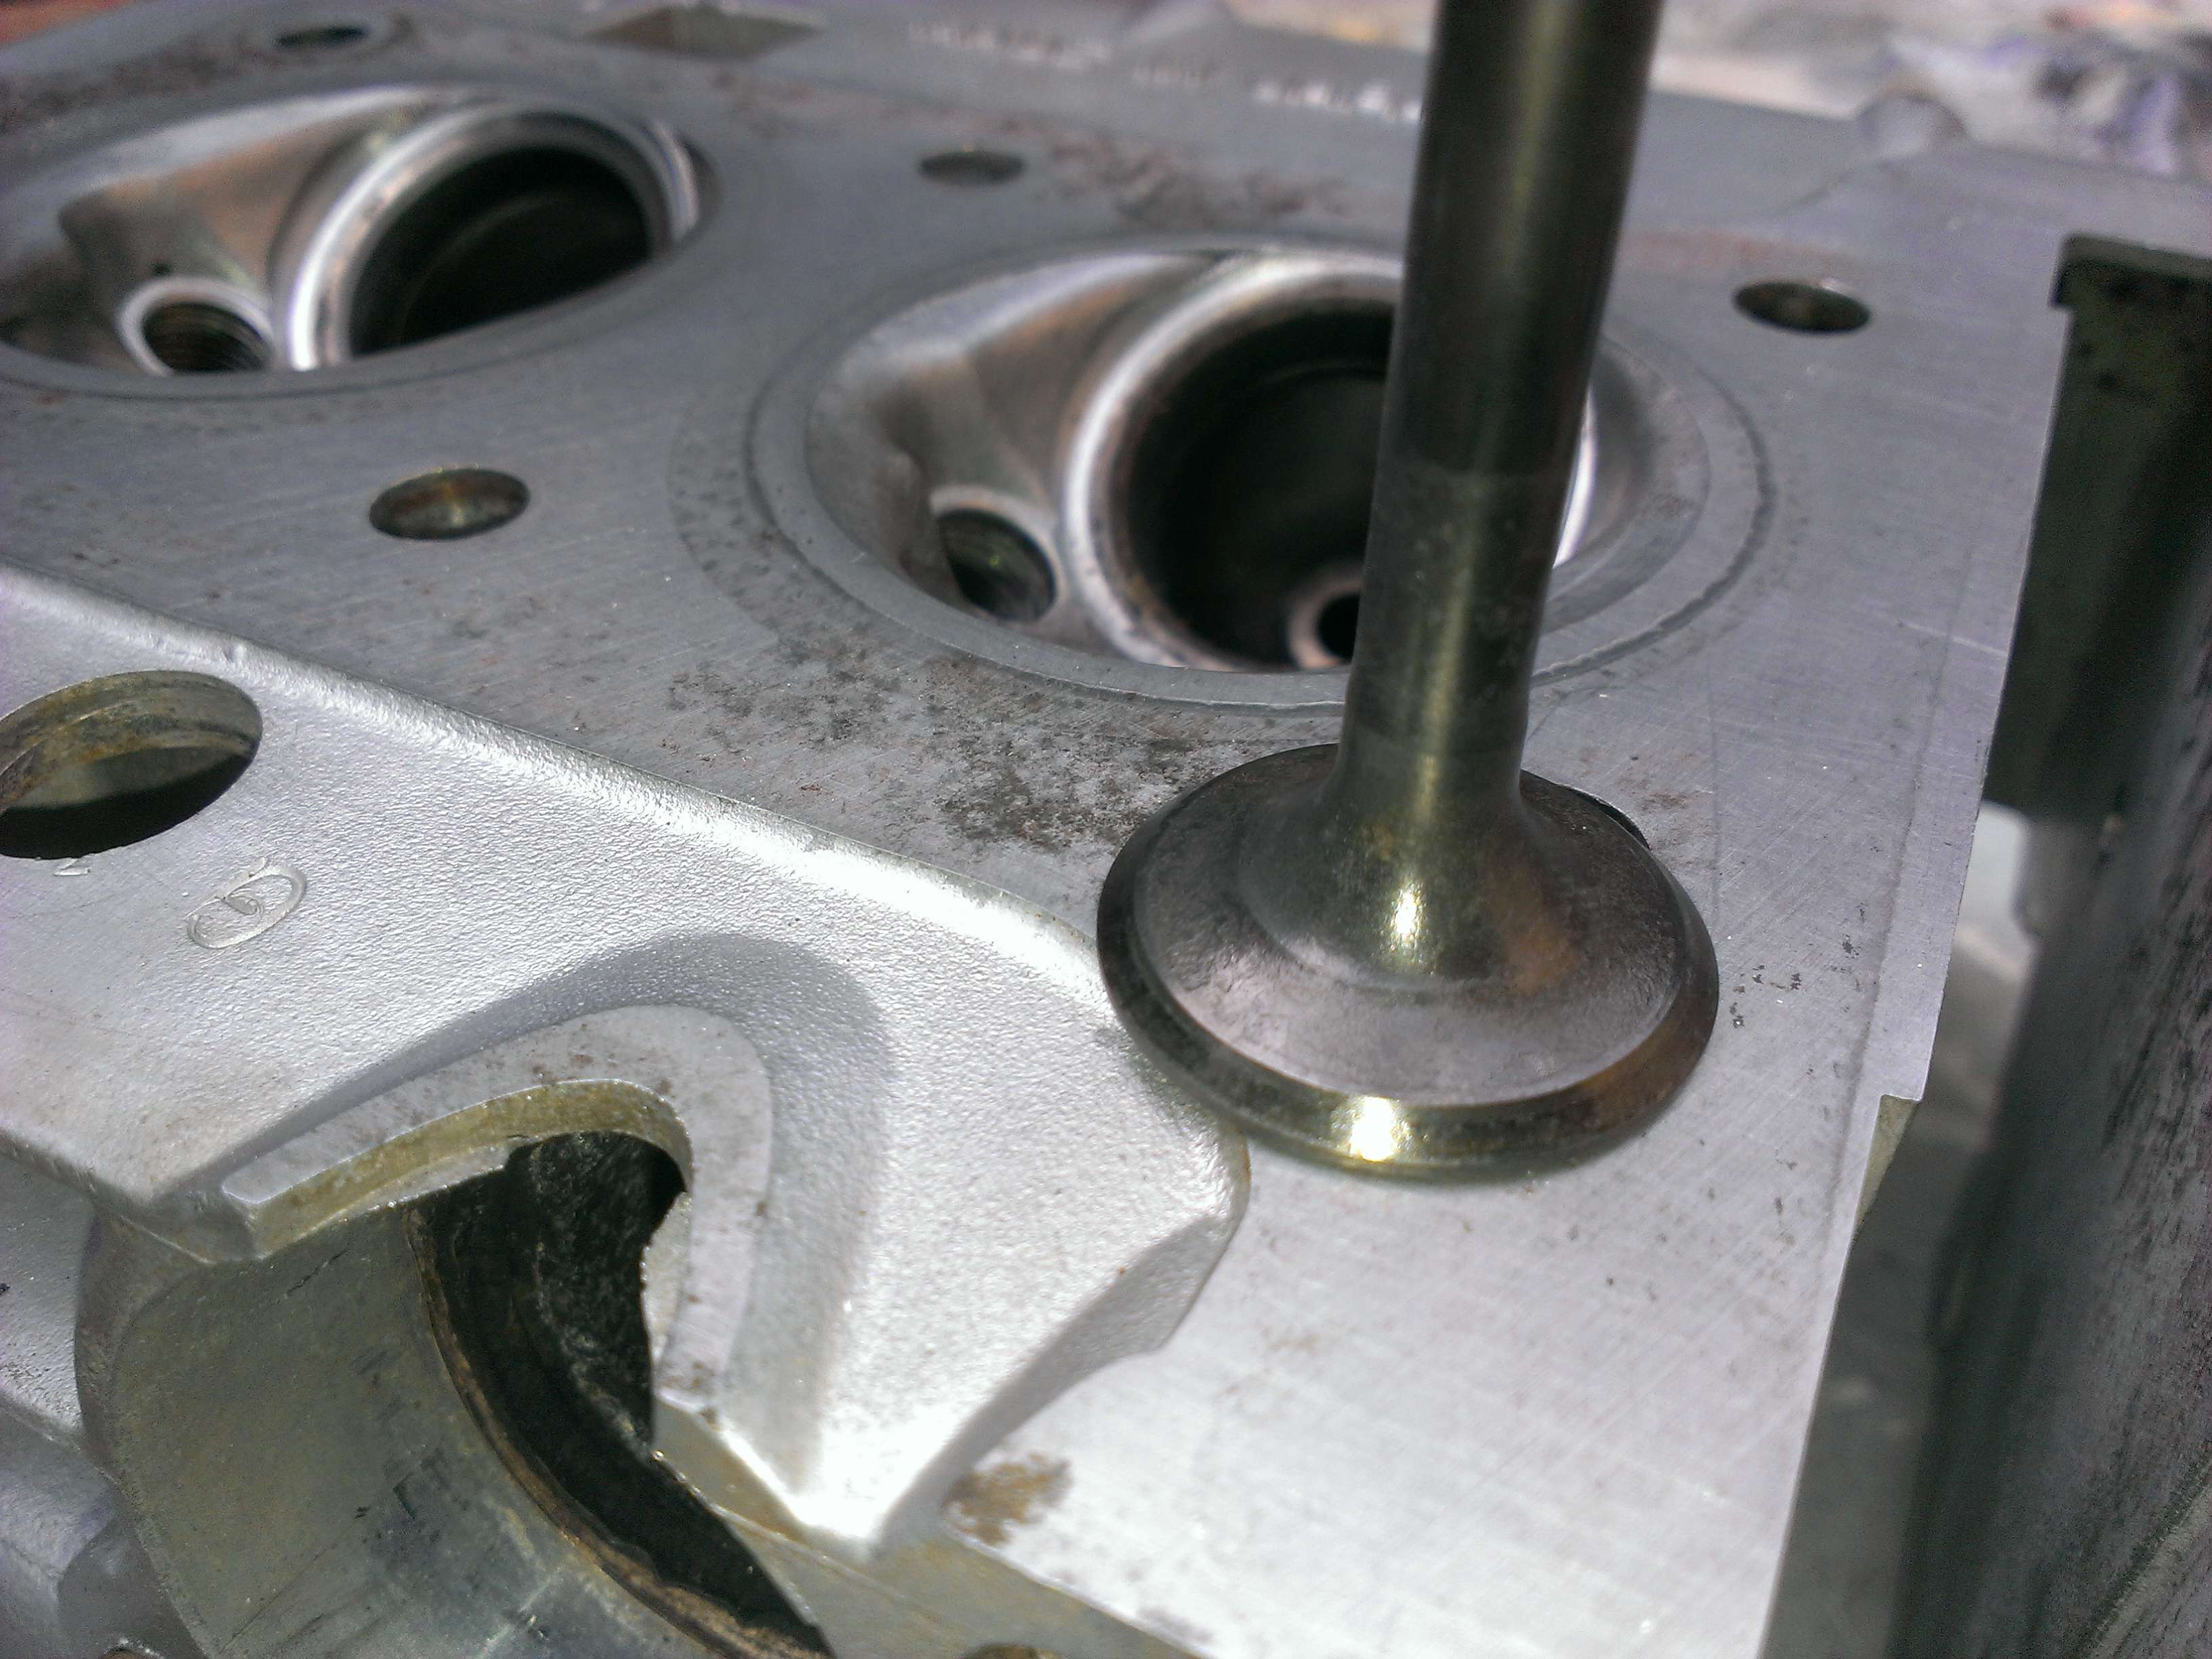
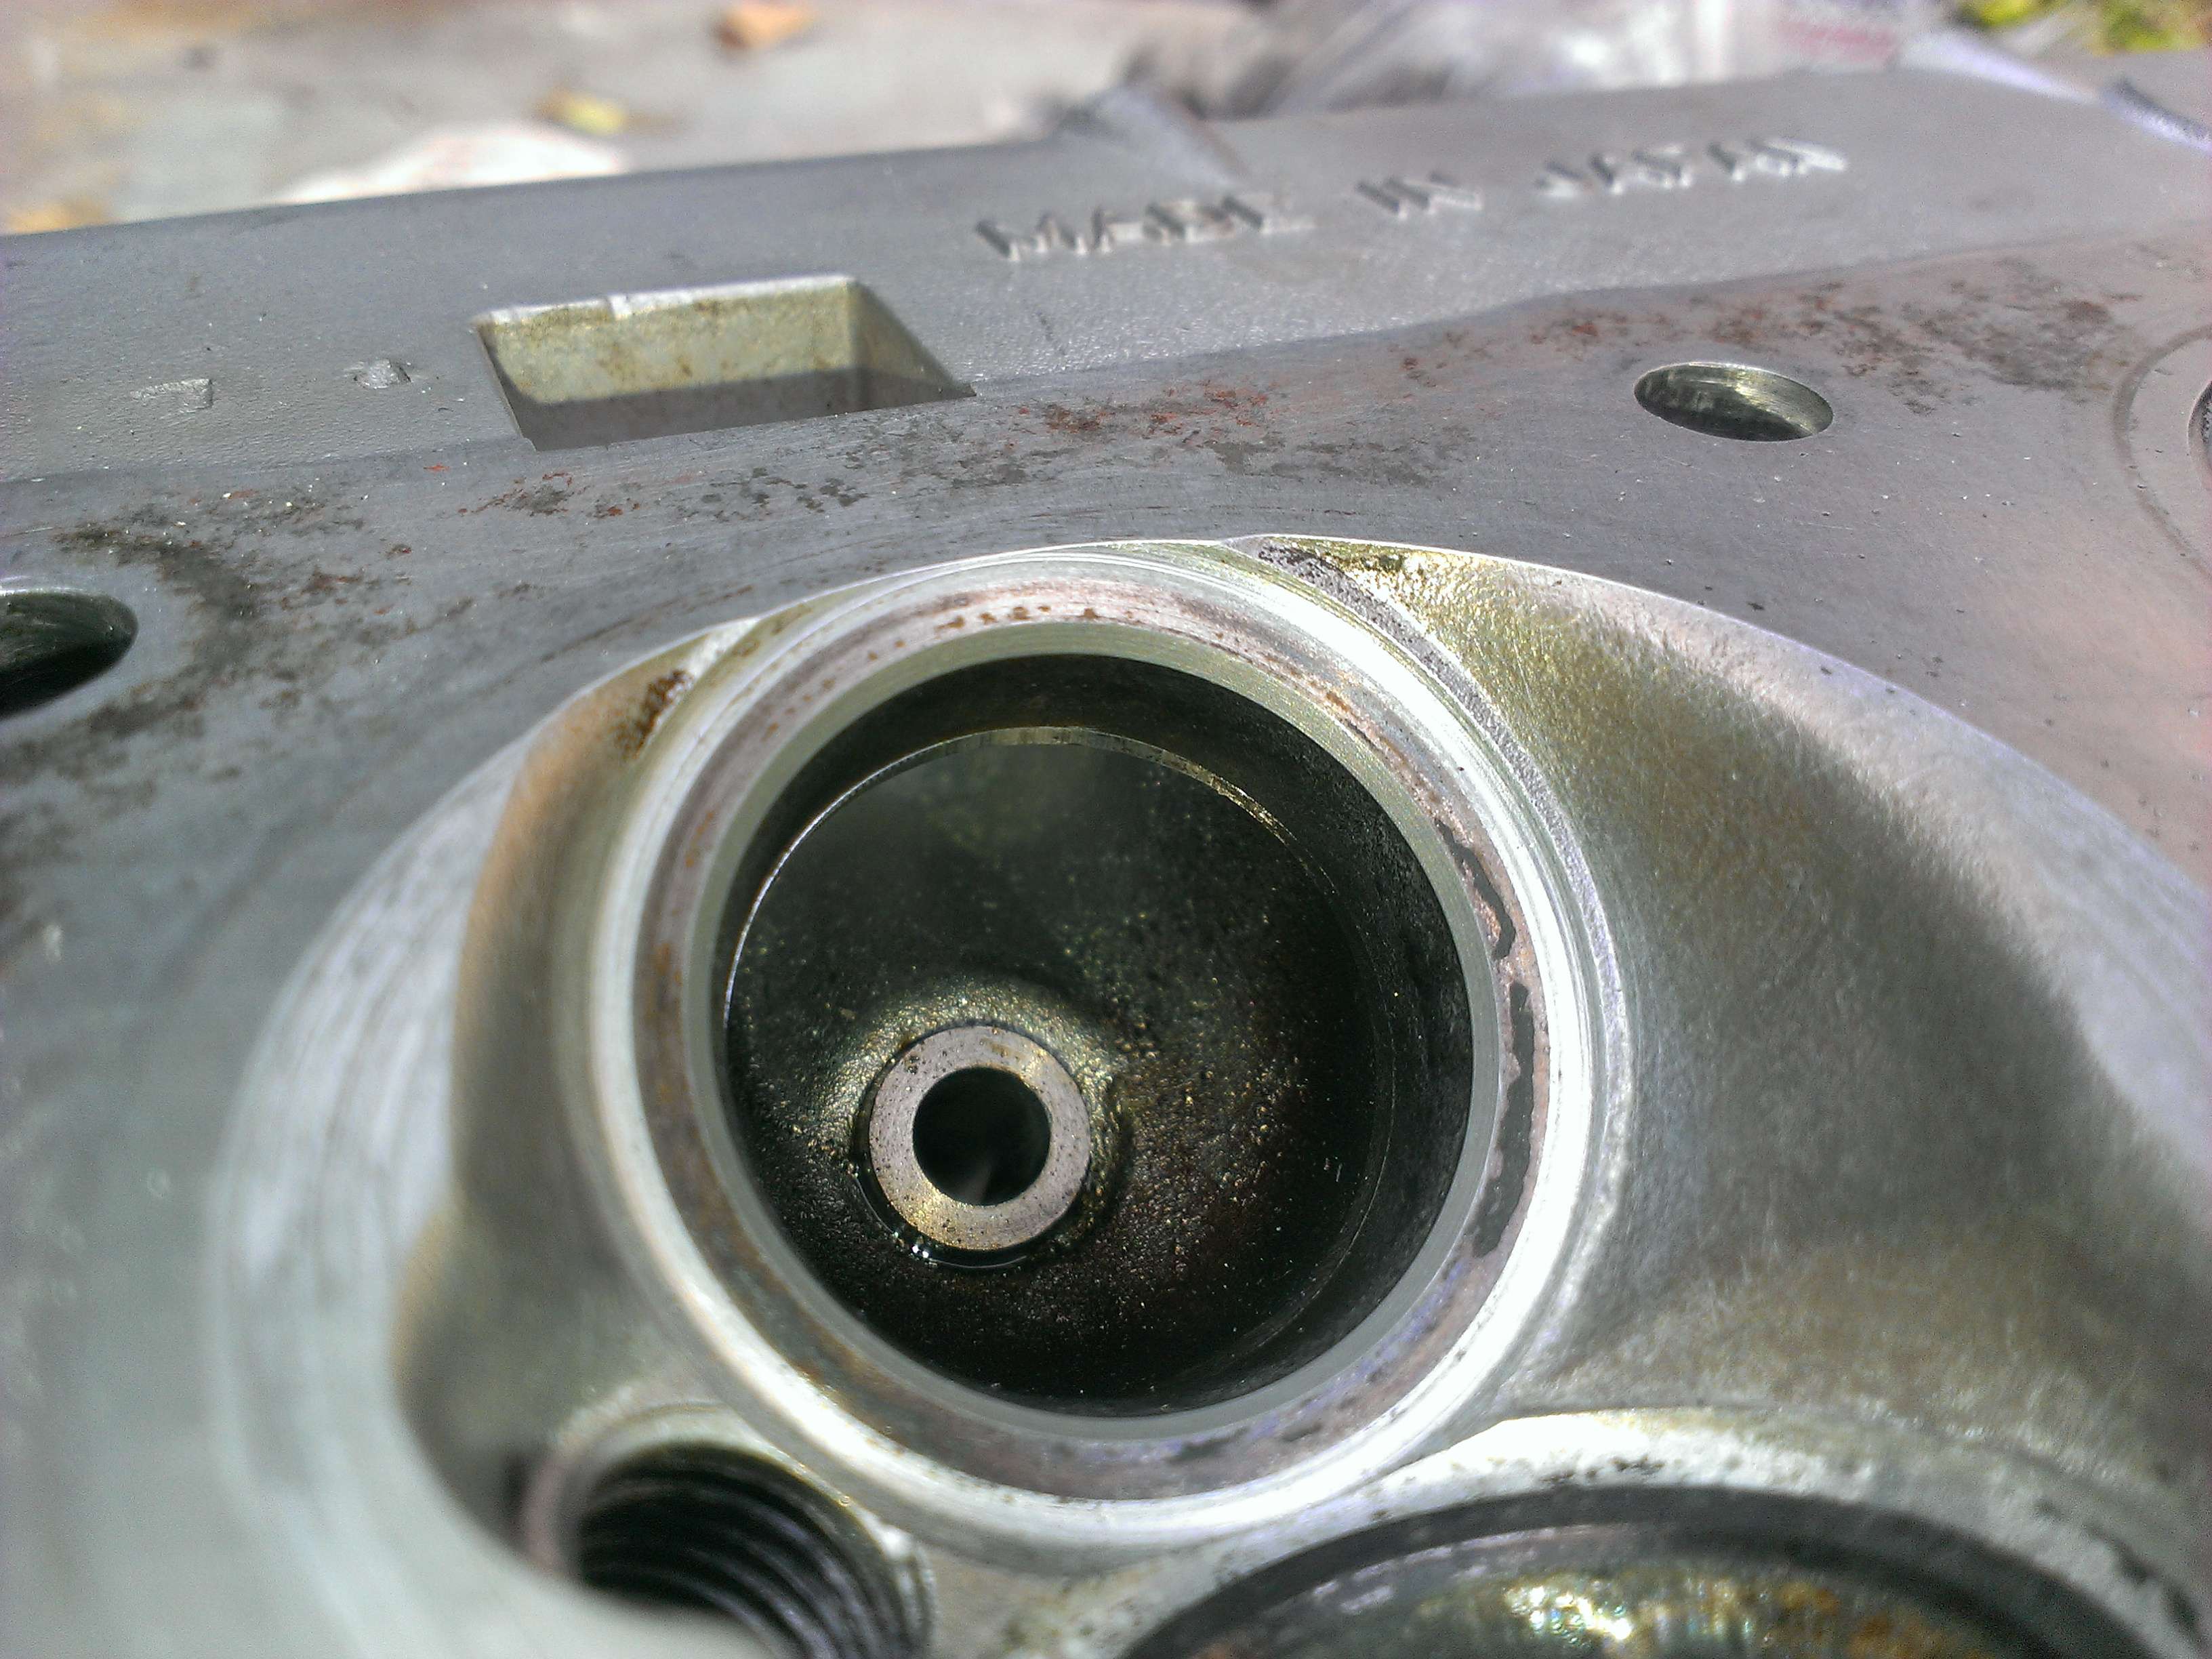
Here are the pics from the last half of the valve job.
This exhaust valve was the worst, the rest were pretty clean with just some normal carbon.

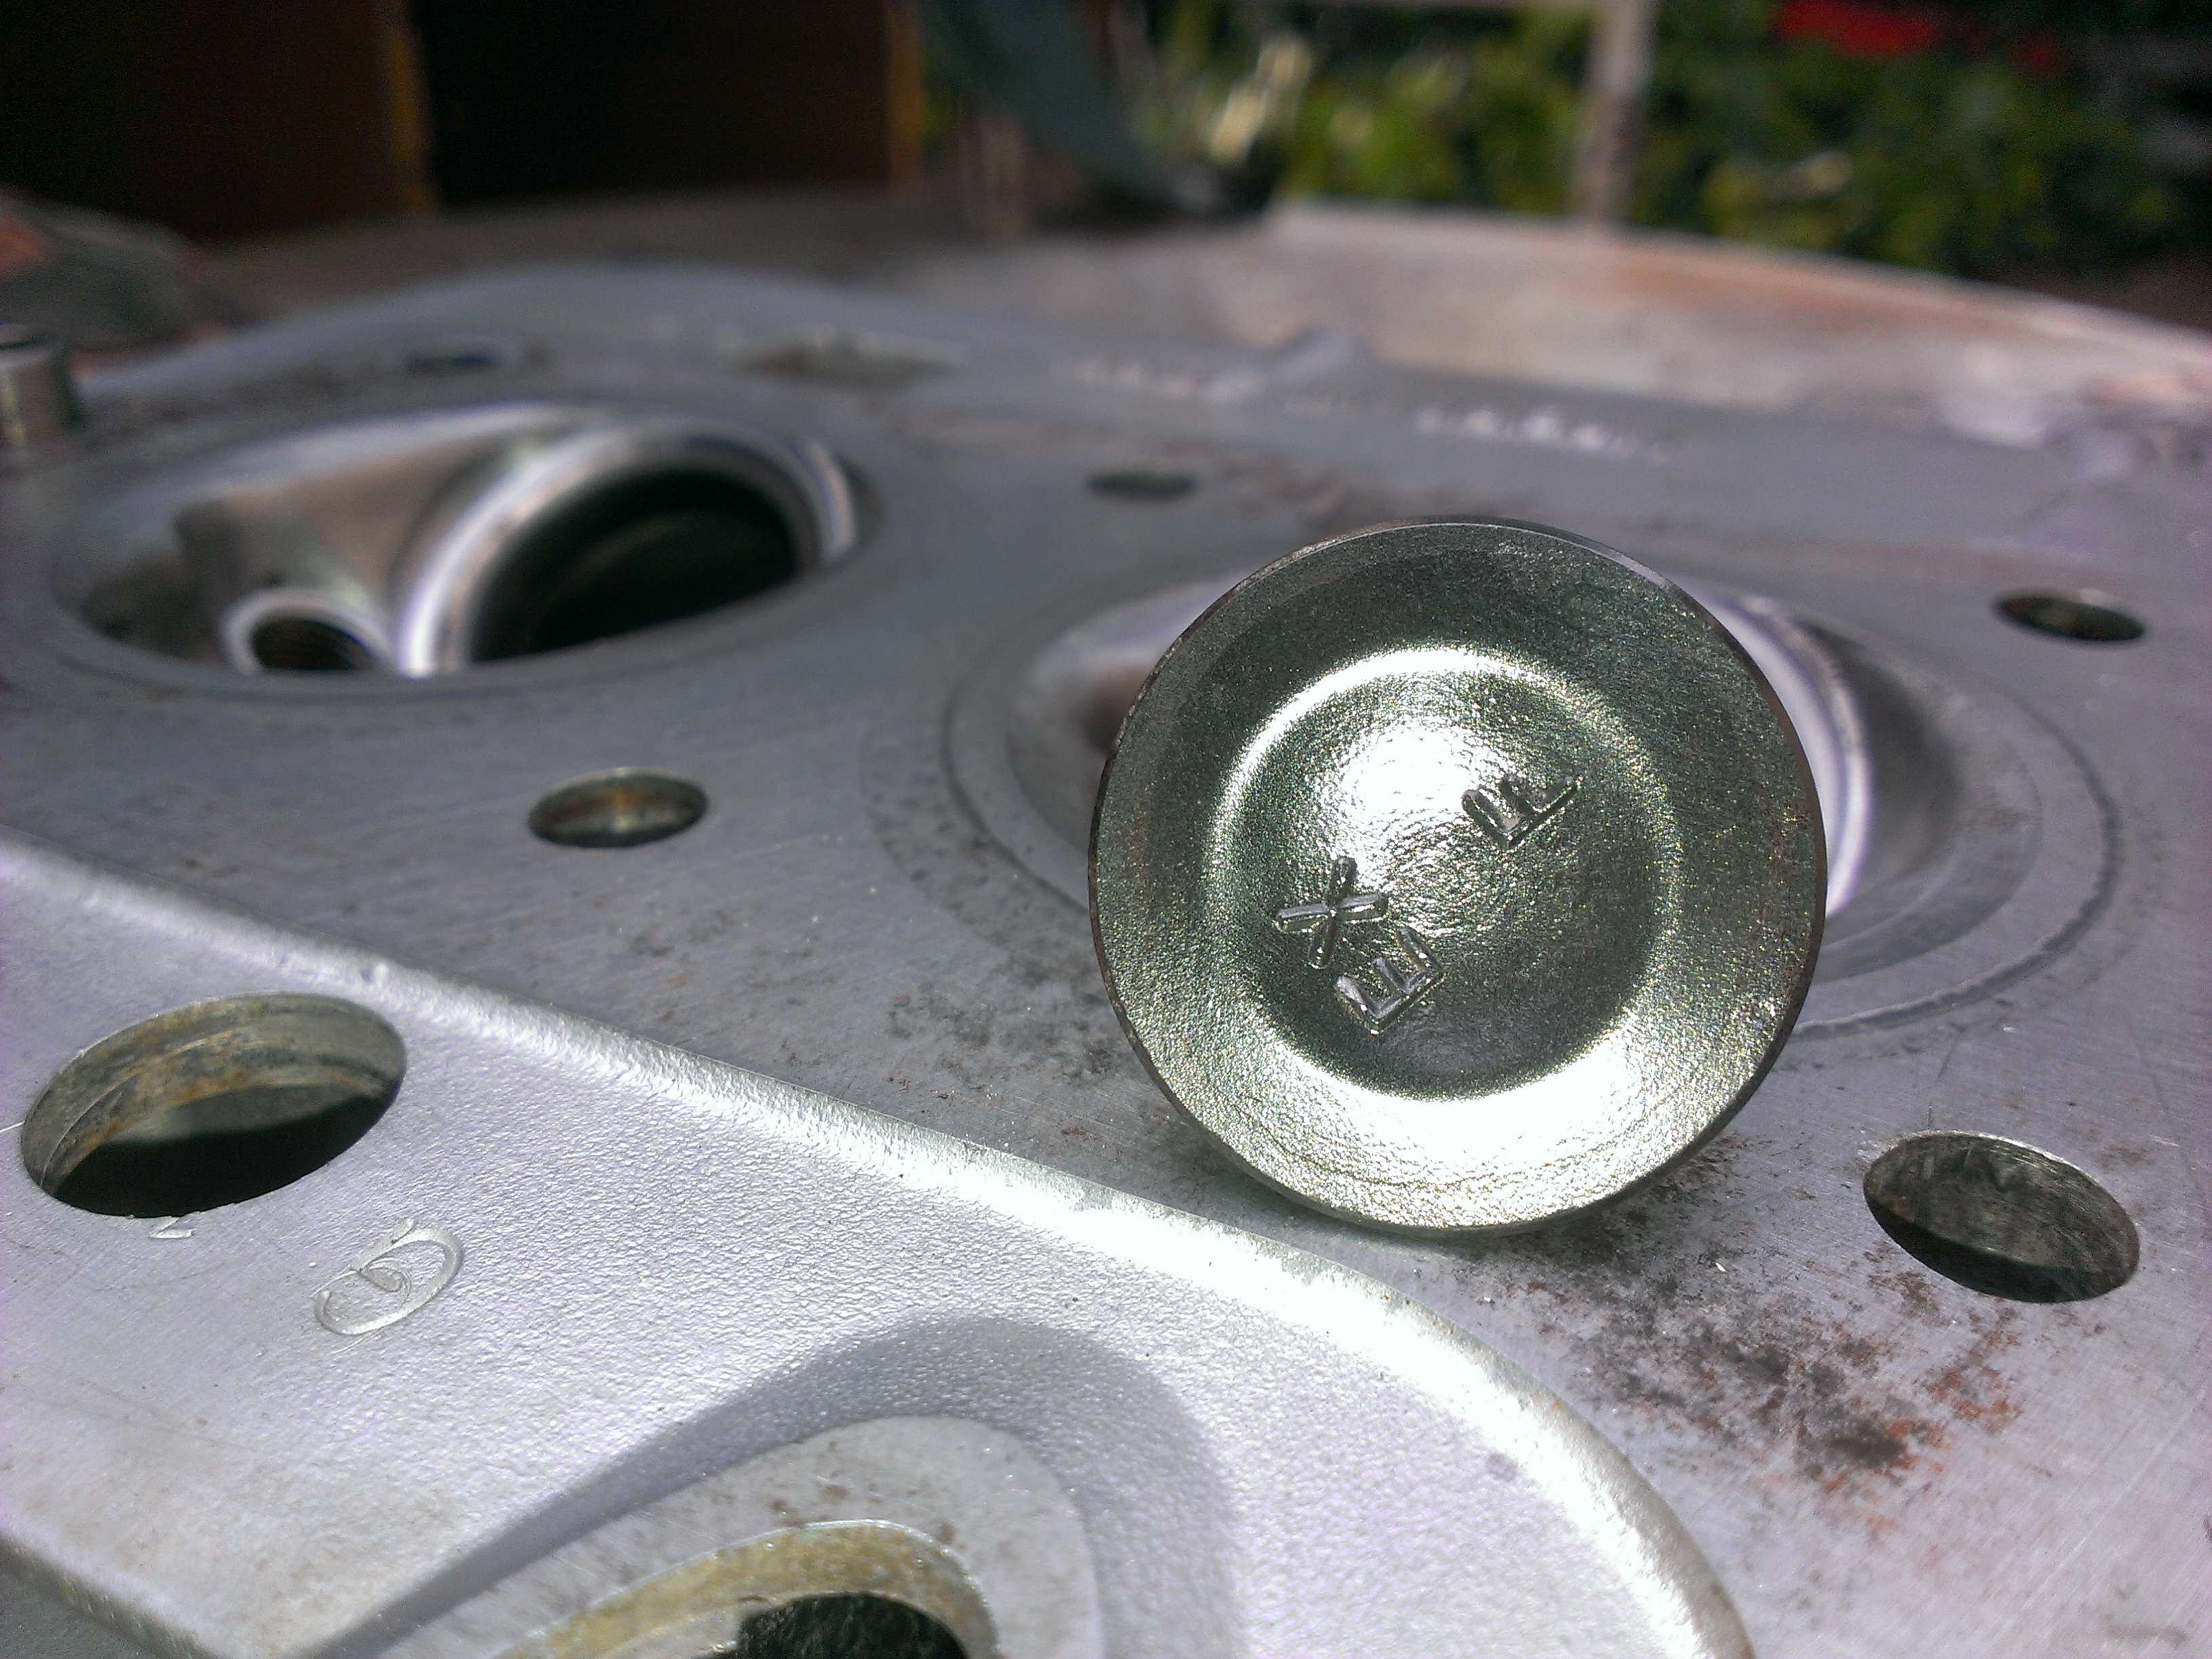
A quick touchup with the wire wheel fixed them up. Even though these are hardened steel I wouldn't use a really coarse wire wheel on them, the bench grinder I have has a pretty soft wire on it.
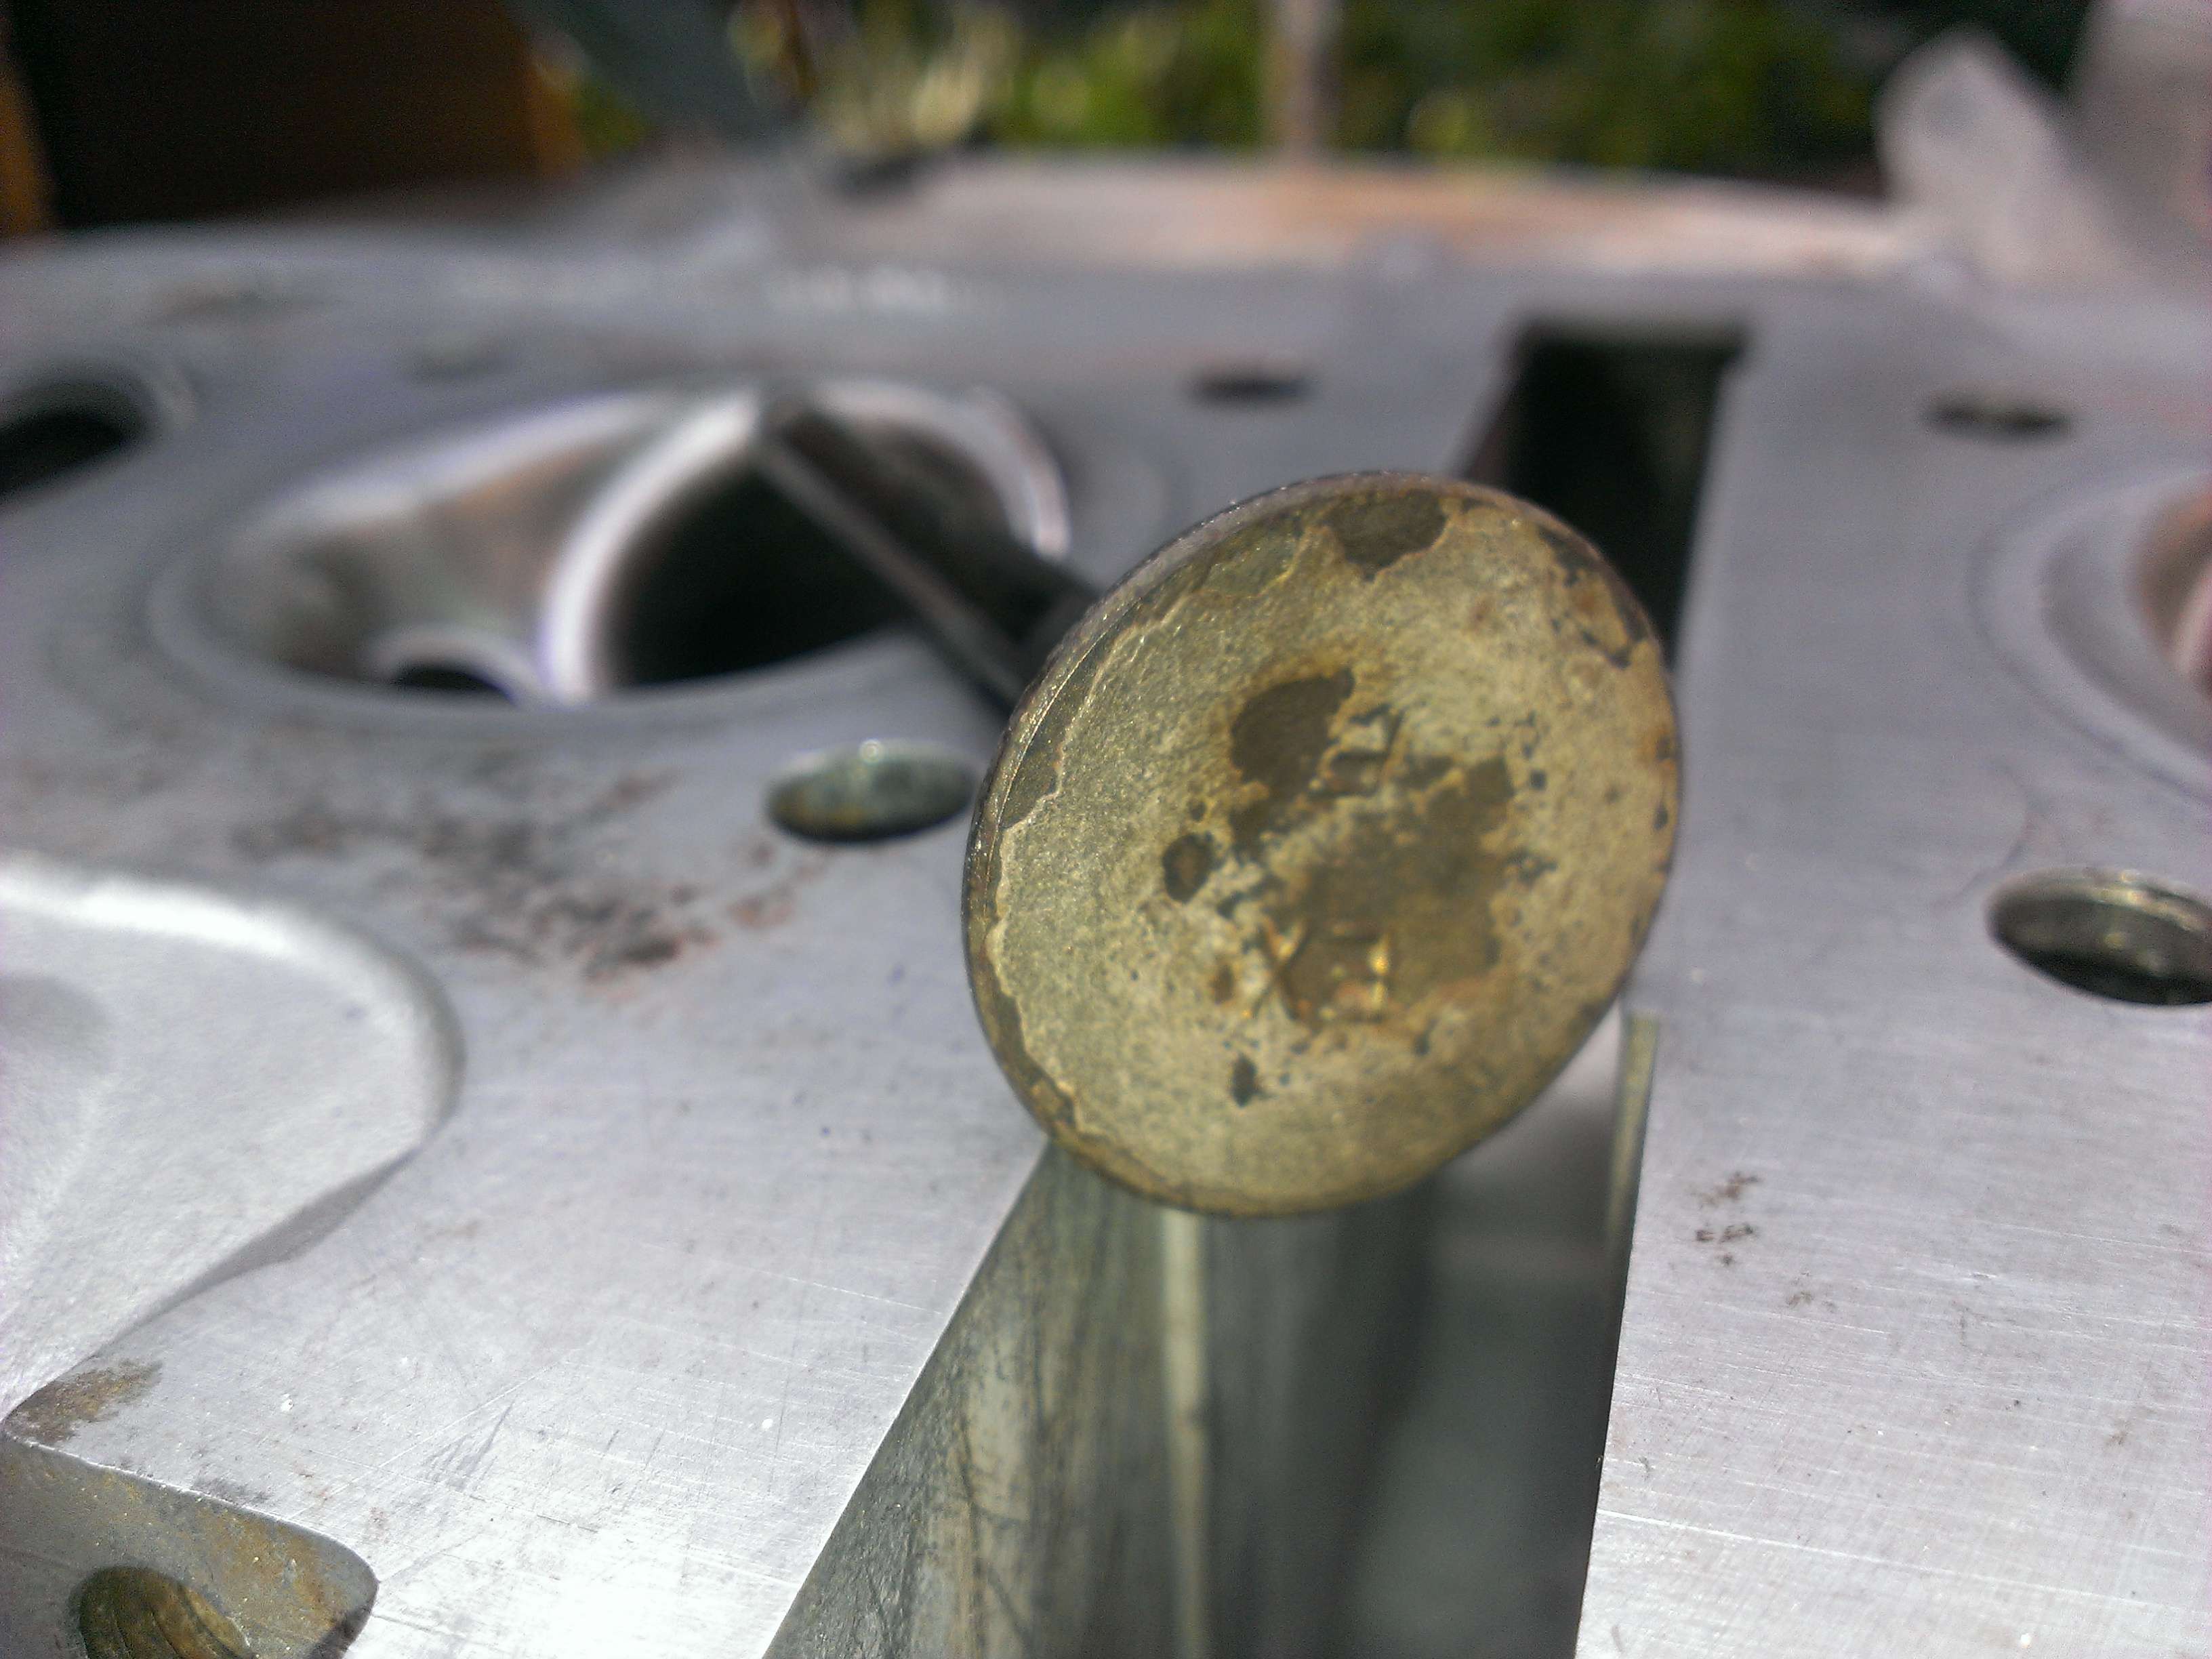
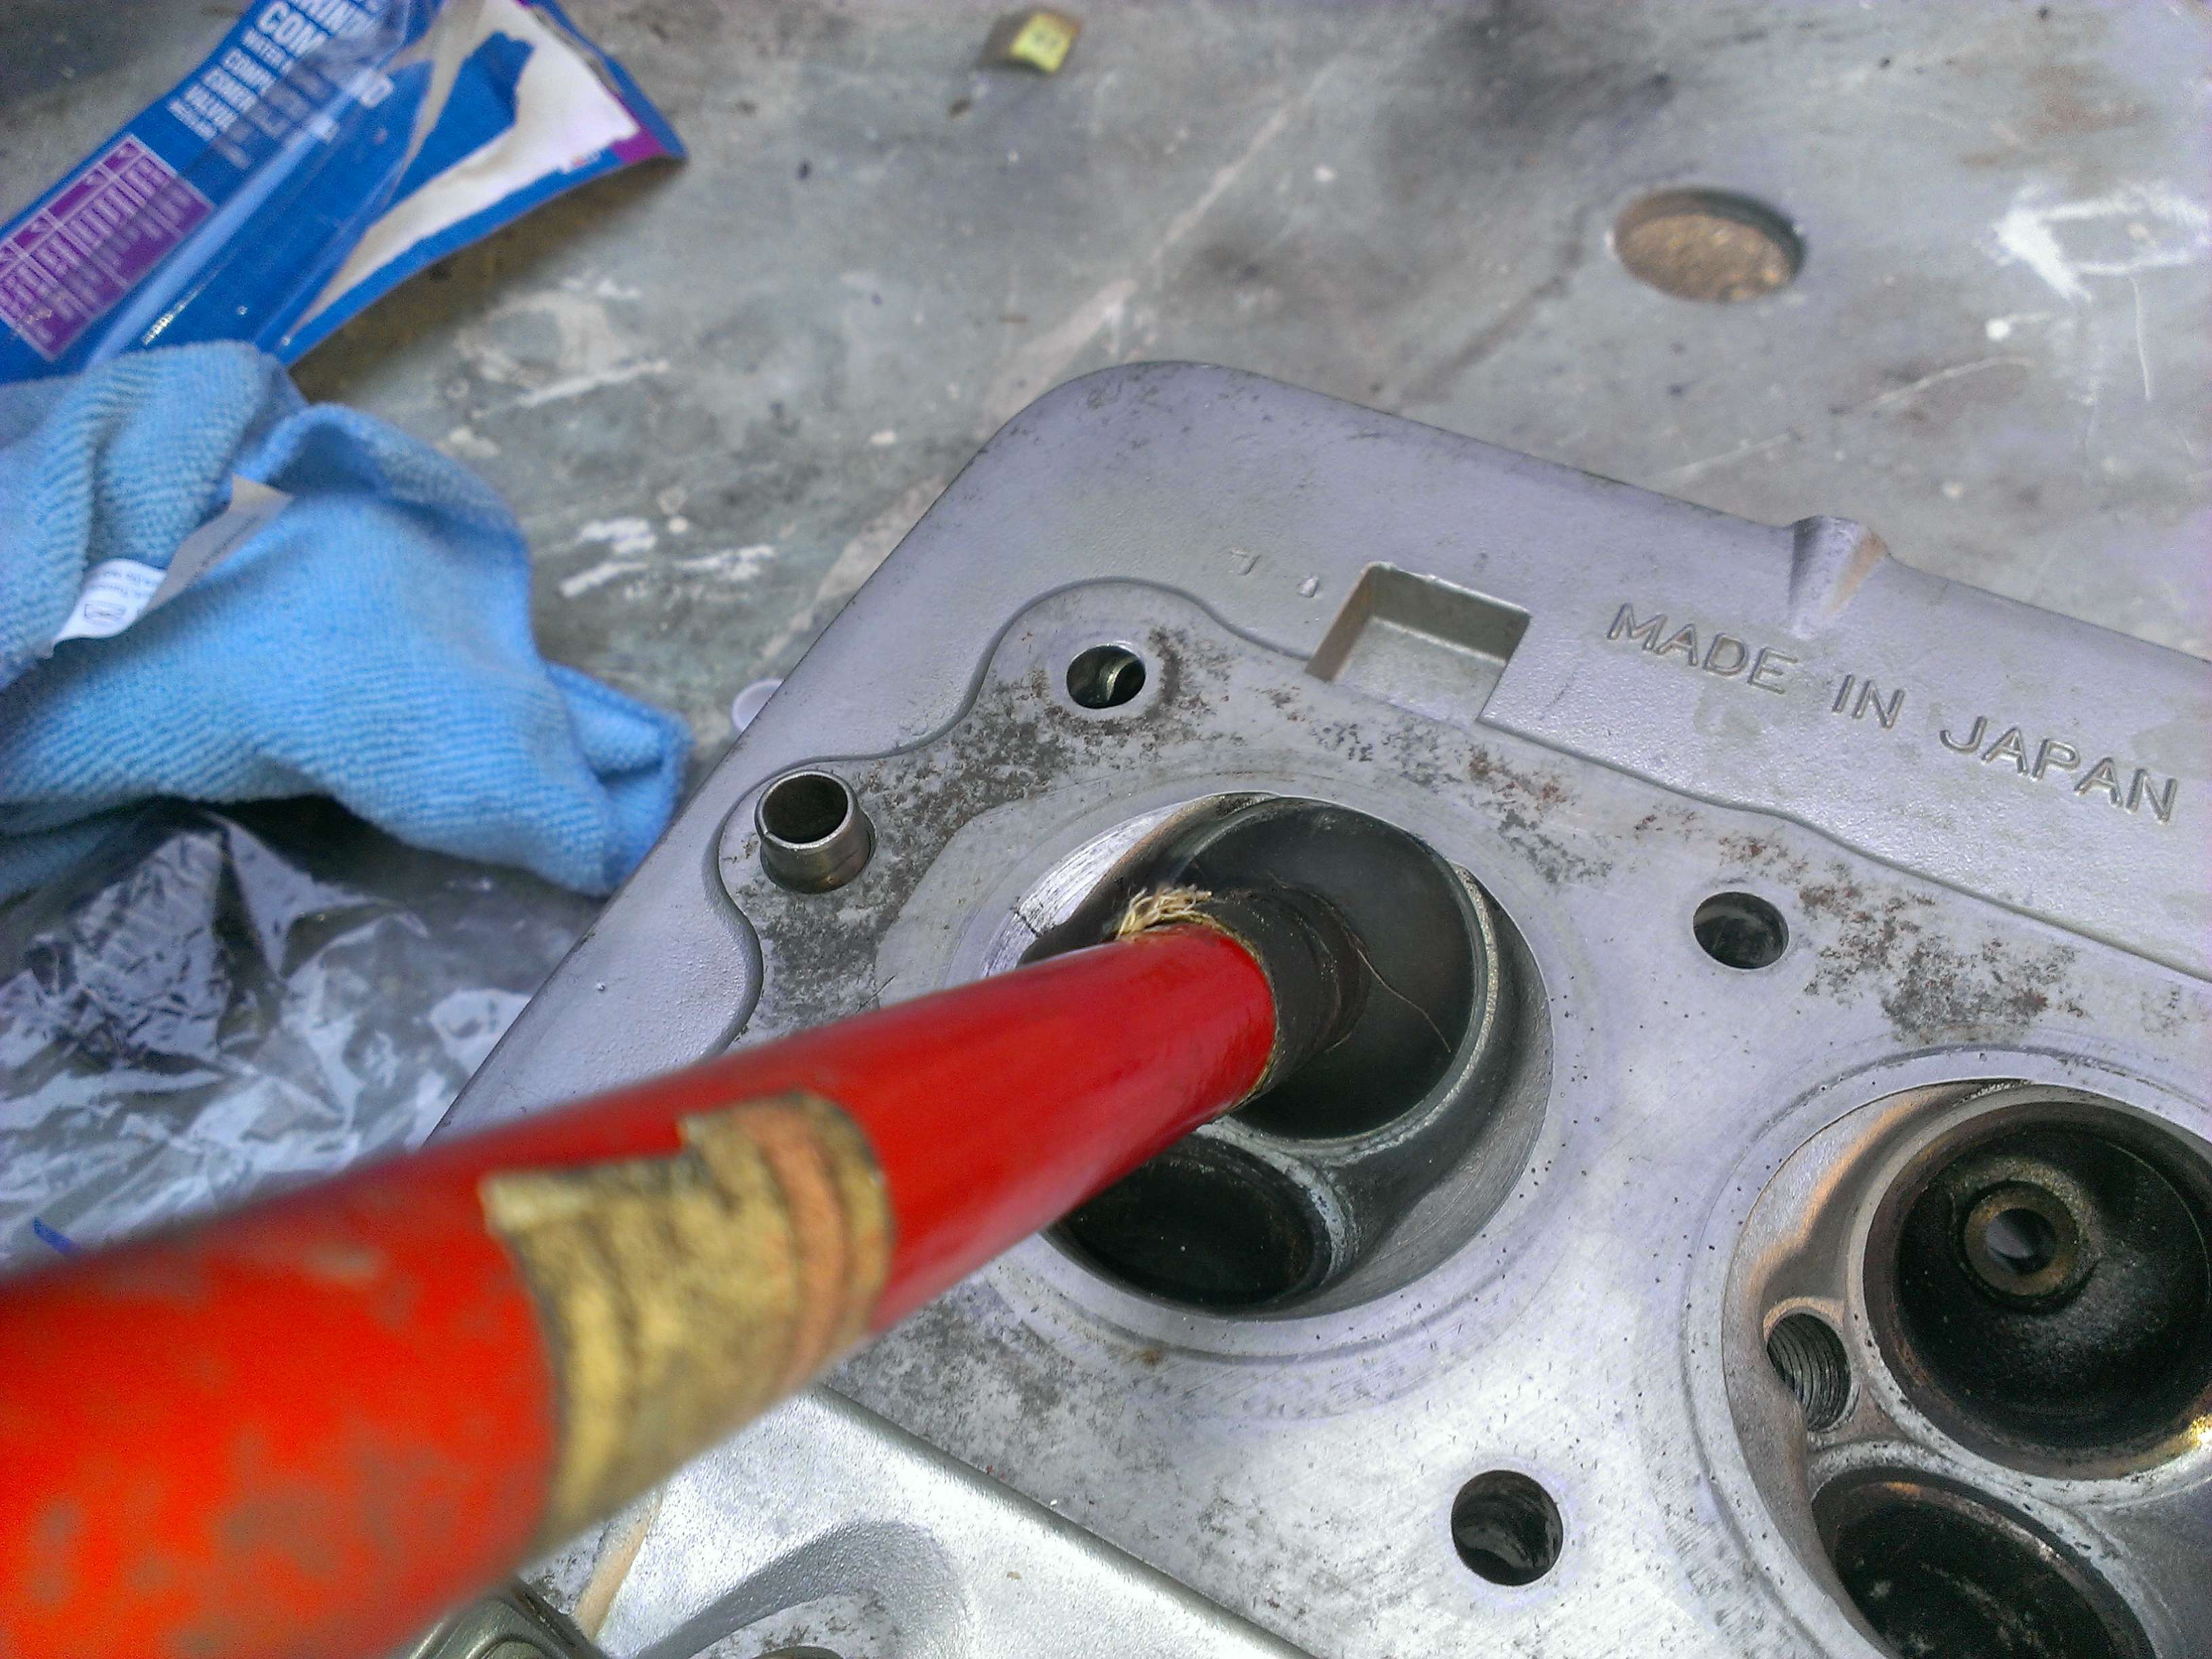
The nasty looking valve seats

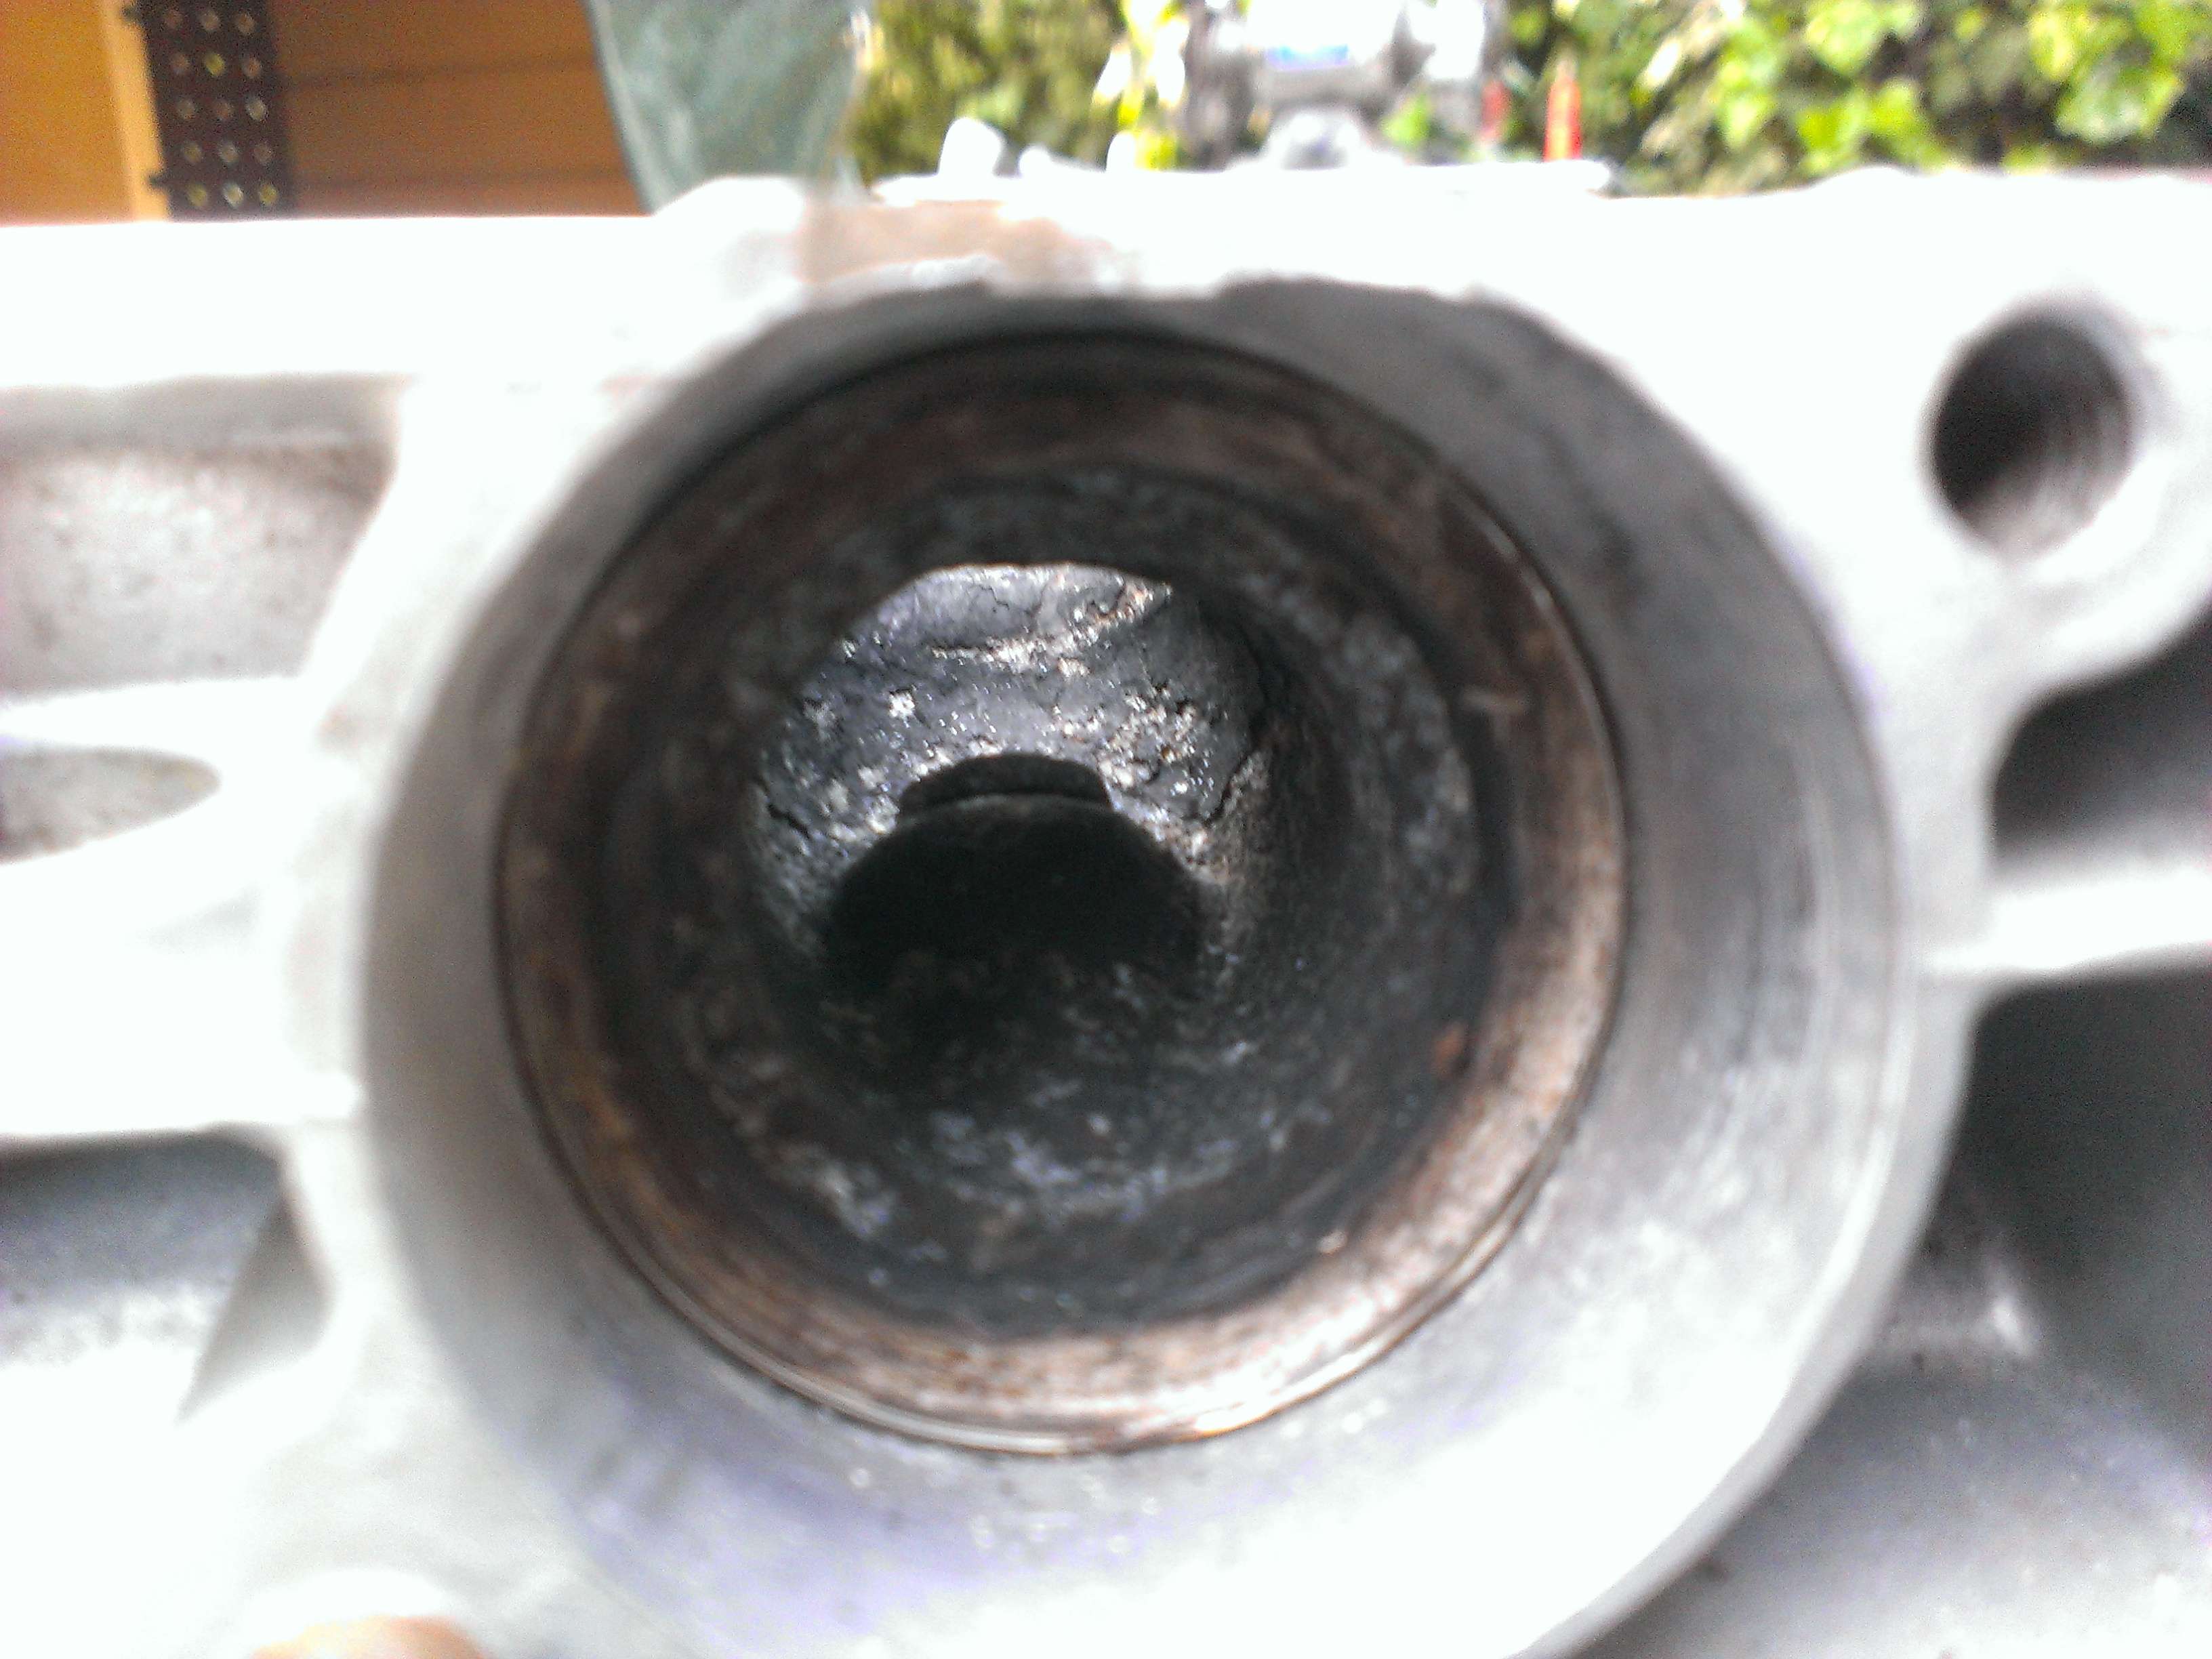
Add lapping compound to the valve seating area and the seats on the heads, apply some pressure and twirl like you're starting a fire. Lift and rotate the valve every 4-5 spins (?) to make sure the compound is evenly distributed.
Lapped valve (I did this one again later) and valve seat
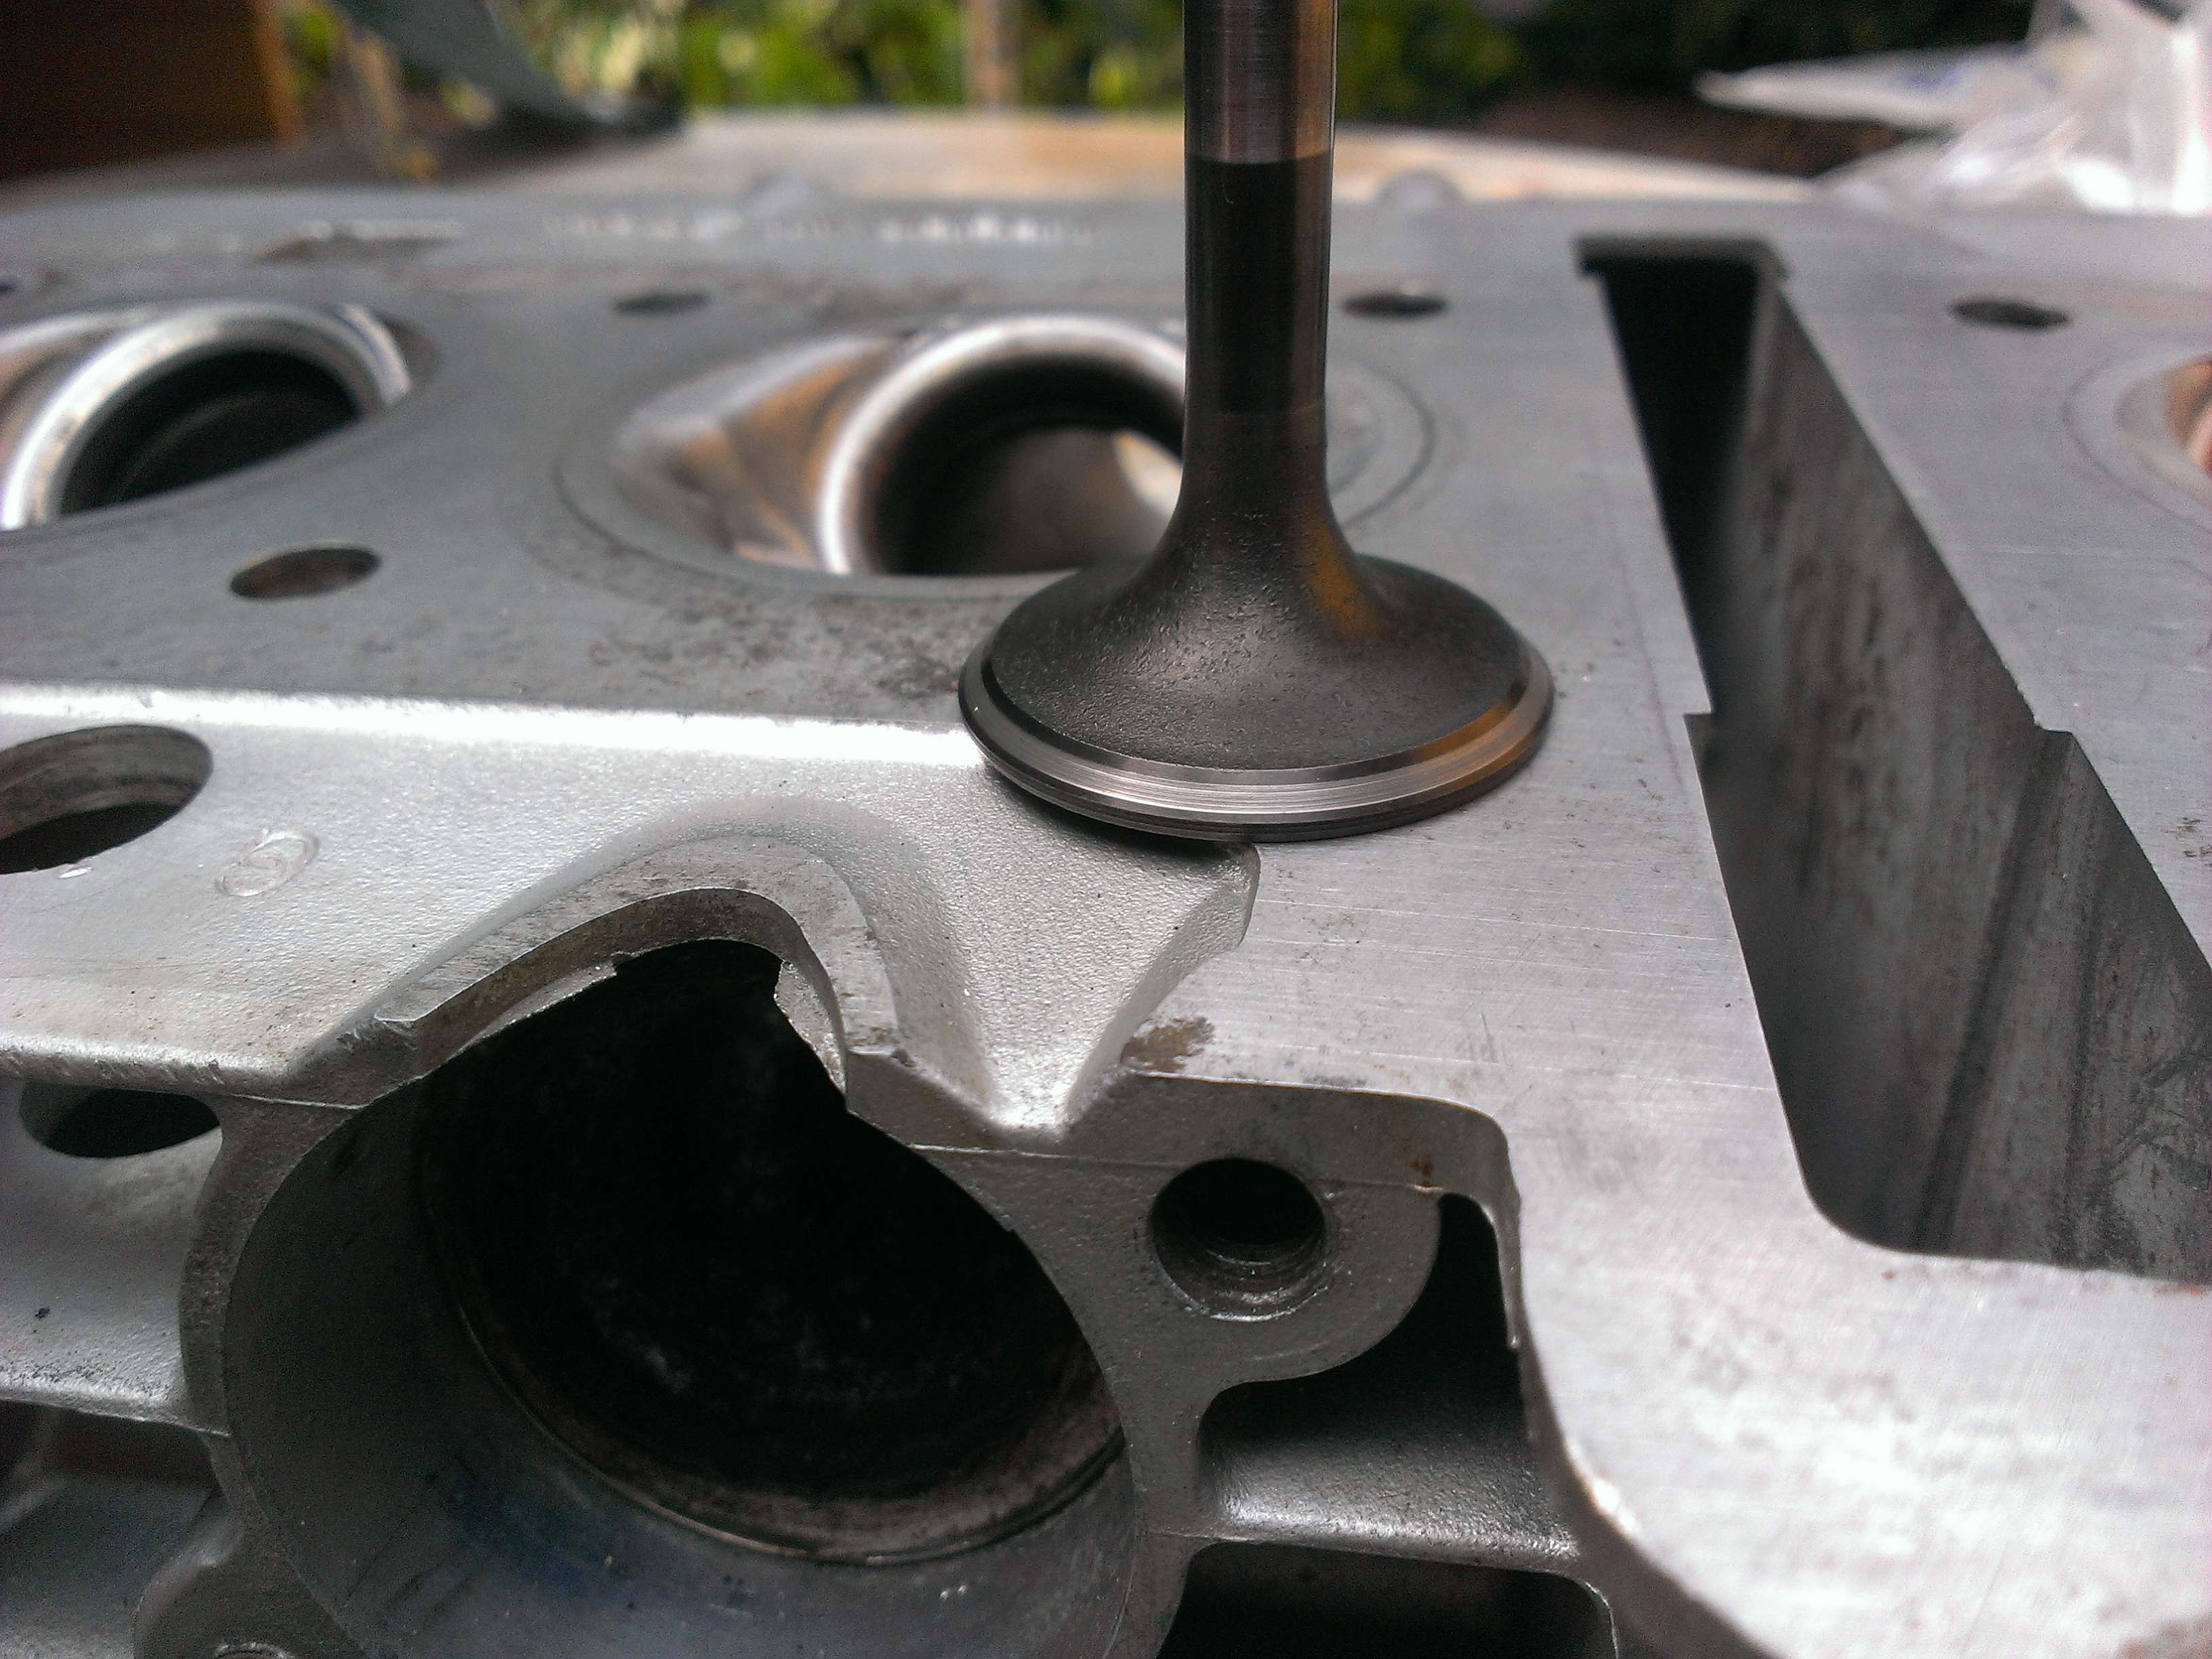
I cleaned out the exhaust port some while I was at it
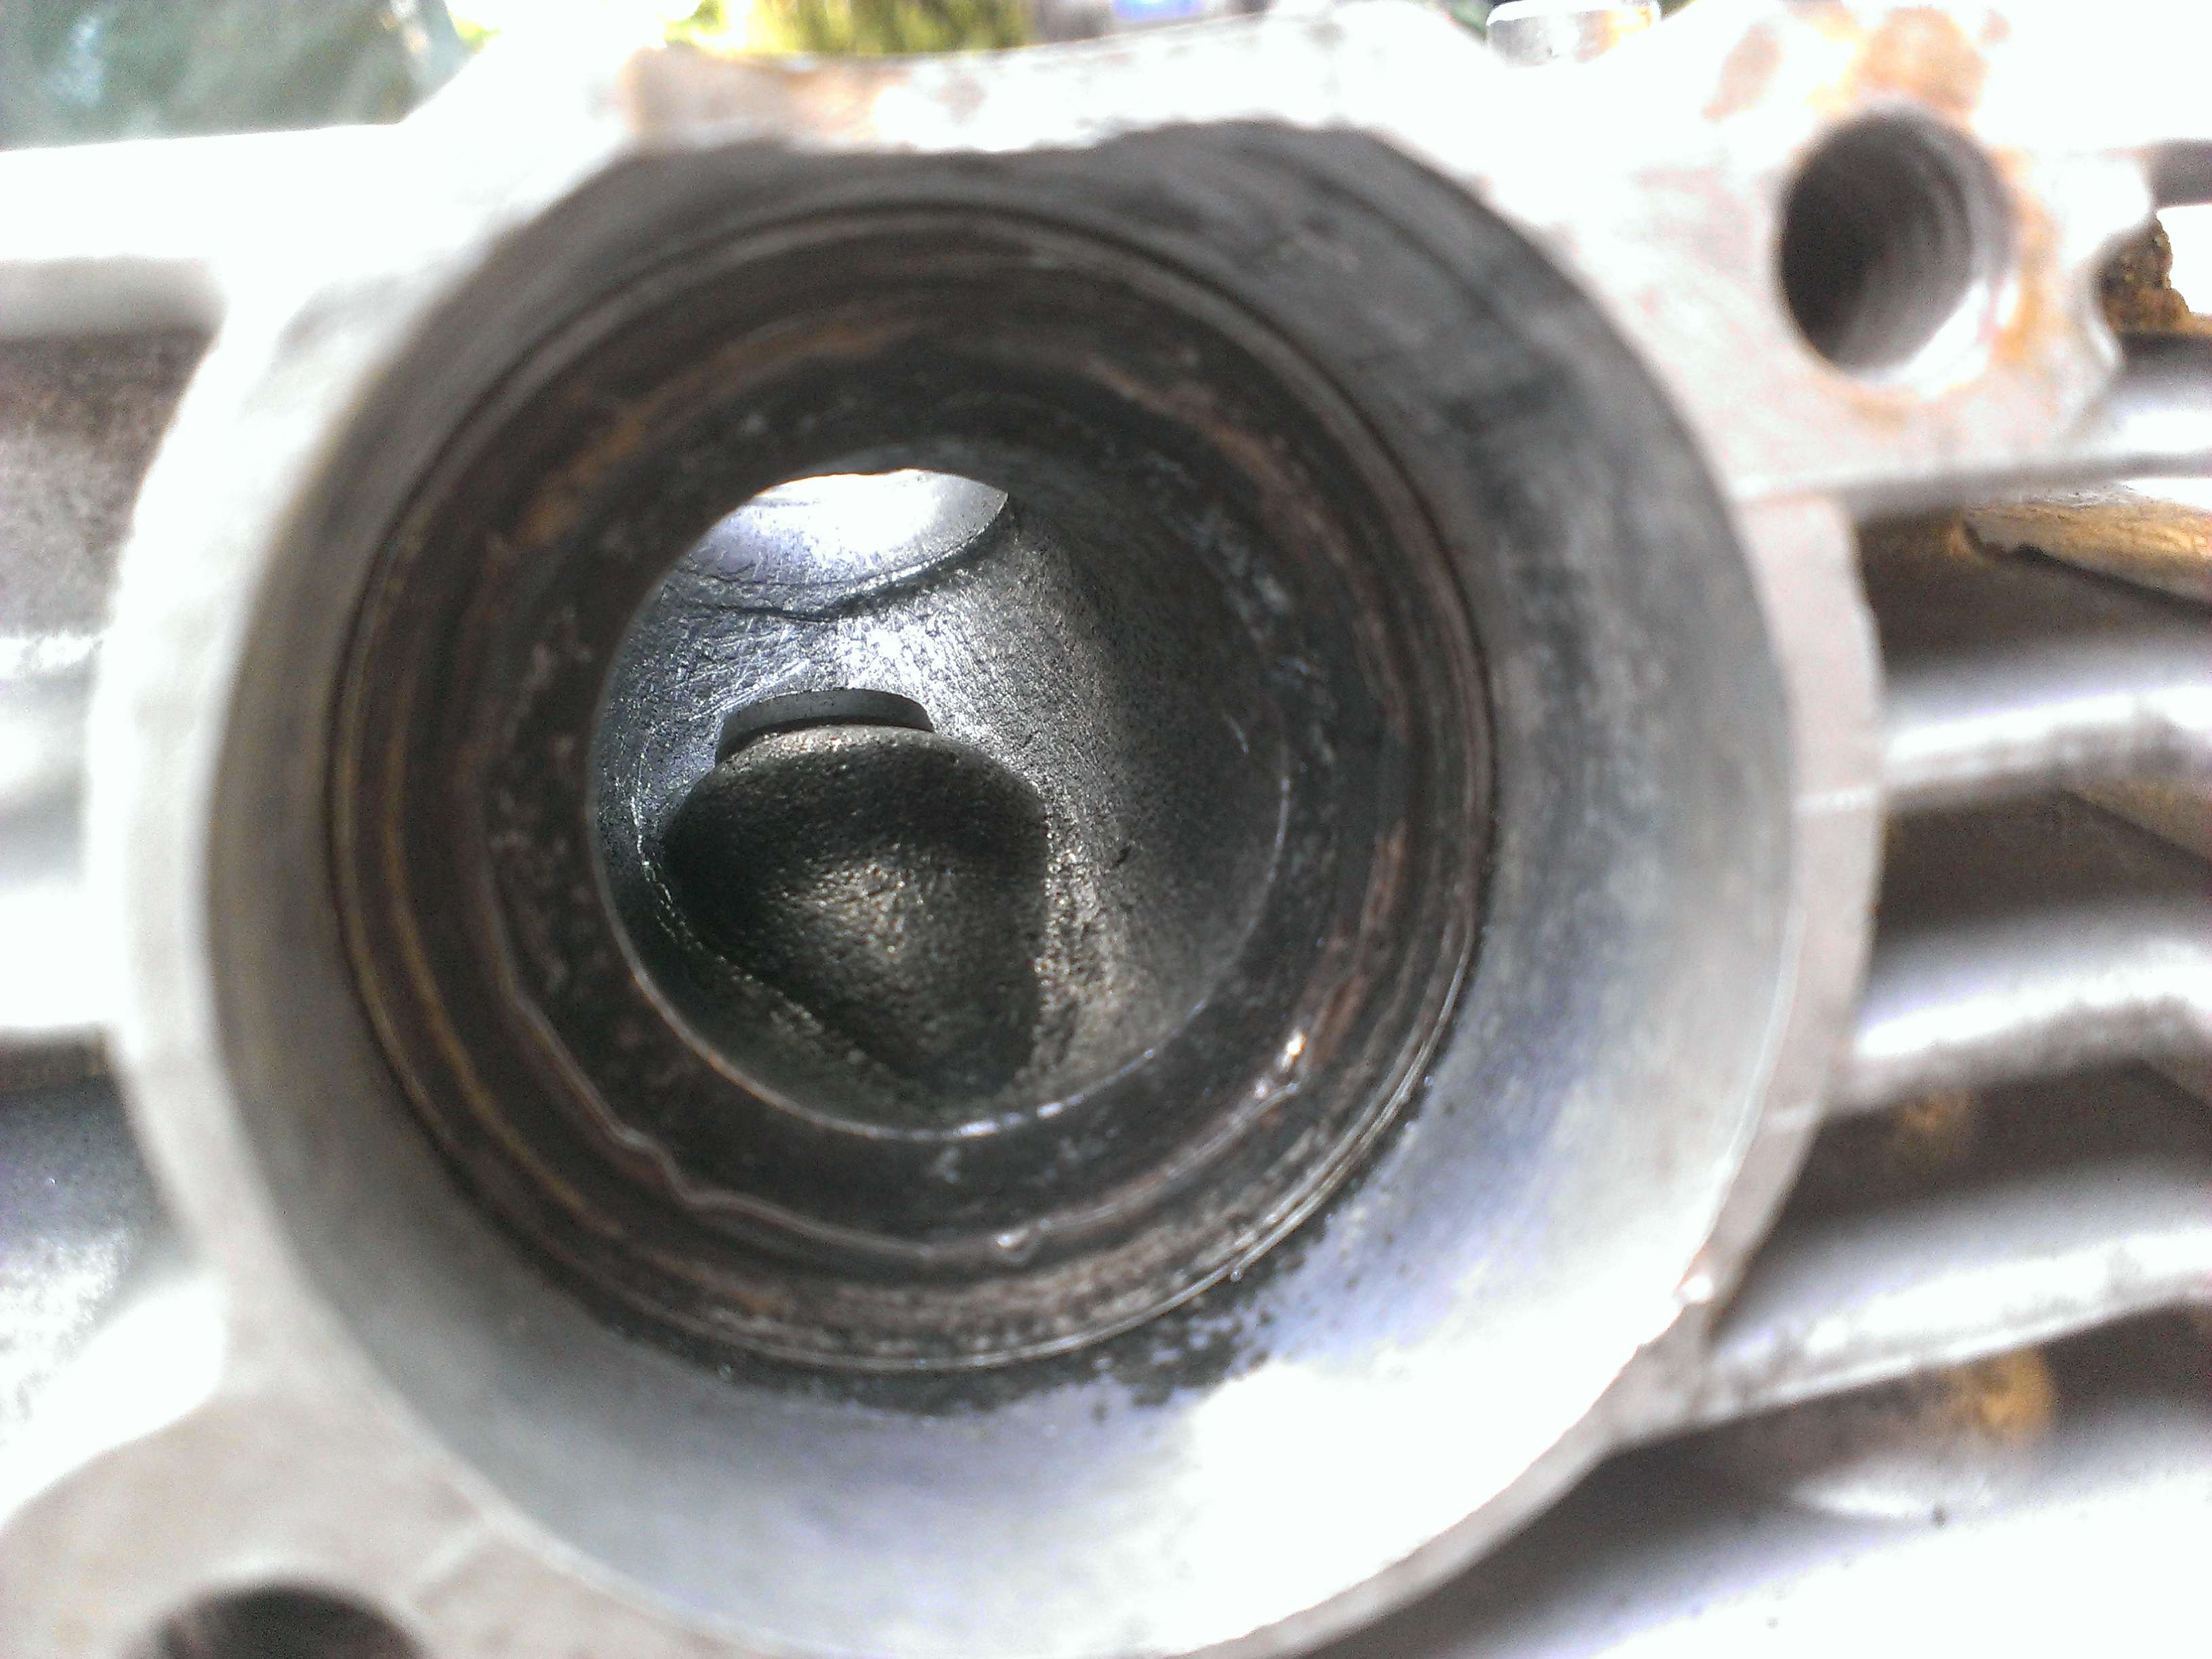
There is a really sharp and rough casting mark that could be smoothed out, I'm not sure if I should though. I've been reading a bunch of porting threads and the general consensus is to just leave the ports alone unless you know what you're doing.
Toast
Been Around the Block
Man, I haven't updated this in a while now. There hasn't been much progress in the last couple months, I've just been busy with life lately. I did torque down the head and mostly install my stainless bolt kit though. I'm waiting on a few key components (brake adapters and swingarm bushing), until I get those I can't install the motor.
Btw, the guy who is making my brake adapters really outdid himself, it went through some design changes and looks amazing. He offered to ship it out now, but id rather wait until all the pieces are done.
Here is the new version on the right

He's looking to have some more made up for other people to make some back some money for all the time invested. I thought id post a link to his ad for you guys if youre interested.
http://www.thegsresources.com/_forum/showthread.php?t=211420
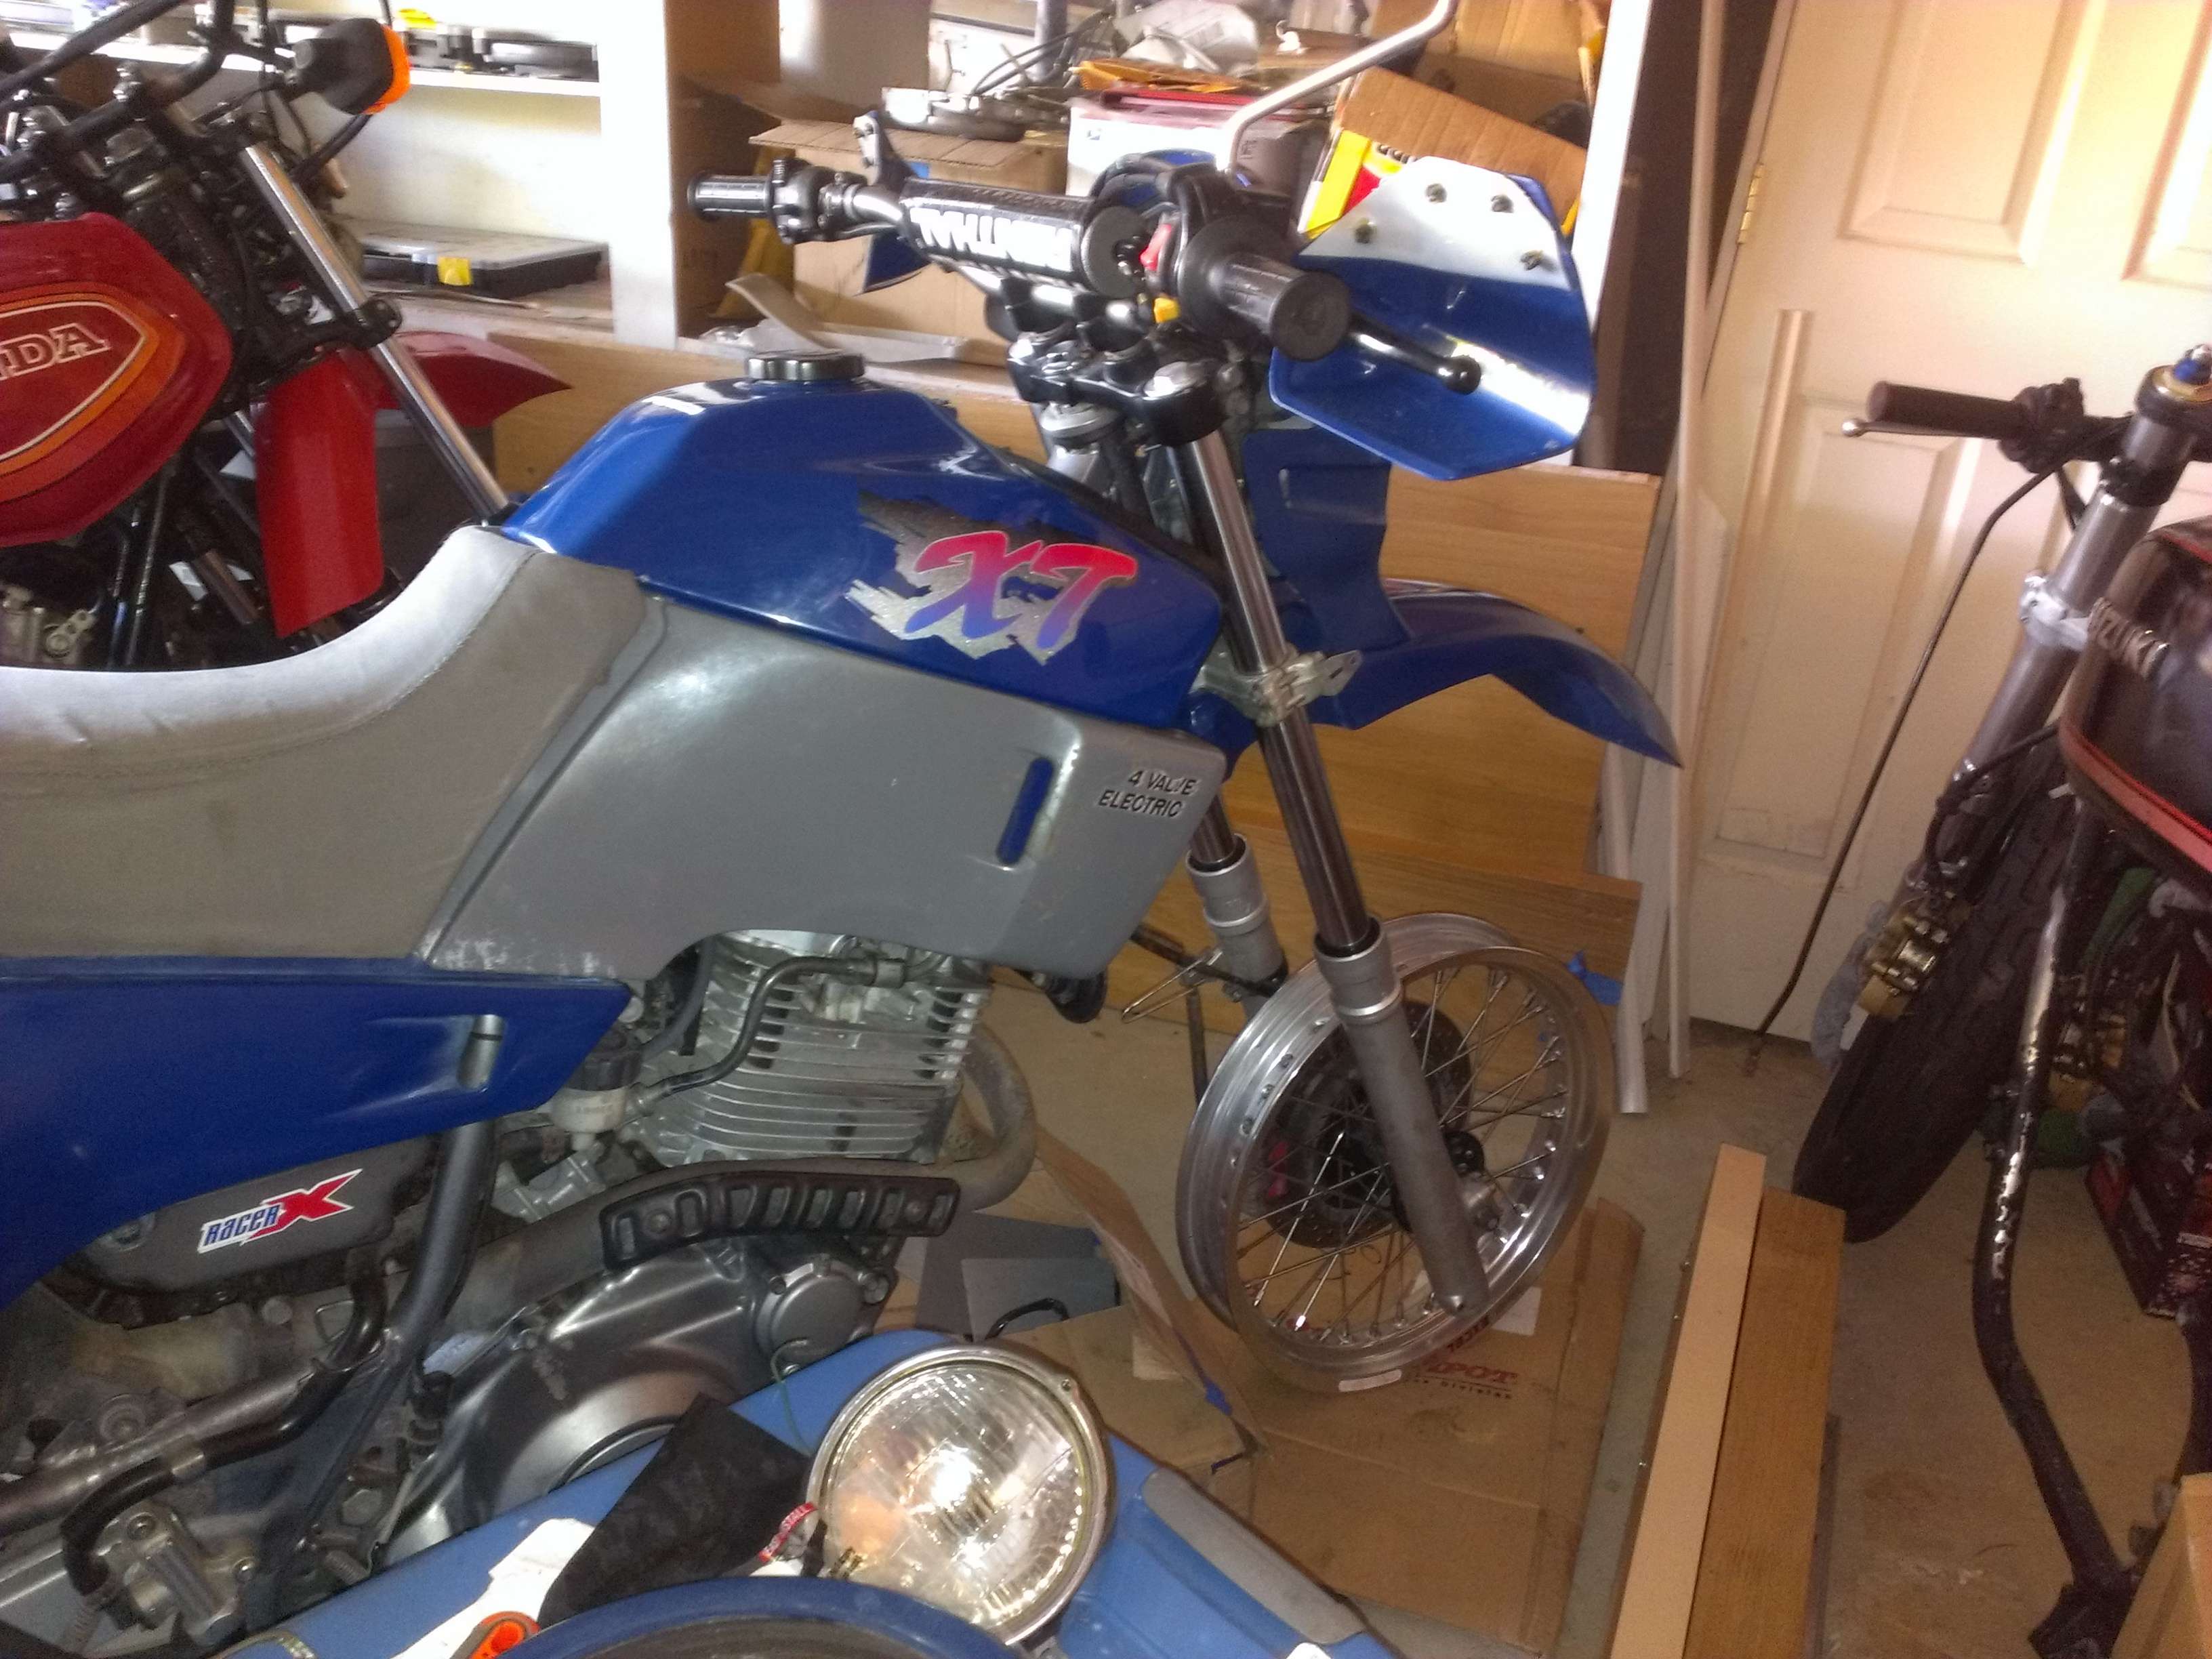
In the meantime I've been working on my "new" bike, its a 1990 XT600E dual sport. I got a pretty good deal on it but it needed a few things. I know for a fact that it needs new fork seals and a chain, and I found out that the front wheel had a really nasty split in it. I bought a 17" Excel rim for the front to match the rear (it came stock with a 17" steelie but it had DID rims laced on it in the past).
I wont post too much about this bike unless you guys are interested.
When I first looked at it
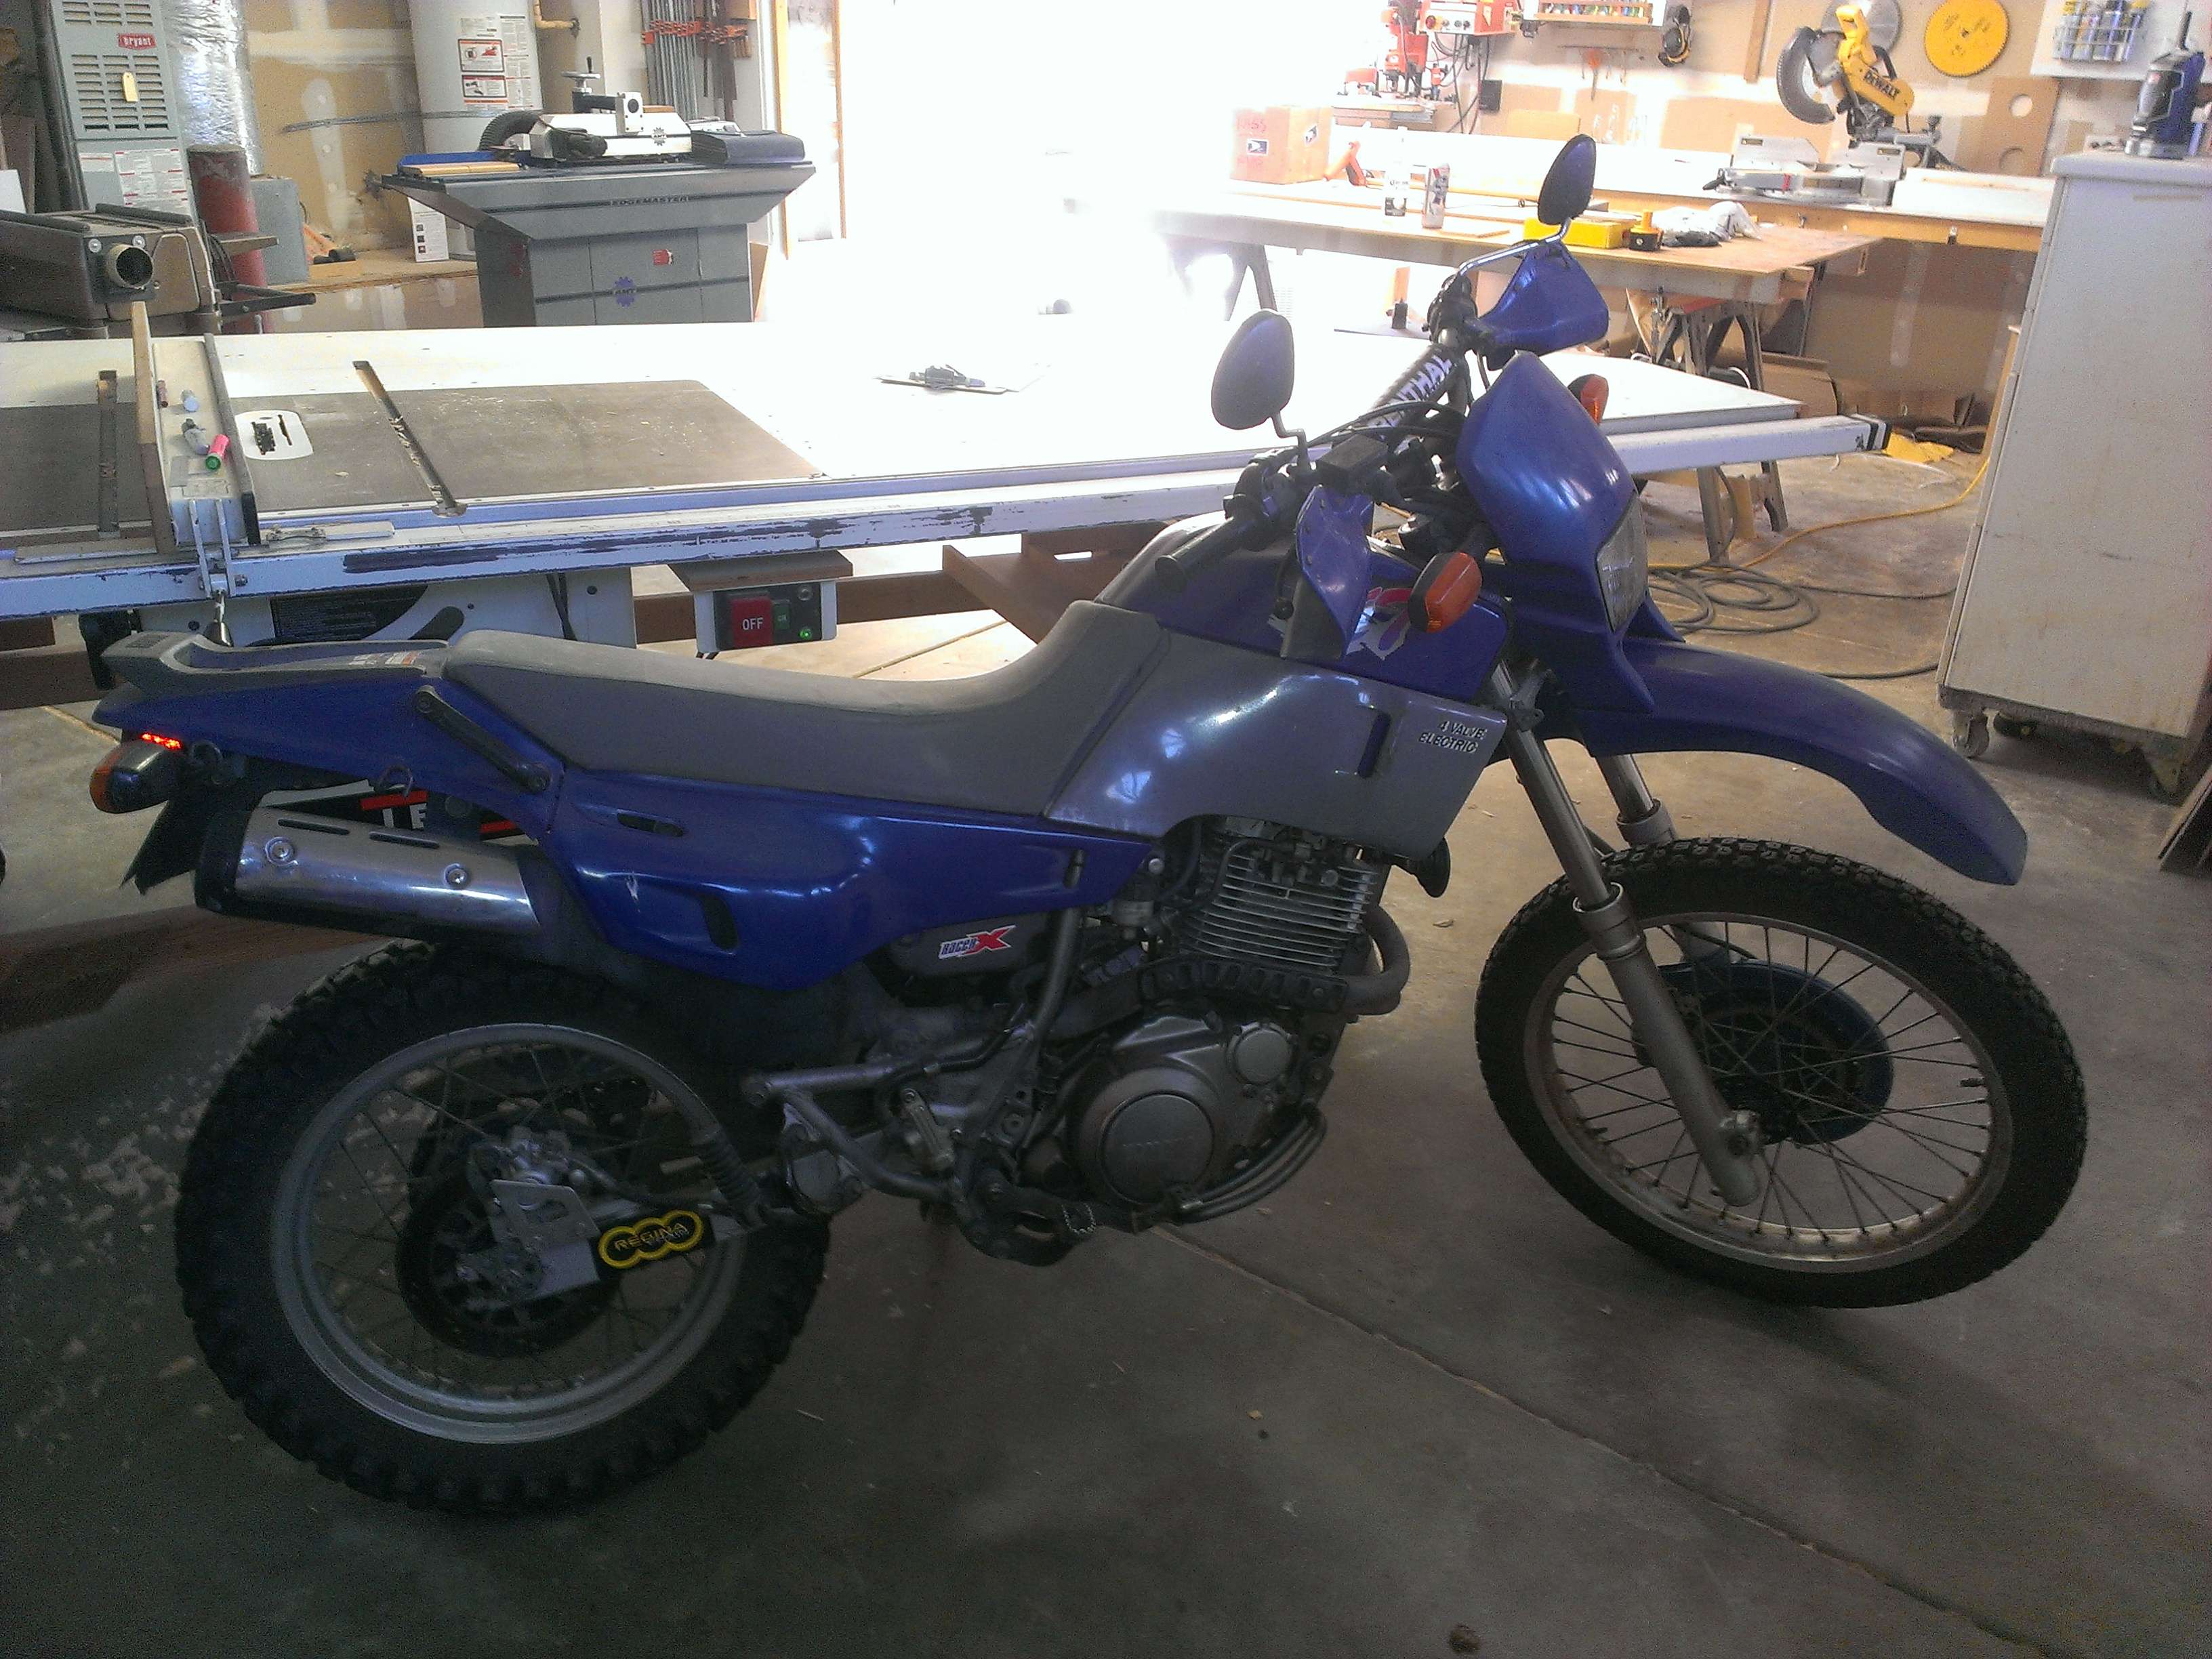
At home and cleaned up.
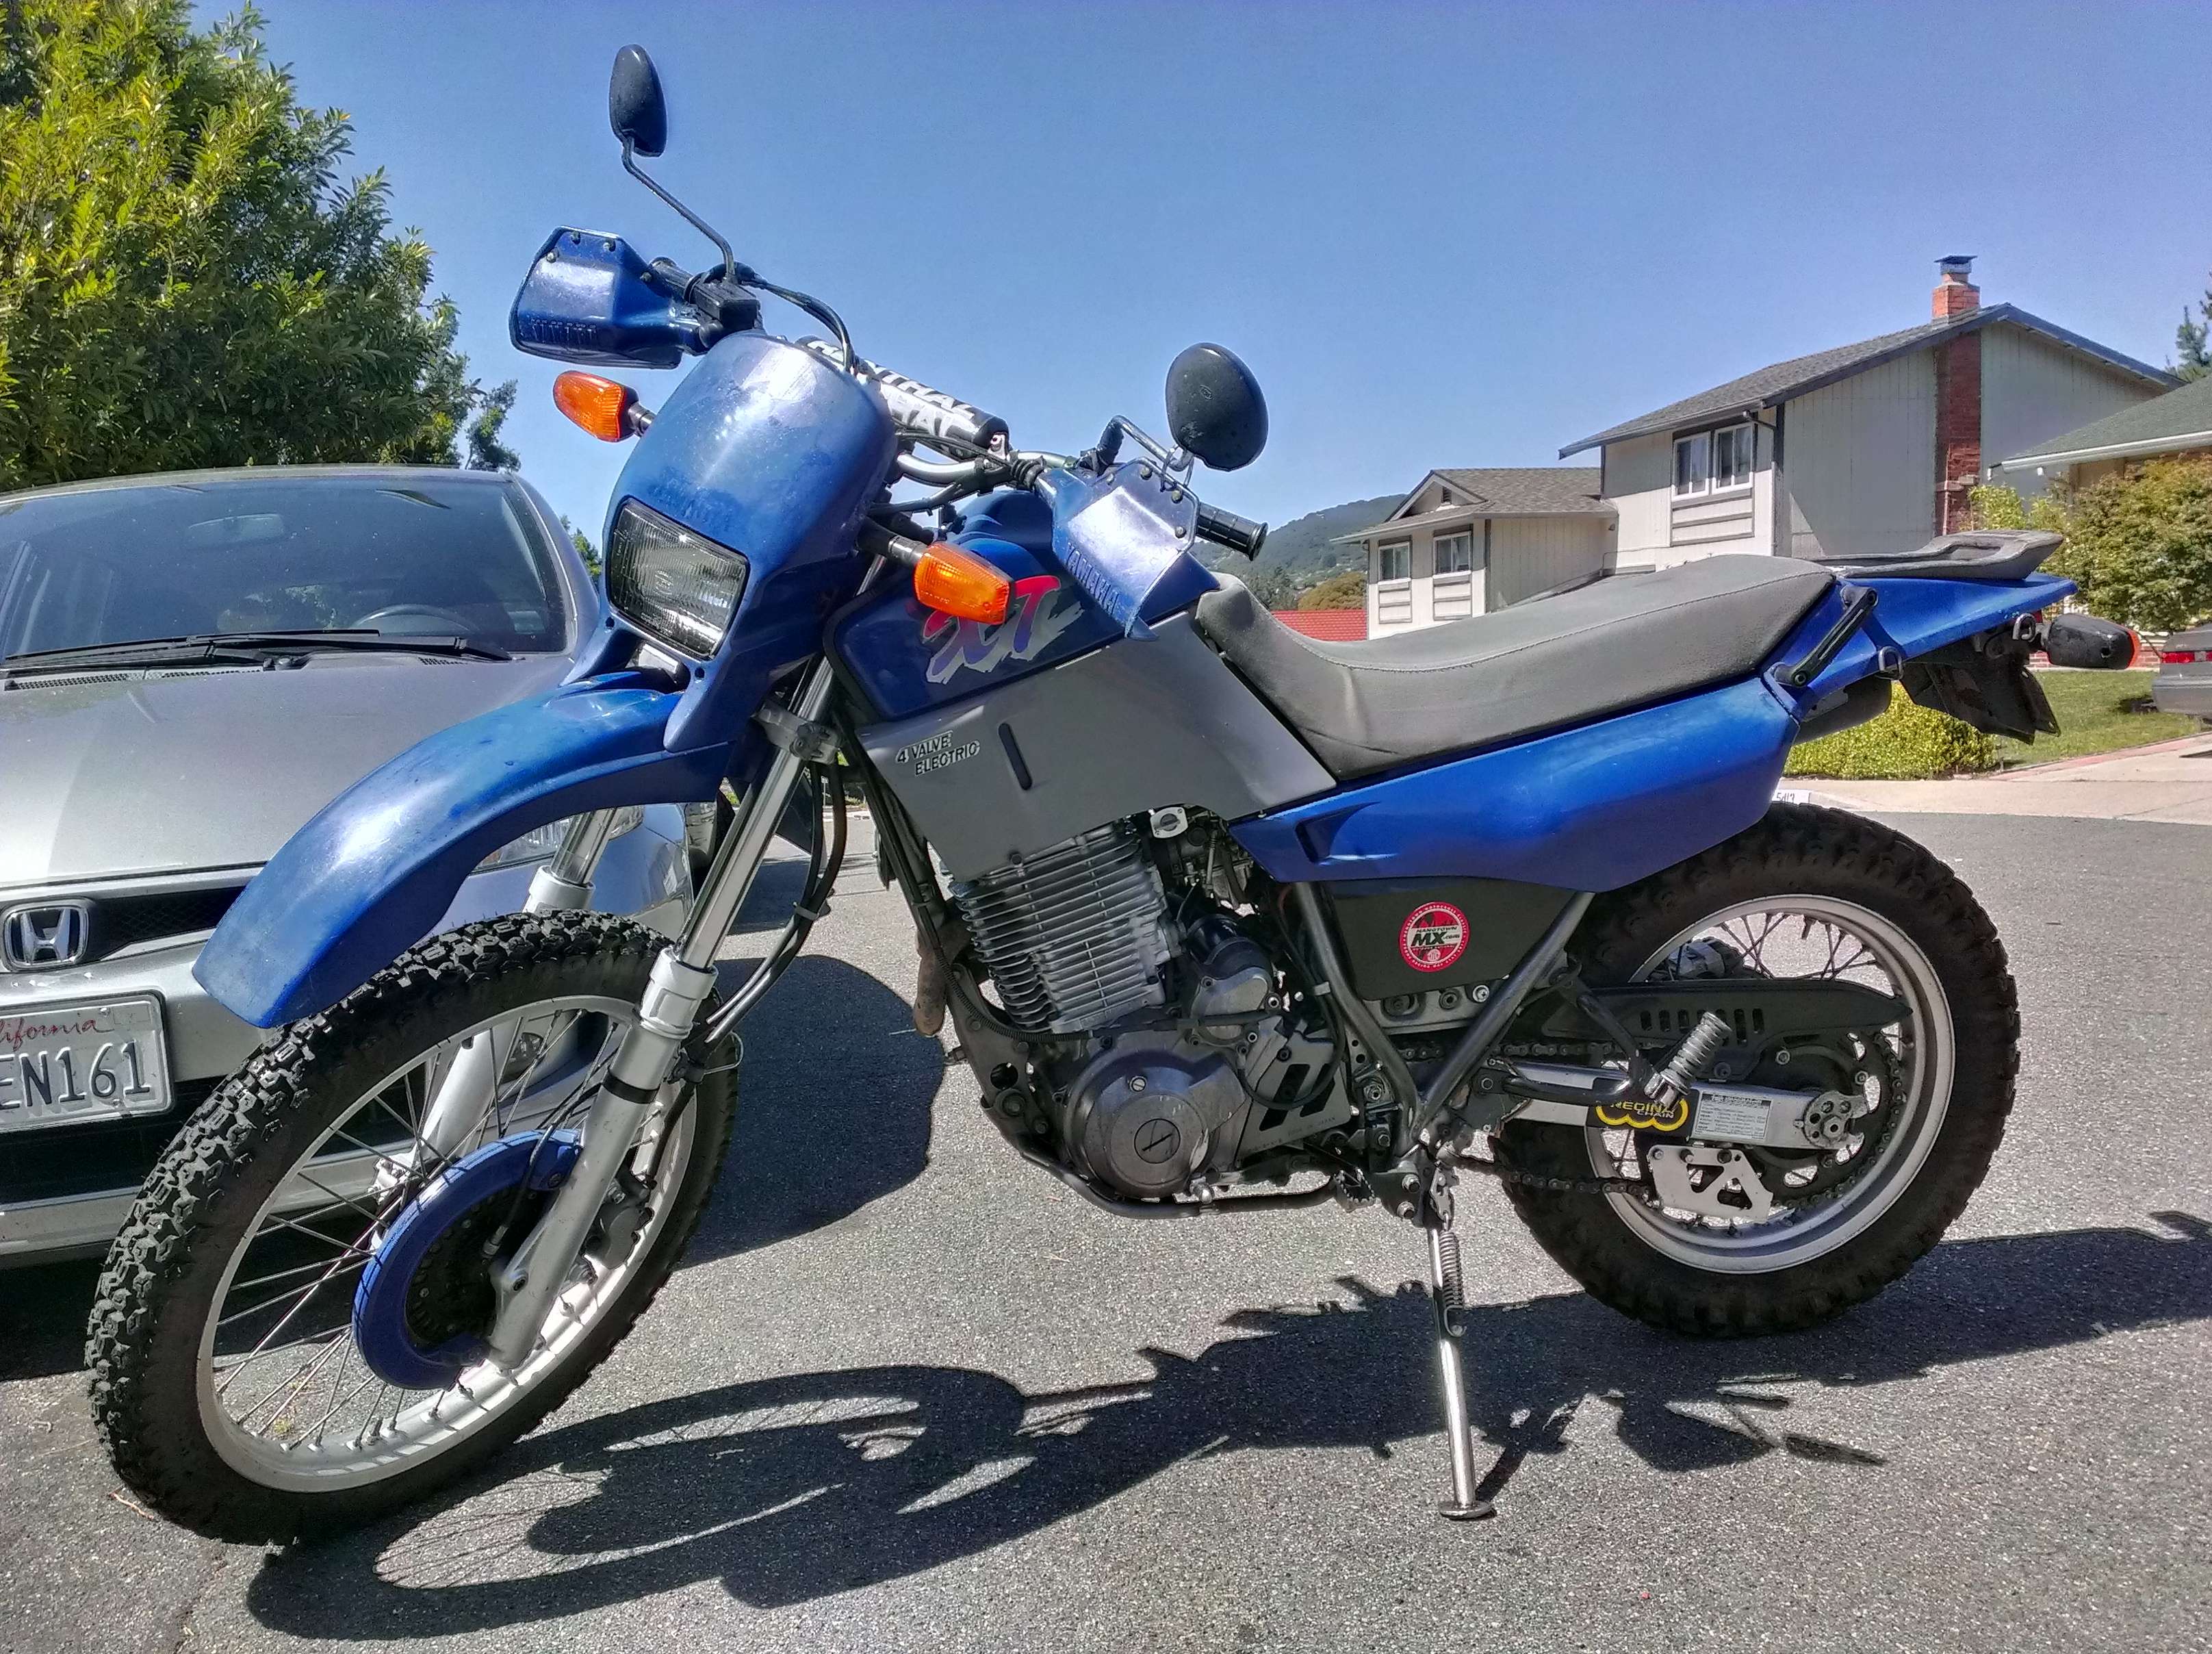
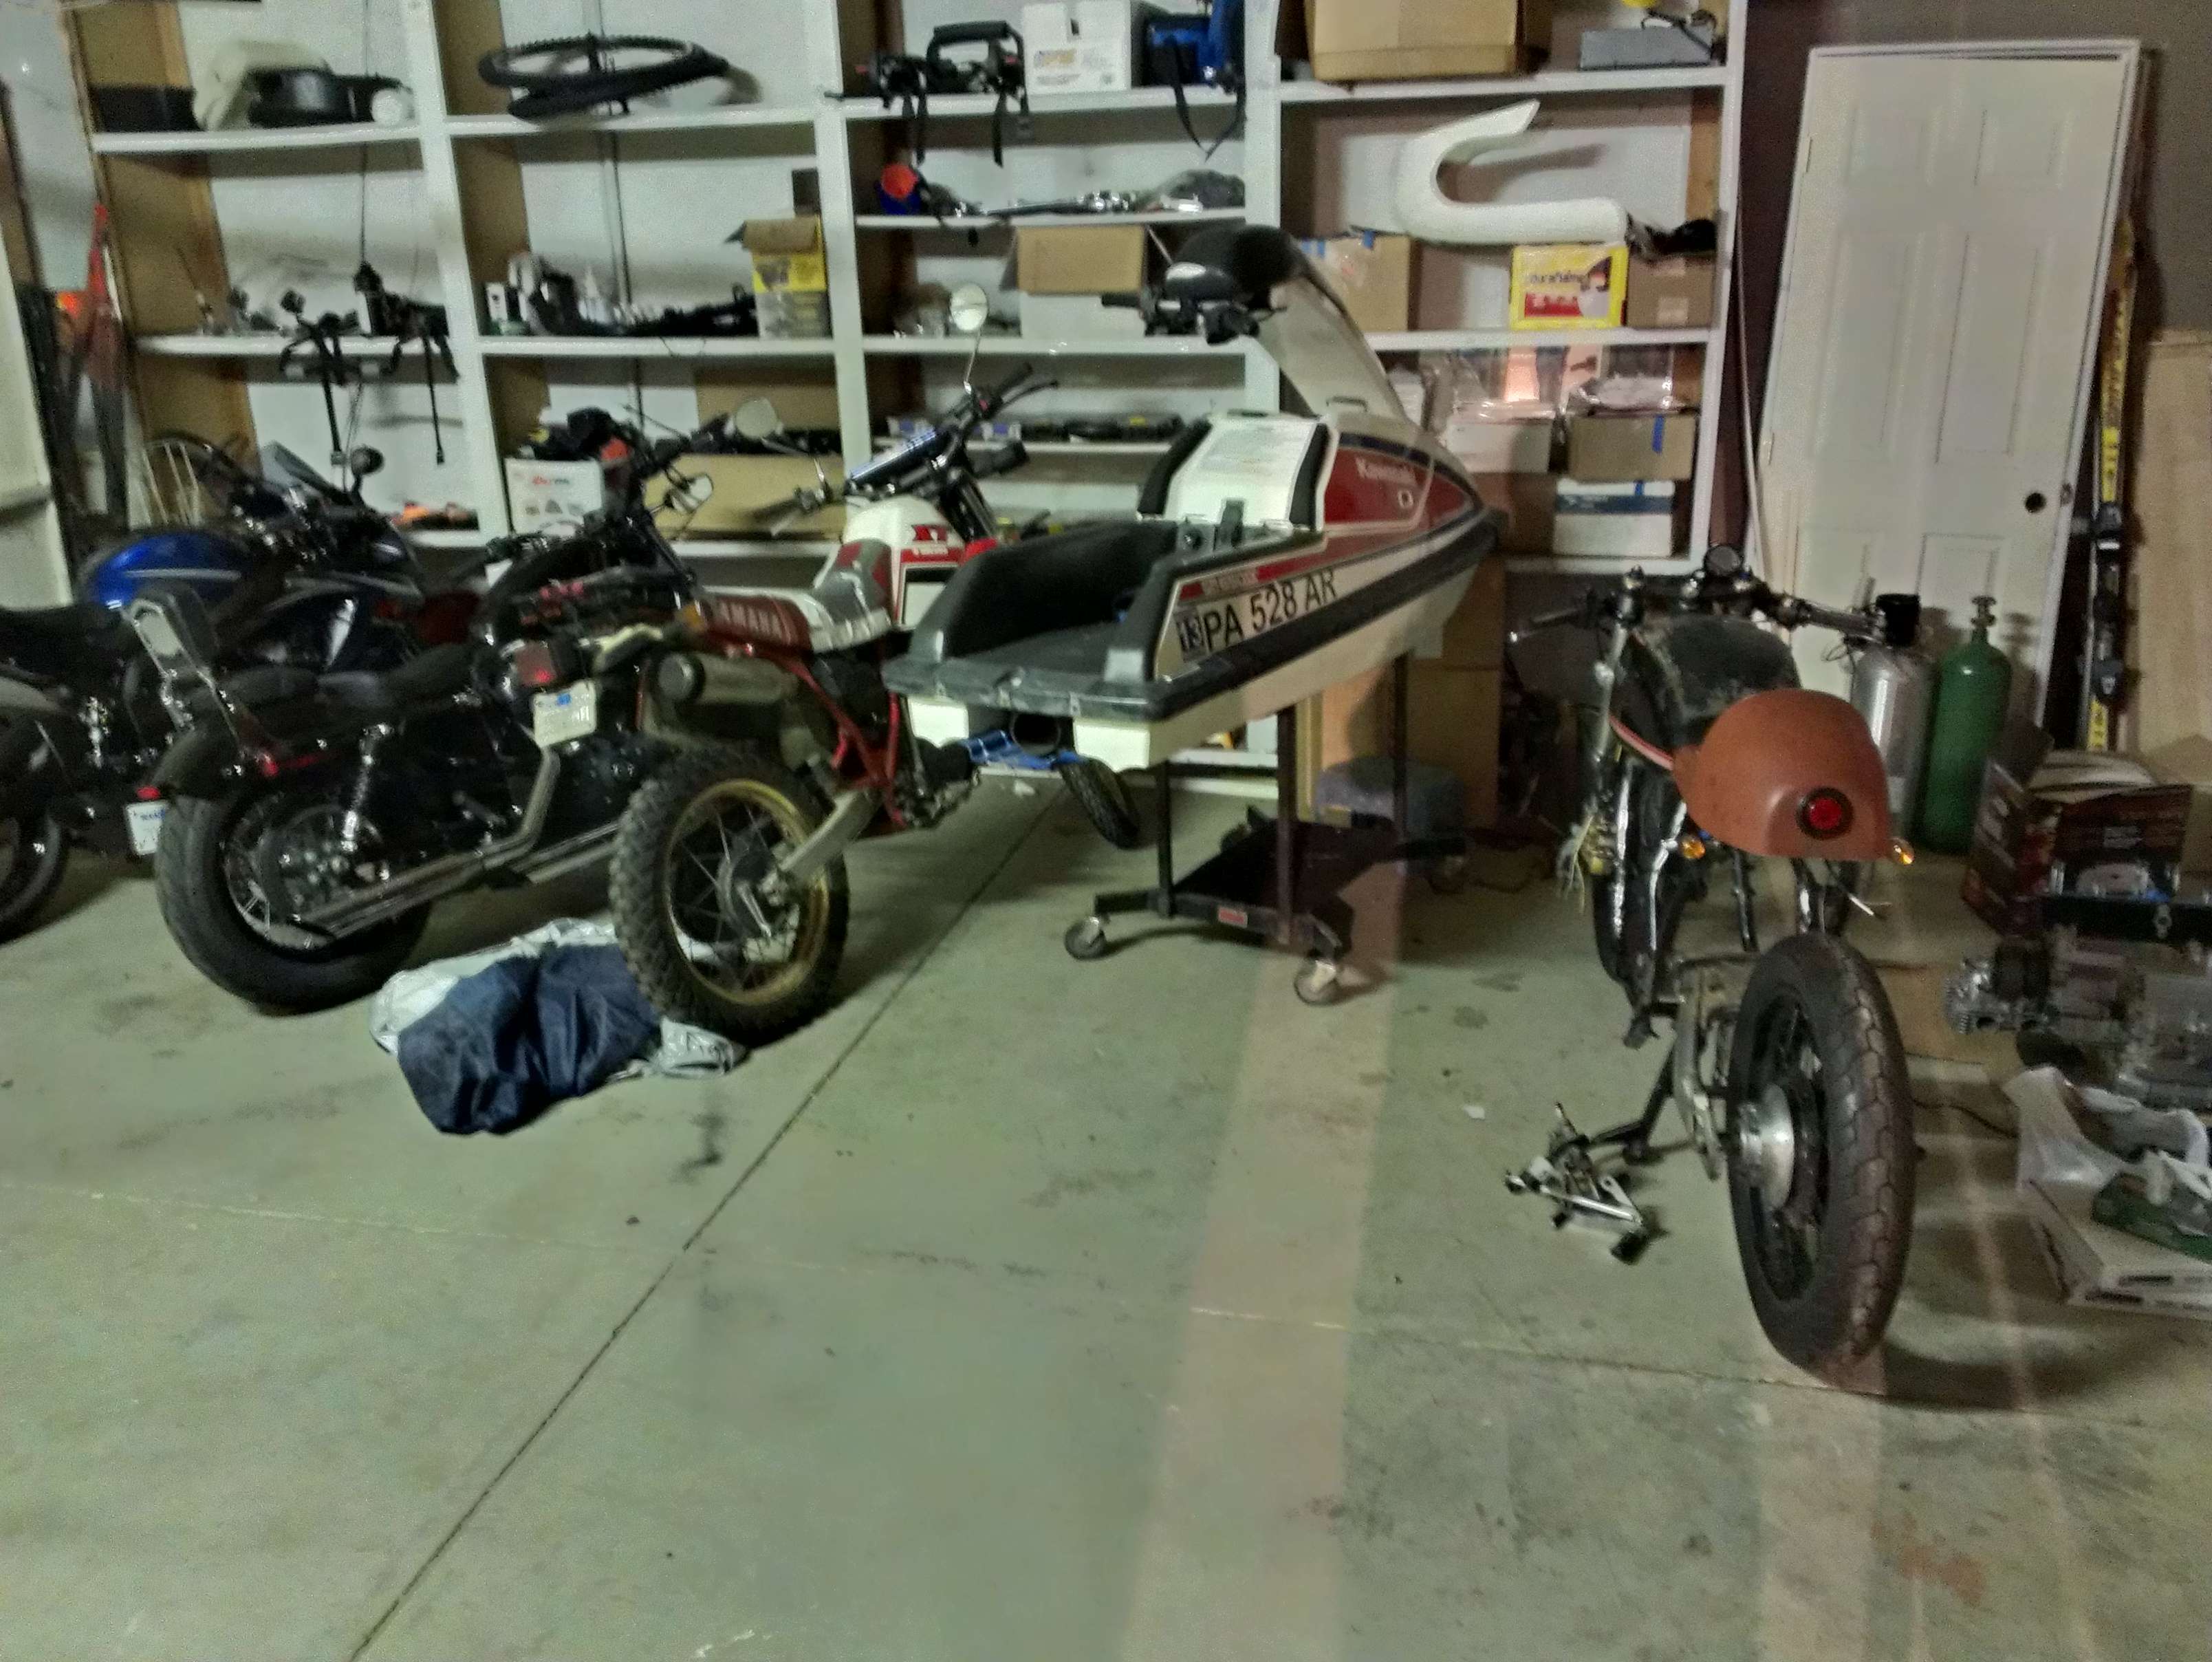
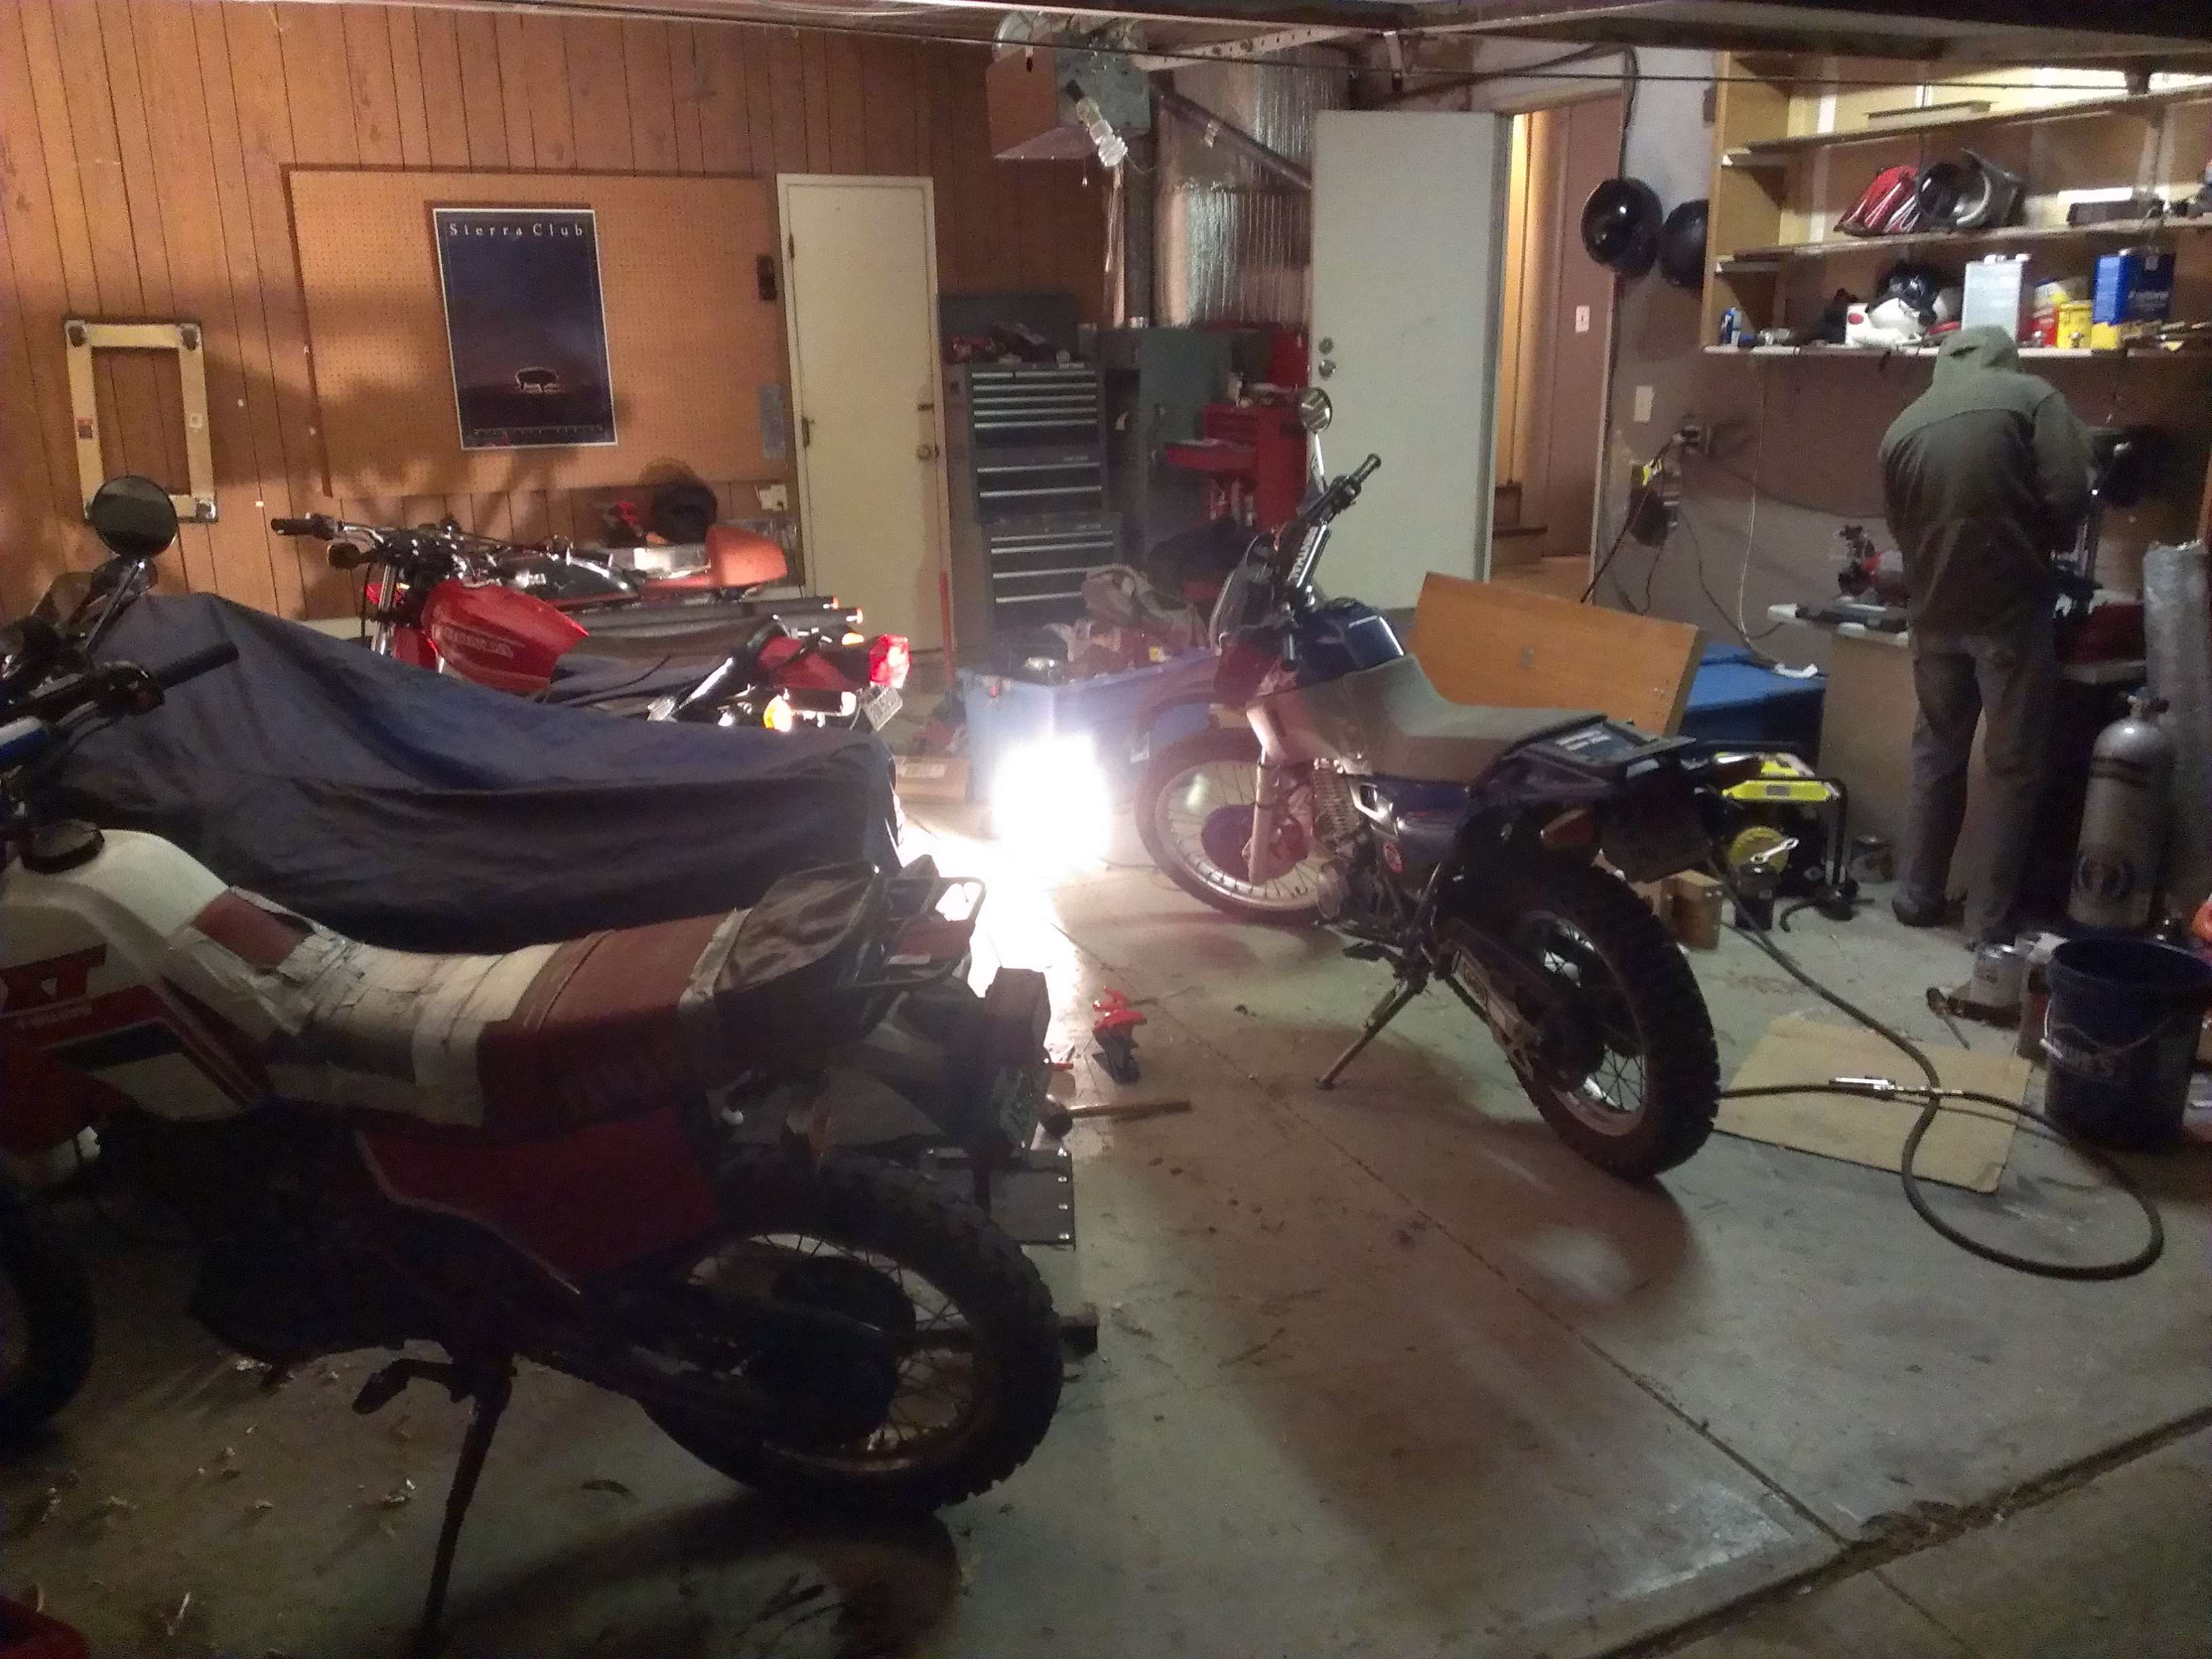
Tucking in the bike with its new garagemates. Btw doing the exhaust valves are kind of a PITA, the access ports are tiny.
New excel rim, I have a set of Avon Road Riders waiting to be mounted.
I don't have much planned for this bike, I want to keep the stock exhaust and it already has a nice Rental bar on it. I'd like to get a Trail Tech mounted up though, along with some 24w auxiliary lights and a couple convenience farkels (usb charger, gps, etc) later on. Maybe some MikesXS cartridge emulators and a heavier rear spring too because its pretty soft.
Btw, the guy who is making my brake adapters really outdid himself, it went through some design changes and looks amazing. He offered to ship it out now, but id rather wait until all the pieces are done.
Here is the new version on the right
He's looking to have some more made up for other people to make some back some money for all the time invested. I thought id post a link to his ad for you guys if youre interested.
http://www.thegsresources.com/_forum/showthread.php?t=211420
In the meantime I've been working on my "new" bike, its a 1990 XT600E dual sport. I got a pretty good deal on it but it needed a few things. I know for a fact that it needs new fork seals and a chain, and I found out that the front wheel had a really nasty split in it. I bought a 17" Excel rim for the front to match the rear (it came stock with a 17" steelie but it had DID rims laced on it in the past).
I wont post too much about this bike unless you guys are interested.
When I first looked at it
At home and cleaned up.
Tucking in the bike with its new garagemates. Btw doing the exhaust valves are kind of a PITA, the access ports are tiny.
New excel rim, I have a set of Avon Road Riders waiting to be mounted.
I don't have much planned for this bike, I want to keep the stock exhaust and it already has a nice Rental bar on it. I'd like to get a Trail Tech mounted up though, along with some 24w auxiliary lights and a couple convenience farkels (usb charger, gps, etc) later on. Maybe some MikesXS cartridge emulators and a heavier rear spring too because its pretty soft.
Toast
Been Around the Block
After a long hiatus, it's time to finally finish this bike.
I'm going to keep it simple, with less custom fabrication so I can actually get the bike together and running by spring. The GS1100E swingarm will be put aside for now, if I keep the 550 swing arm I don't need to drill the frame or have custom bushings made up. Also, I'll just need the early "E" spacers and 550 wheel bearings for the 750 spokes.
For the engine, I'm just going to use the 550 cams so I don't need to modify my cam gears or modify the timing advance for the 650 cams. I wanted more torque originally but now that I have another bike, this isn't going to be a daily. I just need to torque all the bolts inside the clutch area and time the engine and it's done.
The fairing is going to have to wait too, fabricating a mount is going to take a while. The windscreen is pricey too. I don't have as much money to spend as I did before so the $1,000 fully adjustable YSS shocks are out, I'll pick up another set of Hagons instead.
I still need to finish the wiring but if I get off my butt and just do it, it'll only take another $50 or so and a weekend or two to get done.
Thankfully all the expensive stuff I bought already, I just need a few small bits and pieces and the rotor adapters.
Let the rebirth begin ;D
")
SoyBoySigh
Been Around the Block
Great trick with the fairing mount! I'm looking all over for a solution to my Duck Bevel-Bubble for the front of my '82 CB900F Bol D'Or (aka "CB900K0 Bol Bomber" - homage to the '65 CB450K0 Black Bomber) Even WITH the OEM fairing brace - I've got one on the way, but it seems like it's either heavily modified or it's from a CB900C & Vetter Windjammer pairing - There's a lot I'll have to change, as mine incorporates an oil cooler with Norton "letterbox" type opening, plus a smaller off-set headlight, as such it won't be as simple. However the concept is sound. It might even be worthwhile for me to glass-in some of the metal structure, right in with the "duct-work" etc. That way it could be strong and yet I won't have to build the fiberglass sections so thick as to resist bending & cracking....
-S.
-S.
Keiff Hardcore
Loves anything that burns oil
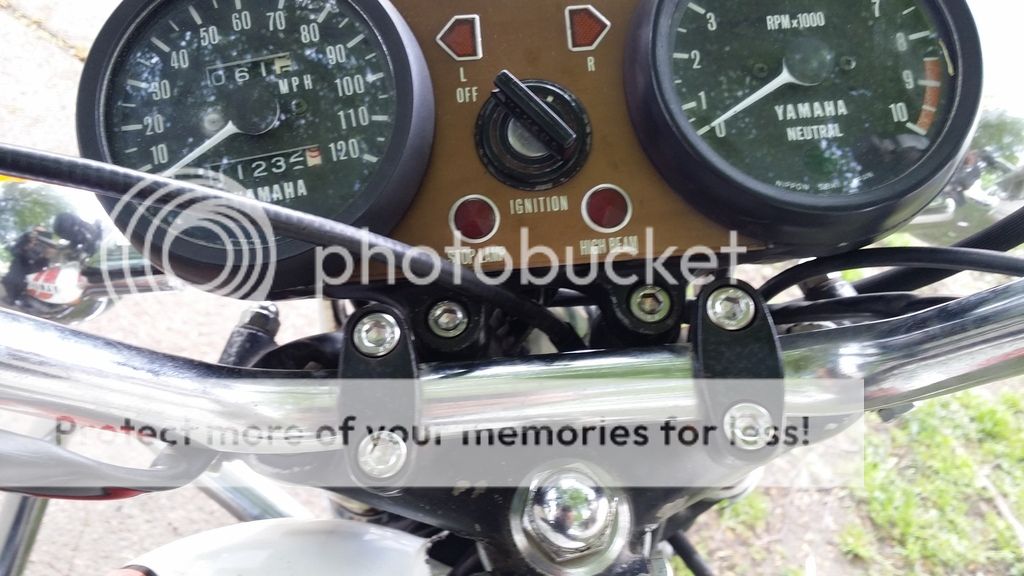
Stainless bolts for handlebar risers and dash. $8