We noticed you are blocking ads. DO THE TON only works with community supporters. Most are active members of the site with small businesses. Please consider disabling your ad blocking tool and checking out the businesses that help keep our site up and free.
You are using an out of date browser. It may not display this or other websites correctly.
You should upgrade or use an alternative browser.
You should upgrade or use an alternative browser.
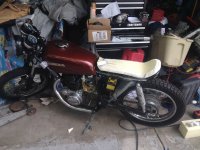
My cb360t cafe project
- Thread starter cb360tj
- Start date
cb360tj
Cb360t
Thanks guys got the lights flashing! Not exactly sure what it was. May have been connected backwards. I have B with black and the gray with the other lead. Works fine. Beeps like a semi haha
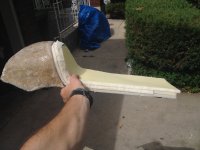
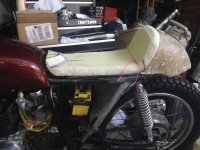
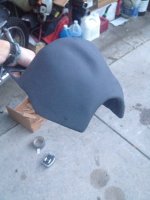
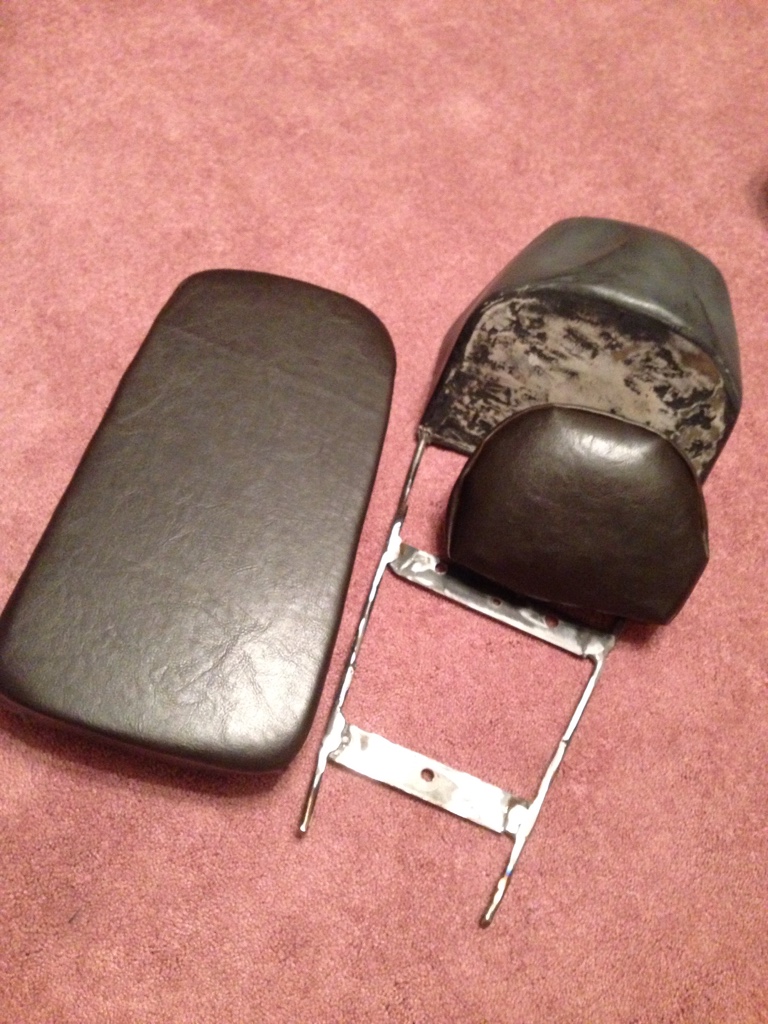
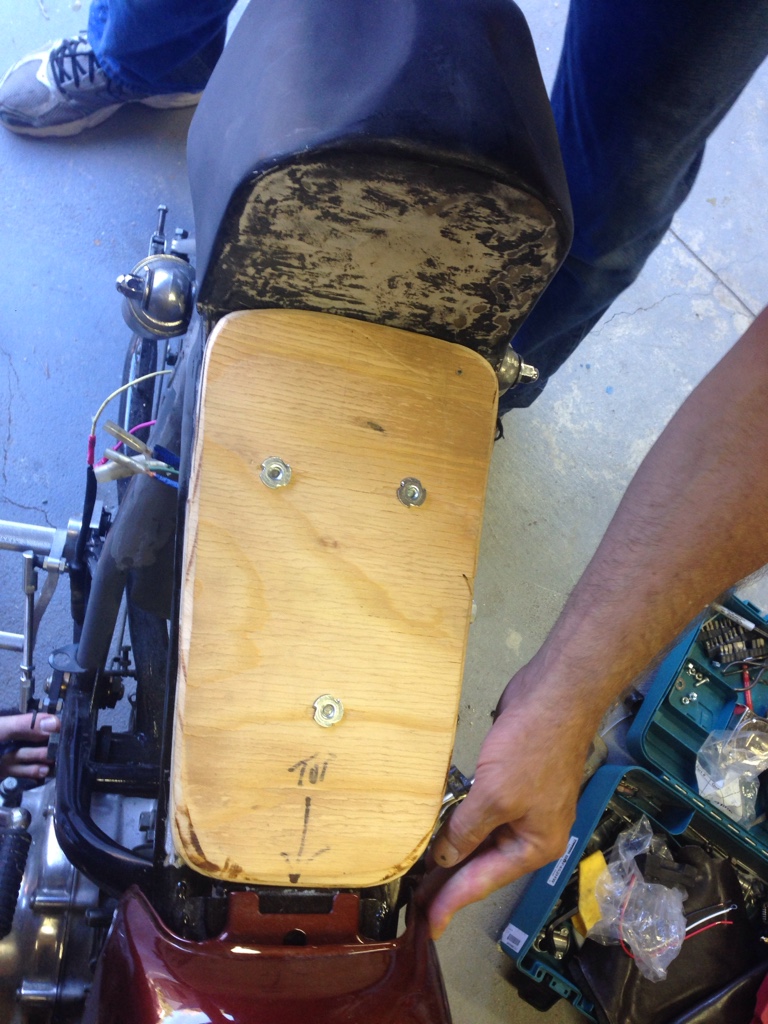
Started working on the foam for the seat too. I'll post a few pics.
Got the gauges all mounted as well.
Finaly bought my set of old school speed rear sets! 200$ seems like a lot but looking around it seems very fair. Especially for the 360 specific set.
Started working on the foam for the seat too. I'll post a few pics.
Got the gauges all mounted as well.
Finaly bought my set of old school speed rear sets! 200$ seems like a lot but looking around it seems very fair. Especially for the 360 specific set.
Trevor May
Been Around the Block
I just spent a few hours getting static timing on the ugly CJ360. Ugh! I hope I didn't fry anything!Sonreir said:Coils will definitely get hot when key is on but bike isn't running. Don't do that.
And yeah... if no flashing then usually it's the relay. Especially if you've changed the signals.
cb360tj
Cb360t
I think I fried my left coil.  I need to stop leaving that key on. It probably needed to be replaced anyway. I think I got my rear sets all figured out. Once I get a longer piece of all thread for the shift side. They just clear the exhaust. The break side isn't really clearing and it also is bottoming out on the exhaust. There are the 3 height options with the old school speed rear sets and I might have to do the top one... I'm 6'1" so it's very tight. Hopefully it works out. I might have to dent in my exhausts a bit too.
I need to stop leaving that key on. It probably needed to be replaced anyway. I think I got my rear sets all figured out. Once I get a longer piece of all thread for the shift side. They just clear the exhaust. The break side isn't really clearing and it also is bottoming out on the exhaust. There are the 3 height options with the old school speed rear sets and I might have to do the top one... I'm 6'1" so it's very tight. Hopefully it works out. I might have to dent in my exhausts a bit too.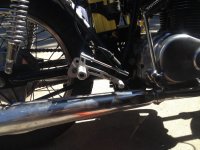
cb360tj
Cb360t
anyone have a picture of what they use to hold the bottom bolt from spinning on the forks??? i'm going to take them apart again and see if I can get it to stop leaking once and for all. I apparently just got lucky and the one tightened correctly, but cant seem to get the other side to stop dripping.
Any other tips????
thanks
Any other tips????
thanks

cb360tj
Cb360t
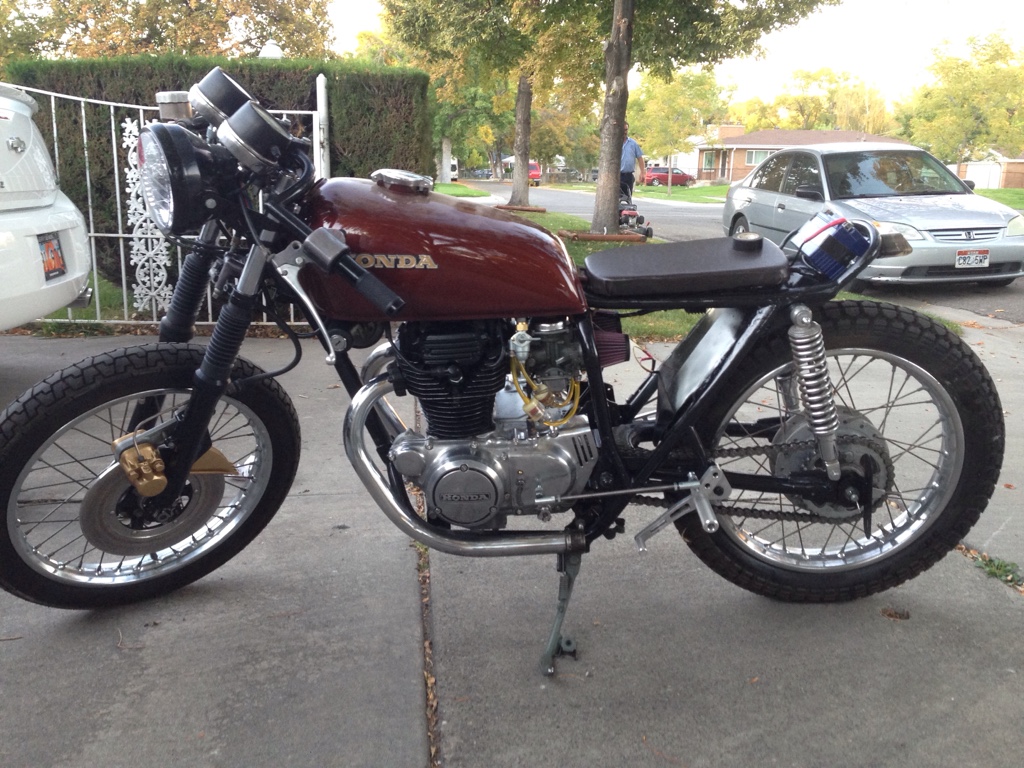
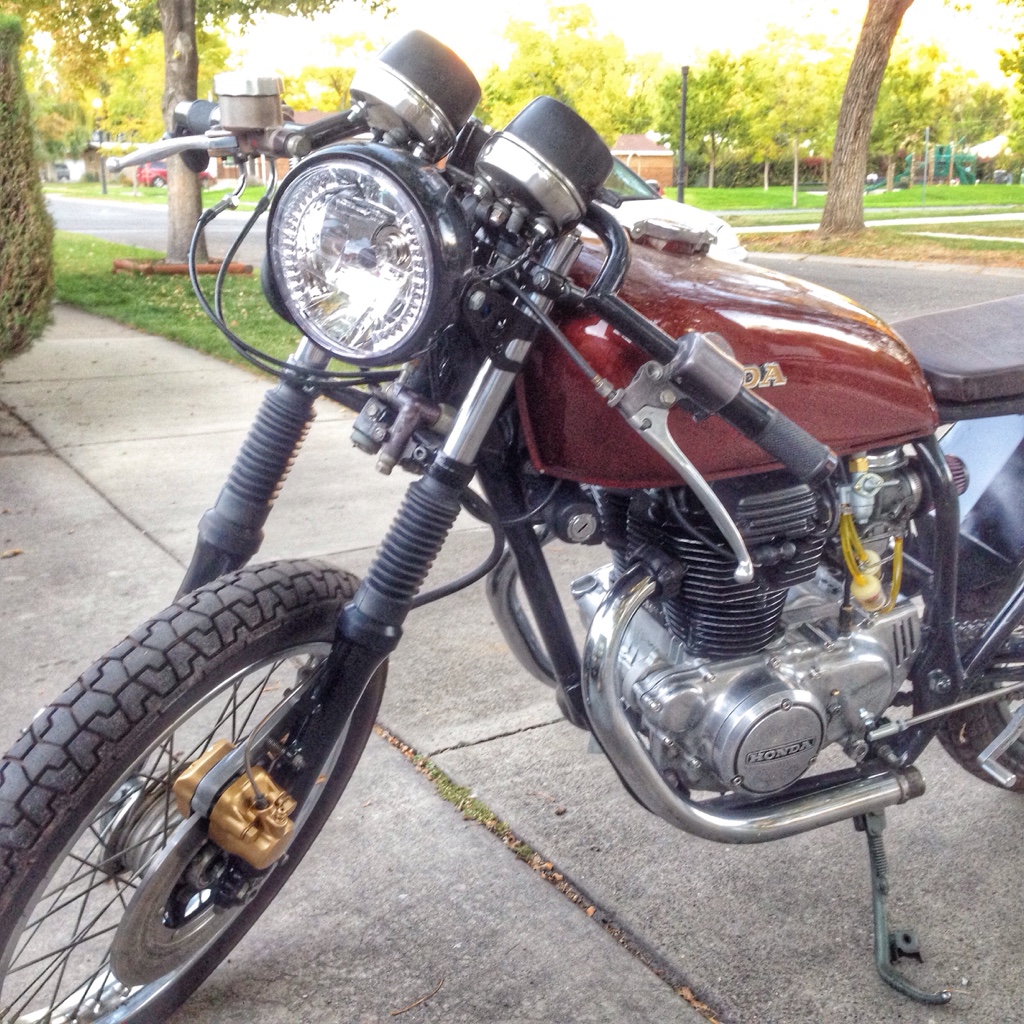
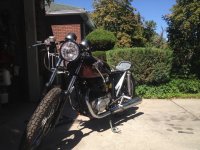
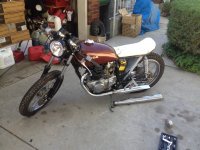
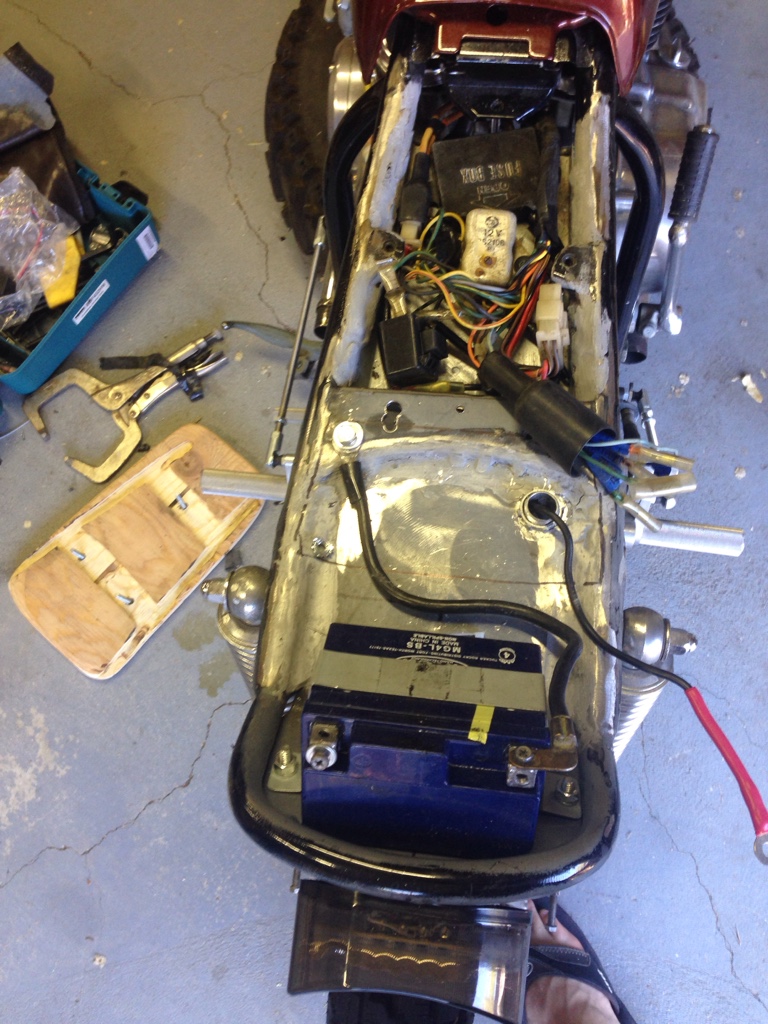
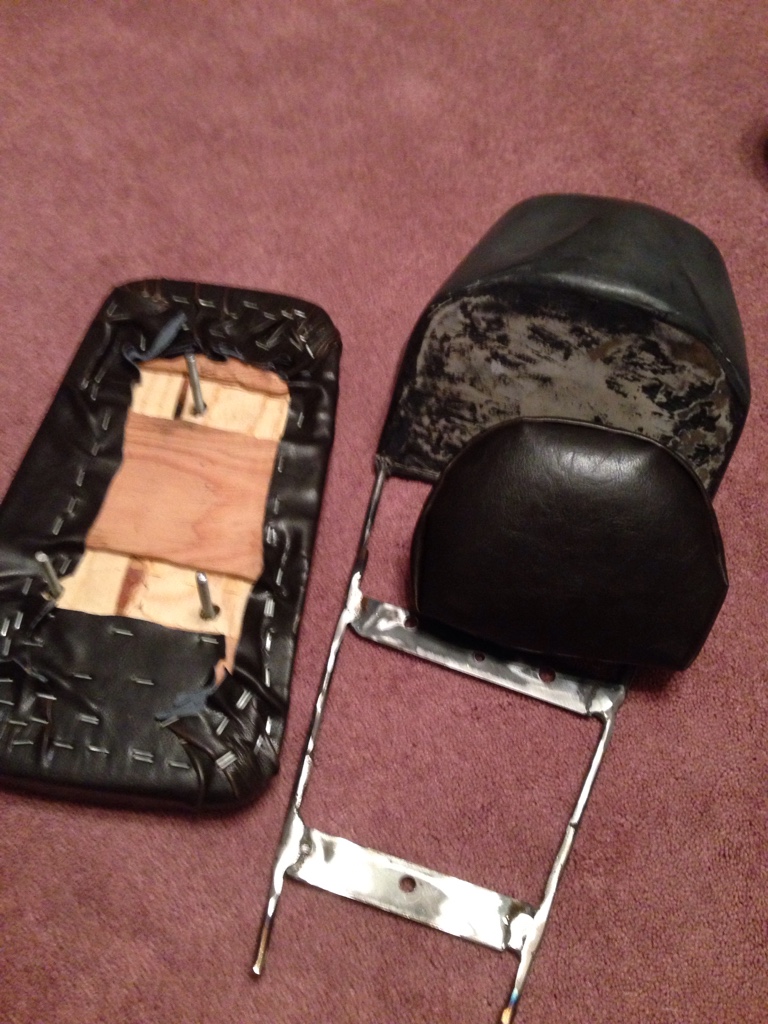
Everything is coming together. I'm getting the seat dipped in carbon fiber so that will be 2 weeks out. I'm also waiting for new brake pads and a speedo cable.
I still need to get the brake switch to turn on when I use my back break. And the rear sets in general need adjusting. I haven't been able to fit the exhaust I have.
But I am happy to say i rode her around the block for the first time in 2 years!
It was amazing!
Sent from my iPhone using Tapatalk
redwillissuperman
Keep it simple- engine, wheels, bars
http://youtu.be/AT6P7qaUPLw
Sent from my iPhone using Tapatalk
Sent from my iPhone using Tapatalk
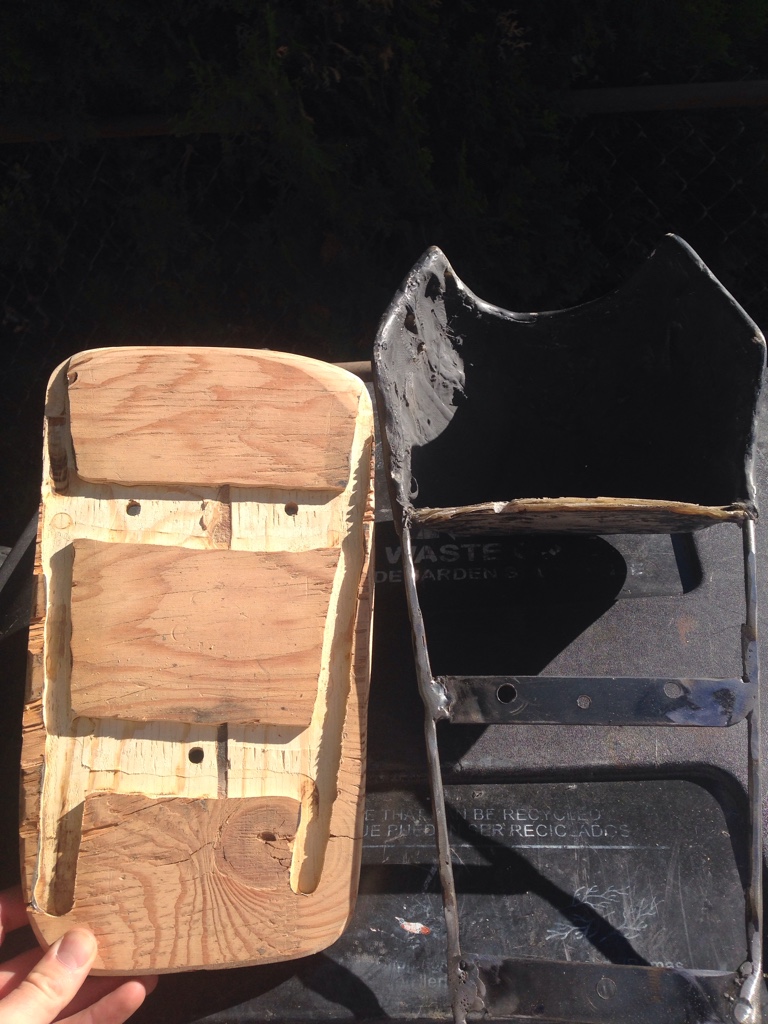
I basically did that, except used a solid block of aircraft foam. Takes out a step. I used foam coated with fiberglass to make ribs underneath for strength and epoxied in rubber isolated bolt mounts to fasten it to the frame. It worked quite well and it only weighs about 4 lb with the seat in place. I need to take some pics underneath to show how its fastened, i know guys have asked before.
Bikes looking good though! You're having the seat cowl dipped for the carbon fiber look? Shoulda just used carbon instead of fiberglass, only a bit more expensive, and probably cheaper than the dip. But then you have to have your fibers oriented right to get that look without stretching the weave. Buddy of mine used to make carbon fiber skis ;D i got a lot of pointers from him.
Congrats on the first ride. I was there a couple weeks ago. Now i'm working the kinks out. Probably more frustrating than getting to the first ride :-X
cb360tj
Cb360t
adventurco said:I basically did that, except used a solid block of aircraft foam. Takes out a step. I used foam coated with fiberglass to make ribs underneath for strength and epoxied in rubber isolated bolt mounts to fasten it to the frame. It worked quite well and it only weighs about 4 lb with the seat in place. I need to take some pics underneath to show how its fastened, i know guys have asked before.
Bikes looking good though! You're having the seat cowl dipped for the carbon fiber look? Shoulda just used carbon instead of fiberglass, only a bit more expensive, and probably cheaper than the dip. But then you have to have your fibers oriented right to get that look without stretching the weave. Buddy of mine used to make carbon fiber skis ;D i got a lot of pointers from him.
Congrats on the first ride. I was there a couple weeks ago. Now i'm working the kinks out. Probably more frustrating than getting to the first ride :-X
Ive been following your build! it kinda got me off my ass and back to work so thanks!
love your seat.
luckily the dip is free through a friend, but i think i might try carbon next go around. im sure it is hard to get it to look how i would want it though. I have my fair share of kinks too. I might try and copy your rear break cable design. My bar seems to bend and im still not getting any breaking. Rear sets are hard...
My cb360t cafe project
Thanks. Yes, Seat has lots of hours into it.
I will get you some up close and personal pics of the rear brake setup. Took a lot of research and figuring to get this setup. It has solid stopping power and I'm 100% sure I can lock up the rear wheel with it (though i haven't yet).
I welded 2 tabs on to the frame, one on the swingarm and one on the frame. Both I made out of 1/8" mild steel, drilled and cut to accommodate cable. I also welded a little cable stay on in between, I stole it from something I cut off somewhere :. The cable is from a 360 front drum, that I shortened and soldered one end into a clevis (to attach to the tarozzis) and the other end I soldered a typical brake fitting on. I took the stock stopper from the 360, drilled it to fit the cable end, and then added a set screw so it wouldn't be able to back out. Eh its late, but ill go down and take some pics of it anyways.

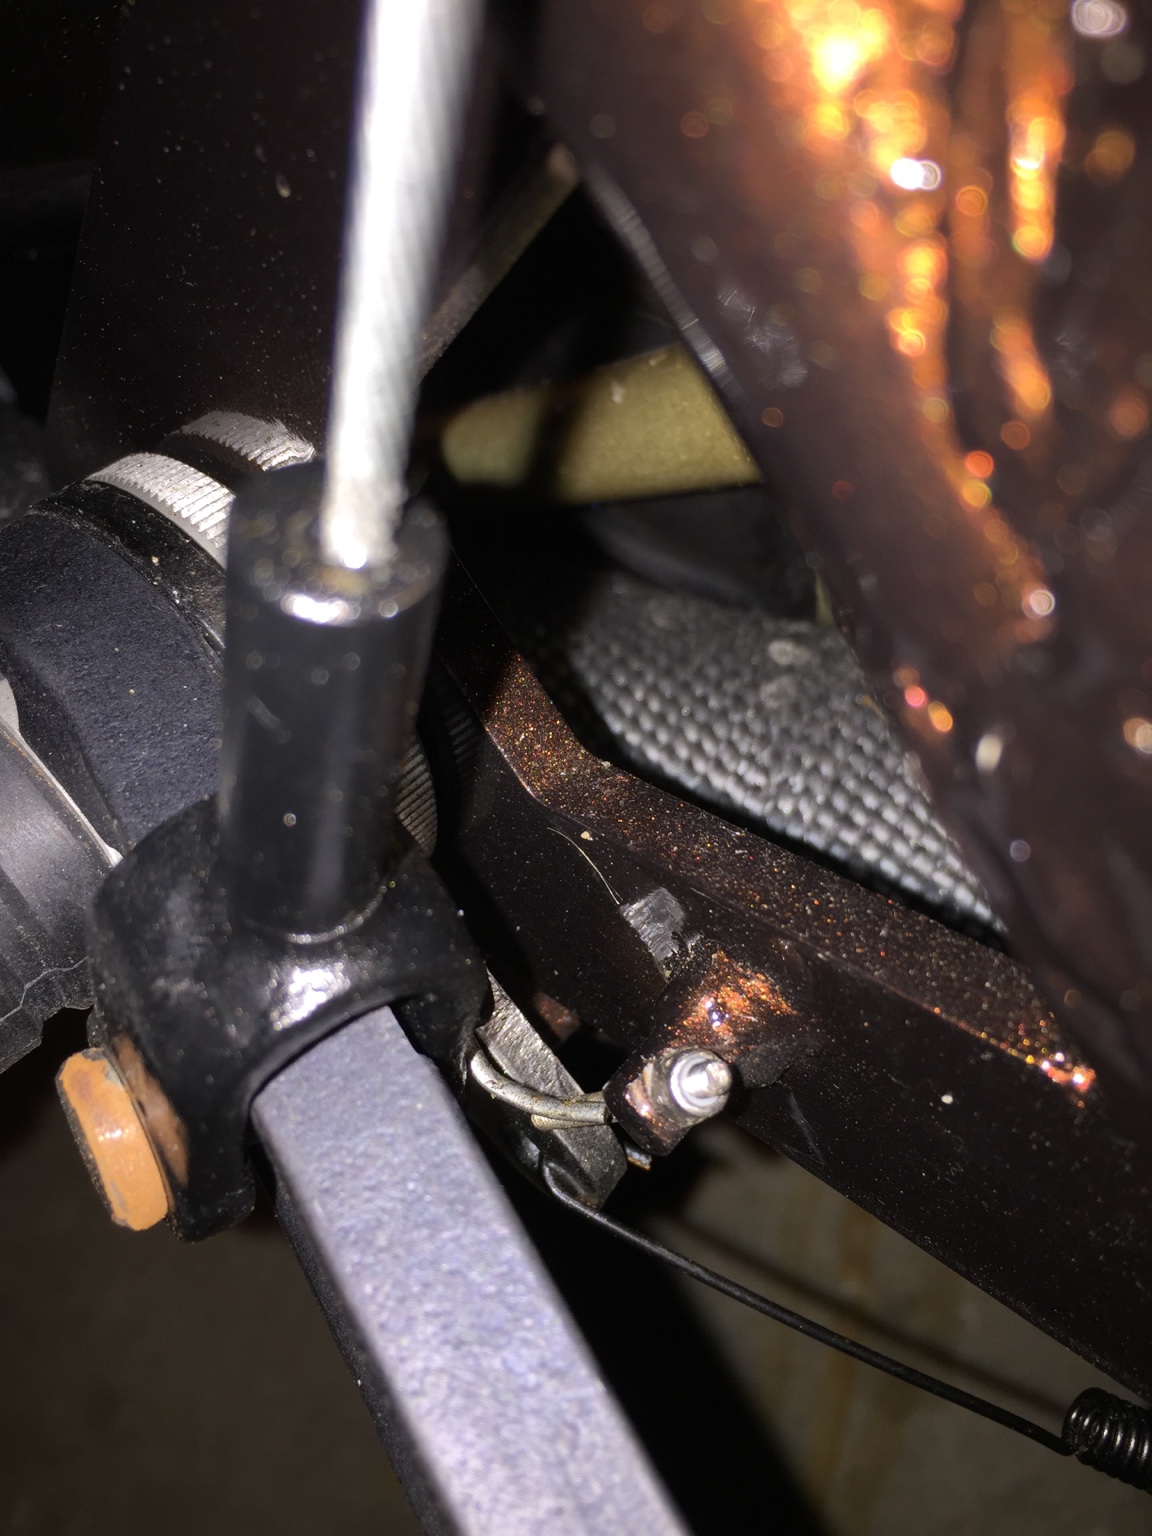
Here you can see a little stopper I made so the lever does not rotate past resting position, using threaded rod and lock nuts.
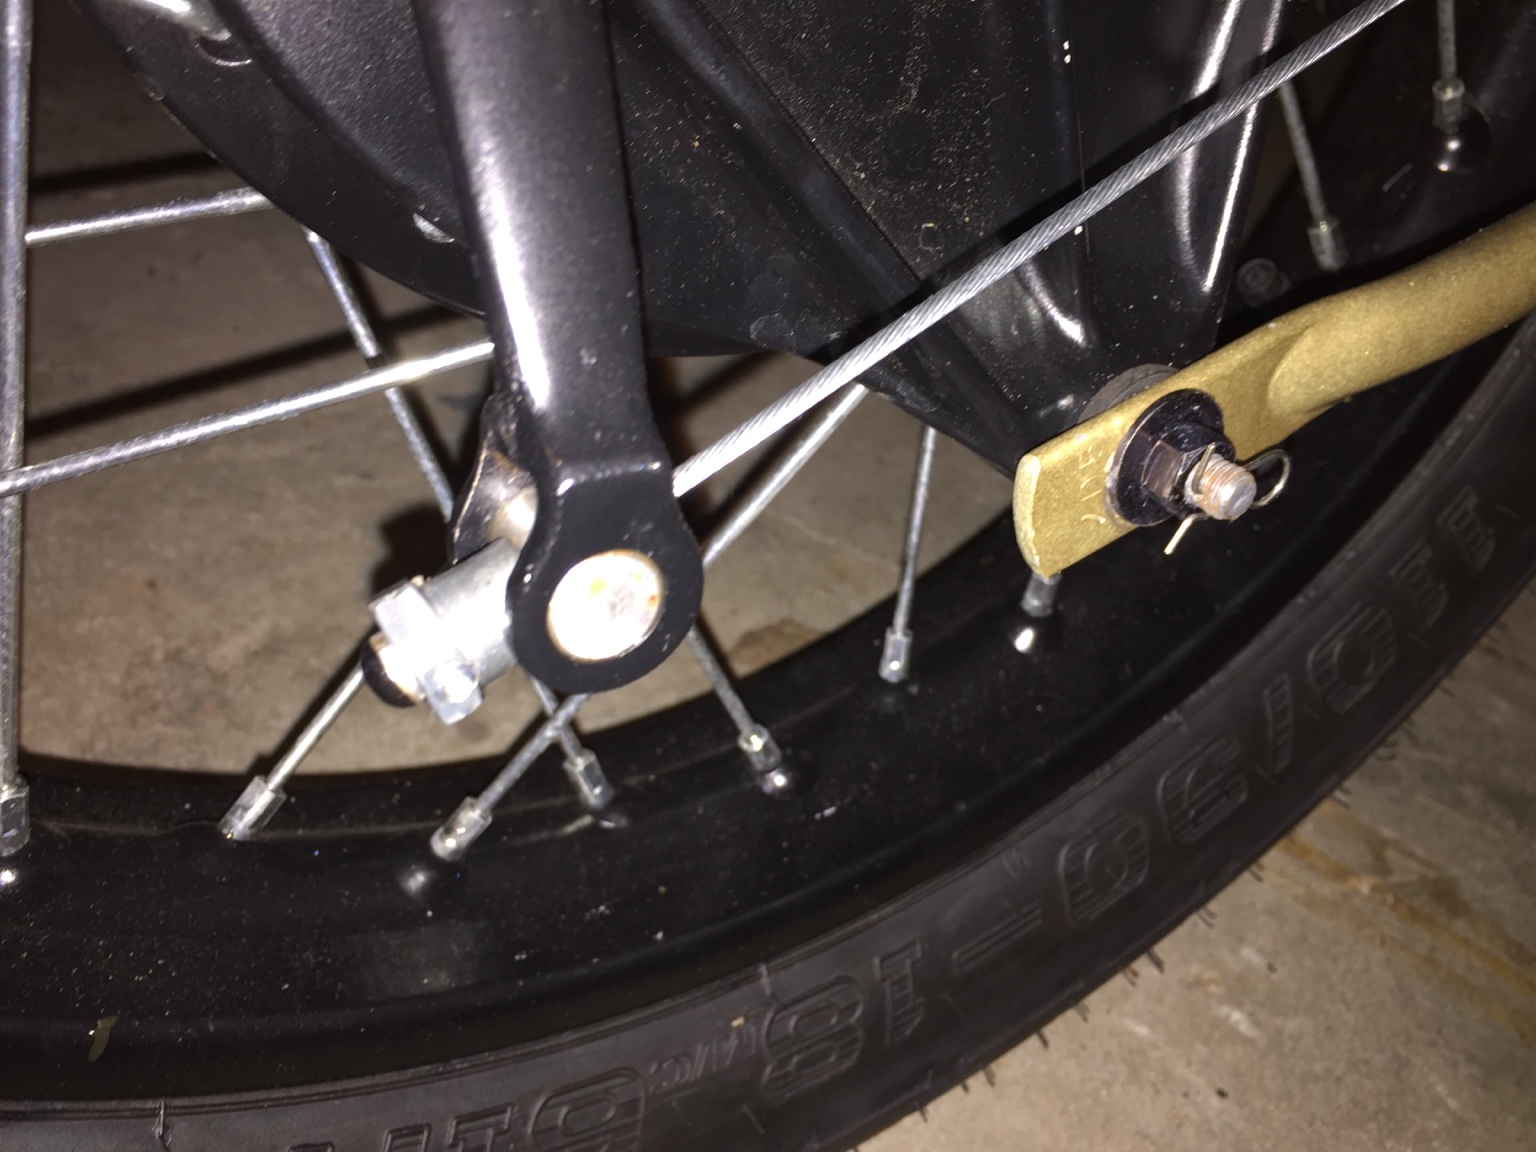
Kind of a shitty pic but you can sort of see the set screw I added to the stopper here.
Thanks. Yes, Seat has lots of hours into it.
I will get you some up close and personal pics of the rear brake setup. Took a lot of research and figuring to get this setup. It has solid stopping power and I'm 100% sure I can lock up the rear wheel with it (though i haven't yet).
I welded 2 tabs on to the frame, one on the swingarm and one on the frame. Both I made out of 1/8" mild steel, drilled and cut to accommodate cable. I also welded a little cable stay on in between, I stole it from something I cut off somewhere :
. The cable is from a 360 front drum, that I shortened and soldered one end into a clevis (to attach to the tarozzis) and the other end I soldered a typical brake fitting on. I took the stock stopper from the 360, drilled it to fit the cable end, and then added a set screw so it wouldn't be able to back out. Eh its late, but ill go down and take some pics of it anyways.
Here you can see a little stopper I made so the lever does not rotate past resting position, using threaded rod and lock nuts.
Kind of a shitty pic but you can sort of see the set screw I added to the stopper here.