Follow along with the video below to see how to install our site as a web app on your home screen.
Note: This feature currently requires accessing the site using the built-in Safari browser.
We noticed you are blocking ads. DO THE TON only works with community supporters. Most are active members of the site with small businesses. Please consider disabling your ad blocking tool and checking out the businesses that help keep our site up and free.
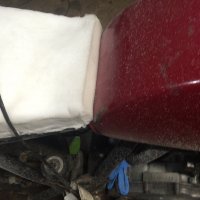
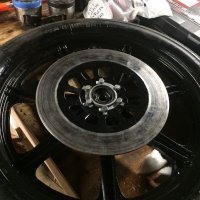
It was red I dunno the diff but if you tell me what to look for I will get back to you on that hopefully it's the kinda that requires a shop and lots of maintenance
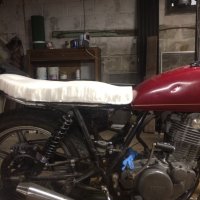
Tell me about it I got real discouraged yesterday when I went to set the controls up and nothin fit the tire is gonna have to wait till I get spoons and now I'm looking at this seat foam like :'( the hump is killin me
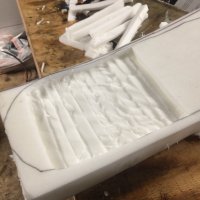
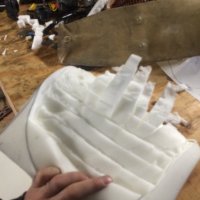
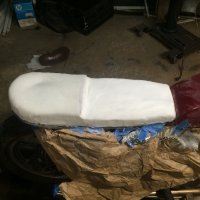
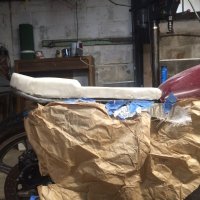
No electric knife but I luckily had a 80 grit flap this thing was lookin rough but now it's smooth and taking shape nicely gonna take a break and see how I want the thickness to be and how to step from my seat area to the rear passenger seat... I'm gonna have to pick up atleast one gel pad for the rear because you can see the bump through the foam 40$ for the gels
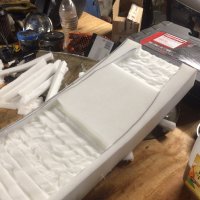
To give the foam a water proof chance I wrapped my foam in a closed cell 3-4mm yoga mat which tidies up the faom a treat, it also added another layer of cushioning as well.
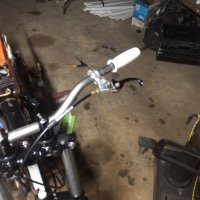
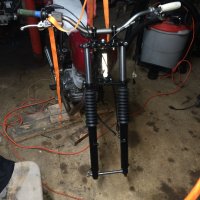
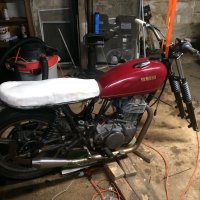
Trimmed the gators down by 2 might do a couple more but I'll wait till I get it Rollin around got the bars somewhat sorted kinda ugly but it'll do for now...
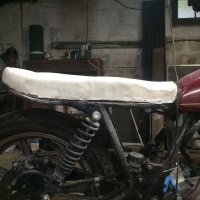
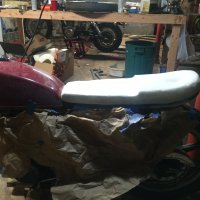
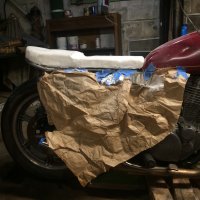
Moving a bunch of crap to the new apartment and party tonight so I'm calling it a day I wanna figure out some kind of stepped shape to the seat but I like all the soft foam under my ass ;D and I'm not sure about the gap to the tank
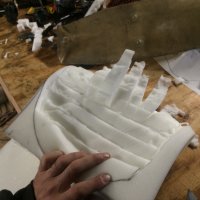
Did some shaping I think I'm going to smooth the transition from front seat to back but pretty much done other than that and the addition of gel later on when money appears in my bank
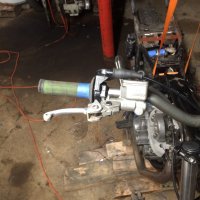
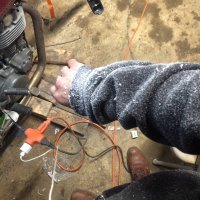
Finally found my new main and pilot jets I thought I left them in a box of parts when I sold a dirtbike whew
20 pilot and I'll stick with the 280 I have in there right now until I can swap tires and bring it up stairs from the basement for some tuning
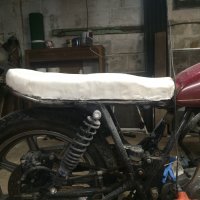
Now that you know how to use the tools... start over. The bump needs to be almost twice what the expected oucome and rounded up with no pockets or the cover will look like grandmas knees.
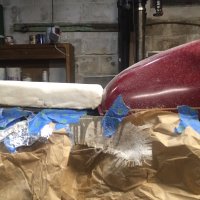
stretch a pillow case over it and you'll see whats up... good thing you have shittons of foam.
Now that you know how to use the tools... start over. The bump needs to be almost twice what the expected oucome and rounded up with no pockets or the cover will look like grandmas knees.
stretch a pillow case over it and you'll see whats up... good thing you have shittons of foam.
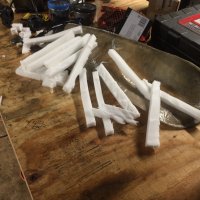
are you searious about the amount of foam? can I just lay another stack on top glue it down and sand away? I don't want the back seat to look round I want it to be flat... I was going to put some thin foam on to even out any little imperfections
just do the mockup cover and see if it looks like you want, the pockets or low spots are not good tho and that hump will almost be gone with a decent stretch
Also if you have a shop close go ask for a chunk of headliner foam, it's like 3/16 thick and will clean up all the little stuff spray glue it on ;D
Yes. You have to use a glue that won't melt the foam. Go to an upholstery supply house or a good fabric store and get it.
When you get the glue, also get thin cotton batting. Get the dimpled stuff. Thick felt also works well.
I didn't know the glue could melt the foam....I glued that foam down to the seat already good thing it didn't melt it...unless it did and I just cant tell...
This site uses cookies to help personalise content, tailor your experience and to keep you logged in if you register.
By continuing to use this site, you are consenting to our use of cookies.

 I dunno the diff but if you tell me what to look for I will get back to you on that hopefully it's the kinda that requires a shop and lots of maintenance