We noticed you are blocking ads. DO THE TON only works with community supporters. Most are active members of the site with small businesses. Please consider disabling your ad blocking tool and checking out the businesses that help keep our site up and free.
You are using an out of date browser. It may not display this or other websites correctly.
You should upgrade or use an alternative browser.
You should upgrade or use an alternative browser.
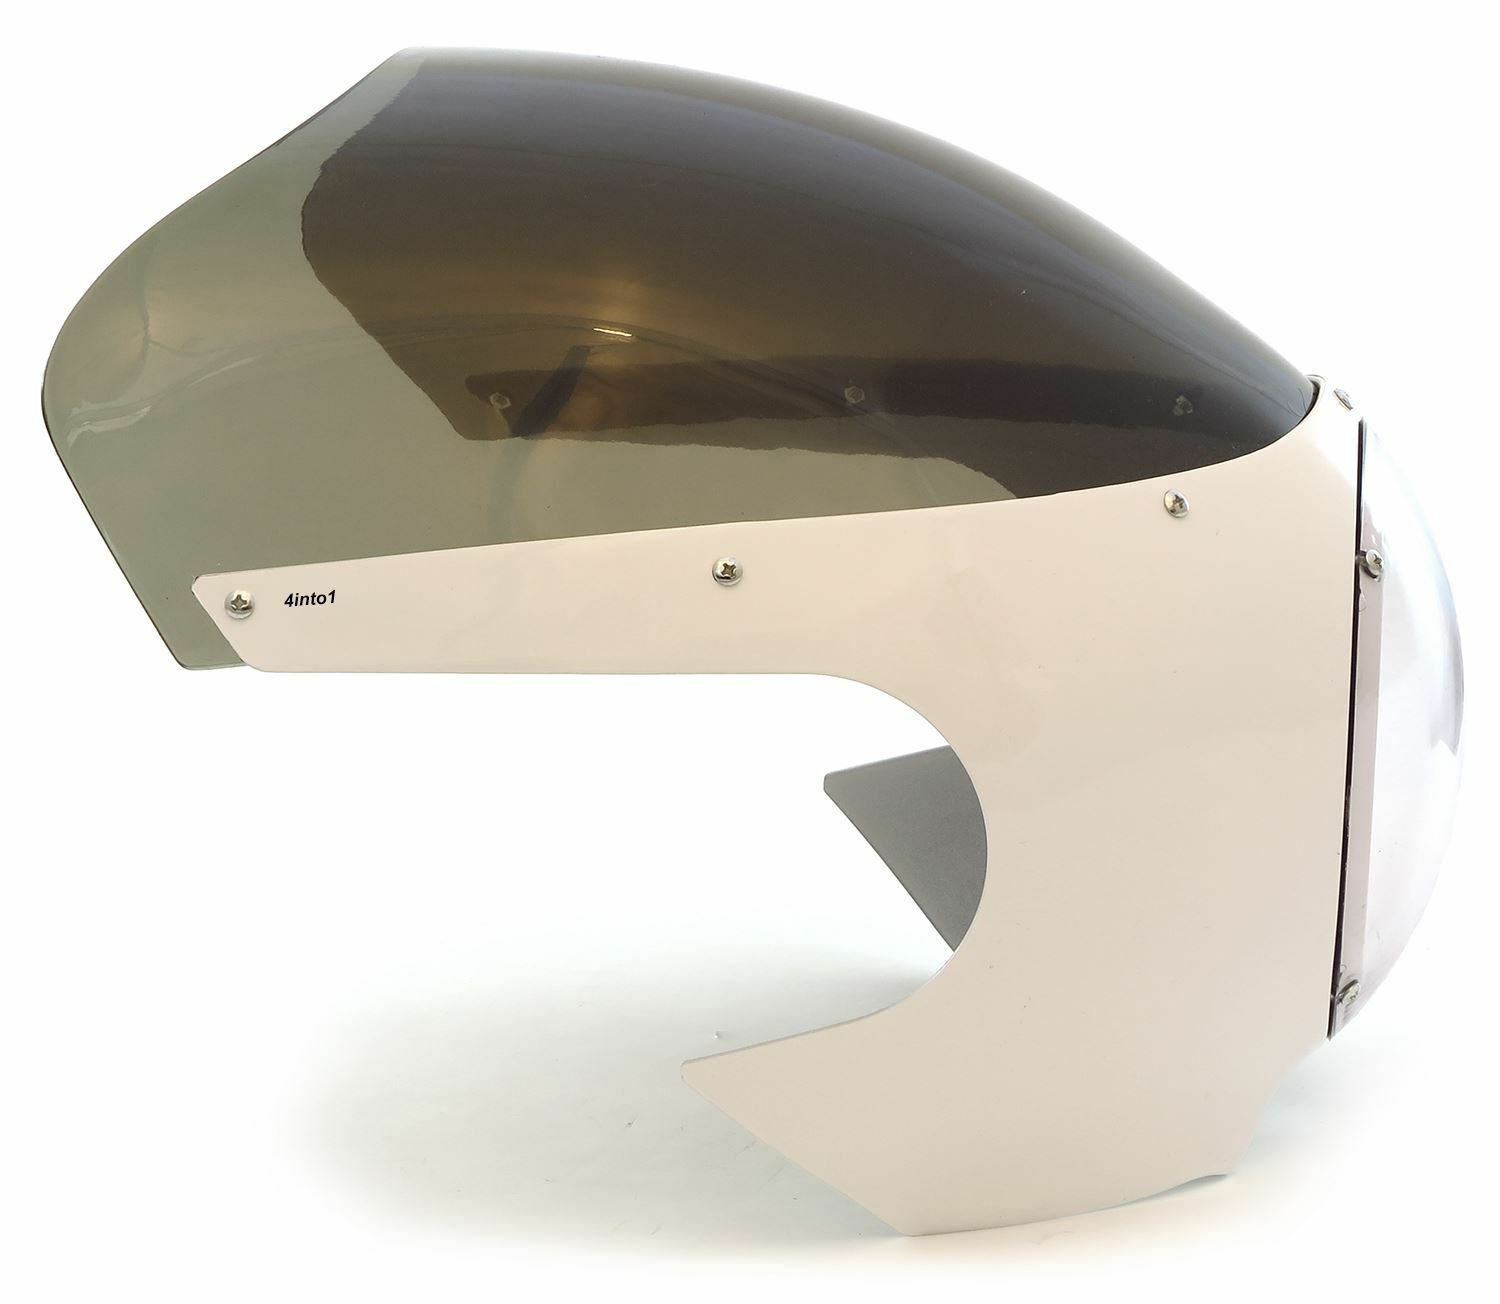
Shake the Box CL360/378 - The Hedgehog - Done
- Thread starter ridesolo
- Start date

irk miller said:"to become acquainted with by experience"
"to perceive or recognize as if by the sense of taste"
Enjoy your manliness.
Damn squint-eyed egg heads!
Haha. I'm probably bigger smart ass, too.
Not probably....irk miller said:Haha. I'm probably bigger smart ass, too.
")
Sent from my SM-G920V using Tapatalk
It's been a few days but there has been some progress; mostly continued sanding on the tank, it's almost done, pix of it w/ paint very soon!
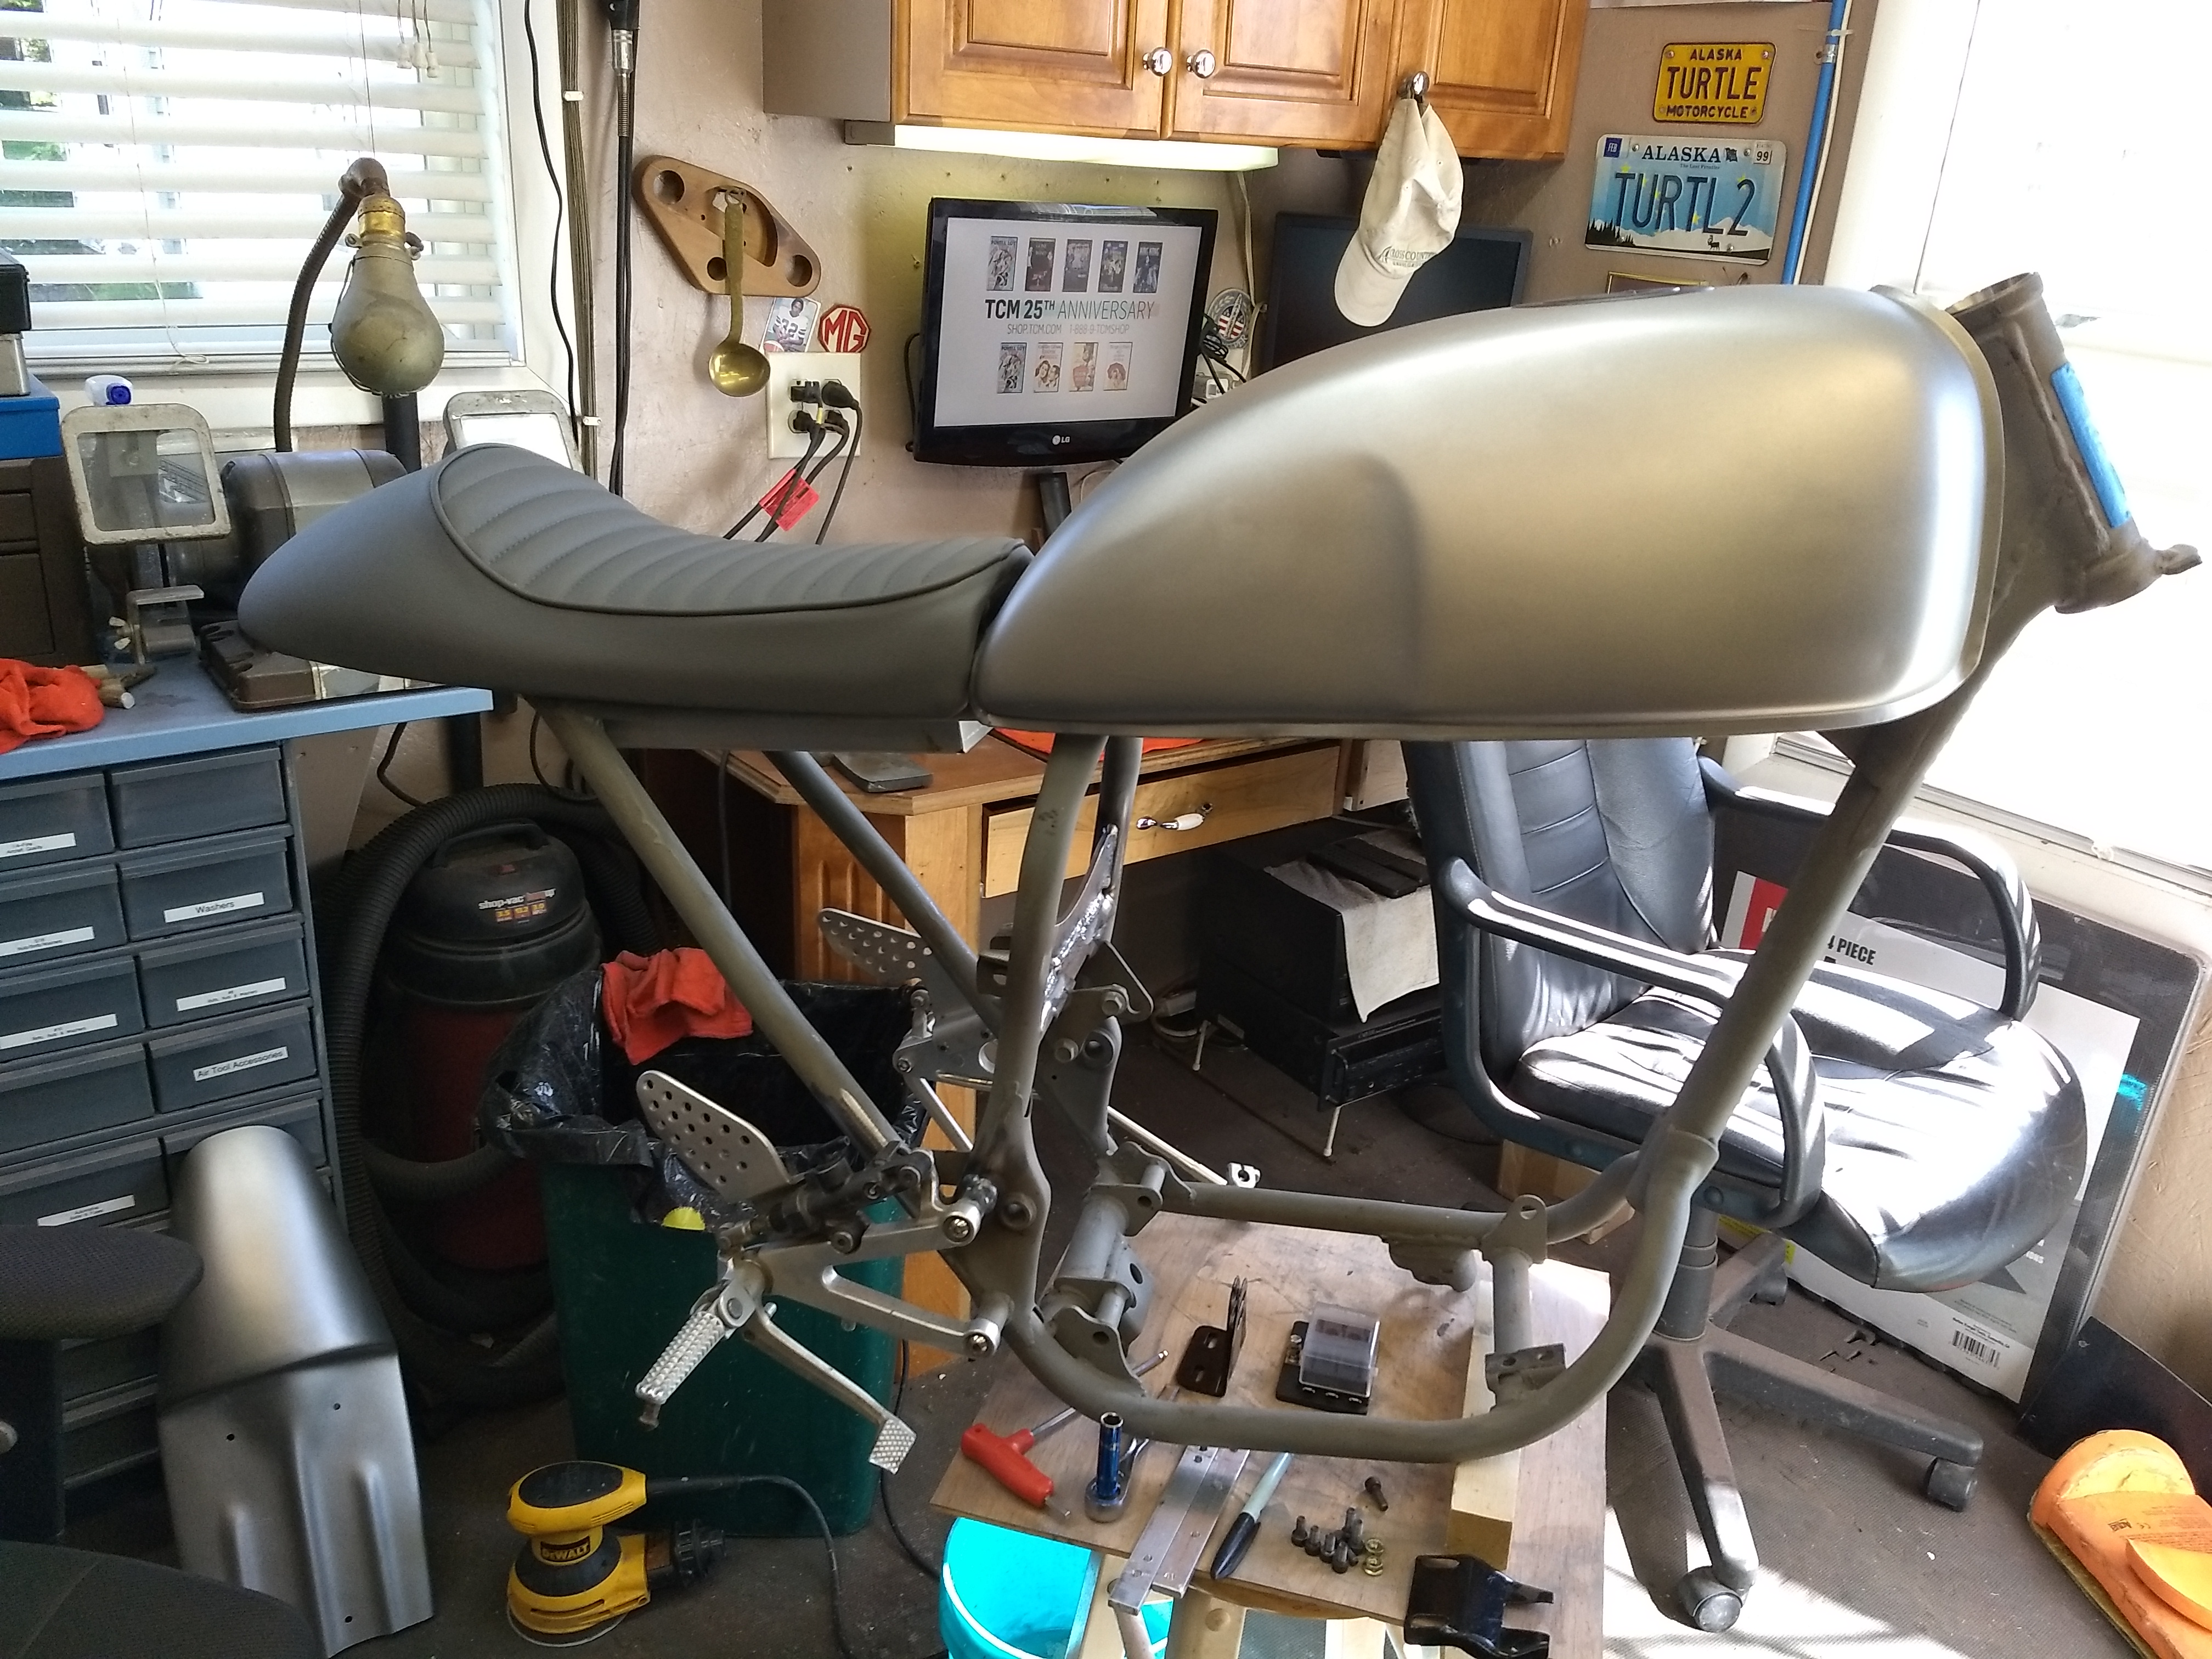
I got word today that the frame is done! Levi was doing some clean-up and welding on it, the original rearset mounts needed to be adjusted. Once it's here I'll have to do some filing and a couple of other little details and then it'll be primed and painted.
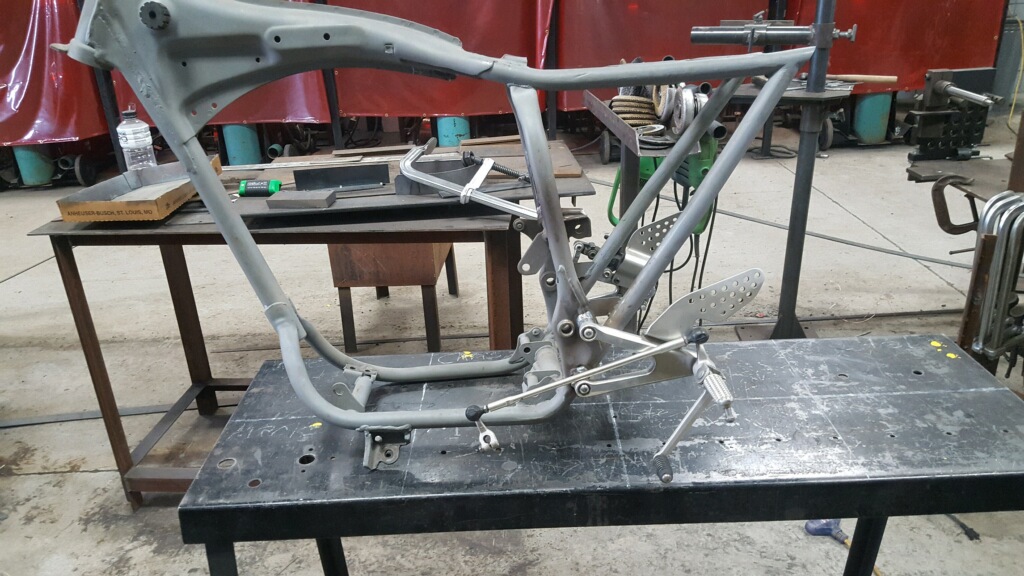
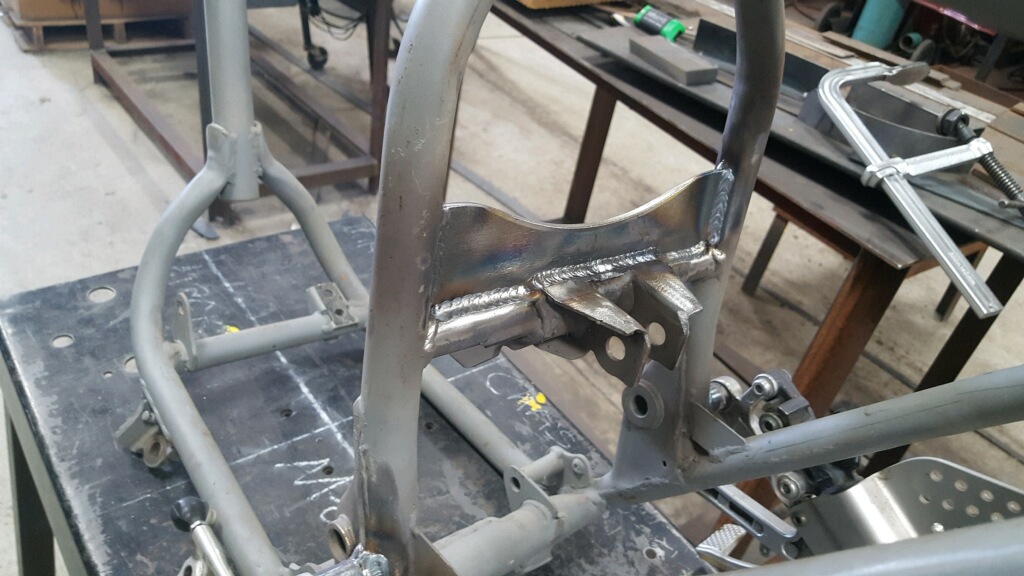
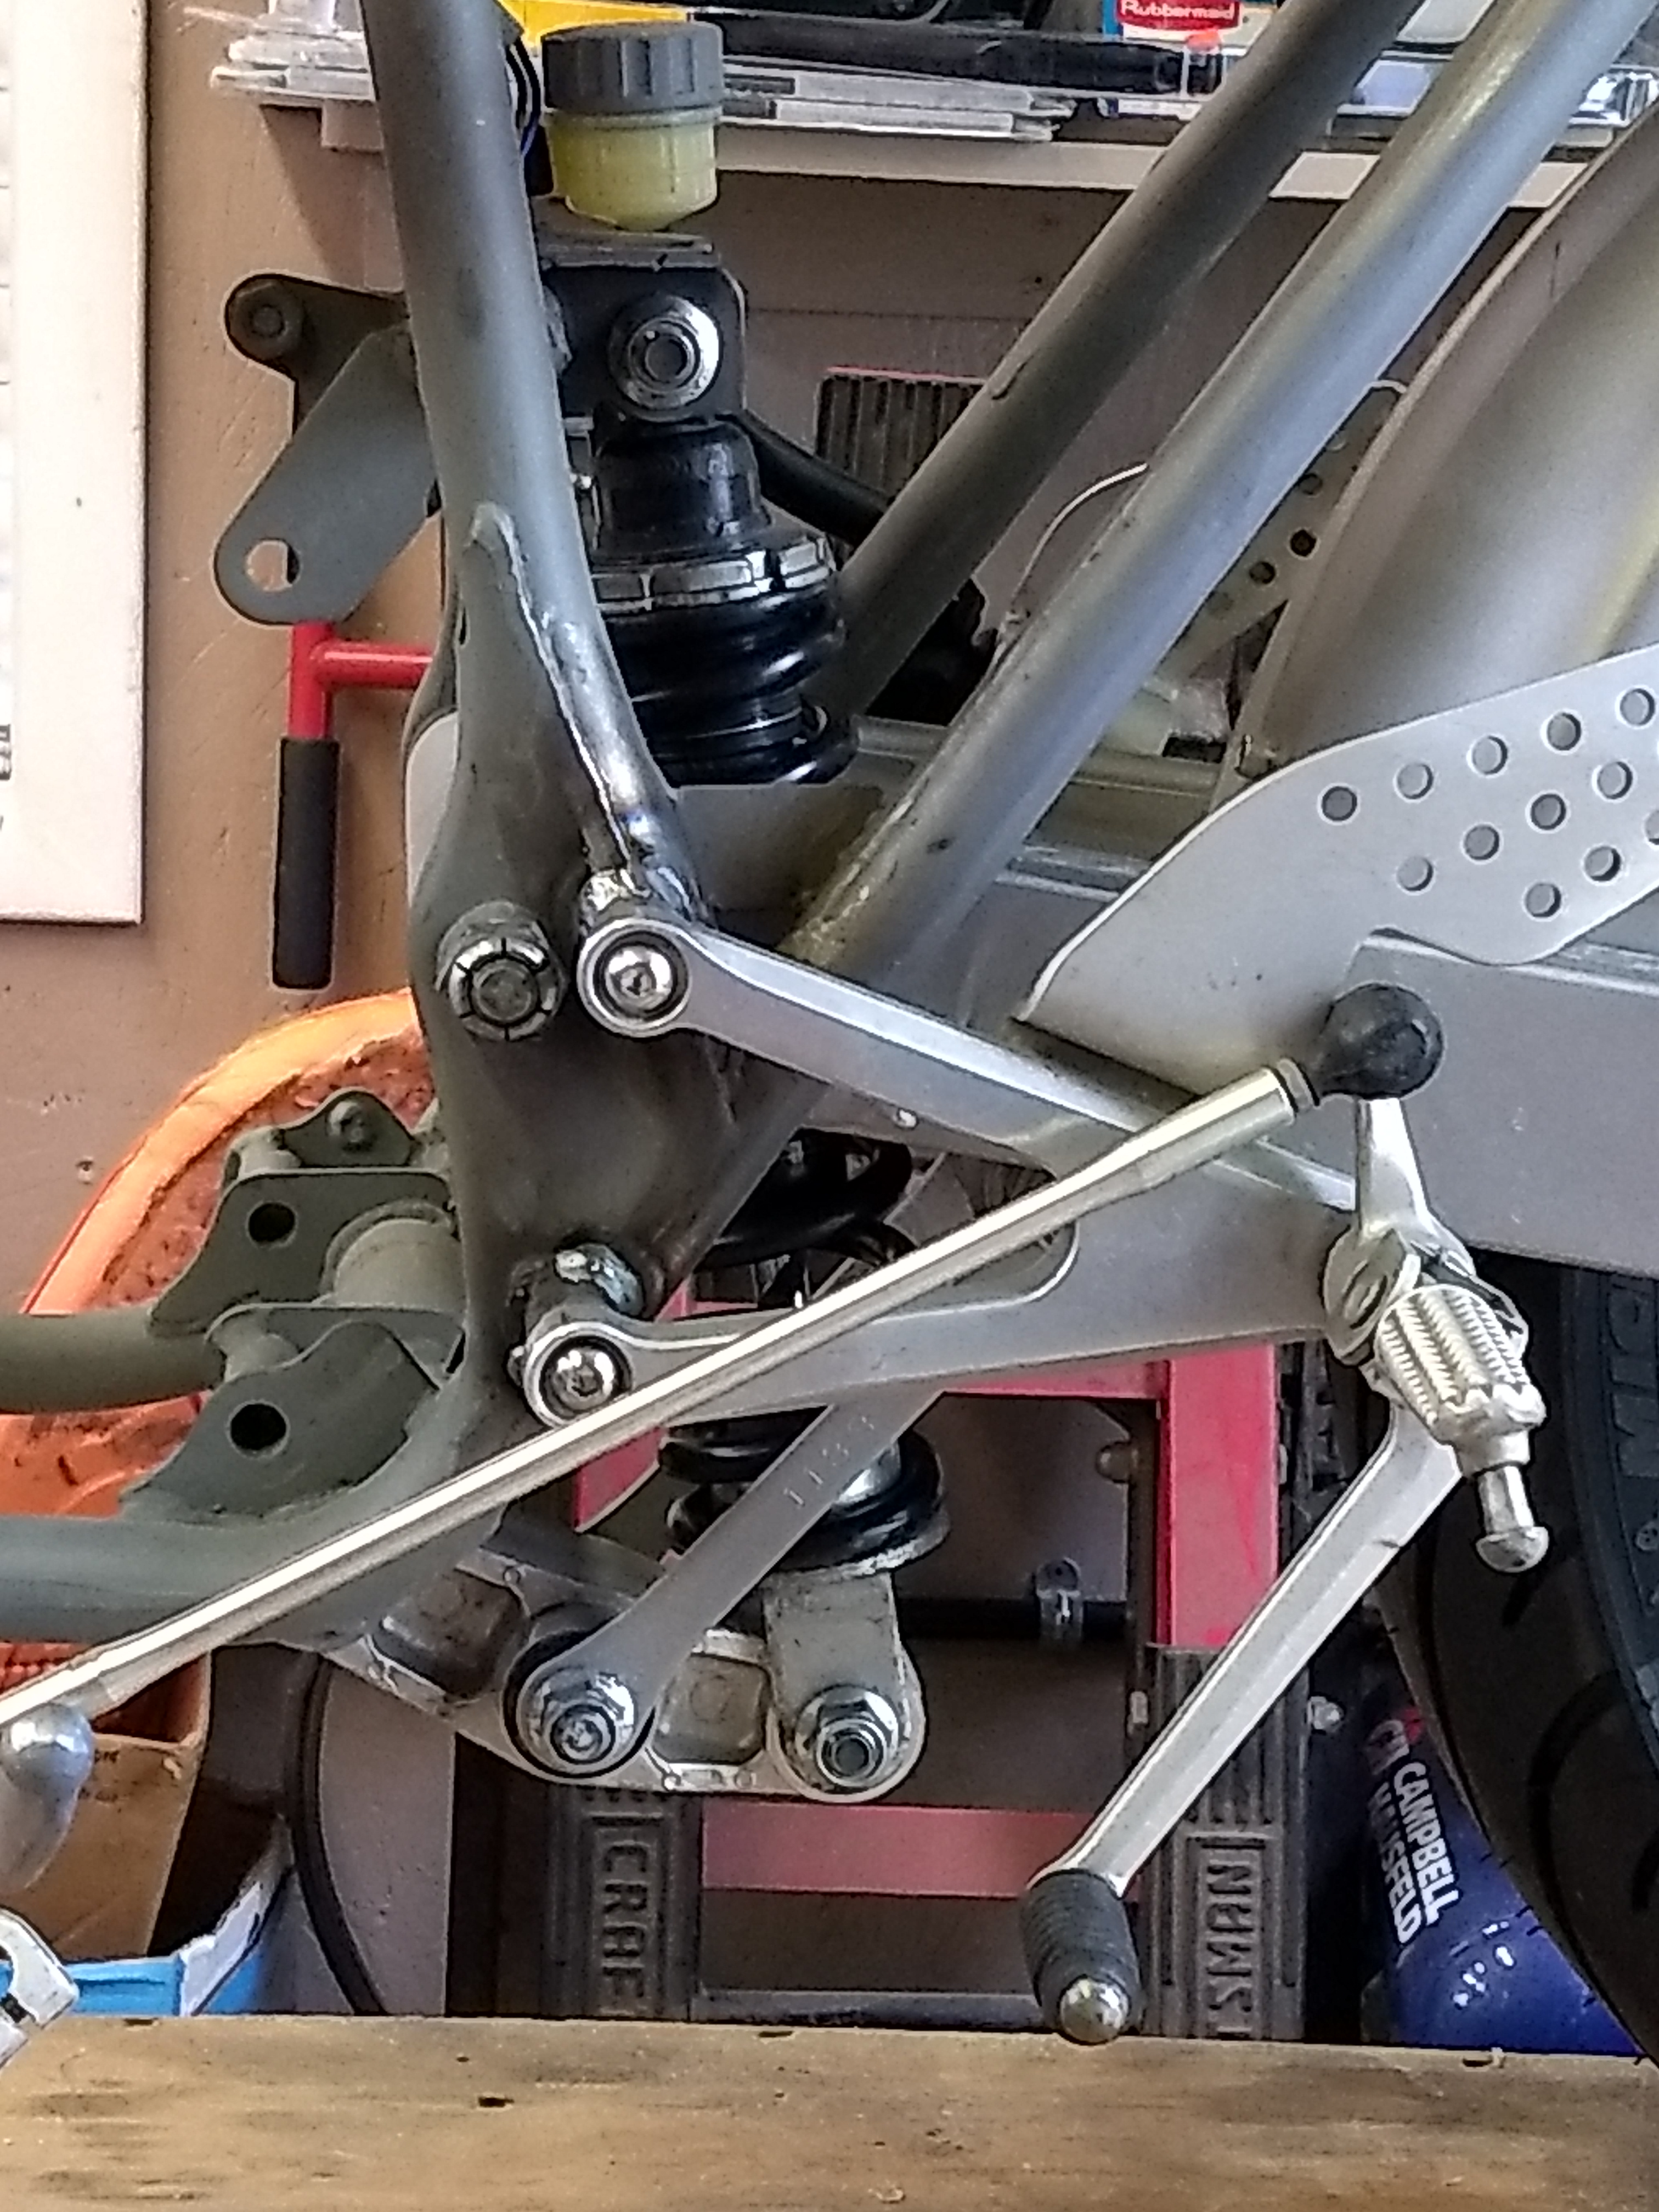
A while back we put in a brace from the top shock mount to the top of the frame and then discovered that is didn't clear the carbs. Oops! Levi studied on it for a while and came up w/ this solution. Probably not as much support as our original idea, but I'll bet it's enough.
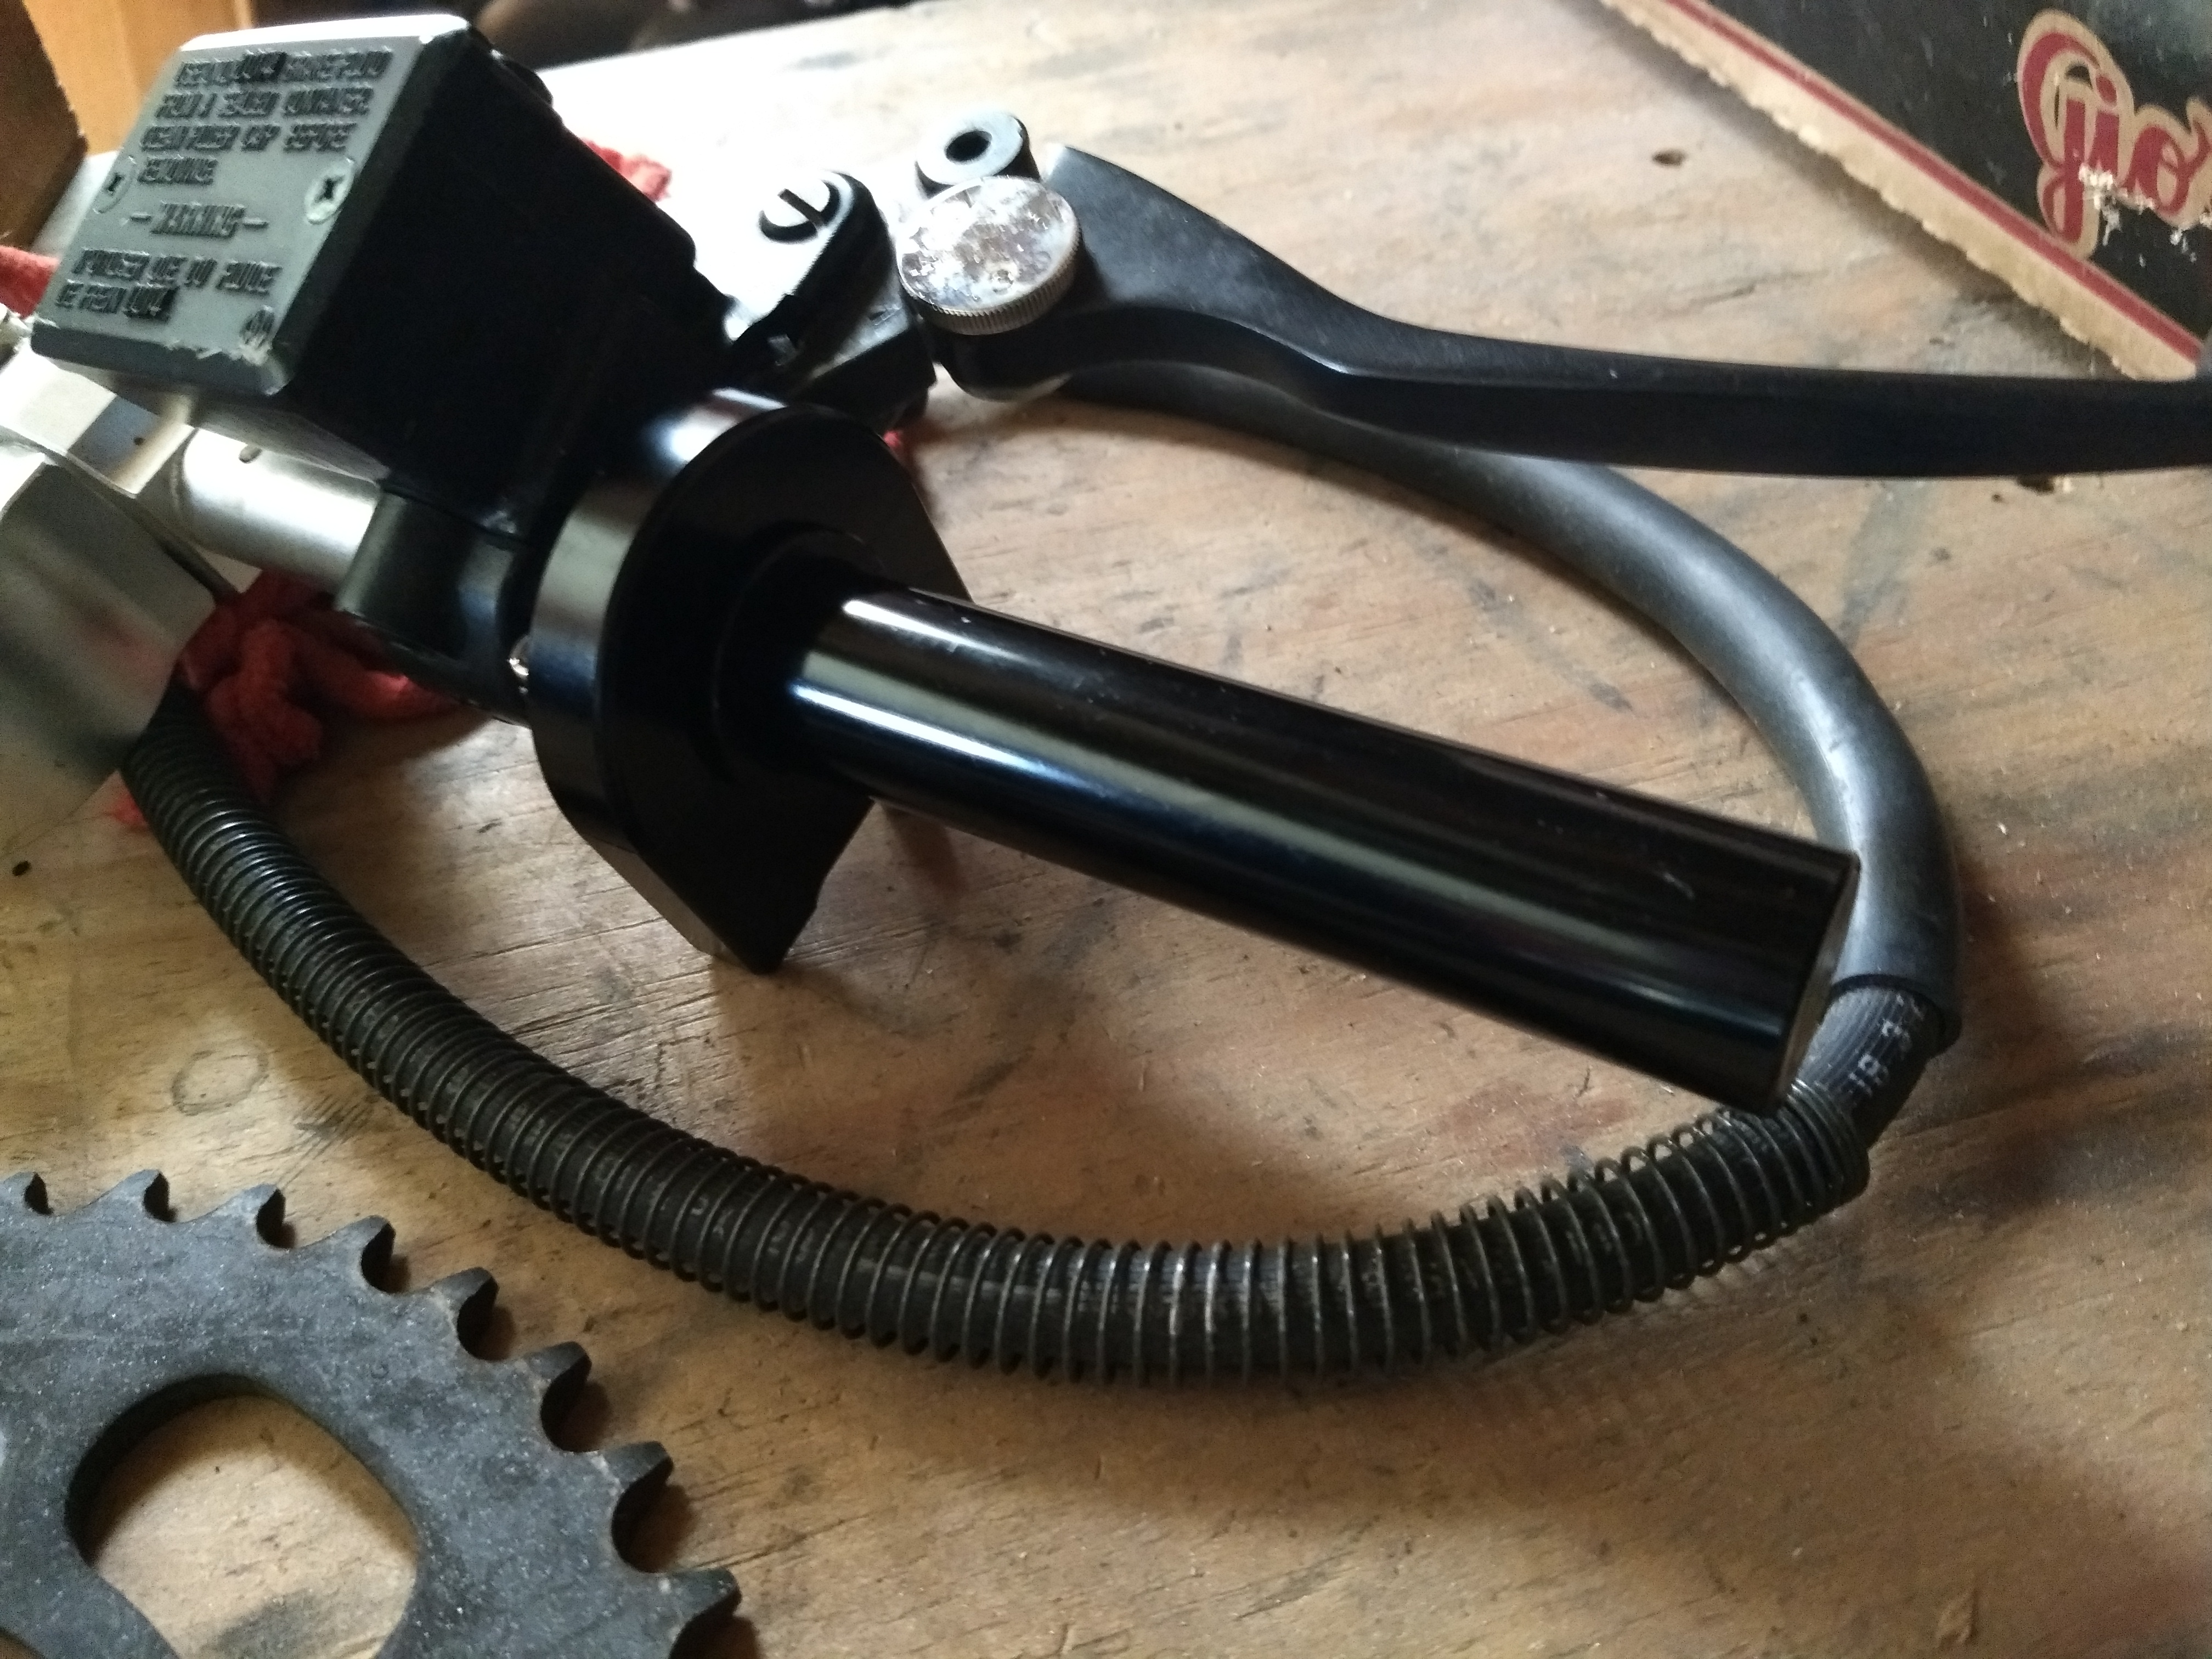
On another front, here's a shot of my left bar switch controls, everything needed all right there. (K&S #12-0040) as well as the new clutch lever.
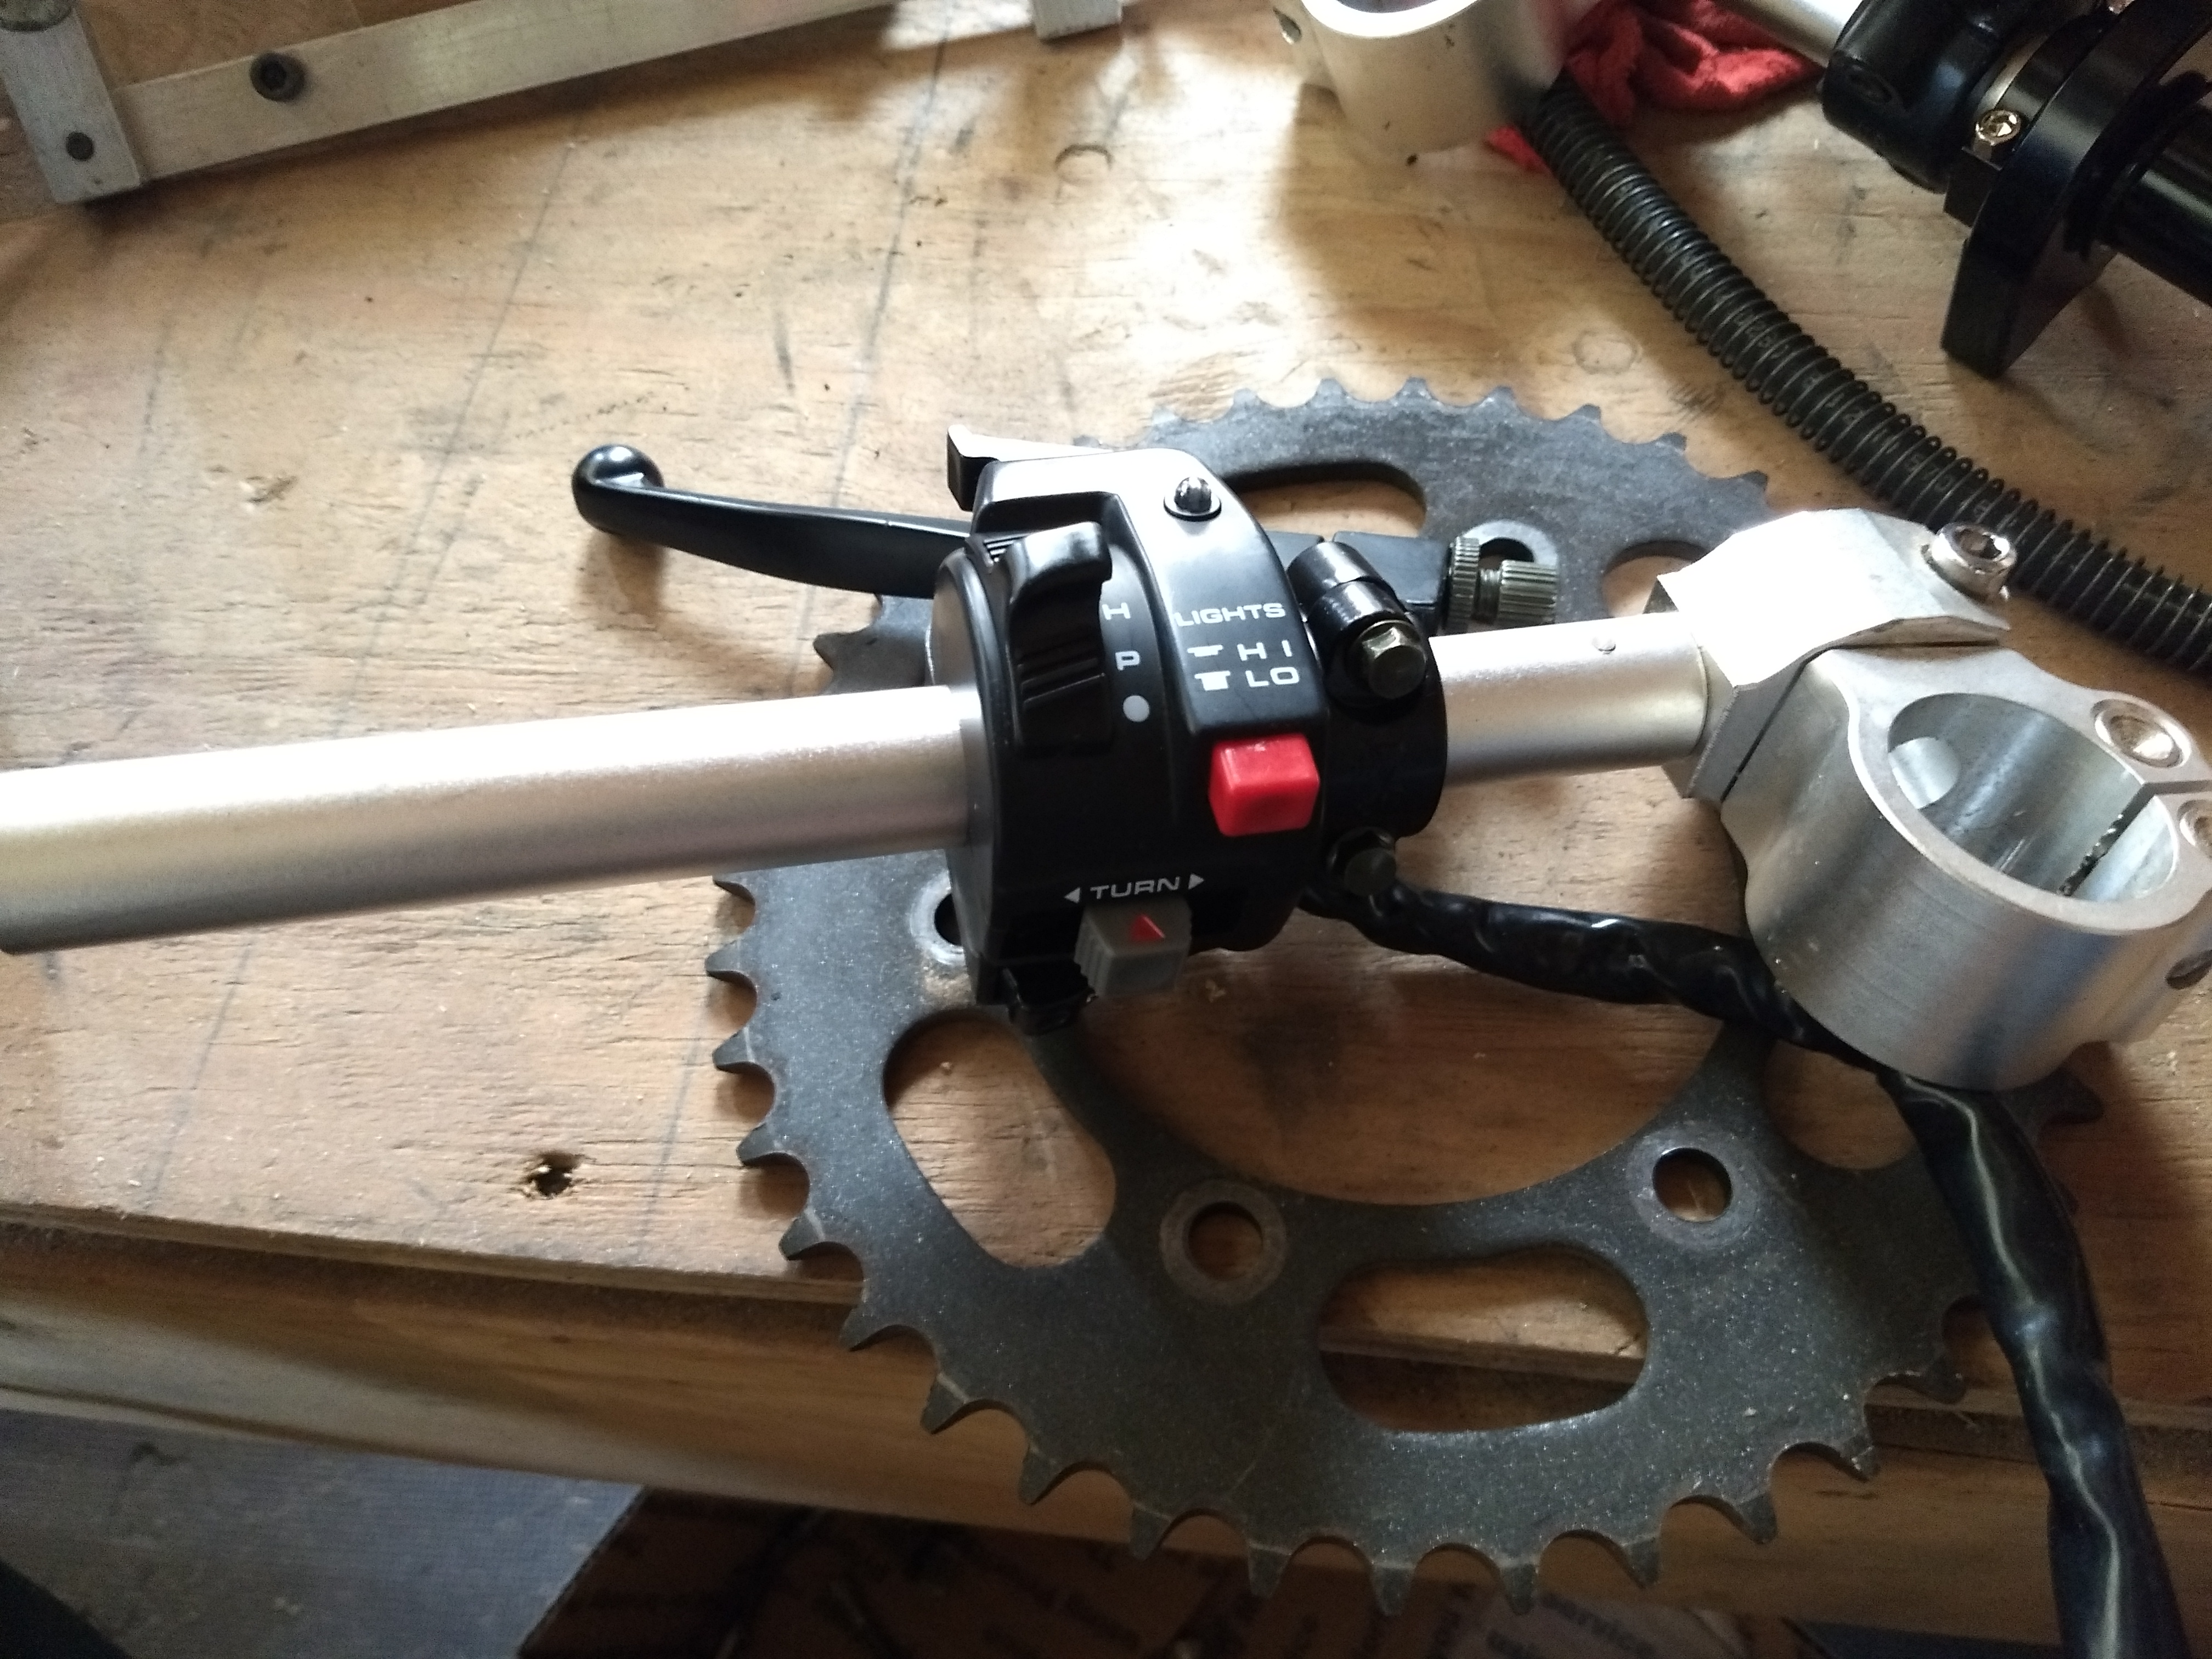
And the new throttle twist.
I got word today that the frame is done! Levi was doing some clean-up and welding on it, the original rearset mounts needed to be adjusted. Once it's here I'll have to do some filing and a couple of other little details and then it'll be primed and painted.
A while back we put in a brace from the top shock mount to the top of the frame and then discovered that is didn't clear the carbs. Oops! Levi studied on it for a while and came up w/ this solution. Probably not as much support as our original idea, but I'll bet it's enough.
On another front, here's a shot of my left bar switch controls, everything needed all right there. (K&S #12-0040) as well as the new clutch lever.
And the new throttle twist.
crazypj said:You need to put something at top where tubes bend inwards and are 'squished'. It's a major flex area in my experience, just from suspension going up and down, when you add side loading's it really does hinge in the middle
Many thanx, PJ, we'll look at it.
crazypj said:360, being lighter, isn't as bad as 500/550 which is the hinged when 'pushed'. The 20 hr day yesterday made me think I was posting in Irk's 550 build
Ha! No worries, mate!
Some progress; some good, some not so good.
For the good I'm happy to report that I got the frame back today and I was able to start some of the final little tasks necessary before I start the prep for paint. Unfortunately the thing has a few spots that look a bit like a corn cob because of my inexperience with a grinder. Filing and sanding should get the thing into some kind of workable shape.
For the not so good I was dismayed after shooting on the first coat of color. What looked like a pretty smooth and ready to paint surface in primer has some surface imperfections showing that I'm not going to be able to live with so I guess I'm back to sanding and filling and sanding and filling and sanding and filling again. Oh well, I'm retired, right? Grrrrrrrr.......
One more thing: Opinions/comments, please. After getting the tank back on it I'm wondering if I should drill a couple holes and use some all-thread rod to drop the front tank mount an inch or two?
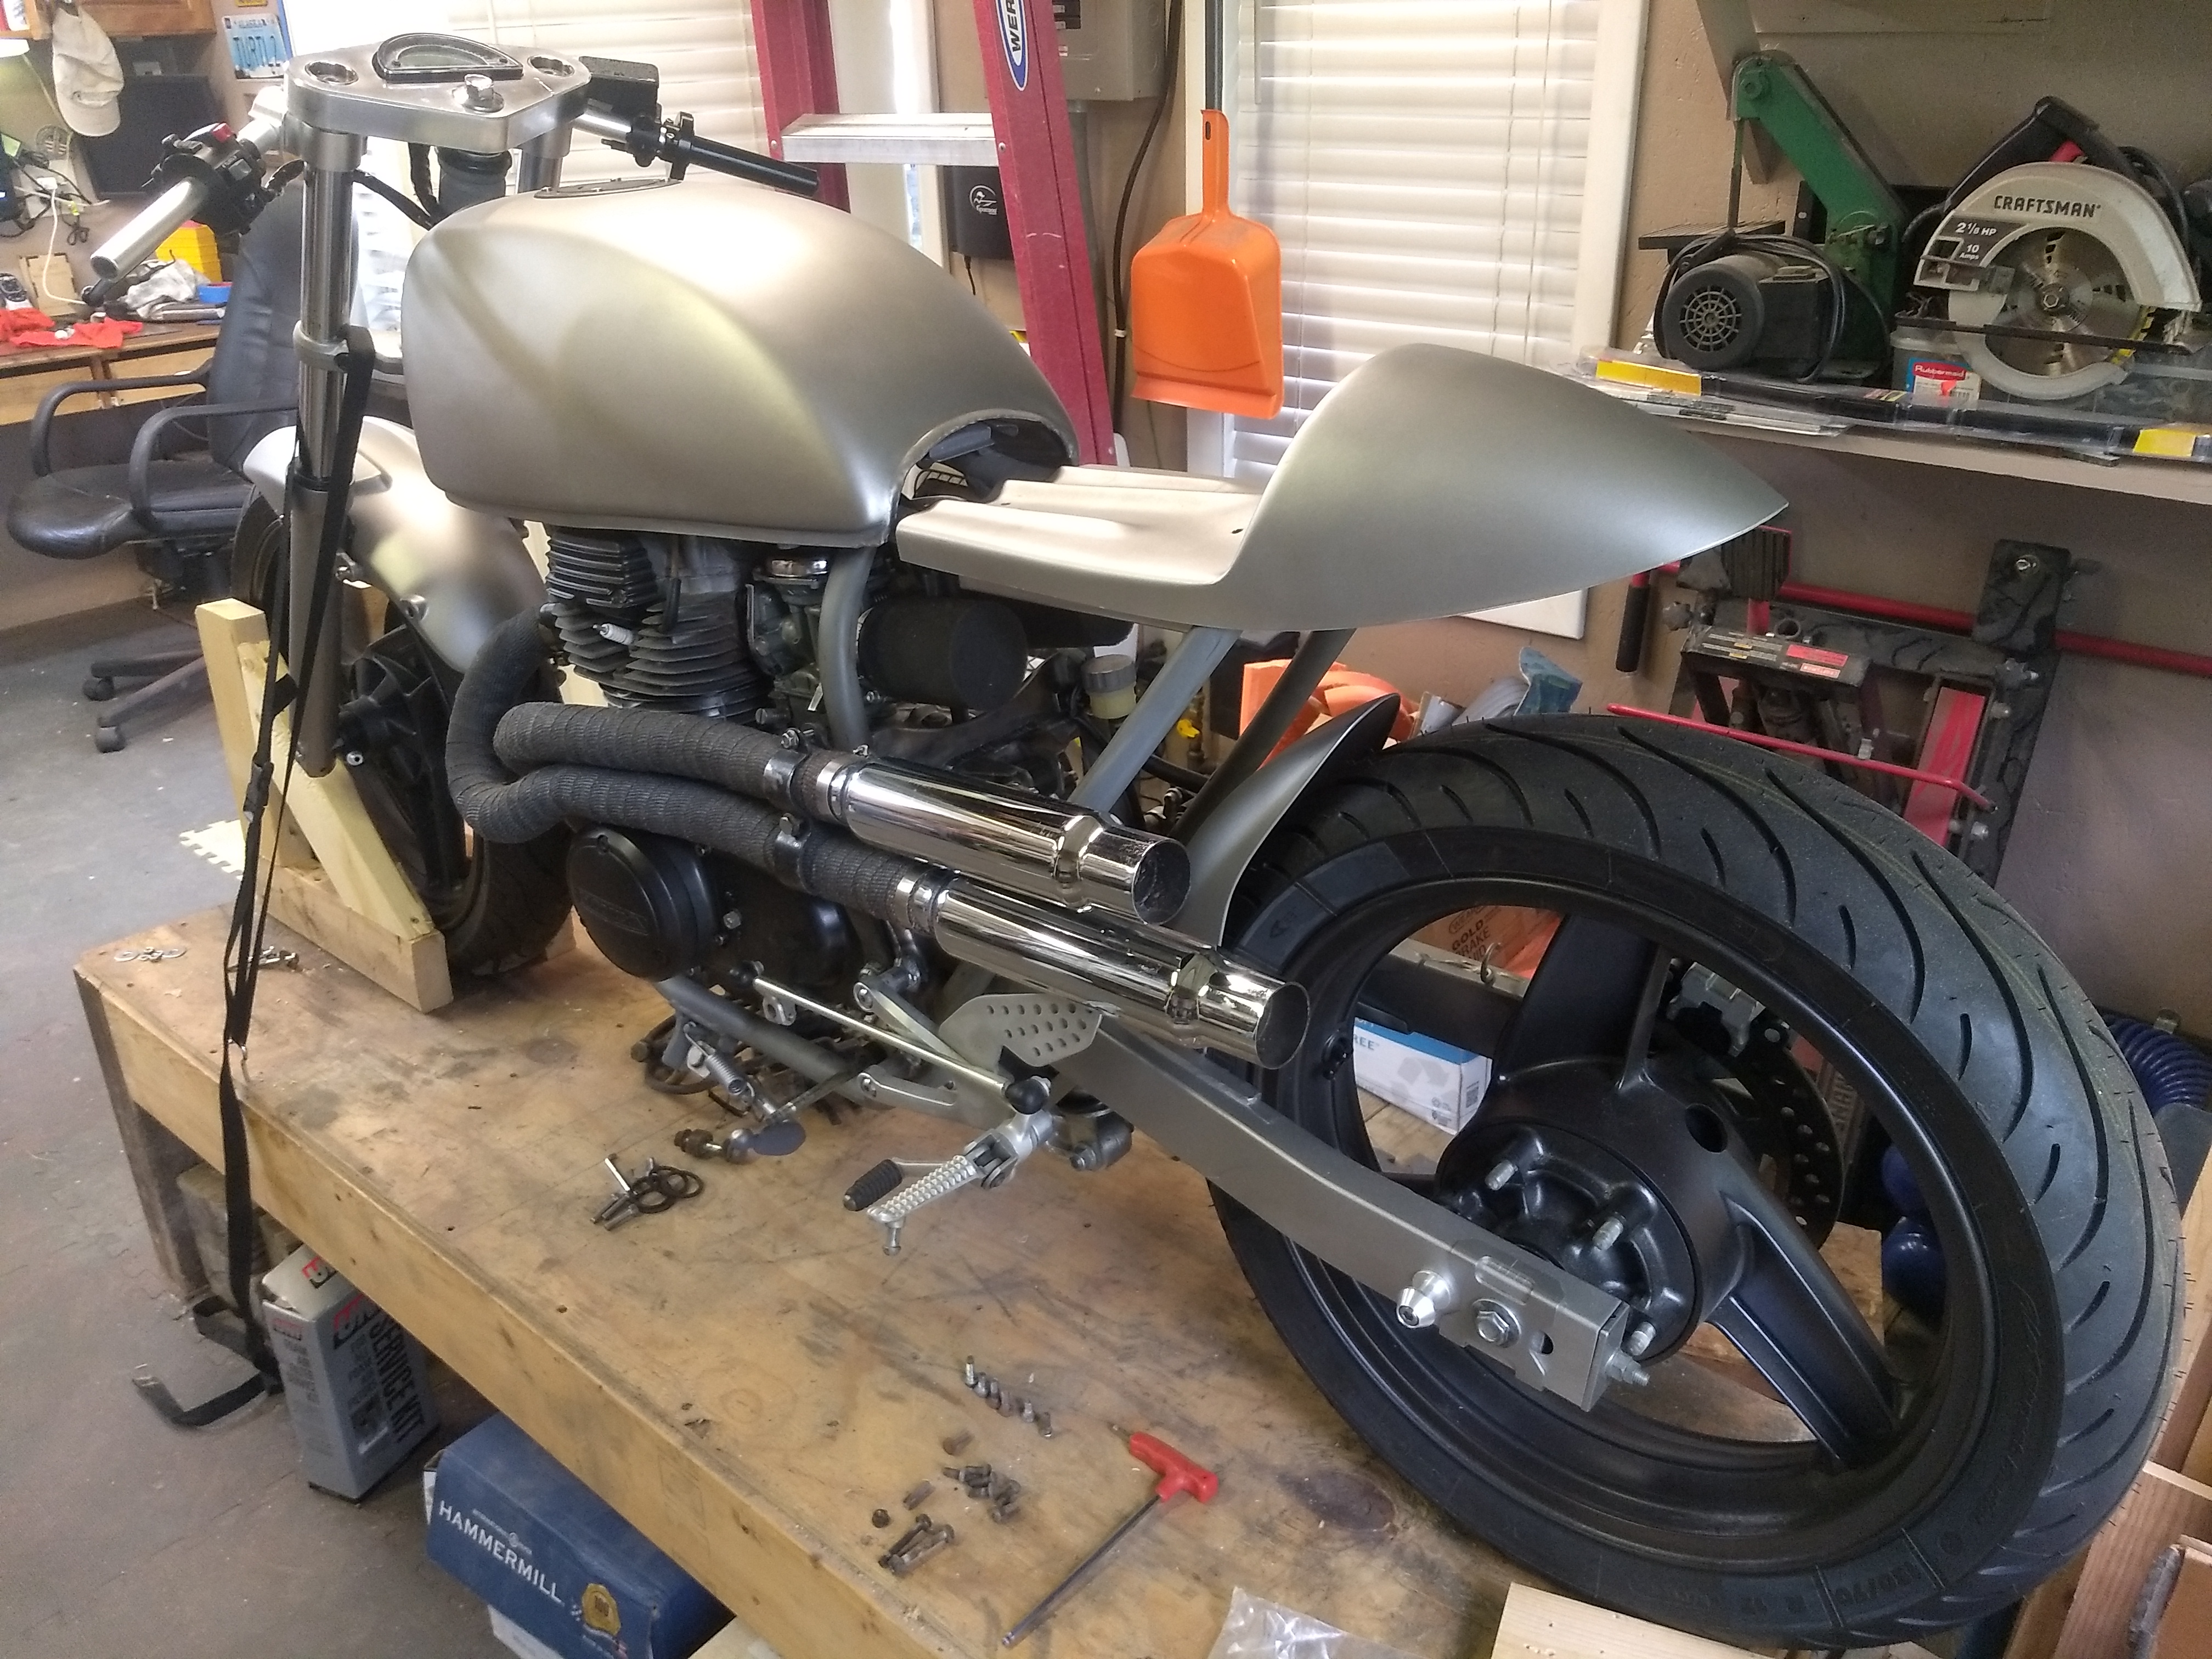
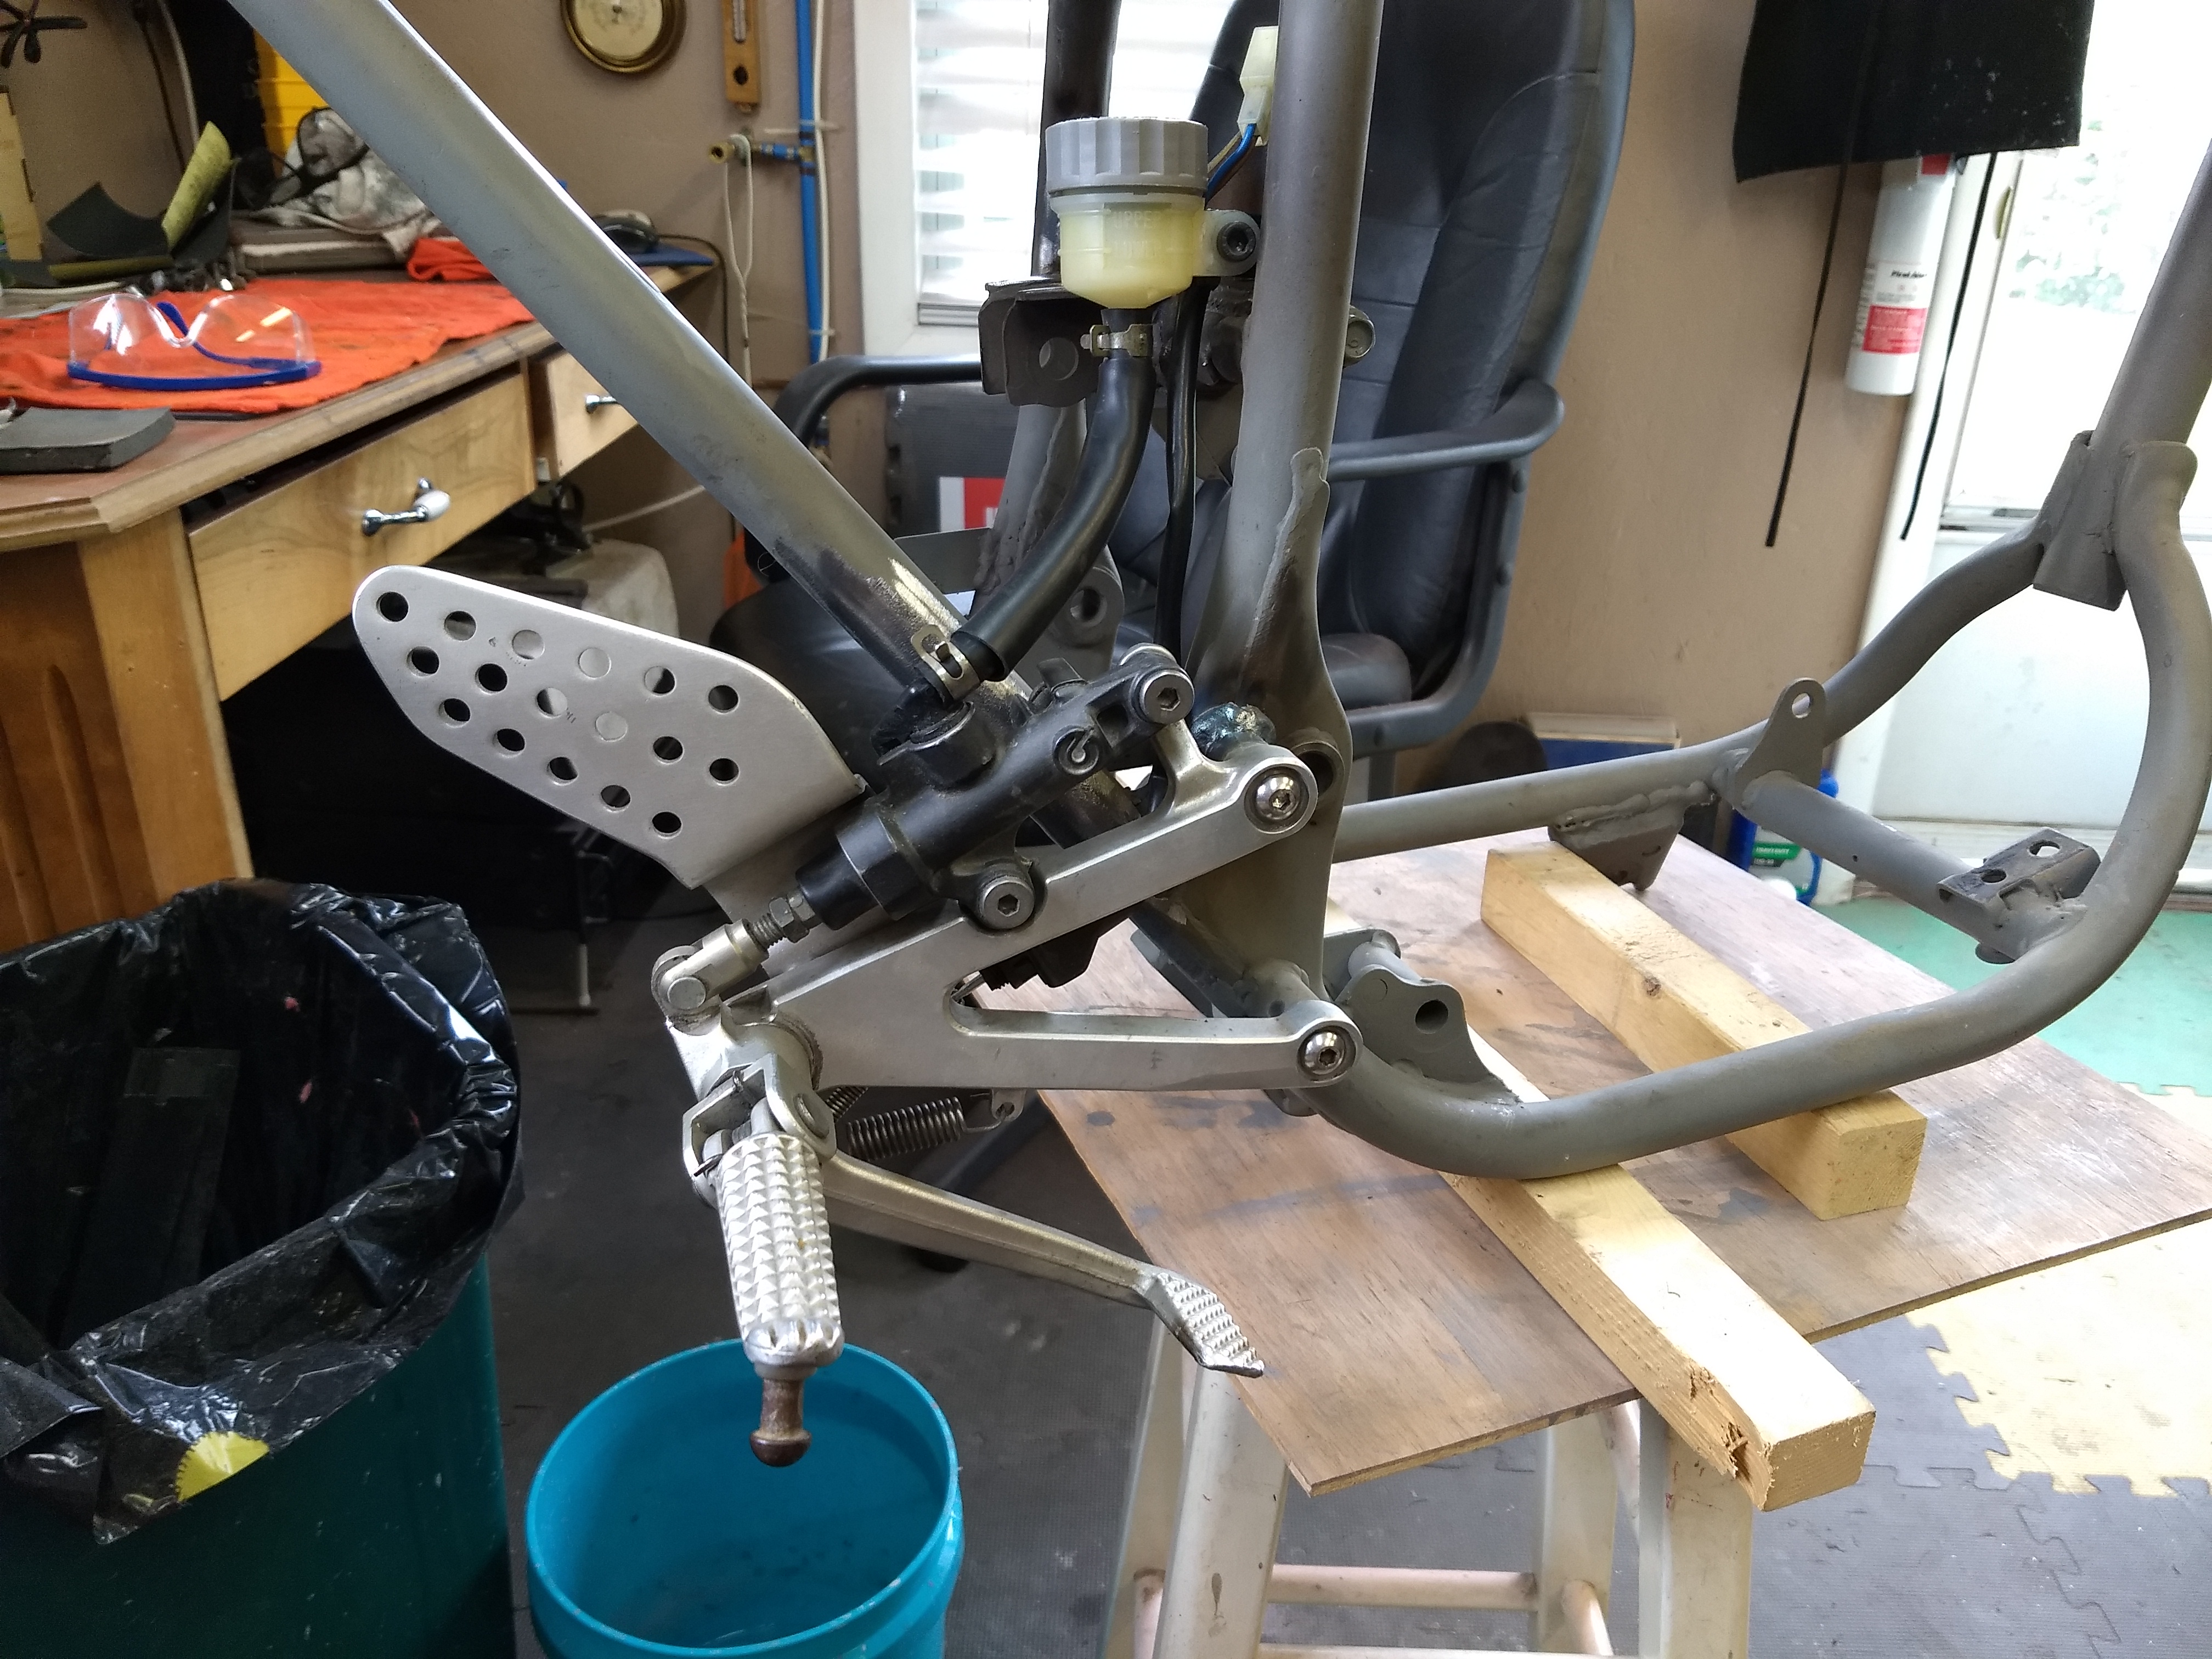
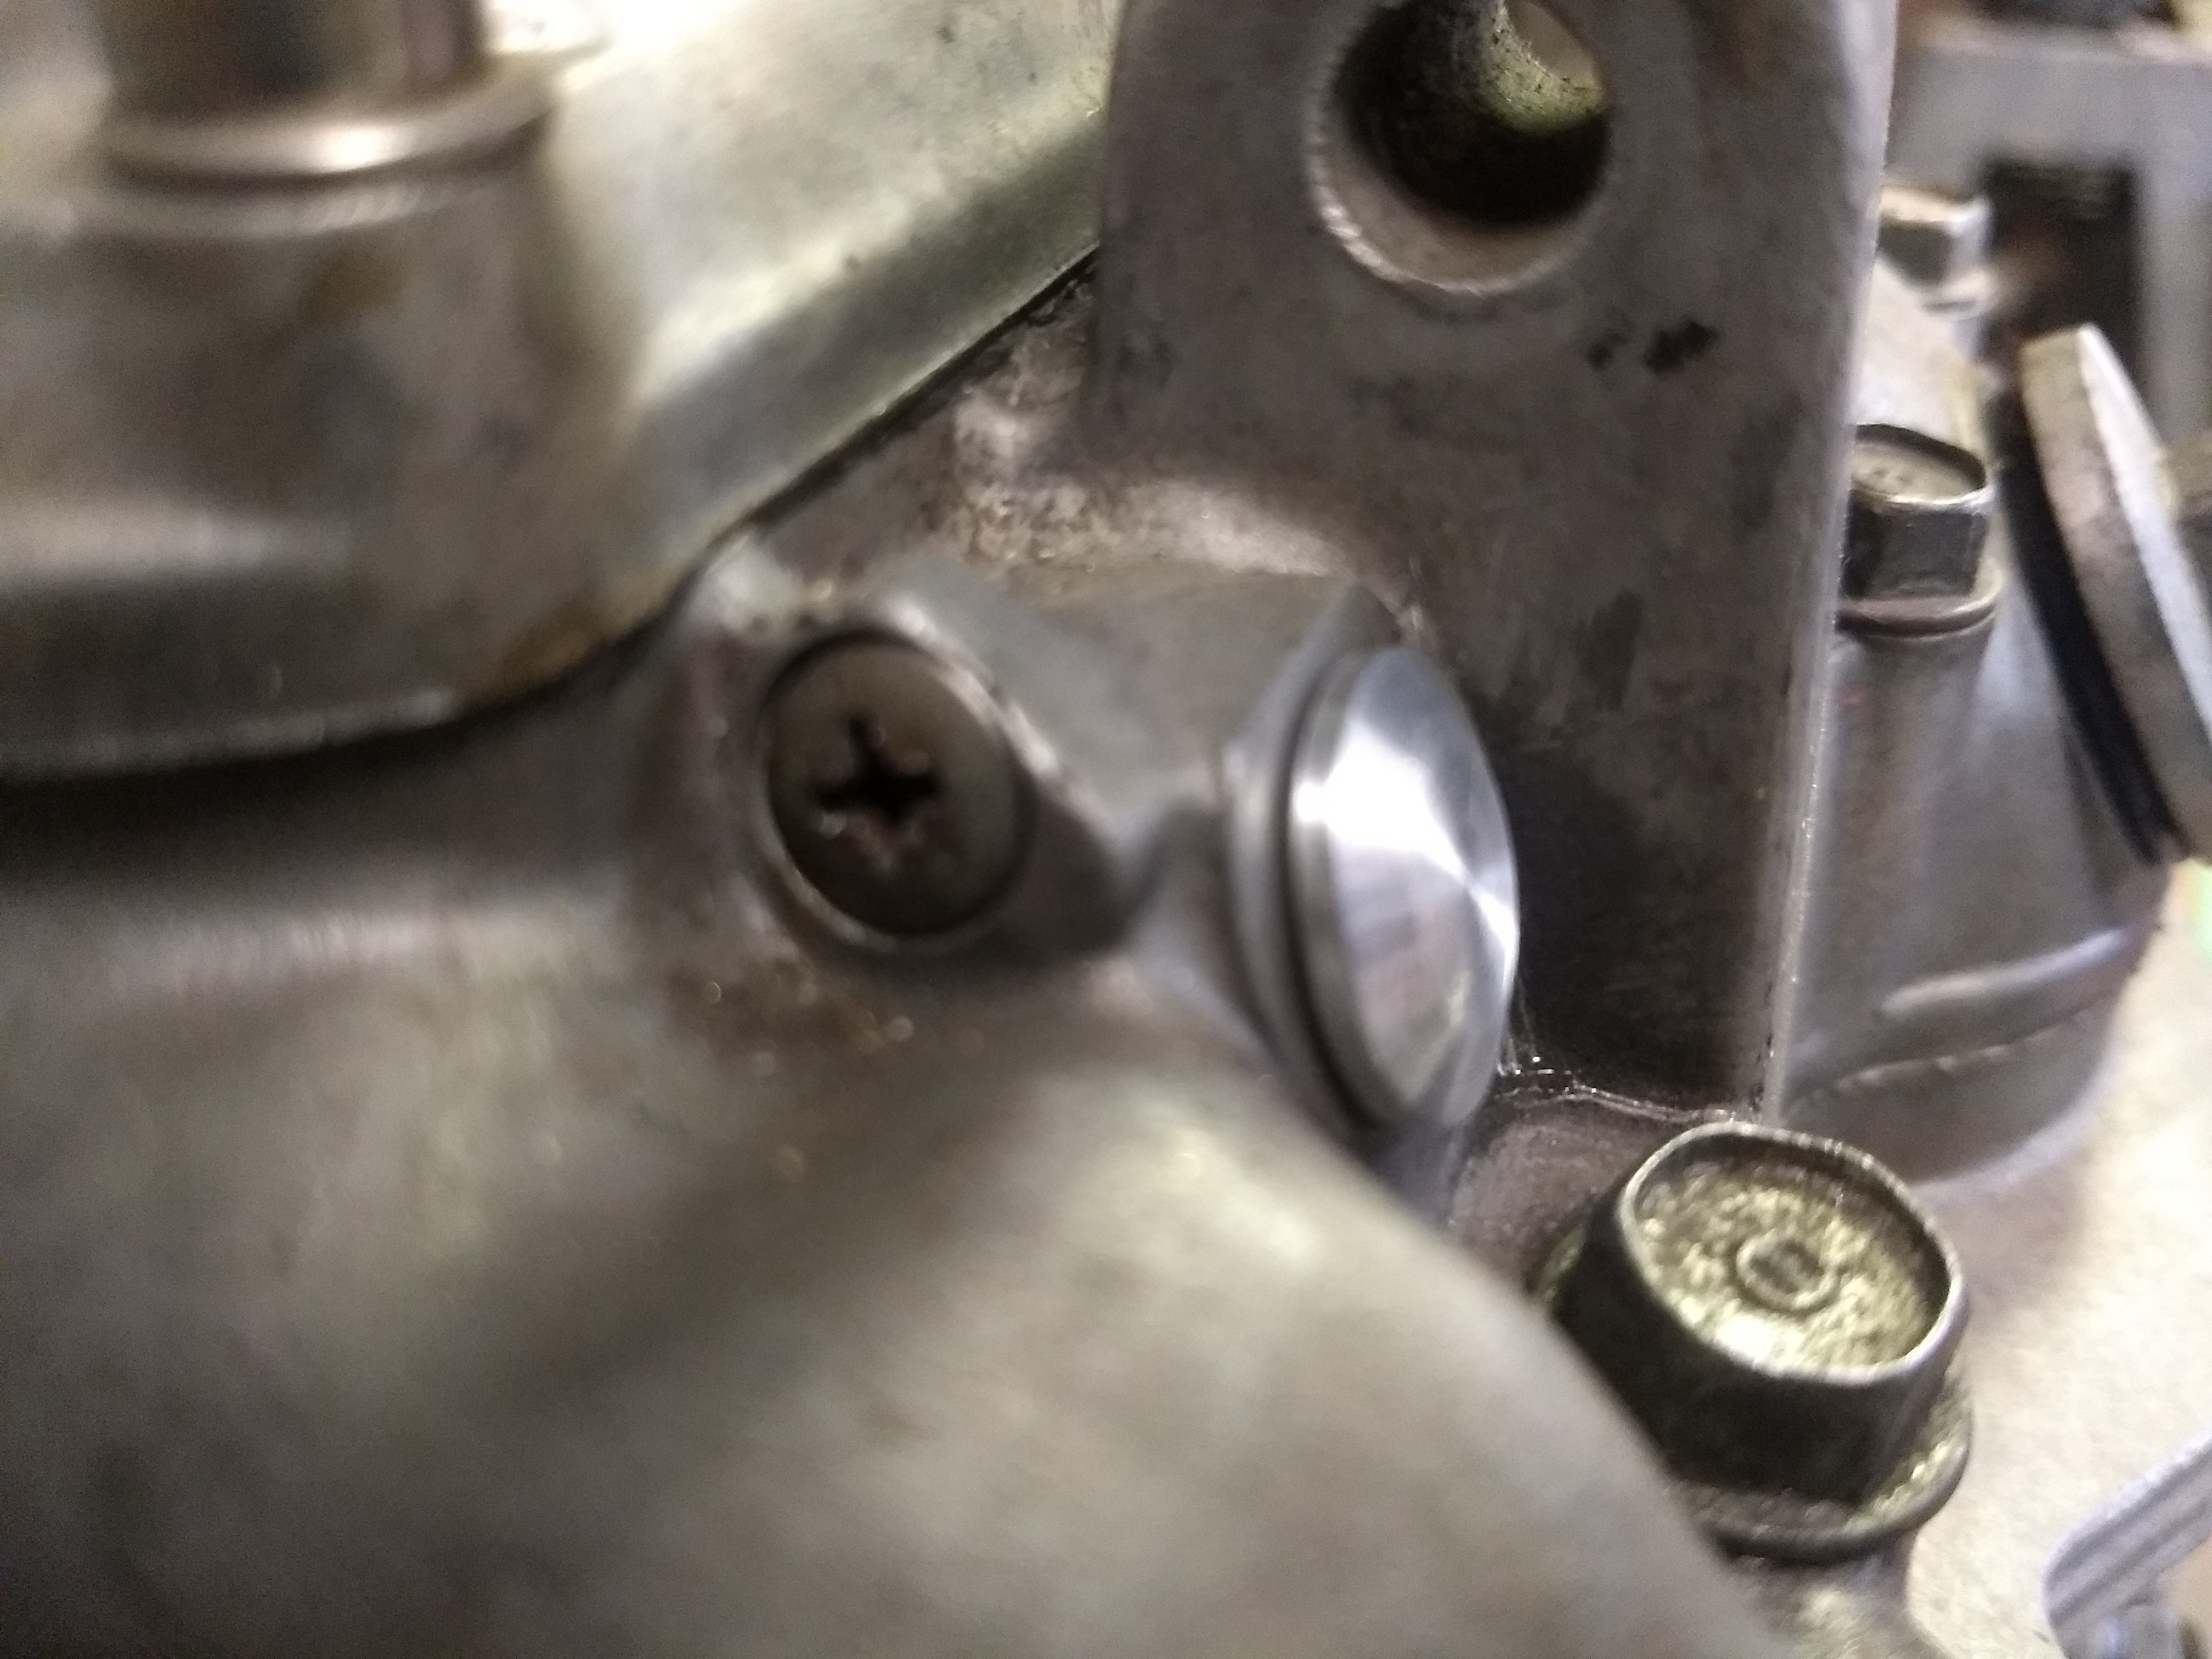
Thought I'd throw in a shot of the right foot peg and rear brake setup. Pretty easy to pull off.
For the good I'm happy to report that I got the frame back today and I was able to start some of the final little tasks necessary before I start the prep for paint. Unfortunately the thing has a few spots that look a bit like a corn cob because of my inexperience with a grinder. Filing and sanding should get the thing into some kind of workable shape.
For the not so good I was dismayed after shooting on the first coat of color. What looked like a pretty smooth and ready to paint surface in primer has some surface imperfections showing that I'm not going to be able to live with so I guess I'm back to sanding and filling and sanding and filling and sanding and filling again. Oh well, I'm retired, right? Grrrrrrrr.......
Thought I'd throw in a shot of the right foot peg and rear brake setup. Pretty easy to pull off.
Last edited:
If it's me, I'm putting wheels on it first and maybe even loading the engine to see where all the lines are, then making a final decision on tank location. The parallax doesn't do us a whole lot of favors on this side of the computer screen.ridesolo said:Some progress; some good, some not so good.
One more thing: Opinions/comments, please. After getting the tank back on it I'm wondering if I should drill a couple holes and use some all-thread rod to drop the front tank mount an inch or two?
irk miller said:If it's me, I'm putting wheels on it first and maybe even loading the engine to see where all the lines are, then making a final decision on tank location. The parallax doesn't do us a whole lot of favors on this side of the computer screen.
Yeah. I prolly could do that. (Could, but not going to.) Ha, at least it's a good way to get the last of the parts out, dusted off, painted, and ready.
pidjones
Over 1,000 Posts
ridesolo said:Snip---------------
One more thing: Opinions/comments, please. After getting the tank back on it I'm wondering if I should drill a couple holes and use some all-thread rod to drop the front tank mount an inch or two? [/font][/size]
I really like the gentle curve (from this angle at least) of the seat an tank bottom. At my age, gently curved bottoms are attractive.
pidjones said:I really like the gentle curve (from this angle at least) of the seat an tank bottom. At my age, gently curved bottoms are attractive.
Yup, gentle curves are a good thing.
ridesolo said:Yeah. I prolly could do that. (Could, but not going to.)
Yeah, famous last words! As I worked away at things last week it became evident that using that other seat wasn't going to give me any decent place to put the battery. It's amazing, something that, by dimensions, should to be relatively small seems grow to the size of a full concrete block when you try to find a place to stash it! So back comes the fiberglass seat pan, what the heck, I like it better anyway.
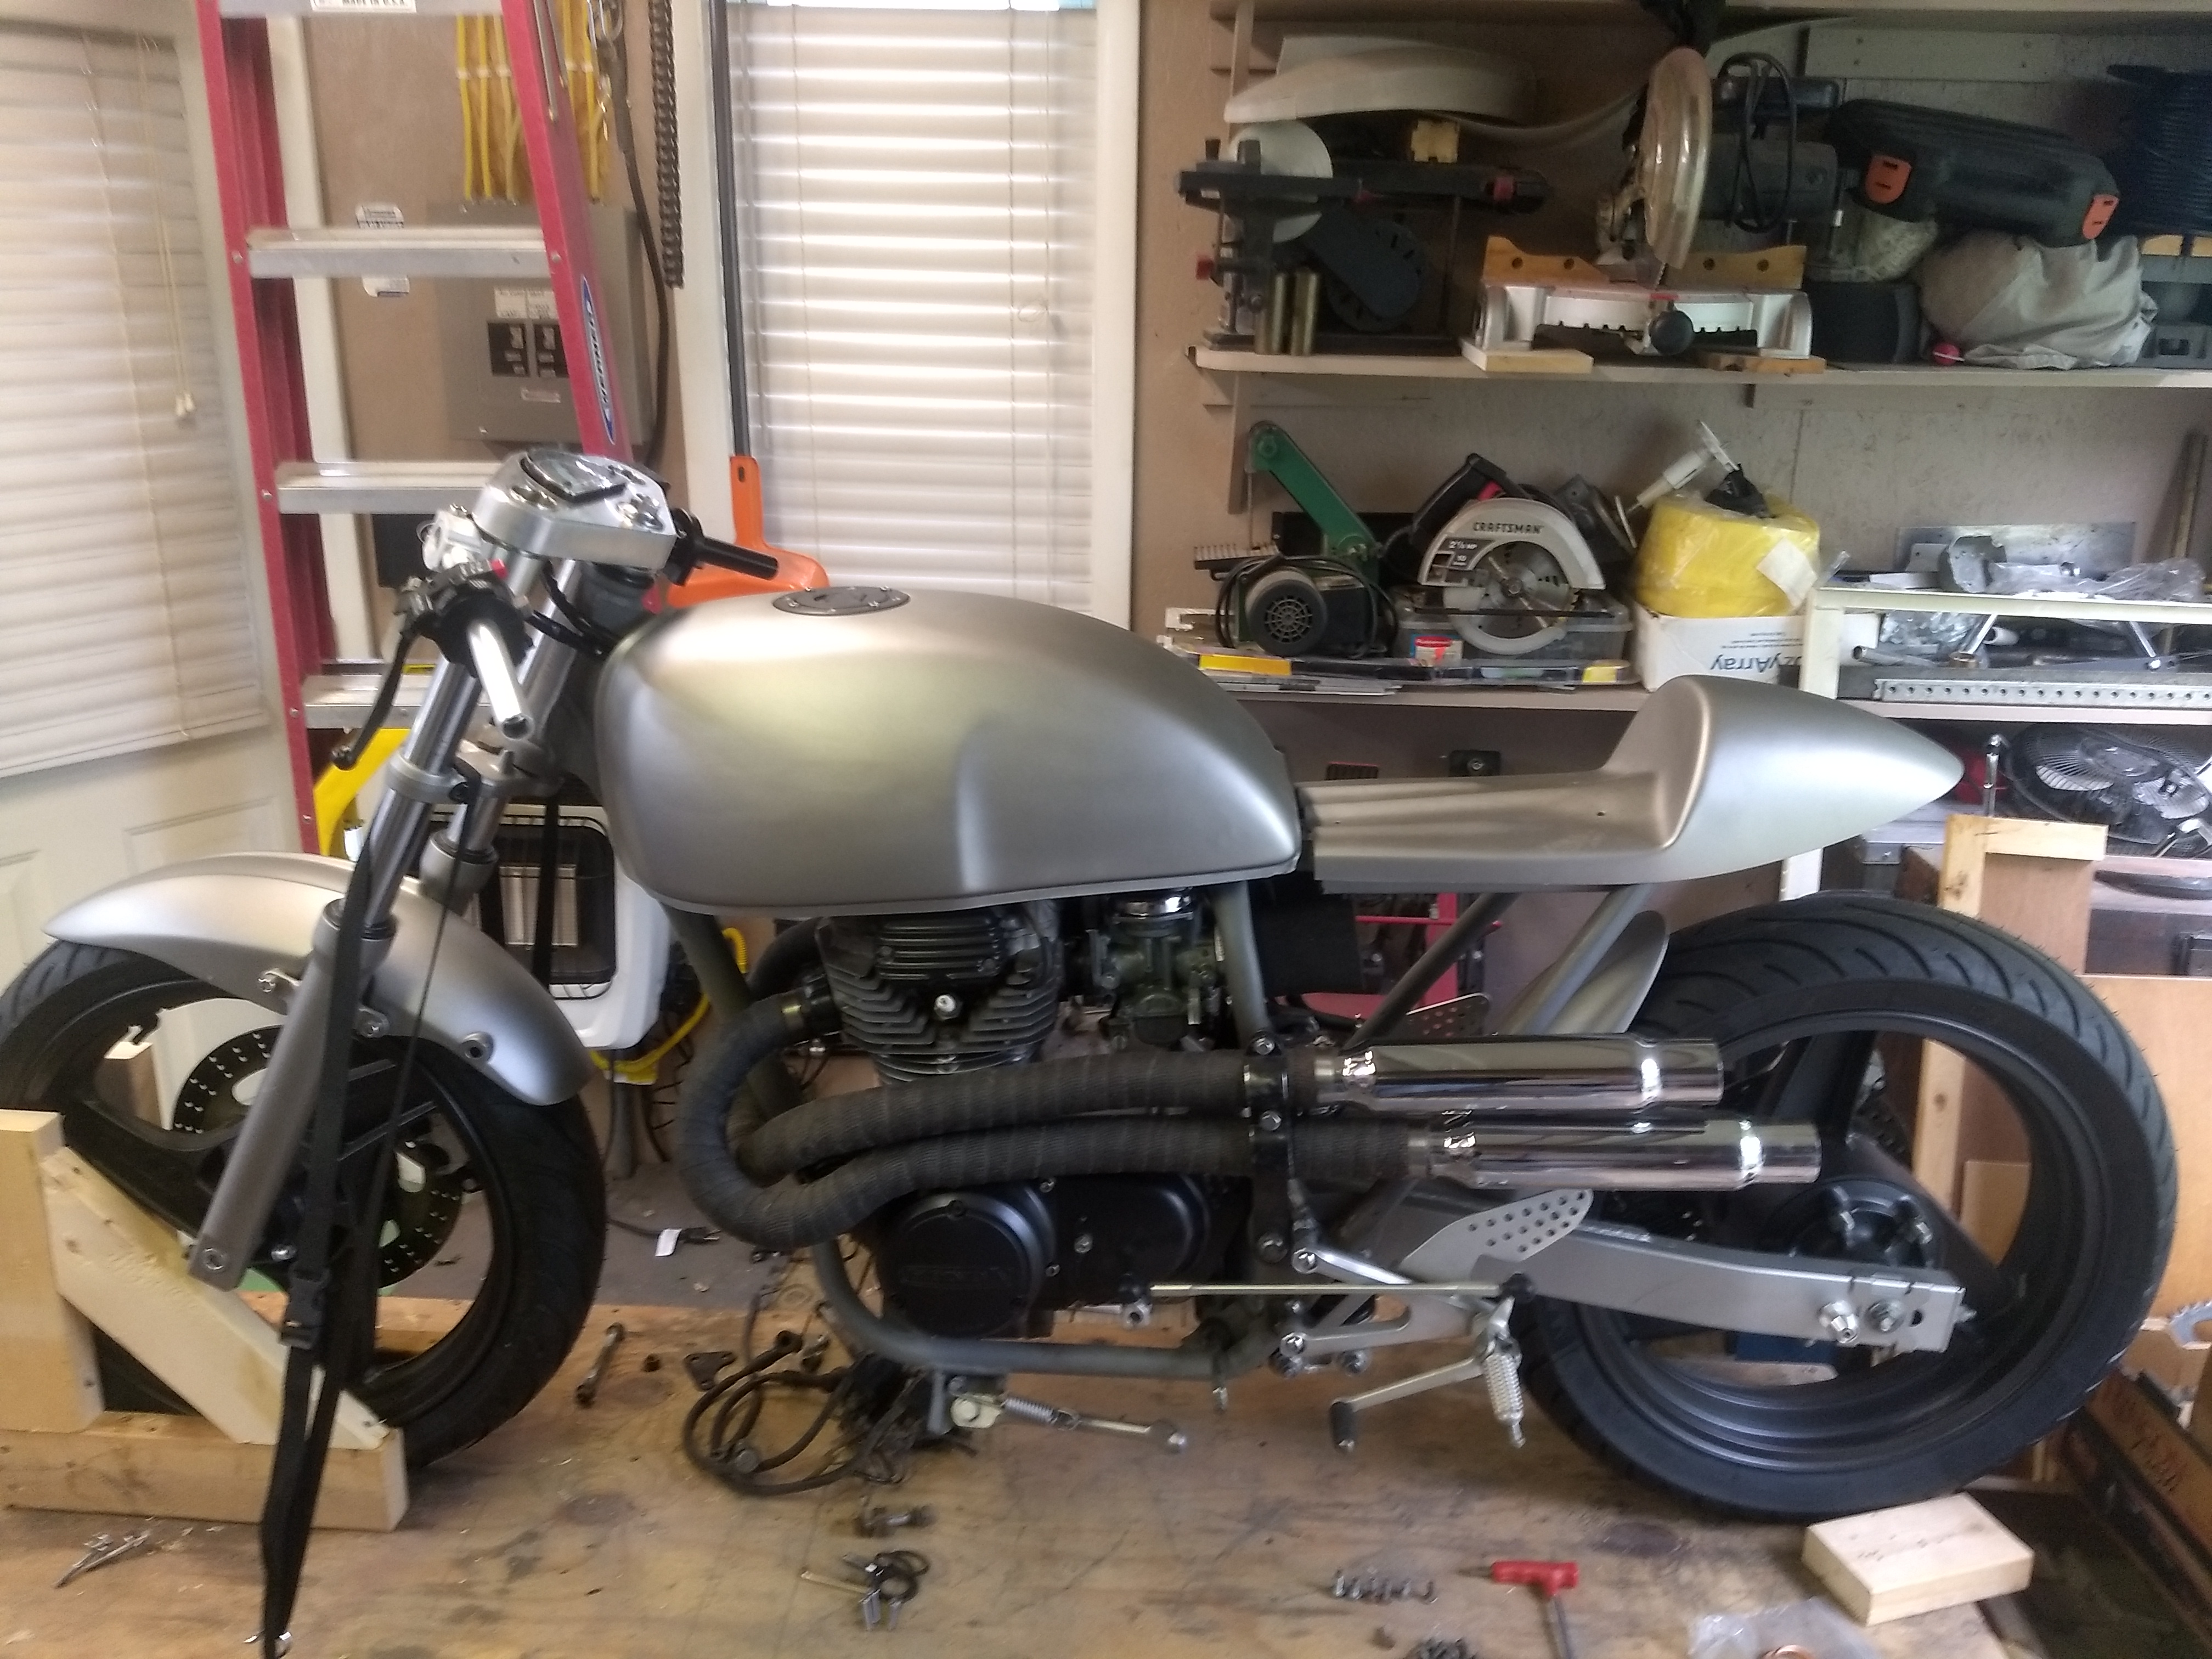
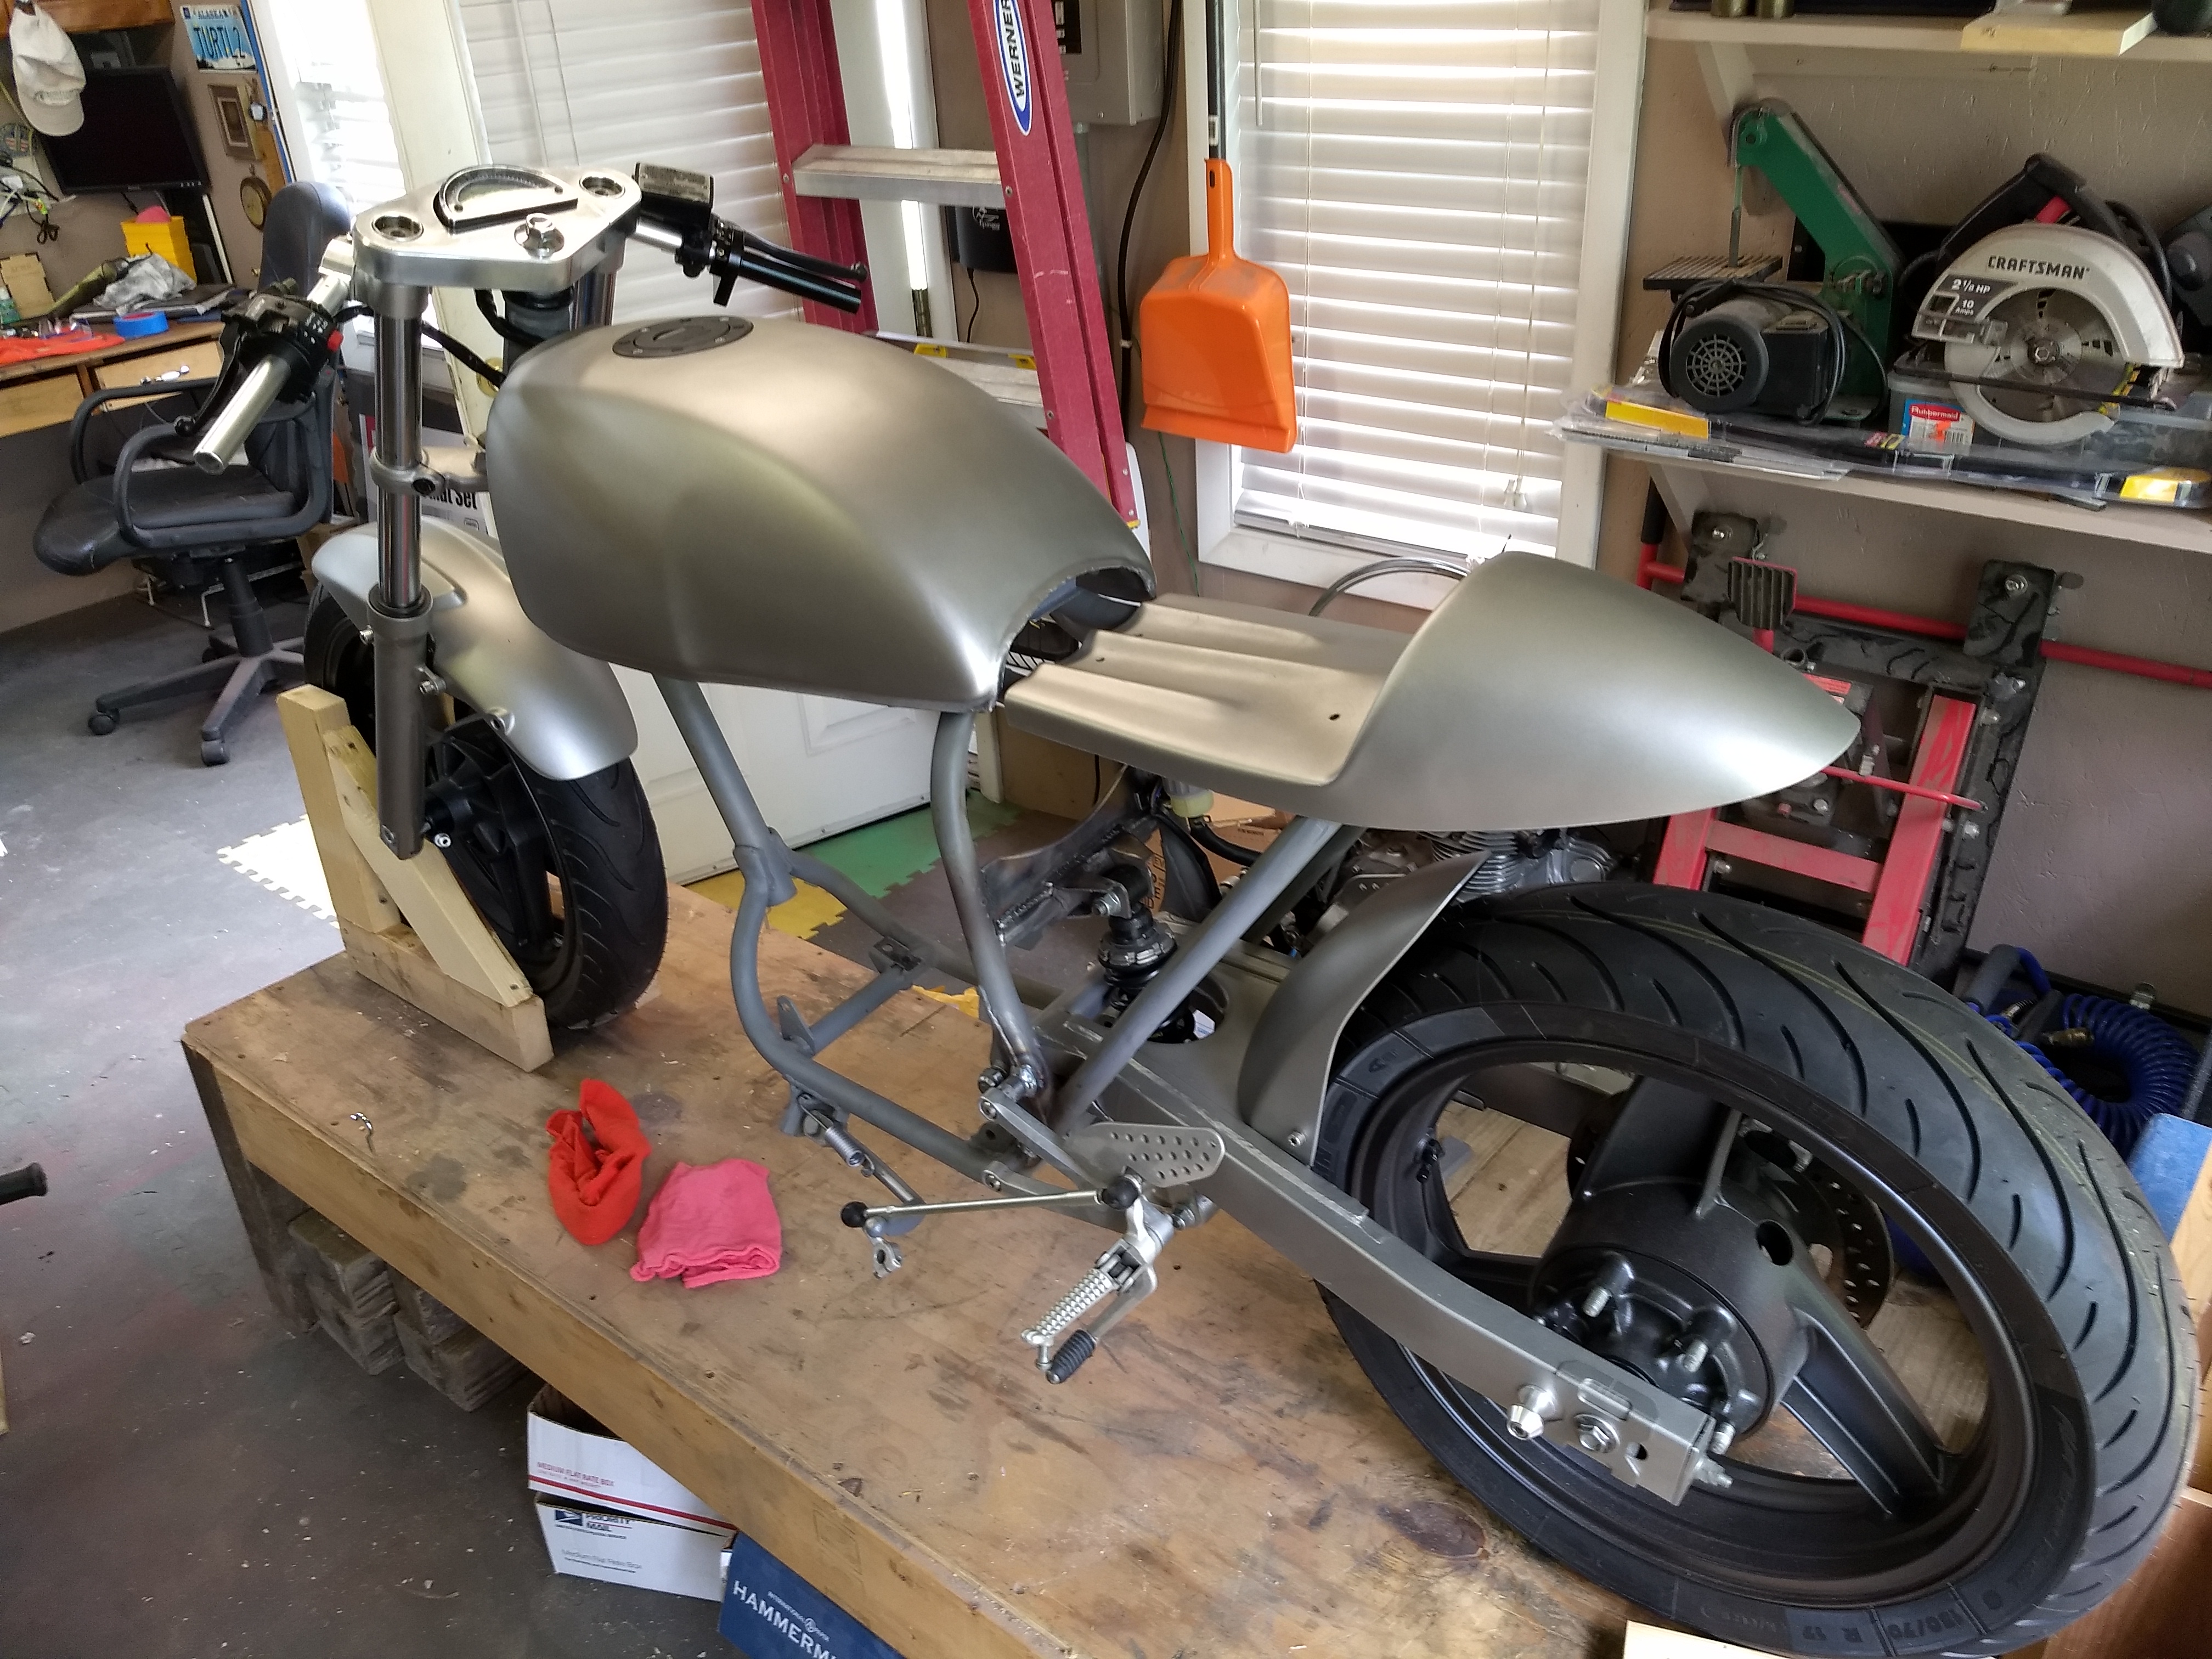
Hopefully I'll get the lump in tomorrow, carbs and all, so I can get everything placed where it's going to be. So far I'm not at all unhappy w/ how it looks.
Here's a higher view.
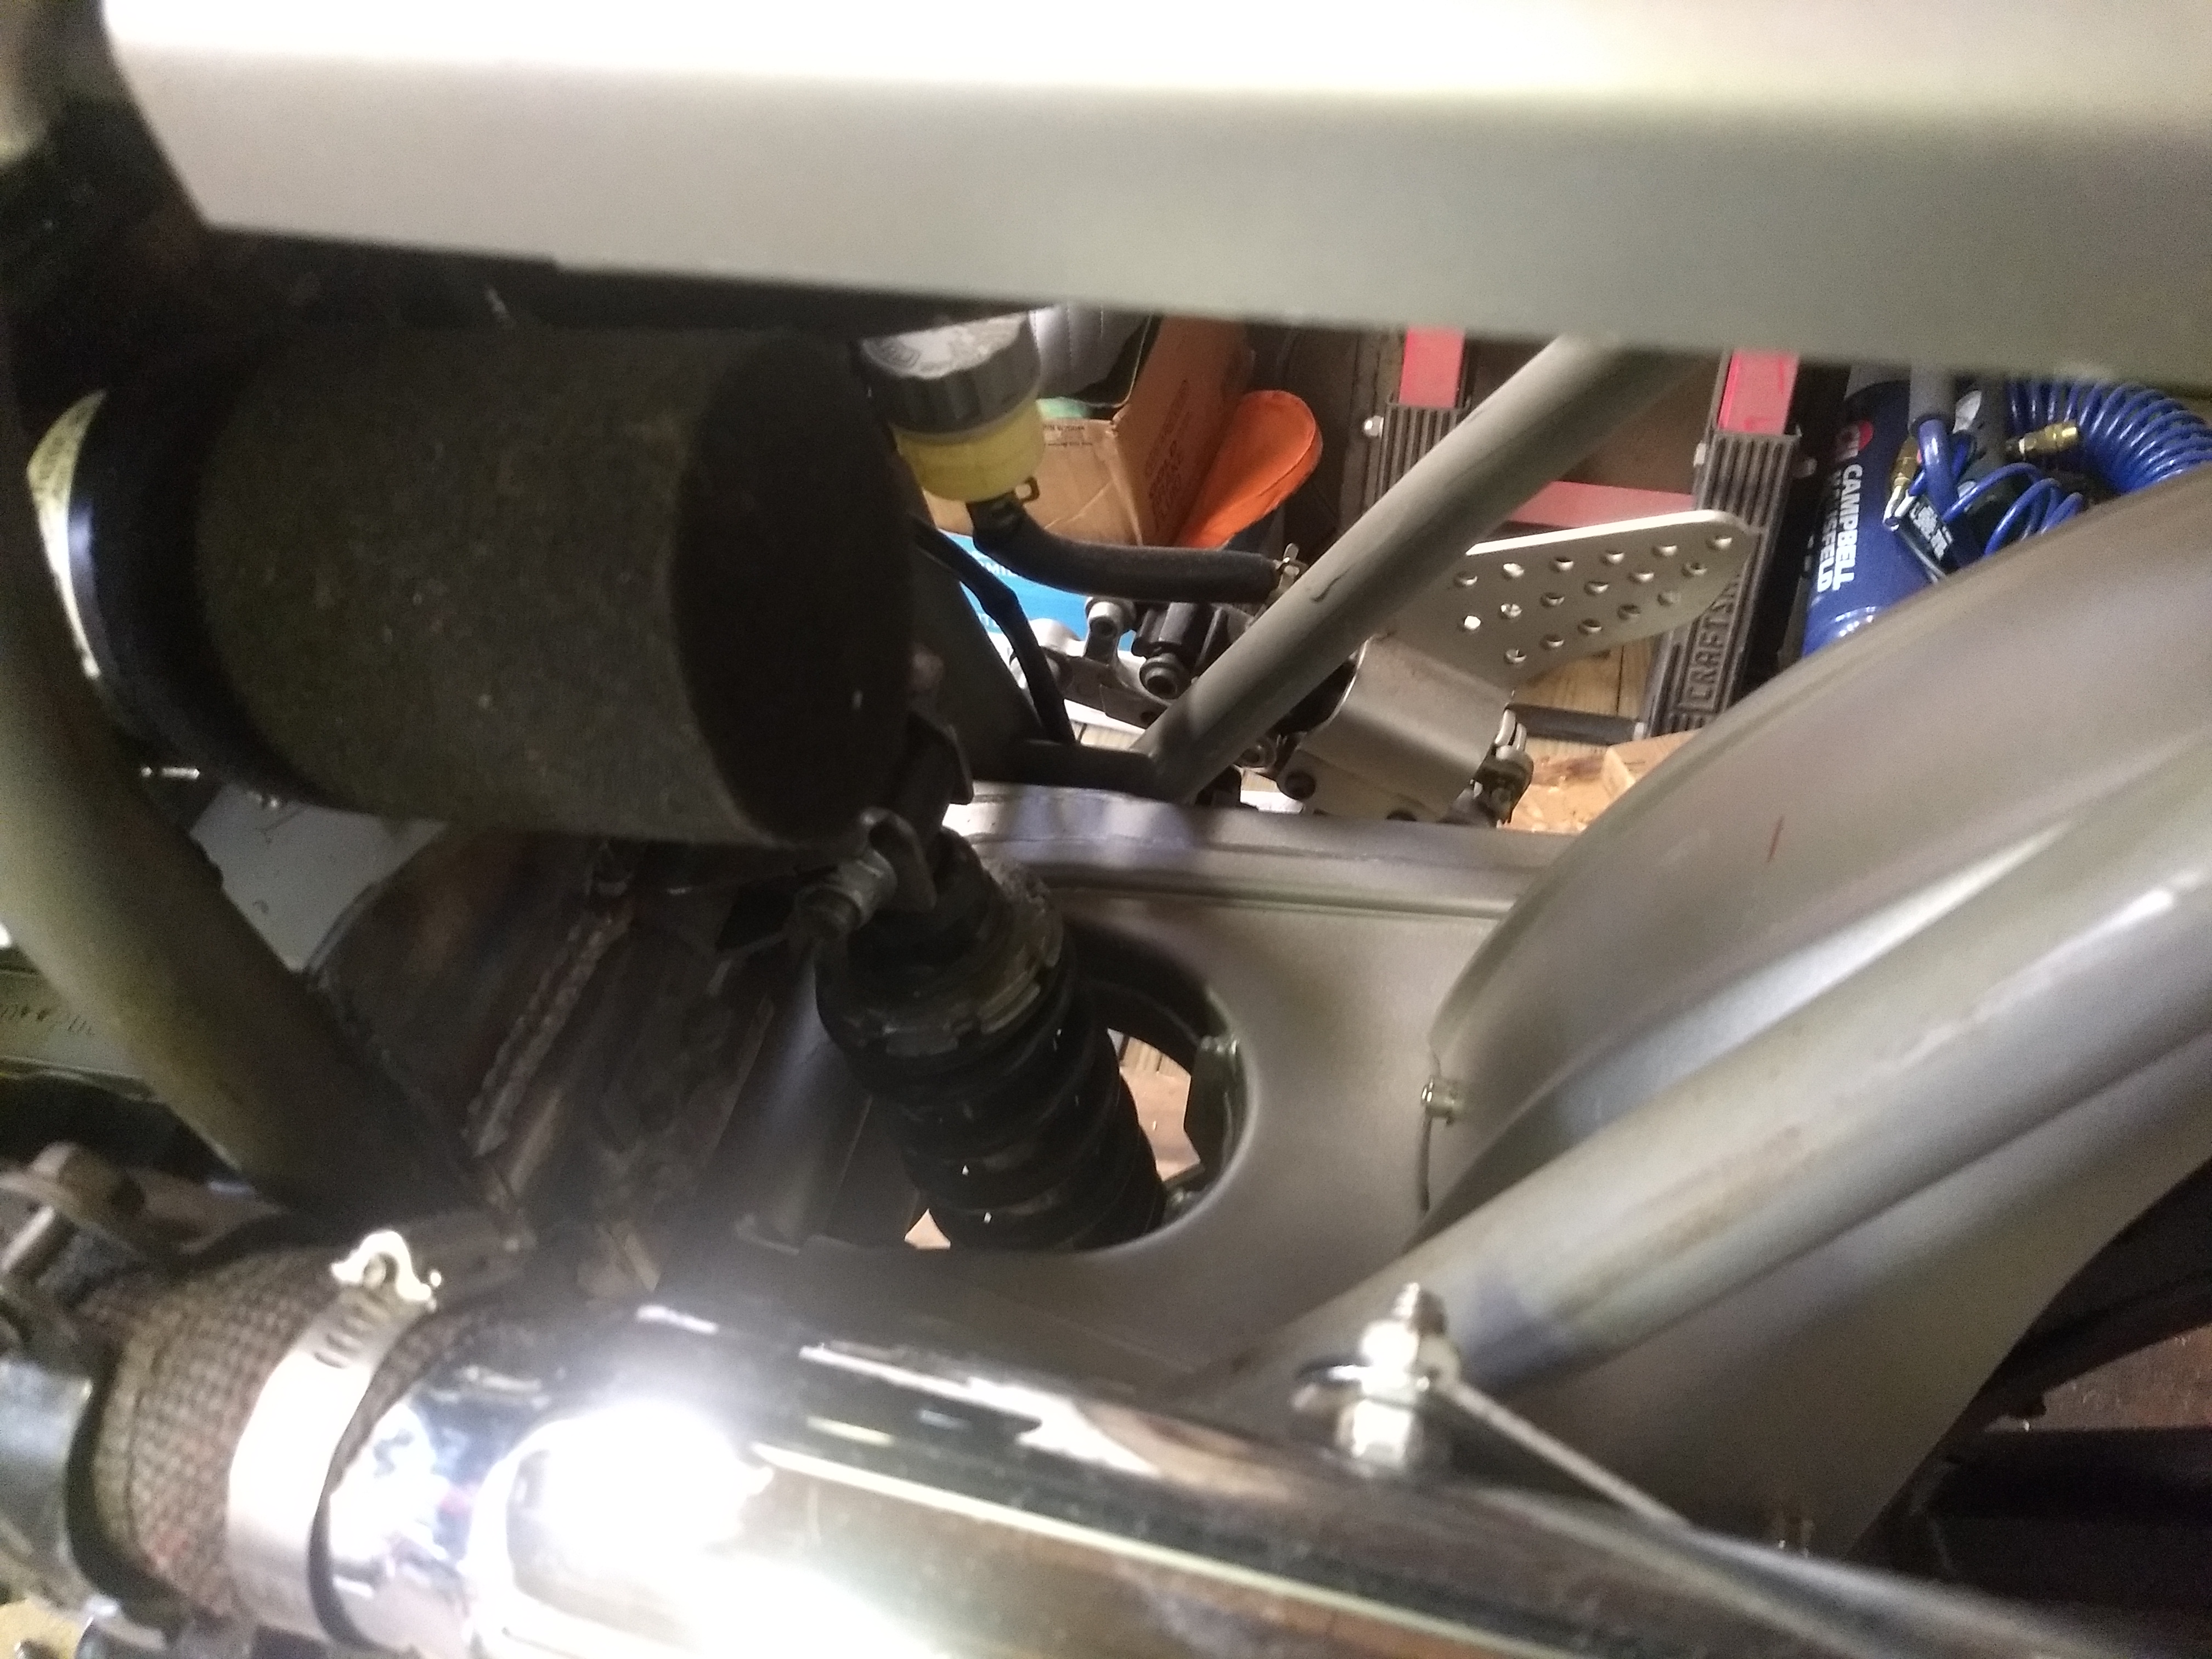
I hadn't originally planned to as my intent was to have this all very understated and pretty much able to disappear into a fog bank, but I may not be able to help myself and paint the rear spring some color other than black so that it's more visible back under there.
Got my CrazyPJ tach block off plug in the mail today. I was going to dig out the old Unimat and make one myself, but it would have taken lots of time to dig it out, clean it up, tune it up, find a suitable hunk of alu, and hope my skills come back quickly. Eh, some time on down the road I'll dig it out and set it up but Levi has given me a deadline; get the thing rideable for the next DGR. Hmmm...

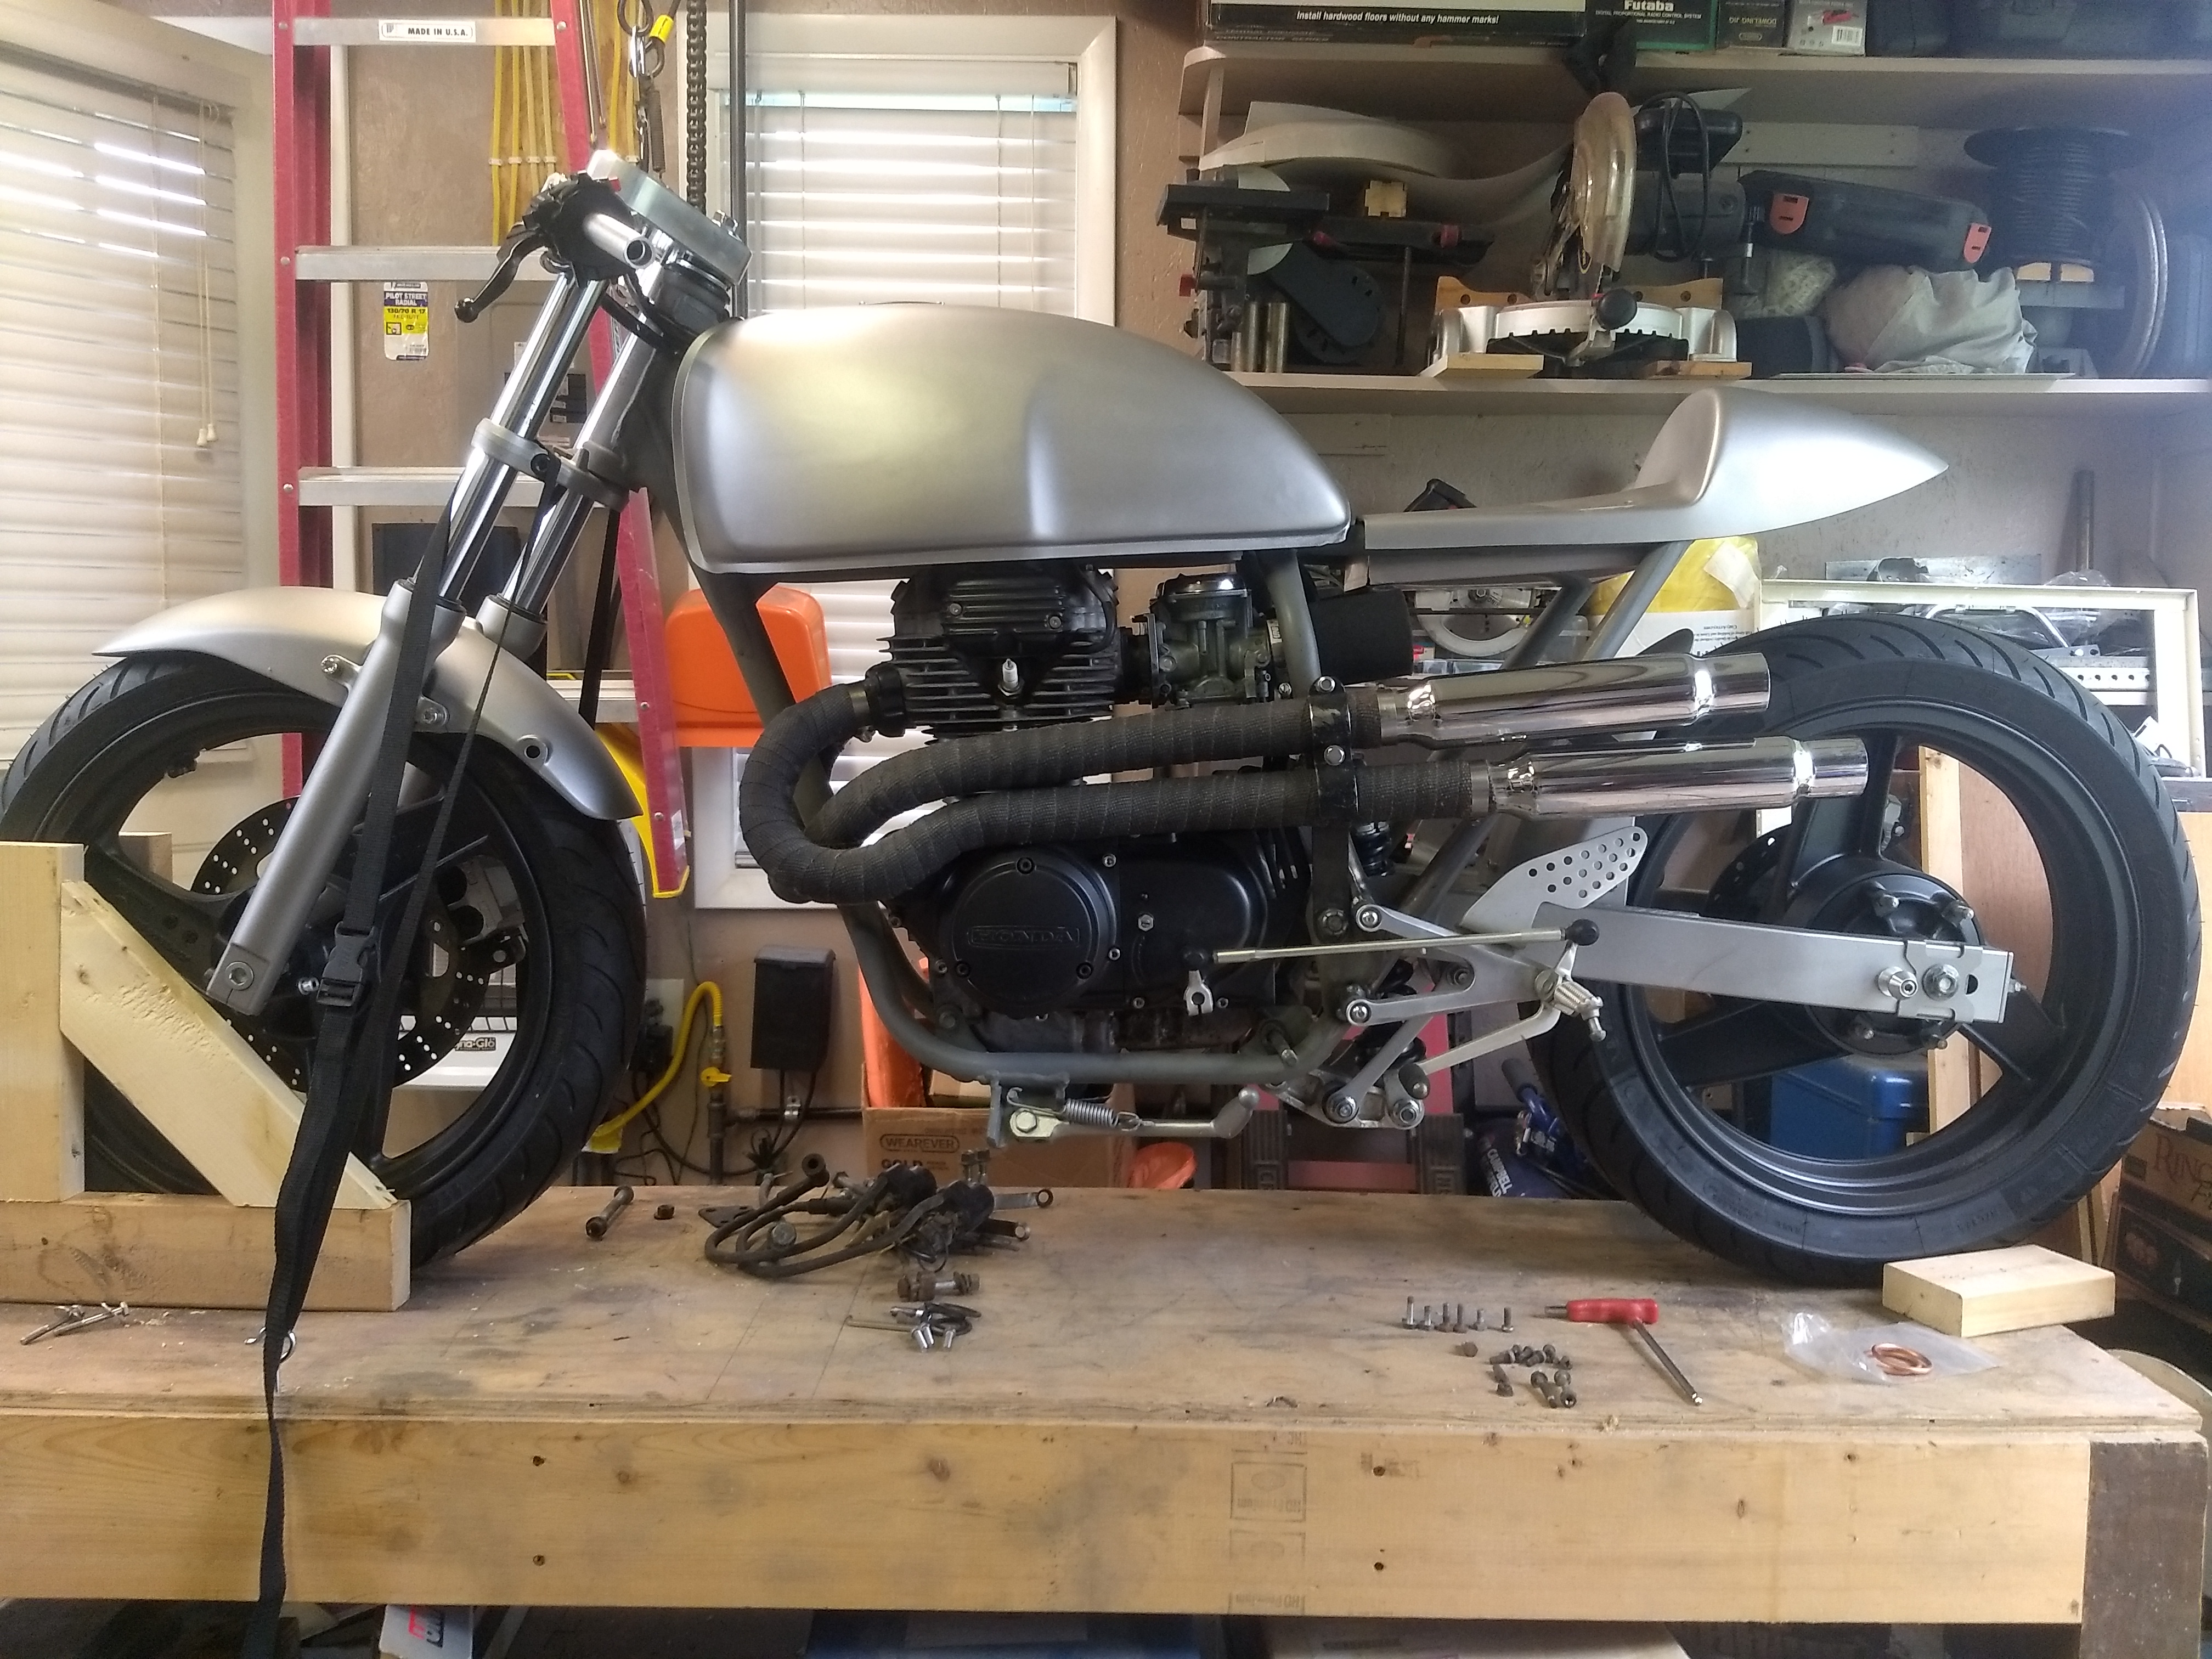
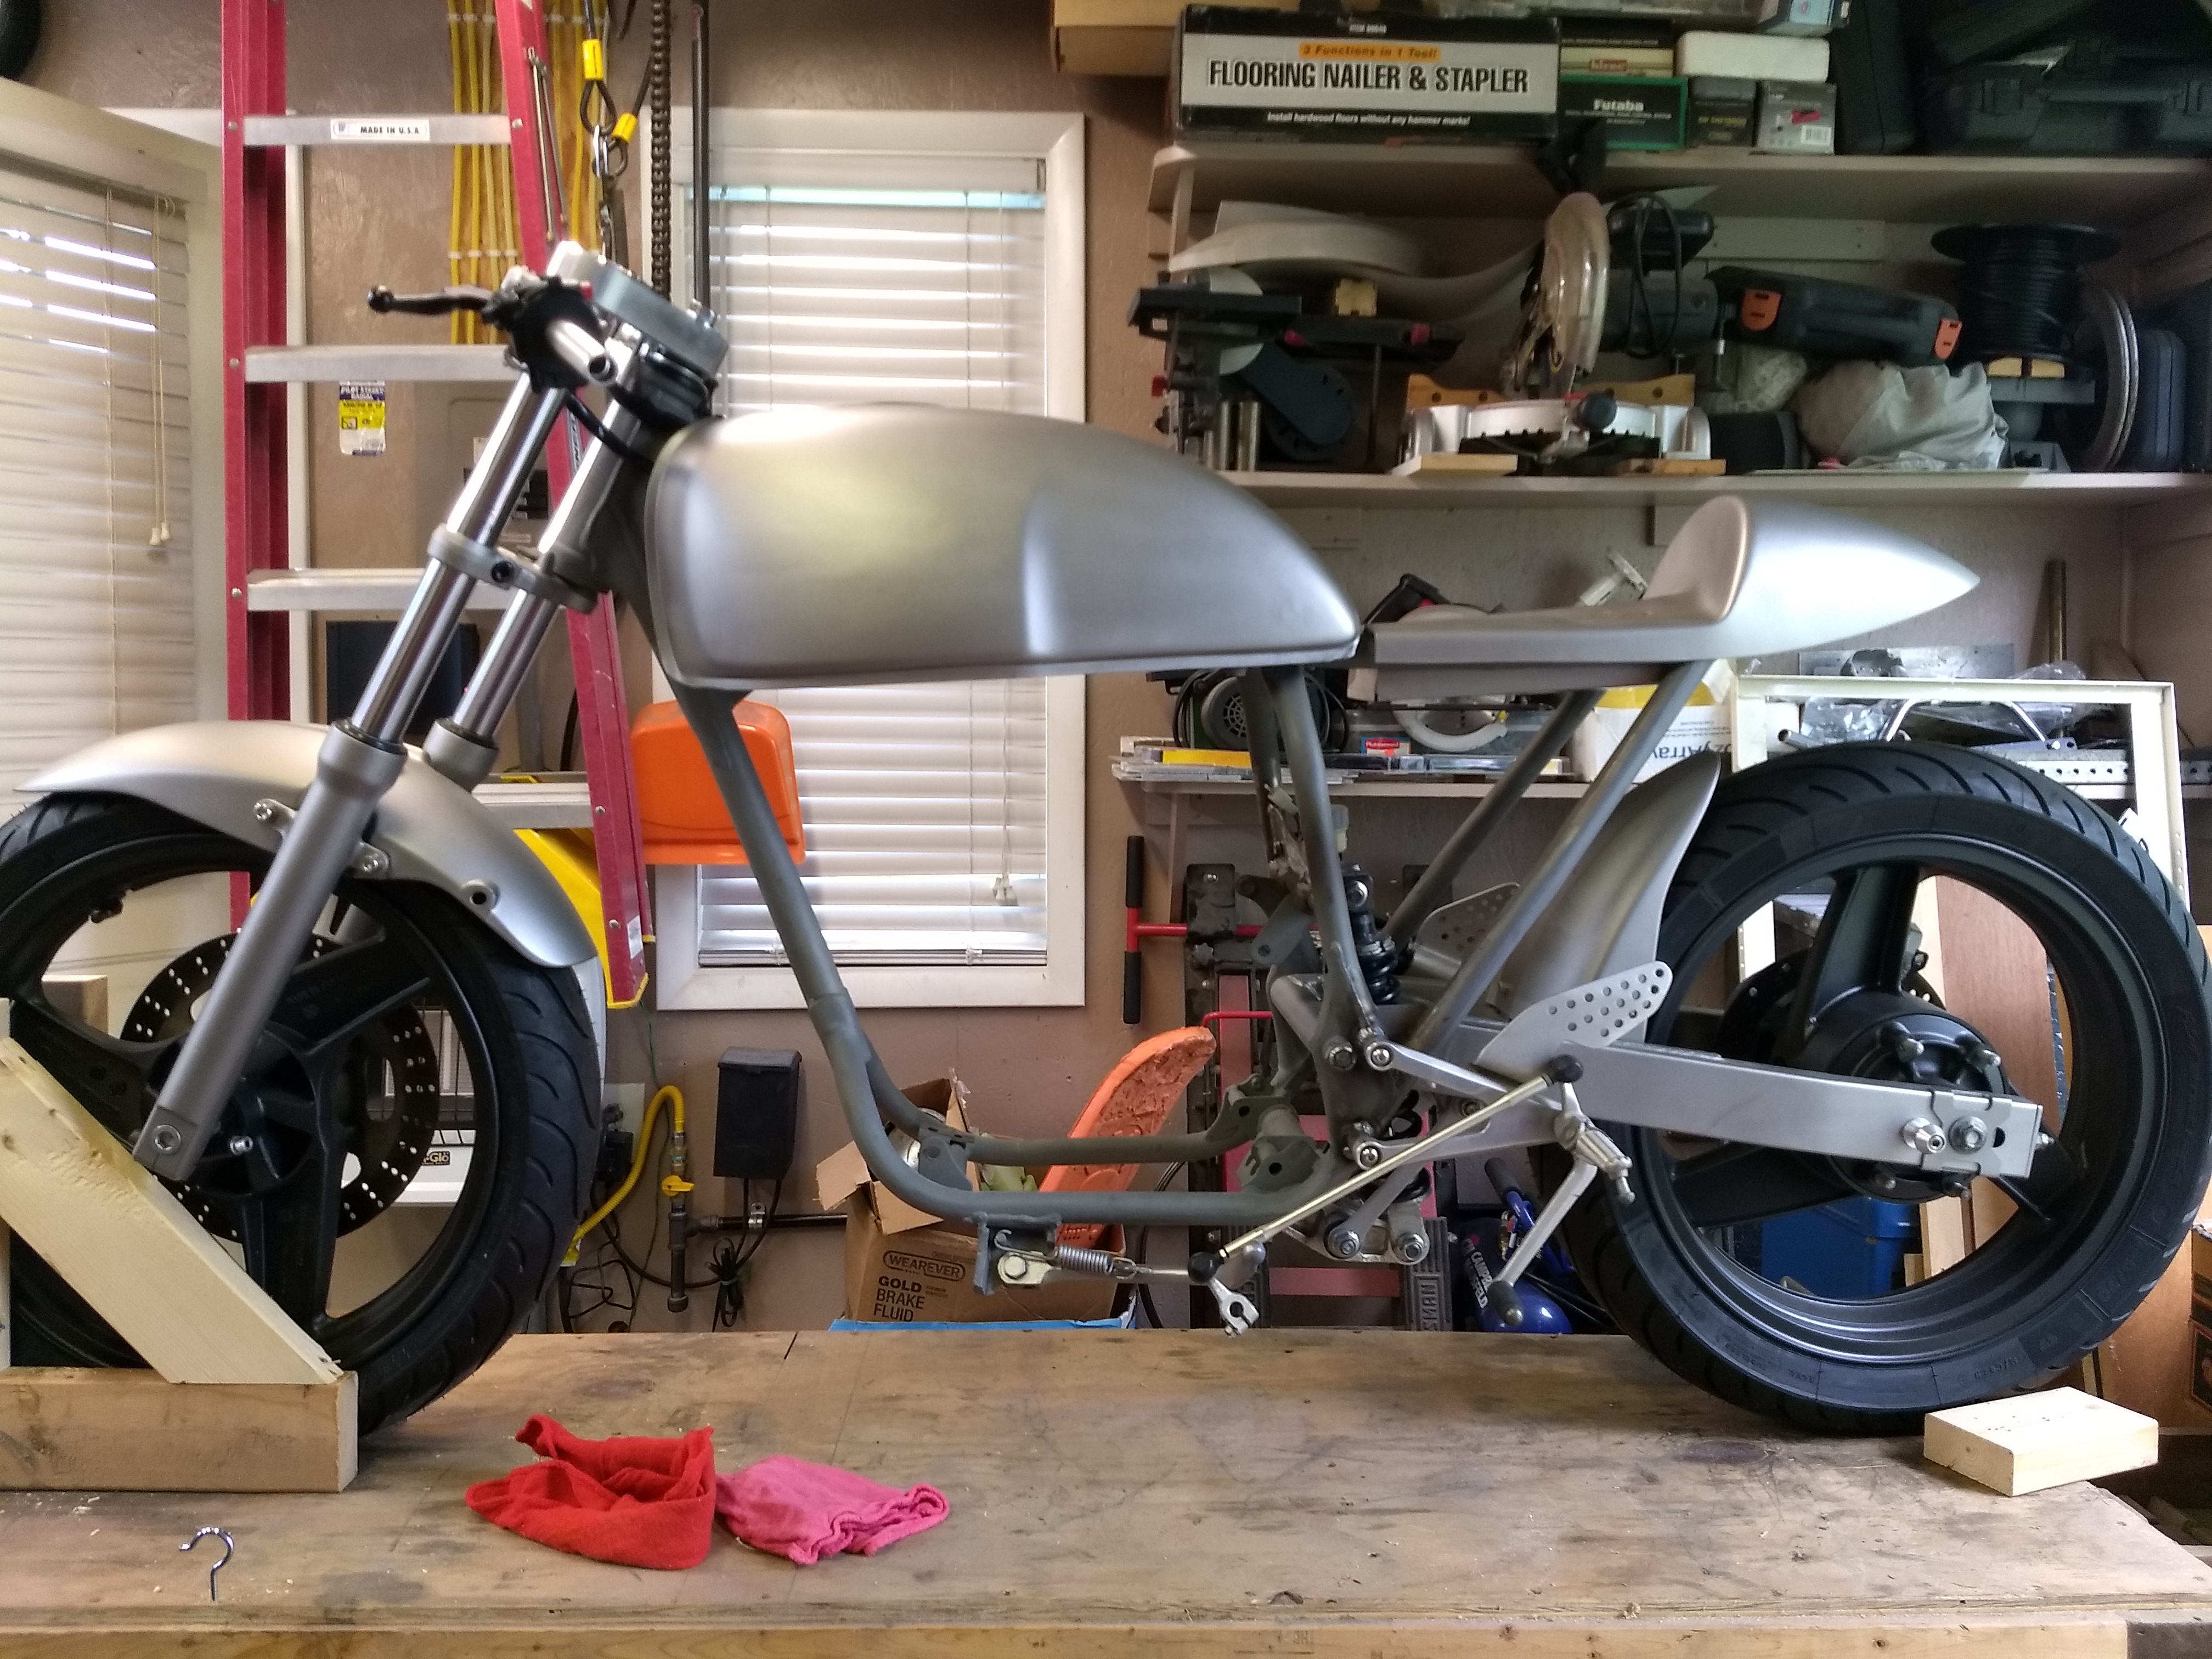
Engine is back in so I can take some measurements and finalize a few things before I get the frame sanded and painted. Since it was sitting there on its feet I couldn't resist setting up some pix just for the fun of it. Low and small feeling is what I wanted and I've achieved that. Without the weight of fuel and oil (and me) the top of the tank is only 31.5" from the ground. I have no idea what the weight will be, for sure lighter than a stock CL360, but I didn't go nuts trying to lighten it, either. So, anyway, here she is: