
We noticed you are blocking ads. DO THE TON only works with community supporters. Most are active members of the site with small businesses. Please consider disabling your ad blocking tool and checking out the businesses that help keep our site up and free.
You are using an out of date browser. It may not display this or other websites correctly.
You should upgrade or use an alternative browser.
You should upgrade or use an alternative browser.
xj/fj 600 cafe fighter
- Thread starter matie69
- Start date
silverdollar
New Member
Any updates?
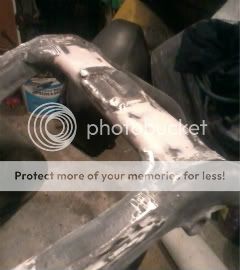
Right the prep work continues...this is the first time i've really attempted the paint side of things so its all a learning curve to me, and as funds are pretty low i want to do everything myself.
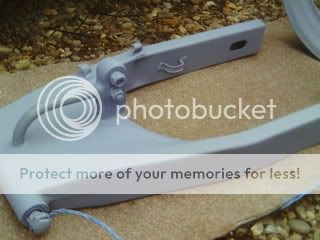
The swingarm was filled and stripped, then etch primer and a coat of high build primer, more rubbing down and a guide coat followed by more wet and dry. Smooooth.
Got to point of ready for the grey primer so 4 coats applied.
 .
.
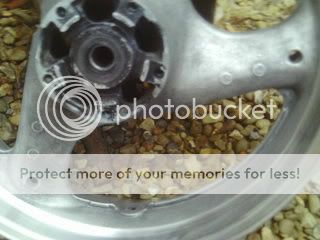
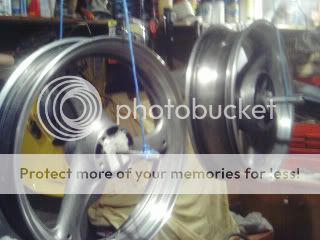
The wheels had nitromors paint striper applied then wet and dry ready for next stage.
Etch primer in thin coats sprayed on then put some normal grey primer on at same time as the swingarm.

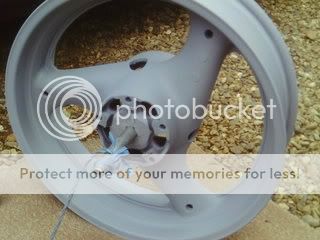
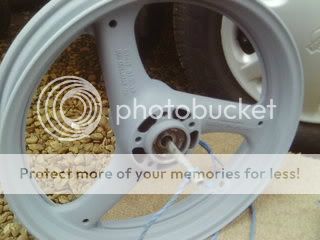
Got to say everything went well, no runs or mess ups, time spent in prep seems to have paid off. I used U-Pol primer and have to say for the price i was really impressed with the quality.
The swingarm was filled and stripped, then etch primer and a coat of high build primer, more rubbing down and a guide coat followed by more wet and dry. Smooooth.
Got to point of ready for the grey primer so 4 coats applied.
The wheels had nitromors paint striper applied then wet and dry ready for next stage.
Etch primer in thin coats sprayed on then put some normal grey primer on at same time as the swingarm.
Got to say everything went well, no runs or mess ups, time spent in prep seems to have paid off. I used U-Pol primer and have to say for the price i was really impressed with the quality.
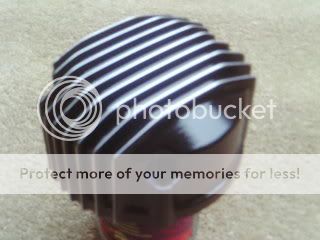
Because i live in a first floor flat actually working on the bike has been quite difficult, with 2 young children i'm unable to use power tools, so in the evenings i've been sat on the floor in the kitchen with grades of wet and dry from 180 to 1500 working on some of the engine covers.
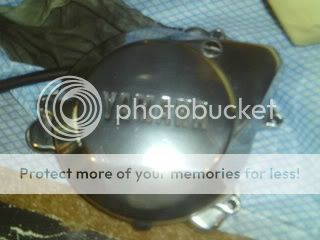
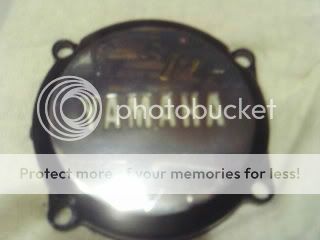
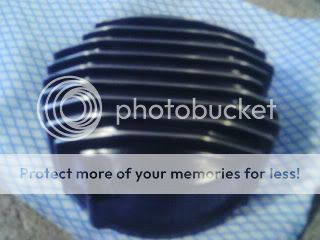
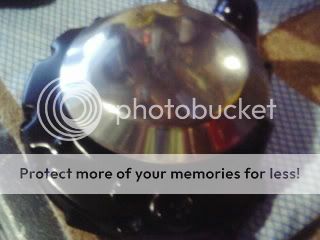
They probably look better than they really are but were only meant to add a bit of detail to the engine. The previous owner for some reason hand painted everything with what seems to be dish water. So after a new coat of black gloss as well i clear coated them to save me having to continuosly having to polish.
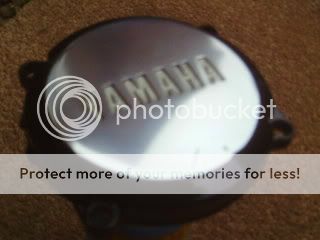
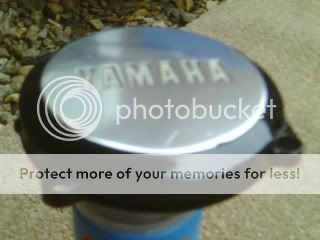
Still got to degrease rest of the engine yet and that will have satin black applied so the cases should stand out a bit.
Getting there slowly but getting there, frame and forks will be next. I have chosen the final colours but not gonna tell ya. Bit of retro old skool yamaha in the mix come cafe.
They probably look better than they really are but were only meant to add a bit of detail to the engine. The previous owner for some reason hand painted everything with what seems to be dish water. So after a new coat of black gloss as well i clear coated them to save me having to continuosly having to polish.
Still got to degrease rest of the engine yet and that will have satin black applied so the cases should stand out a bit.
Getting there slowly but getting there, frame and forks will be next. I have chosen the final colours but not gonna tell ya.
Bit of retro old skool yamaha in the mix come cafe.Got to give Yamaha credit for what they painted the frame with at the factory its stuck like shit to a blanket. More than a few coats of Nitromors and theres still some refusing to budge. ???
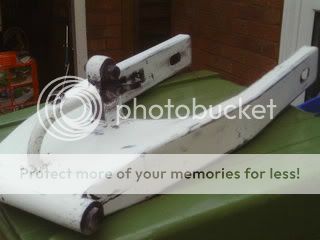
Looks like i'm back onto the wet and dry/sanding blocks and a bit of elbow grease to prep her up for some etch primer.
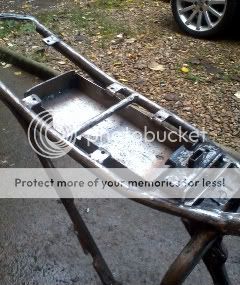
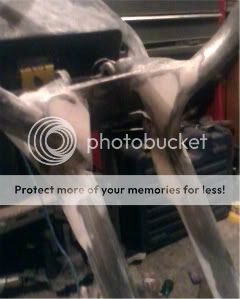
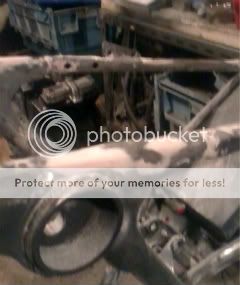
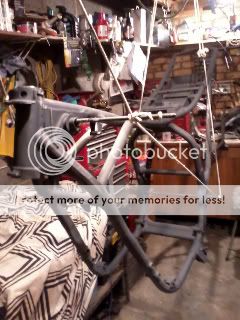
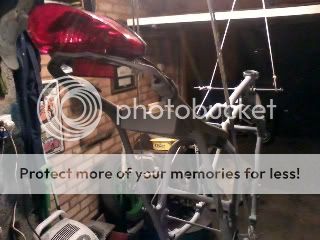
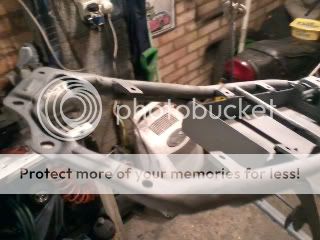
Heres some pics of the frame and some of the alterations.
Got rid of the standard foot levers early on but left the frame weak so some stengthening plates been added.
Original:

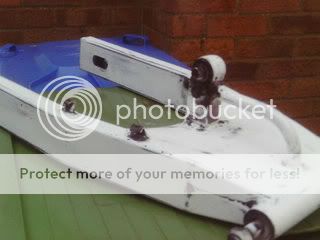
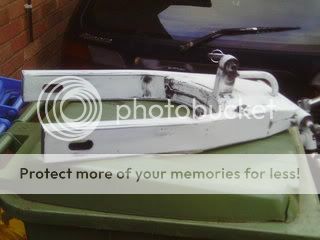
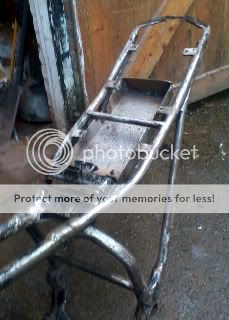
How she stands now: also removed the centre stand.

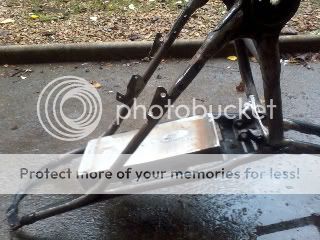
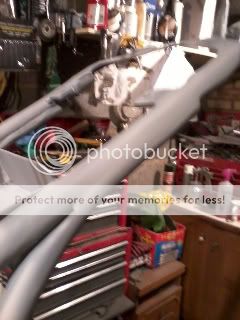
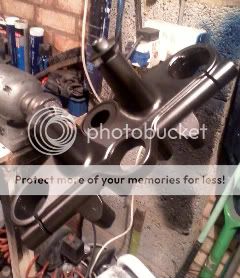
Heres the mounts for the Fz rear sets/heel guards and rear brake:
New top shock mount for the relocated shock:
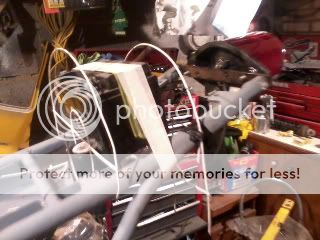
Battery was originally mounted between subframe spars but will be mounted under the hump but rest of electrics as in fuse box relays etc would still be visable to added this tray to hide everything in:
Looks like i'm back onto the wet and dry/sanding blocks and a bit of elbow grease to prep her up for some etch primer.
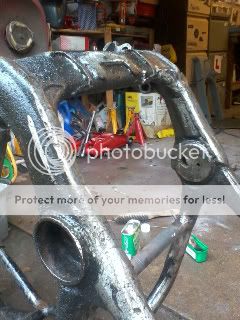
Heres some pics of the frame and some of the alterations.
Got rid of the standard foot levers early on but left the frame weak so some stengthening plates been added.
Original:
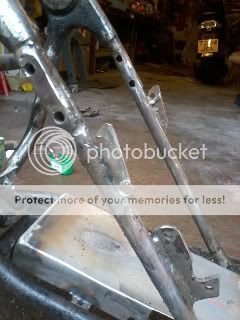
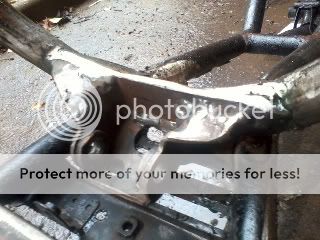
How she stands now: also removed the centre stand.
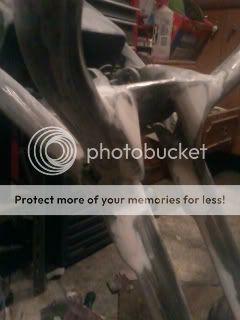
Heres the mounts for the Fz rear sets/heel guards and rear brake:
New top shock mount for the relocated shock:
Battery was originally mounted between subframe spars but will be mounted under the hump but rest of electrics as in fuse box relays etc would still be visable to added this tray to hide everything in:
silverdollar
New Member
Nice work!

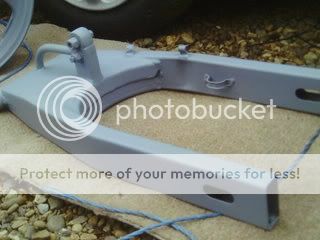
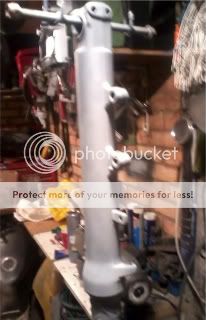
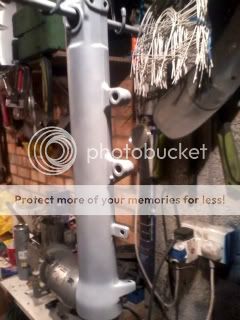
After a good degrease and clean up a couple of thin coats of etch then normal primer applied.

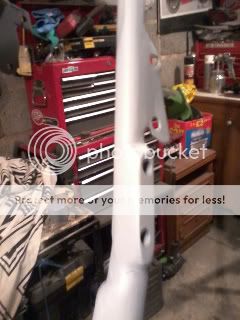
Happy with the results,the frame tubes alot smoother and mounts like rearsets are more integrated into frame rather than just added extras.
The factory finish on the frame is crap to be honest, they cant even weld the frame spars on straight...
Happy with the results,the frame tubes alot smoother and mounts like rearsets are more integrated into frame rather than just added extras.
The factory finish on the frame is crap to be honest, they cant even weld the frame spars on straight...
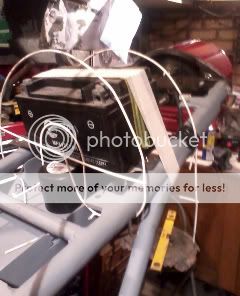
Still looking for odds and sods, like lights, didn't want to just put on usual single round or cheap twin rounds, been done by everyone already.
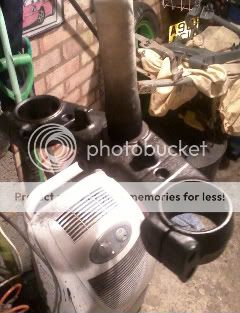
Know its unusual and pretty big but found this ped light in garage, and it can mostly be hidden under the hump and has nice lines to it......
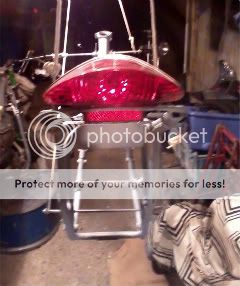
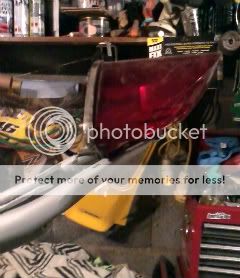
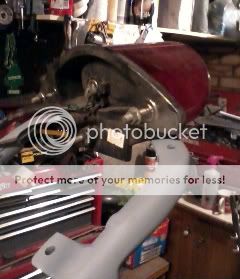
All i would have to do is remove the subframe rear loop and add a flat bar....doing this anyway would make it easier to add any type of light.
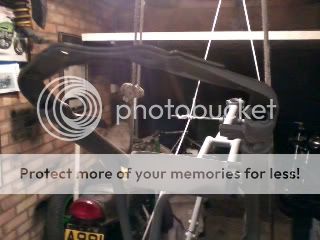
And just out of interest moked up a hump with some wire to see if it left me enough space under the hump for the battery...new gel batteries are smaller too so will have more than enough space..
Know its unusual and pretty big but found this ped light in garage, and it can mostly be hidden under the hump and has nice lines to it......
All i would have to do is remove the subframe rear loop and add a flat bar....doing this anyway would make it easier to add any type of light.
And just out of interest moked up a hump with some wire to see if it left me enough space under the hump for the battery...new gel batteries are smaller too so will have more than enough space..
Anyway back to the paint side of things......as i've already said its the first time i've attempted anything like this so has been a good old learning curve, the prep and primer was relatively easy, lots of time spent on the rubbing down and filling but certainly made the primer easy.
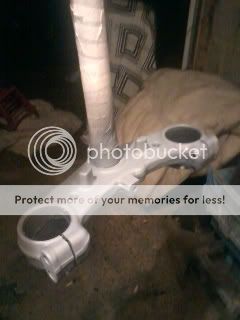
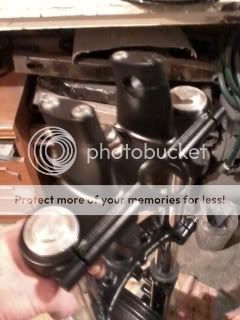
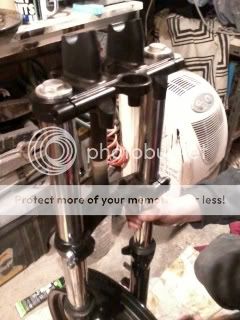
rubbed the yokes down and quick coat of primer......these were then painted with satin black, again as had used U-pol for primer and been impressed used it for the top coat.
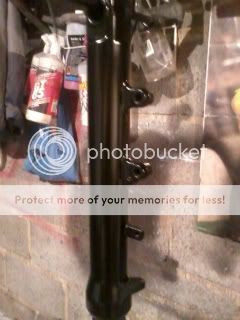
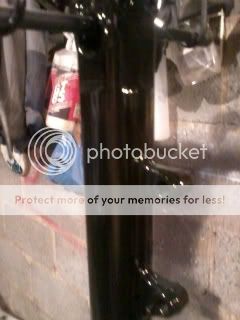
The nitromors came out again and the forks given a good seeing too, then again etched and primed.
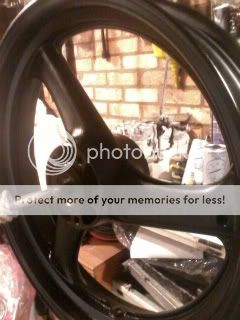
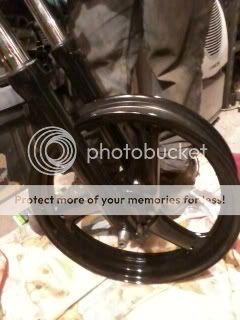
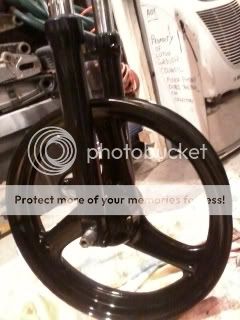
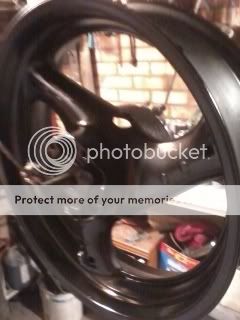
Decided to use gloss black on the forks, the front wheel painted at the same time....
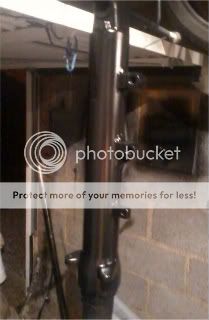

Feel alot more confident when spraying now, quite nervous before but learnt some lessons along the way.
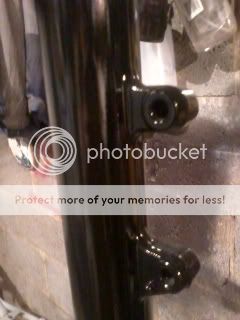
Always warm the can up before use as certainly notice the difference in the spray pattern, Fuller even coats rather than piss arsing around and going back to do little squirts.......Yeah just need to clear coat the forks and wheels and clean up the spindle and clamp bolts and can reassemble.... ;D ;D ;D ;D ;D
rubbed the yokes down and quick coat of primer......these were then painted with satin black, again as had used U-pol for primer and been impressed used it for the top coat.
The nitromors came out again and the forks given a good seeing too, then again etched and primed.
Decided to use gloss black on the forks, the front wheel painted at the same time....
Feel alot more confident when spraying now, quite nervous before but learnt some lessons along the way.
Always warm the can up before use as certainly notice the difference in the spray pattern, Fuller even coats rather than piss arsing around and going back to do little squirts.......Yeah just need to clear coat the forks and wheels and clean up the spindle and clamp bolts and can reassemble.... ;D ;D ;D ;D ;D
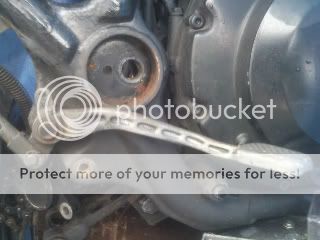
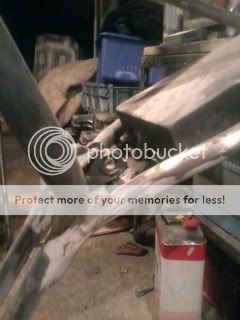
One issue i have found is some over enthusiastic bracket removal from the swingarm..... mmmm oops removed the torque arm mount. :-[ :-X
so been looking on flea bay for a little brembo rear caliper, which surprised me as too how cheap they can be got for, also been researching how the race TZs and such like mount the calipers,
Did find a pic of Spencers cb900 race bike with a spondon hanger so will try source a man in the know locally to knock something up.
mmmm oops removed the torque arm mount. :-[ :-Xso been looking on flea bay for a little brembo rear caliper, which surprised me as too how cheap they can be got for, also been researching how the race TZs and such like mount the calipers,
Did find a pic of Spencers cb900 race bike with a spondon hanger so will try source a man in the know locally to knock something up.
Yeah i know..more pics.... :-\ :-\
Right... managed to get some clear coat on the forks and wheels. For some reason i was a bit scared of f***king them up and having to rub them down again but everything went fine. The only ball ache was when spraying the rim you would get over spray on the other side but got over that hurdle in the end. Going to pick up some fine G3 compound and give them a quick once over.
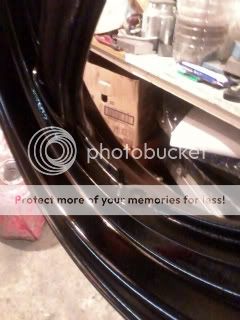

Will be cleaning all the gubbings up today so i can get all this lot bolted together.
Right... managed to get some clear coat on the forks and wheels. For some reason i was a bit scared of f***king them up and having to rub them down again but everything went fine. The only ball ache was when spraying the rim you would get over spray on the other side but got over that hurdle in the end. Going to pick up some fine G3 compound and give them a quick once over.
Will be cleaning all the gubbings up today so i can get all this lot bolted together.
JRK5892 said:very nice man... run some 2000 grit over them first wiht a bit of dish soap in the water... then the 3m, they will look a mile deep after that
Cheers for that dude........any advise is greatly received and thats something i probably wouldn't have done..
Just thinking of the satin on the yokes is there any way to protect it a bit, i know you can get matt clear coat but is there anything for satin?????
problem is clear out of the can on parts that are int he wind like forks, wheels, and trees tends to chip and flake from rocks... i have used rustoleum painters touch (has a satin clear) on my tins and plastics before and it works out great but that is away from road grime but it work awesome! i have never laid it as a clear over anyting but painters touch paints but you can give it a run
With some great advise from JRK got cracking on finising the forks and wheels. Used 2000 grit and lightly rubbed down then used G3 paste to bring a really deep shine on, to say it is rattle can and my first attempt gotta say i'm impressed.
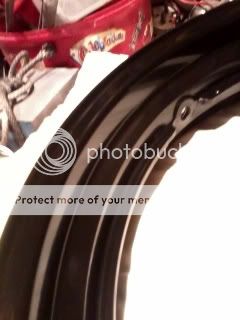

Gonna put discs and tyre back on, then will be servicing calipers and running over with some satin black.
Slow going but at last some progress.
Gonna put discs and tyre back on, then will be servicing calipers and running over with some satin black.
Slow going but at last some progress.
MotorbikeBruno
Over 1,000 Posts
Looks great! Gotta love when something turns out better than even YOU expected right!?
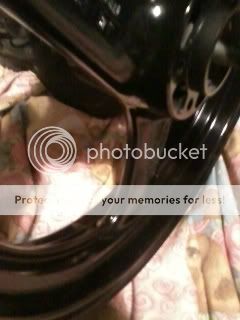
After my success with frontend pretty much the same with the rear wheel.....
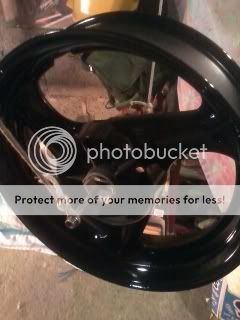
So thats both wheels done now....
Also been painting other sundries like brake arm, gear lever etc.
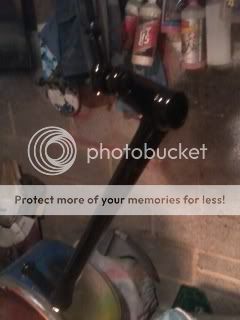
Its deciding what to paint in gloss or satin thats hard....been experimenting with gloss, satin and clear coated satin to see what finish looks like.
So thats both wheels done now....
Also been painting other sundries like brake arm, gear lever etc.
Its deciding what to paint in gloss or satin thats hard....been experimenting with gloss, satin and clear coated satin to see what finish looks like.


