
We noticed you are blocking ads. DO THE TON only works with community supporters. Most are active members of the site with small businesses. Please consider disabling your ad blocking tool and checking out the businesses that help keep our site up and free.
You are using an out of date browser. It may not display this or other websites correctly.
You should upgrade or use an alternative browser.
You should upgrade or use an alternative browser.
Yamaha XS900 Cafe Project "SHAFTY"
- Thread starter pugeyed
- Start date
pugeyed
Been Around the Block
Re: new project yam xs850
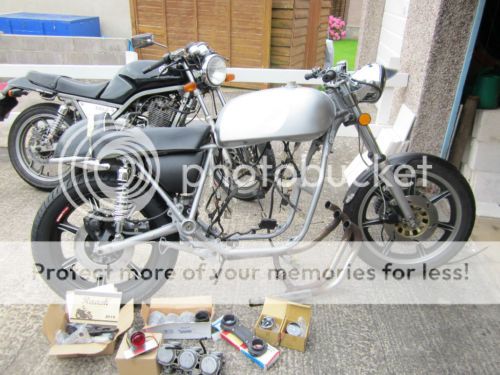
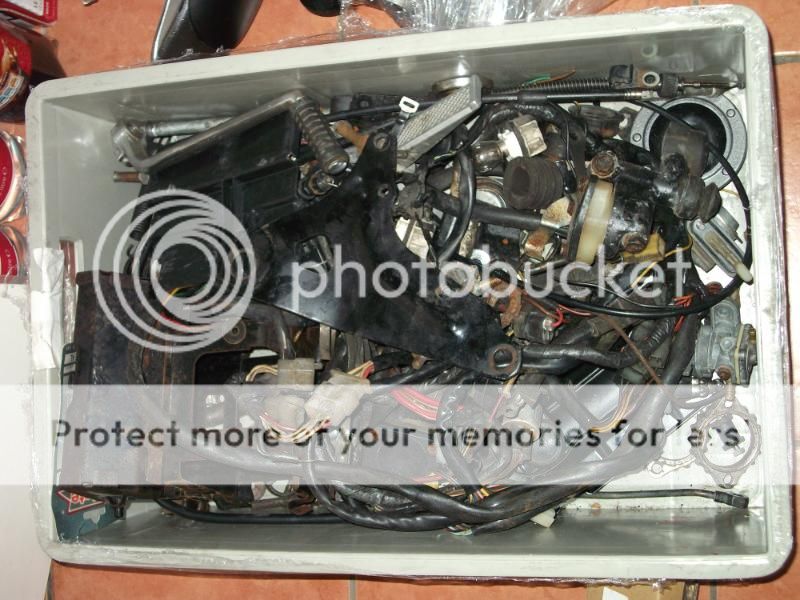
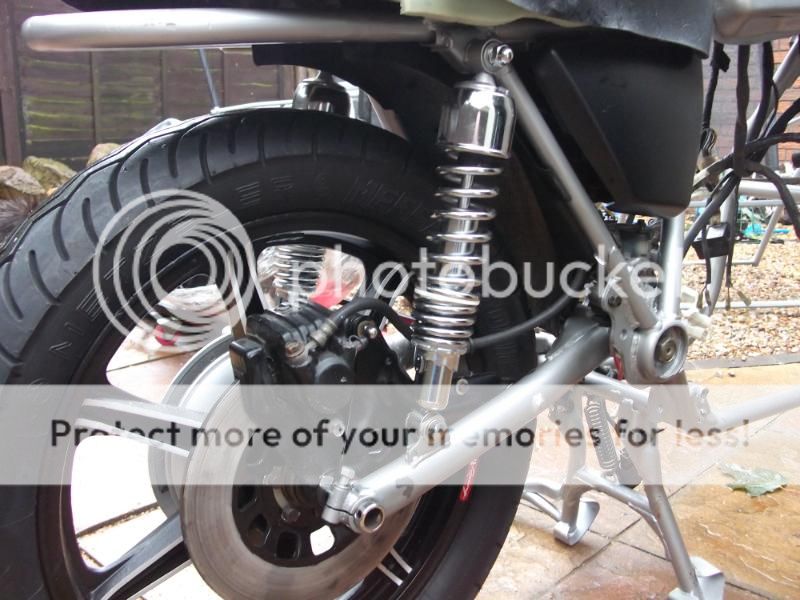
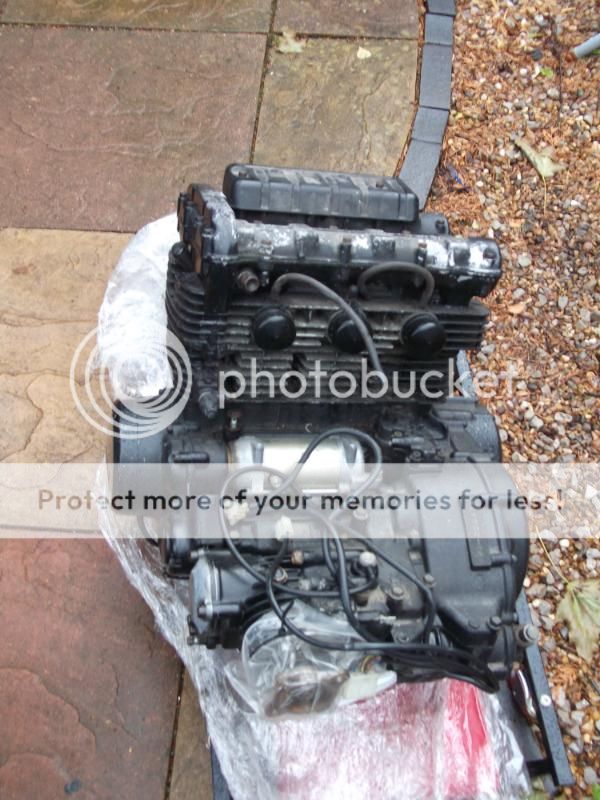
FINALLY! she has been delivered!
lots of photos folks.
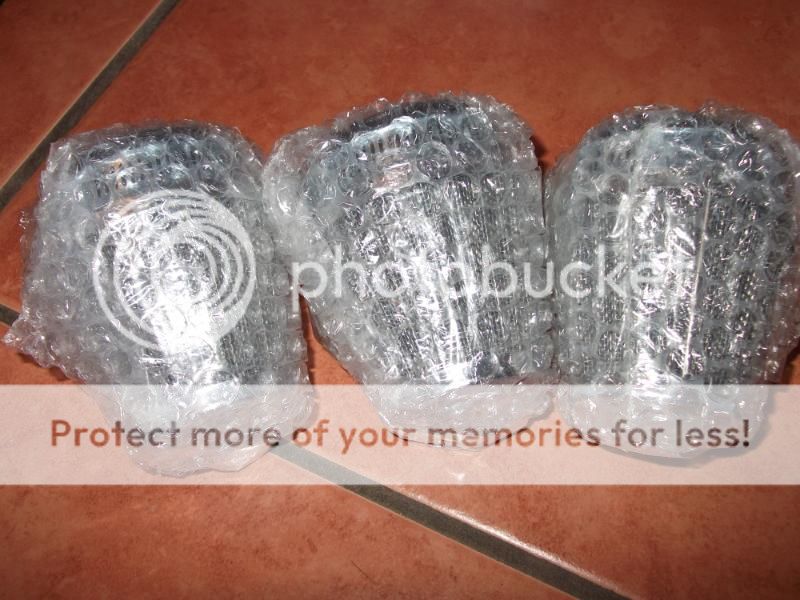
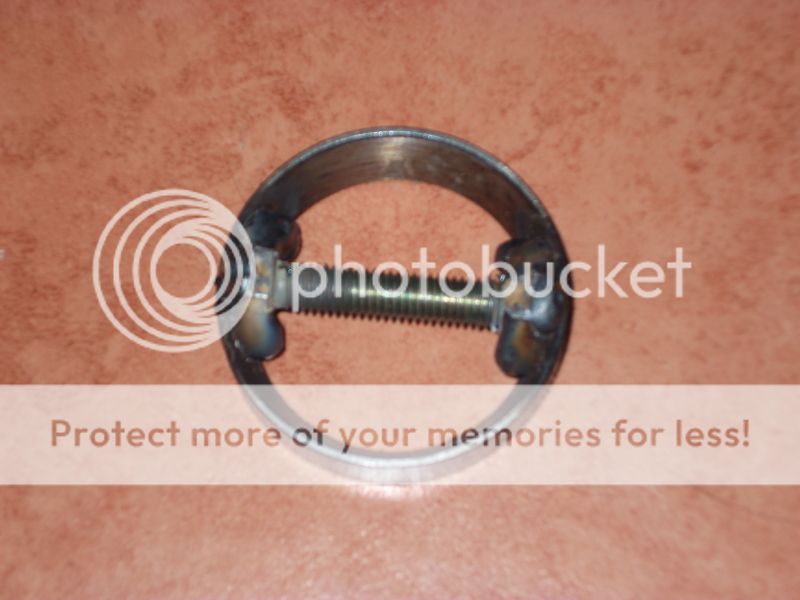
new cone filters and clamps
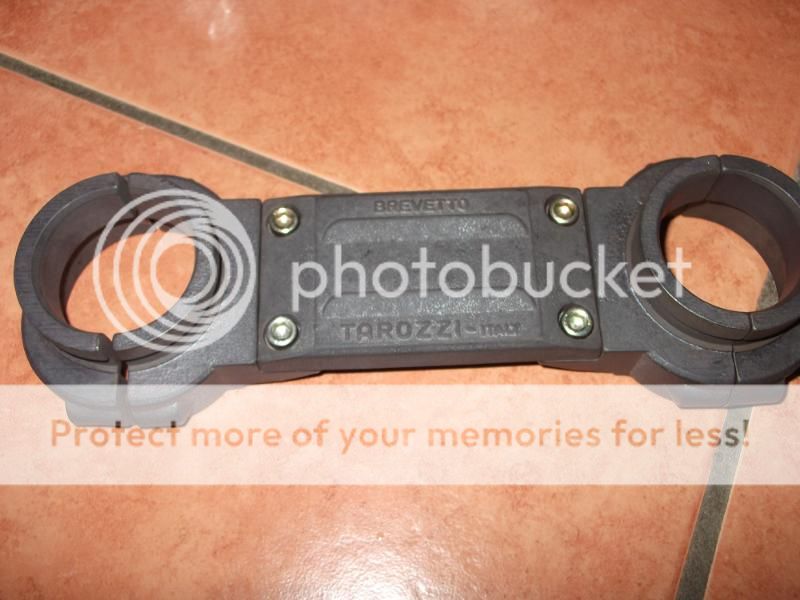
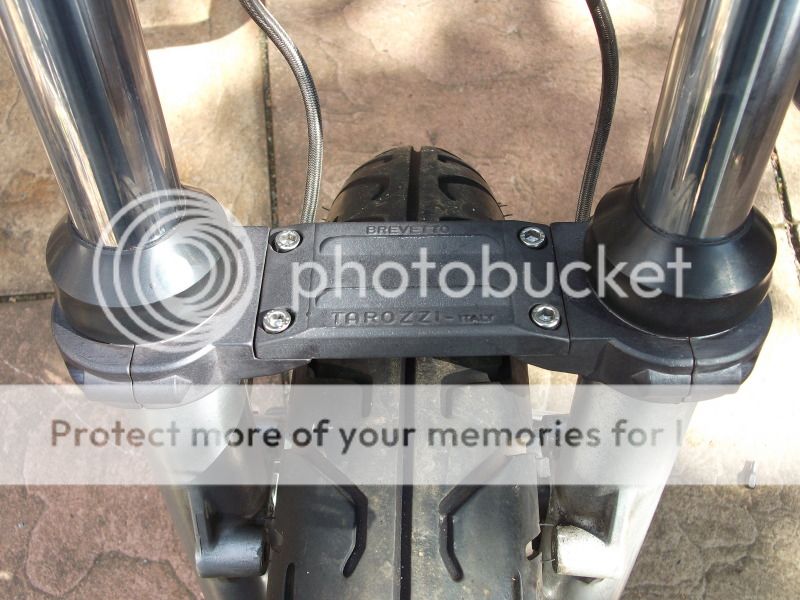
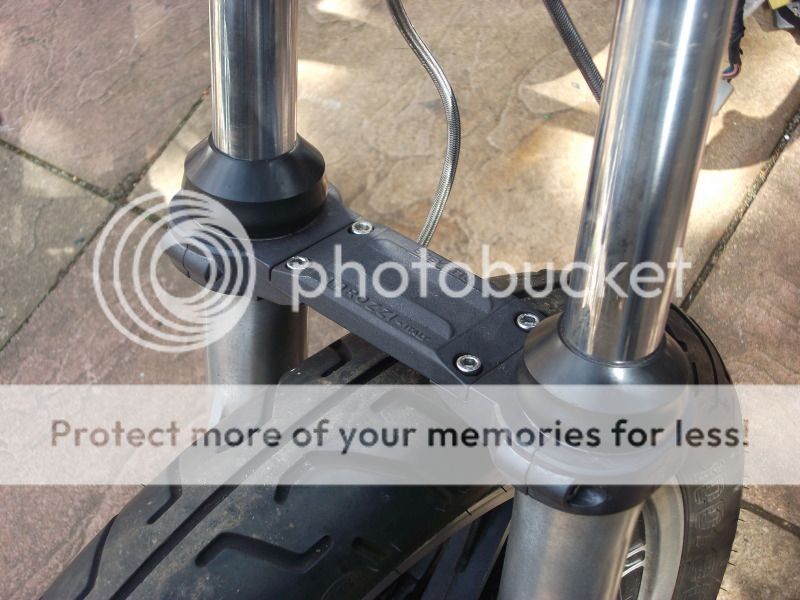
new fork brace
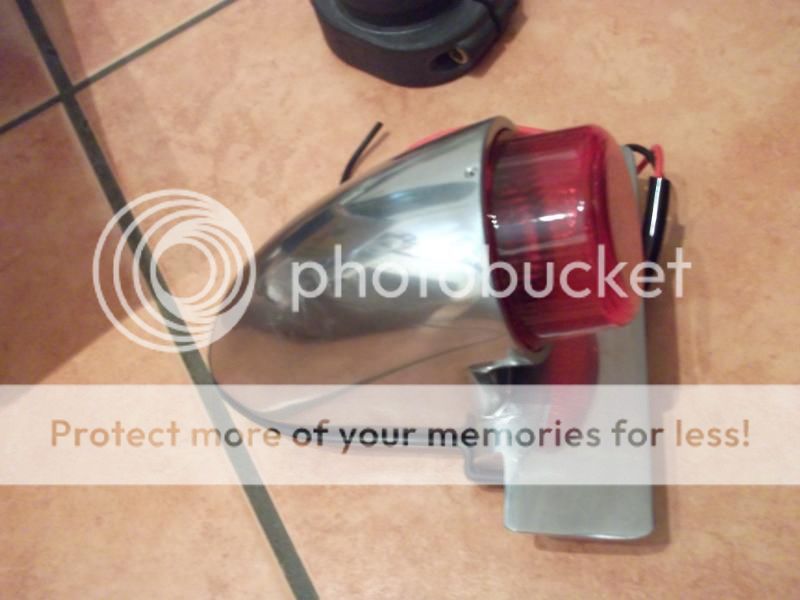
stainless rear lamp
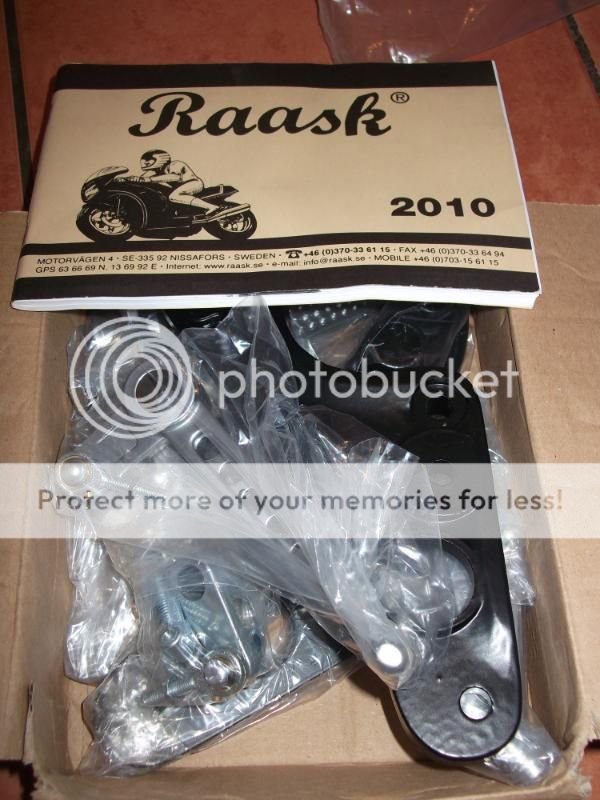
brand new raask rear sets (£136!)
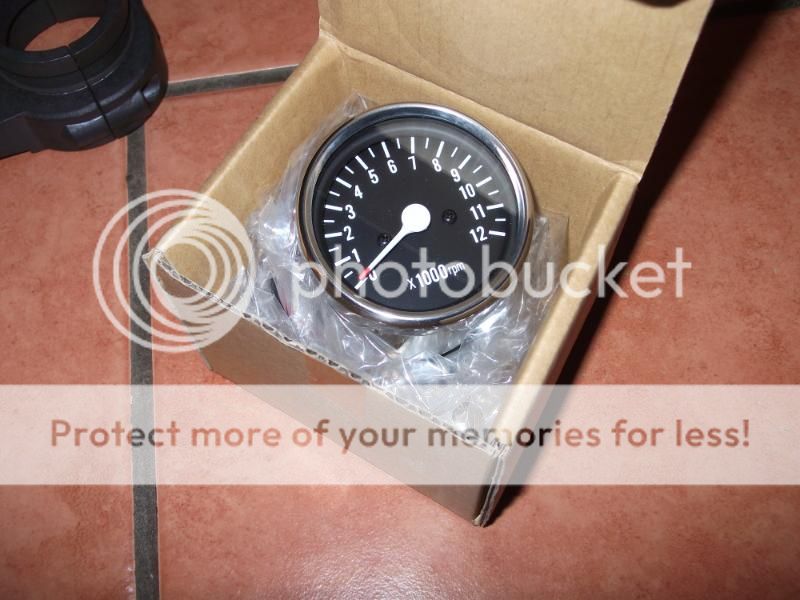
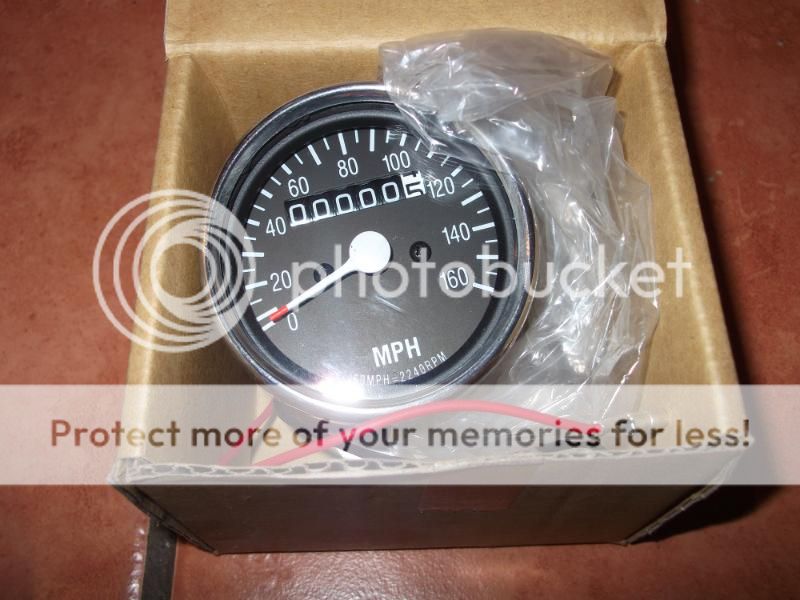
speedo and rev counter (dont know if im using these as wanted to run a digital one)
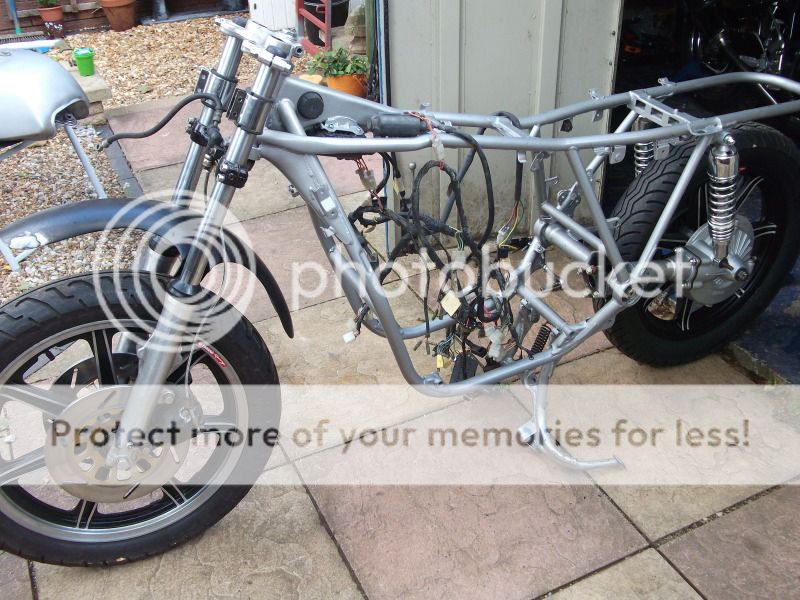
and pics of the bike.
am gonna tear it apart though, seller said the frame was sprayed in 2k paint, but is blatantly just rattle can.

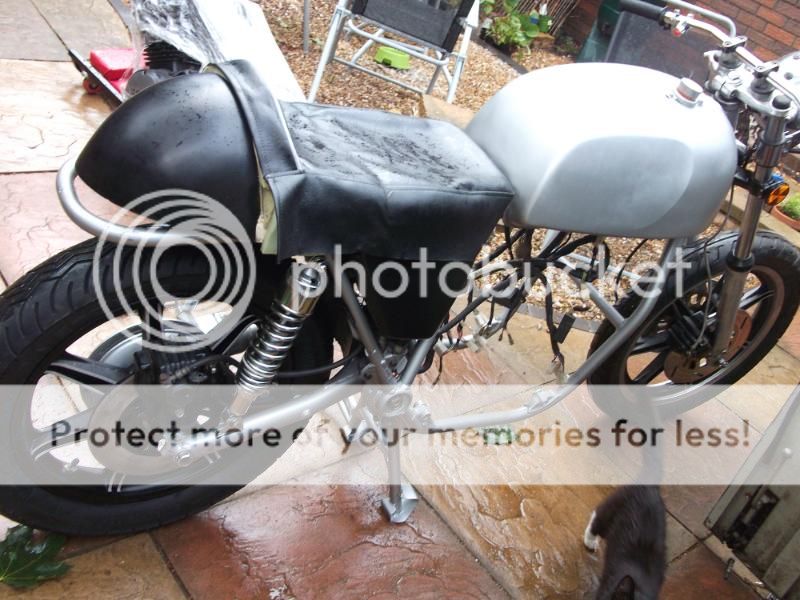
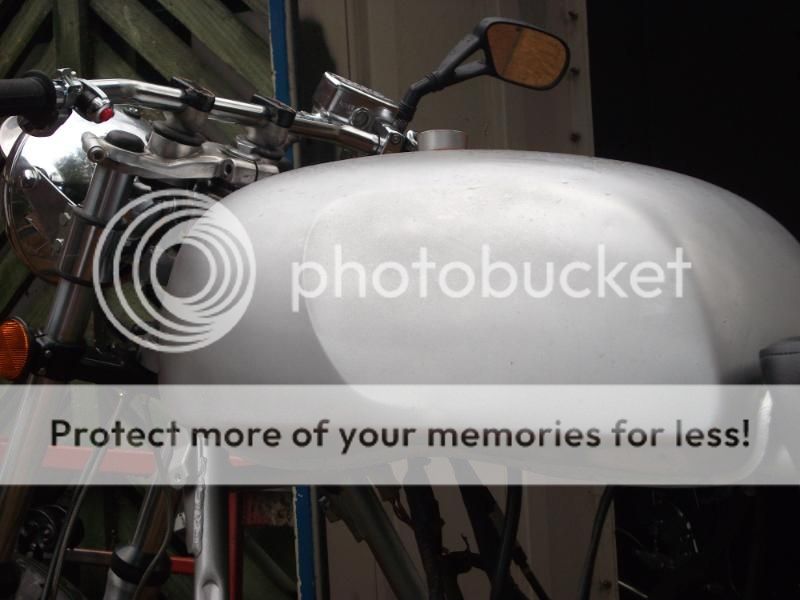
seat isnt long enough so dont know bout that yet and the tank is mahooosive!
oh and engine, only done 16000km which works out to about 10k miles
all will be pulled apart and rebuilt.
2thumbs
FINALLY! she has been delivered!
lots of photos folks.
new cone filters and clamps
new fork brace
stainless rear lamp
brand new raask rear sets (£136!)
speedo and rev counter (dont know if im using these as wanted to run a digital one)
and pics of the bike.
am gonna tear it apart though, seller said the frame was sprayed in 2k paint, but is blatantly just rattle can.
seat isnt long enough so dont know bout that yet and the tank is mahooosive!
oh and engine, only done 16000km which works out to about 10k miles
all will be pulled apart and rebuilt.
2thumbs
pugeyed
Been Around the Block
Re: new project yam xs850
so "what have you been doing today?" i hear you ask well
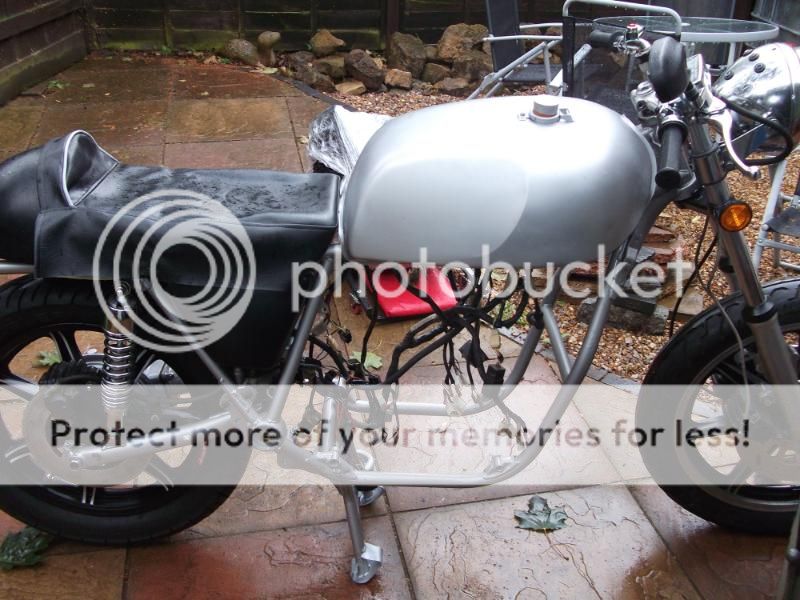
i took off all the stuff from the frame i wont be using,
still undecided on the tank but will see how it goes.
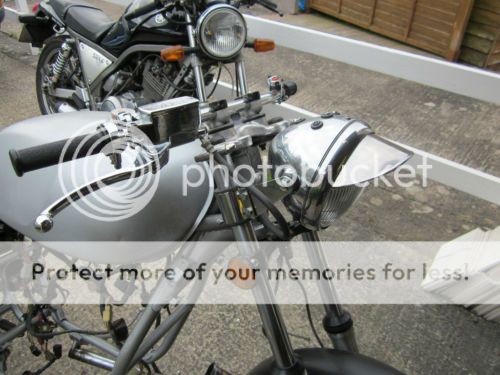
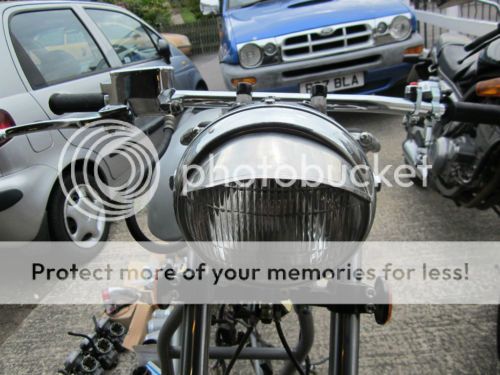
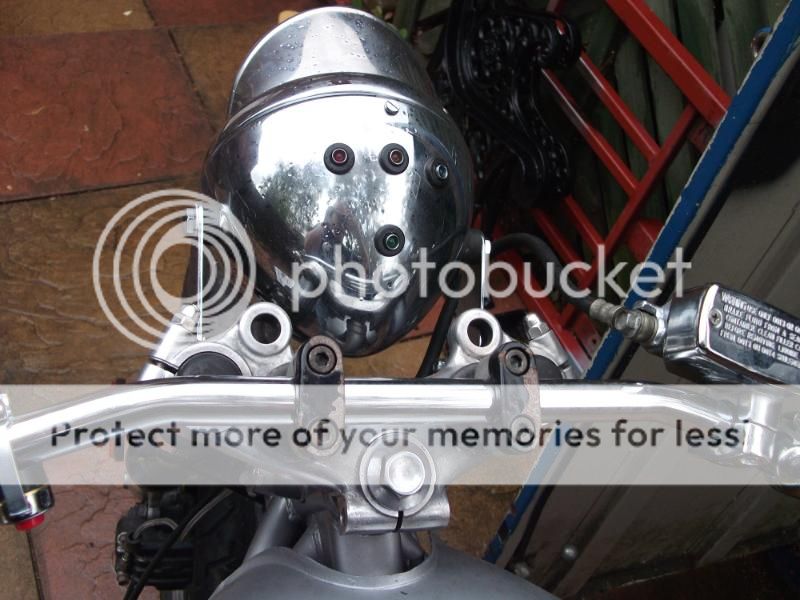
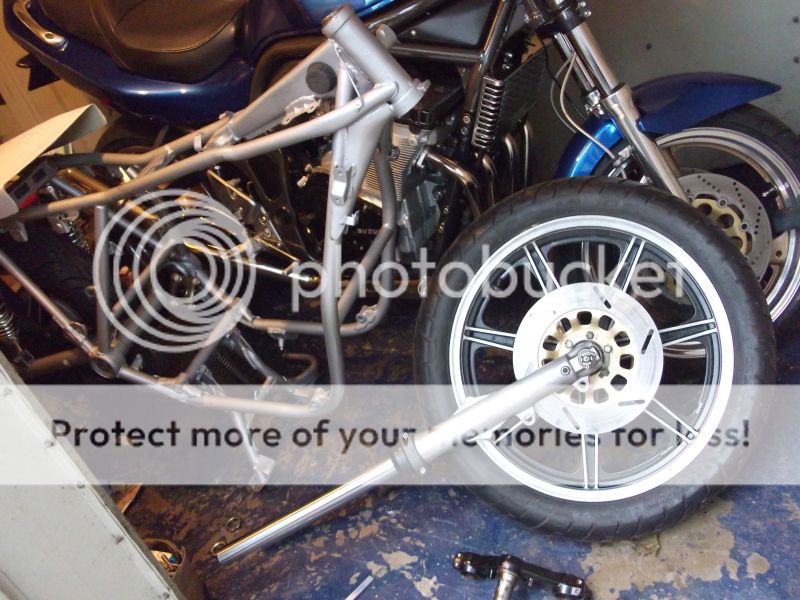
found this nice fibreglass front mudguard in my pile of bits, needs a rub down but its in nice nick.

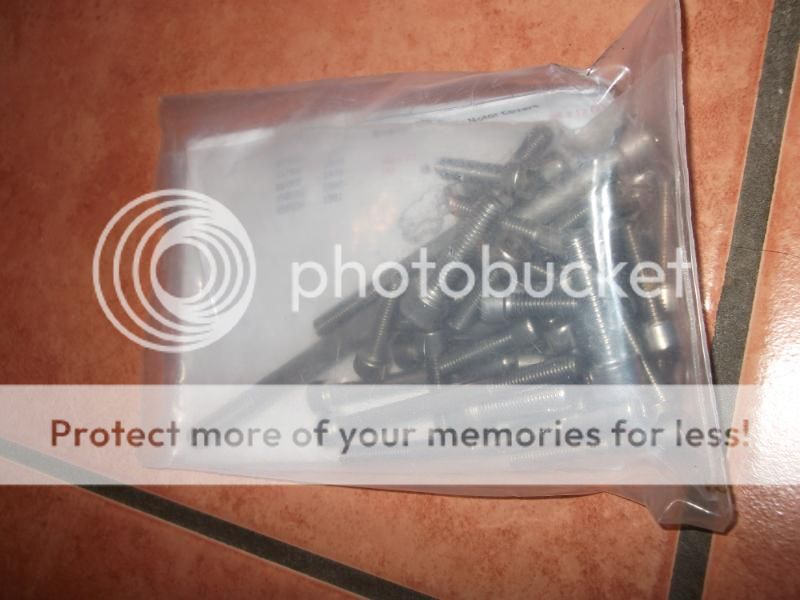
changed the plated bolts in the fork clamp for stainless, and did a trial fit
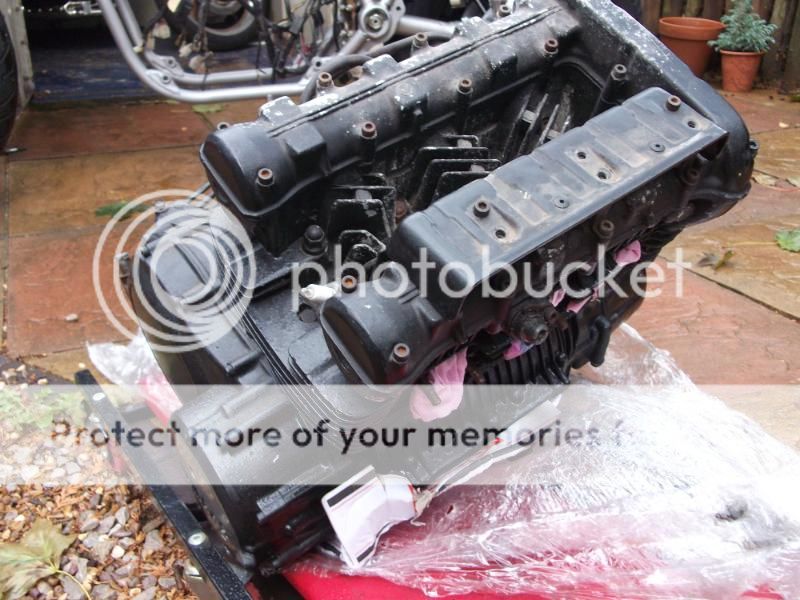
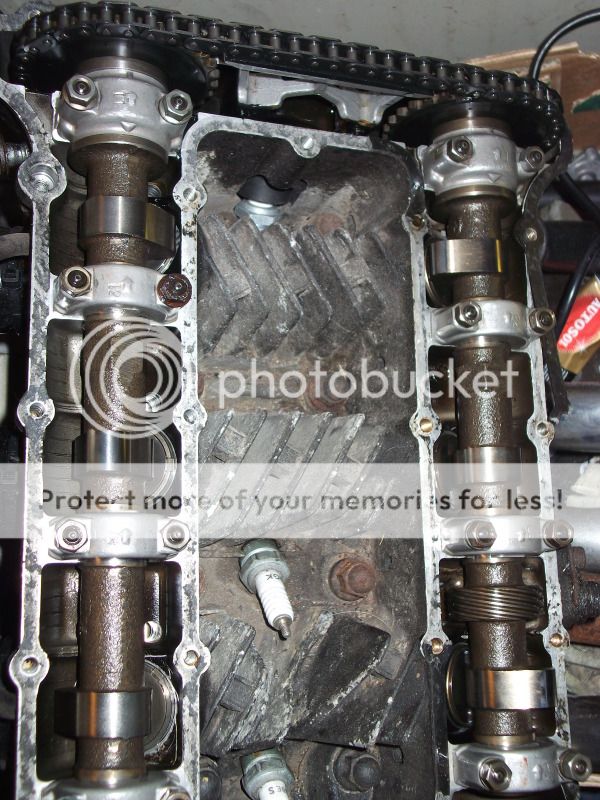
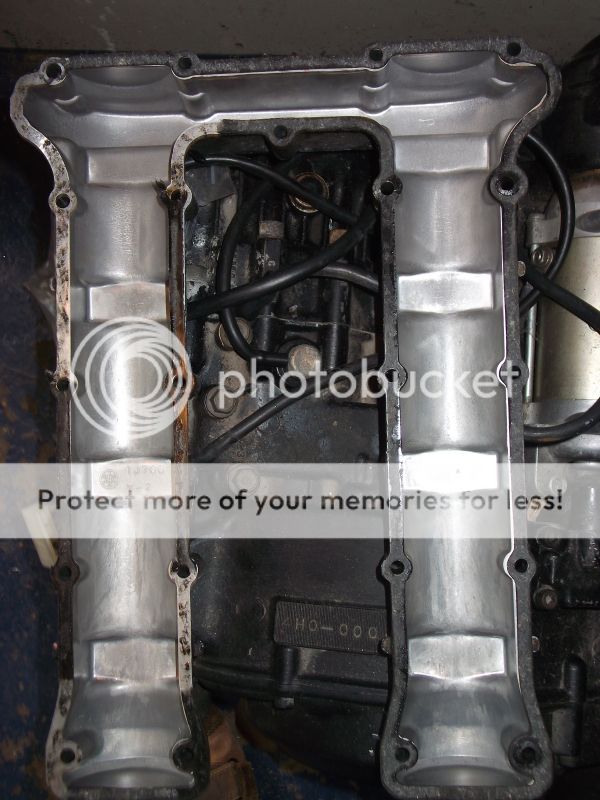
took the cam cover off the engine to have a quick look see and its all good in there as far as a quick glance can tell, cams look good , no score marks .
underside of cam cover is clean which is nice.
What do we think people??
more to follow........
so "what have you been doing today?" i hear you ask well
i took off all the stuff from the frame i wont be using,
still undecided on the tank but will see how it goes.
found this nice fibreglass front mudguard in my pile of bits, needs a rub down but its in nice nick.
changed the plated bolts in the fork clamp for stainless, and did a trial fit
took the cam cover off the engine to have a quick look see and its all good in there as far as a quick glance can tell, cams look good , no score marks .
underside of cam cover is clean which is nice.
What do we think people??
more to follow........
Juggernaut
Been Around the Block
Re: new project yam xs850
Looks great so far. That tank is a bit rare. I don't think we got it state side. SO TAKE CARE OF IT!!!
How did you find those Raask rear sets for so cheap? I really want some but I'm not paying $300+ for them.
Good luck with everything. If you have any questions you can always PM me for a ton of information I have stored ready to be emailed.
pugeyed
Been Around the Block
Re: new project yam xs850
rear sets came with the project matey so i was a bit lucky there, looks like the chap who started it ran out of cash.
didnt realise the tank was rare , doesnt make me like it any more though lol. :-[
its just so BIG .
any info you can chuck my way will be a big help, one thing i am looking for is a wiring diagram, i have a very good loom , but i really dont want to butcher it , would rather make my own and get rid of all the stuff i dont need.
Thanks for your help and for looking !
Mark.
pugeyed
Been Around the Block
Re: new project yam xs850
so took the front wheel bearings out and old seals and ordered new from simply bearings.
took the old exhaust studs out , they all came out withought any drama (thankyou plusgas)
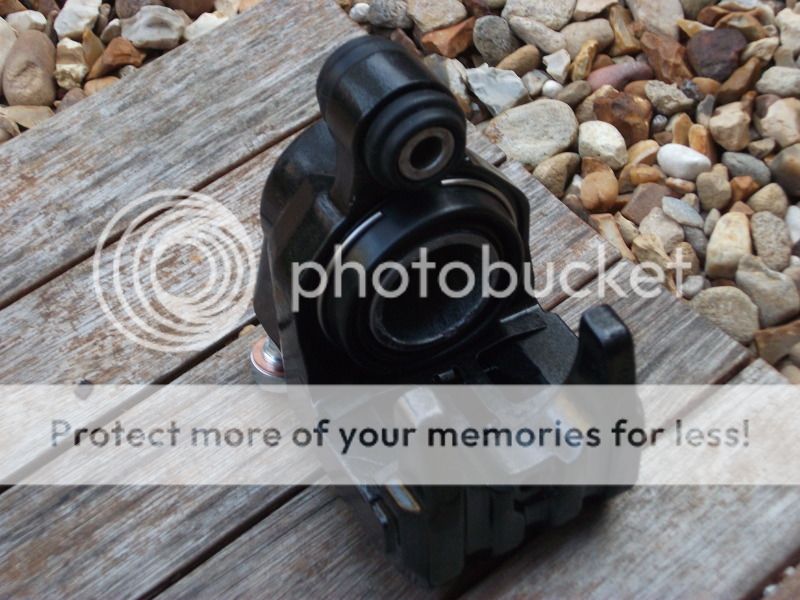
took the back brake caliper off and dismantled it, piston was stuck in like a good un, was knackered anyway so took it out with molegrips.
ordered new stainless piston, new seal kit, banjo and nipple.
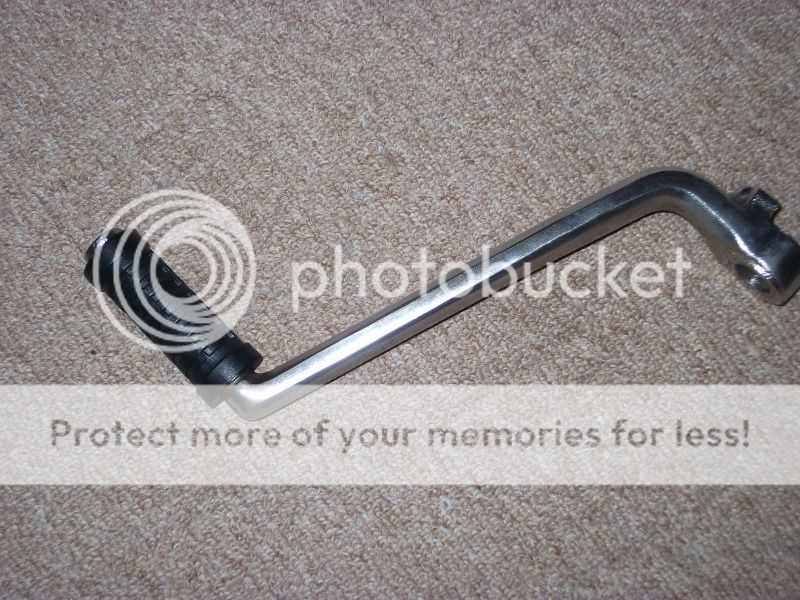
oh and kickstart rubber as mine was perished.
got outbid on a set of 3 into 1 headers , never mind.
couple of crappy phone pics.
so took the front wheel bearings out and old seals and ordered new from simply bearings.
took the old exhaust studs out , they all came out withought any drama (thankyou plusgas)
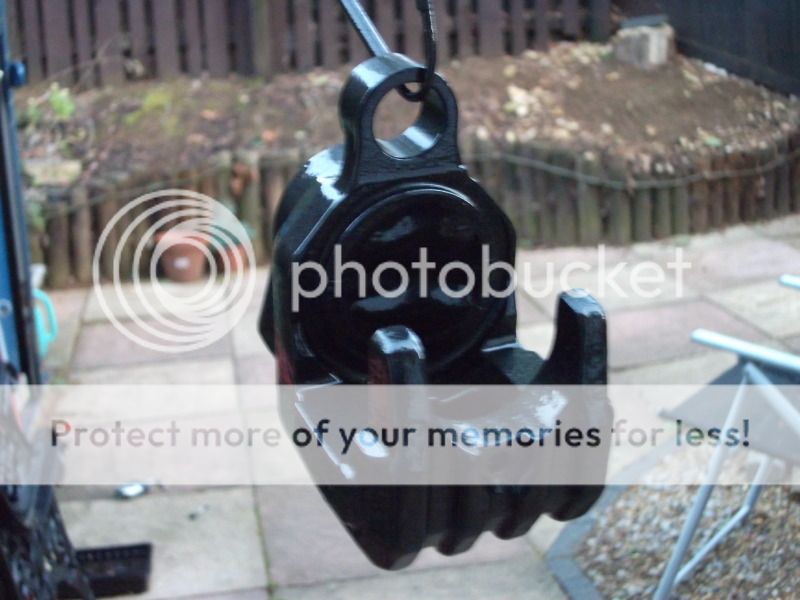
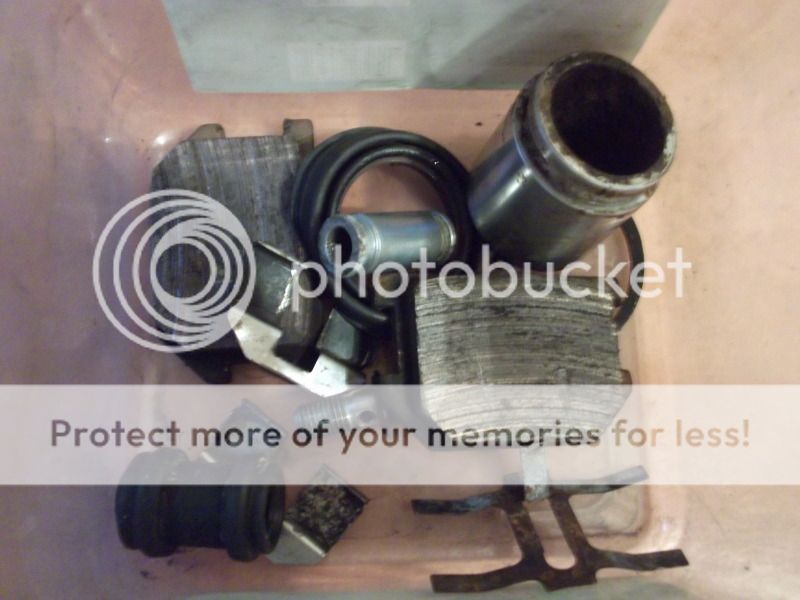
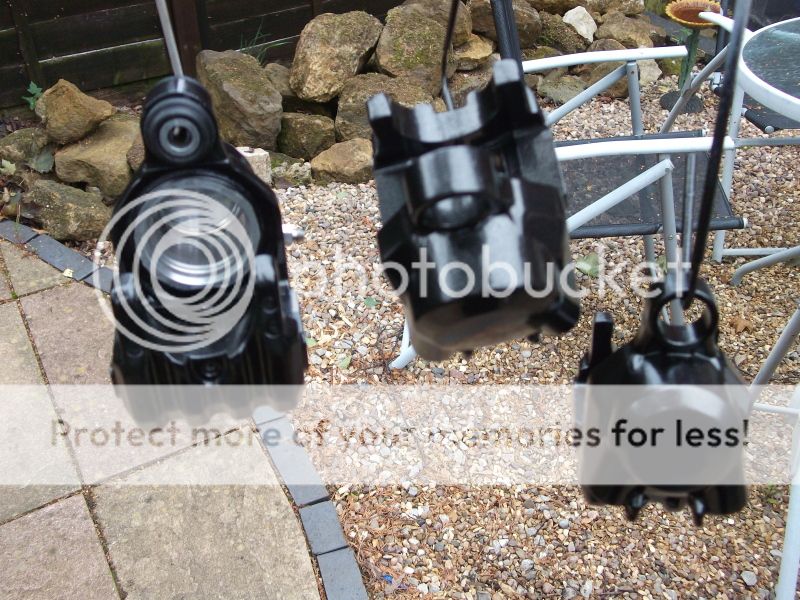
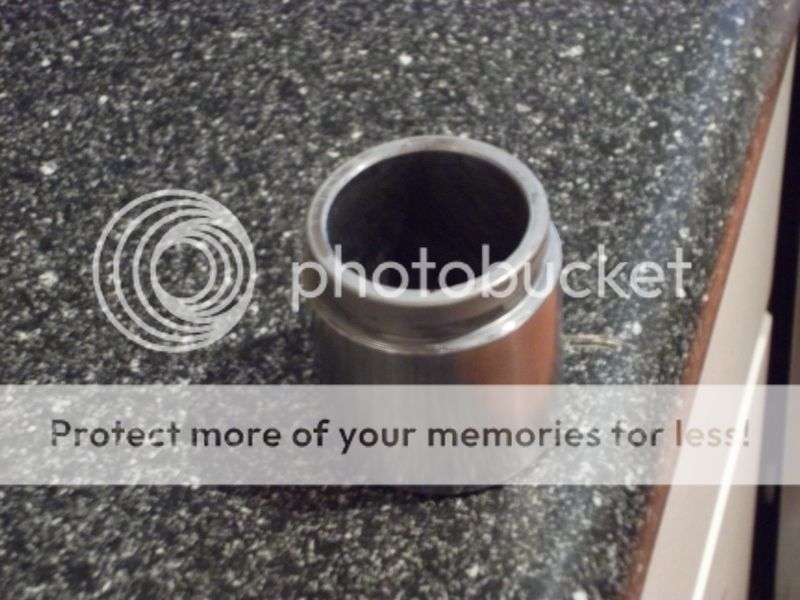
took the back brake caliper off and dismantled it, piston was stuck in like a good un, was knackered anyway so took it out with molegrips.
ordered new stainless piston, new seal kit, banjo and nipple.
oh and kickstart rubber as mine was perished.
got outbid on a set of 3 into 1 headers , never mind.
couple of crappy phone pics.
pugeyed
Been Around the Block
Re: new project yam xs850
same with the front calipers it seems, need ripping apart and re-doing
didnt want to give up its piston

haha it did in the end!
only good thing about this bike is all the calipers are the same which makes it nice and easy.")
works out to about £50 a caliper.
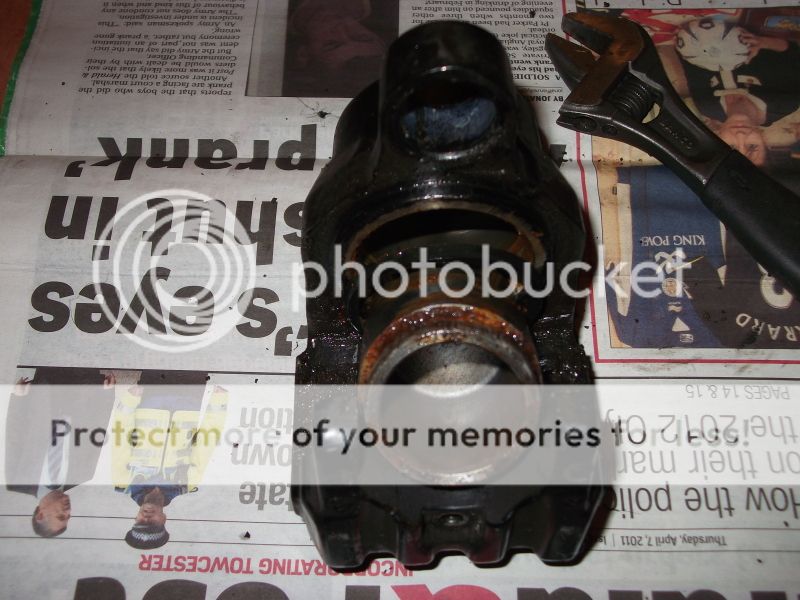
same with the front calipers it seems, need ripping apart and re-doing
didnt want to give up its piston
haha it did in the end!
only good thing about this bike is all the calipers are the same which makes it nice and easy.
works out to about £50 a caliper.
shovelsteve
New Member
Re: new project yam xs850
those calipers are gonna look good, I just got done rebuilding my whole brake system on my xs 11. Both of my master cylinder were clogged up with some nasty junk my calipers weren't to bad but I put them in the blasting cabinet anyways.
those calipers are gonna look good, I just got done rebuilding my whole brake system on my xs 11. Both of my master cylinder were clogged up with some nasty junk my calipers weren't to bad but I put them in the blasting cabinet anyways.
Juggernaut
Been Around the Block
Re: new project yam xs850
The calipers are a pain in the butt. I had to get 2 new pistons, all new bleeders and rebuild kits. I almost should have gotten NOS calipers...but where is the fun in that? Looks good.
The calipers are a pain in the butt. I had to get 2 new pistons, all new bleeders and rebuild kits. I almost should have gotten NOS calipers...but where is the fun in that? Looks good.
pugeyed
Been Around the Block
pugeyed
Been Around the Block
Re: new project yam xs850
small update,
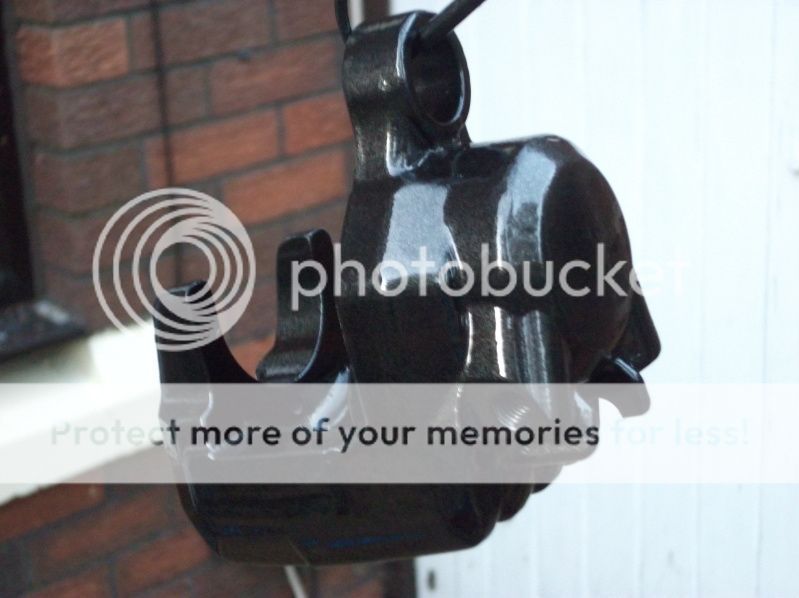
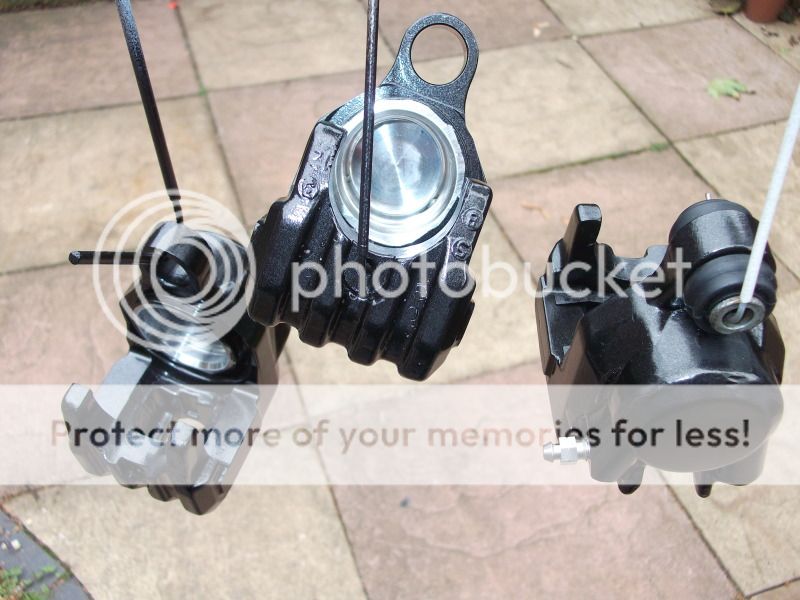
dismantled , de-greased and blasted all the calipers,
came up better than expected tbh.
sprayed them up with metalic enamel paint my mate had left over .
they are now ready for rebuilding.
bit of a bonus, one piston wasnt knackered so only have to replace 2, think ill put the stainless one's up front and have the original steel one in the back brake.
sorry to drone on lol.
small update,
dismantled , de-greased and blasted all the calipers,
came up better than expected tbh.
sprayed them up with metalic enamel paint my mate had left over .
they are now ready for rebuilding.
bit of a bonus, one piston wasnt knackered so only have to replace 2, think ill put the stainless one's up front and have the original steel one in the back brake.
sorry to drone on lol.

pugeyed
Been Around the Block
Re: new project yam xs850
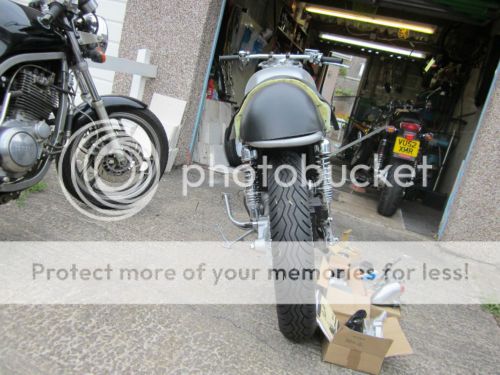
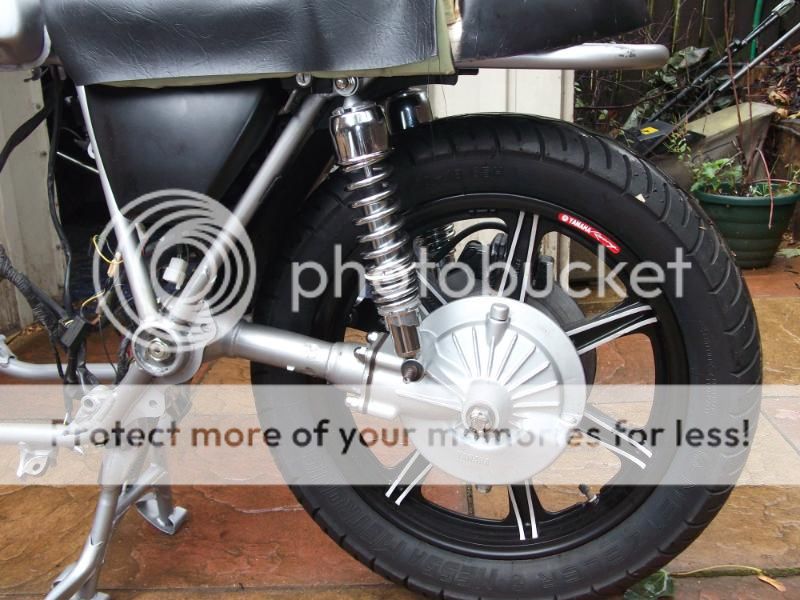
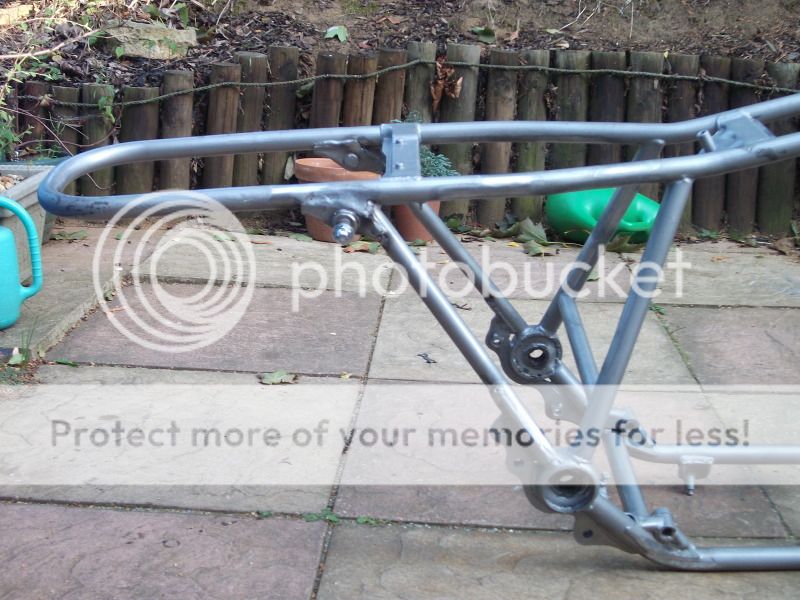
well new kickstart rubber turned up so put that on.
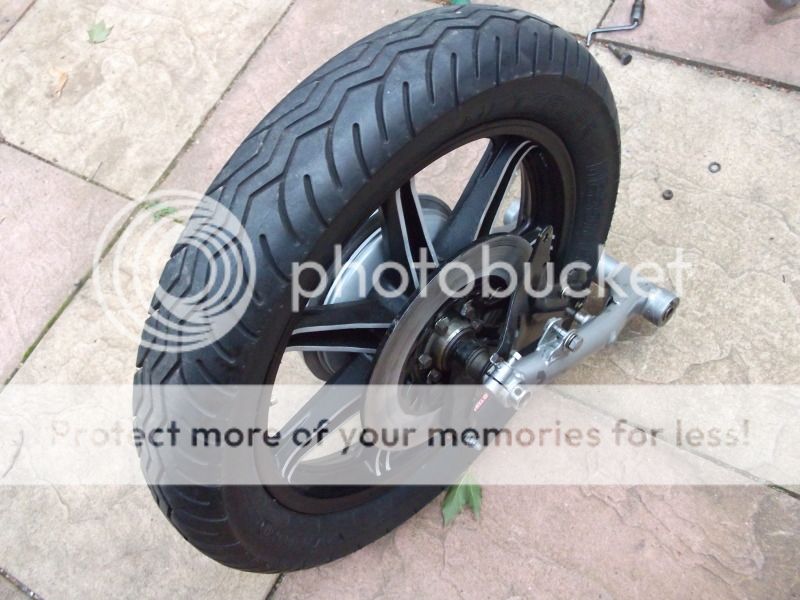
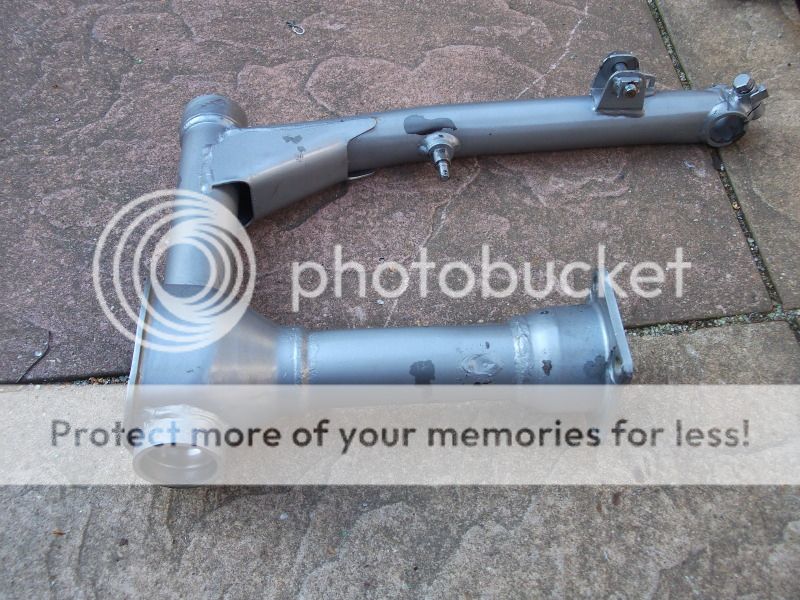
took the swingarm out
and the centre stand off.
bloke i bought it from said he put new swingarm bearings in, we will see as he deffo hasnt put new seals in, if your gonna do a job right.... blar blar blar
well new kickstart rubber turned up so put that on.
took the swingarm out
and the centre stand off.
bloke i bought it from said he put new swingarm bearings in, we will see as he deffo hasnt put new seals in, if your gonna do a job right.... blar blar blar
Juggernaut
Been Around the Block
Re: new project yam xs850
Good luck with the swing arm bearings. They are a pain in the ass for sure.
I built a puller for the the side you have pictured. Essentially I made a slide hammer.
For the other side I put a small bolt into each hole put a pipe over the bolt and pounded the pipe with a hammer working each side until it was free. If your holes are threaded you may just be able to pop it out without the hammering.
pugeyed
Been Around the Block
Re: new project yam xs850
jugg can you elaborate on your process as i think im gonna struggle getting on these swingarm cups
so new piston and seal kit came today, rebuilt 1 caliper but wanted to crack on with the swing arm so will do the others later on.
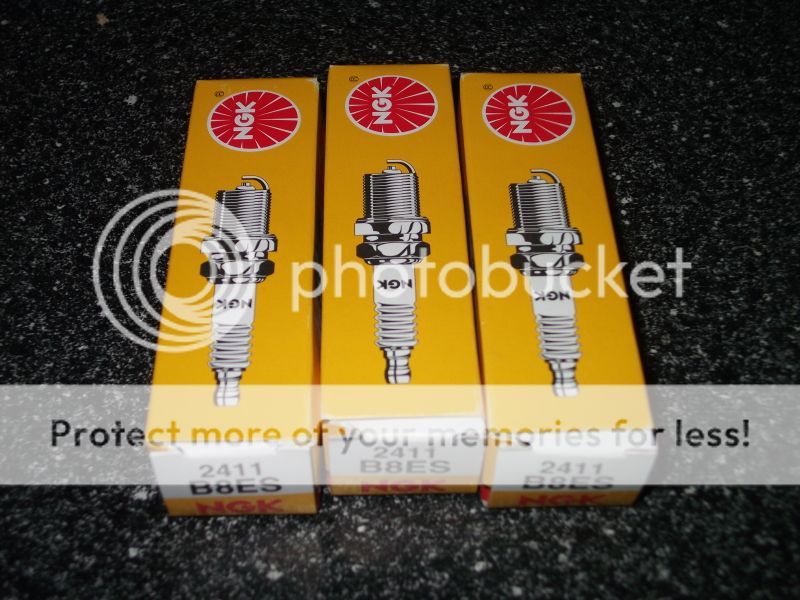
new spark plugs came, (yes i know im sad taking a photo of them lol)
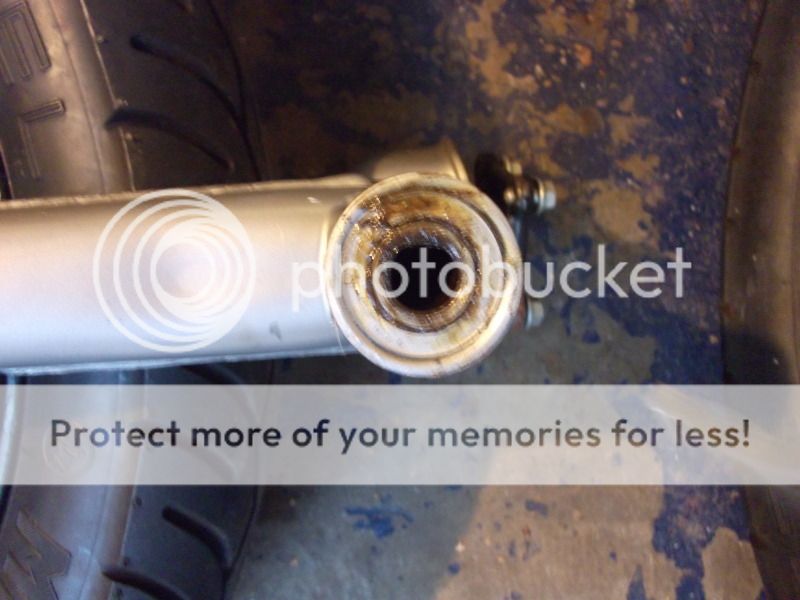
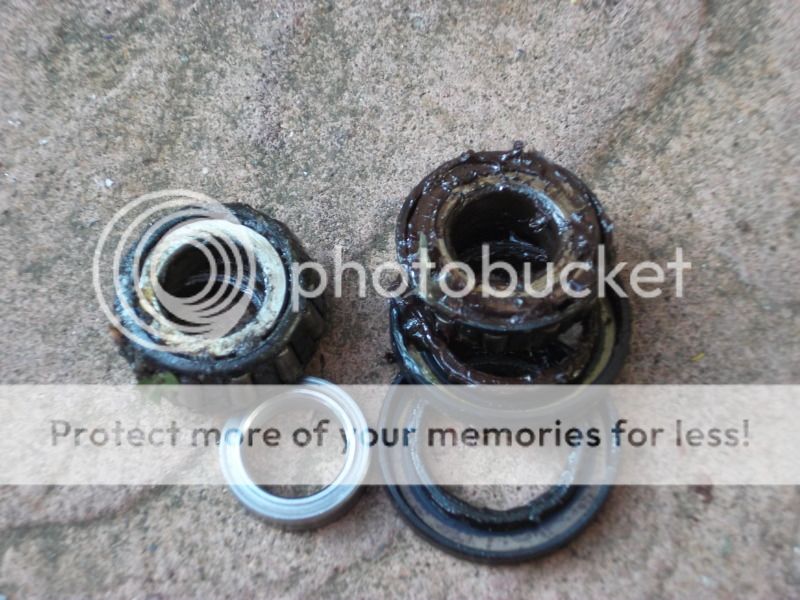
took the rear wheel out the swingarm and started taking the bearings out (they deffo havent been replaced as you can see the wear on the cup)
new kit is only £20 so not the end of the world.
think i can get on one cup to get it out but the other is in a blind hole
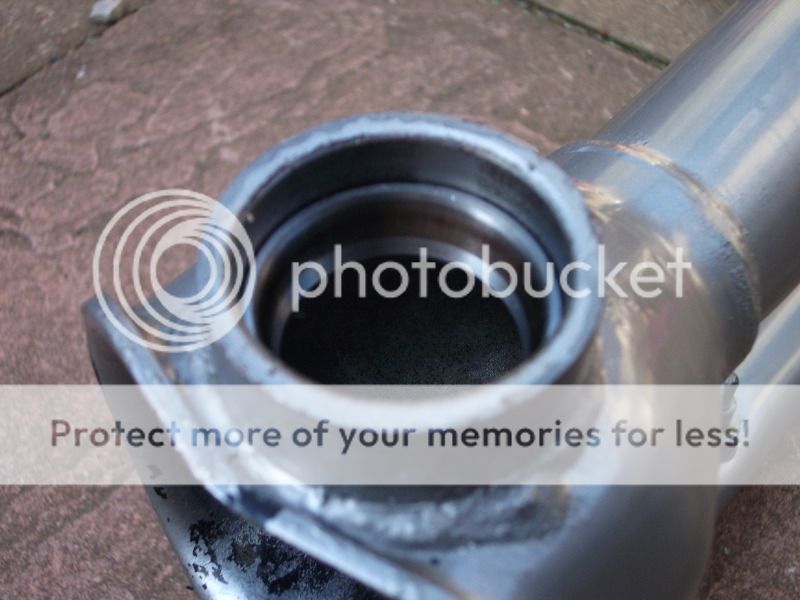
took the top race out of the frame, bottom one is a little more tricky.

worried that when i send the swingarm for powder the bearing holes will fill up with the stuff as i cant block them off like i normally do (threaded rod and large washers)
ho hum we will see....
jugg can you elaborate on your process as i think im gonna struggle getting on these swingarm cups
so new piston and seal kit came today, rebuilt 1 caliper but wanted to crack on with the swing arm so will do the others later on.
new spark plugs came, (yes i know im sad taking a photo of them lol)
took the rear wheel out the swingarm and started taking the bearings out (they deffo havent been replaced as you can see the wear on the cup)
new kit is only £20 so not the end of the world.
think i can get on one cup to get it out but the other is in a blind hole
took the top race out of the frame, bottom one is a little more tricky.
worried that when i send the swingarm for powder the bearing holes will fill up with the stuff as i cant block them off like i normally do (threaded rod and large washers)
ho hum we will see....
pugeyed
Been Around the Block
Re: new project yam xs850
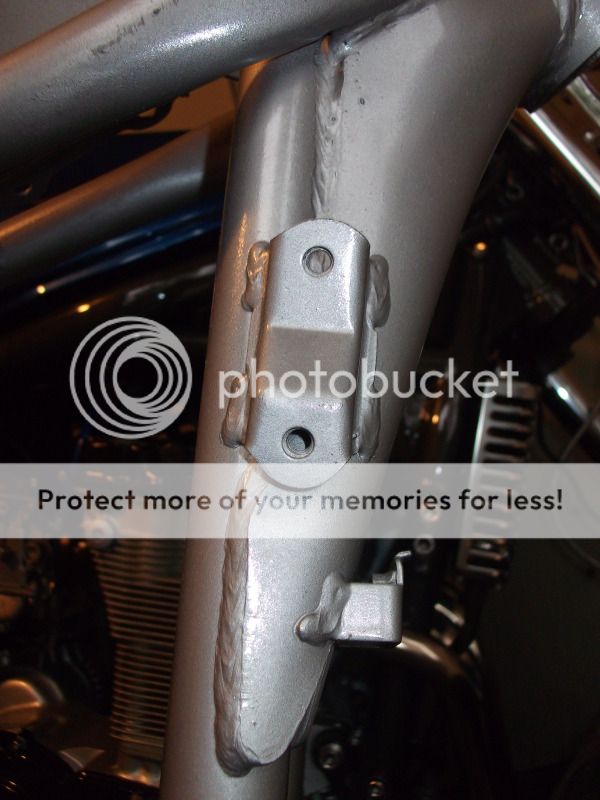
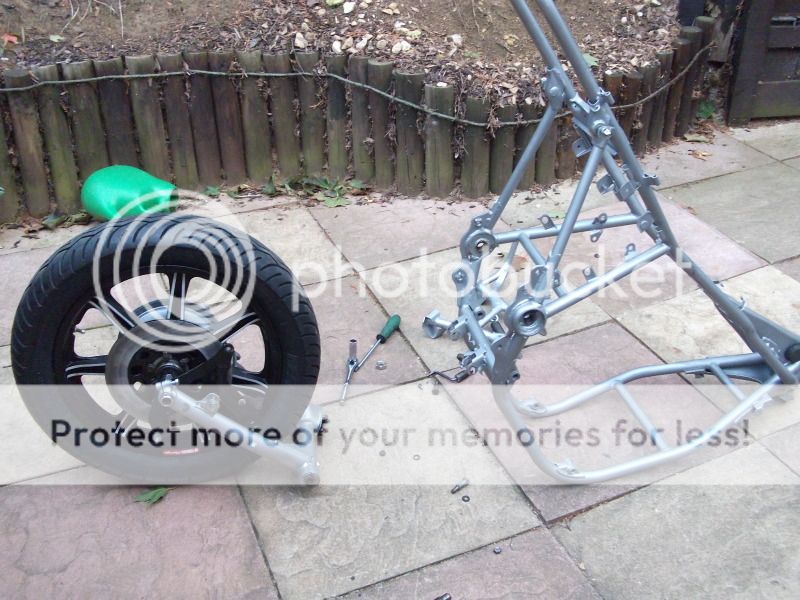
so after 4 hours of cutting, grinding and filing, have removed all the tabs from the frame i dont need.
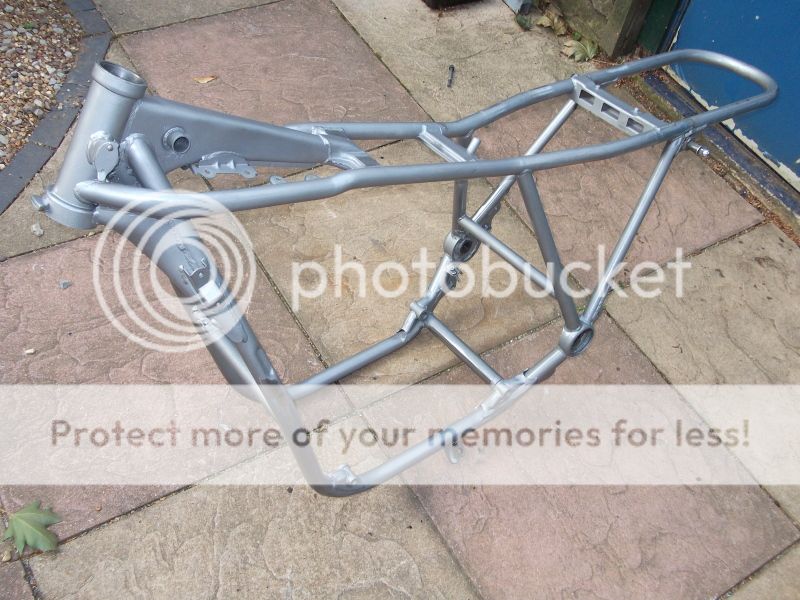
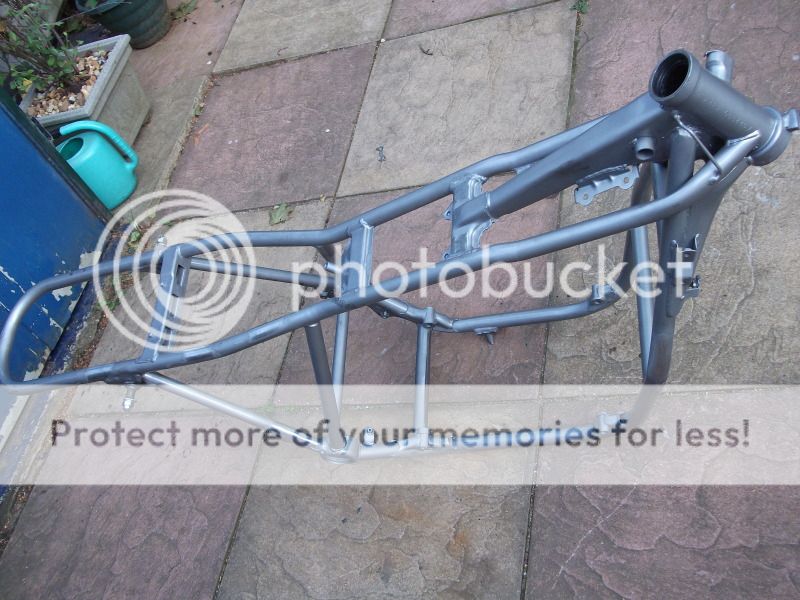
still need to shorten the rear frame loop as its far too long and sort out seat and battery tray mounts.
and weld in some frame bracing in the corners
but its getting there.
took the lower head race out of the frame, had to weld a bolt across it so i had something to hit against, worked though....
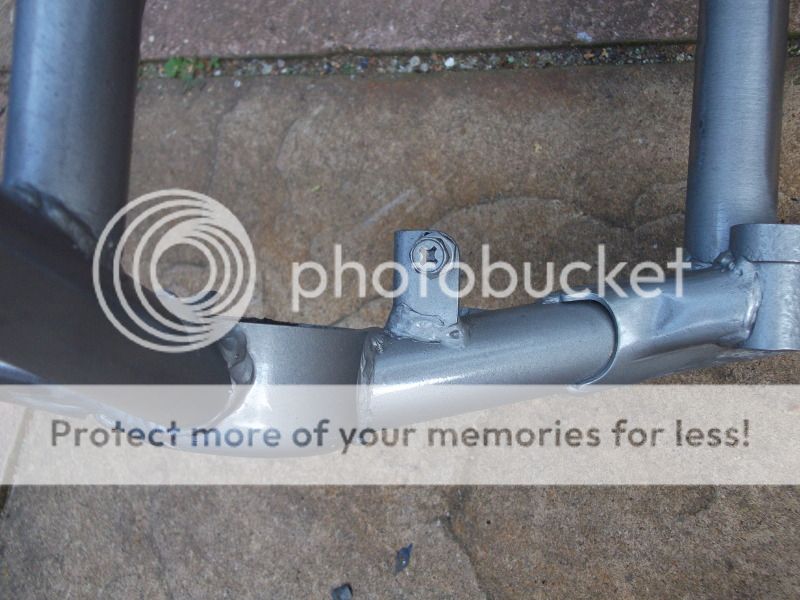
does anyone know what this tab is for? , thought it was ground mount so left it be until i work out what its for.
so after 4 hours of cutting, grinding and filing, have removed all the tabs from the frame i dont need.
still need to shorten the rear frame loop as its far too long and sort out seat and battery tray mounts.
and weld in some frame bracing in the corners
but its getting there.
took the lower head race out of the frame, had to weld a bolt across it so i had something to hit against, worked though....
does anyone know what this tab is for? , thought it was ground mount so left it be until i work out what its for.


