cx'y 500

Ok, so this week I've been working on my wheels
IMG00812-20110813-1305.jpg

First I removed the disk rotors
IMG00814-20110813-1307.jpg

Then gave it a bath in degreaser
IMG00815-20110813-1326.jpg

That got rid of most of the dirt and crud, but they still needed a going over with a wire brush in my drill
IMG00817-20110813-1506.jpg

Then I used aluminium oxide sand paper to remove the anodizing
IMG01208-20110925-1459.jpg

Next I polished the edges
IMG01237-20111002-1717.jpg

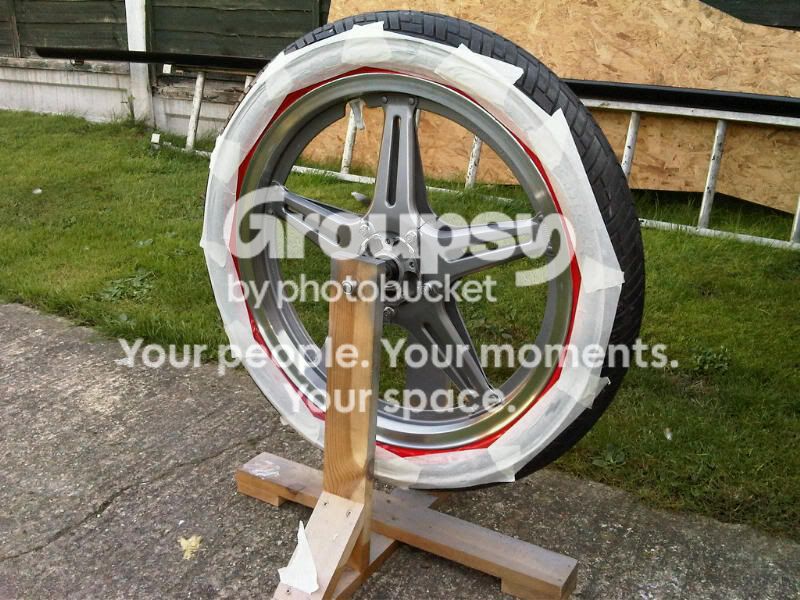
Then masked the wheel up for painting.
IMG01231-20111002-1554.jpg

And gave them a coat of primer
IMG01232-20111002-1600.jpg

Then top coat of silver and then clear coat.
IMG01233-20111002-1609.jpg

I used this stuff, I used it before on my blade and it stills look good.
IMG01234-20111002-1623.jpg

I waited 24 hours then removed the masking tape, masked up the tyre and clear coated the polished rims.
IMG01239-20111003-1725.jpg

The petrol resisting clear coat is great, and another product I've never had trouble with.
IMG01240-20111003-1727.jpg

I'll crack on with the rear wheel and should have them both ready to go in by the weekend.
 
I still have a few parts to get like the headlight, tail light, front break pads and lines, but by the weekend the rear wheel can go back on and that will open up a whole lot more jobs I can get on with.
Tonight I spent some time polishing the wheel rim, then masking it up ready for paint
IMG01254-20111005-2110.jpg

Its a really boring job, but stick with it and the results will speak for themselves.
IMG01253-20111005-2110.jpg

Other jobs tonight was to fit a new clutch cable, as the old one was really worn on the outer sleeve and would have let the end result down.
IMG01252-20111005-2109.jpg

I also brought these countersunk stainless M6 allen bolts
IMG01250-20111005-2108.jpg

They wont be seen as they will be under the seat pad, but they will sit nice and level with the seat and not poke up through the pading.
IMG01251-20111005-2109.jpg

And thats about where we are at the moment. A bit slow I know, but as I said earlier, things should hot up again when the rear wheel is back in at the weekend.
 
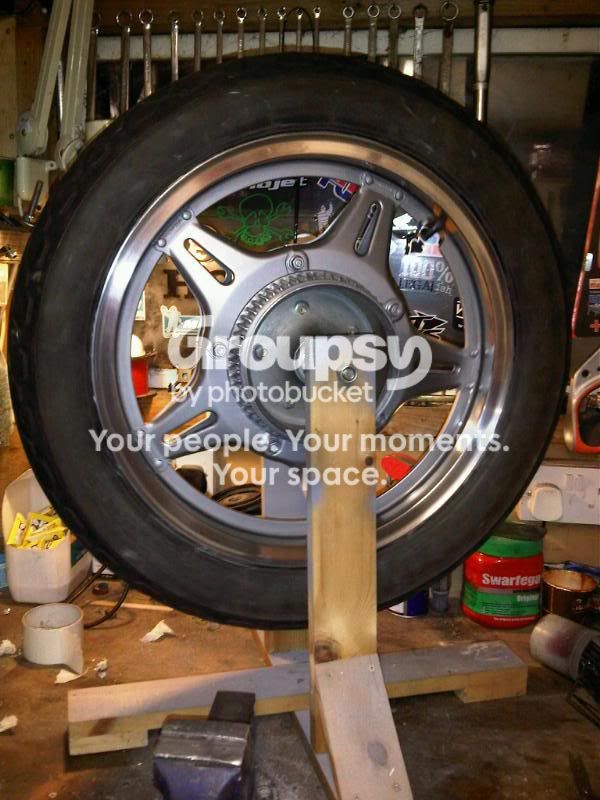
As you can see from the rear wheel I did tonight, for a 30 year old wheel, they do come up nice.
IMG01262-20111006-2058.jpg

I'll leave it until Saturday before I put it back in just to give the paint and clear coat a chance to set up a bit.
IMG01261-20111006-2057.jpg
 
Well as I said, I would have the back wheel in by today and that would open up a whole new ball game.
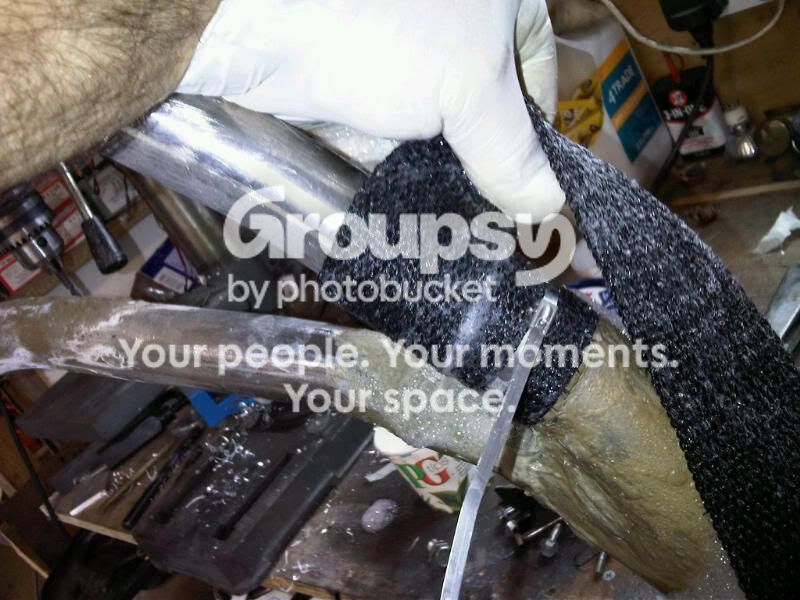
This afternoon I'm going to heat wrap my exhaust. I set it up on the bike, then drilled a couple of tiny hole to pt self fappers in to hold the position. Then I dropped out the complete unit
IMG01273-20111008-1247-1.jpg

Once I got it in the vice I sawed off the inside clamp lugs
IMG01274-20111008-1257.jpg

Then ran a file over them to take off any sharp edges
IMG01275-20111008-1259.jpg

I'm going to use this stuff to seal the joints
IMG01276-20111008-1301.jpg

one at a time I removed the screws and smeared the paste around the pipes then slotted them back in and smeared some around the outside.
IMG01278-20111008-1305.jpg

IMG01277-20111008-1303.jpg

Then I used a heat gun to dry it off
IMG01279-20111008-1311.jpg

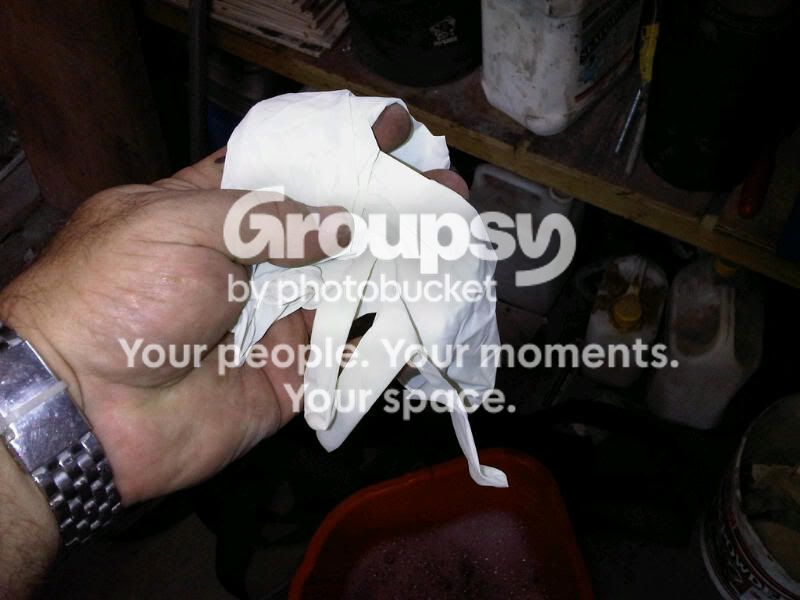
Now if you are going to try this, you'll need gloves because this stuff contains fiberglass, and you'll itch bad.
IMG01285-20111008-1320-1.jpg

You'll also need stainless steel zip ties
IMG01284-20111008-1319-1.jpg

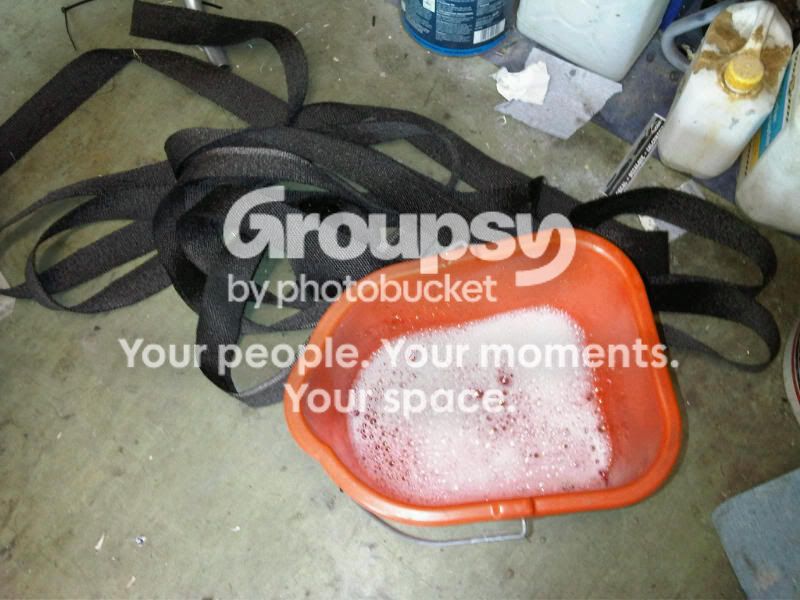
And a bucket of warm soapy water to soak the wrap in so it expands, then contracts when it drys out and tightens around the tube.
IMG01283-20111008-1319.jpg

soak the wrap for a couple of minutes, the soap is a wetting agent and will help it to soak a bit quicker than water alone.
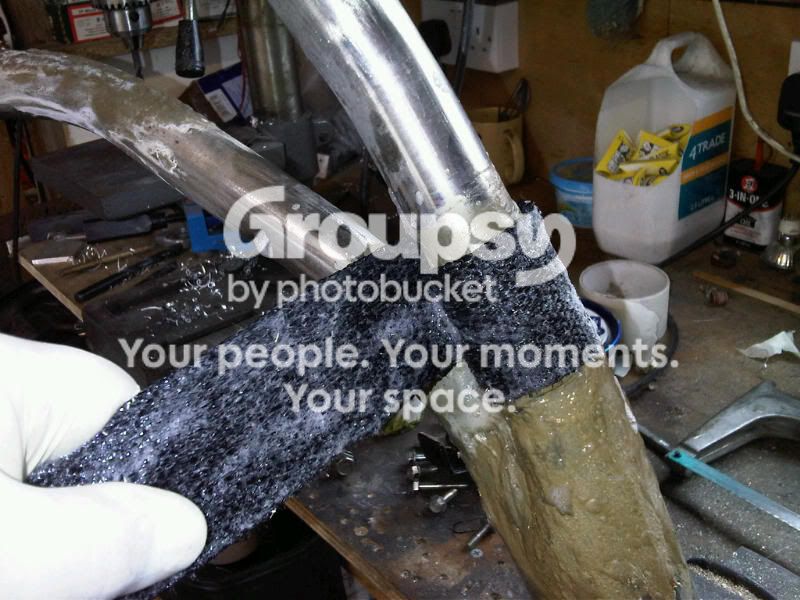
Next start at the bottom of the pipe so the wrap overlaps face backwards and dont catch road grime.
Start with one full turn around the pipe and tie it off with a zip.
IMG01288-20111008-1324.jpg

Then wind it on over lapping by about half, and keep it pulled as tight as you can
IMG01289-20111008-1326.jpg

Work youre way to the top and tie it off with a couple of zips
IMG01291-20111008-1342.jpg

Then do the other side the same way. I also did the section between the can and headers.
IMG01292-20111008-1412.jpg

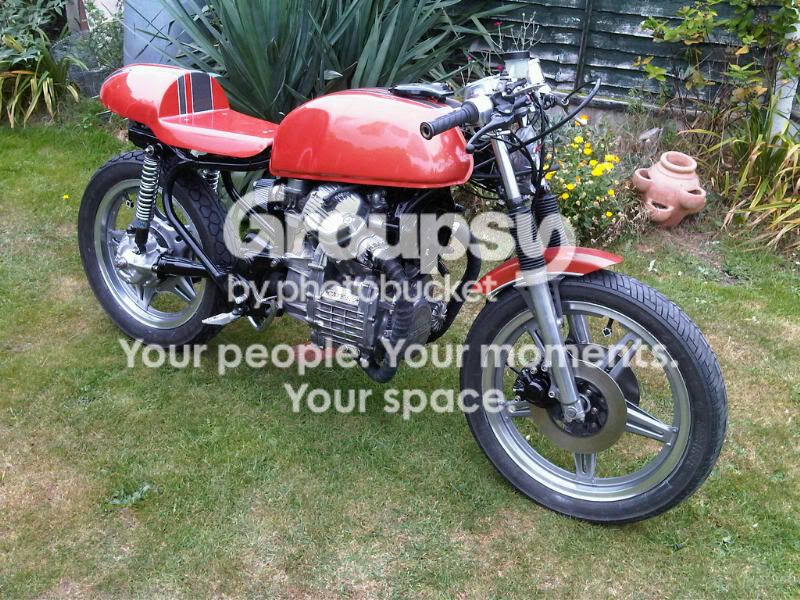
Once I got them back on they looked far better
IMG01295-20111008-1429.jpg

And there we are, another job ticked off the to do list.
IMG01296-20111008-1430.jpg
 
Big round one mate.

Evolution of a Streetfighter

IMG01318-20111009-1331.jpg


I guess without what our Dads were up to in the 60's moding their bikes to look like the racers of the day with a hunger for balls out speed and handling, we may not be doing what we do today.

IMG01310-20111009-1322.jpg


Begs the question what our kids are going to be doing with the bikes of the future, mad little f**kers.

IMG01313-20111009-1324.jpg
 
Bike looks great man. the only ting I could suggest, and it's all personal preference. Would to either rotate the cubmans down so they "simulate" clip-ons like they are designed to do or put some 1" rise track bars on that baby. Either way. It's bad ass. good job!
 
You can't really see it with the radiator and shroud in place (you can't see the front of it and very little of the back of fan)
 
Once the rad goes back on you wont see the fan at all.

I've been thinking of rotating the bars mate, and I'll do it when I do all the final little tweeks. I also need to shorten the clutch cable.
 
Hey man, i only had a CX500 for a little while, but i still have a place in my heart for them every time i see one ;D doing a great job, thought i would show you a vid that made me laugh when i saw a part in it.


fast forward to 4:50


Cafe Racer - Short Film
 
Tenpole Tudor, (yep, THAT one, 'Over the hill with the swords of a thousand men' ,etc)
Related to Henry VIII (Henry Tudor)
 
Bike looks really good mate Is making.me.wana.do my own cafe right using a cb400 superdream as a base so like you not the normal bike to start with

Sent from my R800i using Tapatalk
 
Back
Top Bottom