
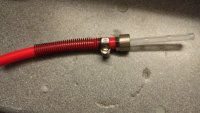
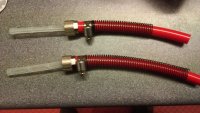
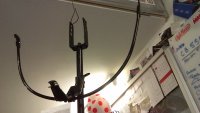
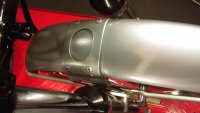
Gonna get some new jets to help iron out any last motor issues ,running a little high on revs probably still a bit lean , so started building fuel lines from tank , turned down some brass airline connectors with tapered outer rim so they sit inside the tapered knurled tank connectors , going to have two 8mm lines running into one 8mm line with inline filter then quick release fuel line connector got some more pics to get of the finished set up looks a bit Doc Brown but sure its gonna put enough fuel down to carbs ???
We noticed you are blocking ads. DO THE TON only works with community supporters. Most are active members of the site with small businesses. Please consider disabling your ad blocking tool and checking out the businesses that help keep our site up and free.
You are using an out of date browser. It may not display this or other websites correctly.
You should upgrade or use an alternative browser.
You should upgrade or use an alternative browser.
Hailwood Honda race rep agh!
- Thread starter yorkie350
- Start date

K
Kamn
Guest
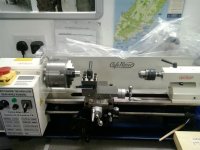
what kind of lathe do you have there?
its a mini lathe got a 4" chuck, came with two chucks a three finger and four finger,its got a 350mm tooling area but your material can run through the back of lathe for the longer stuff ime still learning but got the hang of it quicker than welding now that's an art  it has a 550watt motor with a digital readout for the variable speed its a neat little thing saved me money on some parts especially my swing arm bushings but haven't made its cost back yet
it has a 550watt motor with a digital readout for the variable speed its a neat little thing saved me money on some parts especially my swing arm bushings but haven't made its cost back yetAttachments
K
Kamn
Guest
thats a nice little lathe you have there, variable speed and reverse........you make all kinds of parts with that
And great build so far
Cheers
And great build so far
Cheers
Cheers mate yeah wasn't too expensive and its small enough to fit on my bench, ime kinda stuck for space it came in useful for making spacers especially when ive been changing stuff like wheel spacers and made the bushings to fit exactly to my swing arm not just the nominal size you get from suppliers. Project nearly there gone a lot slower than I thought but now I got the tools I suppose another project will soon be appearing haha
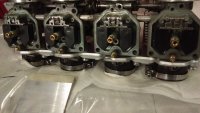
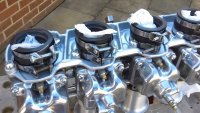
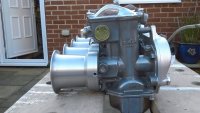
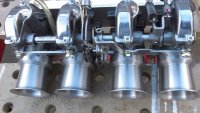
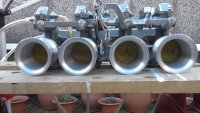
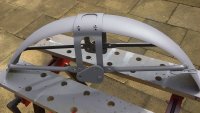
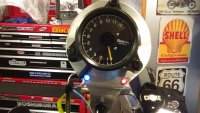
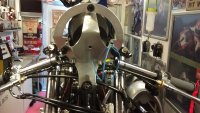
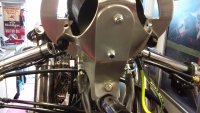
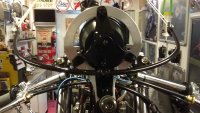
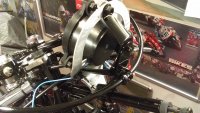
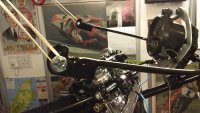
Ok been slow again but damn nearly there so heres a bit of an update got my new rev counter fitted n working heres a few pics of fitting and after paint n refit of the front fairing bracket. Finished off laying colour on the front fender just got to clear coat it .Finally got my re-jet kits in so pulled the carbs re jetted cos my pipes are basically open and running velocity stacks I went for 120 main 42 pilot 1.5 turns out on the idle screw she fires up n runs sweet just got to get her dialled in but a lot better than first time plus stopped a leak from fuel tubes with new rubber seals but the original leak I had was a nipped fuel bowl gasket heres plenty of pics soon to be complete
.Finally got my re-jet kits in so pulled the carbs re jetted cos my pipes are basically open and running velocity stacks I went for 120 main 42 pilot 1.5 turns out on the idle screw she fires up n runs sweet just got to get her dialled in but a lot better than first time plus stopped a leak from fuel tubes with new rubber seals but the original leak I had was a nipped fuel bowl gasket heres plenty of pics soon to be complete Attachments
-
 IMAG0761.jpg1.2 MB · Views: 201
 -
 IMAG0763.jpg1.4 MB · Views: 206
 -
 IMAG0770.jpg1.2 MB · Views: 190
 -
 IMAG0741.jpg1.2 MB · Views: 200
 -
 IMAG0750.jpg1.2 MB · Views: 194
 -
 IMAG0756.jpg1.1 MB · Views: 203
 -
 IMAG0755.jpg1.2 MB · Views: 185
 -
 IMAG0754.jpg1.3 MB · Views: 197
 -
 IMAG0760.jpg1.2 MB · Views: 207
 -
 IMAG0759.jpg1.2 MB · Views: 199
 -
 IMAG0746.jpg1.4 MB · Views: 193
 -
 IMAG0743.jpg1.5 MB · Views: 194
 -
 IMAG0748.jpg1.3 MB · Views: 205
 -
 IMAG0765.jpg1.2 MB · Views: 193
 -
 IMAG0766.jpg1.4 MB · Views: 199
 -
 IMAG0767.jpg494.6 KB · Views: 199
 -
 IMAG0768.jpg1.3 MB · Views: 199
 -
 IMAG0758.jpg1.2 MB · Views: 201
ey up mate ive been trying to load vids of motor running but it just jumps back to the blank reply box god knows what ime doin wrong don't have much time for computer stuff :-[ haha got the stacks from speed moto there in the column in left hand side of this page they are sound got a set for the 350f but they are polished they cost about £70
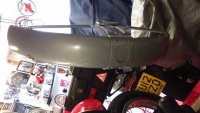
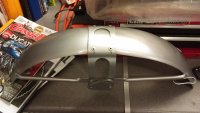
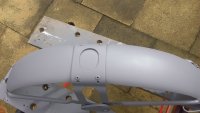
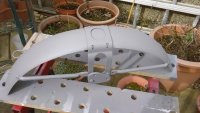
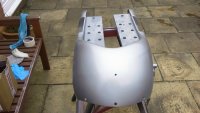
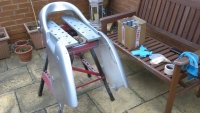
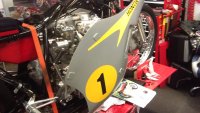
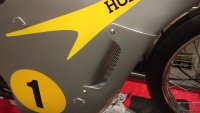
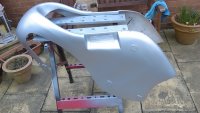
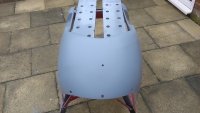
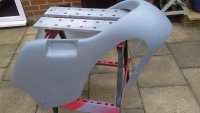
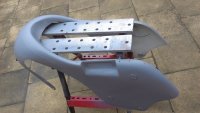
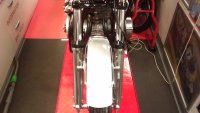
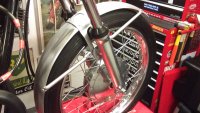
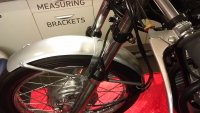
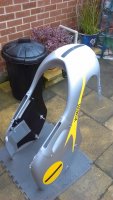
Well it might have been the bank holiday but British weather delt its hand again : so had to try dodge the rain and get some painting done so heres a quick update finished painting front fender and got it fitted up laid the primer on the fairing then on with the top coat silver laid the vinyls but the front nose (dome part was a nightmare even with the heat gun couldn't get the creases out so whipped it off and decided to paint it on instead slow n easy does it haha excuse for draggin me feet but got it done a little bit of reaction from the tape I used to mask up so just a bit to blow over on the silver then top it off with clear also nearly finished the stitching of my seat wont be long now :-\
so had to try dodge the rain and get some painting done so heres a quick update finished painting front fender and got it fitted up laid the primer on the fairing then on with the top coat silver laid the vinyls but the front nose (dome part was a nightmare even with the heat gun couldn't get the creases out so whipped it off and decided to paint it on instead slow n easy does it haha excuse for draggin me feet but got it done a little bit of reaction from the tape I used to mask up so just a bit to blow over on the silver then top it off with clear also nearly finished the stitching of my seat wont be long now :-\Attachments
-
 IMAG0776.jpg1.2 MB · Views: 205
 -
 IMAG0775.jpg1.2 MB · Views: 223
 -
 IMAG0778.jpg1.2 MB · Views: 225
 -
 IMAG0780.jpg1.4 MB · Views: 216
 -
 IMAG0781.jpg1.1 MB · Views: 212
 -
 IMAG0782.jpg1.3 MB · Views: 220
 -
 IMAG0774.jpg1.2 MB · Views: 209
 -
 IMAG0773.jpg1.3 MB · Views: 211
 -
 IMAG0772.jpg1.1 MB · Views: 211
 -
 IMAG0771.jpg1.2 MB · Views: 226
 -
 IMAG0786.jpg1 MB · Views: 230
 -
 IMAG0783.jpg390.9 KB · Views: 207
 -
 IMAG0784.jpg1.5 MB · Views: 218
 -
 IMAG0785.jpg1.2 MB · Views: 221
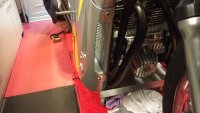
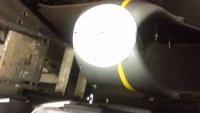
Heres a couple of pics of the smallest space to spray in hah :-[ weather turned crap when I was ready to paint front number background :-[ crappy pics too but gives ya an idea how its comin plus i got to paint inside of fairing black like original got away using a roller n small brush for that
Attachments
Cheers Bud lookin forward to getting her finished now picked the donor for this project up on 21/5/2014 so want to finish under two years haha also want to run her at the olivers mount hill climb on May 2nd then hopefully a trip over the water to the Isle of Man for TT or at least classic just to run around like a parade bike should be a laugh ;D
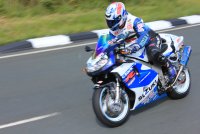
also want to run her at the olivers mount hill climb on May 2nd then hopefully a trip over the water to the Isle of Man for TT or at least classic just to run around like a parade bike should be a laugh ;DGreatest place there is for nostalgia and best road racing in the world,got to be on anyone into bikes bucket list 8) first went back in 2005 not always on two wheels once ridden never forgotten heres one of me back in 2012 on me old TL1000R soon to be a cb550f Hailwood replica haha
Attachments
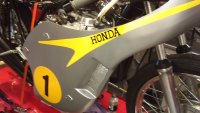
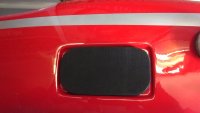
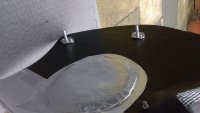
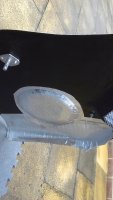
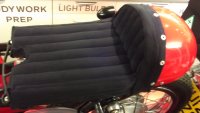
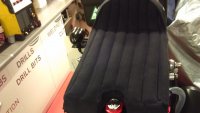
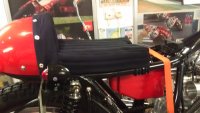
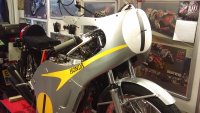
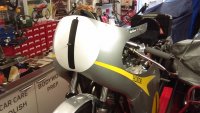
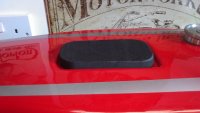
Well back to crappy wet weather had a couple of good days so spent a lot of it giving the 350f a decent run for a change but got a couple of bits done to this project finally finished stitching seat and got it fitted then re-painted the white circle for the race number re-cut vinyl for the numbers more like originals also fit heat reflective sheet to inside of fairing just to help keep some heat away from the fairing : hope its gonna save the paintwork from any blistering :-\ cos its quite tight in there finally cut a new chin pad for top of tank my first attempt earlier in thread was like a house brick :-[ so nearly there heres a few pics to show how little there is left to do
finally finished stitching seat and got it fitted then re-painted the white circle for the race number re-cut vinyl for the numbers more like originals also fit heat reflective sheet to inside of fairing just to help keep some heat away from the fairing : hope its gonna save the paintwork from any blistering :-\ cos its quite tight in there finally cut a new chin pad for top of tank my first attempt earlier in thread was like a house brick :-[ so nearly there heres a few pics to show how little there is left to doAttachments
-
 IMAG0793.jpg1.1 MB · Views: 191
 -
 IMAG0811.jpg1.5 MB · Views: 185
 -
 IMAG0810.jpg1.2 MB · Views: 174
 -
 IMAG0809.jpg1.7 MB · Views: 192
 -
 IMAG0798.jpg1 MB · Views: 193
 -
 IMAG0799.jpg1.1 MB · Views: 202
 -
 IMAG0797.jpg1.2 MB · Views: 189
 -
 IMAG0808.jpg1.3 MB · Views: 196
 -
 IMAG0802.jpg1.4 MB · Views: 184
 -
 IMAG0801.jpg1.3 MB · Views: 195
 -
 IMAG0794.jpg1.2 MB · Views: 196


