Follow along with the video below to see how to install our site as a web app on your home screen.
Note: This feature currently requires accessing the site using the built-in Safari browser.
We noticed you are blocking ads. DO THE TON only works with community supporters. Most are active members of the site with small businesses. Please consider disabling your ad blocking tool and checking out the businesses that help keep our site up and free.
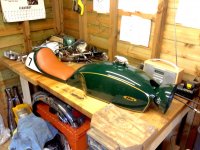
Thanks guys, Yes a rare sunny day in the south that day.
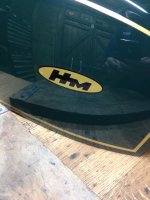
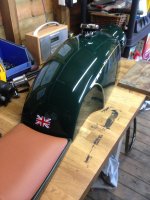
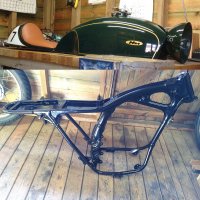
The tank and seat are at the painters as we speak.
Sticking with original tank colour, with a few decals.
I'm sure as soon as I get it back I'll stick some pics up. :0)
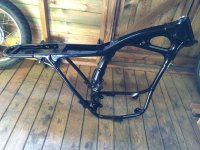
Just need some welding on the frame then its off to the powder coaters. It will feel like I've reached the summit after I get all the bits back and sliding down the other side.
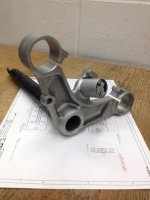
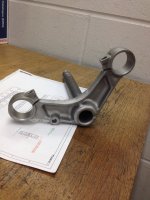
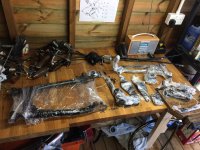
Before and after pics.
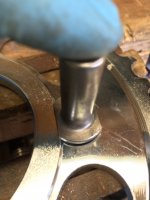
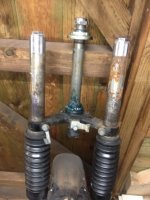
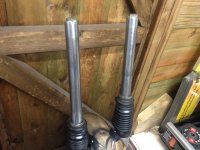
Couldn't get all the pitting out of the forks.
Anyone know any way of getting this to a better Finnish. Just used a drill with weld clean up pad then wet and dry 800 grit with some metal polish after. Not bad for an hours work.
Looking great man. I'm all in on this build. Very cool little work space you got goin as well.
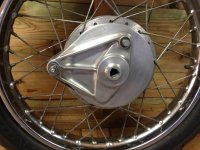
Was wondering what your method/products used to clean the brake drums, engine covers, triple trees and your forks? And did you repaint those pieces yourself? If so, do you mind sharing what type of paint you used and how you got such a nice finish on them? Thanks man, and again, the build is looking great.
Hi Luugo86,
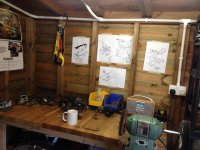
Cheers man. I had a man cave built down the garden, its a 18 foot x 10 shed. Big enough for all the bike stuff. The wife thinks I'm moving down there. lol.
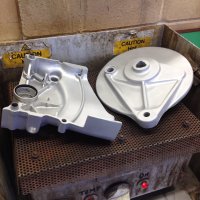
A friend of mine has a sand blaster at his work so he does all the items laid out on the table for me. I brought a bench grinder on eBay and turned it into a polisher. But I just aint got the patience for it. I spent about an hour doing one piece and it looked worse than when I started it. So I went over it again with a scotch pad and it now looks OK. So Im going for the brushed steel look.
For the forks I used a scotch pad and some wet and dry with a sh*t load of elbow grease. Then Autoglym metal polish. I'm quite happy with the results but not sure if it will last as usually when the chrome starts pitting they're pretty shot. So may just replace them. Maybe a project for next winter?
I've just got the rest of the items powder coated in gloss black. I'll post some pictures of them later. If you have a local powder coater I would definitely recommend it. It makes everything look like new again. Cant wait to start putting it all back together now.
Thanks for the questions. If you have any more I'll help if I can.
Andy,
Cheers man, thanks again for all the great information. I will definately try those methods out. Do you remember what grit scotch pads you used? OR did you start with like a 3 and move down to a finer pad from there? Thanks again m8
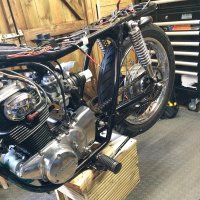
Been super busy at the moment getting all the parts back from paint and powder coating.
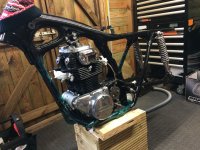
Progress has been rapid. Trying to get thing running before summer is over.
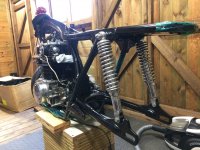
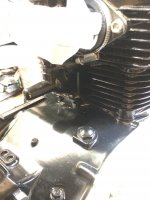
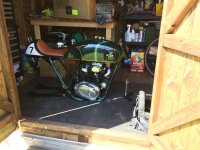
Engine in on my own. Bit of mammoth task. Few scratches on the powder coated frame. Not happy.
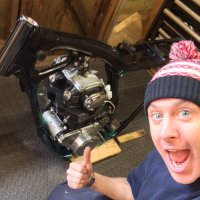
Chose the lay the engine on its side technique. Got there in the end.
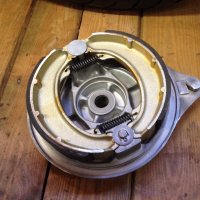
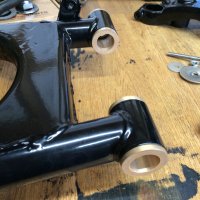
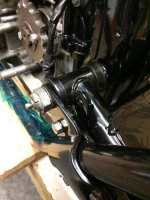
New parts being fitted.
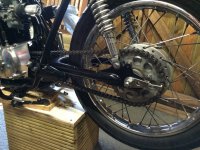
Brass swing arm bushes, tapered head bearing.
Had to dermal off loads of powder coat to get the forks and swing arm bolts to fit.
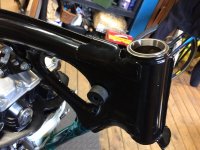
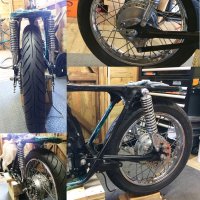
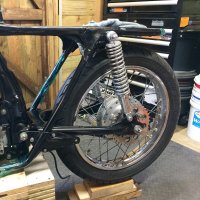
Few shots from different angle.
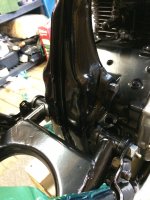
Pretty happy with the powder coat finish although there was some specs of sand left over from the sand blasting process that must have still been in the frame.
I quick flat down with some 1500 grit then polished back up OK. Problem sorted.
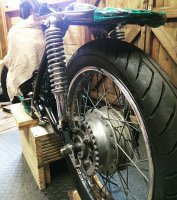
Chain on.
I did order a JT chain and sprocket kit from eBay but didn't fit so that will have to go back.
Lucky the old chain cleaned up like new. Brucy bonus.
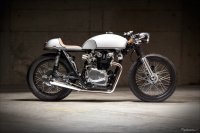
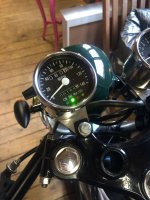
The bike now has a name. "Yo Bonita"
Its my little nod to the "Bonita" bike that started this all. Thanks Pep.
Pep has given me some great posts and personal videos of bonita when I got stuck on a couple of bits during the build, replying on my instagram feed "andyp75" if your interested.
Also Saturday Wrench Tony has been a constant follower. And great at giving advise. I'd definitely follow him if your building a cafe racer out of a CB350.
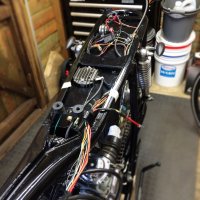
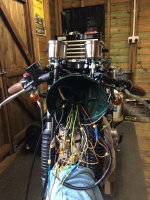
Wiring in full flow now. Pretty straight forward.
Just need to extend the power cables and move the earth wire. Simples.
I did label up all wires which has helped. Just plugged them back in and routed through the new frame. ;D
I'm sure I'll have to reroute a few times once I get the tank and seat in place. Should be OK tho. Famous last words!
This site uses cookies to help personalise content, tailor your experience and to keep you logged in if you register.
By continuing to use this site, you are consenting to our use of cookies.

")