Follow along with the video below to see how to install our site as a web app on your home screen.
Note: This feature currently requires accessing the site using the built-in Safari browser.
We noticed you are blocking ads. DO THE TON only works with community supporters. Most are active members of the site with small businesses. Please consider disabling your ad blocking tool and checking out the businesses that help keep our site up and free.
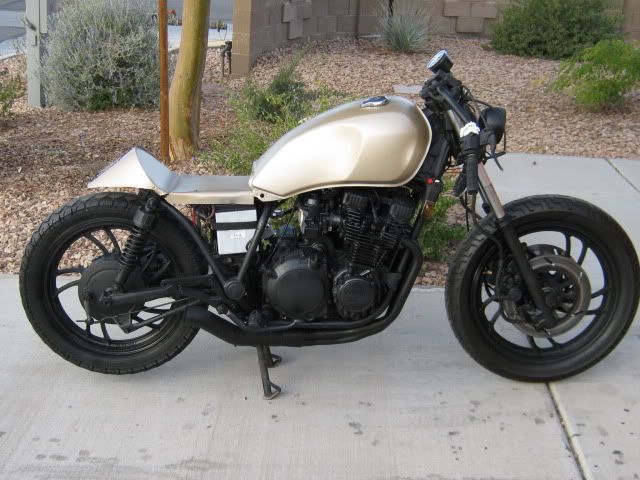
When I put the mirror there I was doing it as a joke cuz I thought it looked cool. I was sure I was just going to be staring at my knee with it right there. I sat on the bike and adjusted it and holy crap it actually works there! I can just glance down and see whats behind me (guess it helps that is kinda large mirror).
You know, you're the first person to ask me about the mirror placement. I was thinking I would get a lot more questions about why I put it there and not in the "normal" spots.
man how did you make that seat? i have been wanting o make a metal one for a bit now and any feedback would be great... i have always been a big fan of these bikes with the shaft drive they really get up and rip super smooth, be sure you put new fluids in the shaft man, makes a huge dif in how smoooooth it is
The seat was pretty easy actually. I picked up two pieces of steel from Lowes (9"x24" about 2mm thick and 8"x12" about 3mm thick). I laid the thinner piece centered on the frame with one edge flush with the rear tank mount and then bent (read: put some "man muscle" into it) the back edge up to the angle I liked. I then took the thicker piece laid it flush with the back end of the first piece and once again "bent" it into shape over the rear of the frame. I bent the rear section into a cone'ish shape to give me the rear end shape I was looking for. I marked the rear of the first piece where I was going to cut making sure to leave about 1/2" of material to fold over and fit inside the tail piece. I made my relief cuts and folded the tabs down and fitted the rear section over the seat section. I drilled holes to secure the sections together using bolts I had and jb weld (damn I wish I had a welder) the seam and let that dry and sanded it down. After that, laid it back on the frame and used a lil persuasion from a rubber mallot to bend the sides down over the frame and then marked the rear end level and cut the remaining metal off. Sanded everything down, prepped, primed and painted and mounted to the frame using two screws through the seat pan. Hope that helps somewhat.
Did you check your battery? Alotta bikes only like a nice charged batt.
Also, Joe is right, replace that shaft gear oil, should be around 5-10$
It helps alot, if it hasn't recently been changed that is.
Update pix look great by the way!
Well pulled the carbs last nite and armed with a can of carb cleaner went to town. I cleaned them out and got some thick filter foam and placed a small piece in the small, oblong hole in the top of the intakes. I put it all back together with a new fuel filter. I primed the petcock, stuck the key in and pushed the start button and...... SHE STARTED RIGHT UP!!! Even on the first try. Going to take her out for a test ride tomorrow. I will post pics later.
I'm not sure if its magic or just plain first-timers luck. I wanted to do a back flip when she fired up on the first try. I was sure this was going to be an ass kicking ordeal but holy crap I got her to fire up. Totally stoked!!!
Well, I took her off for a ride to work today (which lucky for me is right down the street). She ran pretty good still some fine idle adjustments to make. But then, lady luck (fuckin bitch) showed up and when I was showing one of my co-workers my bike the battery was dead . No suprise that it was, it had been sitting for a week and I have been using it to check my electrical and lights. Now you see why I say that I'm lucky to right down the road .
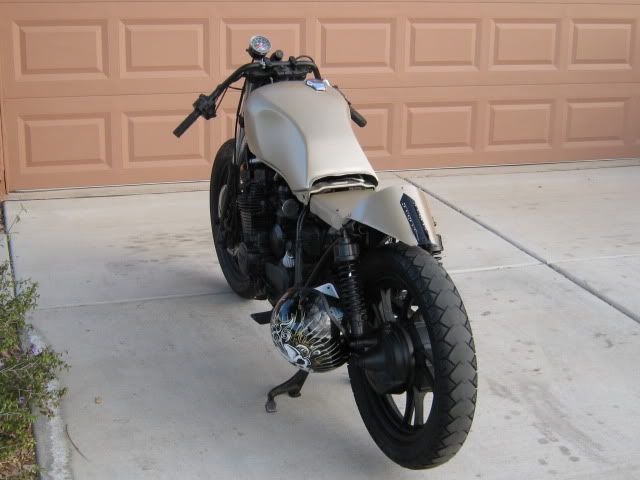
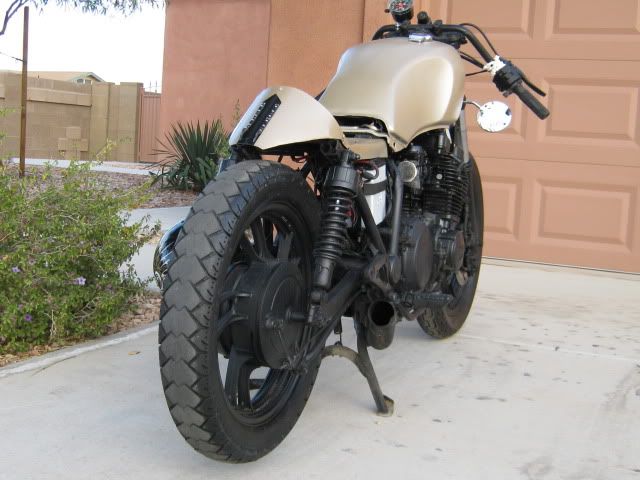
Well here some pics as she is today.
I added new tail/brake lights (thats why there is a black strip on the rear now) and a new crankcase filter. All I need to do (besides fine adjustments on the carbs) is the seat and I can call this project done (but they are never really done)
Its been a month to the day that I started this project and I am very happy with the results. I got so much help from this site and xjbikes.com, so to everyone I want to say thx.
As soon as the seat gets done, I will post final pics of the bike after that it will be nuthin but pics of me riding around smiling from ear to ear ;D
thx. i went for my first "real" ride today. this thing rides great (gotta get my seat pad in a hurry ). she pull hard and sounds great. couldn't be happier!
I like how the stock tank lends itself to the cafe look so effortlessly. Since you seem to be pretty handy you can make a set of drag bars from a barbell or use some emt conduit and a kick bender to make some "clubmans".
if i can talk my wife into it i might pick up a welder for myself and try to make some clip-ons. but the more i ride it the more the flipped bars are growing on me. its different and it turns heads (had a few guys ask me questions about it this morning at the gas station).
This site uses cookies to help personalise content, tailor your experience and to keep you logged in if you register.
By continuing to use this site, you are consenting to our use of cookies.