clutch
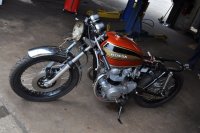
Been Around the Block
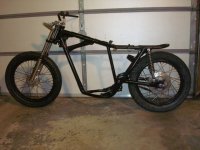
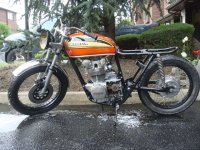
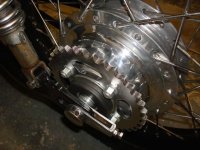
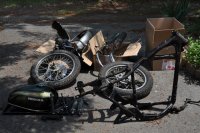
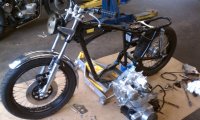
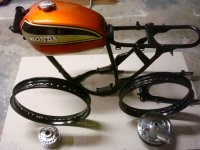
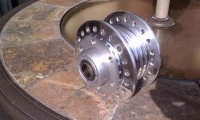
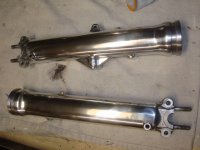
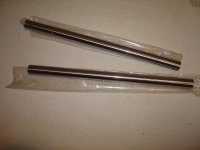
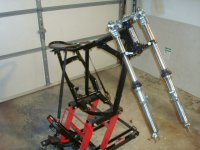
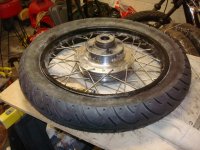
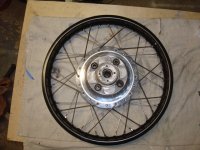
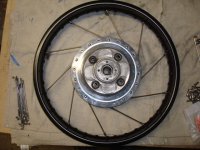
This build is moving into slow gear. Can't do a whole lot right now in the garage as my house is up for sale and there is a constant parade thru here on the weekends. I'm going to try and chip away at a few things now that the frame and hoops are powder coated. Hubs are mostly polished, just have to do the fine buffing. I was excited to get my spokes and nipples last week only to find out I ordered the wrong size. Note to self...NEVER use a plastic dial caliper to get an exact measurement, especially the difference between .250 and .281. So, the right set is on the way.
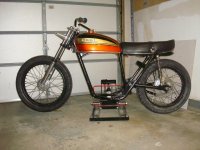
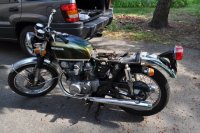
Also going in a different direction with the tires. I have a set of Firestone's but I'm going to ditch them and use something a little more "period" looking. My Triumph will probably look better with them anyway. Thinking of 100/90 19" front and 110/90 18" rear.
Somebody stop me if that is going to spell trouble!
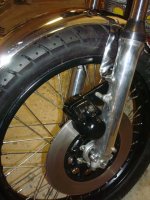
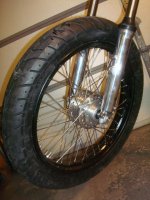
 Any issues with the tire sizes? I plan on doing the same on the front, but a 120/80-18 on the rear.